Which art medium is best for what?
My post today over at Ellen Hutson is a rather epic one – it was created for people who don’t color at all, but have an inkling they might like to try – the supplies for each are different, and choosing which one and knowing what to get can be overwhelming!
I thought I would create a “partner” post for it here, for more advanced folks who may already have a few of those art supplies, and are wondering which kinds of projects are best suited for which medium.
This video is also the first of a series that I’m creating for a class coming up – some of the videos will be public ones on YouTube, others will be inside the class all about art supplies. I’ve always wanted one place to put alllll the info about my favorite supplies, maintenance and care of them, tricks to fix broken things, lots of tiny tips that get lost on a giant YouTube channel like mine. I get so many questions about which direction is best to store X brand of whatever, or what’s my favorite thing for X, and this class will be epic. And free.
Which art medium is best for what?
Sometimes it’s obvious. Sometimes you just feel like using a medium. But sometimes…it might help to think through what medium is best for a particular subject matter, or a certain kind of stamp. This video includes snippets of lots of videos that I thought showcase the best uses for the mediums, and sometimes point out the challenges!
Watch the video below or click HERE to view on YouTube.
Tutorials included in the above video, in order:
- INTERACTIVE POPTART TOASTER
- SHADING MFT ELVES
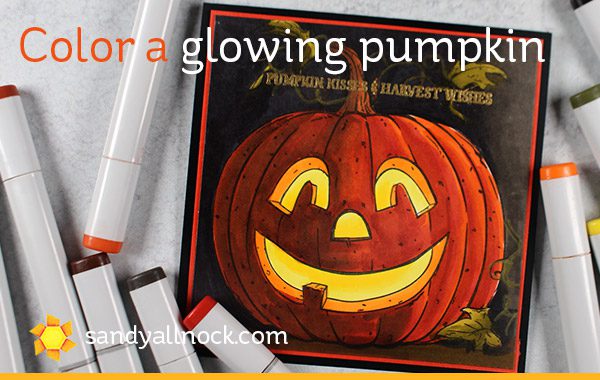
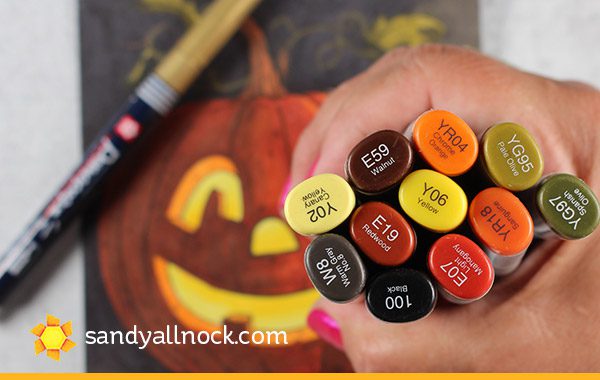
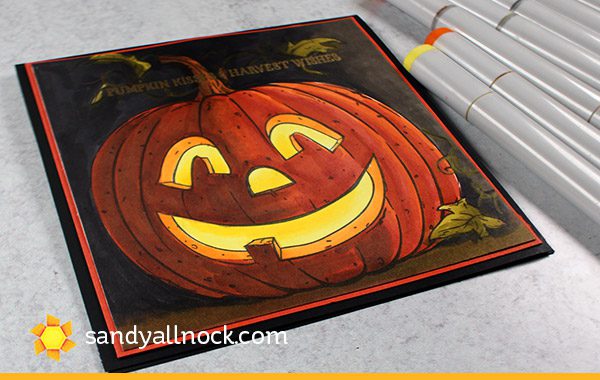
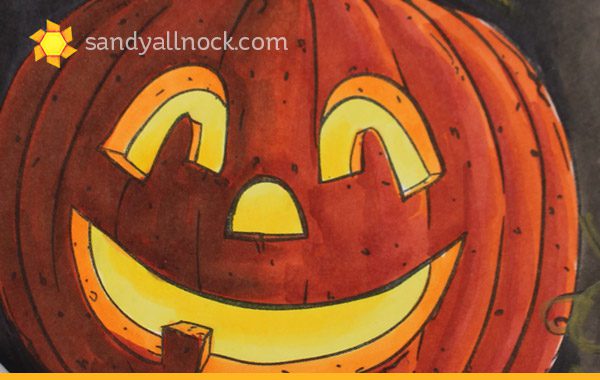
- COLOR GLOWING PUMPKIN
- COPIC ICE CREAM SUNDAE
- MONDO SAKURA, BOKEH
- RAINBOW COPIC BACKGROUND
- SPRING BOKEH
- COPICS ON YUPO
- WATERCOLOR POPPIES
- UNDERWATER SUBMARINE
- SIMPLE WATERCOLOR SCENE
- MIX COLORS FOR FUR
- WATERCOLOR AURORA BOREALIS
- WATERCOLOR HARVEST MOON
- WATERCOLOR FLOWER PRACTICE
- BOB ROSS CHALLENGE
- PLEIN AIR SETUP
- WINTER CARDINAL WATERCOLOR
- PENCIL MOON MAN AND CRATERS
- LLAMA AT MACHU PICCHU
- BUNNY VIGNETTE SCENE
- CHRISTMAS TREE FARM
- DRAWING TRANSPARENT JELLYFISH
- WINTER ANEMONE
- WATERCOLOR PENCIL AMARYLLIS
- CAMPER TRAILER IN WC PENCIL
- GREAT PUMPKIN
- DRAWING A MAGICAL CASTLE
Some product may be provided by manufacturers for review and use. Compensated affiliate links are here at no cost to you. If you choose to shop using my EH (Ellen Hutson) links, please accept cookies on that site in order to retain the link to my blog, or that compensation does not happen for me. I appreciate your support of my work with your purchases! Full affiliate and product disclosure | My trusted partners in art
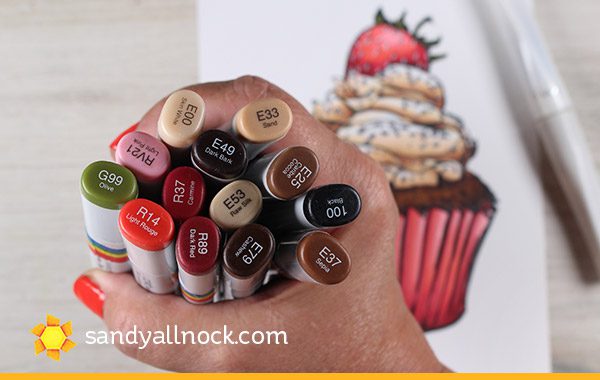
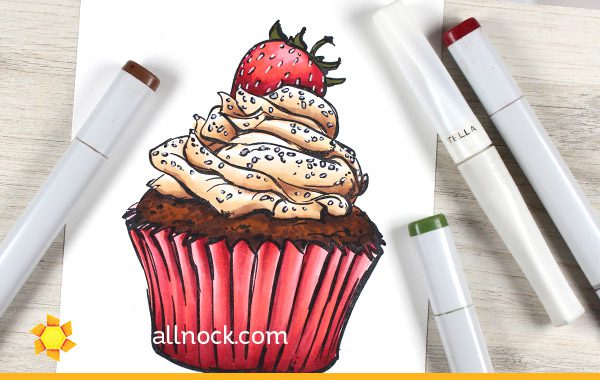
What are Copic markers best for?
While an artist can always use *whatever* medium when does it make the most sense to reach for Copics?
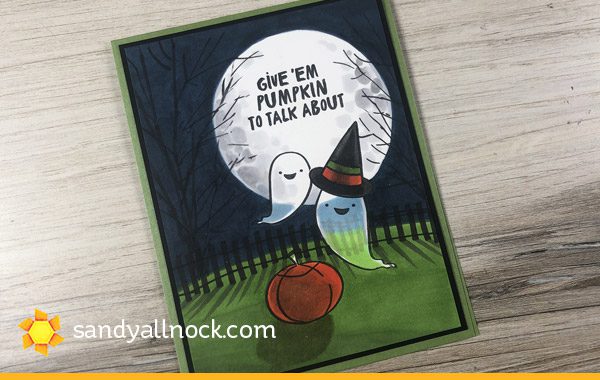
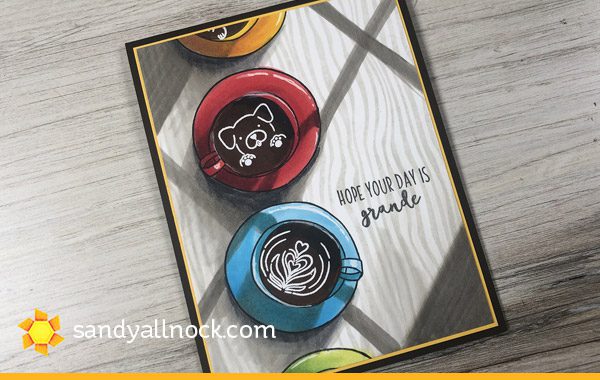
Smooth blending is the workspace of Copic markers (I’ve tried other brands and haven’t found others that compare favorably). Once techniques are mastered, it’s easy to create art with smooth transitions between colors that are different, depth created by blending a dark into a medium and a light.
Images with thicker outlines are easier for newer colorists to use with Copics, since the nib on a Copic isn’t pencil-thin; stamps with thin outlines can sometimes beckon the ink to bleed outside the line.
Color range is a boon for Copics, if you’re an artist with a wide collection – for someone like me who has them all, I know exactly what I can do with the colors I have. There are very subtle differences between some that are helpful in creating realism and minute color shifts.
Studio/craft room work is most typical for Copics; they can be packed up in cases/boxes/baskets for travel, but the size of the collection can cause problems for those wanting to haul supplies! I never use Copics when I go outdoors to sketch for this reason, though I may do a black and white sketch and come back to the studio to add color.
Foundations (color theory) and technique are taught in Copic Jumpstart – a class that has been loved by both crafters and artists of all levels of experience.
- Copic Markers, Ellen Hutson —- Blick
- Neenah Cardstock, Ellen Hutson – 25pk —- ream
- RENDR sketchbook (see last blog post) – Amazon —- Blick

What is watercolor best for?
Choose the medium that suits your mood at the moment! Don’t think with your head. Close your eyes and picture yourself in your artistic happy place. What will make your heart happy at that moment?
When feeling loose and washy, get out the paints! I get in different moods, and that often points me to my watercolors. Paint outside the lines, let the color flow, and let yourself lose a little control. Start with some scraps, even just a corner of paper to play with, and get yourself inspired.
Playing with color is an area that watercolor excels. The mixing of color is limitless, literally – the amount of pigment vs water used affects the color mix produced. You can mix in a palette or on paper. Glaze one color over another. If you know none of your Copics will have the color you need – your watercolors can create it.
Stamps with heavier lines work a bit better for those who are worried about going outside the lines – brush control takes practice. Stamps with thinner lines can be used for loose techniques breaking out of lines.
Flat washes (large areas where color floods are needed) are easiest with watercolor, though the art of the flat wash does require practice. Use gravity to your benefit!
Water management is the hardest learning curve in watercolor, in my opinion – the Watercolor Jumpstart Class provides teaching on that topic and many others that’ll help you wrangle your paints!
- Daniel Smith Watercolors — my choices right now
- Brushes for crafting:
Silver Black Velvet 8 Round – Ellen Hutson — Blick
Silver Black Velvet 12 Round – Ellen Hutson — Blick - Brushes for fine art, larger works:
Da Vinci Maestro Kolinsky Sable Round 14 – Blick
Winsor Newton Kolinsky Sable Series 7 Round 10 brush – Blick - Arches Cold Press Paper pad – Ellen Hutson —- Blick

What are colored pencils best for?
If your project – or your mood – requires control, colored pencil is by far the way to go.
Tiny detail requires tiny nibs/points on pencils, pens and brushes – and pencils can be sharpened to a very very fine point. That makes them perfect for very detailed work, or for adding that detail onto a piece created with a different medium. Yes, you can combine them!
Color stays put for the most part, with colored pencil; it’s a dry medium, and won’t bleed when it touches another color next to it. It will, however, smoodge if you lay your hand across it, so be aware of that and place a protective piece of paper below your hand to protect your work.
The best controlled color mixing happens with colored pencils; adding light layers of color one over another can create not only new colors, but depth and resonance of color not achievable by any other medium!
Creating textures are fabulous with pencil, given the number of techniques that exist for blending. See the Colored Pencil Jumpstart class to learn a number of them.
- Polychromos Set of 120, Faber-Castell —- Ellen Hutson —- Blick
- Prismacolor Colored Pencils, Set of 150 —- Ellen Hutson —- Blick
- Stonehenge Drawing Paper — Blick
- Stonehenge Sketchbook — Blick

What are watercolor pencils best for?
Some mediums lend themselves to being a hybrid of control and loose application of color – and watercolor pencil is one that checks a lot of boxes.
Control with options – watercolor pencils are applied in the same controlled fashion as colored pencils, but with the opportunity to add some looseness as well when adding water.
Thin stamped lines lend themselves to coloring carefully up to the line with the pencil, then carefully using a brush and water to break up the pigment. But watercolor pencils can handle any stamp lines well.
Enhancing watercolor can be achieved with watercolor pencils, as well – if reaching a point in a painting that particular detail needs to be added with more control, reach for a watercolor pencil. Signs on a building, patterns on fabric on a figure—address the small details that are hard to achieve with a brush.
Sketching is great with watercolor pencils; create a sketched scene in watercolor pencil that is planned to be done in watercolor, and the outlines will melt away. If some lines need to remain, sketch those in a regular pencil so they don’t disappear.
Coming soon: a Watercolor Pencil Jumpstart class. Sign up for the newsletter (in the menu bar over at Art-Classes.com) and you’ll be first to know!
- Albrecht Dürer Watercolor Pencil Tin Set of 120, Faber-Castell —- Ellen Hutson —- Blick
- Supracolor Aquarelle Pencils, Set of 120 —- Blick
- Derwent Inktense Pencils – Blick
- Brushes for crafting:
Silver Black Velvet 8 Round – Ellen Hutson — Blick
Silver Black Velvet 12 Round – Ellen Hutson — Blick - Brushes for fine art, larger works:
Da Vinci Maestro Kolinsky Sable Round 14 – Blick
Winsor Newton Kolinsky Sable Series 7 Round 10 brush – Blick - Arches Cold Press Paper pad – Ellen Hutson —- Blick
Also, the video for beginners: Go to Ellen’s blog post with LOTS of info HERE. Click HERE to see it on YouTube.