Unboxing Copic Award – and drawing a night interior self portrait

Unboxing Copic Award – and drawing a night interior self portrait

Last year, as in past years, I entered the Copic Award contest – and for many in a row, nada! I always went and looked through the entries, then the winners, and It was clear it was a contest focused on a lot of animé style work. Which is great, but I kept hoping realism would break through and it never did.

Though in 2024 – that changed! Well, maybe. ha! Read on to hear more about what i think the award was for  – and I reposted both videos for that project at the end of this post.

I opened the box that arrived just after the first of the year, but saved the opening of the marker pack for a time when I had an epic project to serve as my thank you to Copic – and you – and finally I had THE idea.
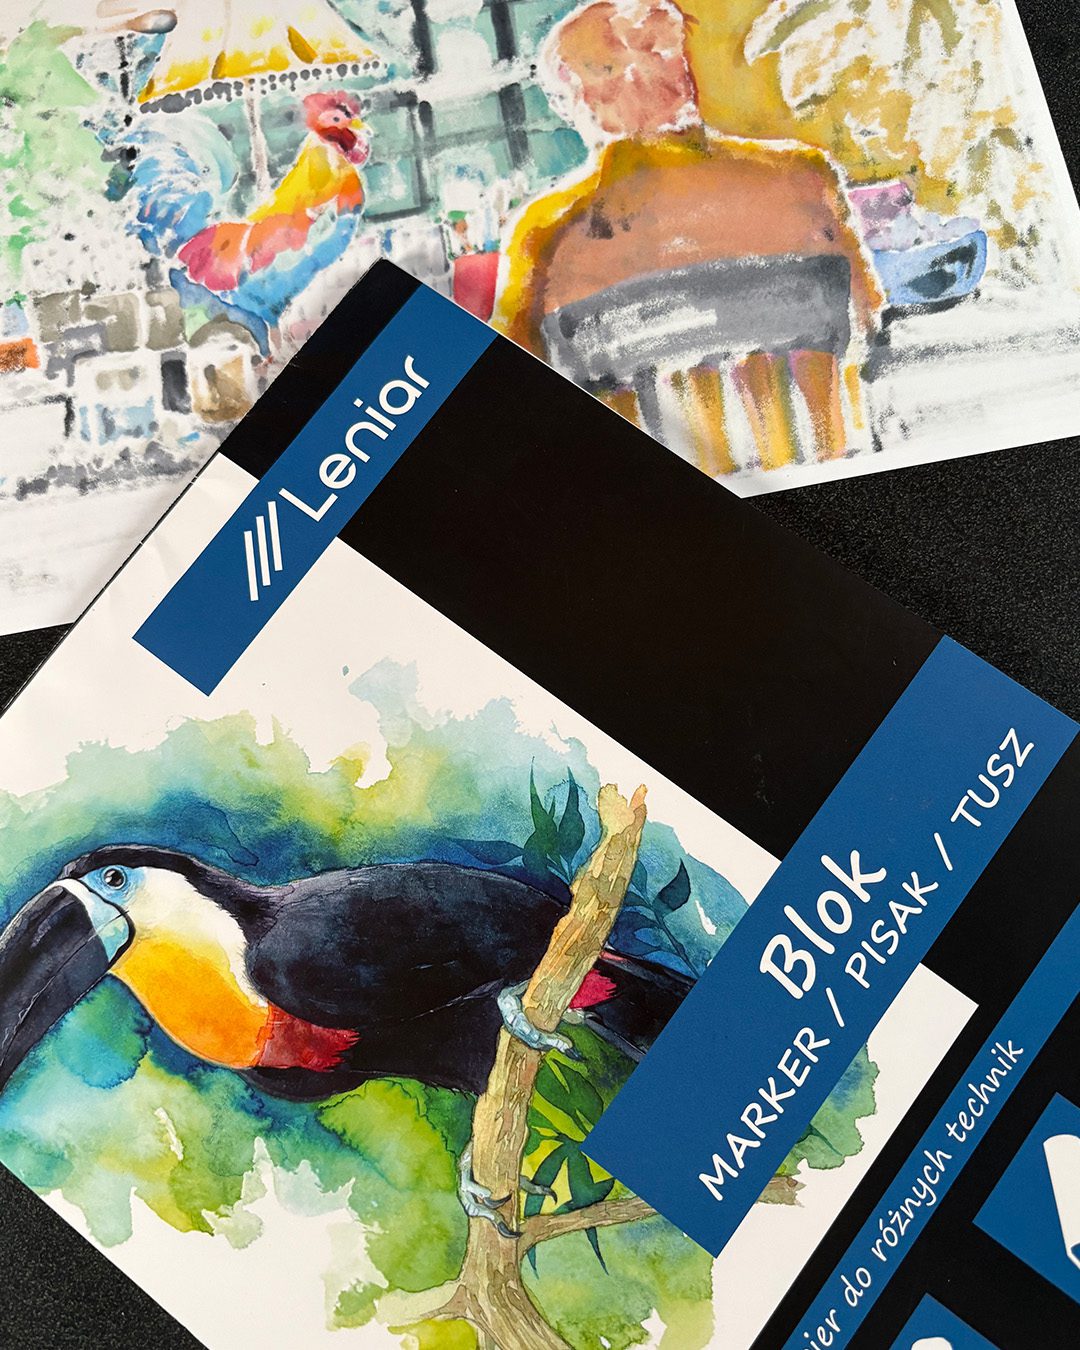
Another little treat in this project was getting to finally use this Leniar paper from Poland! Magdalena had told me about it and she sent me a care package at Christmastime to share some with me. Nice paper! It has some bleed through but not as much as would be expected for the amount of ink poured into the fibers of this sheet. LOL! If you’re in or near Poland, here’s where you get it.
Unboxing  and demonstration:

Watch the video below and scroll to the end to leave comments or questions — or click HERE to watch it on YouTube and leave comments over there. I read both dutifully!

SUPPLIES

Some product may be provided by manufacturers for review and use. Compensated affiliate links are here at no cost to you. I appreciate your support of my work with your purchases! Full affiliate and product disclosure | My trusted partners in art

Paper

  1. Leniar Marker paper 

Markers

  1. Copic Sketch markers BLICK  JACKSONS
  2. Copic Acrea Paint Marker white BLICK  AMZ

Copic Award

Since the contest appears to be mostly animé, manga, and the like, I kept wondering if I was spitting into the wind. I hoped my style would stand out, since I just never saw anyone using the markers the way I do. Kinda funny to have that realization – I’m the weirdo!

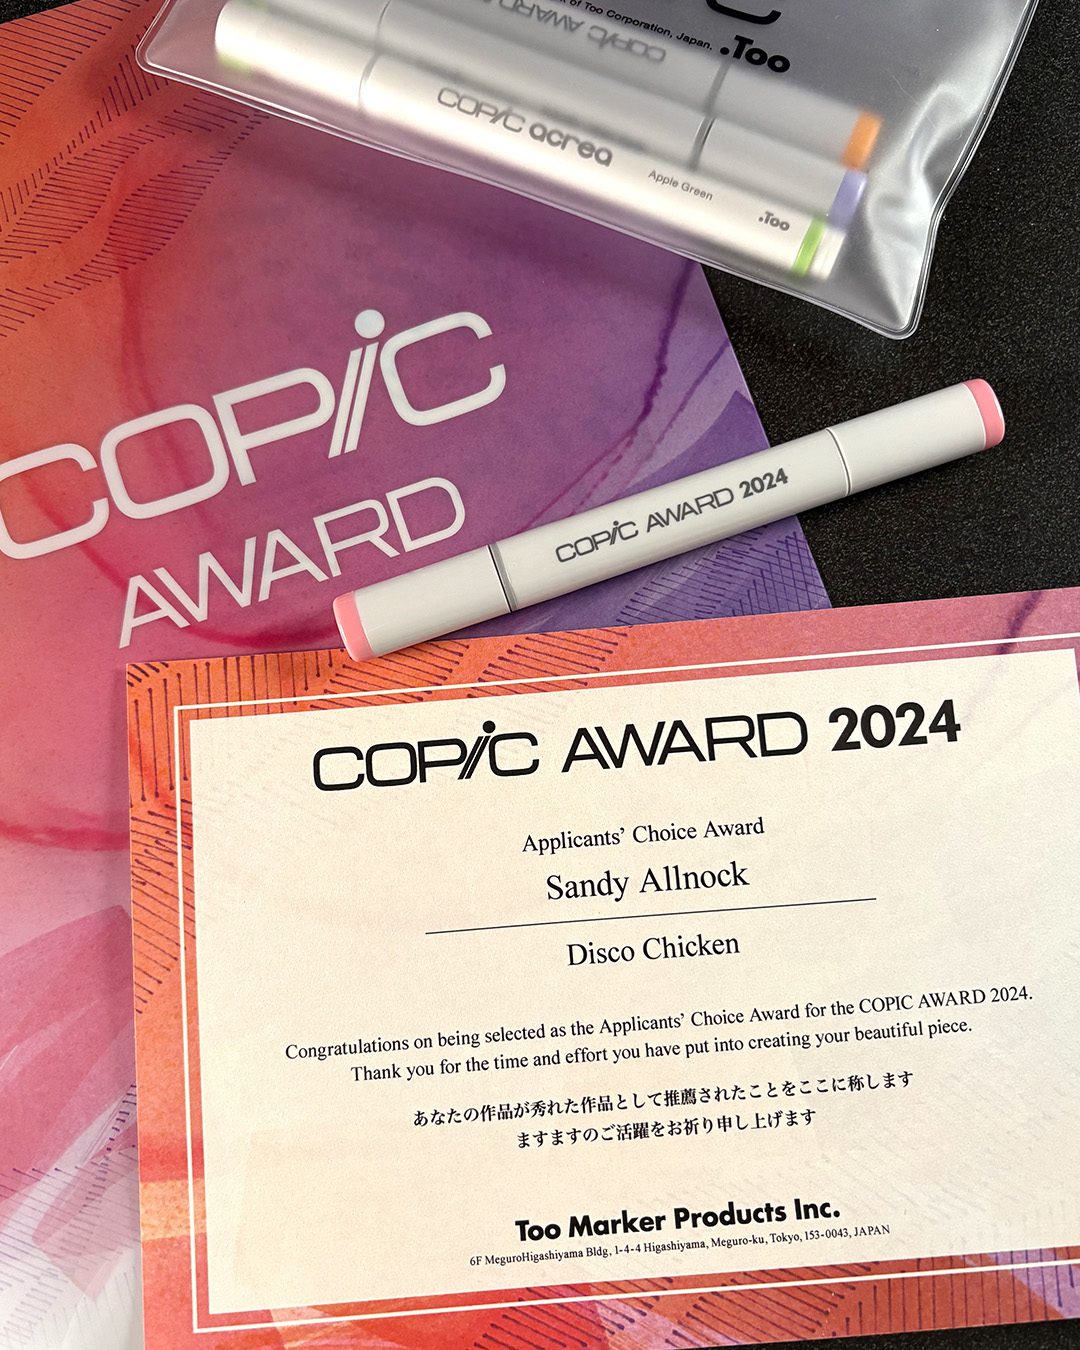
But they sent a video notification about the award – it was in Japanese so all I know is the title of my award!

It’s the “Applicant’s Choice” which would normally mean a selection by all the fellow applicants in some way. I never saw any request to vote for a favorite, so I don’t think it was that kind of assessment.

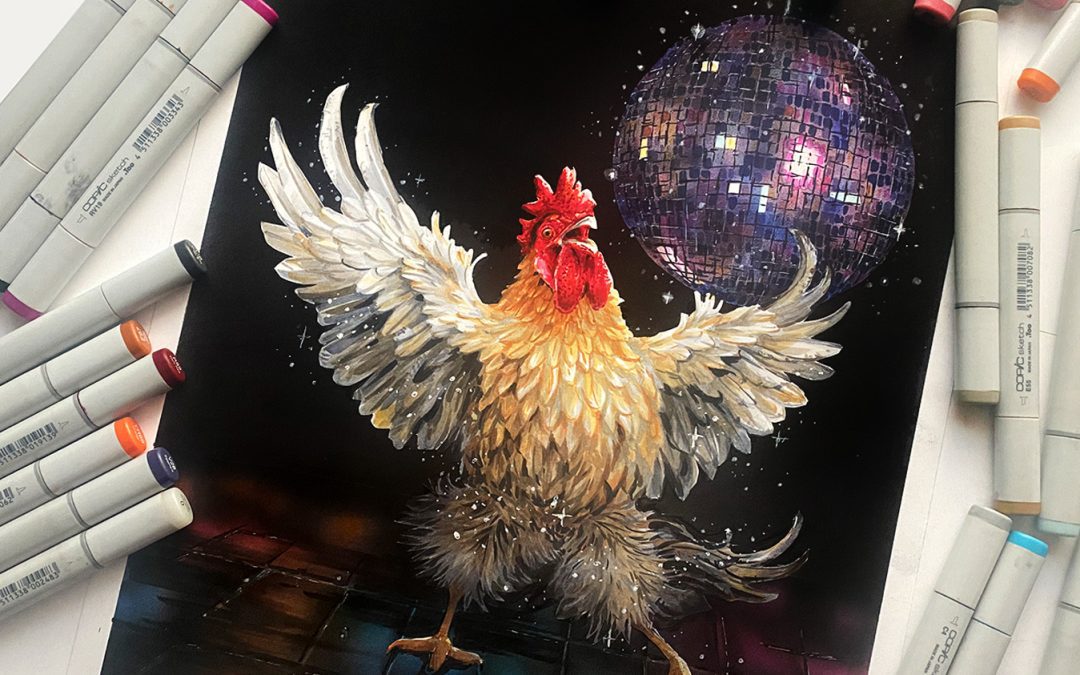
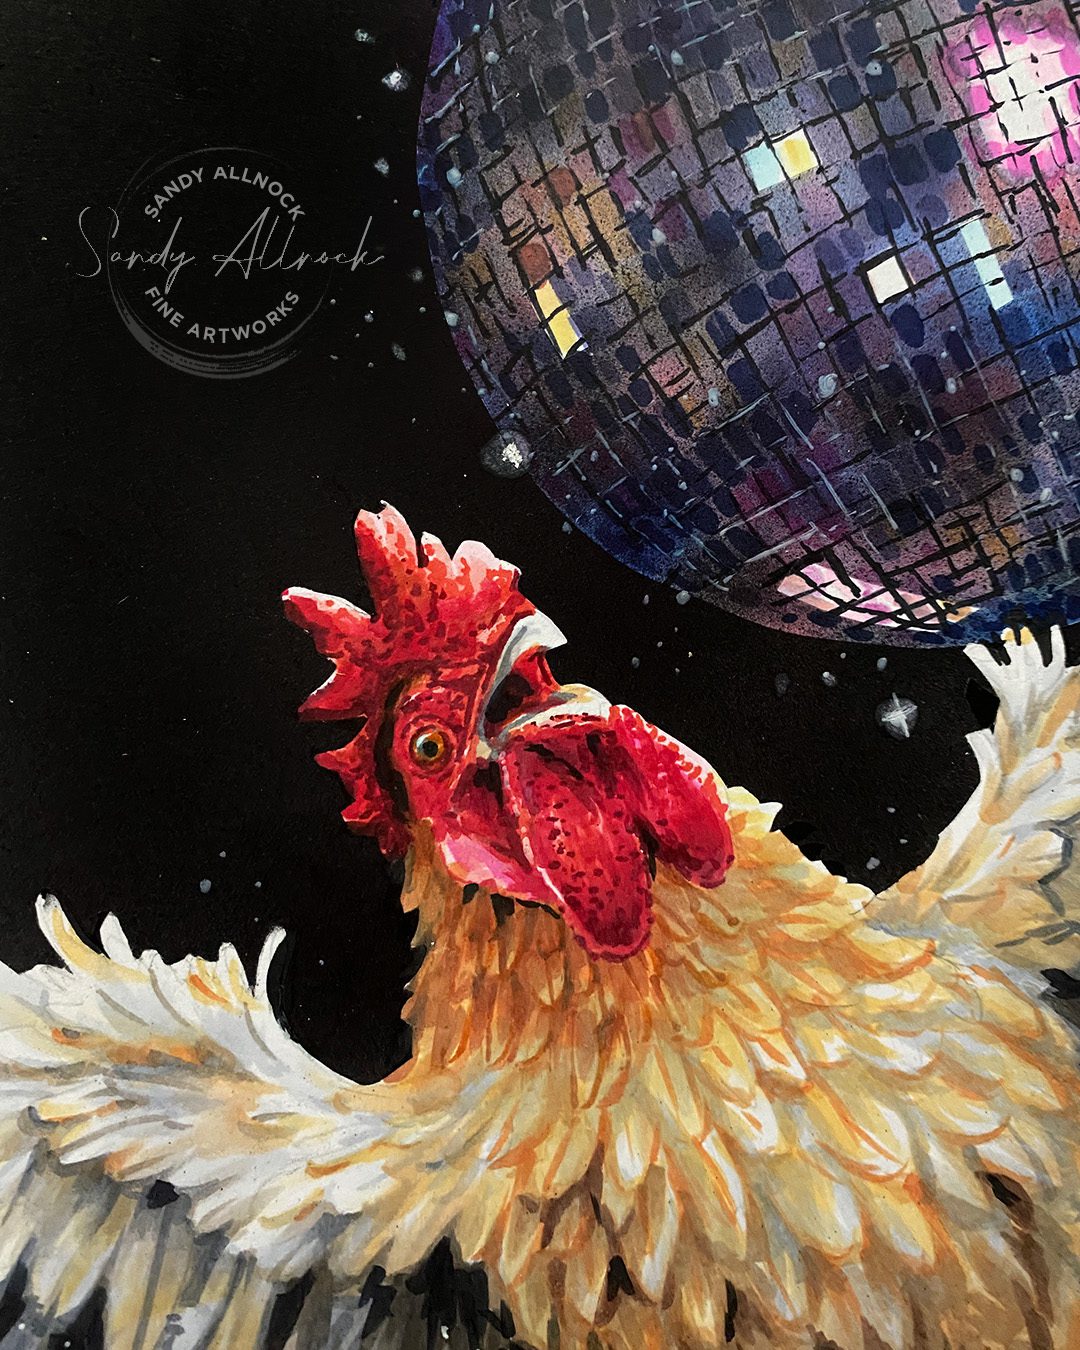
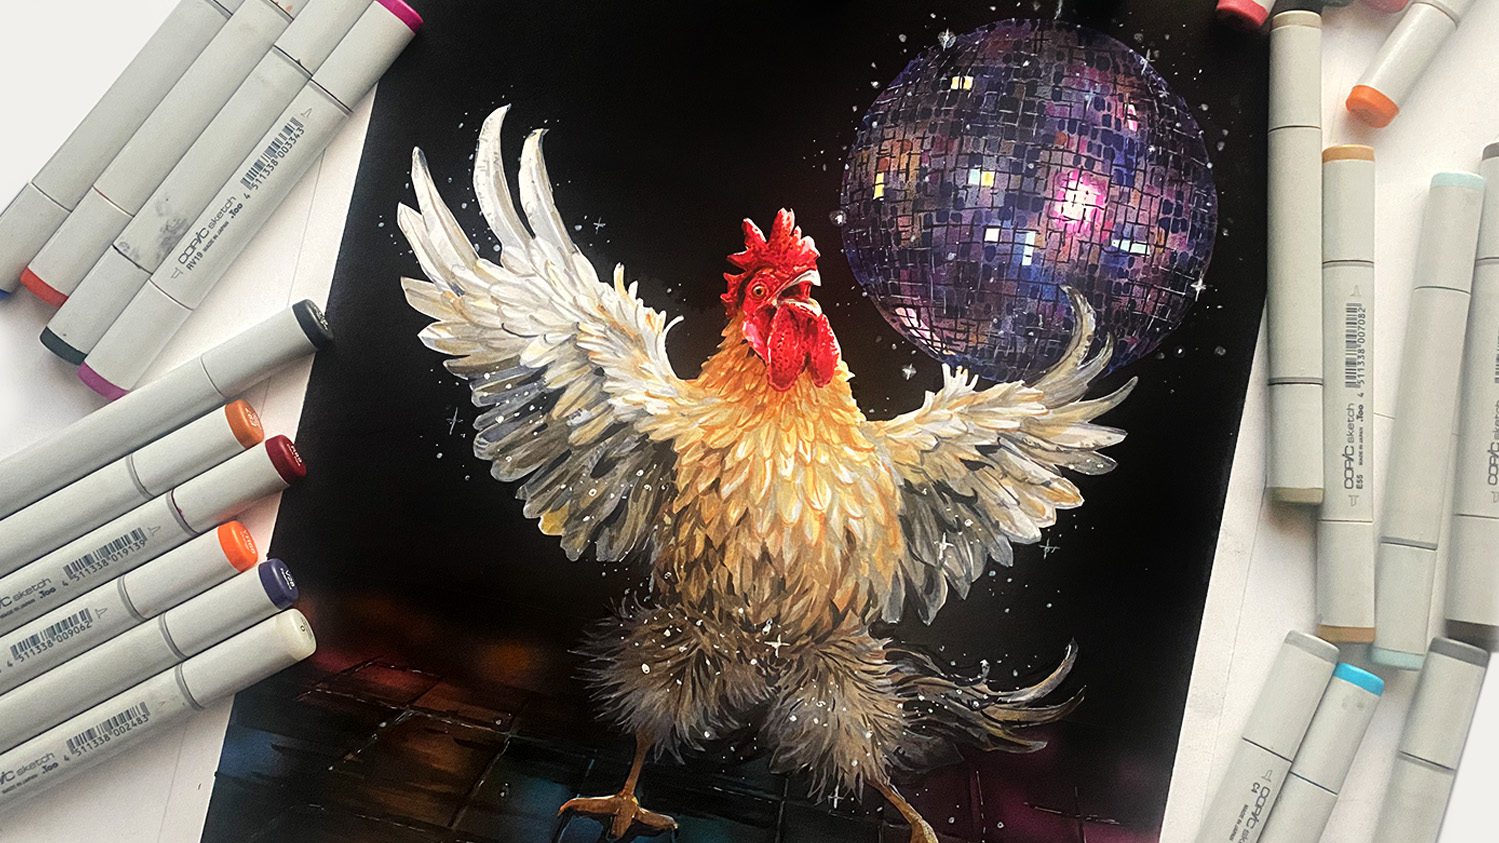
After I uploaded my Disco Chicken, though, I sent a link to my followers, and talked about it in videos – and what I think happened was no one else did that – so the 324 likes that it got maybe were what won the award? I’m certain they would think most people wouldn’t invite hundreds of people to come see it, so they might have just assumed other applicants checked the box..

I could be wrong – maybe I missed a call for voting! But I’m grateful to all of you who clicked that link and left me your little endorsement!
The joke in my drawing

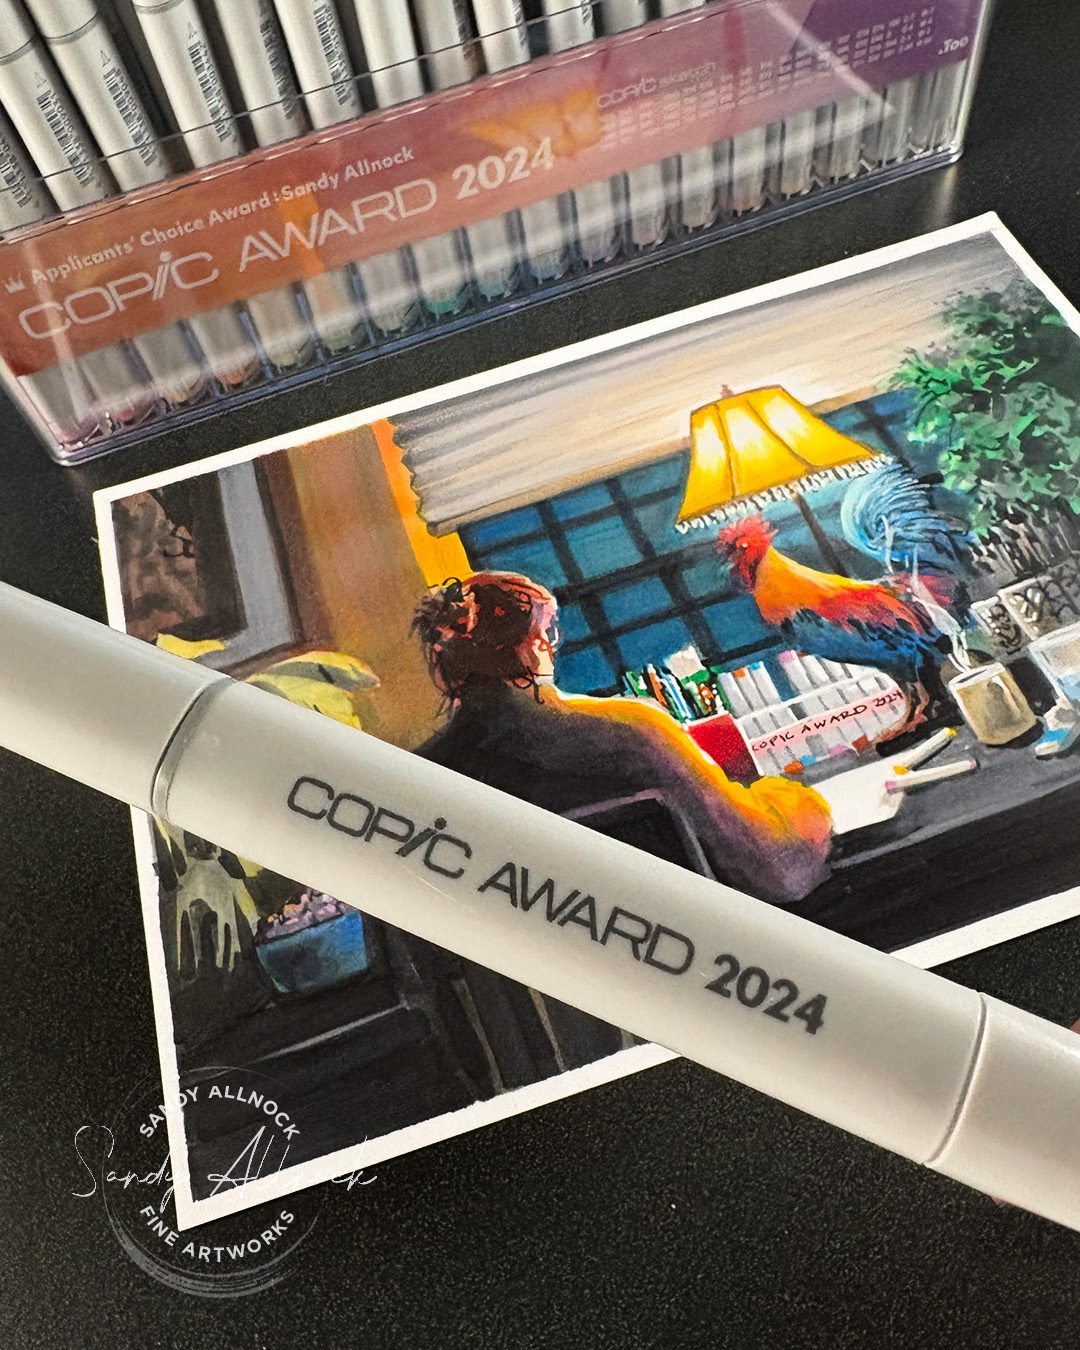
During the time they had emailed for my address, it was the holiday season – and when they said I won an award my mind went to A Christmas Story’s scene where the dad won a “major award” – a leg lamp!

I kept thinking I should just draw a leg lamp like his. But that seemed kind of…..expected. I wanted something pretty epic to help me to thank both Copic and all of YOU who voted for me. 

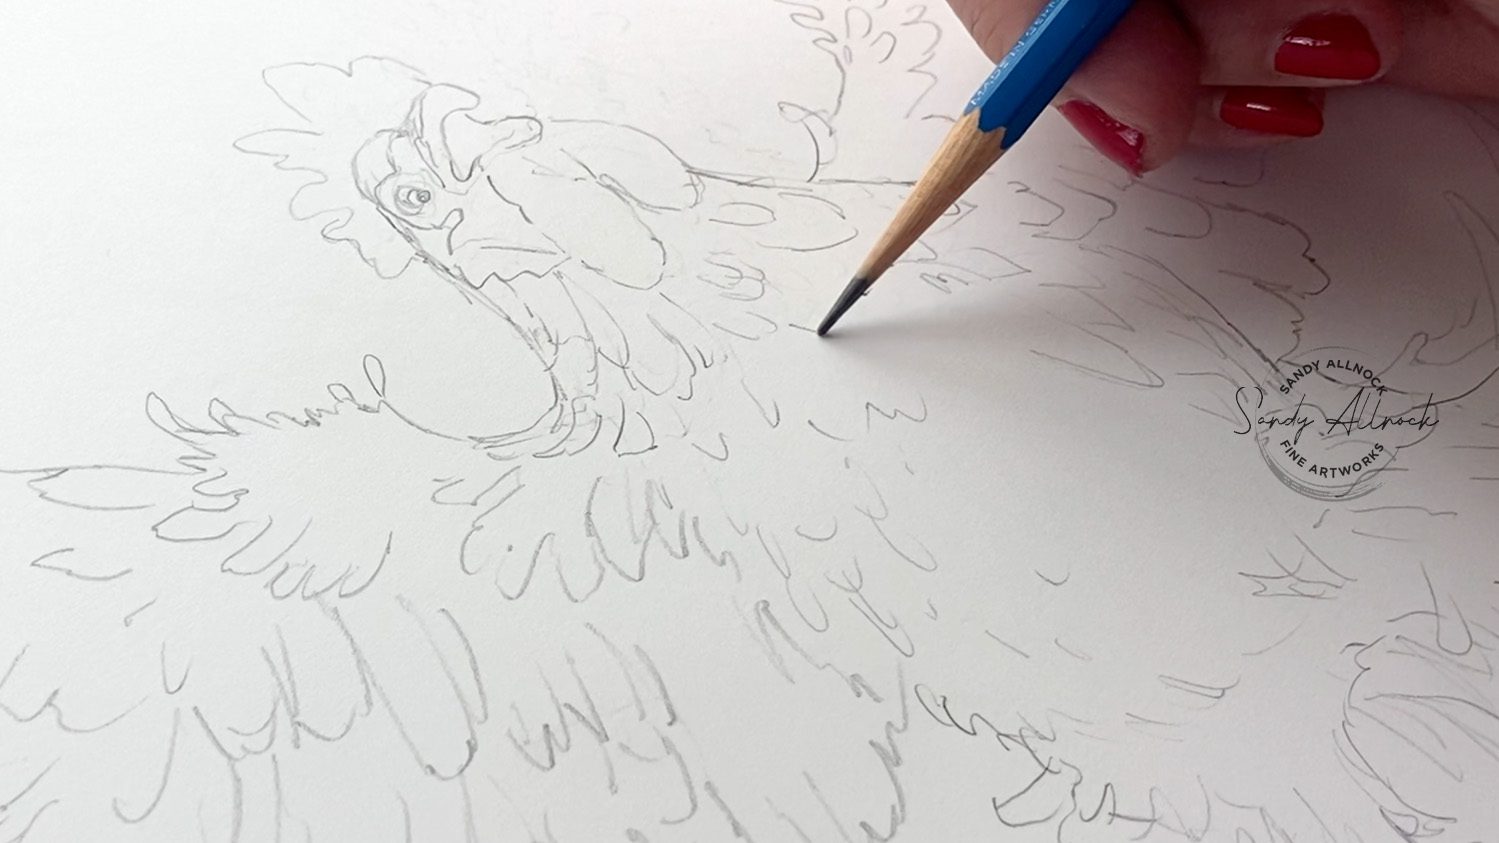
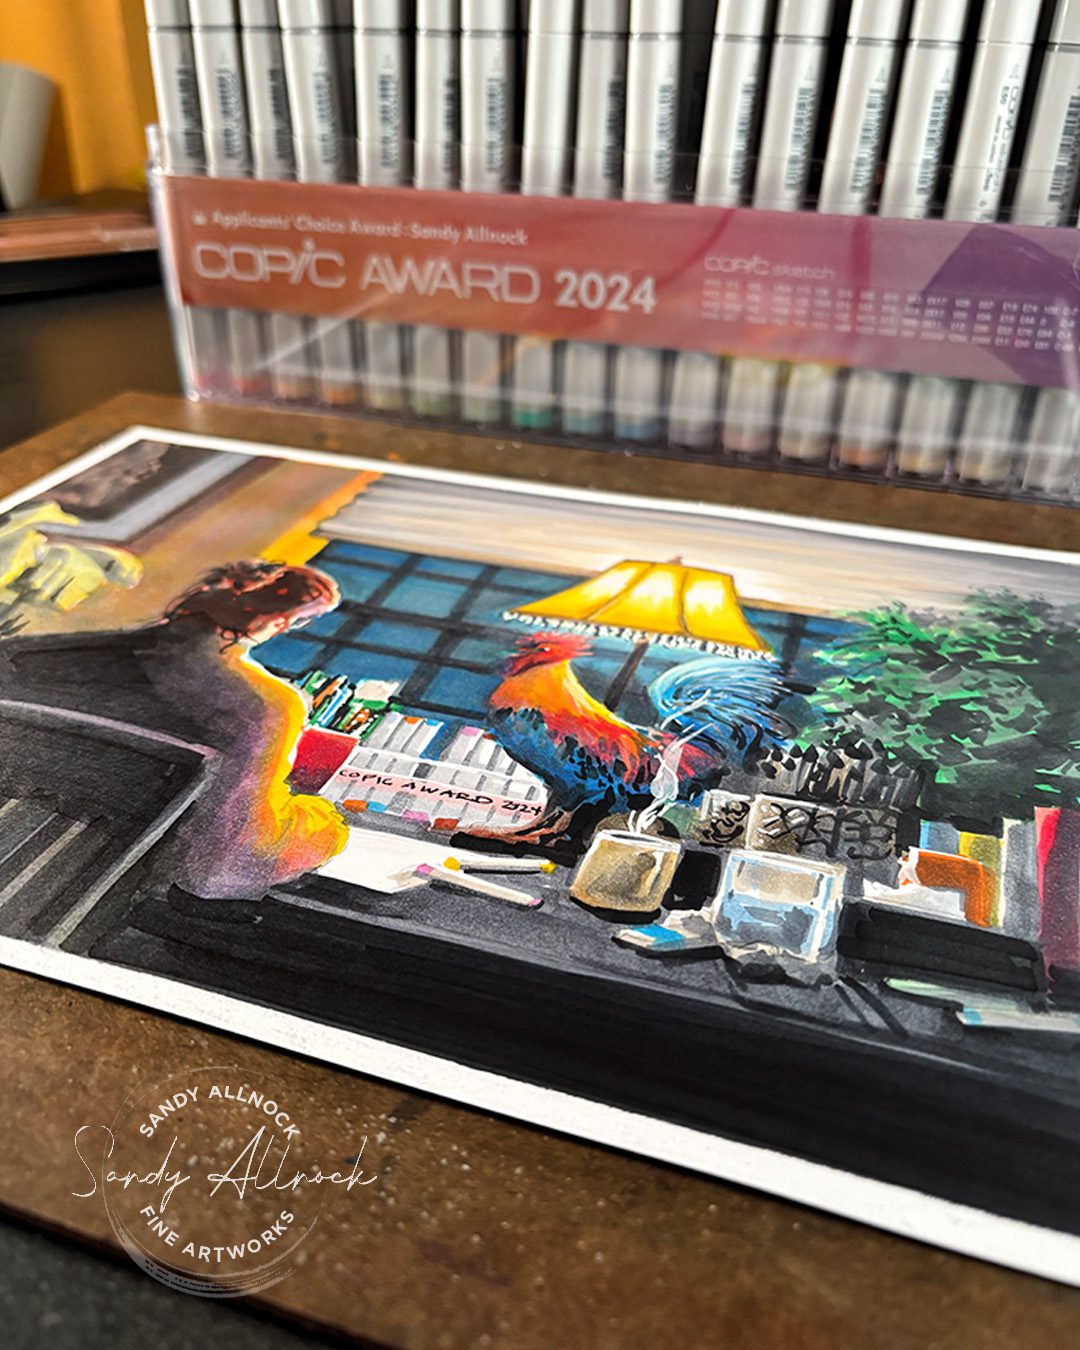
Once I thought through the fact that a chicken drawing was the one that won, and put that together with the leg lamp, this drawing came to my mind. I spent ridiculous amounts of time taking photos of my workspace at night to get an idea what it would look like, THEN erasing all that from my mind so I could get into the fantasy aspect of it. That paid off when I started thinking about changing up the view out the window; even if I didn’t alter a lot else, that gave me happy thoughts about my days living in New York. Lots of fun to think about on a snowy night!
Lighting at night

During the time they had emailed for my address, it was the holiday season – and when they said I won an award my mind went to A Christmas Story’s scene where the dad won a “major award” – a leg lamp!

I kept thinking I should just draw a leg lamp like his. But that seemed kind of…..expected. I wanted something pretty epic to help me to thank both Copic and all of YOU who voted for me. 

Once I thought through the fact that a chicken drawing was the one that won, and put that together with the leg lamp, this drawing came to my mind. I spent ridiculous amounts of time taking photos of my workspace at night to get an idea what it would look like, THEN erasing all that from my mind so I could get into the fantasy aspect of it. That paid off when I started thinking about changing up the view out the window; even if I didn’t alter a lot else, that gave me happy thoughts about my days living in New York. Lots of fun to think about on a snowy night!

Subscribe to receive blog posts by email:

Disco Chicken!

Watch both parts of the project…

Big thanks to all!

To everyone who voted – thank you!  You’ve been a part of making this award happen. Bless you!

To everyone who’s been praying: Monday’s another medical day, so keep it up 🙂 

How to make a hex shaped sketchbook + SOME EXCITING NEWS

How to make a hex shaped sketchbook + SOME EXCITING NEWS

I’ve been sitting on a little secret for a few months now, but the cat finally gets to pop out of the bag!


I’ve been talking with Olo Markers about creating a set of “Sandy Allnock curated” markers….and today’s the day! Olo now has a set of markers on their “Artist Picks” page that are my own selection….it’s a beautiful rainbow collection, and the colors mix and layer well to create LOTS of new colors, too!


My excitement is not just about a set of markers, or that I have TWO classes that use just those colors….but by golly there are PRIZES! Watch the video and read on for more about the giveaways.

Tutorial: How to make a hex shaped sketchbook

Watch the video below and scroll to the end to leave comments or questions — or click HERE to watch it on YouTube and leave comments over there. I read both dutifully!

New around here?

Welcome to my new friends coming over from Olo!! I’m excited to have you here for a visit.

A little about me – I’m an independent artist and online instructor, living just south of Seattle. I use a TON of different mediums, and if you follow along with my newsletter below, I’ll send you inspiration every Saturday – two videos a week, lots of ideas and new classes to get your skills to wherever you want them to be!

Subscribe to receive blog posts by email:

My marker set

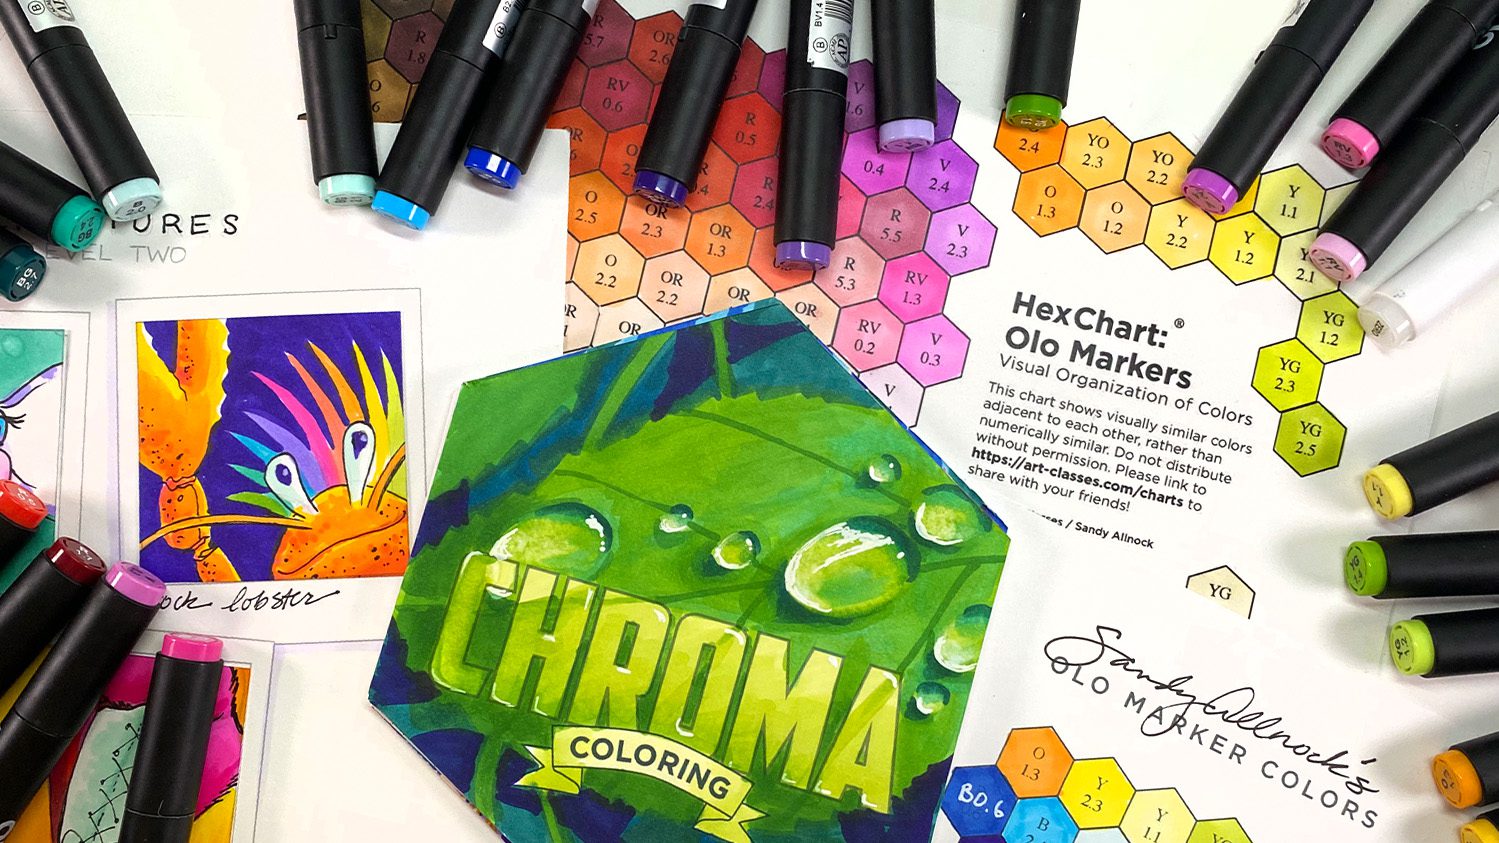
I selected a group of lovely rainbow colors – and have worked with them in creating not only today’s new course but one of the classes launched earlier this summer (see below)…..you can purchase the whole set, or pick up just a few colors that you think you need in your marker rack!

A page just for Olo friends

I just created an Olo page over on my teaching site that contains the courses, link to the markers, the hex chart, and a super Getting Started video….if you’re looking for a one-page-fits-all, everything is there. Click to visit!

Two marker courses

If you’re an Olo marker user, two of my classes are now taught in that brand:

Imaginary Creatures is a level 2 class that’s so much fun – silly images, colorig practice….and lots of puns!

Chroma Coloring is brand new today – it’s partway between level 3 and 4; there are sketches to trace, but it’s not a full line drawing to just fill in, so you’ll need to do some tracing and drawing yourself.

And remember if neither of these appeals, there’s always MANY MORE classes on alcohol markers, though most are using Copics – but all brands are welcome in all courses!

Tap on either image to go see them and watch a short video preview to see which works best for you!

CLASS GIVEAWAY

I’m so thrilled to say I’ve got some fun to give away….4 seats in the courses listed above! It’ll be winner’s choice so the 4 winners can pick whichever they’d like to study! Winners will be announced in my September 1 newsletter.

If you’ve already purchased the course over the next couple weeks, then your course fee will be refunded if you win, so there’s no need to wait to get started learning if you’re excited to do that right now!

To qualify to win:

  1. Subscribe to my newsletter; form is above. (That’s how you’ll hear if you won, and I don’t want you to miss out!)
  2. Comment on this post and tell me two things:
  3. What is your favorite subject to draw or color?  
  4. Which course of the two would you choose if you won?

GIFT CERTIFICATE GIVEAWAY

And my friends at Olo are doing the big giveaway over on my Instagram page so head over there and see the pinned posts at the top of my page. and read the instructions to qualify!


Supplies

Some product may be provided by manufacturers for review and use. Compensated affiliate links are here at no cost to you. I appreciate your support of my work with your purchases! Full affiliate and product disclosure | My trusted partners in art

How to draw a Copic Disco Ball (Disco Chicken Part 2)

How to draw a Copic Disco Ball (Disco Chicken Part 2)

I THINK I DID IT! Oh man. This one was just a little more bitten off than I might have been ready for….it was days of work and study, and that doesn’t even count the chicken dancing! 🙂

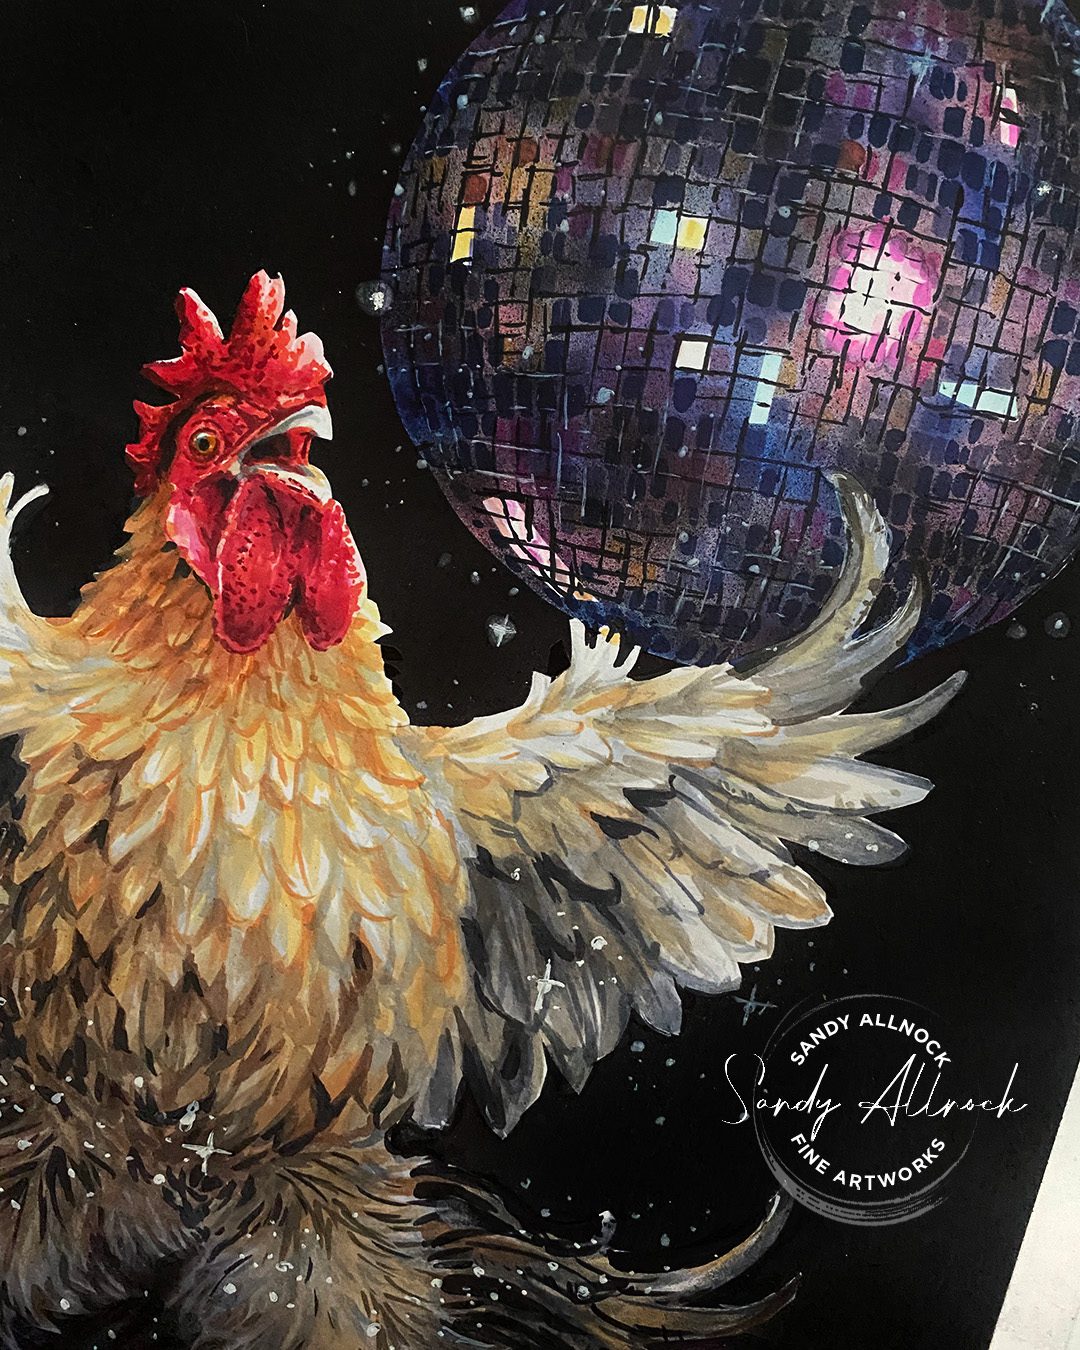
I asked AI to give me a description of my disco chicken to post on the Copic Award page….it did pretty well!

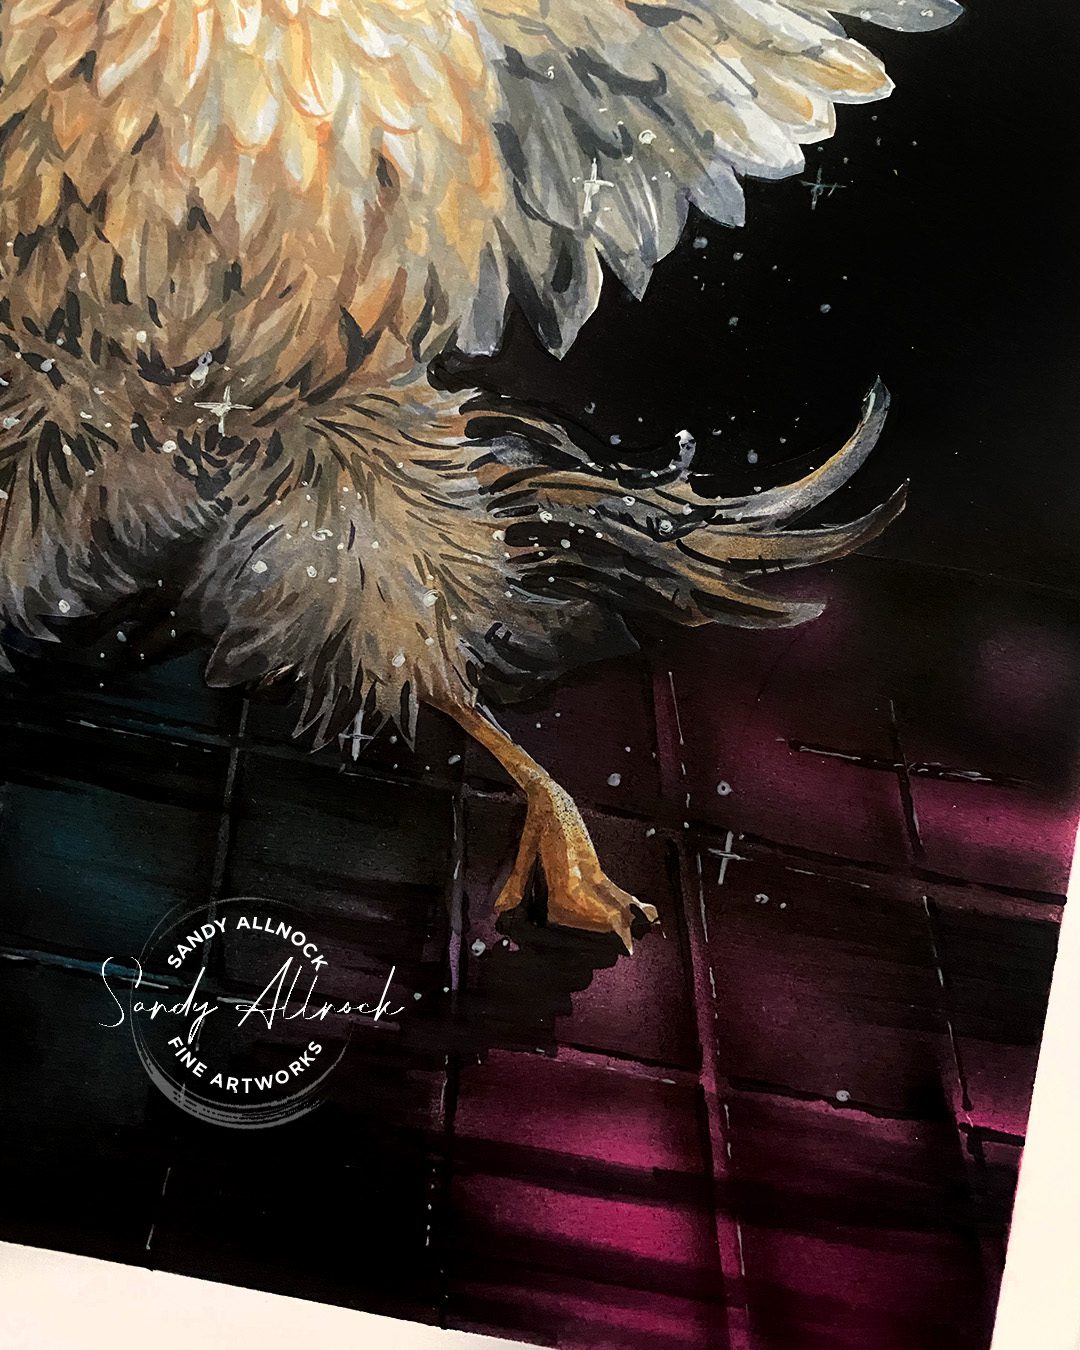
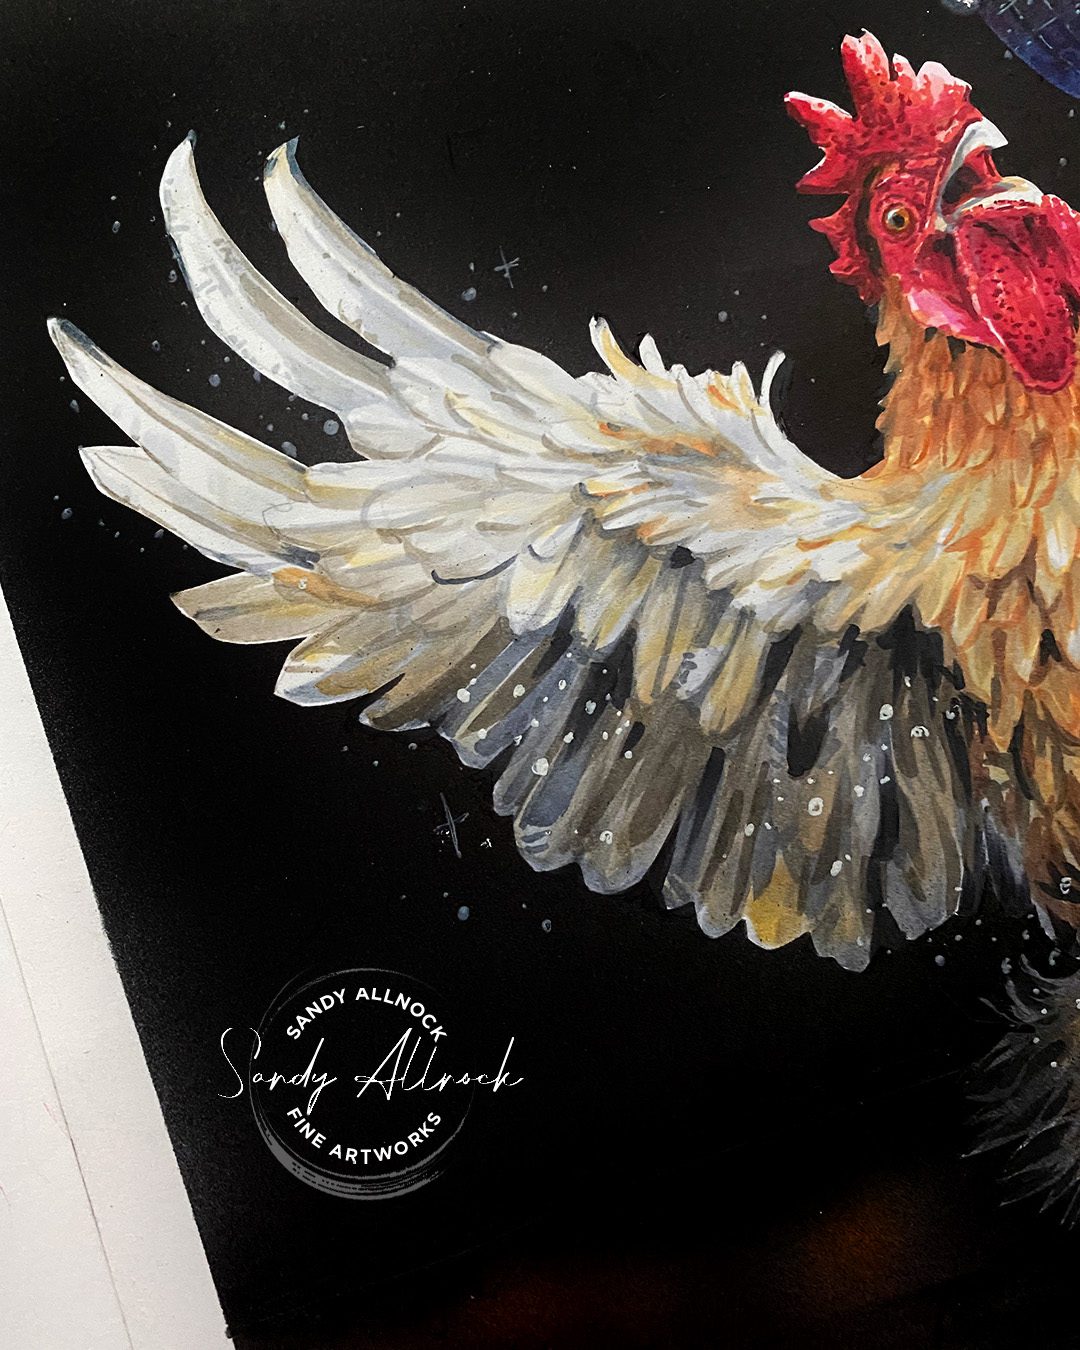
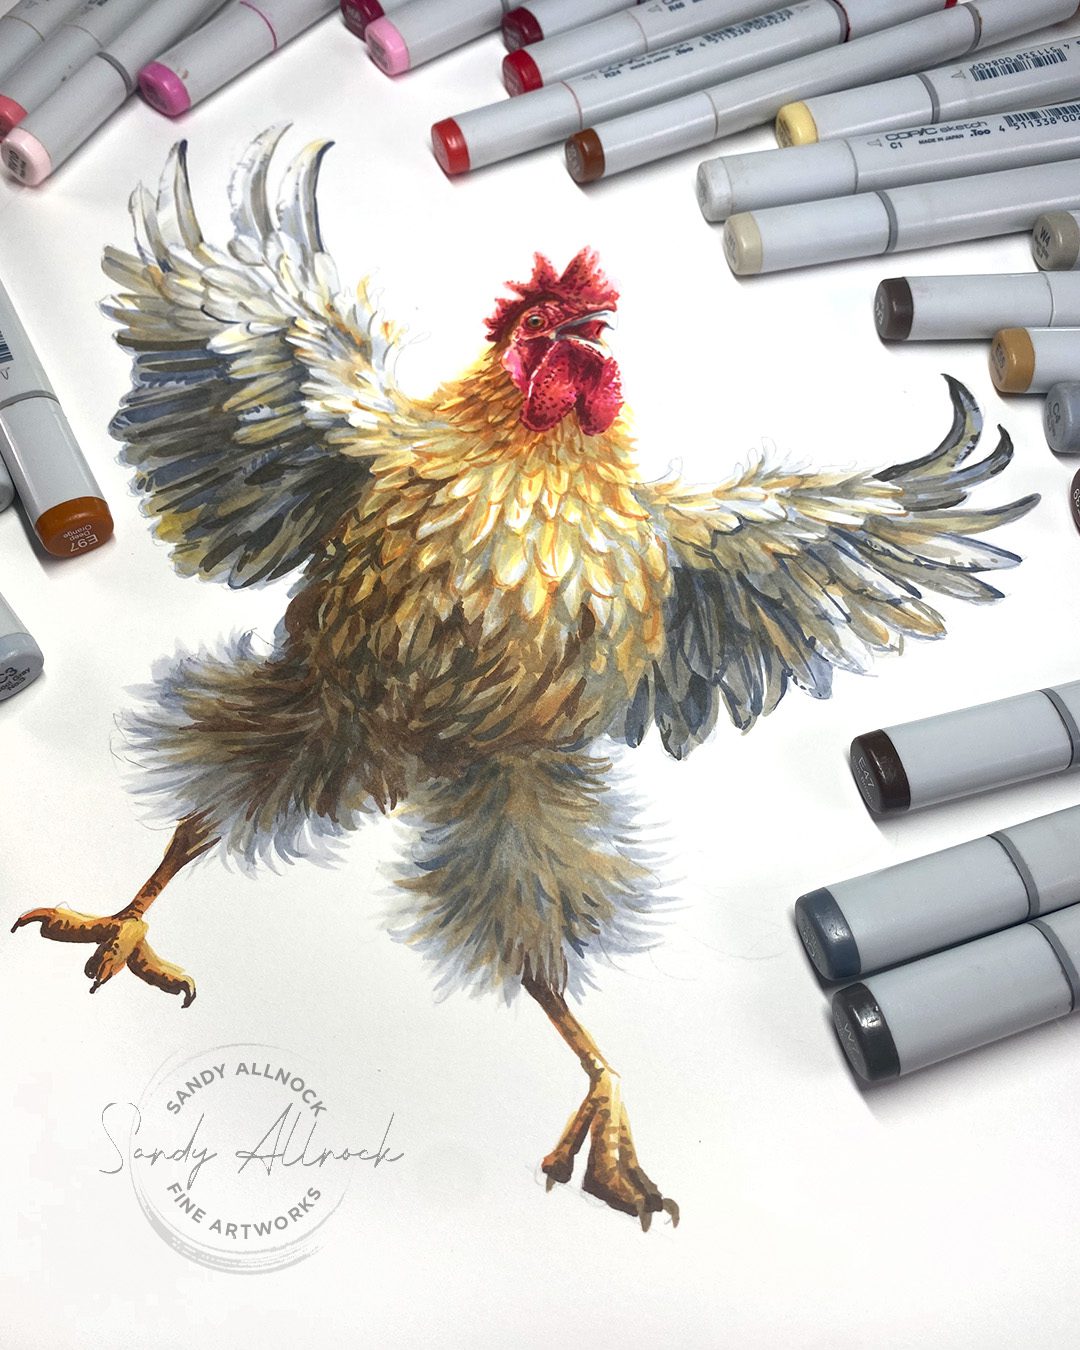
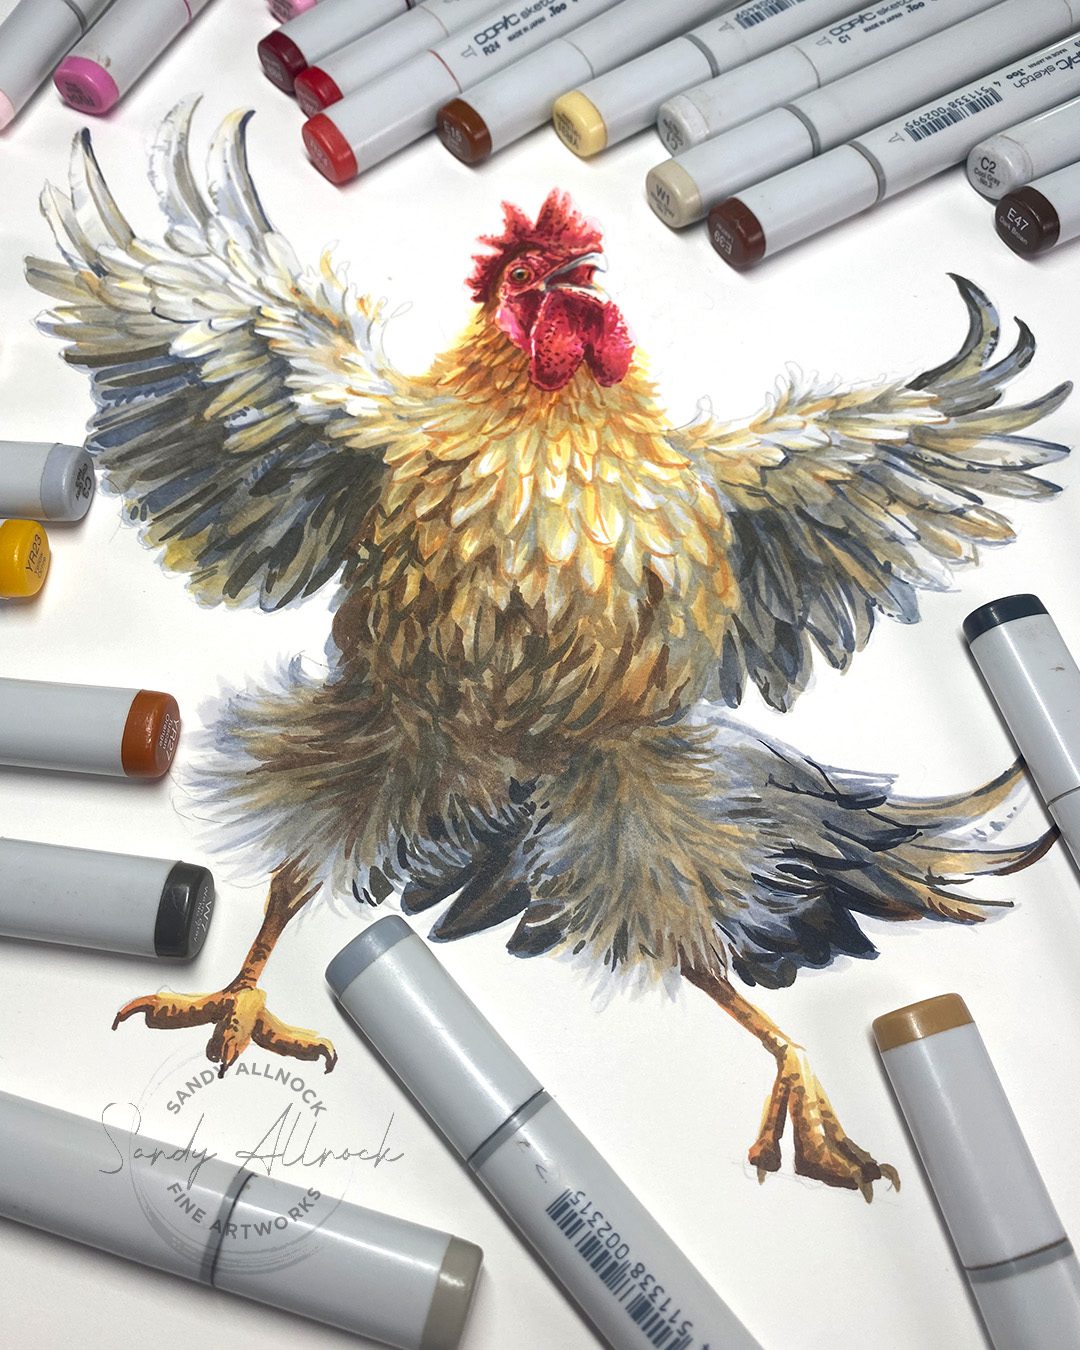
A flamboyant rooster is captured mid-dance on a reflective dance floor, a shining disco ball overhead casting light around the room. The rooster’s wings are spread wide in a dramatic pose, evoking the sense of movement and dance.

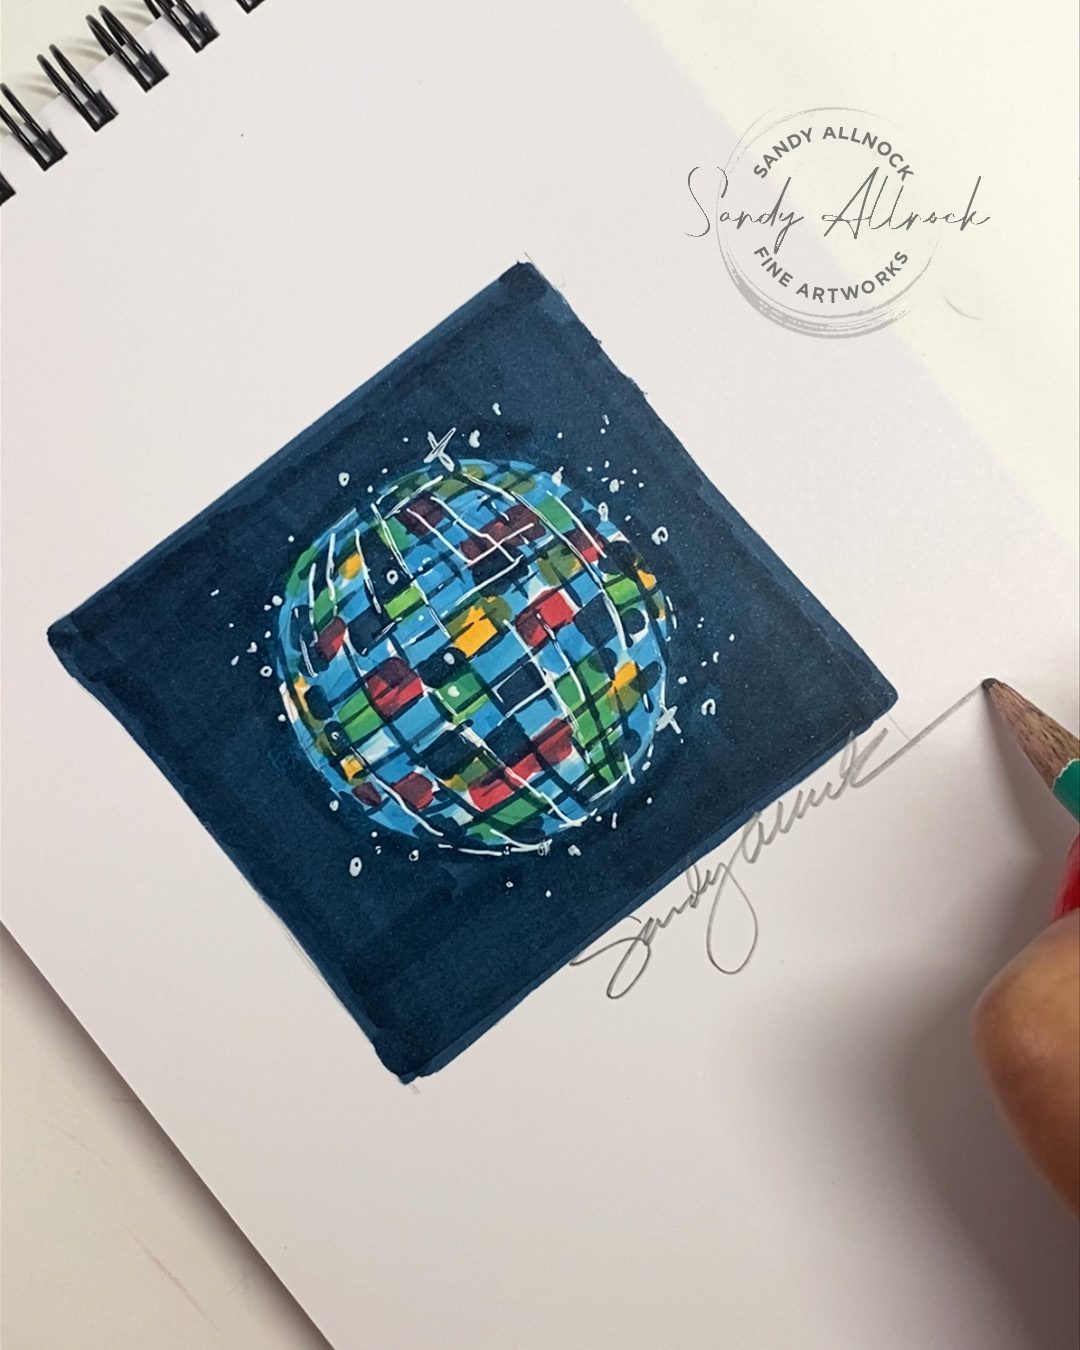
Before we get underway with the video…..I posted a reel on instagram and a short on YouTube showing a much simpler disco ball than you’ll see in today’s main video. check it out to see how simple it CAN be! 🙂

Tutorial: How to draw a Copic Disco Ball

Watch the video below and scroll to the end to leave comments or questions — or click HERE to watch it on YouTube and leave comments over there. I read both dutifully!

Drawing a disco ball

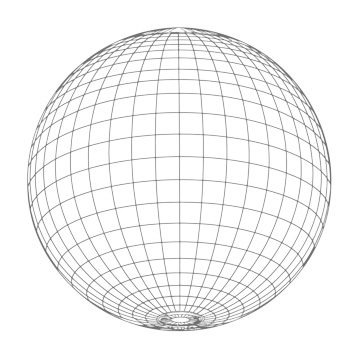
You can use any earth modell with longitude and latitude lines as a model – the above pic is looking upward at the globe, and you can see how the lines curl around on the left/right and top/bottom.

Mine is far more complex than it needs to be – you could make one with significantly smaller mirror pieces, and without the airbrushing too.  But the principle is the same.

  1. Place blocks of color on the disco ball, lighter where you want highlights.
  2. Mask out a few of those blocks so they remain bright and sharp.
  3. Color OVER all that initial color – airbrush works, but how about distress inks with a very soft brush? Powdered colored pencil or charcoal? A watercolor wash? Whatever you use, let some color show through and some get covered.
  4. Draw in some of the lines between mirror panels: in the light areas use about an 80% dark color (a grey blue or purple) and in light areas, drop in a few dashed highlights.
  5. Stand back and admire!

Draw a disco floor

Basic perspective lines will really help here – with all the lines leading back to a vanishing point in the middle, on the side, wherever.

  1. Draw the underlying color in any pattern.
  2. Add tje perspective grid on top, with the tiles being dark with glowing light parts, and light popping up through the grout.
  3. Add a little bit of line work but only if needed.

Subscribe to receive blog posts by email:

Make it *sparkle*

To create a feeling of magic — throw in some pixie dust! Not only will this add the feeling of magic to your drawing, but it can cover any messes made. I used a colorless blender for some of the lighter dots, and a gel pen on top as well.

Copic Award Entry

I sent it to the Copic Award contest – wish me luck and go add my drawing to your favorites!

Supplies

Some product may be provided by manufacturers for review and use. Compensated affiliate links are here at no cost to you. I appreciate your support of my work with your purchases! Full affiliate and product disclosure | My trusted partners in art

  1. Copic Markers – https://bit.ly/31g1FYN
  2. Copic Hex Chart – https://bit.ly/3rq3AEX
  3. White Uni-ball Gel Pen AMZ  • BLICK 
  4. Masking:
    1. Frisket Film roll 
    2. Frisket Film sheets
  5. Fingertip Knife
  6. Paper:
  7. Neenah Cardstock, Solar White; I found a 12″x18″ pack of the 110lb at my local Kelly Paper but it’s the same as this smaller size that’s more affordable/available: Neenah
  8. My normal fave paper is the 80# 
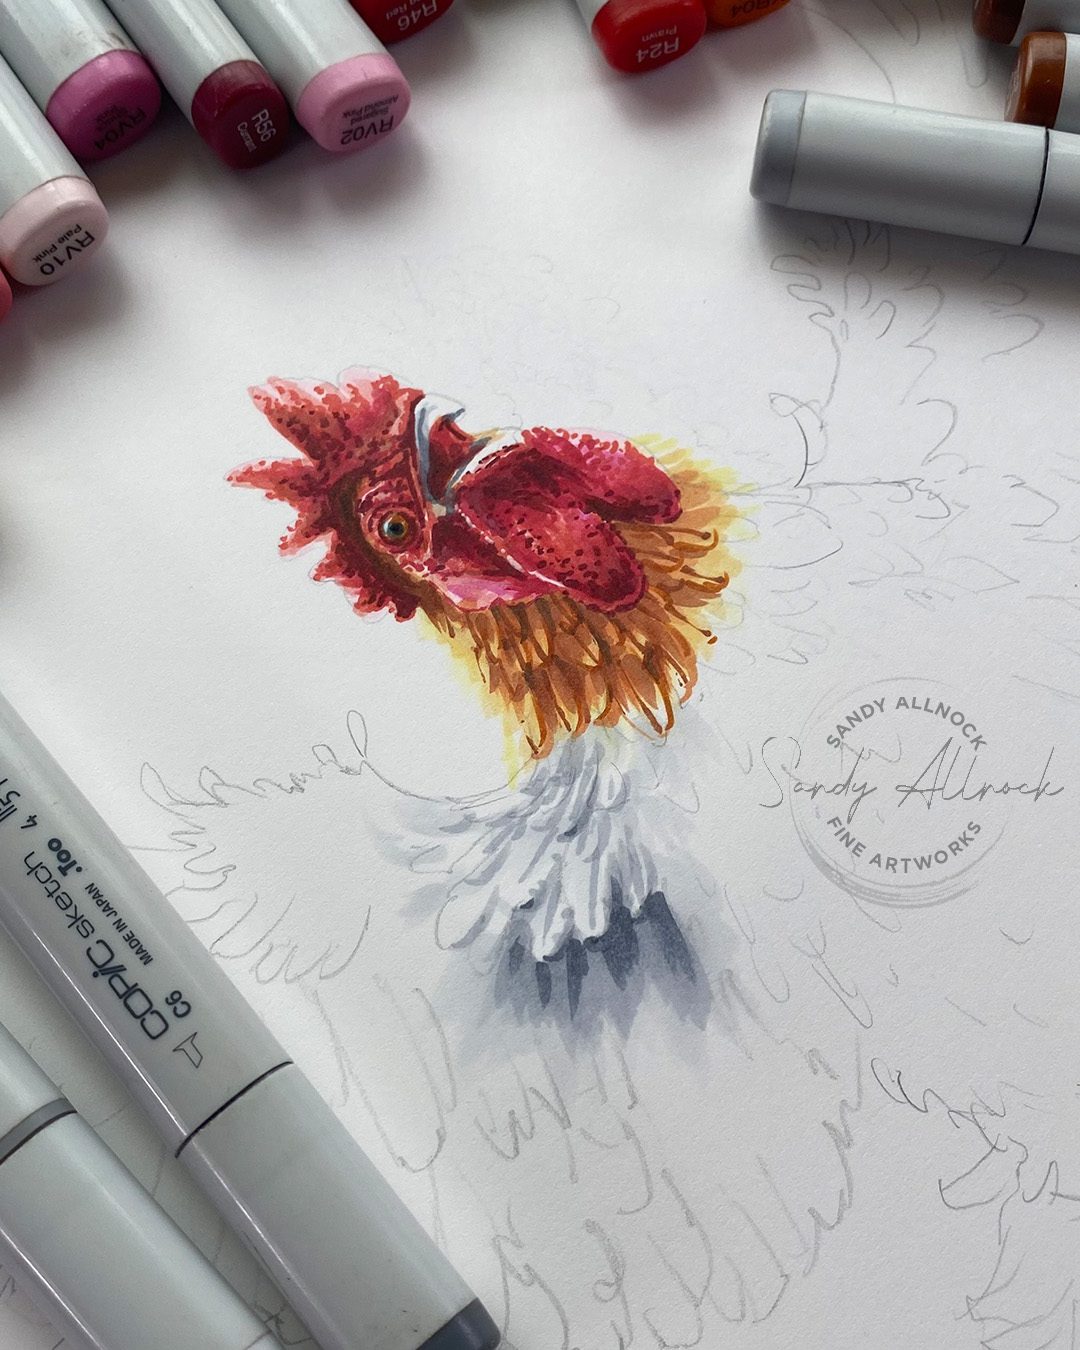
Copic Feathering Techniques (Disco Chicken part 1)

Copic Feathering Techniques (Disco Chicken part 1)

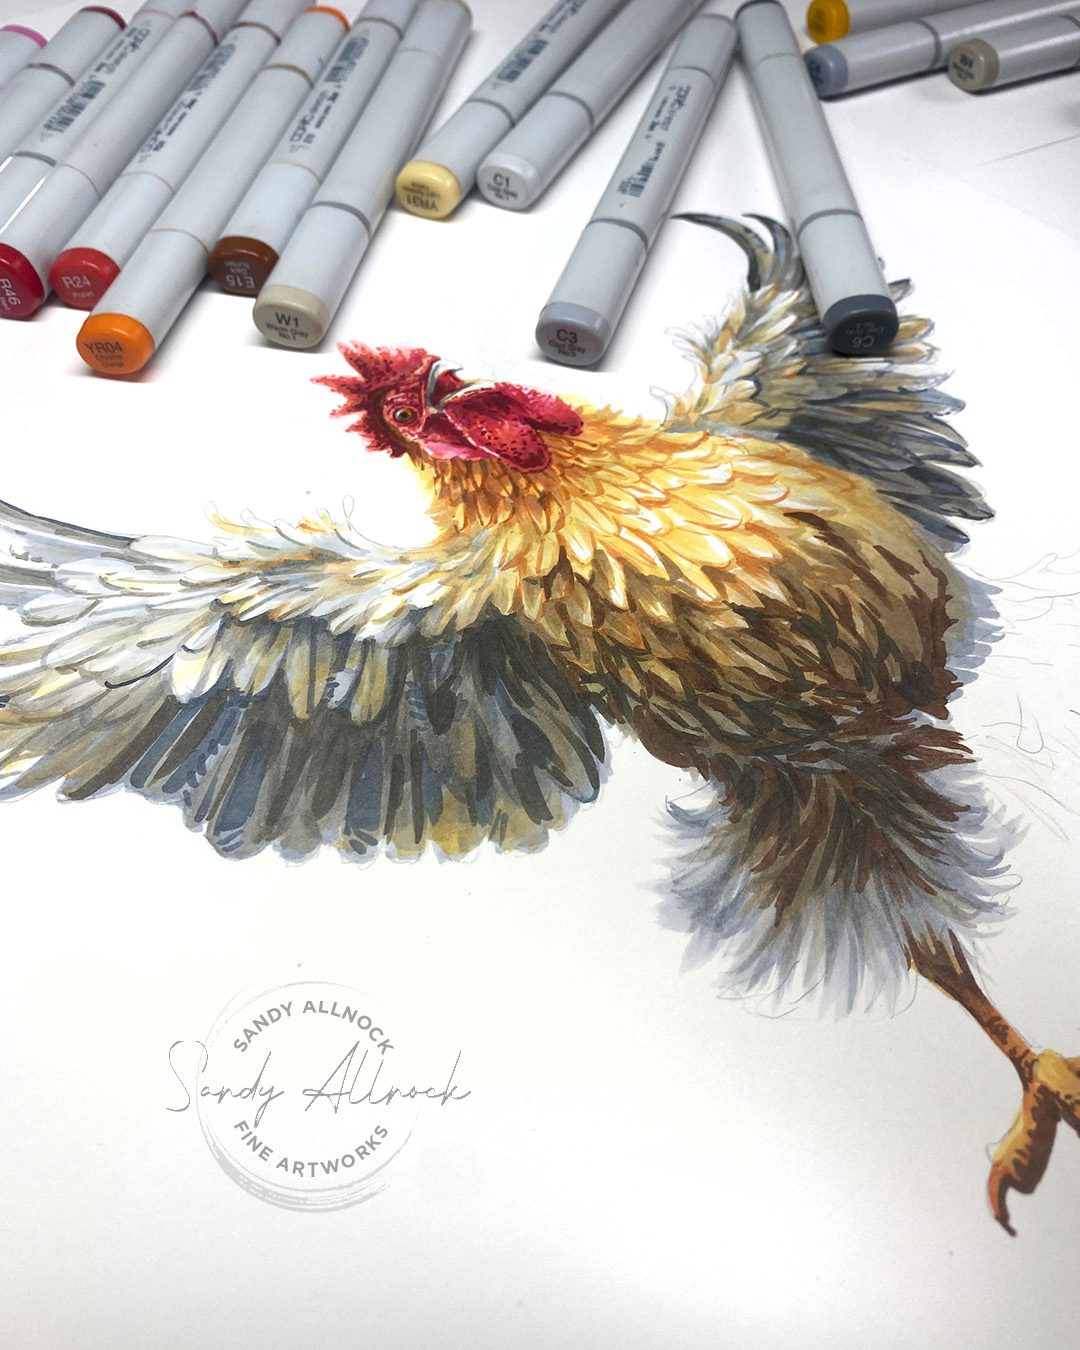
Oh, the crazy things my art makes me do. 🙂  BRACE FOR SILLINESS. As well as learning.

A little behind the scenes: I almost always have chickens/roosters on the brain. I collected anything with chickens on them for a long time (De Colores! iykyk!) Last year this time, I was in the middle of a giant PURGE and renovation of my home and got rid of a lot of chickens. But….I still have a lot. And when a chicken related holiday crops up….I gotta do SOMEthing.

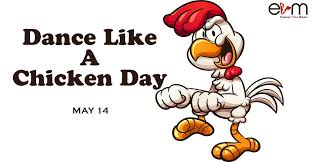
Thus I bring you….Dance Like A Chicken Day. Today!


National Dance Like a Chicken Day is celebrated on May 14, and encourages people to dance like chickens. The holiday has been celebrated since the 1970s as an alternative to May Day. It’s a day to express oneself by flapping wings and strutting around like chickens. 


-some guy on the internet

Tutorial: Copic Feathering (Disco Chicken part 1)

Watch the video below and scroll to the end to leave comments or questions — or click HERE to watch it on YouTube and leave comments over there. I read both dutifully!

When you don’t need feathering

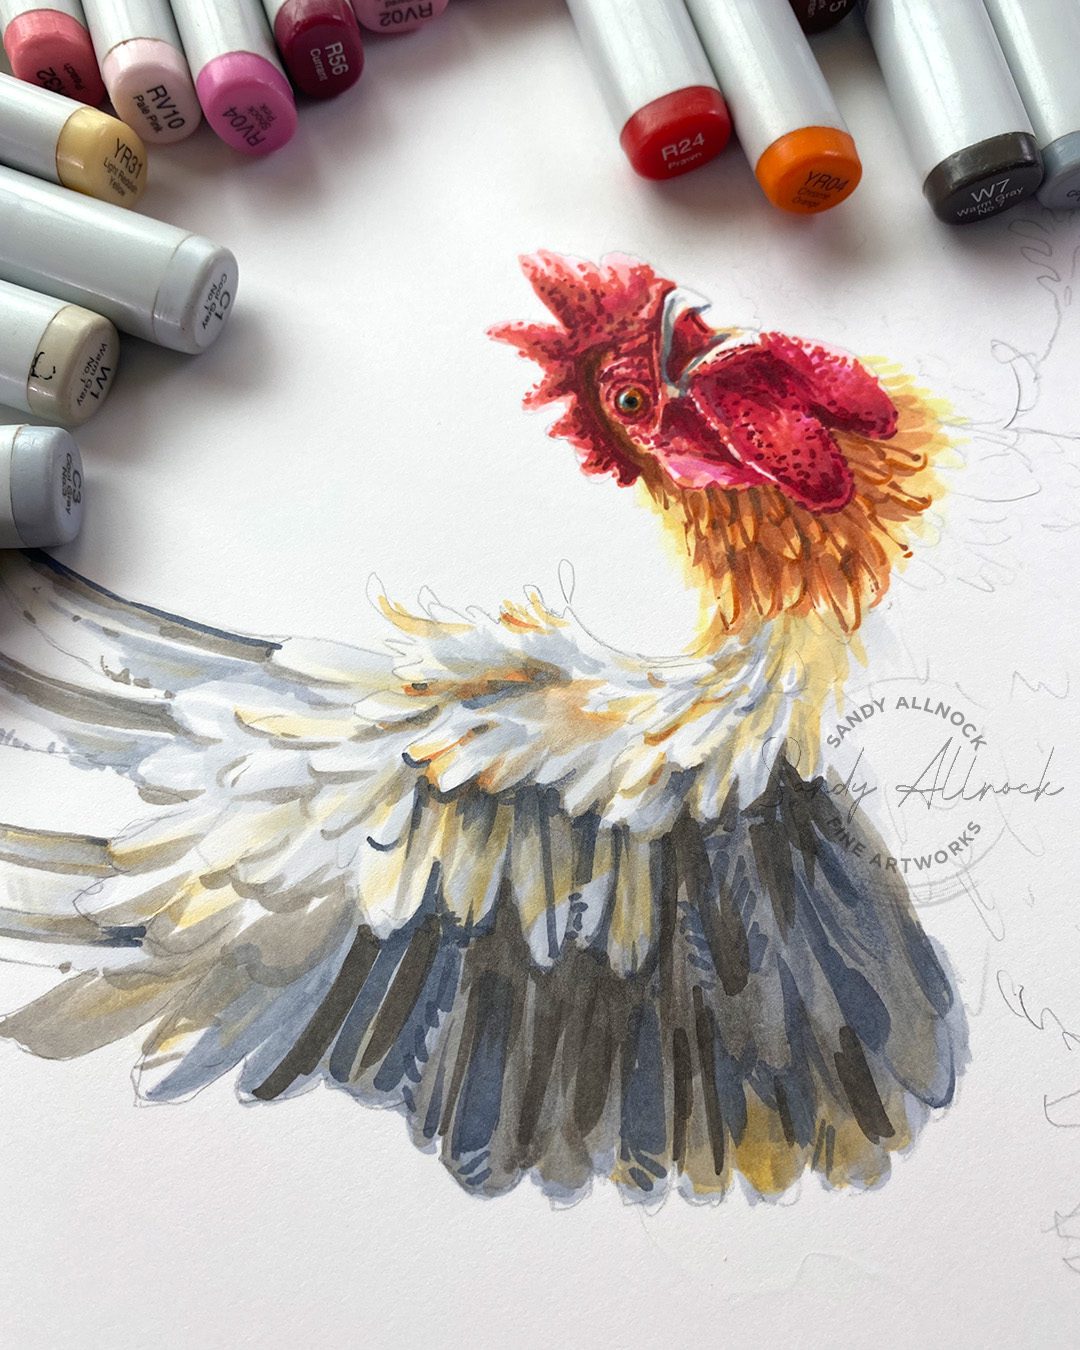
If adding a lot of texture, say on the comb of the rooster or some detailed feathers, blending doesn’t matter. It’s underneath all that detail and isn’t required to be “beautiful” blending. It’ll give an overall feeling of transition from light to dark, but the line work covers it.

Also note that my coloring isn’t “perfect” when your nose is right up against the paper. Or, er, the jpg. Maybe there are some people who strive for that and achieve it, but I find it overrated! Step back from your work and look at it as if someone else made it. I guarantee you’re doing better than your close-staring will tell you.

APOLOGIES!

If you came by last weekend and my blog had blown up – please feel free to go back and check out the sweet kitties now. All is fixed, as you can see…..I tell ya, I’m tired of html kicking my butt!

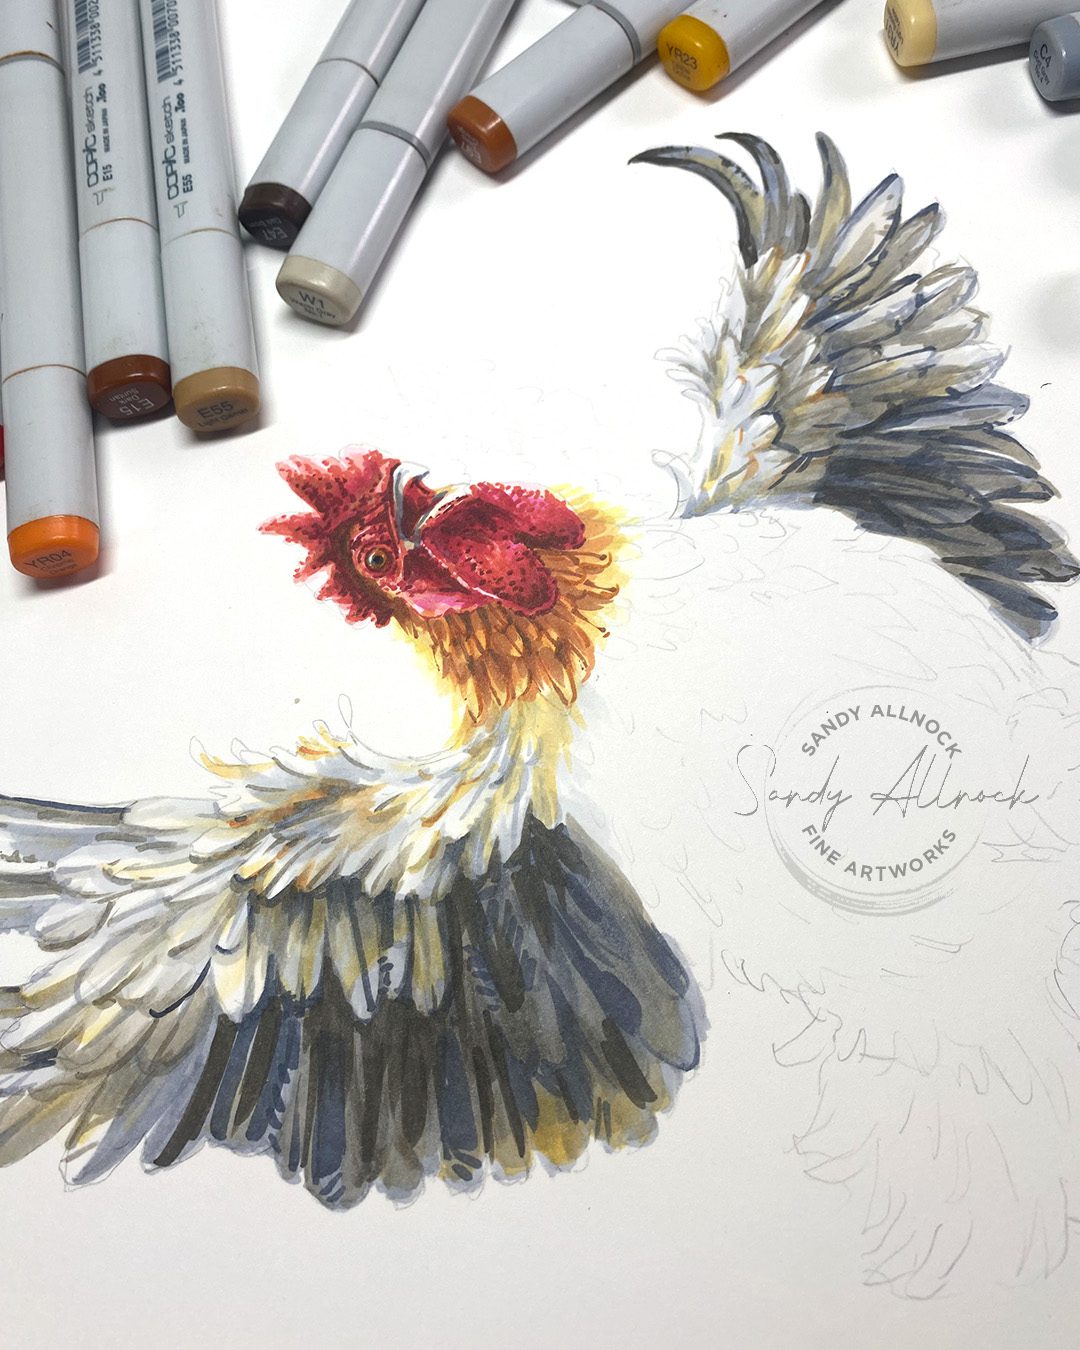
Long vs short runways of feathering

The shorter the space that you’re filling, the harder it’ll be to create a soft, feathered edge, whether in one marker hue or multiples. It’s just too tiny a space to expect perfection! 

But in long feathers, you’ve got a lonnnnng runway to get from a marker’s darkest value to taking off like a plane into the atmosphere. It doesn’t mean you can slow down, especially with a juicy marker—a nice consistent, speedy motion will give you the best results but it takes practice!

It’s all about value

Looking at where the chicken ended up—excuse me, the rooster-—you can see the value differences that give him dimension. I had in my head where that disco light or spotlight will be cast on him, and I did opt to go lighter, just so I have “room” to get darker if needed when adding the background.

By the way, he practiced a LONG TIME on that toe-point. Roosters can’t normally bend their feet like that, so, ya know…

Subscribe to receive blog posts by email:

“What good is this if I don’t draw?”

Well for one, you clicked on this post or video. And if you showed enough interest to click to see what’s going on and how the magic happened, well, you could get here. I don’t know your current level of experience, but I promise you can do so much more than you think you already can.

And secondly, you can apply this in much simpler coloring projects! If you’re coloring a bird that has no detail drawn into the outline, you can add a few feathers. Even a hint at them is better than a blobby shape that doesn’t look like a bird!

You can also use feathering to blend colors in anything! Remember to match the value of the two colors: if you’re blending a midtone yellow and midtone purple, it’ll be easier than blending colors with vast value (dark/light) differences!  Light, pale colors are easier when you’re starting out – and more practiced colorists can learn a lot from blending strong colors into each other.

Send me good wishes!

I’m elbow deep in studying my disco ball and figuring out how to render it realistically. Come back Saturday to see if I did it! Also – pop into the Zoom Open Studio at Artventure….log in and go to the events tab to see what time it’ll be in your zone.

Supplies

Some product may be provided by manufacturers for review and use. Compensated affiliate links are here at no cost to you. I appreciate your support of my work with your purchases! Full affiliate and product disclosure | My trusted partners in art

  1. Copic Markers – https://bit.ly/31g1FYN
  2. Copic Hex Chart – https://bit.ly/3rq3AEX
  3. Neenah Cardstock, Solar White; I found a 12″x18″ pack of the 110lb at my local Kelly Paper but it’s the same as this smaller size that’s more affordable/available
    My normal fave paper is the 80# Neenah

Magical Rainforest Class: A peek into one lesson with a dinosaur!

Magical Rainforest Class: A peek into one lesson with a dinosaur!

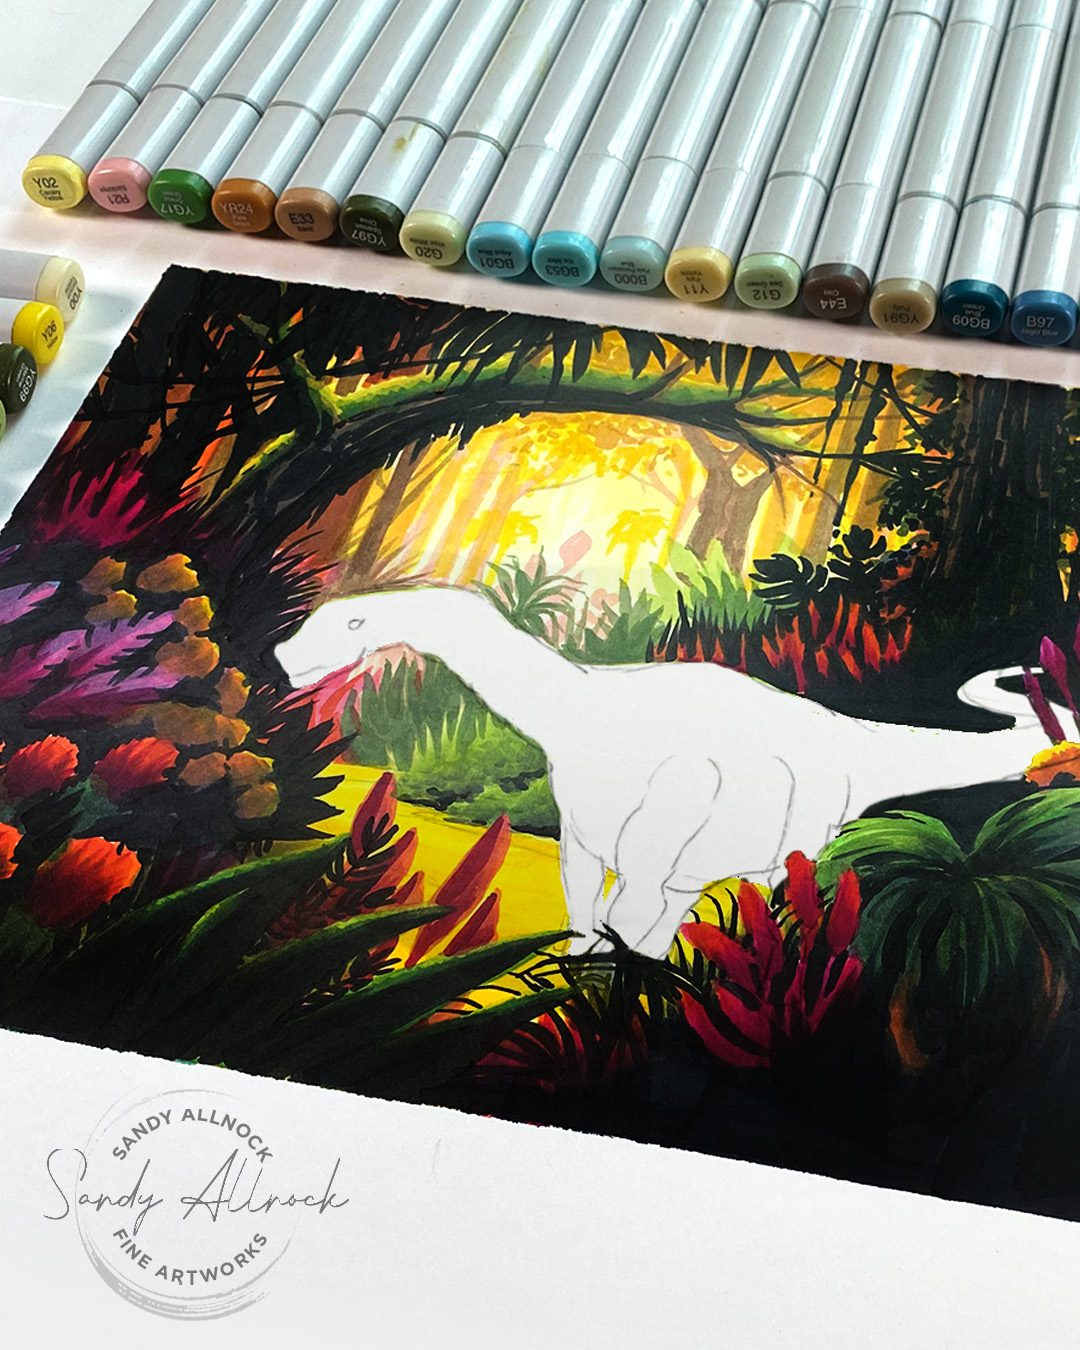
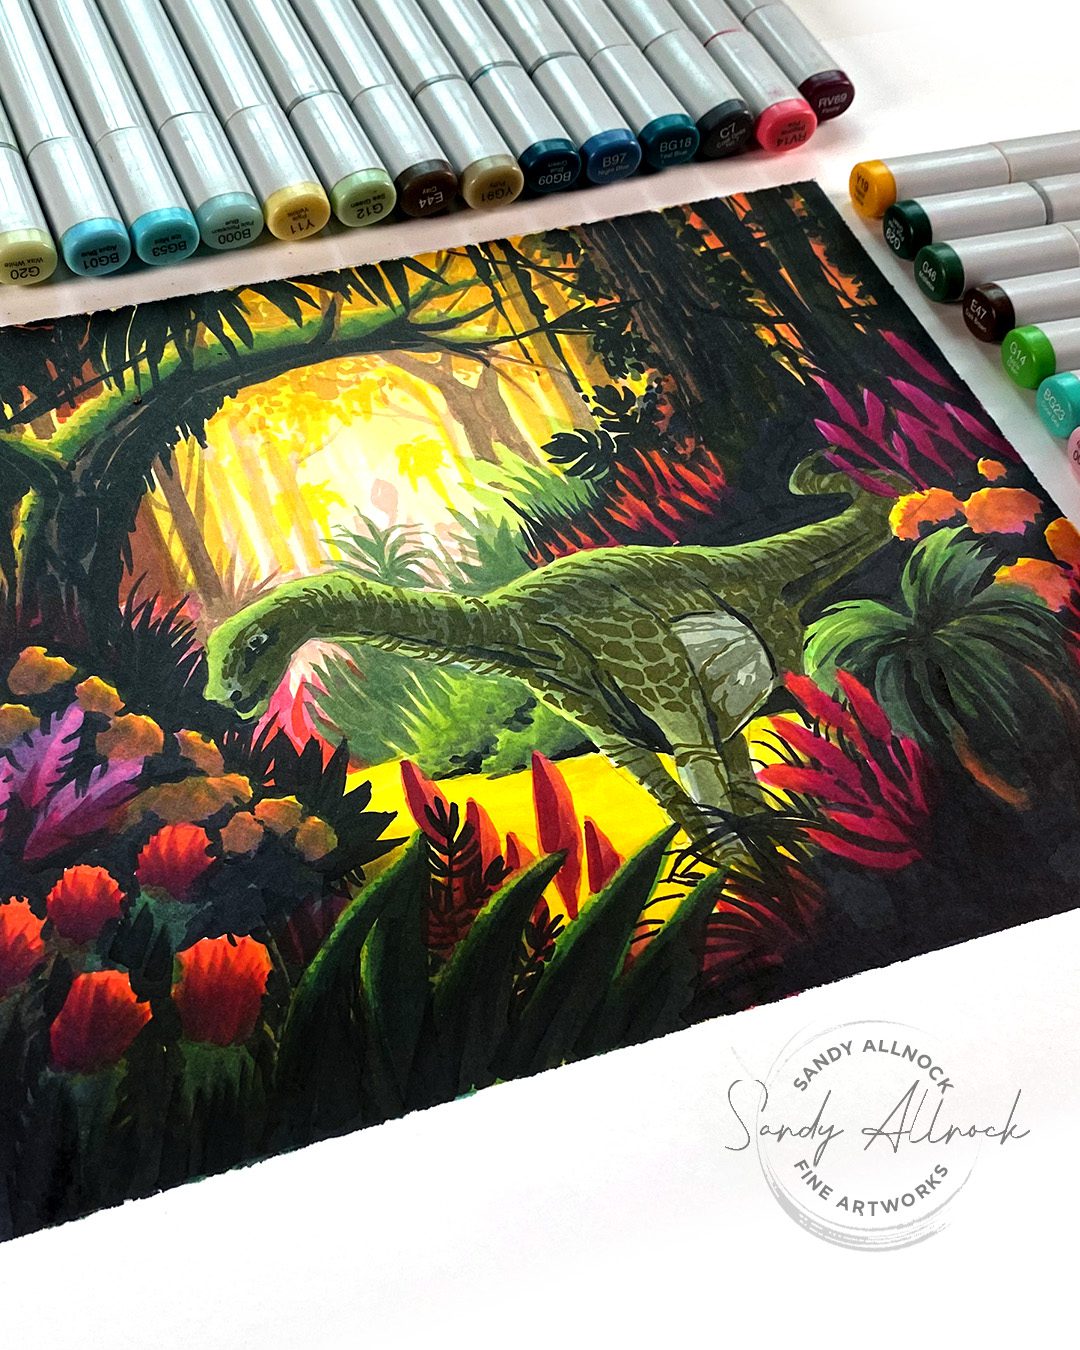
Is a dinosaur magic? And do they live in the rainforest? Frankly both could be true, but I’m going to guess not. I’ve mashed together a bunch of things that have been going on in my head and in my news feed – and turned it into some really fun art you can learn to make with your alcohol markers in the new Magical Rainforest Class!

Let’s deal with the rainforest first; Have you seen the news stories about the children who were lost in the rainforest for 40 days? Oh my, what a story of tragedy – and ending in the blessed survival of the children! READ THE STORY

And then there’s another story about the Brontosaurus being restored to its rightful place after being displaced for 100 years (ineffectively!) by the Apatosaurus. It’s a rather long crazy story I tell in the video but you can read more in an article here. I decided the Apatosaurus would win the battle for who gets into my drawing.

Tutorial: Dinosaur in magical rainforest

Watch the video below and scroll to the end to leave comments or questions — or click HERE to watch it on YouTube and leave comments over there. I read both dutifully!

Scene first?

Typically I don’t color a scene first – I start with the featured image. But in this case, the scene is the bonus lesson in the new Magical Rainforest class, and the dino was just for YT – and thus, it’s scene first.

Dino sketch

The sketch for the dinosaur is also included in the bonus lesson, in case you decide to try this kind of a scene!

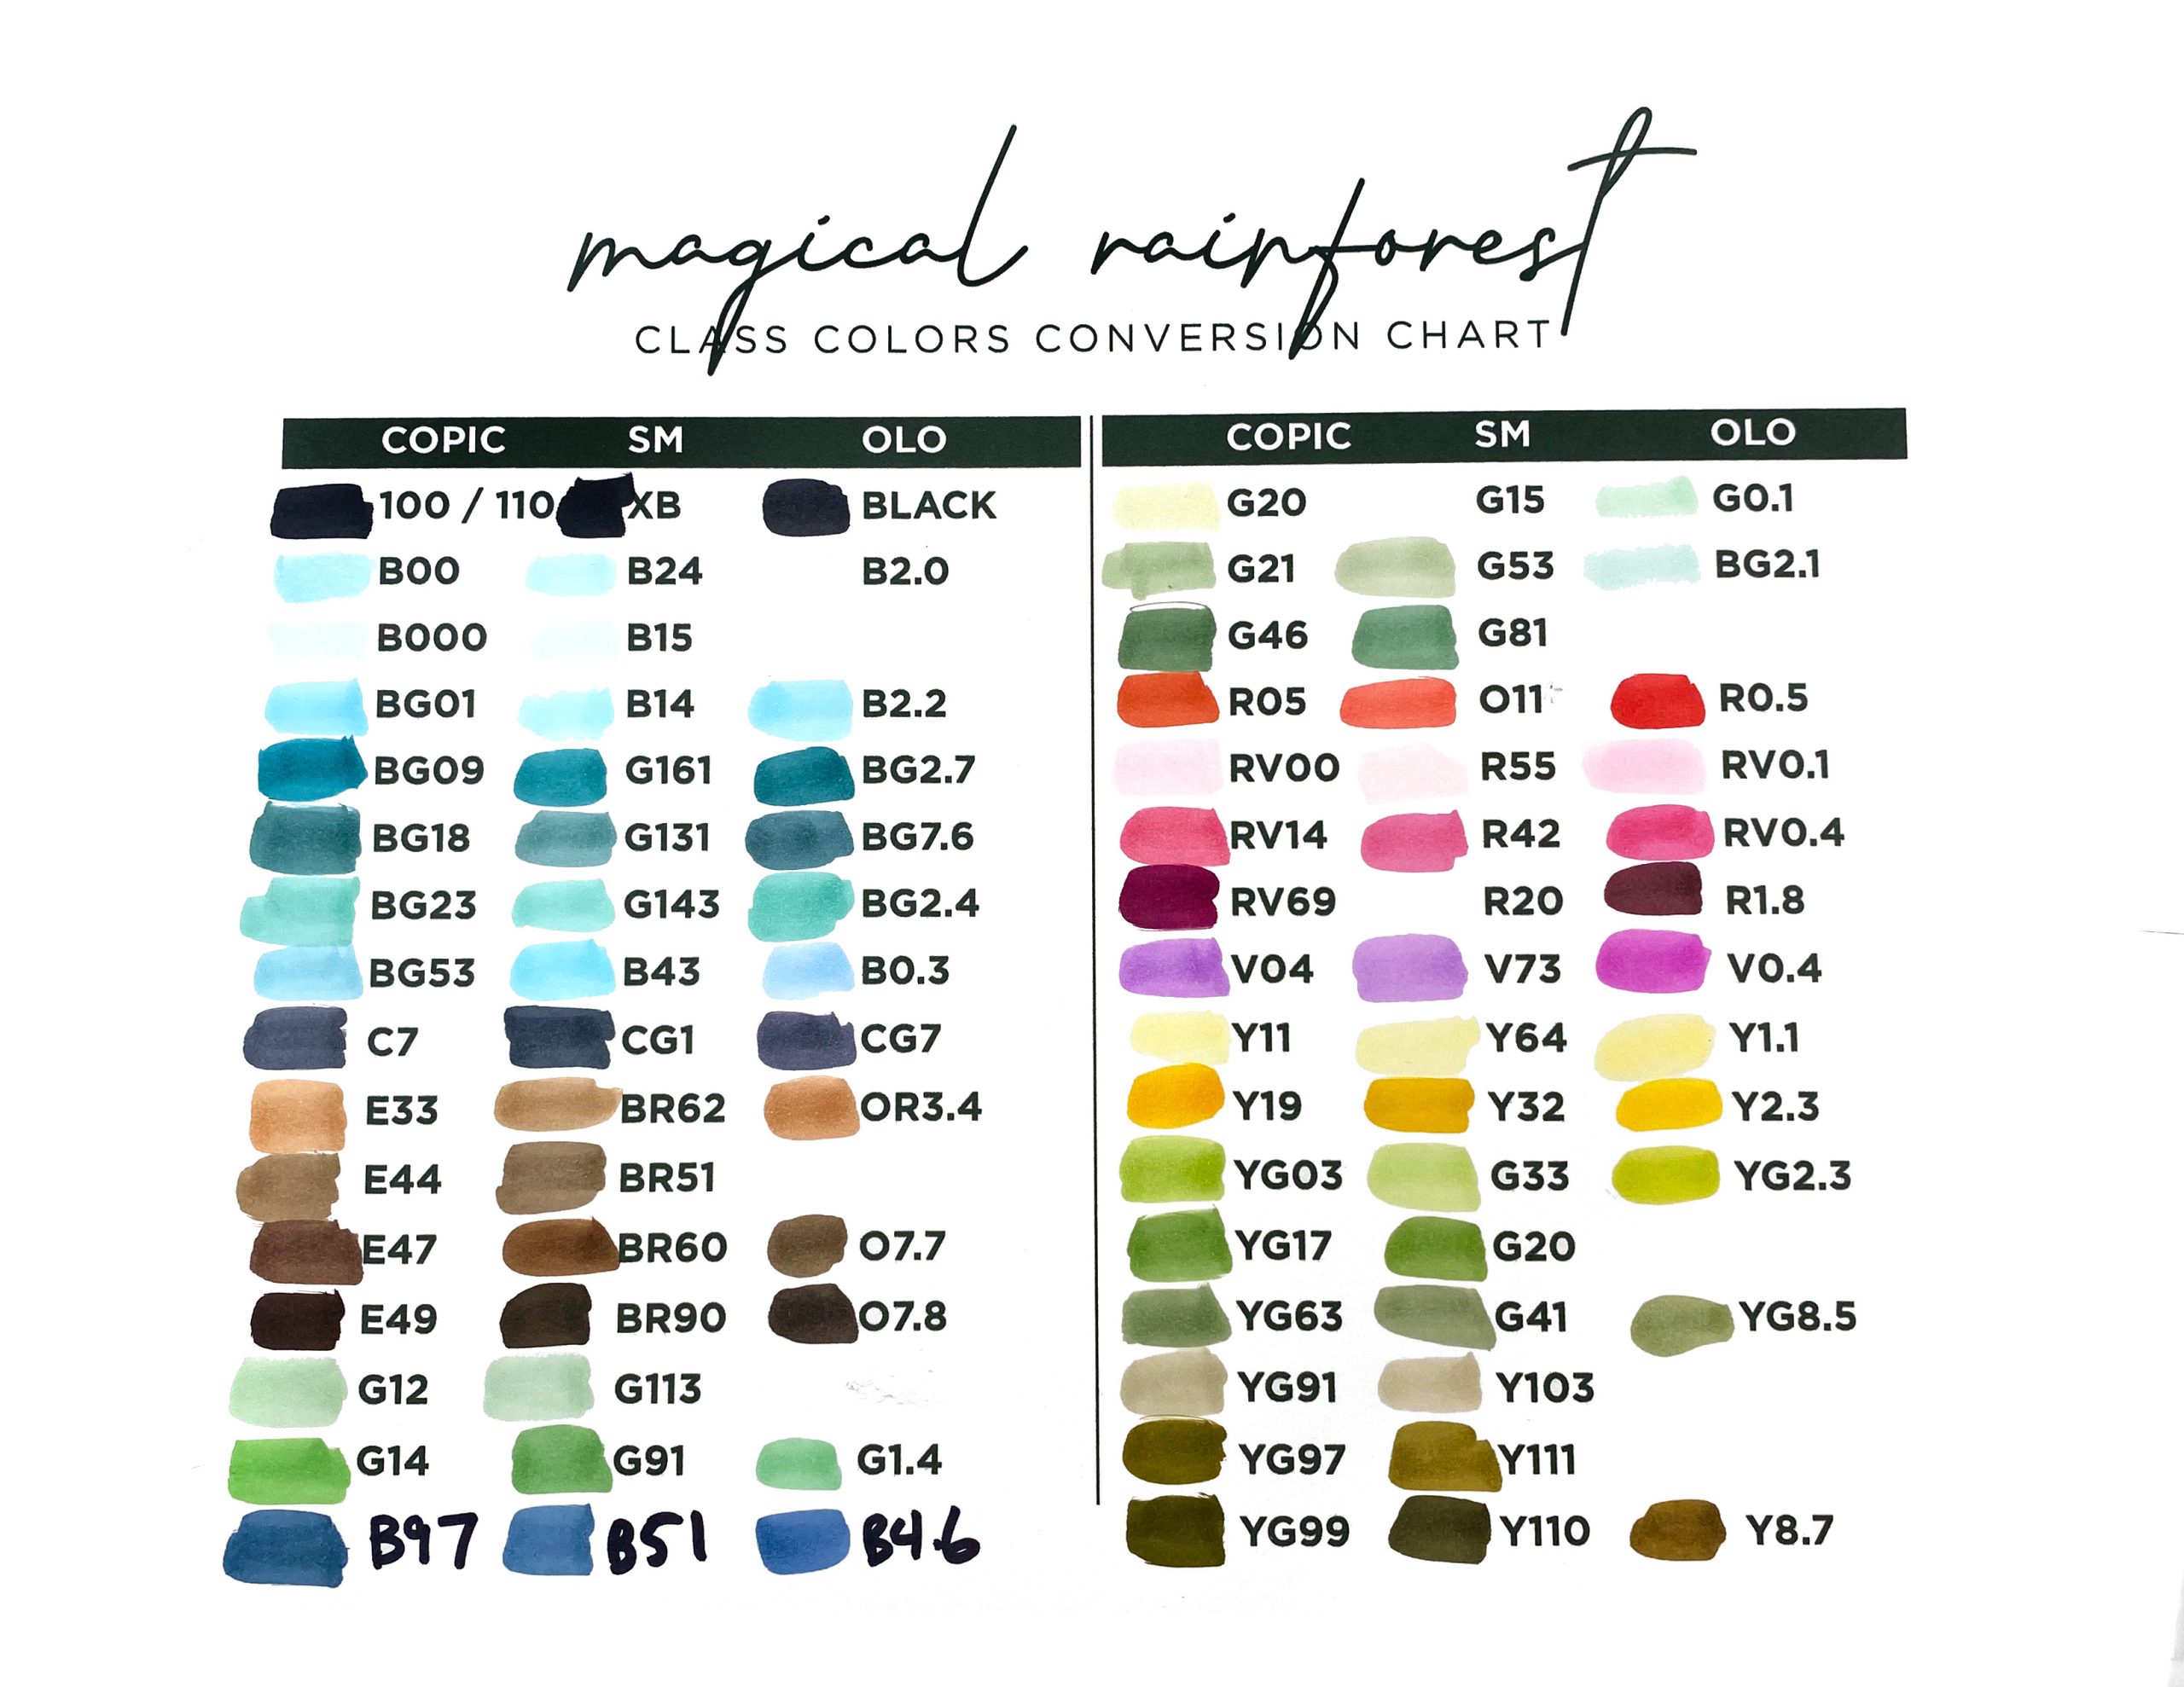
Colors

In class I use Copics, but you can also adapt to other brands. Note that Olo doesn’t have the pale colors that the other two do, but…..Olo users are likely used to finding adaptations 🙂

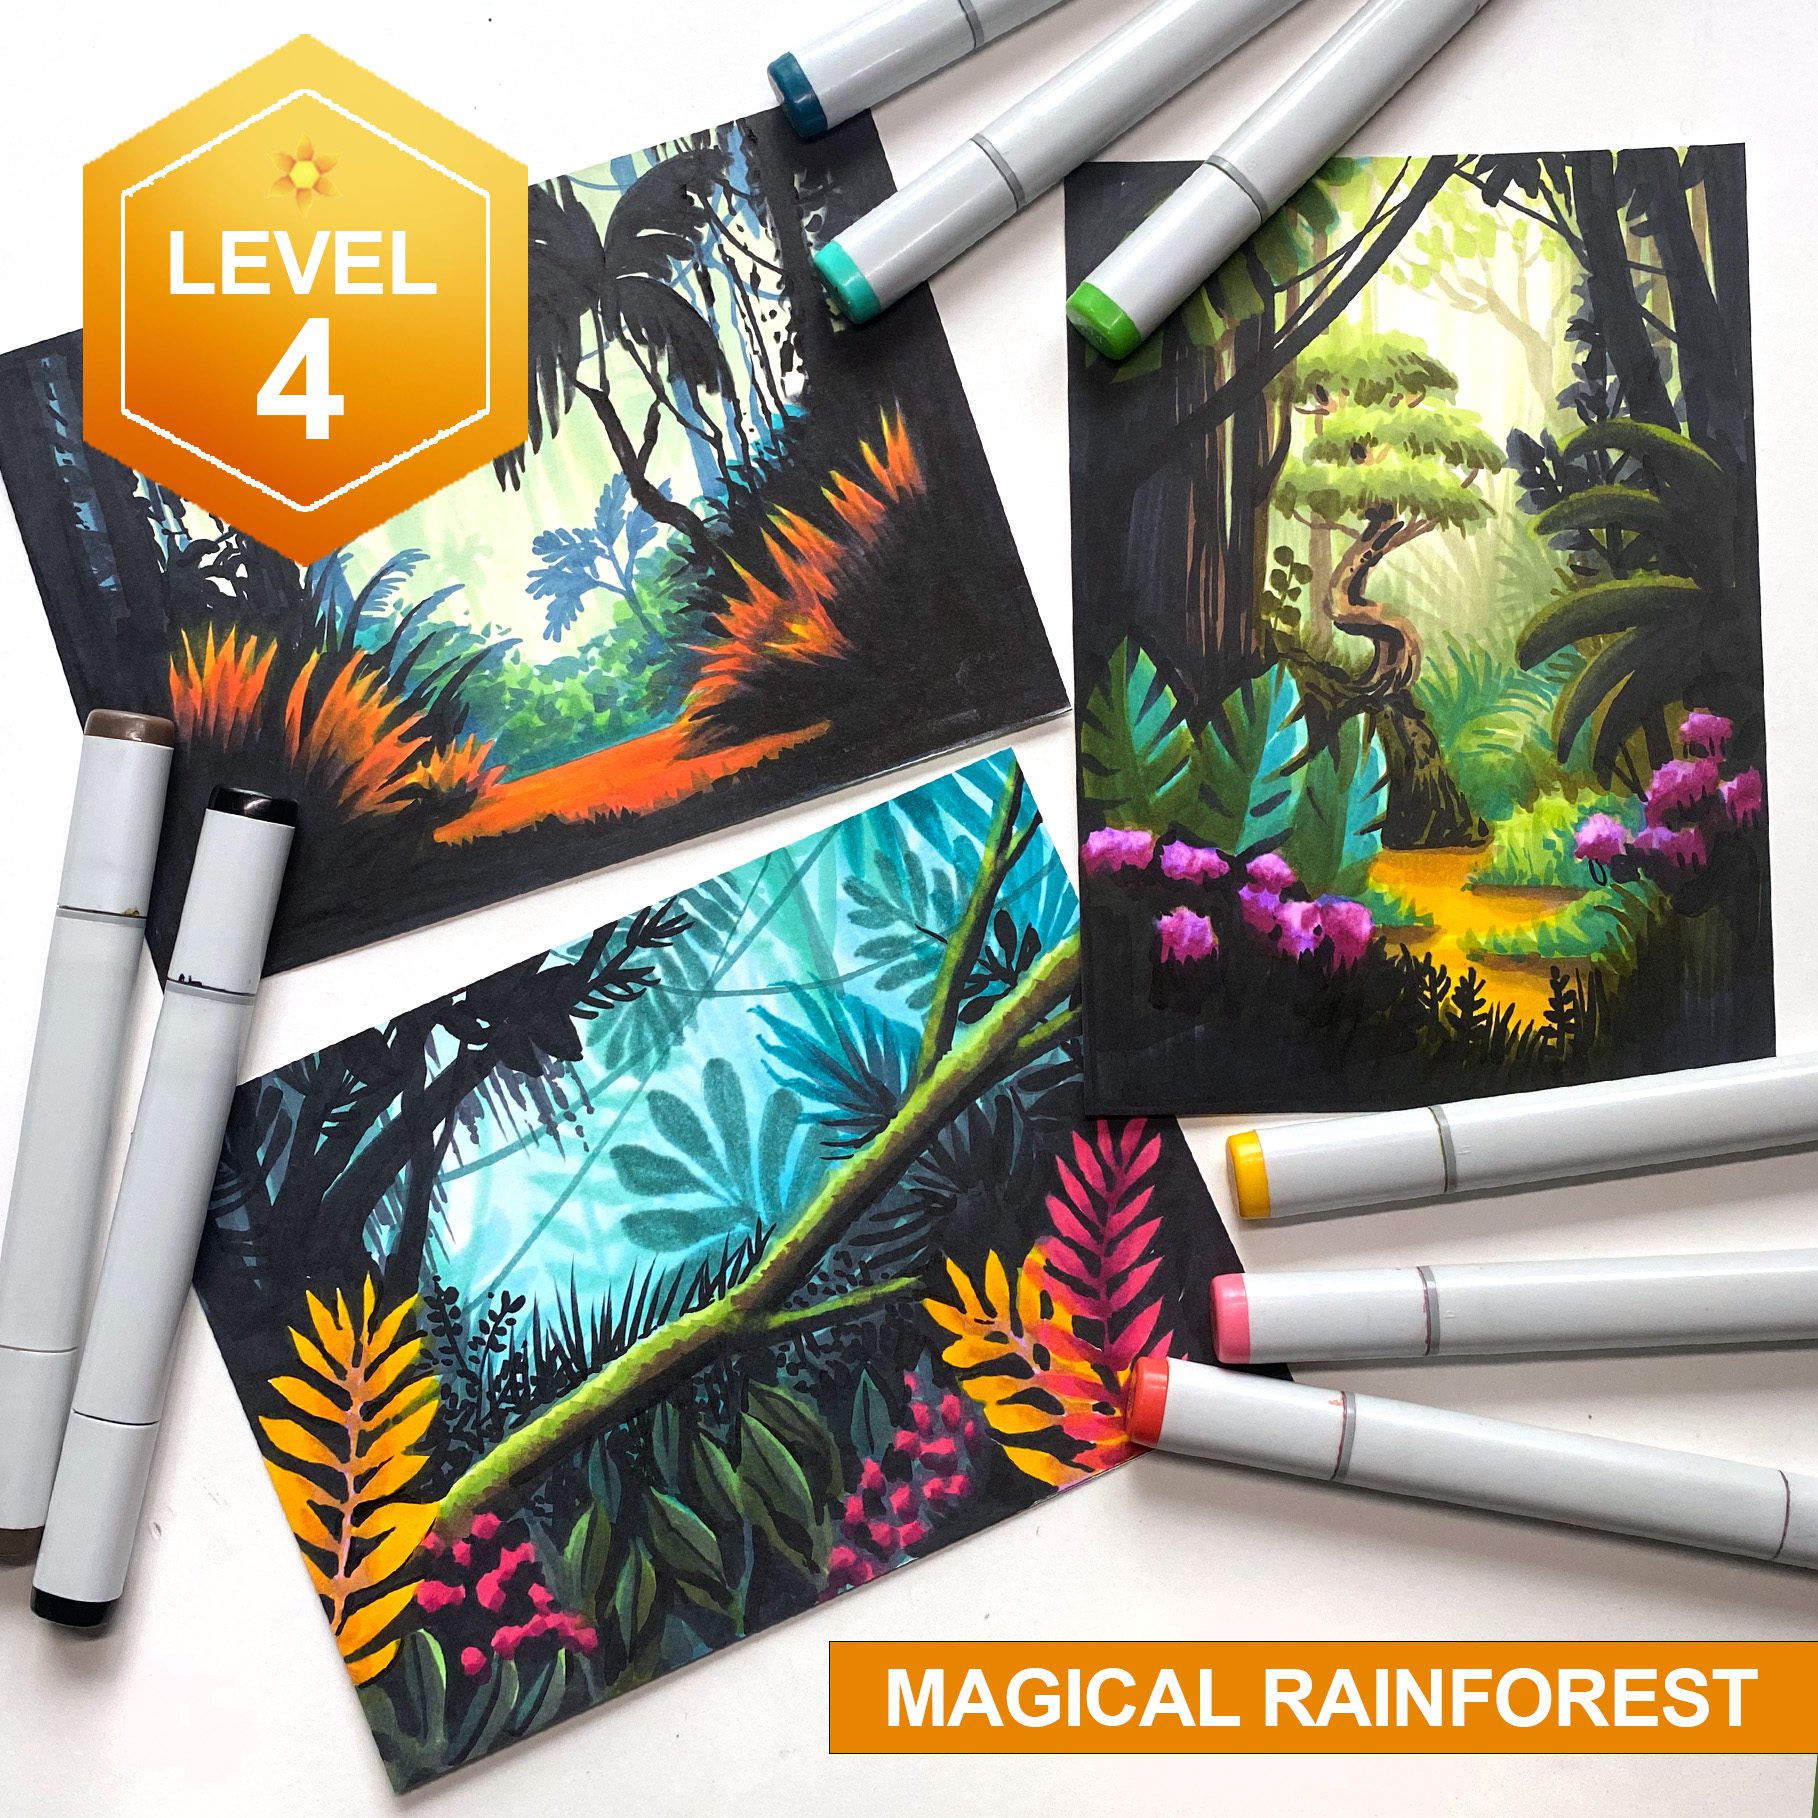
Magical Rainforest Class

This is a level 4 class – and a little of the backstory is that I wanted to have a Level 4 alcohol marker class that wasn’t as pricey as the Enchantment series or other advanced classes. Magical Rainforest Class is a good chance to see if you’re at that level without having to break the art bank to pay for a big class! So it has fewer lessons in it to keep the price manageable.

A little reminder: use code SUPERPOWER to get 10% off throughout June on all adult classes!

Supplies

Some product may be provided by manufacturers for review and use. Compensated affiliate links are here at no cost to you. I appreciate your support of my work with your purchases! Full affiliate and product disclosure | My trusted partners in art

Subscribe to receive blog posts by email: