Add your own in comments….I’m ready for some chuckles!
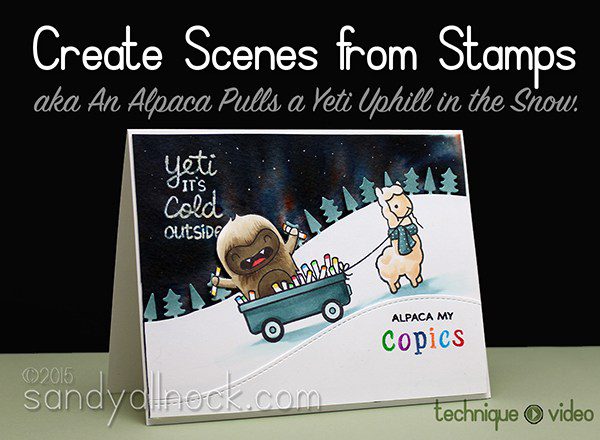
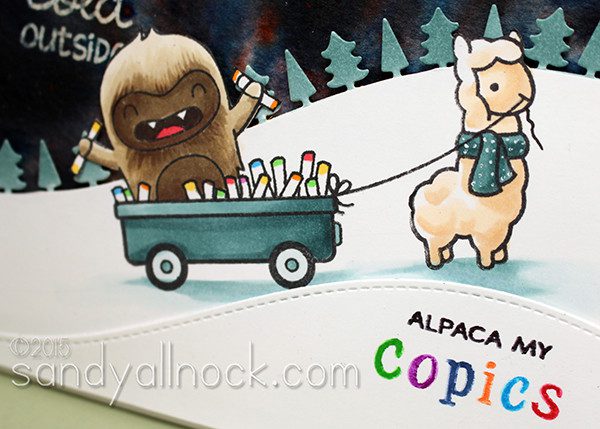
Oh there are so many things in this video. And that ALPACA! Oh man. As soon as I saw Winter Alpaca by Lawn Fawn, I knew it would HAVE to be part of my stamp collection….and that I’d be swapping out that sentiment for Copics, and more!
I think the part that might interest folks most will be how I go about creating scenes. This card, featuring Winter Alpaca (squeeee!) and Yeti Set Go (a previous release) is one that needed some tweaks as I went along, and I show you some snapshots I took as I worked. Often the piece comes together all at once, but this one was an uphill battle for a bit at the start. (#icrackmyselfup)
Additionally…there are tips for using one color of Brusho for that cool aurora borealis; Copic coloring tips; simplifying fussycutting by adding a sloped hillside; coloring delicate dies; getting a multicolor sentiment. Oh man. I think you got three videos worth of tips today, do I get a vacation? LOL!
Video
Get busy watching the video below, or click HERE to see it in HD on YouTube.
For the secondary sentiment where I changed out the word “SCARF” for “COPICS,” I set up the stamps on my MISTI (you could do so on an acrylic block), then colored each letter with a Clean Color Marker. That made it easy to get a multicolor stamped word without having to ink up each letter on a pad.
Supplies
Some product may be provided by manufacturers for review and use. Compensated affiliate links are here at no cost to you. If you choose to shop using my EH (Ellen Hutson) links, please accept cookies on that site in order to retain the link to my blog, or that compensation does not happen for me. I appreciate your support of my work with your purchases! Full affiliate and product disclosure | My trusted partners in art
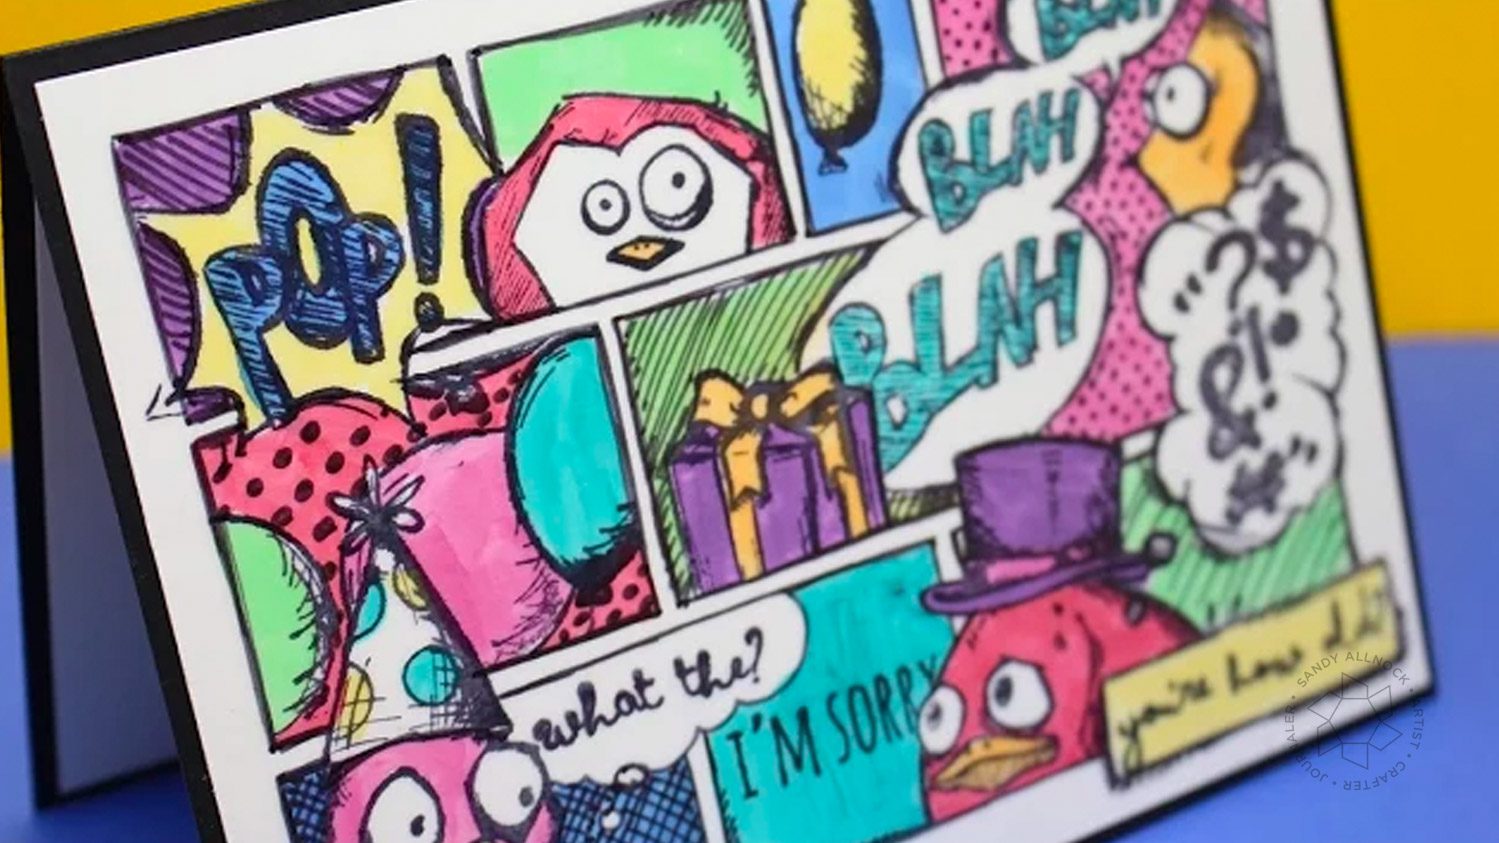
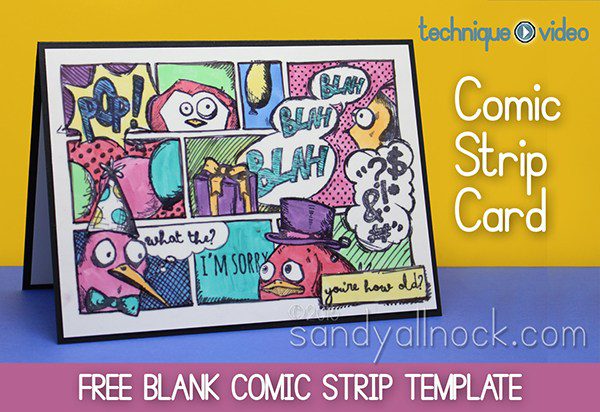
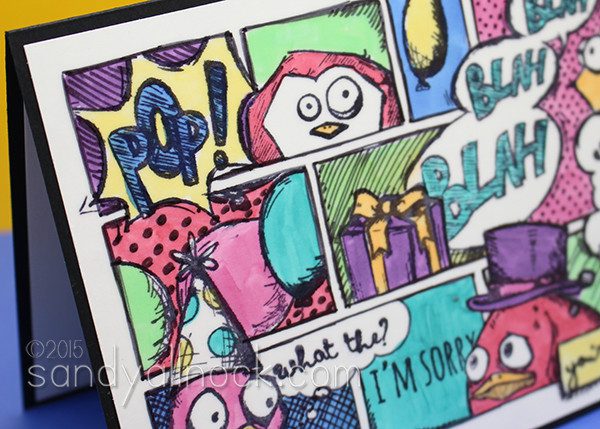
Do you think you can stand more of these fun crazy birds? Oh my! This has got to be my favorite way yet to use them!
Stamped Comic Strip Card
The inspiration to use the Bird Crazy set this way came from the Crazy Thoughts set – the fun starbursts made me totally think of Roy Lichtenstein‘s art! (Check out more of his art HERE.) I added in, of course some of the accessories from Crazy Things, and a little bit of the sentiments from Crazy Talk. So much fun on a card!
Templates and tips
As for the templates – I made this card with the 5×7 template, since it’s got larger stamps. But you can also use the A2 size template with smaller images. The possibilites are endless!
A few tips to create a simpler comic strip card:
Print on paper that’s compatible with your coloring if you want to stay “in” the lines.
Diecut or fussycut images that “break” the bounds of the lines.
Get a good one done, scan it, and print a few for your own use. (Remember, it’s illegal to share or post them, but you can make your own cards this way!)
If you blog it – link back here! Linking to this post “pings” me to come see what you’ve created.
Some product may be provided by manufacturers for review and use. Compensated affiliate links are here at no cost to you. If you choose to shop using my EH (Ellen Hutson) links, please accept cookies on that site in order to retain the link to my blog, or that compensation does not happen for me. I appreciate your support of my work with your purchases! Full affiliate and product disclosure | My trusted partners in art
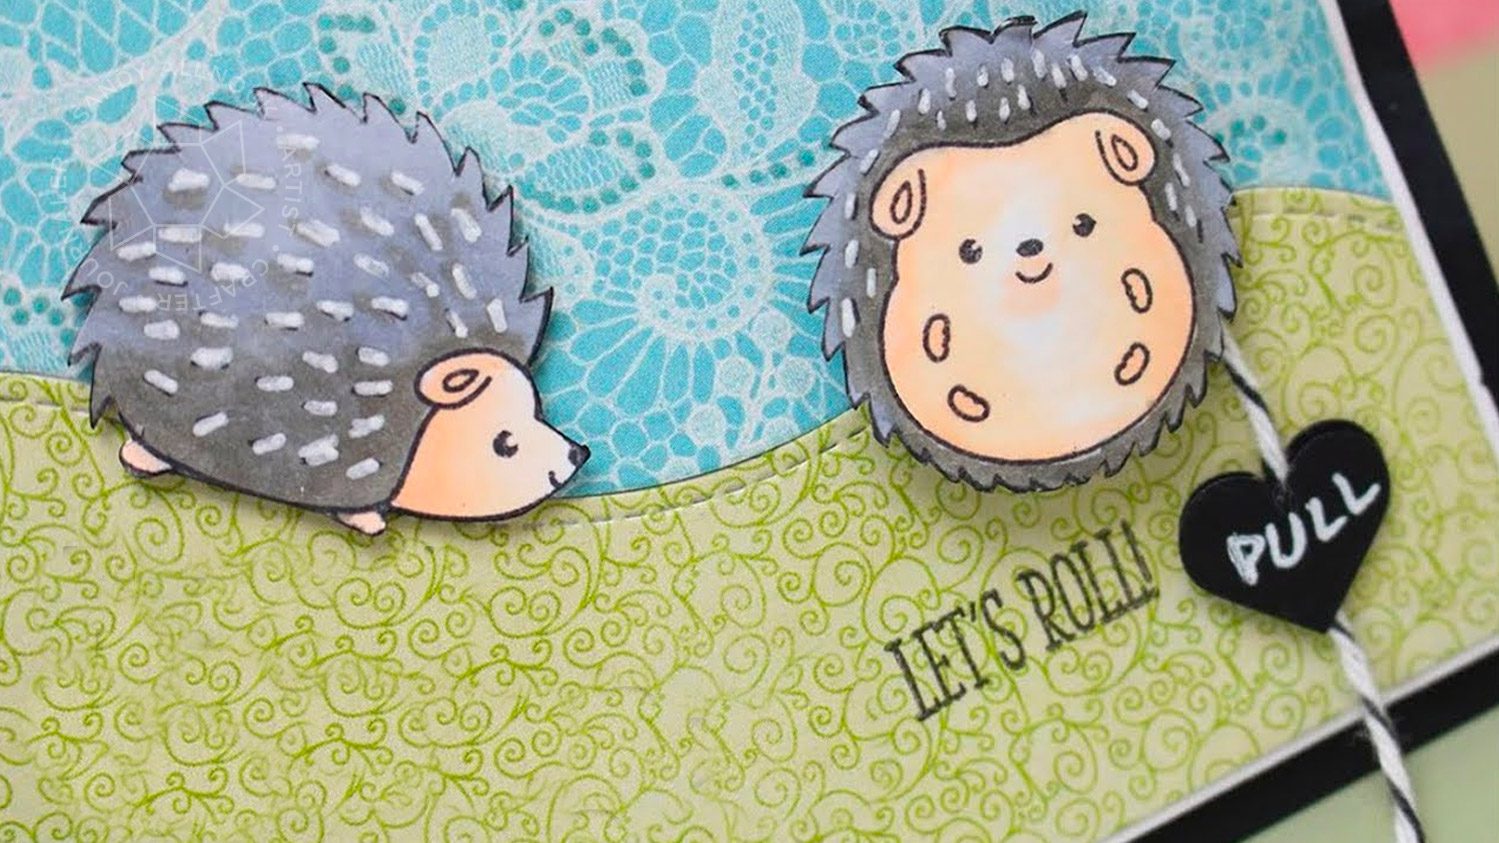
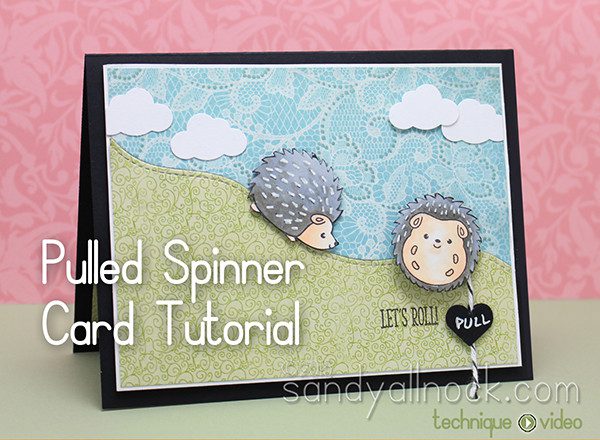
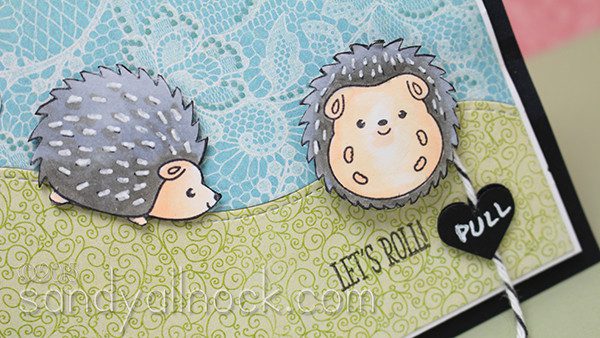
And now for a card that makes me go SQUEE! These little hedgehogs from Clearly Besotted are the cutest lil guys – and perfect for this technique that I adapted from Connie Stewart – her video is HERE as well as linked in a Card at the end of the video if you want to go see it. Cuteness!
Sometimes you see something on Pinterest that makes your lil heart spin – literally. I saw Connie’s bee flitting around and just knew I had to keep my eyes peeled for just the right stamp to try this! The hedgies were going to work so I ordered them as soon as I could find them in stock – they keep flying off shelves! And I used the Lawn Fawn Stitched Hills dies to give them somewhere to tumble. Connie uses Stampin Up products in the construction of her spinner, but I did some adapting with what I have – and it still worked!
In the video the sandwiching of the spinner kinda flew by fast…here are the steps:
Punch a hole in ONE piece of dimensional adhesive before removing one of the papers. (Power Tabs are no longer made)
Remove one paper, leave it facing UP, and put a brad through it. Use a brad with the smallest head on it but the longest tines you have.
Place another power tab on top – with the peeled-back paper on the side facing down.
Punch a hole in the card – a little bigger than you normally would so it will have room to spin around easily.
Add the brad through the hole, peel off the top paper, and stick the spinner image on top!
This means you’re sandwiching the head of a brad between the two power tabs, then sticking the image on top of that. Hope that makes sense if the video wasn’t clear!
Make something to pull the tab with – I cut out little hearts, sandwiching them and the twine with a power tab in the middle.
Supplies
Some product may be provided by manufacturers for review and use. Compensated affiliate links are here at no cost to you. If you choose to shop using my EH (Ellen Hutson) links, please accept cookies on that site in order to retain the link to my blog, or that compensation does not happen for me. I appreciate your support of my work with your purchases! Full affiliate and product disclosure | My trusted partners in art
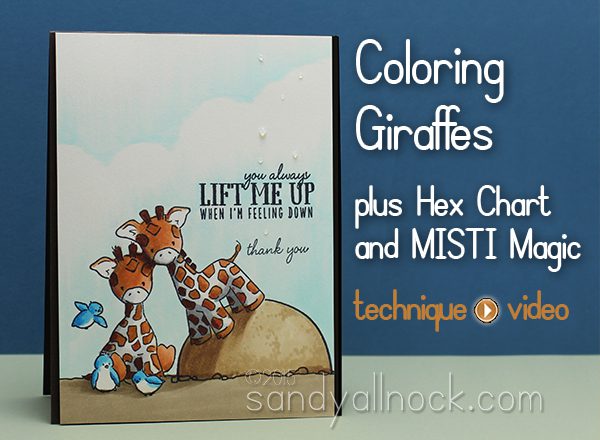
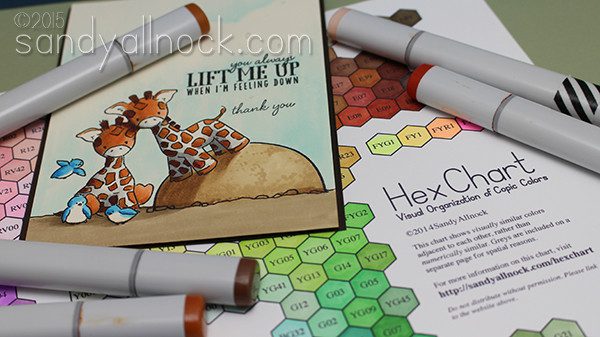
Hello friends! I hope you’re ready for some cute inspiration…this stamp set has it in spades, and my video showing Copic coloring on cream cardstock has some bonus tips with the MISTI that I’ve been wanting to share with you!
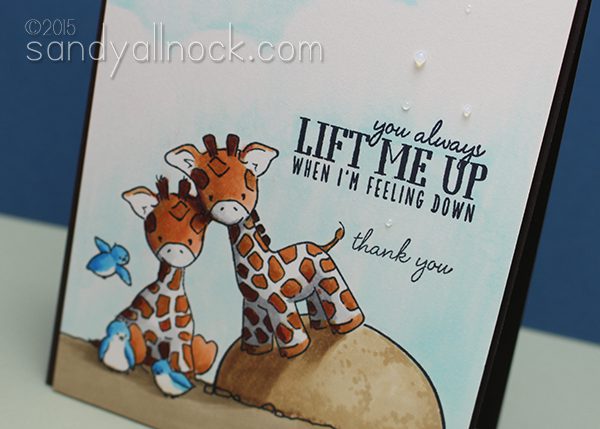
My stamps have been talking to me again as well. When I saw Wplus9’s Party Animal set with the sentiment “You always lift me up,” I knew one of the giraffes would be propping up the other! I wasn’t sure if it was going to be in a toybox or not – and ended up being outside on a big old rock!
Video
Watch the video below, or click HERE to check it out in HD on YouTube!
MISTI Quadrant Stamping
To create the scene I used my MISTI, and finally filmed the round-robin process I’ve been working with on kits – if you have a MISTI, I hope it’s a helpful tip!
Make one master scene on scratch paper – with approximate positioning. Don’t worry about overlapping images right now.
Break the scene into a few groups – with the “front” objects in the earlier-stamping groups.
Create masks for any of those front objects.
Set up the first stamping in one quadrant. Another in the next quadrant. Turn the paper upside down and set up another, and a fourth if needed.
When stamping, be sure to clean off the stamps from other quadrants really well so you don’t get accidental marks on the paper. I love to use an patrons! It really gets all the ink off well.
Leave the quadrant assembly til you’re sure you don’t need to stamp more.
My final little detail on this card was to add some Glossy Accents bubbles to draw attention to the sentiment!
SUPPLIES
Some product may be provided by manufacturers for review and use. Compensated affiliate links are here at no cost to you. If you choose to shop using my EH (Ellen Hutson) links, please accept cookies on that site in order to retain the link to my blog, or that compensation does not happen for me. I appreciate your support of my work with your purchases! Full affiliate and product disclosure | My trusted partners in art
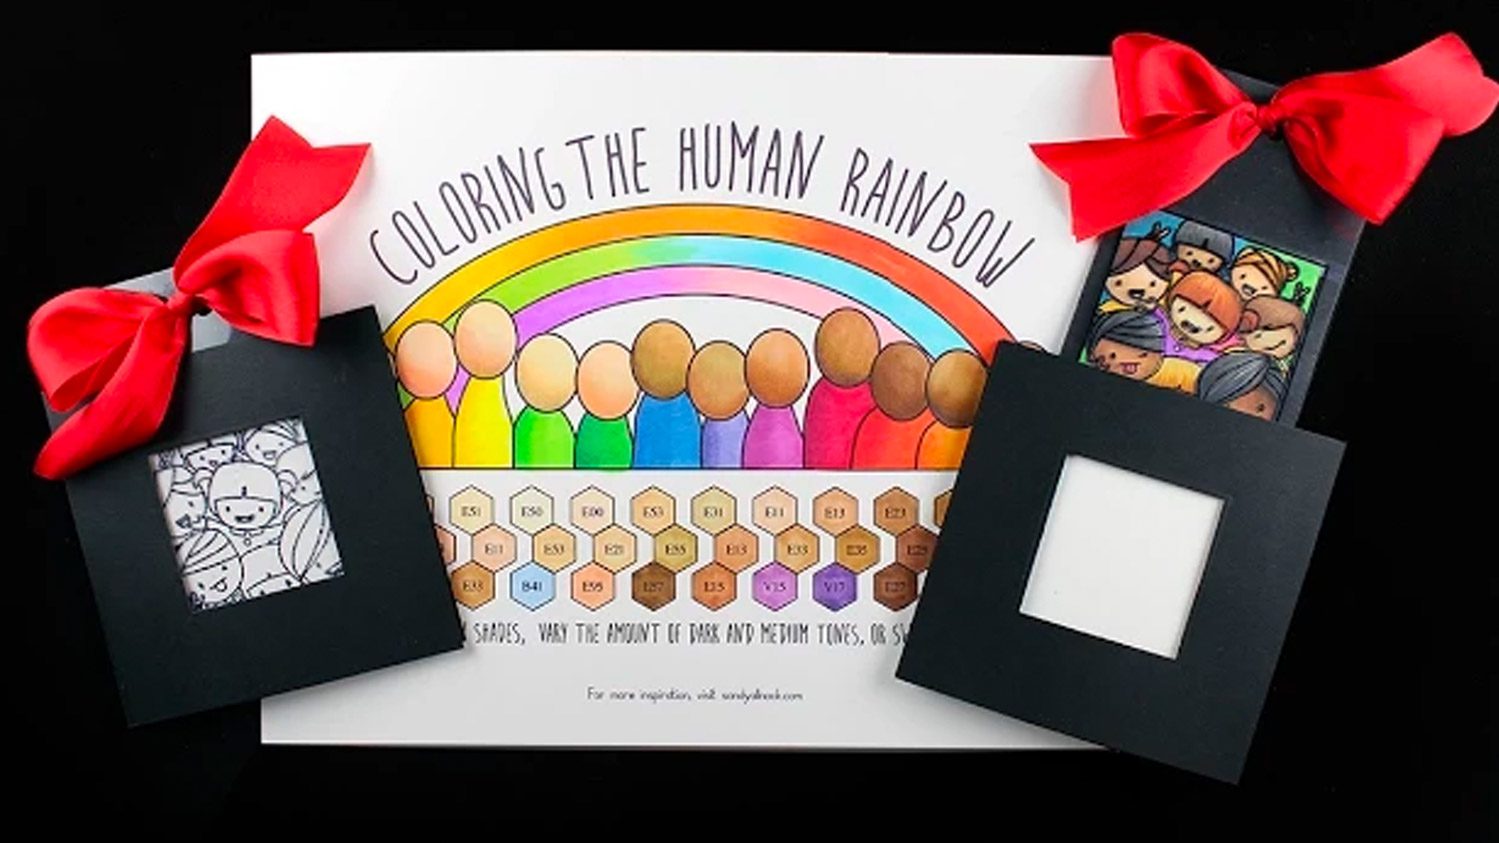
Today’s skintone tutorial is a tribute, following a weekend of funerals for the souls lost in the church shooting in Charleston, South Carolina. The sadness over this tragic loss is so deep, yet it has been such a blessing to see the love and forgiveness expressed by those who would understandably have been so angry; I’m inspired by their reaction, and I hope many more are as well. We can all use a little more unity!
I’ve been wishing I could do something to change things – and realized that I do have a tiny bully-pulpit that I can use…not to lecture, but to encourage! In our crafty world, I can continue to share diversity in coloring…and ask others to join me.If we can help to change something as small as the colors we choose to use on cards – maybe we can have our own little impact on the world around us! Read more about my hashtag campaign later in this post.
Video
Today’s skintone video is also in answer to many requests….I’m glad to know lots of folks actually do want to learn how to bring some diversity into their coloring. When I bought the Photo Bomb stamp set a while ago, I knew it was going to be perfect for a post like this. I also finally wanted to do a magic acetate /magic reveal card…they were popular years ago and I had never made one back then, so I finally got around to it!
Watch the video below or click HERE to see it in HD on YouTube.
If you’d like to print up your own blank sheet for reference….feel free to download them! I put together a group of helpful reference and xolorable charts HERE. If you need other charts – there are some freebie swatch charts on my teaching site, along with hex charts for Copics and pencils:
So let’s see if we can start a mini-revolotion and begin including more ethnicities in our coloring of stamped images!
Playlist with lots of ethnic skintones
Edited to add: I’ve been adding to my playlist of colorings of skintones and hair in several mediums – check it out on YouTube here (the latest in the playlist is below, just click the next arrow at the end to go through them all!)
Hope you’ll consider adding to #thehumanrainbow!
Supplies
Some product may be provided by manufacturers for review and use. Compensated affiliate links are here at no cost to you. If you choose to shop using my EH (Ellen Hutson) links, please accept cookies on that site in order to retain the link to my blog, or that compensation does not happen for me. I appreciate your support of my work with your purchases! Full affiliate and product disclosure | My trusted partners in art
It’s SUMMER! Woohoo! My toes are starting to lose the winter mildew that’s so common in the rainy Pacific Northwest…and earlier than usual since it’s been so warm! That inspired me to get out my Lawn Fawn Life is Good set to color up some sand castles. I may not get a real beach vacation but I’ll take a virtual one!
For this card I did some fun little masking first – I stamped the sand dunes and put the castle and lighthouse behind them. Enjoy the video below or click HERE watch it in HD on YouTube!
The crabbie in the hammock is totally my favorite part of the card! His little glossy shine along with the shells – they just take the card up a notch!
SUPPLIES
Some product may be provided by manufacturers for review and use. Compensated affiliate links are here at no cost to you. If you choose to shop using my EH (Ellen Hutson) links, please accept cookies on that site in order to retain the link to my blog, or that compensation does not happen for me. I appreciate your support of my work with your purchases! Full affiliate and product disclosure | My trusted partners in art