Note: this video uses digital stamps no longer available. I’ll be working on revamping them and making them available on my teaching site later in 2021.
No line coloring has been a fluctuating trend over the last few years; I’ve tried it once or twice, and thought I’d give it a try again!
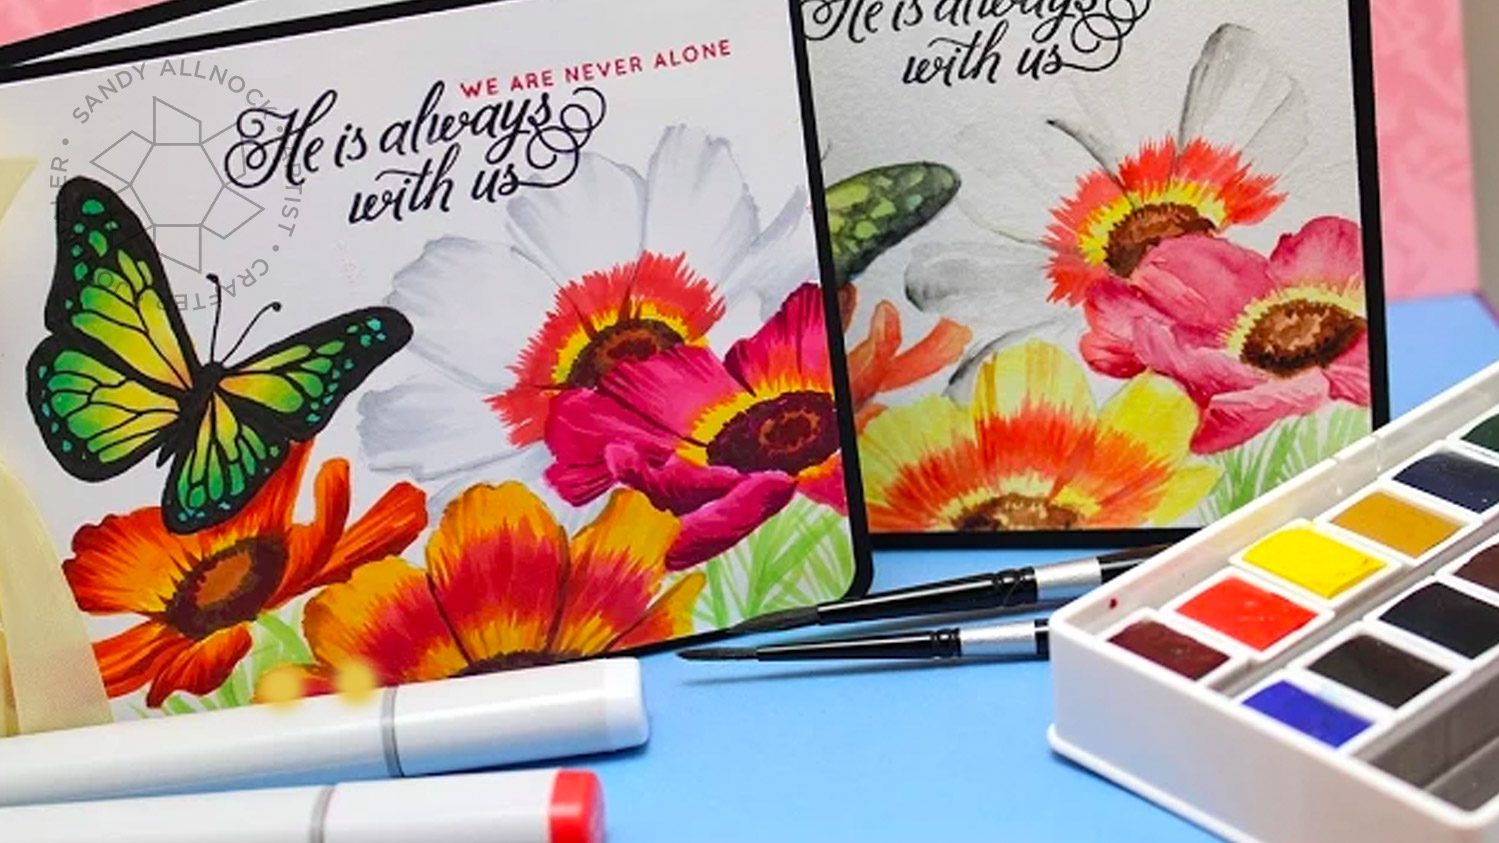
I decided to use a Cosmos digi to create today’s cards, and started off just printing the images to color.
But when I got to that step – whoa – the lines on the enlarged flowers became crazy thick! Big disappointment. So I got out my light box and did a pencil tracing instead, and suddenly realized I could do that with watercolor too! (If you don’t have a light box, try putting your papers against a window. During the daytime, of course!)
With Multiliner pens I’d recommend choosing a stamp line that you use a lot, and figure out which pen is the right width of pen will match them. Then you can always fix a little goober if you need to. And if you’d like to download a free cheat sheet so you can see what sizes best match up, I put together a quick pdf: Multiliner Widths ….make sure you print it at 100% so the line widths stay the same. (Read below for a pen giveaway!) (Ohmygosh is this a long post!)
I’m going to see if I can find any of these Chrysanthemums for my garden – they’re just so pretty! HERE is the photo I used for my color inspiration!
For my cards, I added them to simple black card bases, stamped a 2-part sentiment and tied on some ivory May Arts silk ribbon—it just adds an elegance to it, and also covers that white space in my design without detracting from the flowers.
The watercolor version came out just lovely too!
Supplies
Some product may be provided by manufacturers for review and use. Compensated affiliate links are here at no cost to you. If you choose to shop using my EH (Ellen Hutson) links, please accept cookies on that site in order to retain the link to my blog, or that compensation does not happen for me. I appreciate your support of my work with your purchases! Full affiliate and product disclosure | My trusted partners in art
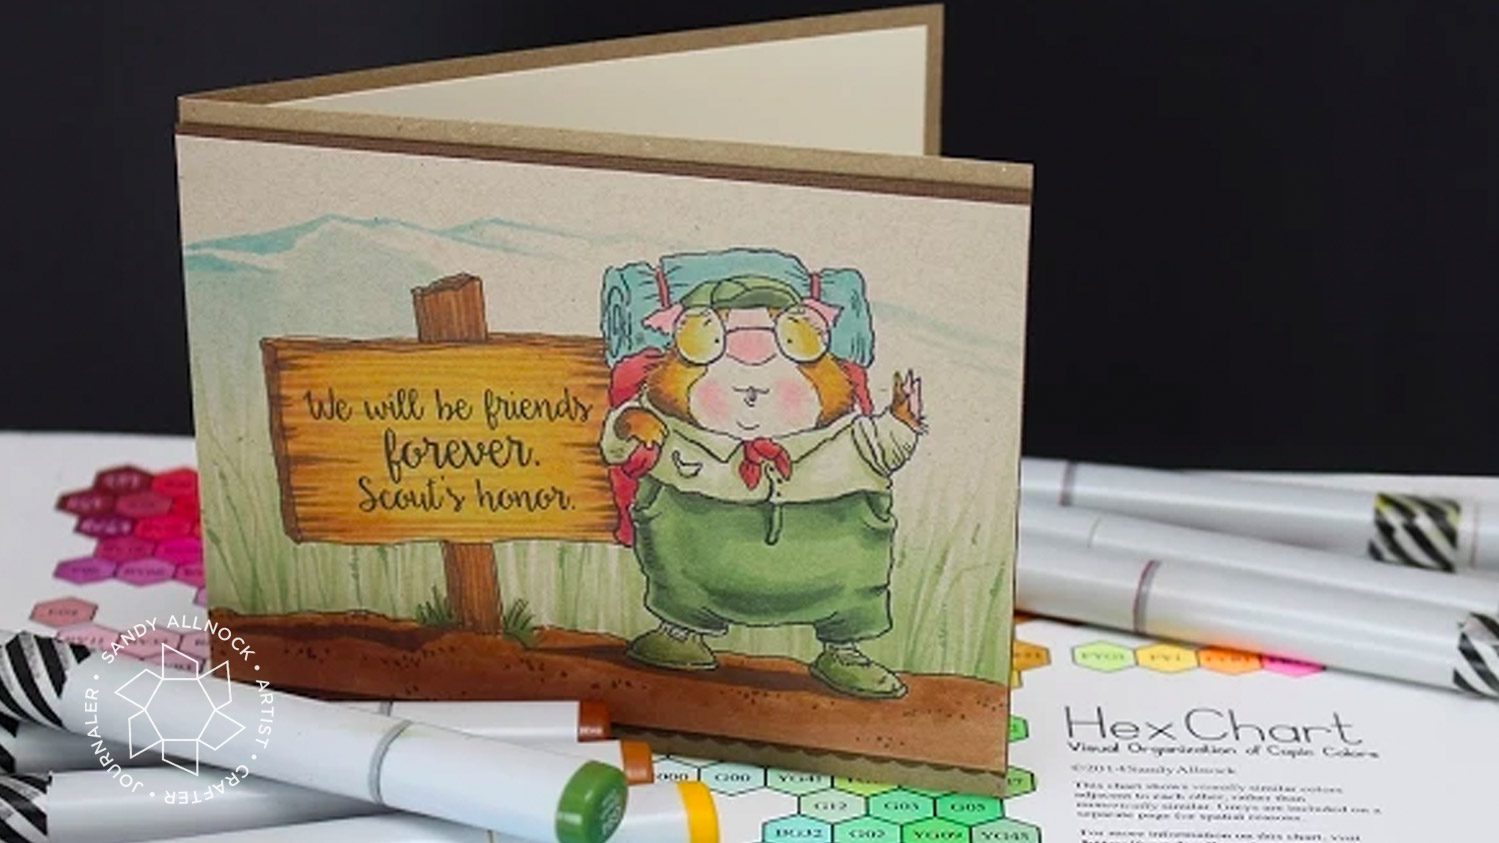
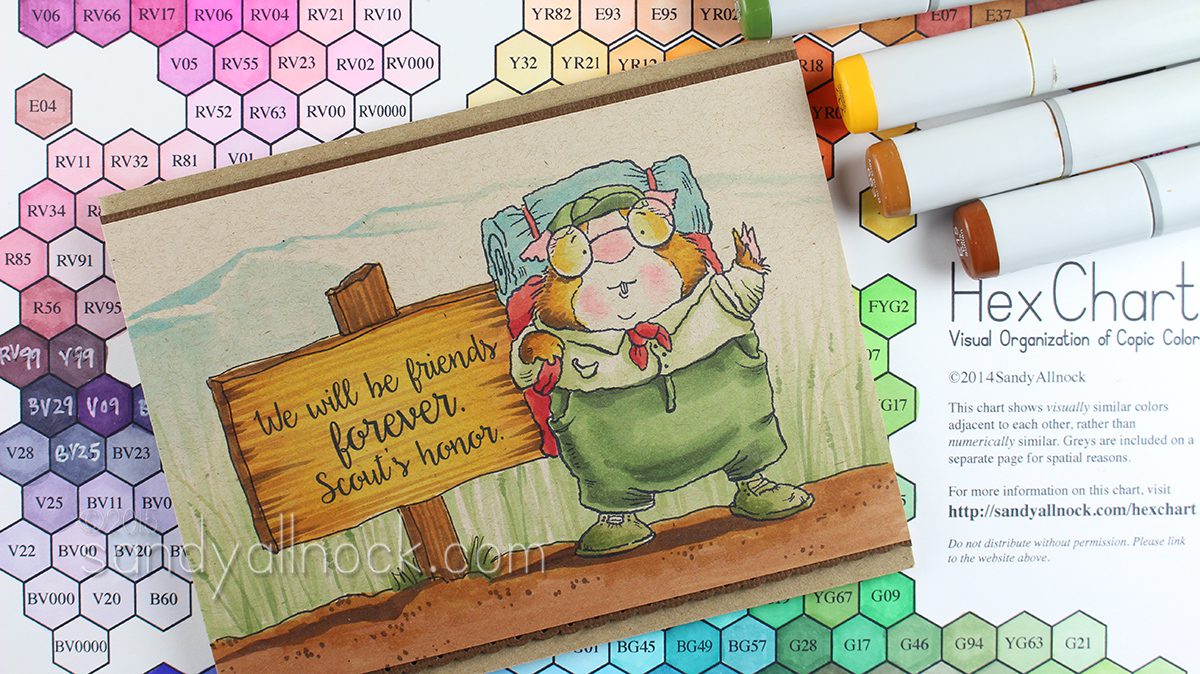
It’s Hump Day! Hope you’re having an easy one since it’s a short week, right? Well, Scout’s Honor – Friday isn’t too far away. And I’m hoping this sweet little scout – a brand new release from Stamping Bella (go over and enter to win awesome goodies!) – is going to make your day with a Copic Coloring Tutorial on Neenah’s Desert Storm!
The name of this paper is Desert Storm – I’ve heard it referred to as kraft, but it’s much lighter color-wise. The card base in the photo above is the actual color of kraft, just to give you a reference point. But – it’s still cardstock made by Neenah, and it’s great for coloring with Copics once you figure out how much you need to adapt your color selections (made easier with the HexChart)! Watch the video below, or click HERE to watch in HD on YouTube!
The Hex Chart was hugely helpful with this card; every time my “gut” would have chosen a darker color, a quick peek at the chart helped me try to go lighter before I regretted it! You can pick up your own Hex Chart HERE.
Supplies
Some product may be provided by manufacturers for review and use. Compensated affiliate links are here at no cost to you. If you choose to shop using my EH (Ellen Hutson) links, please accept cookies on that site in order to retain the link to my blog, or that compensation does not happen for me. I appreciate your support of my work with your purchases! Full affiliate and product disclosure | My trusted partners in art
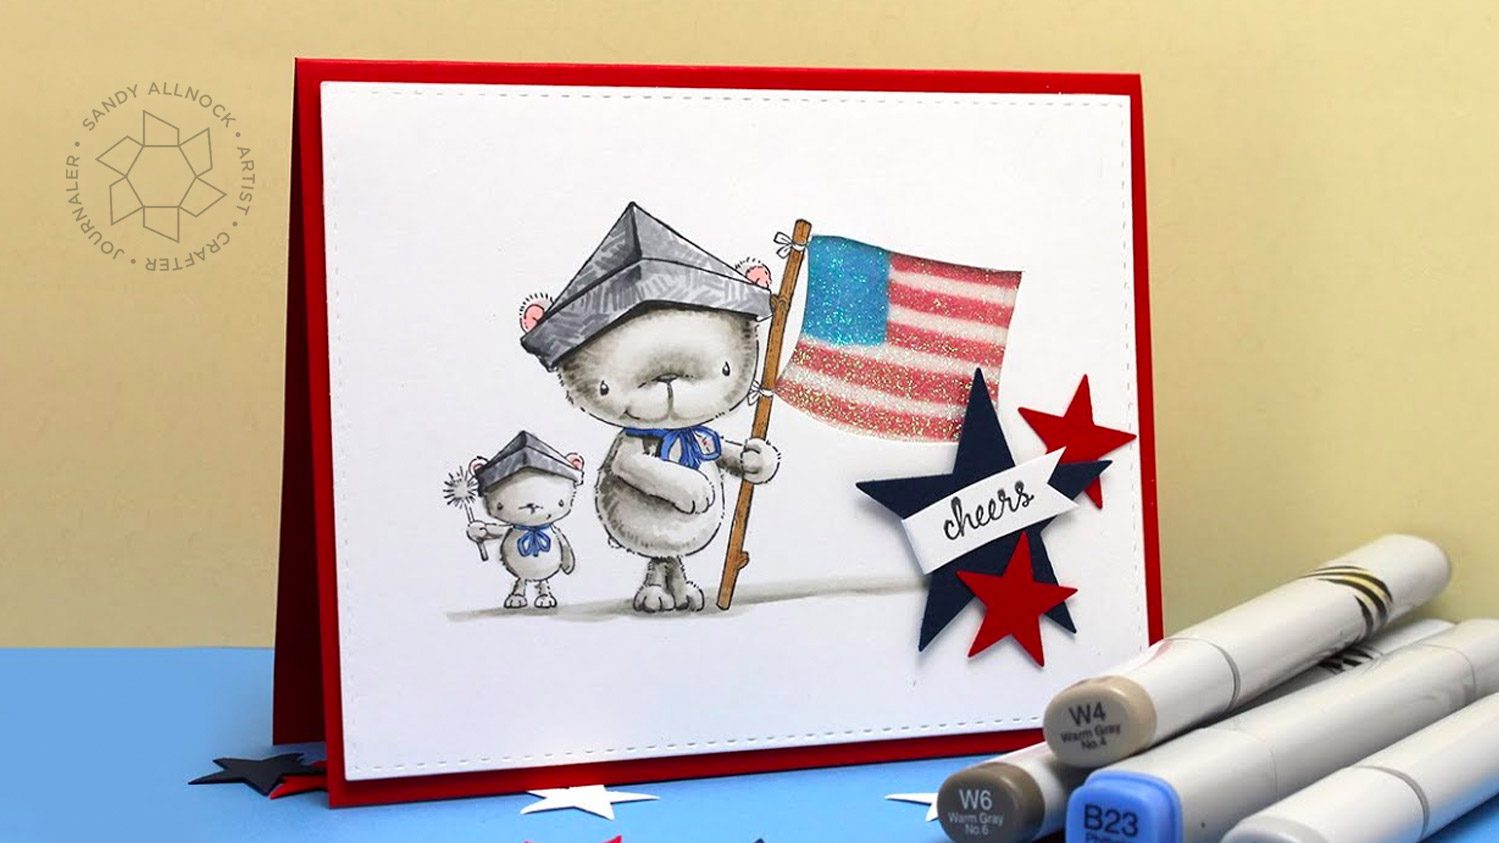
Happy Memorial Day! I have a double blessing to share today….not only showing how to color white with Copics on a sweet patriotic card for the holiday, but a new release from Purple Onion Designs, drawn by the awesome Stacey Yacula! The image is called Bursting with Pride – how perfect, right?
When I saw this stamp I just had to color it ASAP. So darling! Just look at those happy little bears! In the video today, you’ll learn about how to color white with Copics as you see the progressive difference made by darker and darker colors. Though I know that can scare some, it’s worth the effort if you can be brave and give it a try!
This same technique with progressively darker colors is something you can try with any colored bear, too!
My little glitter technique is just one of many you can find for sealing in glitter. I do this not only for OWH cards – but even beyond that. I remember once I put glitter on a card for my Mom, and when we discussed glitter once, she specifically mentioned that card….and I realized one of my creations made a mess for her! So though the shimmer is awesome, sealing it in to keep the mess to a minimum is also a big bonus!
Supplies
Some product may be provided by manufacturers for review and use. Compensated affiliate links are here at no cost to you. If you choose to shop using my EH (Ellen Hutson) links, please accept cookies on that site in order to retain the link to my blog, or that compensation does not happen for me. I appreciate your support of my work with your purchases! Full affiliate and product disclosure | My trusted partners in art
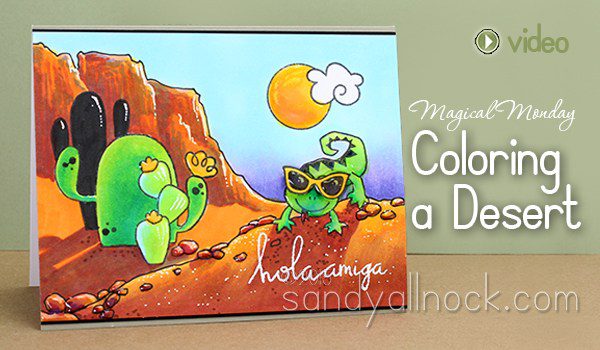
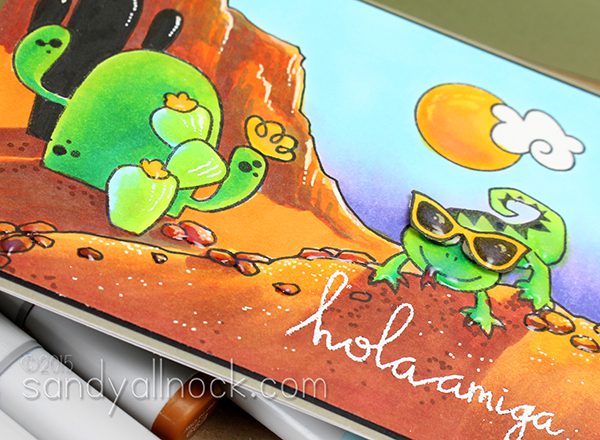
Well lookee there, Monday came to visit us again! That means it’s time for a little bit of magic…and I pulled out a stamp set that I finally moved from my wish list to my CART! Those happy little succulents and lizard just made me want to draw some cliffs and create desert scenes…so let’s go!
Video
Paper Smooches makes this adorable stamp set called Southwestern Charm; I combined it with Sunny Side Up so I could give our lil guy some glasses! Ha! Enjoy the video below, or click HERE to watch in HD on YouTube!
Hope you liked that crazy background music – lol! I love to add a little bit of pep to my videos.
I promised some project notes, so here you go:
The multiliner pens I used to draw the ground and cliff are HERE – just got them after waiting for months! I’ll do a whole video on them sometime to show you more deets – but you can get pens by the set or one at a time, and they don’t bleed with your Copics. PLUS they’re refillable and you can replace the nibs too. Rockin awesome!
I picked the mix of colors for the cliff and ground from the Hex Chart – I started in the oranges, added rusts, then added yellow to be the sun shining on it (and it needed to be brighter), then added some bright orange on top.
Original Markers: I have a number of colors in the “square” body often called the “original” or “Copic” style body. That’s because there’s an awesome bullet nib for drawing in details. I recommend getting a selection of your favorite detail or doodling colors in the body…
The final touch was to add some dots of white pen – both the colorless blender Original and then some white Signo pen. Some folks don’t find the Signo works but love the Gellyroll…either will do great for creating highlights in the sand of desert scenes!
The rocks, sun, flowers, and glasses have Glossy Accents added to them – just for a little special shine! And I added the sentiment at the end – using the
Supplies
Some product may be provided by manufacturers for review and use. Compensated affiliate links are here at no cost to you. If you choose to shop using my EH (Ellen Hutson) links, please accept cookies on that site in order to retain the link to my blog, or that compensation does not happen for me. I appreciate your support of my work with your purchases! Full affiliate and product disclosure | My trusted partners in art
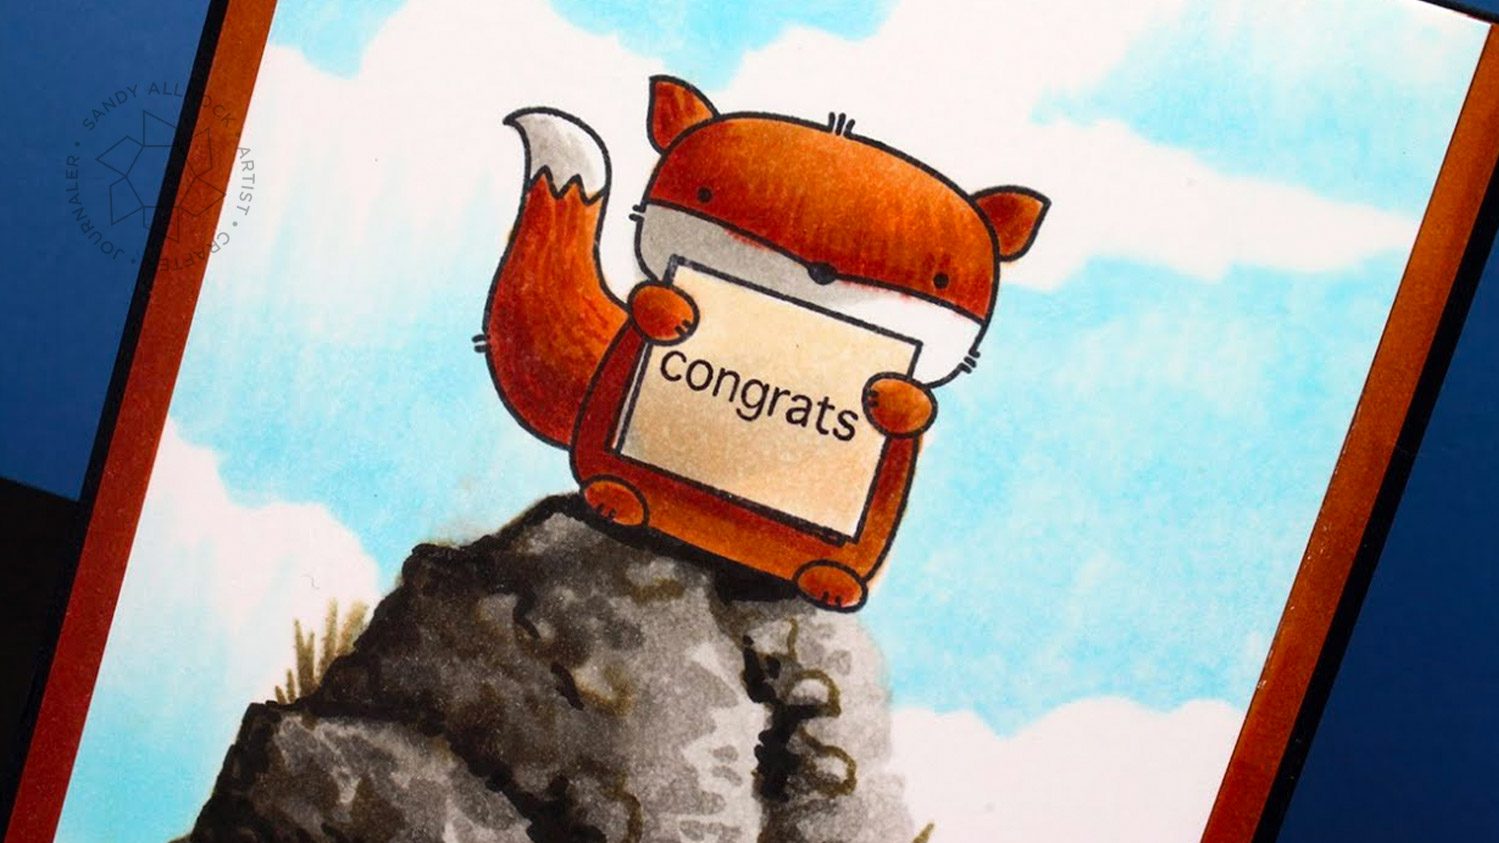
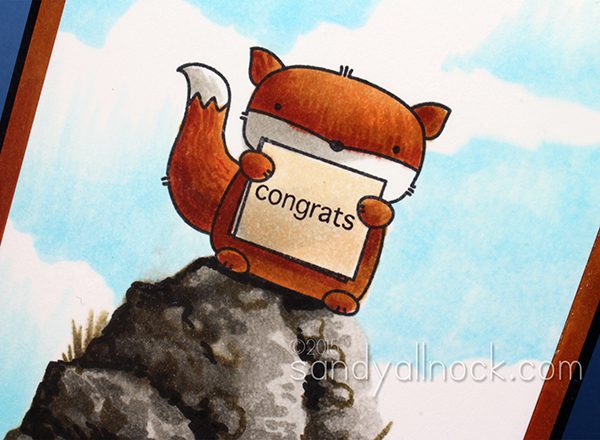
I’m not very adventurous in “real life” – but I’m willing to do a little cliff climbing (or make a fox do it for me) with my Copic markers!
I tried a bunch of different things with this darling little stamp set from Mama Elephant – the three little critters hold signs, and there’s a huge variety of sentiments that can be stamped onto their papers. But what I thought about here was – if one of the critters was feeling congratulatory, where might he go to show his appreciation for an accomplishment? To shout from the top of a cliff, of course!
Video (no voiceover)
Watch the video below or click HERE to view in HD on YouTube:
To make the reddish-brown layer behind the colored cliff climbing panel, I took a piece of white cardstock and colored it with two of the colors in my little fox – a soft blend from top to bottom. It’s a great way to “create” matching papers when you don’t have any of the right shade in your stash!
I’m glad this chicken-hearted non-climbing human can rely on a little fox to do the cliff-climbing for her!
Supplies
Some product may be provided by manufacturers for review and use. Compensated affiliate links are here at no cost to you. If you choose to shop using my EH (Ellen Hutson) links, please accept cookies on that site in order to retain the link to my blog, or that compensation does not happen for me. I appreciate your support of my work with your purchases! Full affiliate and product disclosure | My trusted partners in art
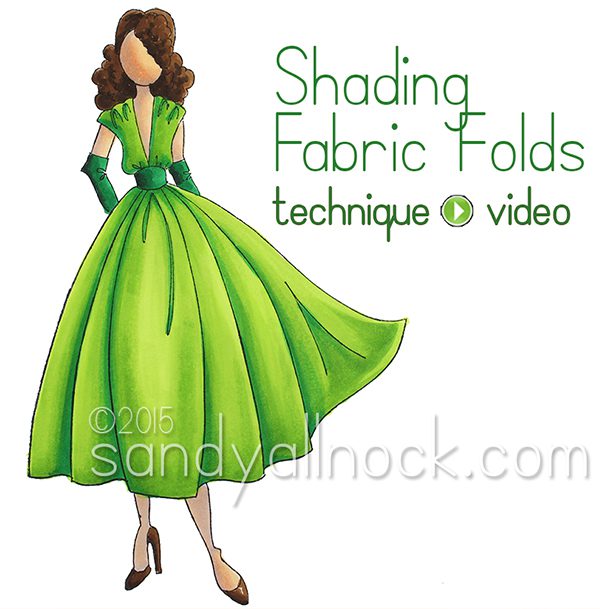
Happy Friday, everyone! If you’re off to a fancy party this weekend, I hope you look as amazing as Rita the Prima doll! If you’re at home in pjs like me…enjoy a little lesson on shading fabric!
Fabric folds give lots of people fits – it billows in and out of the light so much that it can be hard to figure out where to put the darks. This is a quick overview of a way to think through the lighting.
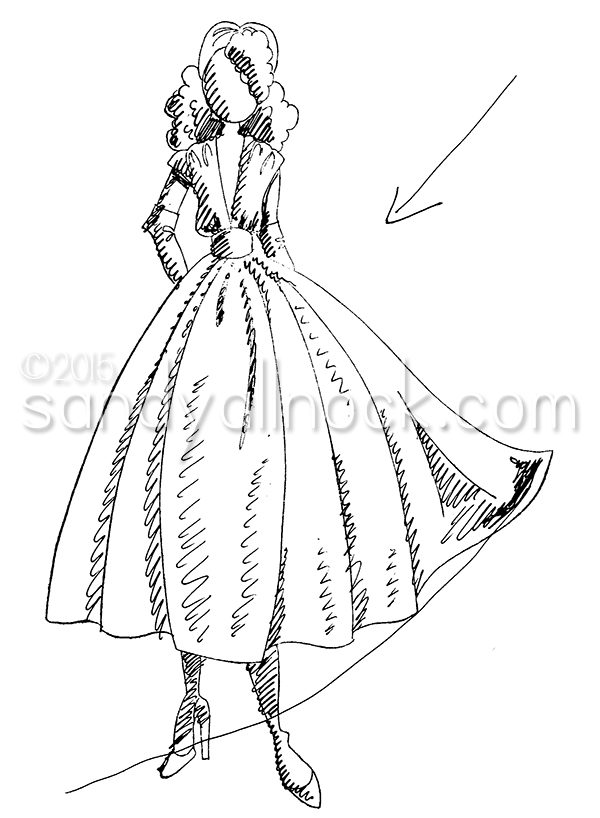
If you pick up this stamp – you can use the “Shading Map” below to try this yourself! Or pick another stamp you have and make yourself a stamped cheat-sheet on scratch paper, and store it in your stamp pocket for use later on! This one shows the lighting from the upper right as shown in the video.
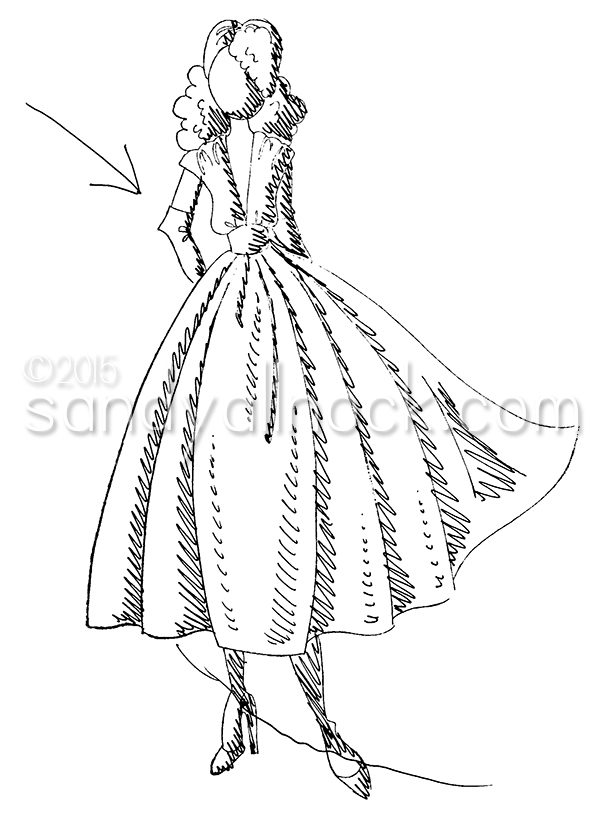
And this is the opposite direction, lighting from the upper left. Shading fabric doesn’t have to be difficult, it just takes some practice!
NOTE: I get asked over and over and over (and over) about why I have washi tape on my markers. Honestly, it is only to mark them as my own when I go to crops or classes. I’m about to remove the tape just to stop the questions, even though I’ll lose markers because of it….it’ll be pricey, but anything to keep the questions to a dull roar. LOL. If you have other questions about stuff, try the FAQ page before asking – it’s likely I’ve already got it answered! 🙂
If there are stamps that you think would make a good lesson on shading fabric, leave me a link in the comments – if I get the stamp I’d be happy to include it in my long list of oh-I-can’t-wait-to-make-a-video-with-this!
Supplies
Some product may be provided by manufacturers for review and use. Compensated affiliate links are here at no cost to you. If you choose to shop using my EH (Ellen Hutson) links, please accept cookies on that site in order to retain the link to my blog, or that compensation does not happen for me. I appreciate your support of my work with your purchases! Full affiliate and product disclosure | My trusted partners in art