Sometimes the basic tips are the ones I just don’t share much – but I hope this one helps: be patient. Sometimes waiting for the alcohol to dry makes a difference in seeing what is working!
Primarily I find patience really important to wait and see how ink will settle out on the paper. Since alcohol slowly evaporates from the paper, the “greyness” that wet paper has can change when dry – so going back into the coloring can help after it’s had a chance to settle.
Video
Patience is also important to keep from pouring too much ink on the paper too fast – so they end up bleeding all over outside of the lines. If that’s your issue, just give it more time to dry, and be sure to have paper underneath – not just a wood or synthetic surface that can push ink back up into the paper.
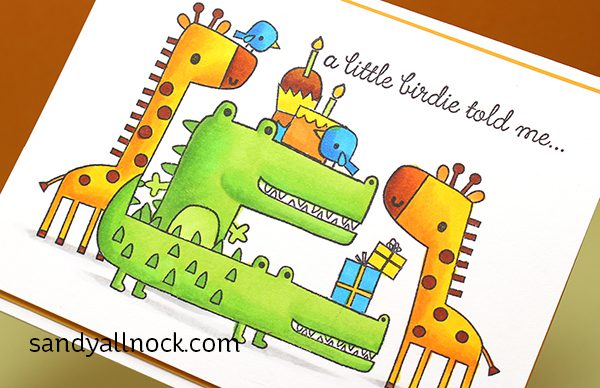
Another card done a little while back with Reverse Confetti stamps – see the blog post for Party on a Card with its video HERE!
Supplies
Some product may be provided by manufacturers for review and use. Compensated affiliate links are here at no cost to you. If you choose to shop using my EH (Ellen Hutson) links, please accept cookies on that site in order to retain the link to my blog, or that compensation does not happen for me. I appreciate your support of my work with your purchases! Full affiliate and product disclosure | My trusted partners in art
Reverse Confetti, Toucan of Friendship —- no longer available
I’m guesting over at Ellen Hutson’s blog with a little video and post full of kitties over HERE…go check it out! The sale on pencils is still on, so take advantage if you need some pencils to color with.
Updating subscriber profile
And also – I’m in geek mode. And something I thought I’d try, since I’m a firm believer in only sending you the stuff you want to receive. In that vein….
I’m going to try starting a monthlyish newsletter.
I say monthlyish because, you know me, I’m not 100% sure it will be exactly on a consistent day. But for those who want to keep up but don’t subscribe because they don’t like being overwhelmed with email, it might be a good option. Keep me in your feed reader, then get a monthly newsletter that’ll include:
The top posts since the last newsletter. I’ll pick those by which ones get the most blog and YT comments, so help your newsletter buddies out and leave comments!
My favorite post that month. Just in case it’s not the same one as you guys pick.
Puppies. Because, you know, puppies.
Other things of interest – like my vlogs or guest posts or other interesting things that happened lately.
Who knows what else….news, tips, I don’t really know yet! Might be updates about the new website. (Which happens to be really close.)
If you’re already a blog subscriber….
….then you are already on the regular blog posts list. You can add yourself to the monthly newsletter list using the form in the sidebar. If you want to remove yourself from the regular blog posts list, then leaving it unchecked MAY work. It also may not, I’m not sure – but you can always go to the bottom of the blog post email and click update subscription preferences to de-select that one.
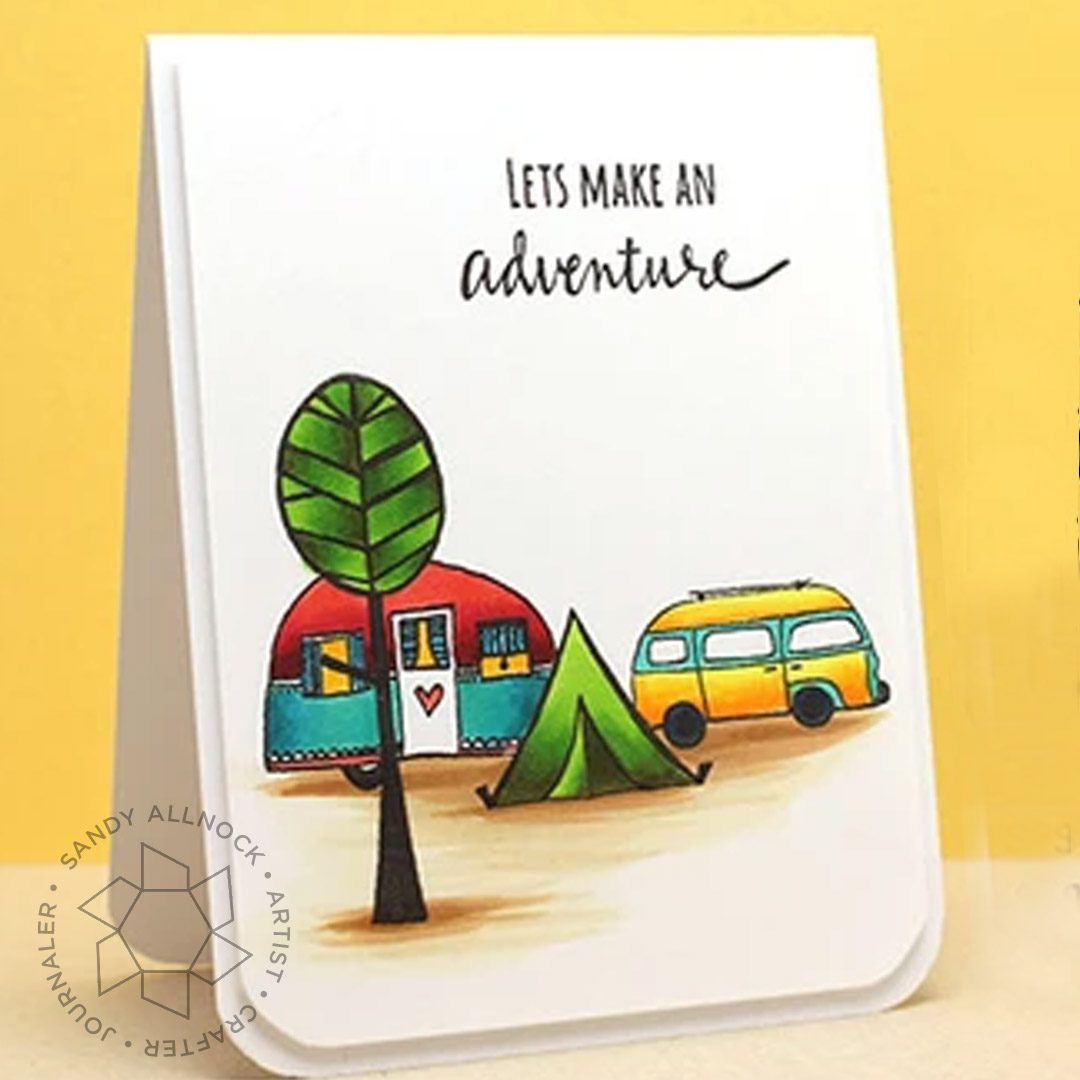
I’m often asked what my favorite blending groups are – and today I’ll be sharing that with you as well as coloring up a fun little camping card! EDITED 2020: The stamps are no longer available.
Supplies for this project are linked at the end of this post. Compensated affiliate links may be used at no cost to you.
Video
The card is clean and simple – but you’ll see a little of my fave color choices in action!
To finish off my card, I trimmed the panel to 4″ x 5-3/8″, and rounded the corners at the bottom and also the bottom corners of a top-fold card base, and added the colored panel on top with foam tape. I aligned the top edge so there’s only a border on three sides. Just for something a little different!
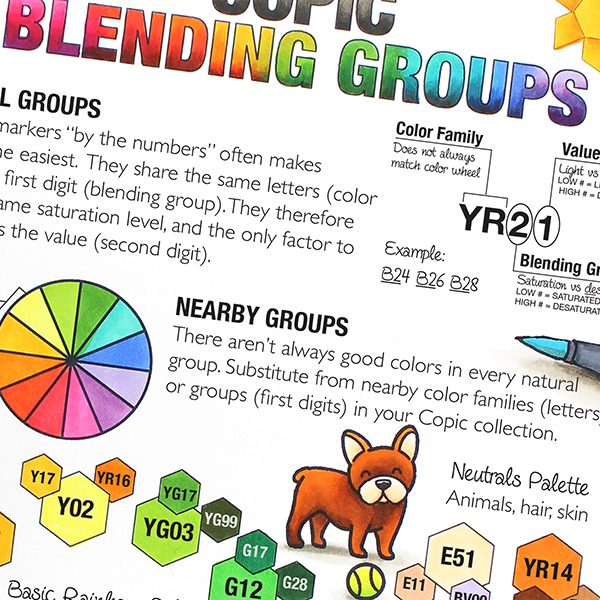
FREE Copic Blending Group chart
While these aren’t the only colors to blend, they’re a good basic selection! Download your own free blending chart and color it up for yourself!
Supplies
Some product may be provided by manufacturers for review and use. Compensated affiliate links are here at no cost to you. If you choose to shop using my EH (Ellen Hutson) links, please accept cookies on that site in order to retain the link to my blog, or that compensation does not happen for me. I appreciate your support of my work with your purchases! Full affiliate and product disclosure | My trusted partners in art
Hey if you’re a Paper Smooches fan – I’m so sorry to let you know they went out of biz! While the stamps aren’t available anymore, the technique might be helpful.
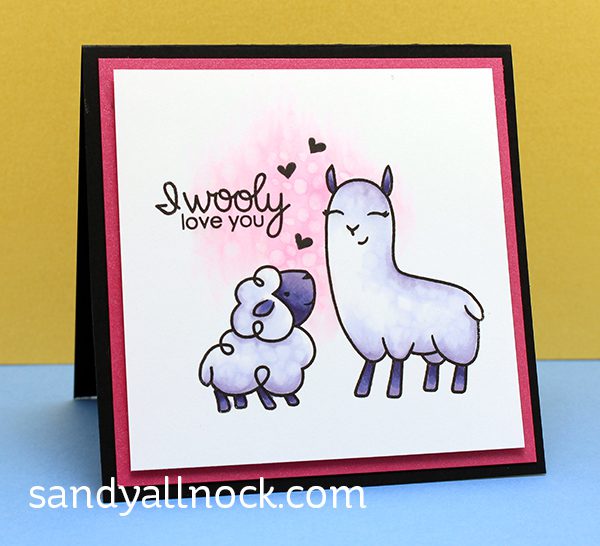
Sometimes a full background is too much. You need just a little something something….so add just a little wash of color to draw attention to your focal point – either the stamps or the sentiment!
So what exactly is a vignette?
Vignette: a small illustration or portrait photograph which fades into its background without a definite border.
Video
Gosh I love Paper Smooches stamps….the images have good heavy lines (easy for new Copic colorists) and simple shapes.
The bear looks pretty dark in photos – but in reality it’s much better. If yours gets too dark, add a little glossy accents to his eyes and nose and they pop right out!
Supplies
Some product may be provided by manufacturers for review and use. Compensated affiliate links are here at no cost to you. If you choose to shop using my EH (Ellen Hutson) links, please accept cookies on that site in order to retain the link to my blog, or that compensation does not happen for me. I appreciate your support of my work with your purchases! Full affiliate and product disclosure | My trusted partners in art
A little birdie told me there’s a 10% off sale at Ellen Hutson this week on all markers! Yes all markers!So to get you revved up, I figured I’d answer some questions I get asked a lot – and give you a heads up on a new class that’s around the corner.
PS an earlier version of this post listed the sale at 15%…I was wrong, sorry!!
How to store markers – vertically or horizontally?
The question never really came up until we were all told to store Distress Markers horizontally…then it got everyone panicking.
The rule of thumb: Look at the manufacturer website. Do they offer any storage options? Show any? They’ll show you the preference. But in general – the only markers that must be stored horizontally, as far as I know. are Distress markers. Everything else can go either way.
How do YOU store your markers?
I don’t have a “pretty’ system – no organized cabinets around this wacky studio. It’s cobbled together, but at least I’ve gathered all my markers in one area, right? Ha. The brown shelf pictured above is left over from a desk I once had. And the rest of the containers are pictured below – links in the supplies list at the end of the post.
What did you just say? New class?
Shhh! It’s a secret, just between you and me. It’s a Hex Art class I taught in my travels last year (peek at it in the photo at the top of this post), soon to be an online class – on the (shhhhhhhh) top secret new website. I don’t have a launch date yet, we’re tackling stuff behind the scenes. But it’s coming. Soon. (Please, God, soon. I’m losing sleep!)
If you’re looking for markers for the new class – it’s about the same list as for Copic Jumpstart.. If there were colors you didn’t get during that class that you wanted, this is a great time to stock up. (And if you haven’t taken Jumpstart yet – it’s the prerequisite for the new class, so….it’s a great time to nab a seat in class right now!)
And if you want ideas for colors for Jumpstart? Try this page – these will definitely get you through!
Supplies
Below are links to the supplies I’ve used for today’s project. Compensated affiliate links may used, which means if you make a purchase I receive a small commission at no extra cost to you. I truly appreciate your support toward the costs of running this blog! Read more.
Copic case – still a few left over on Amazon; case is being discontinued. If you wonder why this is my favorite, see the full post on Copic Storage here. LOTS of ideas for storing markers.
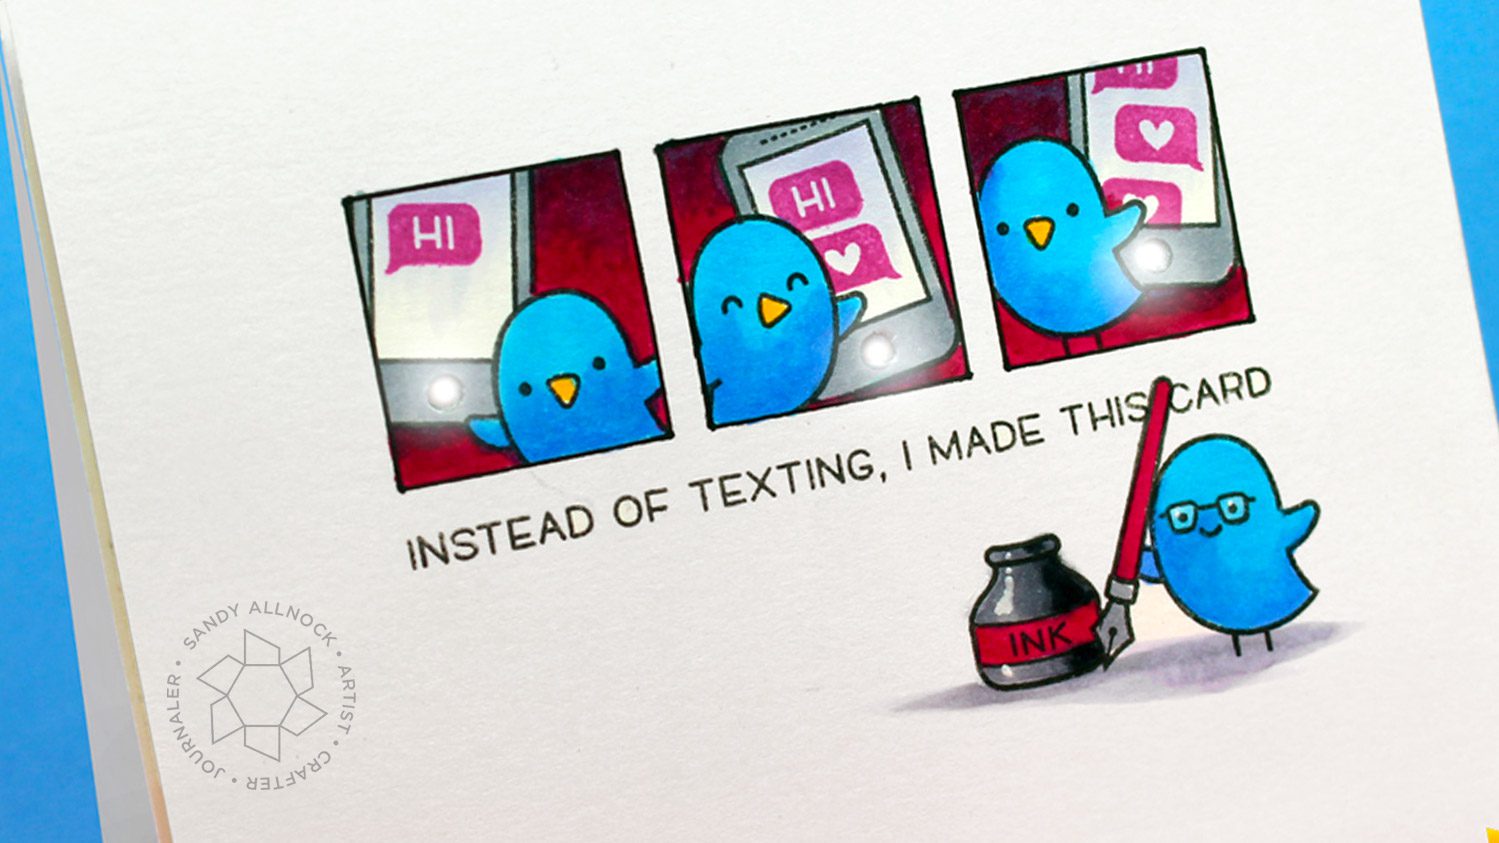
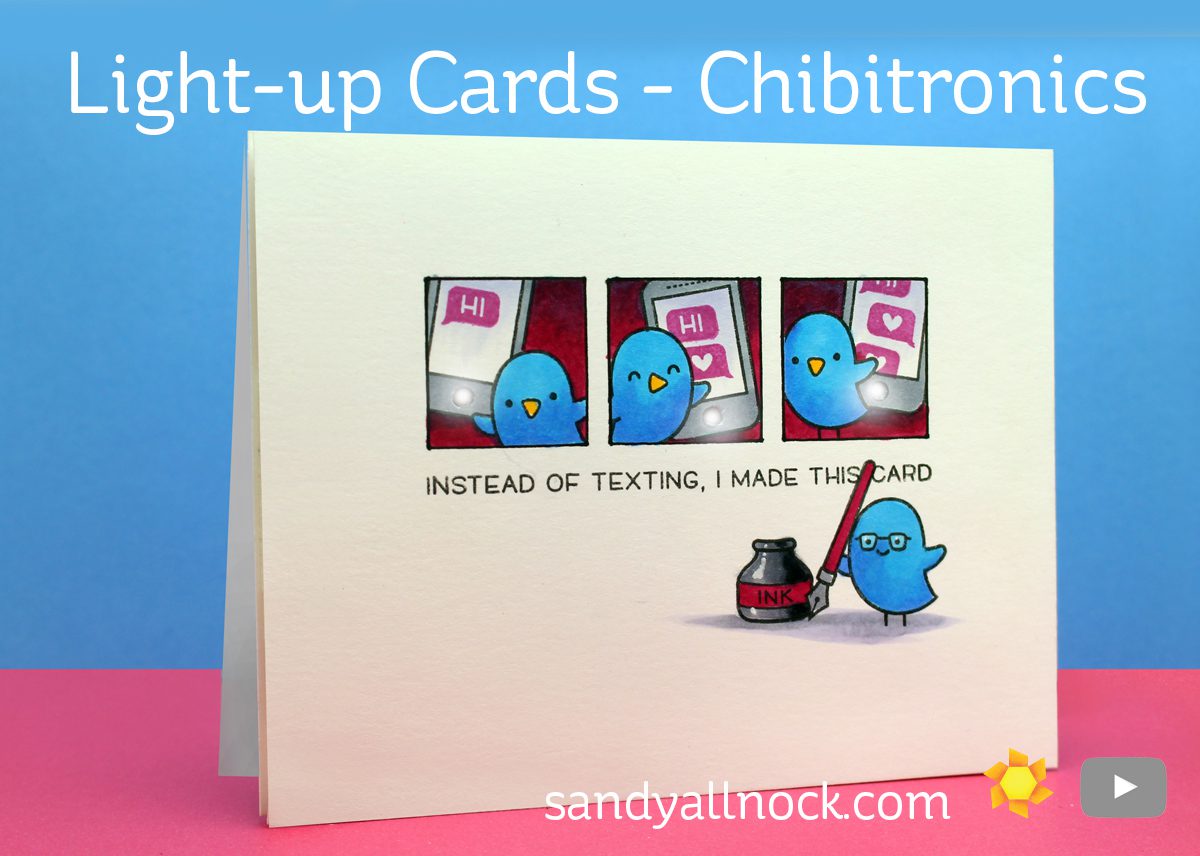
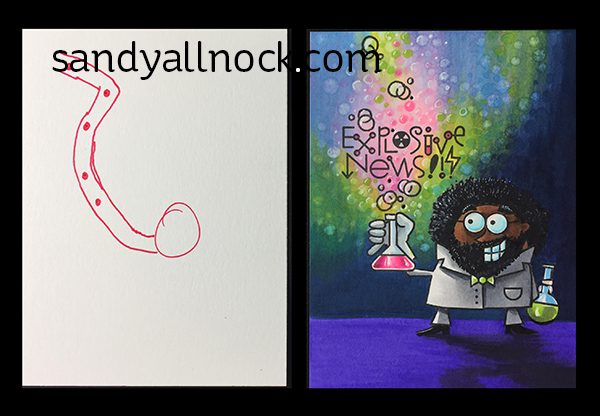
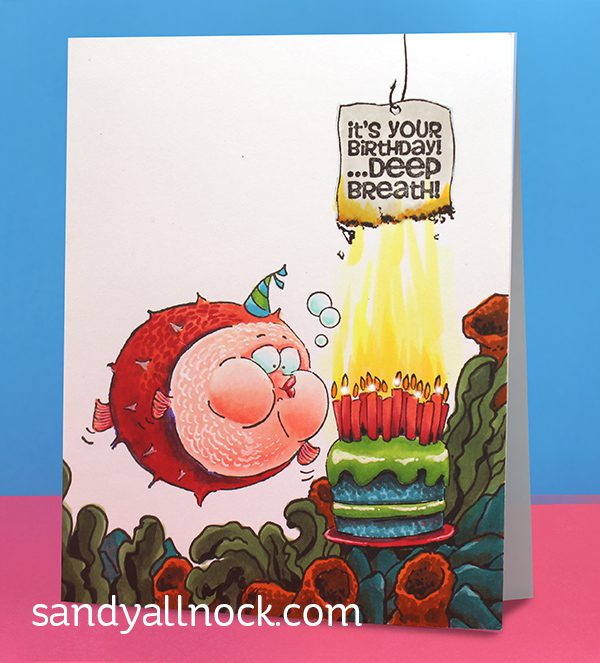
Chibitronics are a fun bit of “science” we can employ in crafting….creating a layer beneath our card front with circuits that “trigger” when a particular part of the card front is pressed. It looks harder than it is – I was scared at first, but it wasn’t so bad at all! Note that these are thick cards since you have to build up depth to keep the battery from being “on” all the time. Also, this isn’t inexpensive; but oh man. So worth it for some special cards! In addition to showing you the full main card (with the texting birds!), I made a couple others just to give you an idea of a few types of designs you can consider.
Video
Watch the video below or click HERE to see it in HD on YouTube.
NOTE: On these photos, I added light in photoshop, to indicate where the lights twinkle; to see them lighting up, refer to the end of the video.
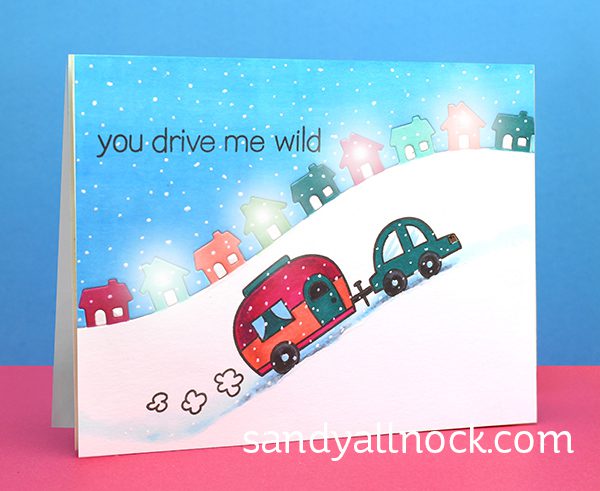
Drive Me Wild Card
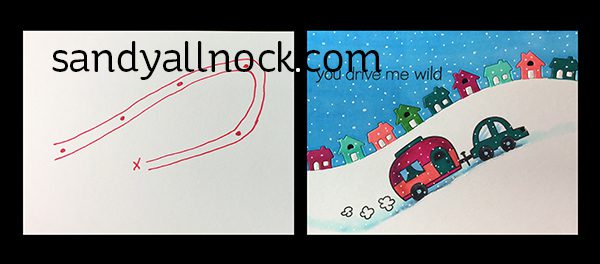
For this one, it involved diecutting the Little Town border die, and separating it to color the sky on the top half, and coloring the houses on the bottom half. I put them back together with scotch tape on the back, and re-installed the white doors and windows except for the 2nd story windows. Then I stamped the car and RV below, and colored them. Below is a photo of the pattern I used for the lights, ending with the battery underneath the RV.
Mad Professor
I colored this guy with my Copics, inspired by a physics professor from college – that man loved to blow things up! ha! I poked pinholes in a few random spots with a piercer, and added the Tropical lights to the electronic circuit shown below.
Deep Breath Card
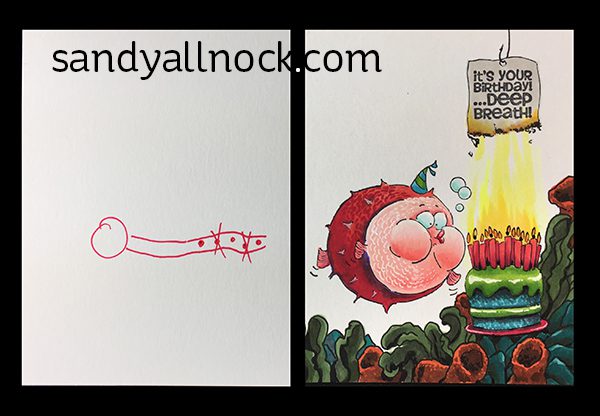
This is one of my favorite birthday card stamp sets! I’ve never colored it this way but it was fun – I drew the corals, as well as creating that burning piece of paper hanging from a fishing hook! The Chibitronics learning: I made the little holes too close together, so I couldn’t fit five lights within that space. HOWEVER – when you look at them lit up, the two yellow and one red lights that are used show through those other two holes, making it APPEAR there are more lights there. So be strategic and you might get more light out of the pattern you choose!
Supplies
Some product may be provided by manufacturers for review and use. Compensated affiliate links are here at no cost to you. If you choose to shop using my EH (Ellen Hutson) links, please accept cookies on that site in order to retain the link to my blog, or that compensation does not happen for me. I appreciate your support of my work with your purchases! Full affiliate and product disclosure | My trusted partners in art