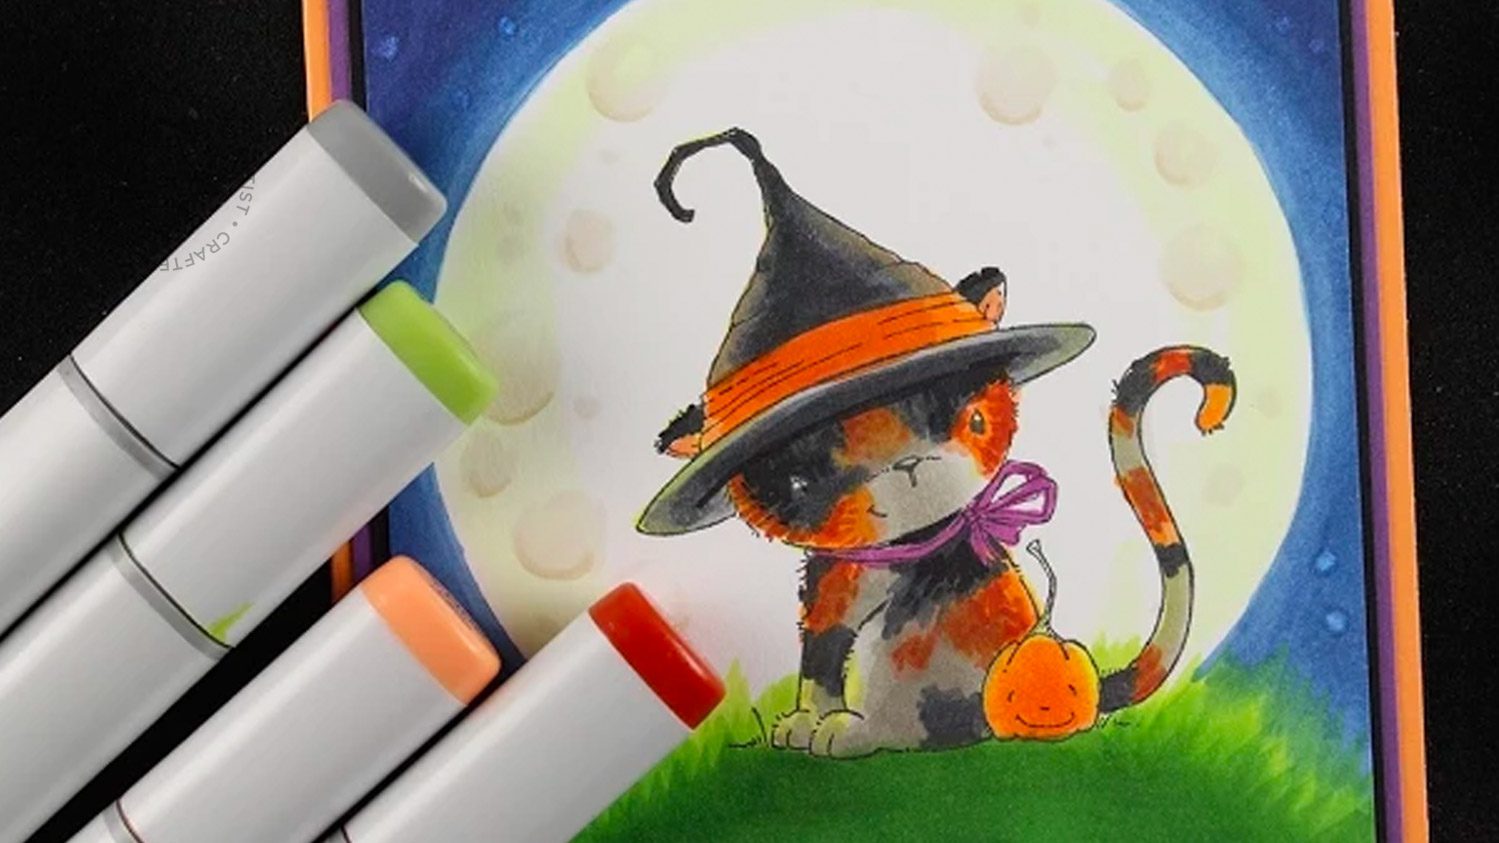
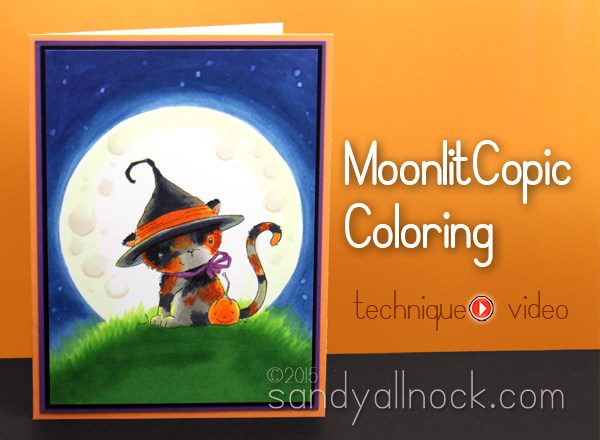
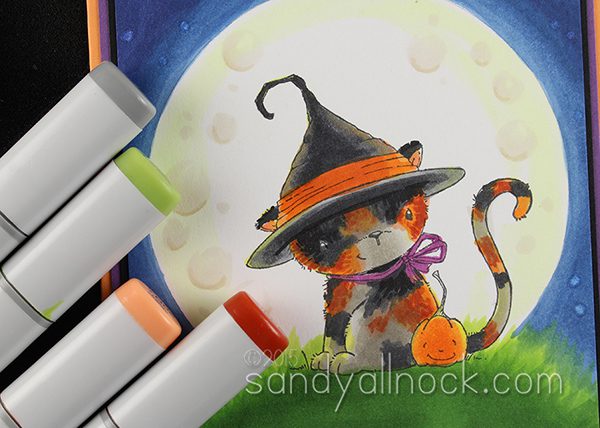
I’m back today with another crazy lighting video…I just love coloring anything that has challenging light sources! This is a little Stacey Yacula image called Midnight (from Purple Onion Designs), and it’s so sweet it just cried out for some special coloring!
Back-lit objects have a bit of a glow from the light that bends around the image. On this one, I struggled with how make the gold glow work – but once I was done, I was very happy with how the tones layered to make especially that hat look like it was truly backlit by a golden moon!
Video
Watch the video below, or check it out HERE on YouTube.
I just love how cute and fuzzy little Midnight came out – and that moon actually looked better than I suspected it was going to!
Supplies
Some product may be provided by manufacturers for review and use. Compensated affiliate links are here at no cost to you. If you choose to shop using my EH (Ellen Hutson) links, please accept cookies on that site in order to retain the link to my blog, or that compensation does not happen for me. I appreciate your support of my work with your purchases! Full affiliate and product disclosure | My trusted partners in art
Hello friends! And thanks for waiting for today’s video, I know lots of you were anxious to see it when I showed you the card on Tuesday!
I’m often asked for color combos for very specific items – and pumpkins are one of them. Quite possibly because, if you’ve noticed, there’s no “Orange” in the Copic color families in the color wheel. Why is that? Possibly because “O” would be confused with zeroes, I’m guessing. So we need to use YRs, Rs, and sometimes Es to make a good orange combination.
Video
Watch the video below or click HERE to see it in HD on YouTube.
If you liked that fun sky – be sure to check out THIS post I wrote a while back if you want to get started with airbrush and buy the right things at the level you’re ready to invest in. 🙂
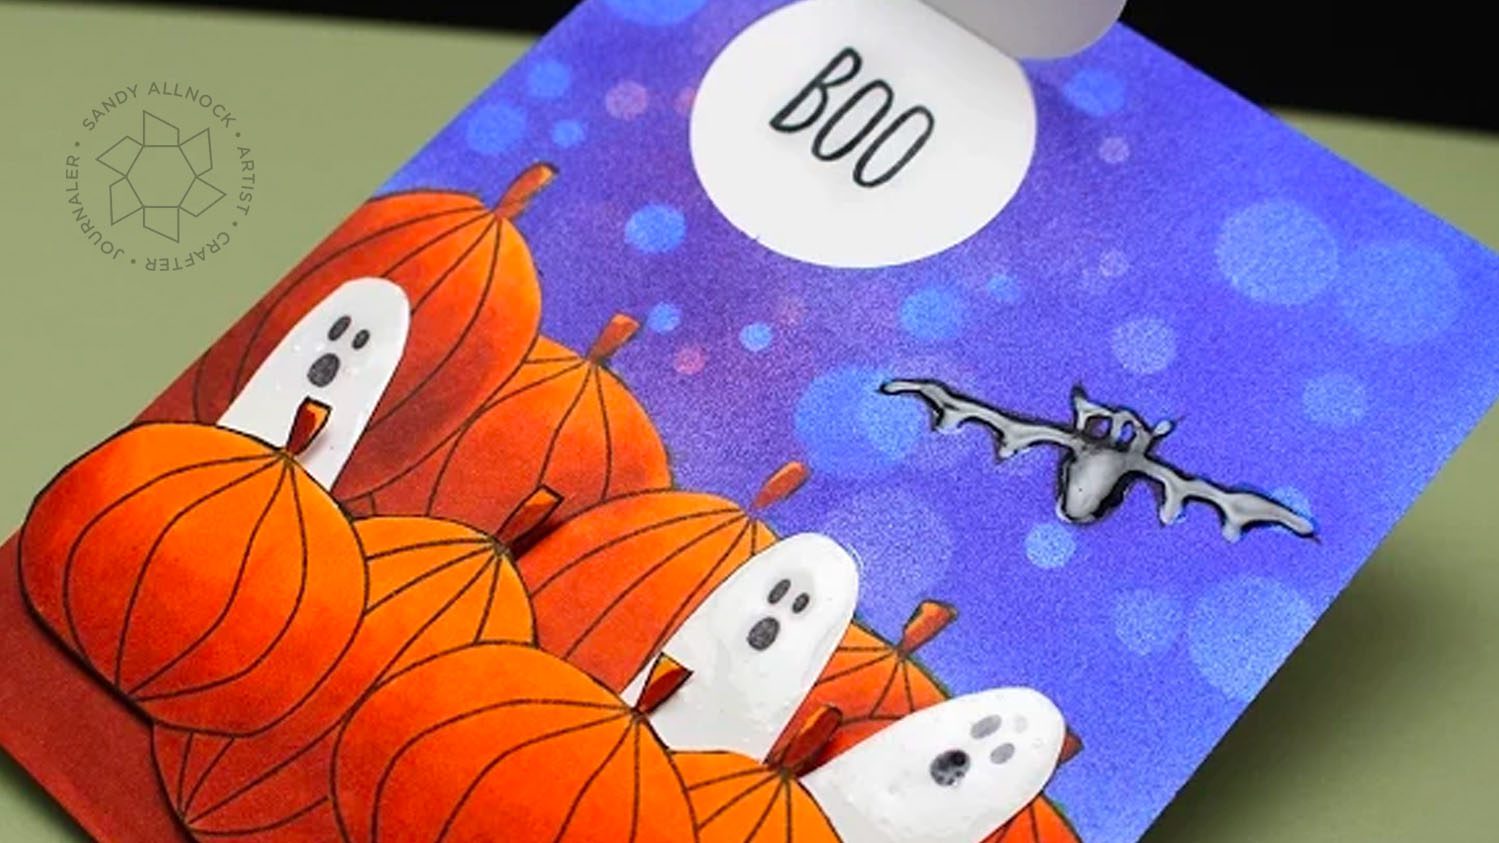
I think my favorite 2 parts of this card are 1) the layered pumpkins, with the front layer popped up on The Precious; and 2) the darling little ghosties from the Got Candy set! They’re so simple – and with the Glossy Accents they look so shiny in the moonlight!
Supplies
Some product may be provided by manufacturers for review and use. Compensated affiliate links are here at no cost to you. If you choose to shop using my EH (Ellen Hutson) links, please accept cookies on that site in order to retain the link to my blog, or that compensation does not happen for me. I appreciate your support of my work with your purchases! Full affiliate and product disclosure | My trusted partners in art
My second card uses this sweet little halloween stamp set called Got Candy – I love non-scary cards for halloween! Even the ghosties here are just adorable. On Thursday I’ll have the video posted to show you how to color this one – including all the perfect Copic colors to use for pumpkins. If you “need” (ha) this stamp set, drop it in your cart today while you get the poinsettias so you’re ready to roll when the video lands in your inbox. That moon, which opens to reveal a surprise sentiment, is from THIS die set from last year. #justcallmeyourenabler LOL! #sorrynotsorry
My second card uses this sweet little halloween stamp set called Got Candy – I love non-scary cards for halloween! Even the ghosties here are just adorable. On Thursday I’ll have the video posted to show you how to color this one – including all the perfect Copic colors to use for pumpkins. If you “need” (ha) this stamp set, drop it in your cart today while you get the poinsettias so you’re ready to roll when the video lands in your inbox. That moon, which opens to reveal a surprise sentiment, is from THIS die set from last year. #justcallmeyourenabler LOL! #sorrynotsorry
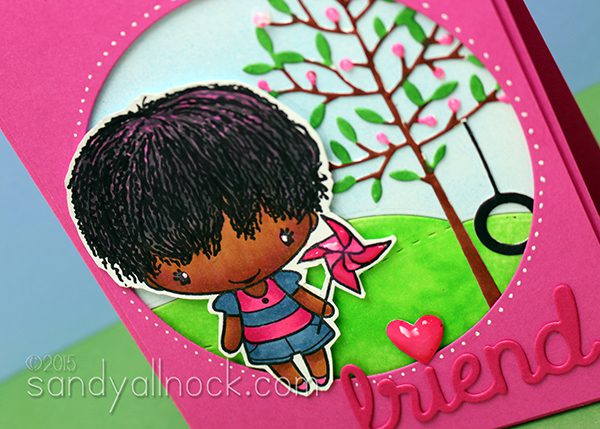
Today you can watch the transformation of a stamp from one ethnicity to another! I had colored this in a class, and then shared it on Instagram later – and so many people wanted to see it happen that I made a video. You’re welcome!
Transforming Twirl Anya
As you may know if you’re a follower, I’ve been encouraging people to start coloring their stamps in different ethnicities. The craft world can do our little part to contribute to the beautiful diversity around us if we try! In today’s video I’ll show you how you can take a stamp like Twirl Anya and change her from the way she’s usually colored – a little caucasian gal – to a darling girl with deep skin and ringlets in her hair! Watch the video below, or click HERE to see it in HD on YouTube.
There are many stamps you can transform in similar ways; simply ink them up and “wipe” the lines of hair off with a babywipe before stamping. You can draw in your own hair! Or do as I did in this one, hiding the lines of the hair within dark lines for the ringlets.
Supplies
Some product may be provided by manufacturers for review and use. Compensated affiliate links are here at no cost to you. If you choose to shop using my EH (Ellen Hutson) links, please accept cookies on that site in order to retain the link to my blog, or that compensation does not happen for me. I appreciate your support of my work with your purchases! Full affiliate and product disclosure | My trusted partners in art
Sometimes I make videos based on very very specific requests – this Coloring Glass tutorial iss one of those! It may take some time but I do try to do things you guys ask for. Especially from any of my patrons. 😉
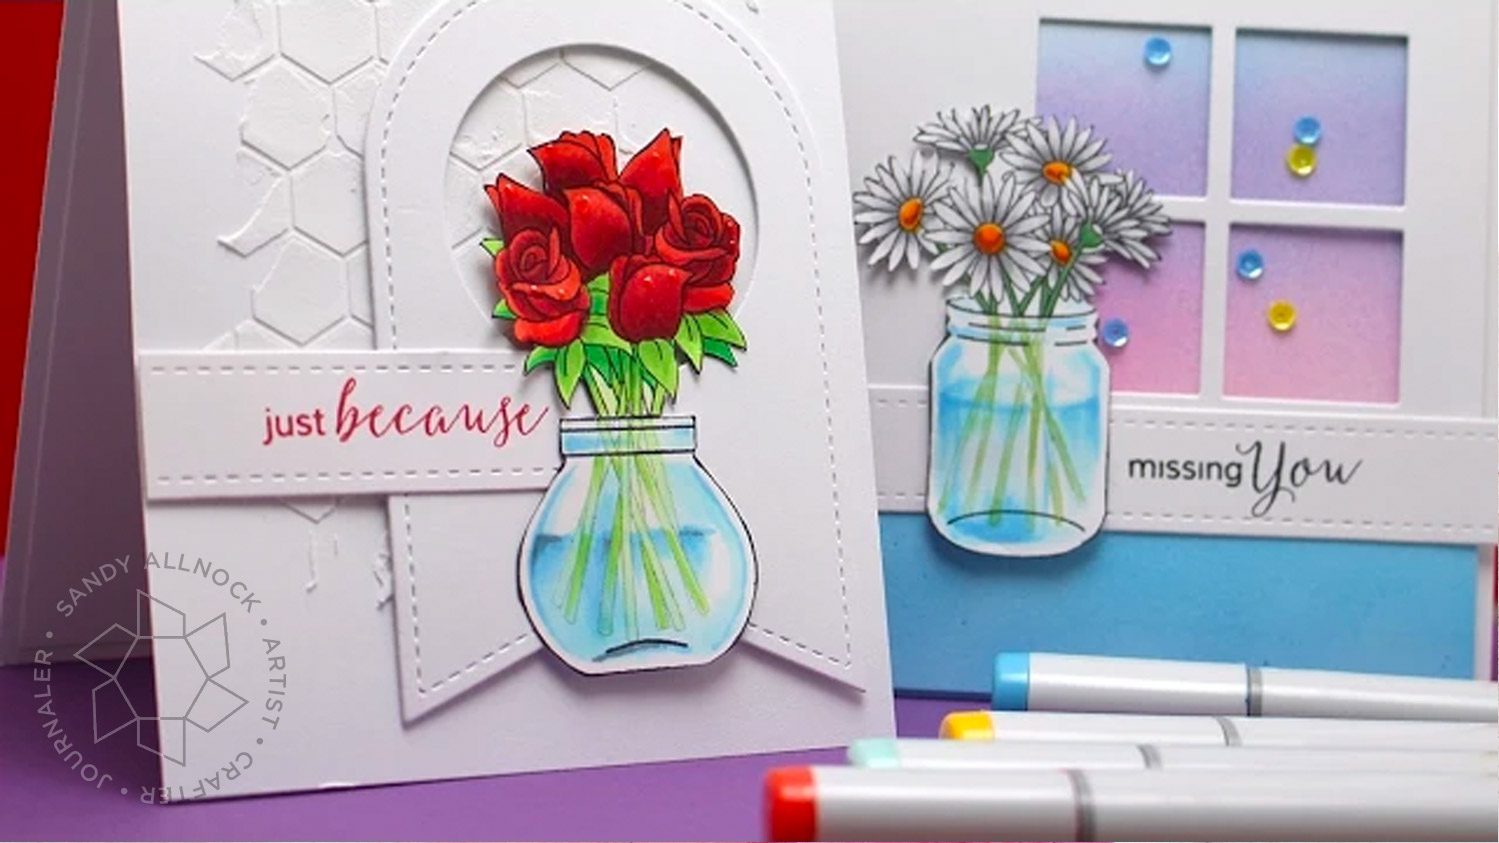
There are a LOT of vase and jar stamps out there. And they seem to fall into a couple categories – side views (tops of the jars are perfectly flat), or a variety of angles from above (with an oval opening)….as well they can be straight along the sides, or some rounded shape. In today’s video I show you each of those with this awesome stamp set from Clearly Besotted that I saw just happened to have both kinds of jars – so I bought one to use especially for this video!
The daisies card uses the straight-edged shape of vase, and the top is the rounded, shown from angle in the drawing. For the window on the card, I used a die set, and some sweet little sequins…for some reason I can’t seem to deal with anything larger, I had 6mm on this card and they just seemed to overpower it!
For the roses, I wanted the flowers to be the only pop of color – so I opted for white paste used with a hexagon stencil (what other shape is there? lol ever since the HexChart I can’t stop…haha!)….then added more PPP dies. See those little water drops? Glossy Accents! Love that touch.
Hope this was a helpful tutorial for everyone – it was fun to finally check one off my long list! Wheee!
SUPPLIES
Some product may be provided by manufacturers for review and use. Compensated affiliate links are here at no cost to you. If you choose to shop using my EH (Ellen Hutson) links, please accept cookies on that site in order to retain the link to my blog, or that compensation does not happen for me. I appreciate your support of my work with your purchases! Full affiliate and product disclosure | My trusted partners in art
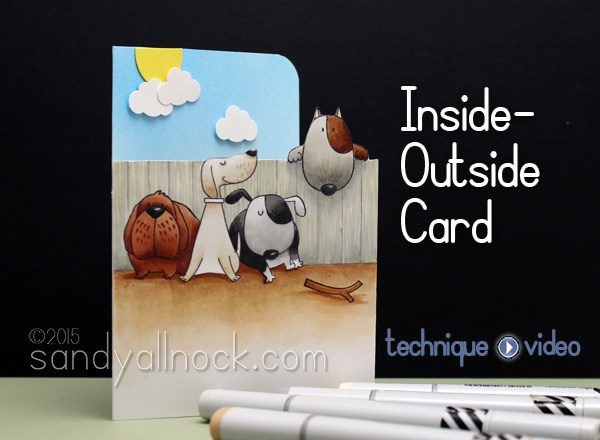
Oh me oh my. I’ve been dying to share this Inside Outside Card with you but have been waiting for it to be back in stock. (I get so frustrated when I go to buy something and it’s all out!) That said – they might go fast after this video. Just saying!
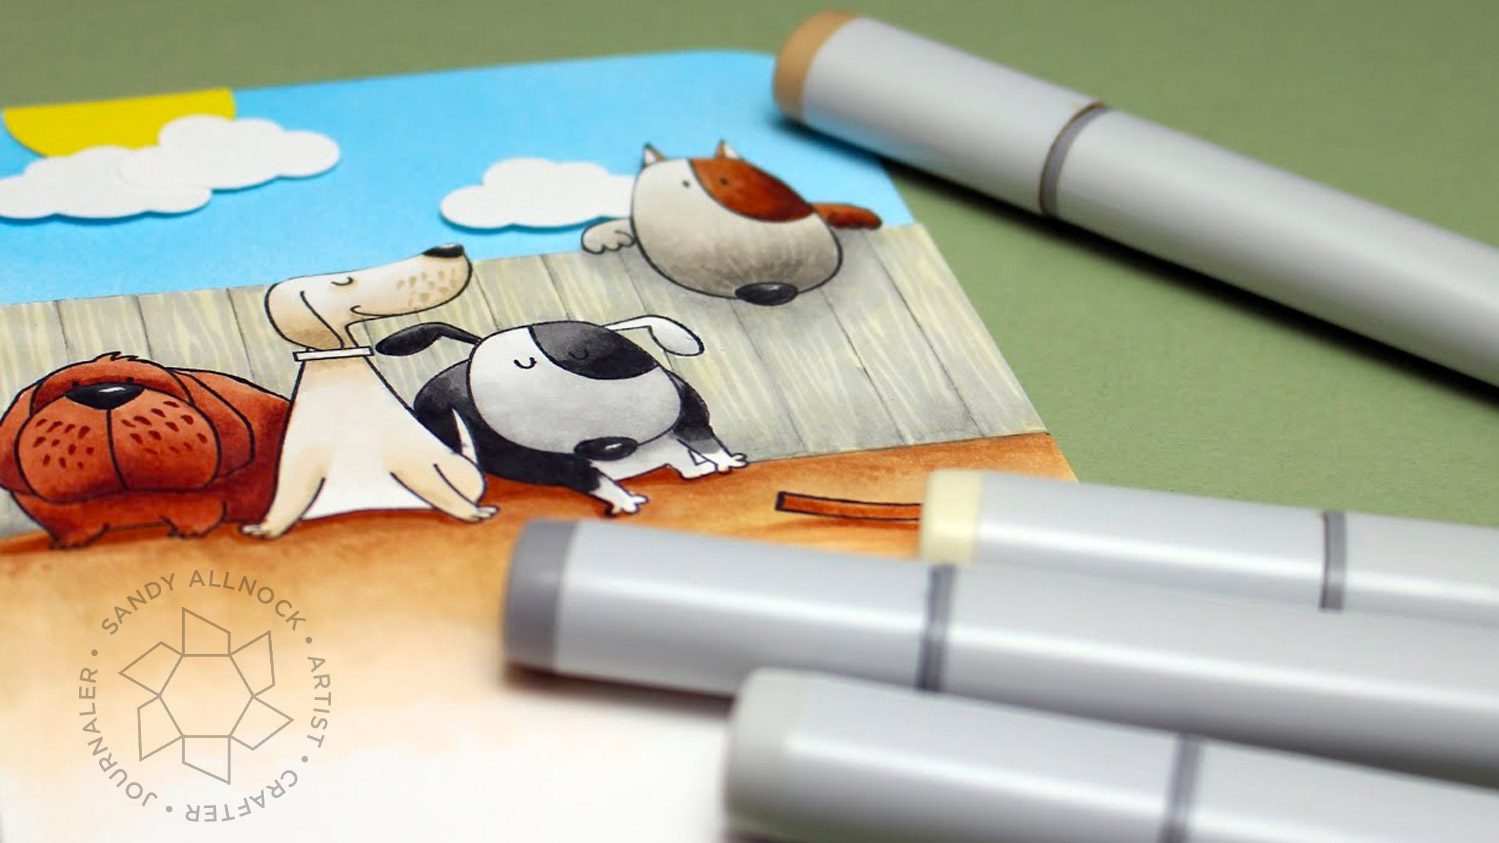
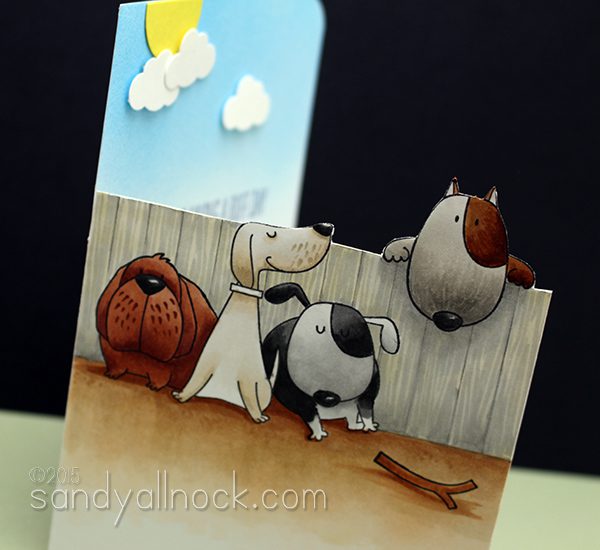
There are a few stamps that lend themselves well to having something going on both inside and outside – those somethings that line up. And when I saw Make My Tail Wag from My Favorite Things, I just knew I had to create a scene that continued from the outside to the inside of a card! It’s all done on the 80# Neenah, too (available in a 25 pack or ream) – the 110 would have been too thick for the layers on the front. Watch the video below, or click HERE to watch in HD on YouTube.
So much FUN, don’t you think? It may have taken double the coloring time for this, but it’s totally worth the impact of that inside outside image. If you know of other stamp sets that would be perfect for this, let me know, I need to do it again! 🙂
I think the poor pup who’s lost his stick needs some new friends. Whatcha think?
How to align the stamping, inside and out
I didn’t film the stamping part – it took a bit to figure out using my MISTI – but basically I stamped the dog peeking over the fence for the inside first, and stamped one on tracing paper. I flipped it, then was able to line up the face for the other side. Does that make sense? If not I’ll try to do this with some other stamps sometime to show you the process. Way fun and easy once you get the hang of it!
SUPPLIES
Some product may be provided by manufacturers for review and use. Compensated affiliate links are here at no cost to you. If you choose to shop using my EH (Ellen Hutson) links, please accept cookies on that site in order to retain the link to my blog, or that compensation does not happen for me. I appreciate your support of my work with your purchases! Full affiliate and product disclosure | My trusted partners in art
My Favorite Things, You Make My Tail Wag —- no longer available