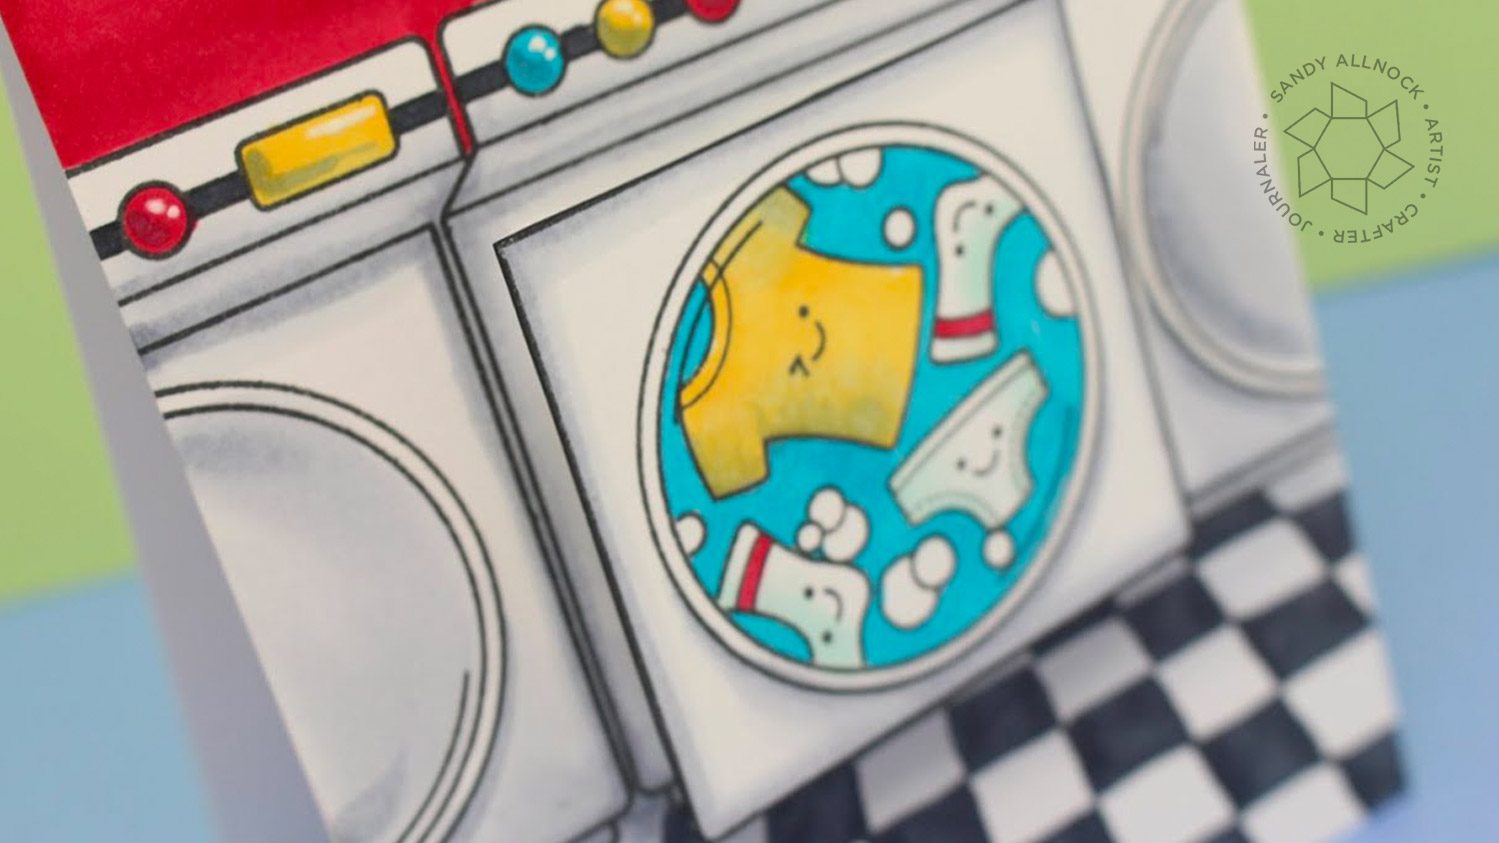
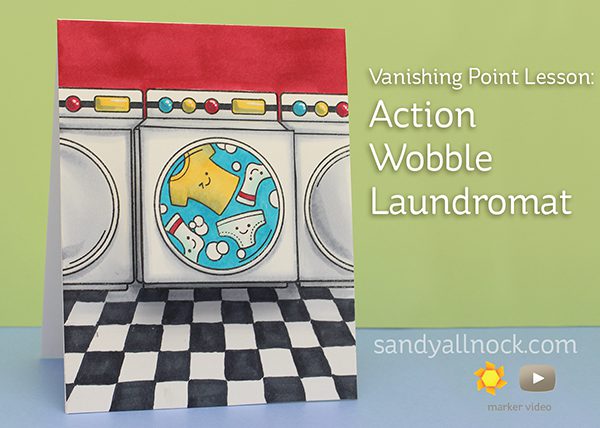
While lots of folks will make what is intended from this stamp set – a darling shaker card with floating clothes inside – you know me. I had to go a different route. And made this MY washer….that shakes!
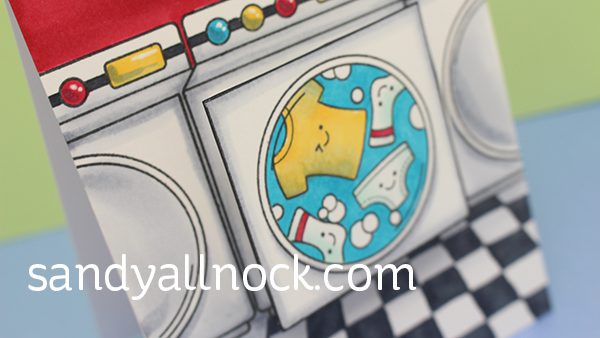
I knew I wanted the washer to bounce around, so an Action Wobble was a necessity. But then I started thinking about what the scene would be. What would be around it? Is this a washer in my home? And it hit me. No, no, no. This is that crazy laundromat I used to go to in college. With all the shaky washers! We’d have to sit on top of them while the laundry was going just to keep the noise to a minimum! hahah! So I added the flooring, black and white tile, following with the same vanishing point of the washer stamp. And figured an art lesson would be just dandy in this video! Hope you agree.
Video
Watch the video below or click HERE to see it in HD on YouTube!
I kept the color range fairly minimal – yellow, red, blue, with all that black and white.
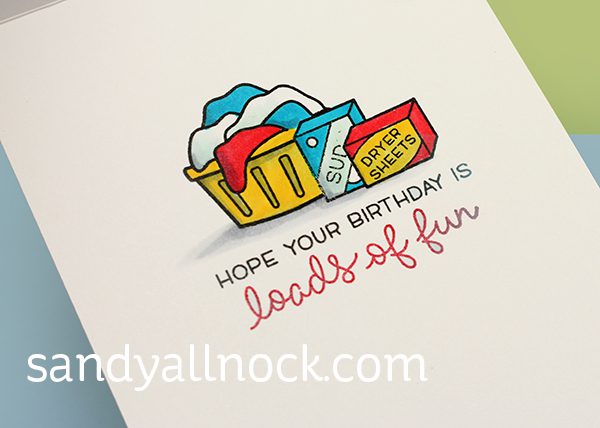
And I used the same color scheme on the inside, keeping the shading in simple greys as well.
Supplies
Below are links to the supplies I’ve used for today’s project; click on the listed items to go directly to it. Affiliate links may used, which means if you make a purchase I receive a small commission at no extra cost to you. I truly appreciate your support toward the costs of running this blog! Read more.
The sweet little sheep stamps totally inspired today’s card. I thought they were so darling they could be storybook illustrations! So I decided to see if I could create a soft, whimsical look with them, and thought colored pencil would be the perfect medium. The background would have been daunting – but my Copic airbrush completed the sky in the blink of an eye – nice and smoothly!
Video
Watch the video below, or click HERE to see it in HD on YouTube!
The card is a square 4-1/4″, and the image area a simple 4×4 on Neenah Cardstock. I stamped the images in Natural Hybrid Ink, masked them off with post-it tape, and airbrushed up that sweet sky. I found a Prismacolor pencil that was the same shade so I could touch up a few tiny areas that I missed with my imperfect mask-cutting!
I diecut the piece with the Wonky Stitched Squares – at first I wasn’t sure of these dies, but suddenly realized – it’s only the stitching that’s wonky. The outside edge is perfectly square for the need-to-be-squared-off part of my brain!
The sentiment was added in three parts using a MISTI to align it all; the “Ewe” on top of pencil worked since the yellow hadn’t gotten very waxy, and the rest of the sentiment was just on top of airbrushing – easy peasy to stamp on!
Bonus video
I’ve been creating some quick tips videos on my second channel (same one where the vlogs are) – just a minute long – and today’s is on the sharpener and storage for my pencils that I’ve found works best for me. Check it out below or watch HERE in HD on YouTube.
Supplies
Some product may be provided by manufacturers for review and use. Compensated affiliate links are here at no cost to you. If you choose to shop using my EH (Ellen Hutson) links, please accept cookies on that site in order to retain the link to my blog, or that compensation does not happen for me. I appreciate your support of my work with your purchases! Full affiliate and product disclosure | My trusted partners in art
My Favorite Things, Ewe are the Best by Birdie Brown —- no longer available
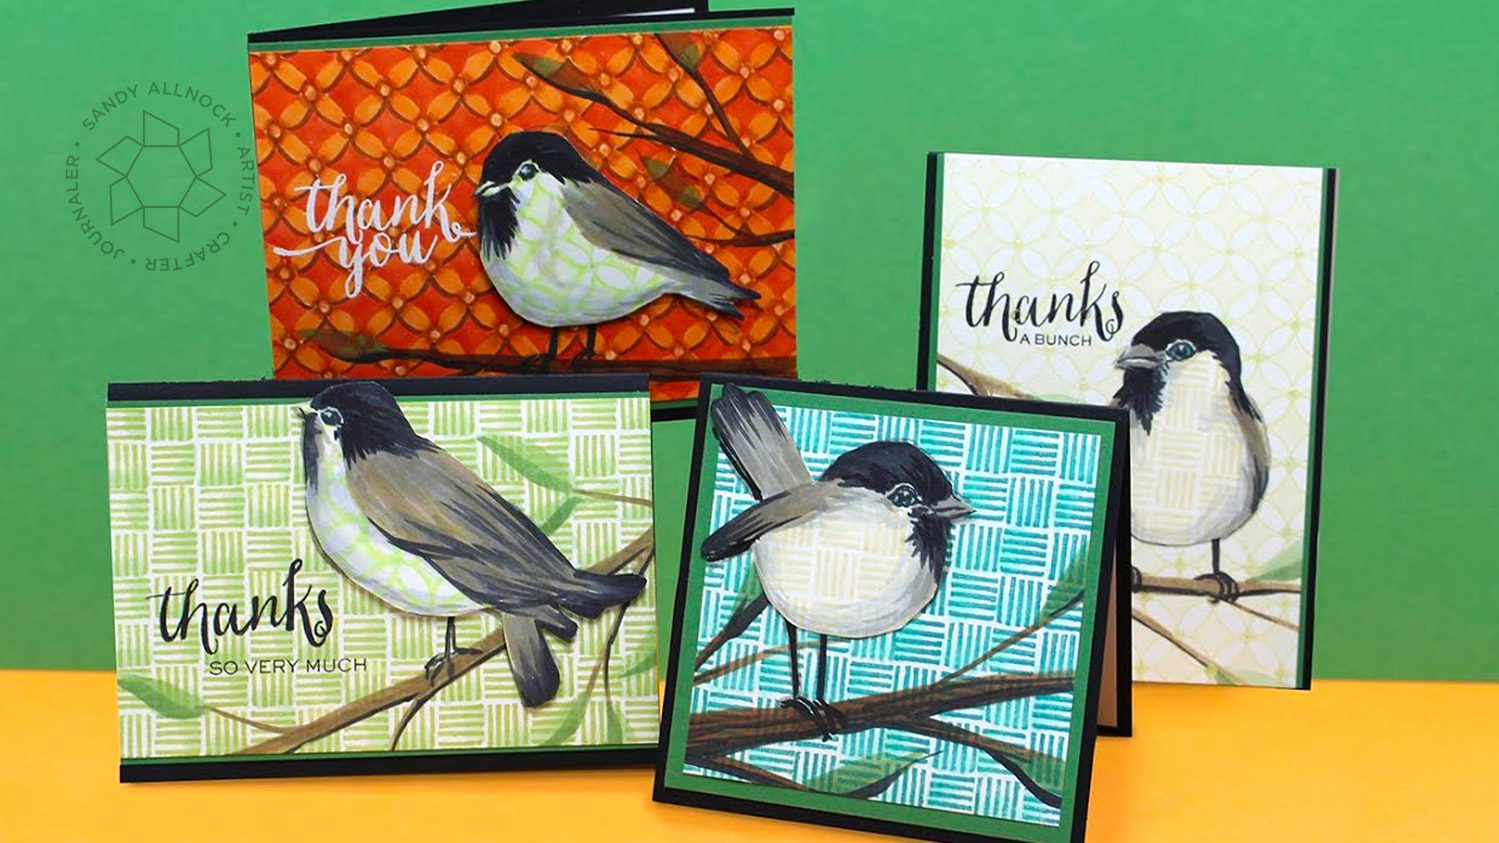
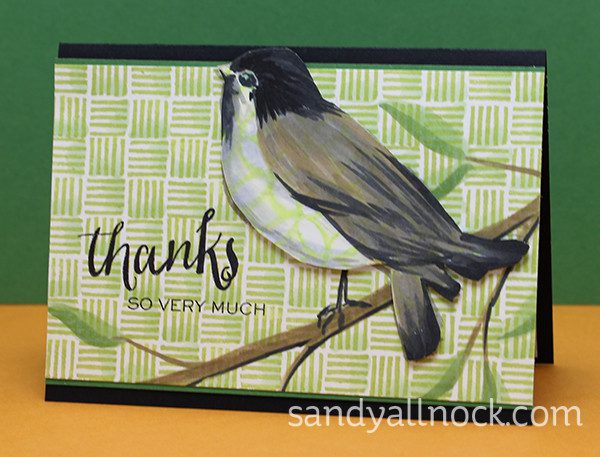
With many bird stamps – you can change them up to make them into other bird species than they were drawn to be. As we learned in the first part of this card – dye inks “move” with Copic markers; stamping second-generation birds (stamping once on scrap paper so it stamps more lightly) allows you to change up the details to match the kind of bird you want to make.
(This is part 2 of this card – click HERE to see part 1!)
The strong markings of chickadees really lend themselves to this technique well – and even though these Scribbly Birds probably aren’t chickadees, it’s pretty easy to turn them into that species.
Video
Watch the video below, or click HERE to see it in HD on YouTube.
After creating and fussycutting my birds, all I had left was figuring out layouts and adding branches to the cards. I kept the Copic work very soft and loose so the birds would really pop against the sketchy lines.
The birds were also lined on the back with StickIt before cutting them out, so they were easy to peel off and add to the cards – or to add to dimensional adhesive.
The more intense the Copic color on the background, the more intense the branch and leaves need to be, so amp up the color. The same idea probably applies to printed patterned paper – lighter papers with similar colors will be easier to see coloring on. Stronger contrast will make detail colored on top – as well as stamping – difficult to see. So try working with tone-on-tone for best results.
I hope you’ll get your bird stamps out and have a fresh look at them…see if they are chickadees in hiding!
Supplies
Some product may be provided by manufacturers for review and use. Compensated affiliate links are here at no cost to you. If you choose to shop using my EH (Ellen Hutson) links, please accept cookies on that site in order to retain the link to my blog, or that compensation does not happen for me. I appreciate your support of my work with your purchases! Full affiliate and product disclosure | My trusted partners in art
Stacey Yacula has done it again – given me so much cuteness to use for setting up stamped scenes! She designs stamp lines carried by Purple Onion Designs – and I love being invited to help share the darling images from Snowflake Grove with you! (They sent me the stamps I’m using, yay! I receive nothing from your purchases though – I just adore these stamps and want to share!)
Lots of you ask me about my thought process as I develop scenes on my cards….so today I’m treating you to three scenes! I didn’t film all the crazy masking, but instead you get to watch the coloring while I talk through how the scene came together, and why I put what where. Notes are below as well.
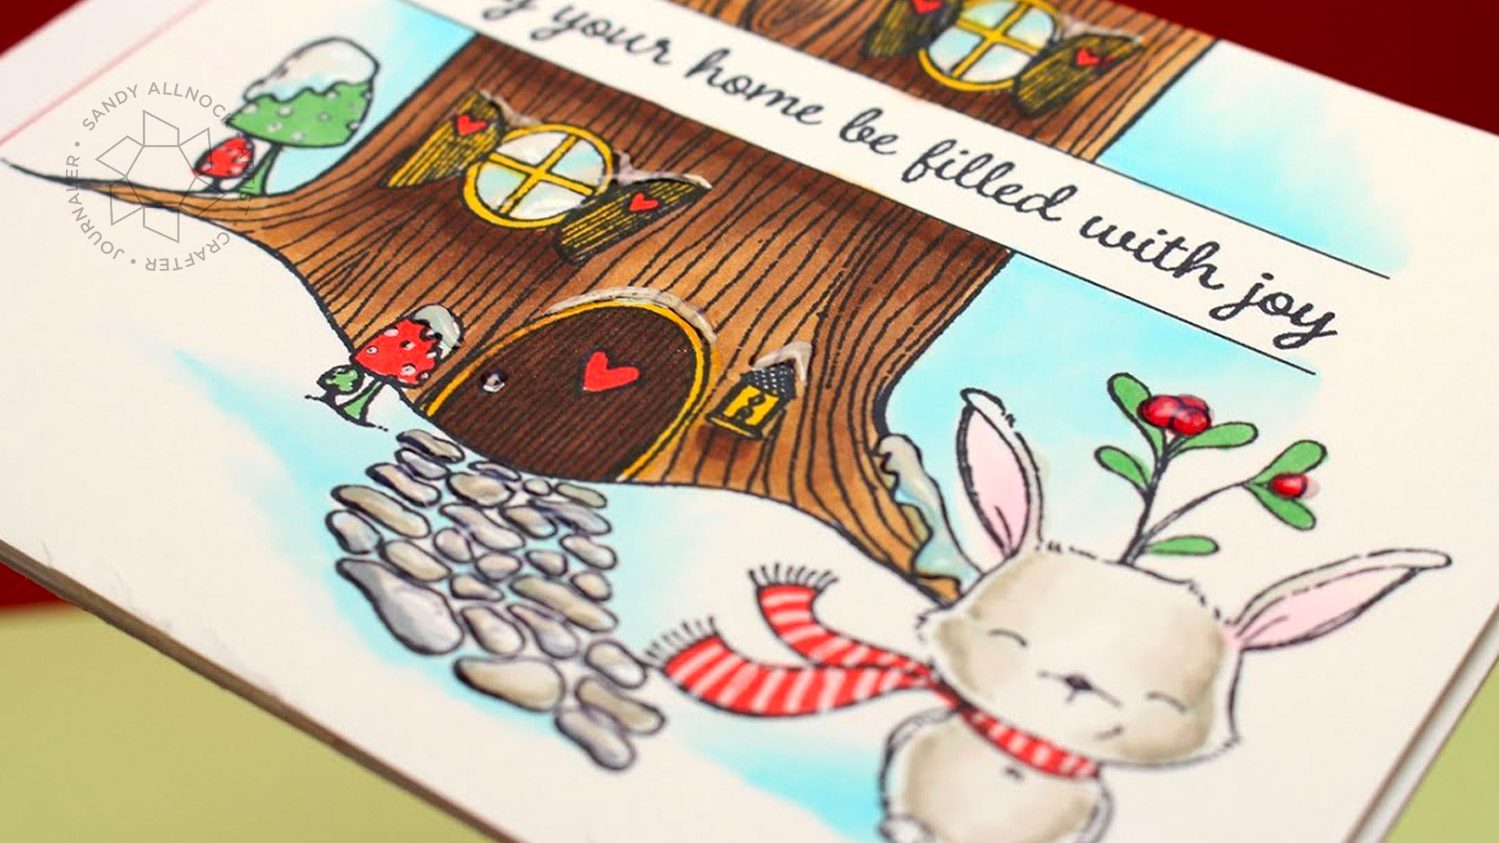
The tree stamp in the first card comes with all its bits – the path, the mushrooms. I split it to make it a taller tree and slip the sentiment in the middle. The order of stamping was first the bunny, then mask, then the house bottom with the white sentiment area masked off. I moved the house up so the window at the top was above where I wanted the sentiment…then added the sentiment itself. Glossy accents finished off the glass windows, the snow, and the path.
This one was more of a masking bit of craziness. The raccoon in front was originally going to be in the center in front of his little market stand, until I realized he’d disappear in all that detail. So moved him off to the side, and stamped him and the candy cane bin first. Next I masked both of those, and added the market stand, then inserted the items on the counter and the decorations. Once it was all done there was a vacant space on the upper right side – red flowers seemed too…..well, too much. So I went for white hearts instead, and added glossy accents on all the snow and candies and hearts.
The third card is round, with the moon at the center…the bridge is centered underneath it, and the sentiment on top, but the snowman isn’t centered – which makes it not only more interesting, but allows for that swoosh of sparkly snow (and Glossy Accents) to move around the open space.
Supplies
Some product may be provided by manufacturers for review and use. Compensated affiliate links are here at no cost to you. If you choose to shop using my EH (Ellen Hutson) links, please accept cookies on that site in order to retain the link to my blog, or that compensation does not happen for me. I appreciate your support of my work with your purchases! Full affiliate and product disclosure | My trusted partners in art
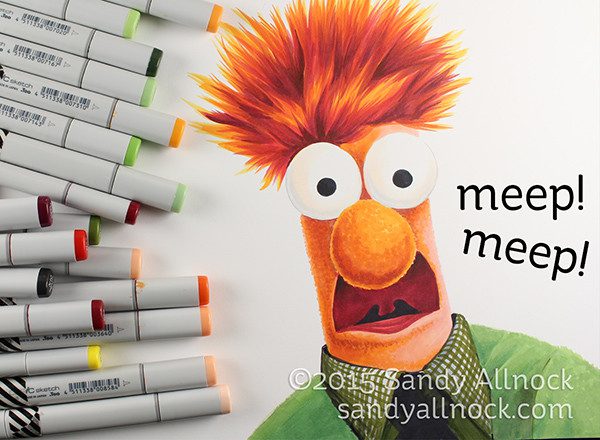
I wanted to celebrate the return of The Muppet Show: Drawing BEAKER! Best.Muppet.Ever. MEEEEEEEEP!!!
I took a day “off” yesterday and was messing around with my Copic markers, and thought to turn on the camera. So you get an extra treat this week. And what better than a Muppet – did you see the first show last week!? Tune in tonight to see the second! (I watch it OnDemand since I gotta see The Voice live…lol!)
Get out there and have a meep meep day!
Supplies
Some product may be provided by manufacturers for review and use. Compensated affiliate links are here at no cost to you. If you choose to shop using my EH (Ellen Hutson) links, please accept cookies on that site in order to retain the link to my blog, or that compensation does not happen for me. I appreciate your support of my work with your purchases! Full affiliate and product disclosure | My trusted partners in art