A small diversion: Valentines critters

A small diversion: Valentines critters

I’ve got a super quick post with a heads-up presale today! No major new tutorial video but there’s a short that might be of help:

CCC release: Anita Jeram’s latest

Amy and Adrienne sent me some of the new release to color up; there are more stamps in the release, I just didn’t have time! Later in this post are the stamp pics if you want to see what the sentiments are in the sets. And, of course, to see what it started out as before I did my implied-line coloring! Plus a bit about supplies—and a giveaway from them – and me!

Preorder sale, 4 days only

Colorado Craft Company is hosting a PREorder of the new Valentines right now. Here’s the deal:
Pre-sale for 4 days only.Ā Shop from the releaseĀ for those 4 days onlyĀ until the stamps and dies are fully stocked in two-ish weeks. At the end of the four days the items will be removed from the website until they are in stock.
Pre-orders get free shippingĀ (or international shipping of $12) — all 4 days. You’ll receive your order in 1-2 weeks.
If you wait until everything’s in stock in 2 weeks, you cover your own shipping.Ā 

While you’re visiting my blog…

If you’re new to my blog – WELCOME! And if you’ve been away a while, GOOD TO SEE YOU AGAIN!

I have two quick things I want to invite you to do:

1. Join Artventure and check out the “Let’s draw together” initiative! Whether you like to draw, hate to draw, or just fear it — I hope to make it a way to join the community as we learn together.

2. Add yourself to the newsletter list below – I send out a Saturday newsletter with all the info about tutorials from the week, some flashbacks, sale info, BTS peeks and more.

Subscribe to my weekly newsletter, Creativity In Your Inbox

* indicates required

Stamps

Tap on any image to go straight to their shop!

The supplies

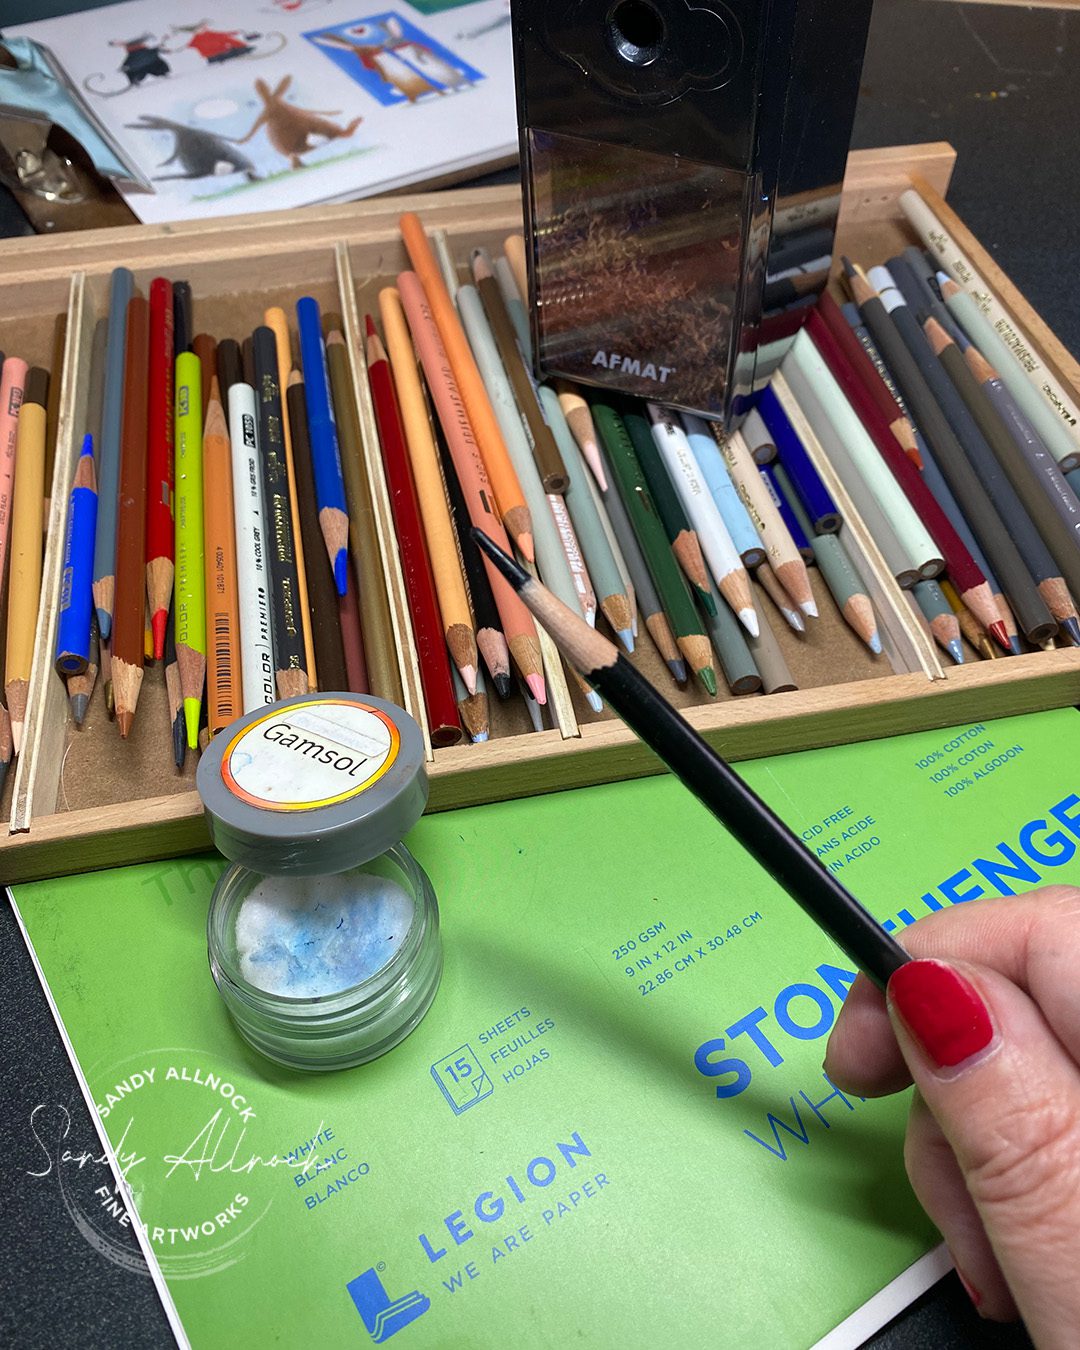
A couple common questions I get when posting colored pencil work:

Favorite paper for pencil coloring? Stonehenge.

How do you get those long points? With an Afmat Long Point Pencil Sharpener.Ā 

Preferred colored pencils? My go to of late are Prismacolor pencils.

What’s in the gamsol jar? Gamsol. tongue-outĀ  Gamsol is a blending solution and I put it in a small jar with a lid, soaking a cotton ball, so it won’t spill. Because I am a klutz.

Why don’t the black stamp lines show in your art? I like to do “implied line” (sometimes called no-line in crafting) artwork. I stamp the images with a light ink, then color right up to that edge so the lines disappear. I have plenty of freedom to change things up – like with the trees in the short video, they can be any shape since the pencil covers the lines.
 

A drawing with several blending techniquesĀ 

The pencil sharpener

Tomorrow – my palette and yours!

My video coming out tomorrow is about curating your own watercolor palette. I’ll show you what’s in mine, with all it’s scary changes for 2024, and maybe convince you that YOU also need to curate your own! Bookmark the blog or wait for the newsletter in the morning. OR if you’re an IG addict, go to my page and join my free “Create every day” broadcast channel – basically a giant DM where I can drop links to my tutorials etc!

The giveaway!

As always CCC is giving away some goodies:

CCC will give away one free clear stamp set to one of my commenters!
If you use any of my affiliate links on this post to make a purchase, you will be entered to win the entire release!
Comment up until Midnight (ET) Jan 22nd.
CCC will announce the winners Jan 24th on their blog.

I am ALSO giving away the sheet of colored stamped images!! You can cut them up and make cards, stick it in a reference book, whatever you like. I’ll announce my winner in my post on Tuesday the 25th.

To qualify to win

Leave a comment and tell me who YOUR valentine is. (And it’s totally ok if it’s your grandchild or pet!!)

 

The bloghop:

Sandy Allnock <—that’s me, last but never least!
How to sketch latte foam art (3 mediums)

How to sketch latte foam art (3 mediums)

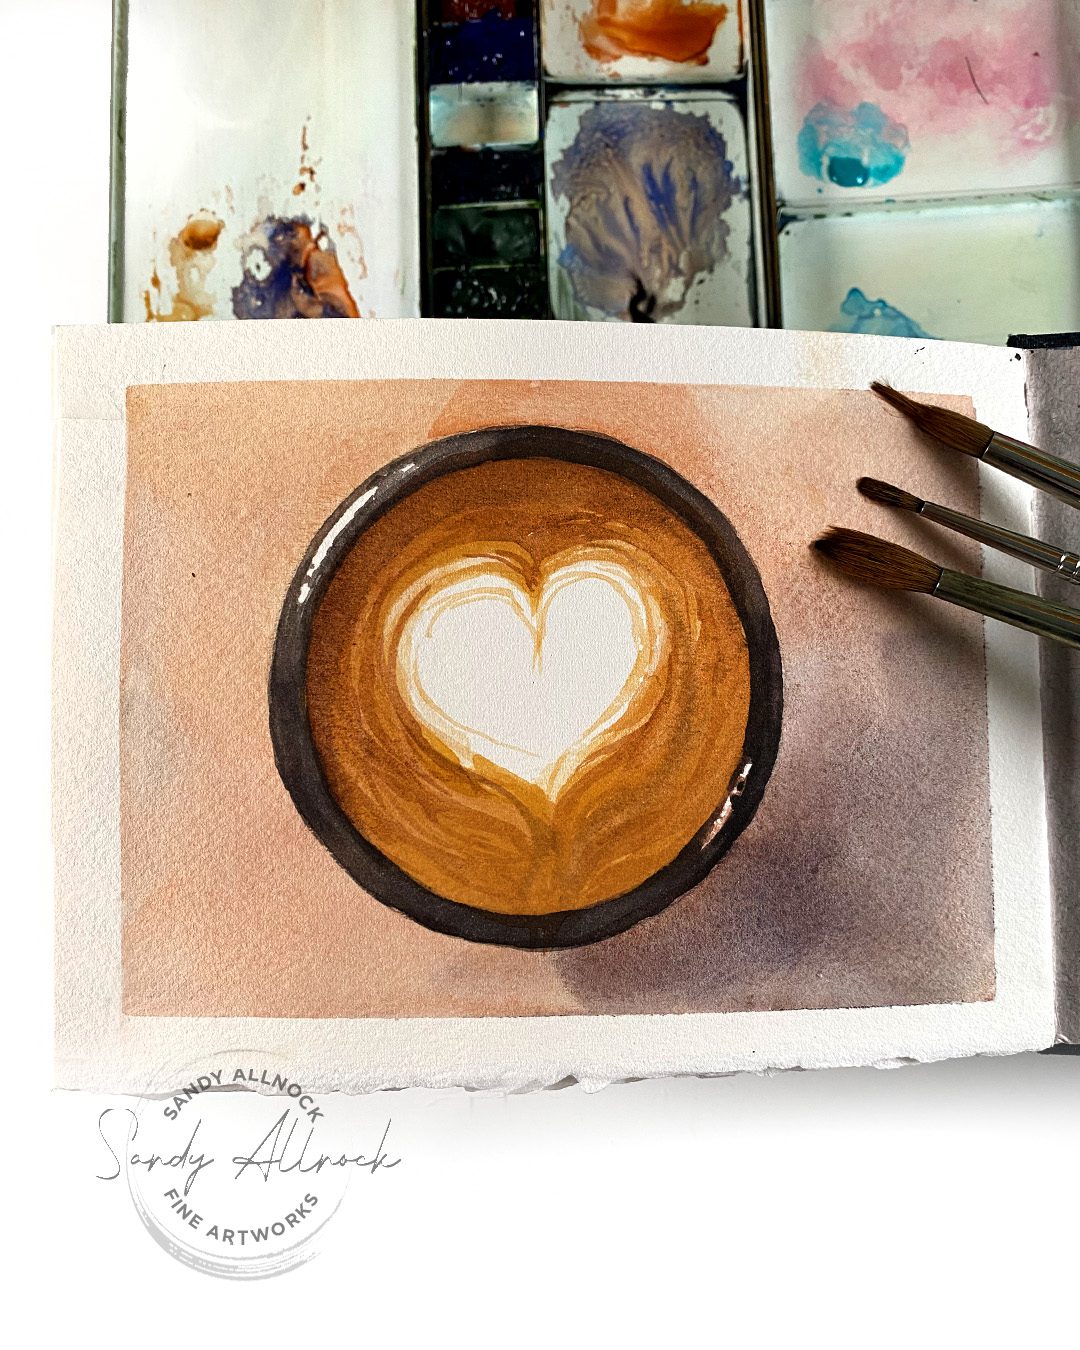
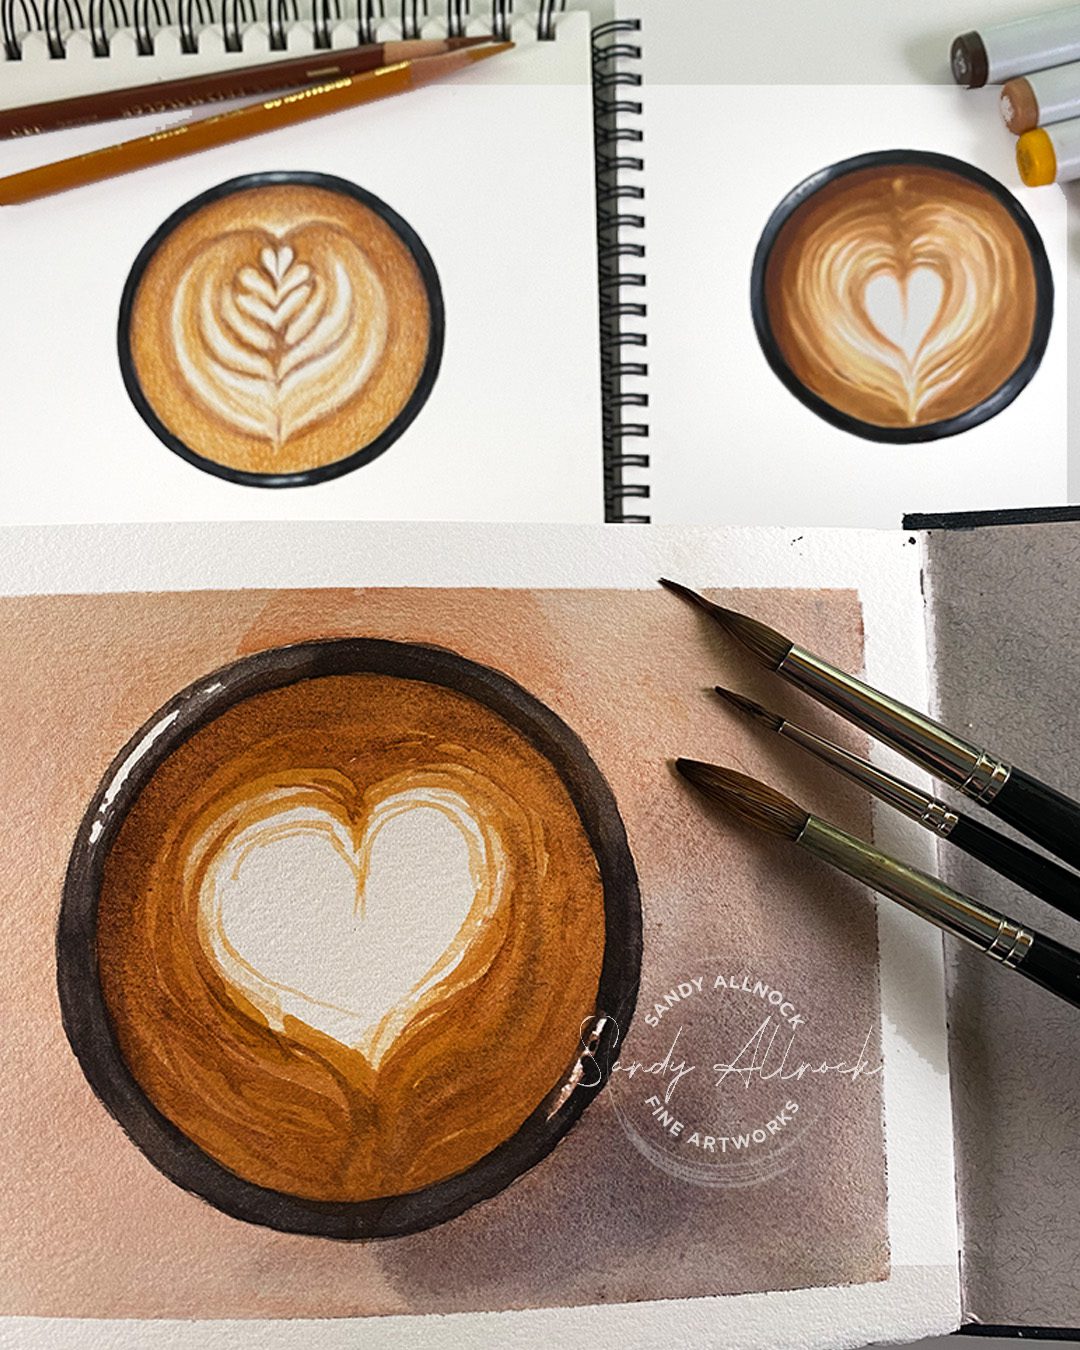
For my celebration of Cuddle Up Day, let’s sketch latte foam art! And yes I know I don’t drink coffee. But swirling some beautiful art in a cup of something warm seemed too perfect not to do….art in a coffee mug! And in three different mediums, so there’s something here for everyone to try out.

Tutorial: How to sketch latte foam art

Make a cup of your fave warm beverage beforeĀ  you tap play!

Watch the video below and scroll to the end to leave comments or questions — or click HERE to watch it on YouTube and leave comments over there. I read both dutifully!

Alcohol marker

I used Copics here…. layering colors from the light peach and yellow underneath the coffee browns. The shadow cast on the top of the foam is on the side where the light hits.

Colors: E01 YR23 E35 E33 E29 0

Fresh Brew Class

This brand new class is available (and on sale!) – it’s a level 3 intermediate course, and will show you how to make three awesome cups of coffee using photo references. We’ll talk value, shape, layering, color – and at the end you’ll get lots of coffee cup photos to keep practicing on! SIGN UP FOR CLASS

Colored pencil

Once again layer layer layer! Start light and you can keep adding deeper color til you’re happy.

Colors: 1034 Goldenrod 945 Sienna Brown

Subscribe to my weekly newsletter, Creativity In Your Inbox

* indicates required

Watercolor

A little less complicated design here since watercolor can be challenging to get all those soft blends; after getting it mostly where you want it, paint over it with a middle tone to push some of the foam under the coffee’s surface.

Colors: Yellow Ochre, Transparent Red Oxide

Zoom call coming up!

Over on Artventure I’ll be hosting a zoom call with some bonus info for those in class (anyone can come, but the zoom will answer some questions left on the cutting room floor.) See the Events tab at Artventure.

Supplies

Some product may be provided by manufacturers for review and use. Compensated affiliate links are here at no cost to you. I appreciate your support of my work with your purchases! Full affiliate and product disclosure | My trusted partners in art

ALCOHOL MARKER:

  1. Copic MarkersĀ 
  2. Colors: E01 YR23 E35 E33 E29 0
  3. Copic Hex ChartĀ 
  4. Copic sketchbookĀ 
  5. Fresh Brew Class

COLORED PENCILS:

  1. Prismacolor pencilsĀ 
  2. Colors: 1034 Goldenrod 945 Sienna Brown
  3. Prismacolor Hex Chart
  4. Electric Eraser, Mont Marte

WATERCOLOR:

  1. Lake Michigan Book Press Sketchaday is custom made with Arches:
    1. Arches Cold Press Pad
    2. Arches Cold Press sheets
  2. Daniel Smith Watercolors: Yellow Ochre.Ā Transparent Red Oxide
  3. Winsor Newton Kolinsky Sable Series 7 Round #8 https://amzn.to/2WjFI8e
  4. Da Vinci Maestro Kolinsky Sable Round 4Ā 
  5. Da Vinci Maestro Kolinsky Brush – Inlaid Liner (Needle), Size 10Ā 

Subscribe to receive blog posts by email:

Favorite things for finishing a card image (and new classes!)

Favorite things for finishing a card image (and new classes!)

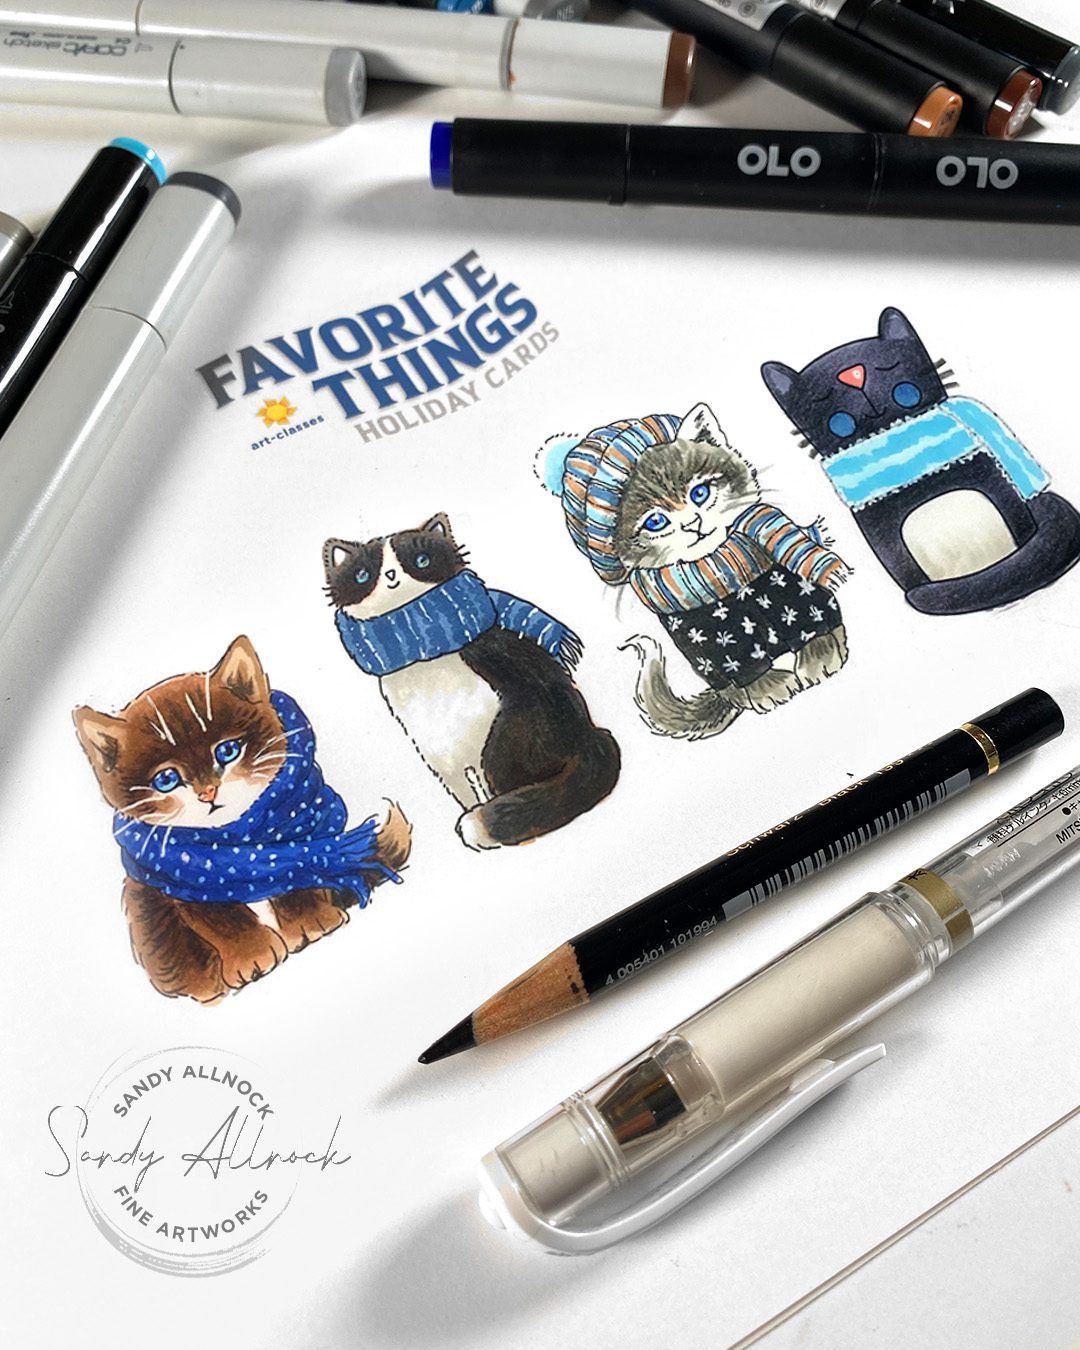
Have you begun your holiday cardmaking yet? I have a small handful done but I feel so far behind! Today I’ll give ou a couple tips that’ll take a simply-colored image and spice it up – and one tip will even make your coloring faster.

PLUS I’ve just released four brand new Level 2 classes—coloring images that’ll be unique ones for your holiday cards. Let’s get going!

Tutorial: Favorite things for finishing a card image (and new classes!)

Watch the video below and scroll to the end to leave comments or questions — or click HERE to watch it on YouTube and leave comments over there. I read both dutifully!

Four Tips, especially for new colorists

  1. Got some messy blending? Cover it up by adding a pattern on top! Either white snowflakes or polka dots, or even dark stripes or dots on an outfit would do the same. And if it’s a background, just add falling snow! No one will see the messy color beneath.
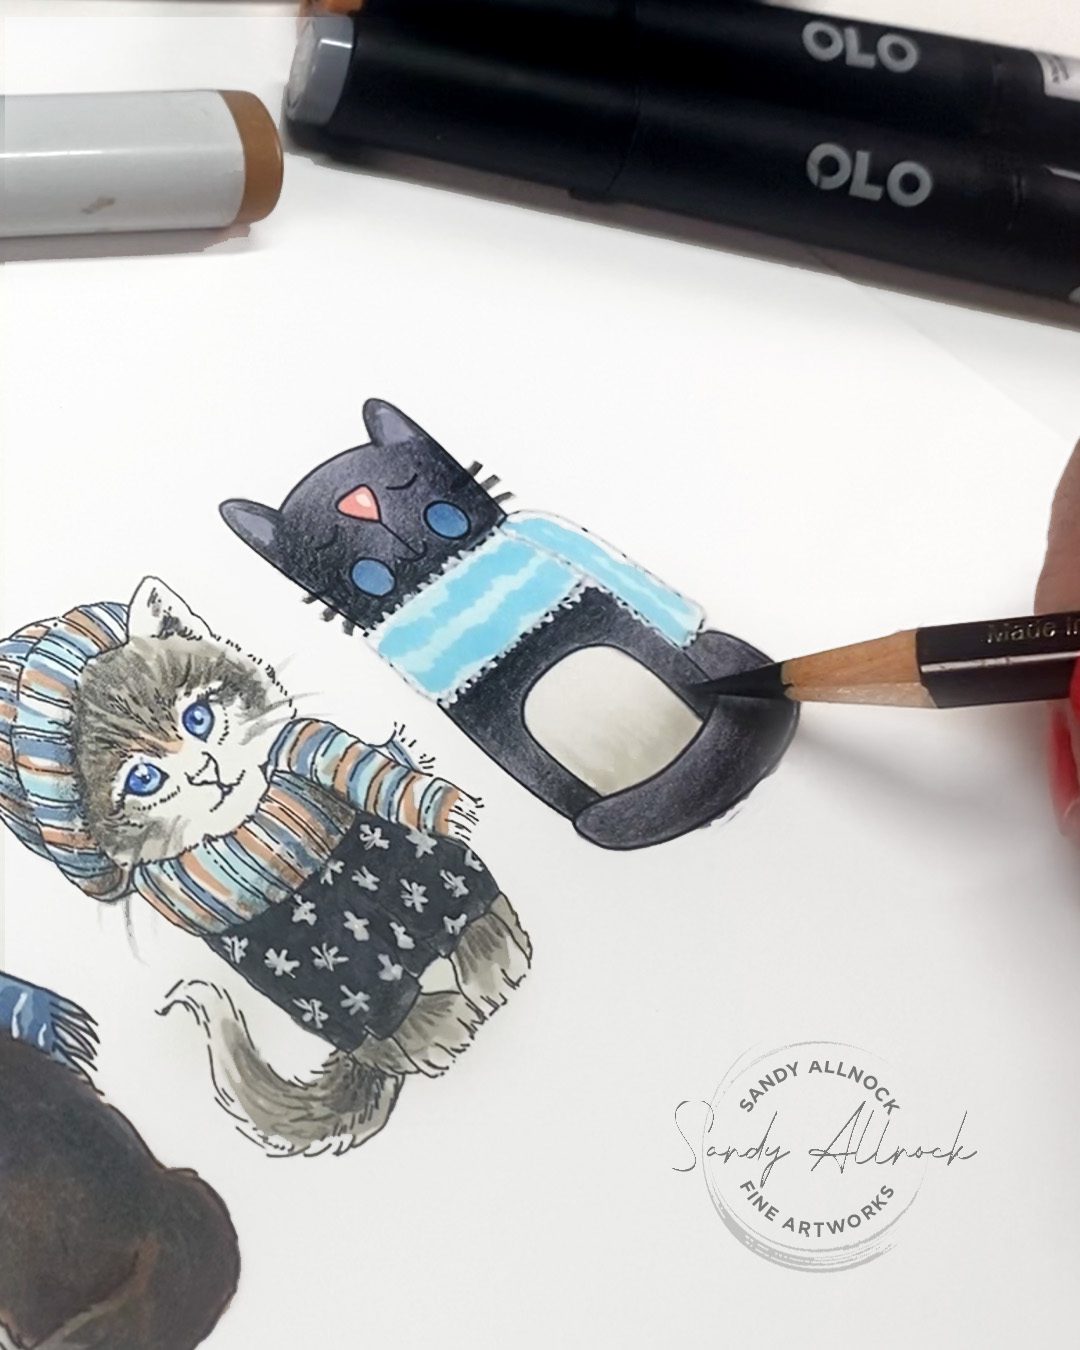
  2. EASY blending: Color an image with one flat alcohol marker color, then do colored pencil blending on top. It’s the best of both worlds: simple flat alcohol marker with no blending needed, then the pencil won’t be fighting white gaps caused by the paper texture. Win win!
  3. Add shading to white pen texture! Go over the shaded areas with the alcohol marker base tone of the object being shaded. That’ll dull down the pattern in shadow areas, making it look more supple like real fabric. Scribble the pen on scrap paperĀ 
  4. Make the tiniest highlights on eyes by drawing the dot with a pen, then “shave” it down to a good size with a pencil!

New Classes & more

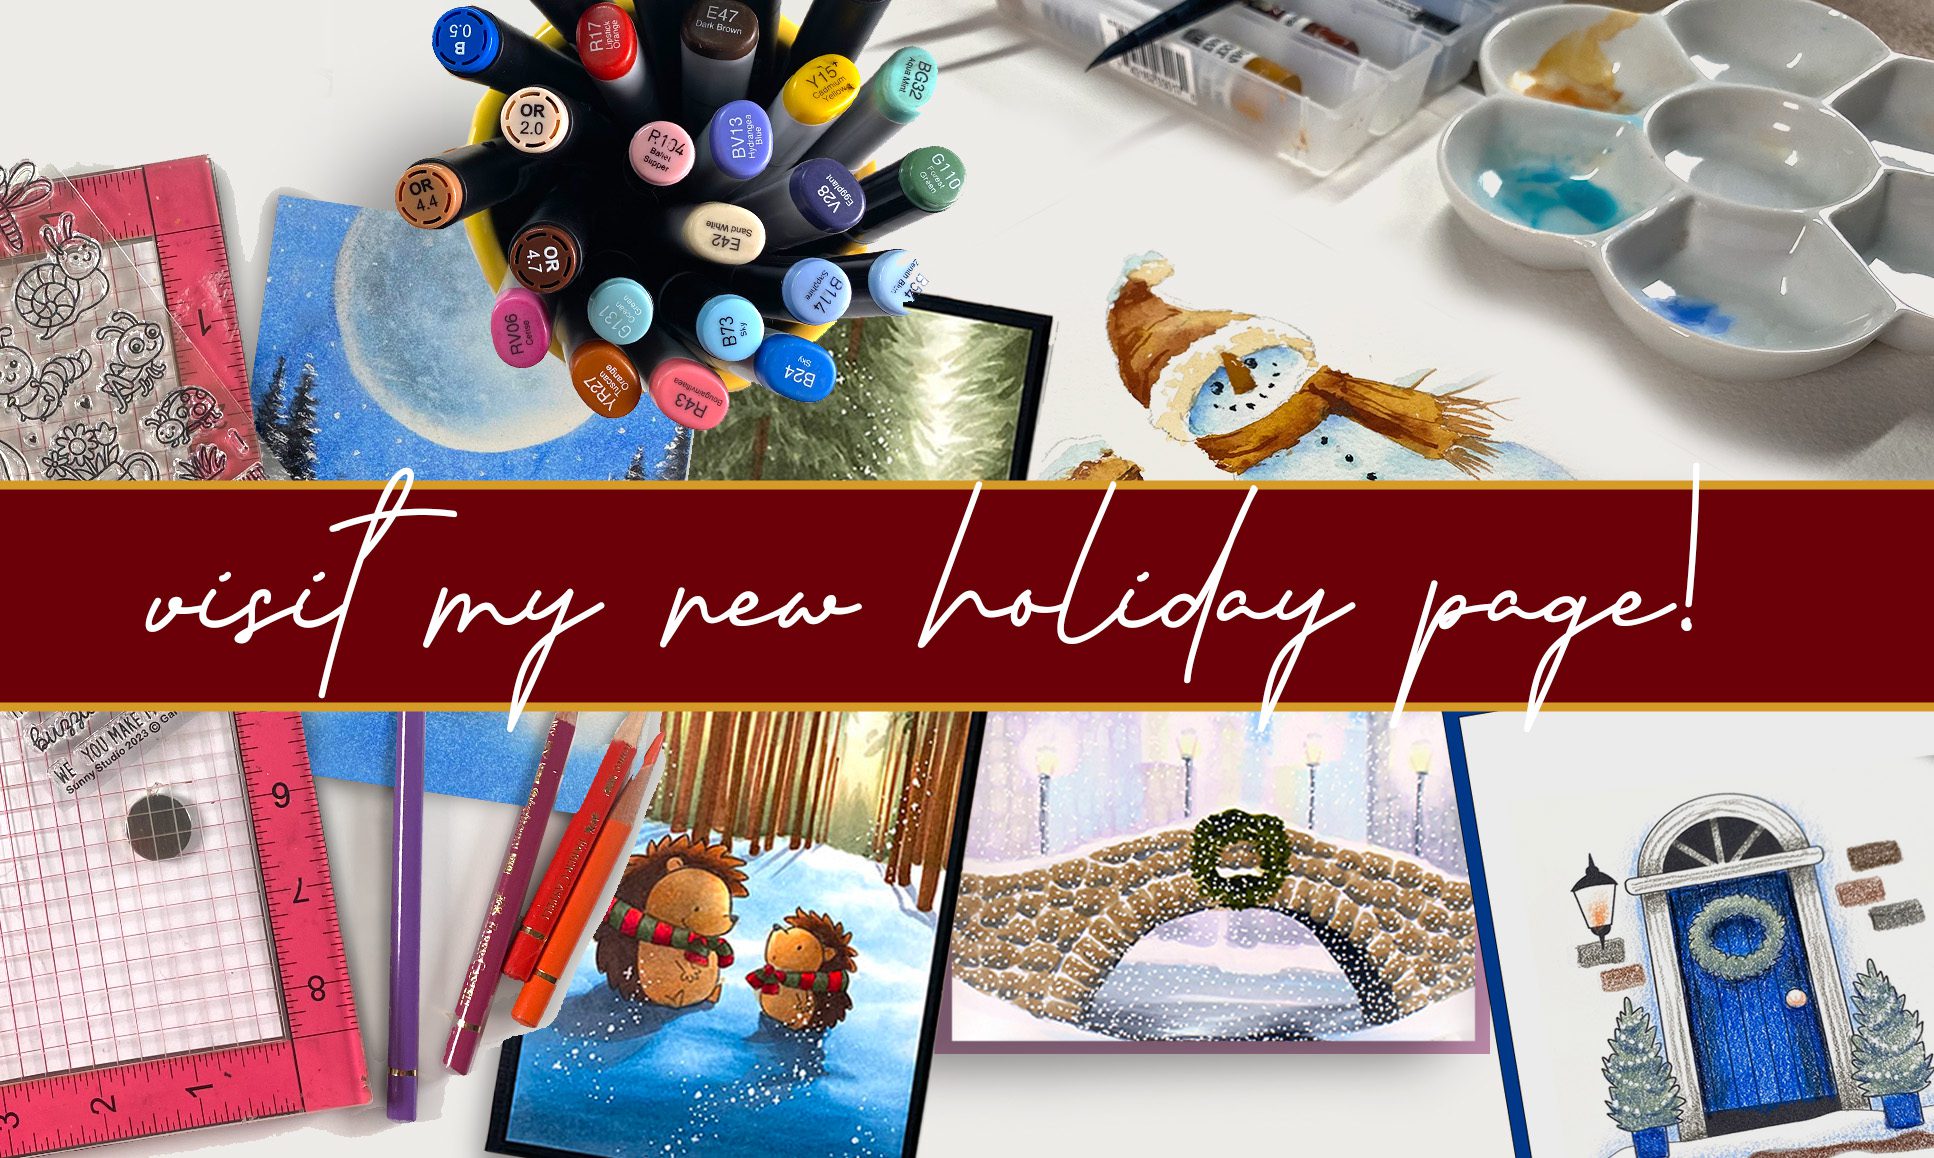
Click on the image below to get to the course you’re interested in – you can see all the images that’ll be in the lessons once you’re there! OR you can go to the brand spanking new HOLIDAY page, where these are all at the top, and all the other holiday/winter classes are all on one page! Tap on the image below:

Alcohol Marker

Colored Pencil

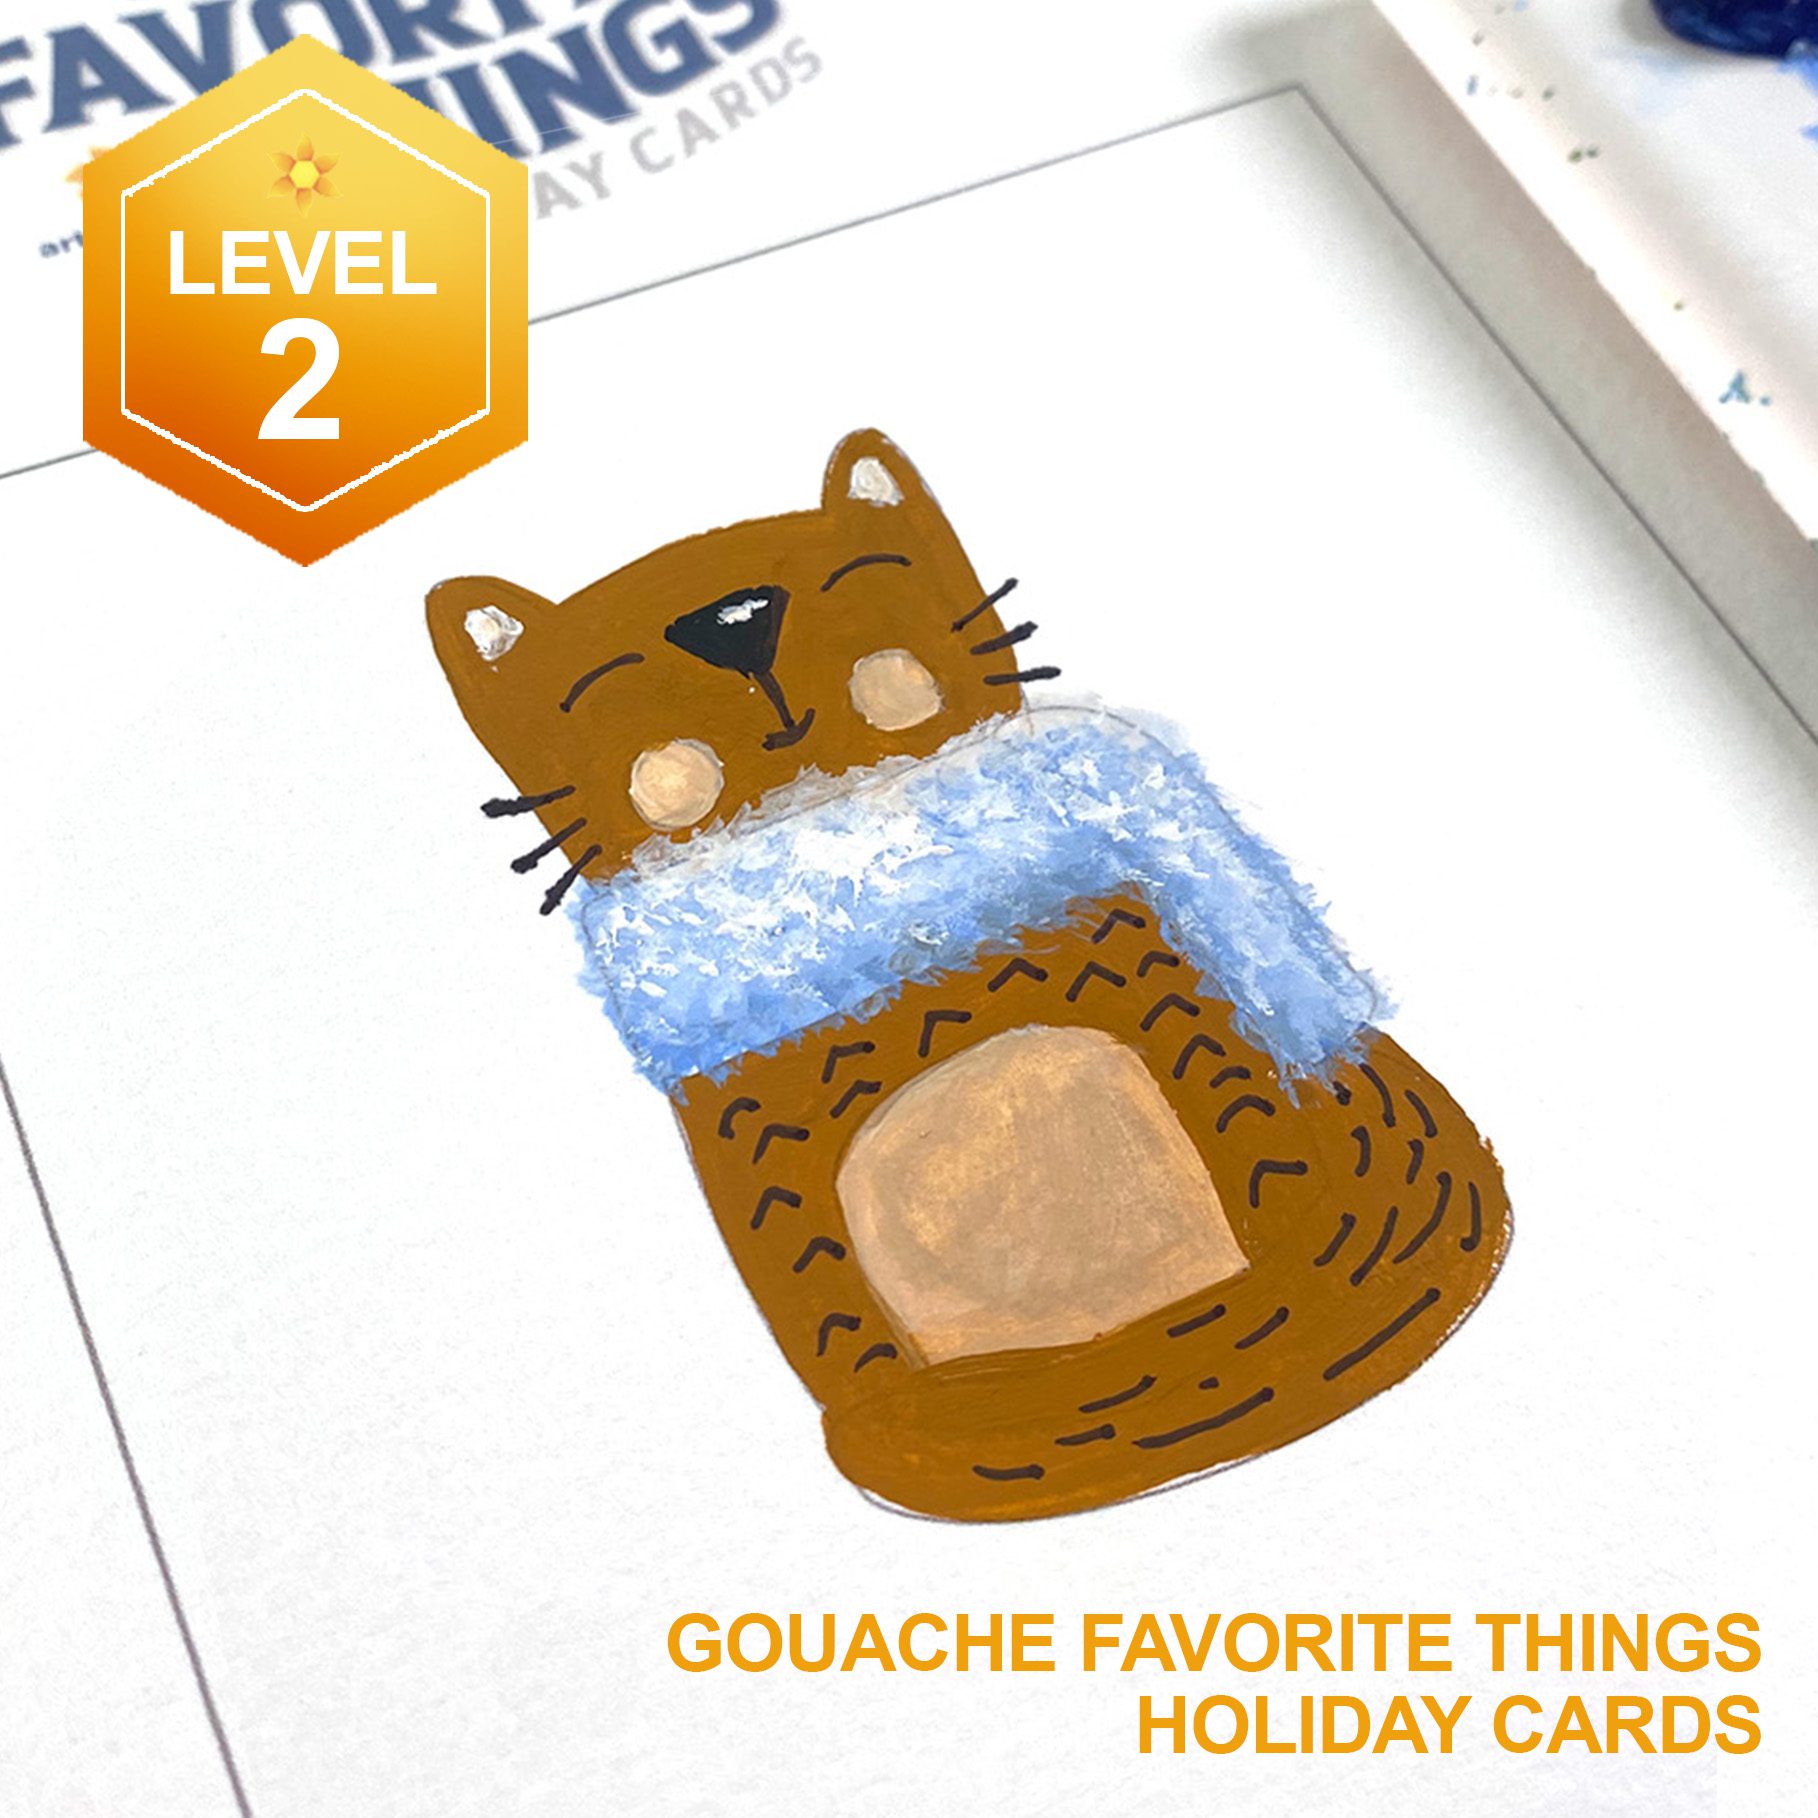
Gouache

Watercolor

A timely older tutorial…for winter

White pens are the bane of the existence of many…this might help!

WHEW!

Those who’ve followed along on Patreon and Artventure know this was a heroic effort to get all this together; and I’m excited that I also have next week’s videos scheduled. So after I take a couple days to just SLEEP, I’ll be spending time working on sample pieces and figuring out prices for the upcoming commission fiesta. Hooray!

Subscribe to receive blog posts by email:

Alter your stamps! (Don’t put away summer stamps yet!)

Alter your stamps! (Don’t put away summer stamps yet!)

Happy lastdayofsummer/firstdayoffall! Anyone glad to see summer go? I love me a good bunch of layers and sweaters and cocoa, so we’re just getting into my favorite season. So when charged with using beachy end of summer stamps….I had to change them up a bit!

Colorado Craft Company had their release a few weeks back, and I wasn’t able to participate due to, well…..dogs. Not mine but the classes I was frantically trying to complete! But now you get to see what I would have made. Read the end of the post to see the sale and giveaway info!


Hello from vacationland! Well, not entirely vacation since I have work to do while visiting Mom but ya know. Part-vacation is better than none! I wish I’d had time to make full cards out of them by the time I left for my trip, but if you know me, these will be white card bases, trim these down a little and pop them on dimensional adhesive and call ’em done. After all these hours on the coloring, I give myself grace on card design!

Tutorial: Don’t put away summer stamps yet – alter them!

Watch the video below and scroll to the end to leave comments or questions — or click HERE to watch it on YouTube and leave comments over there. I read both dutifully!

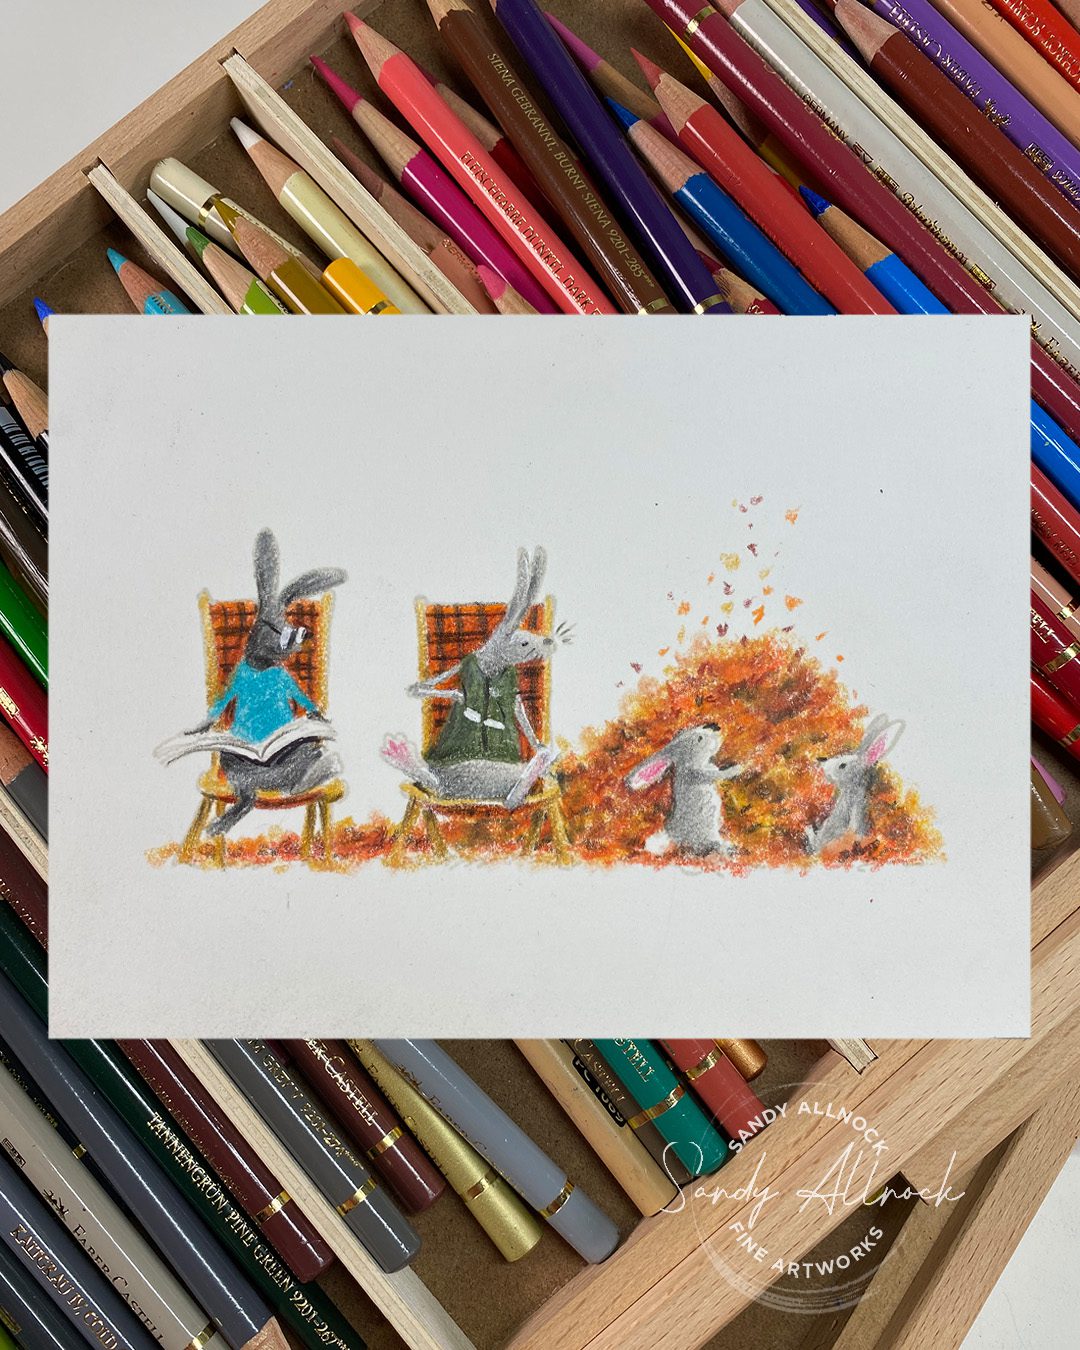
Fun in the Sun

A truly beachy scene with mama and papa bunny watching the kids play under an umbrella…..I changed out the time of year for fall! I dressed up the chairs with more seasonable fabric, put a sweater on mama and a vest on papa. Instead of playing with sand toys, the kids are throwing leaves! Fun in the Sun is now…fun in the fall? ha!

Beach Life

This group of critters in Beach Life is now Snow Life – gifts instead of shovels and buckets, a Christmas banner to replace a net. And everyone played DRESSUP! Which one is your favorite outfit!?!?

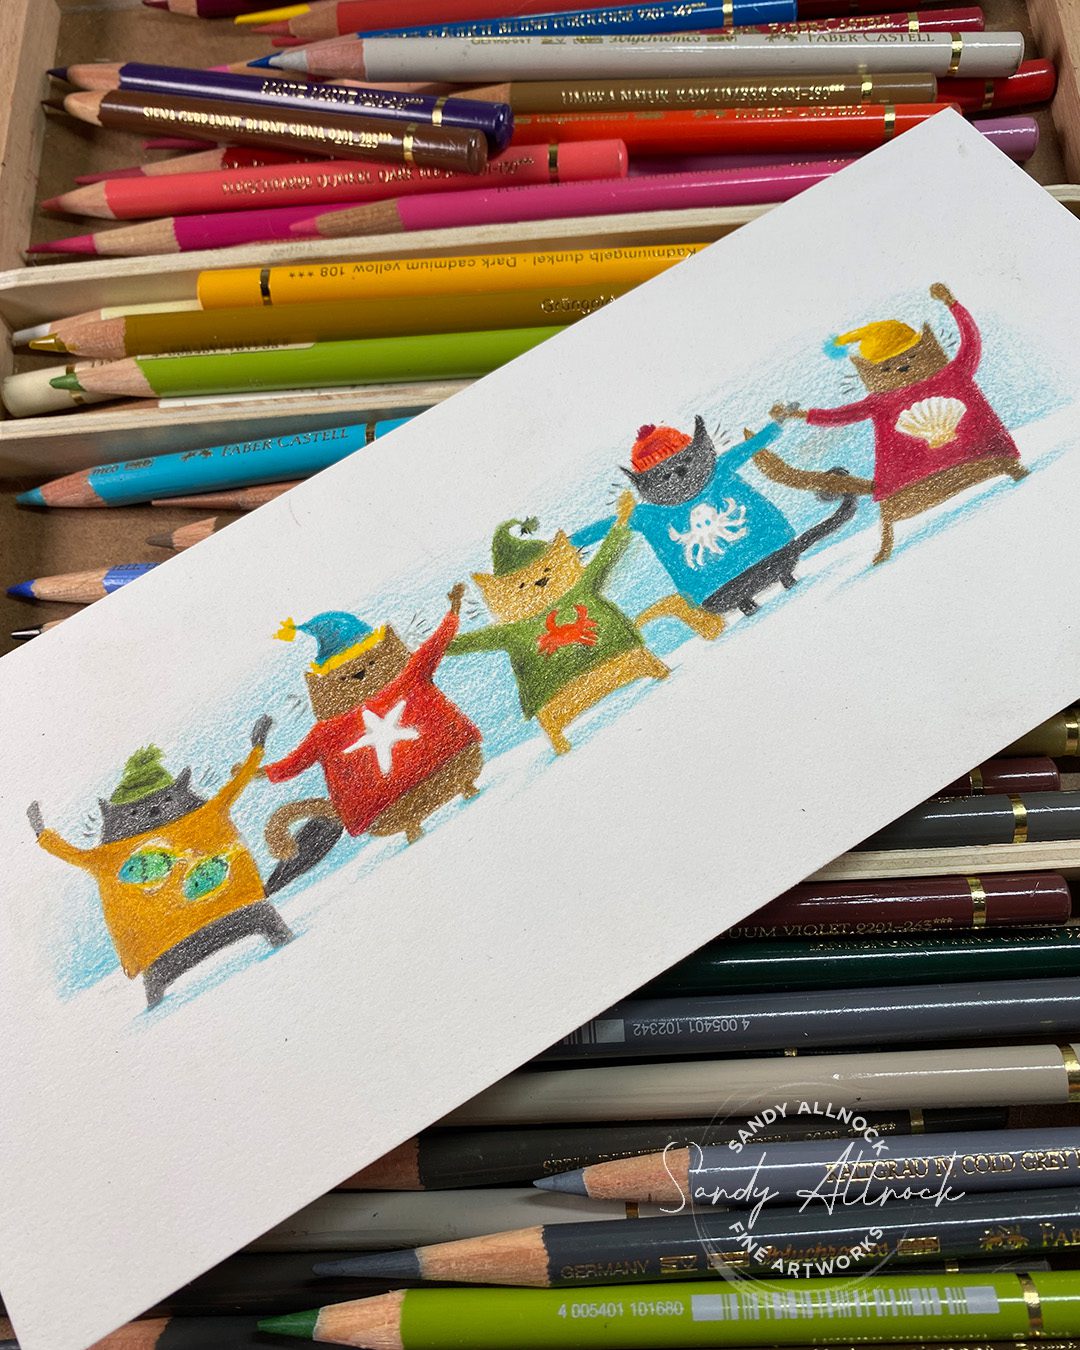
Cats

Three sets came together for this one: Starfish Wish, Summer Story, and Beach Escape. I stamped the first, last, and center, then the two in between, and the only masking was to remove a crab from one cat’s paw. Then I let loose with the sweaterz! What do you think they’re doing? Putting on a show? Going to a party? Off to sit on santa’s lap?

FLASH SALE ON 2 OF MY CLASSES

This week only, both of the Enchantment classes are on sale through Sunday night. And if you get both together, you’ll get an automatic 5% off at checkout.

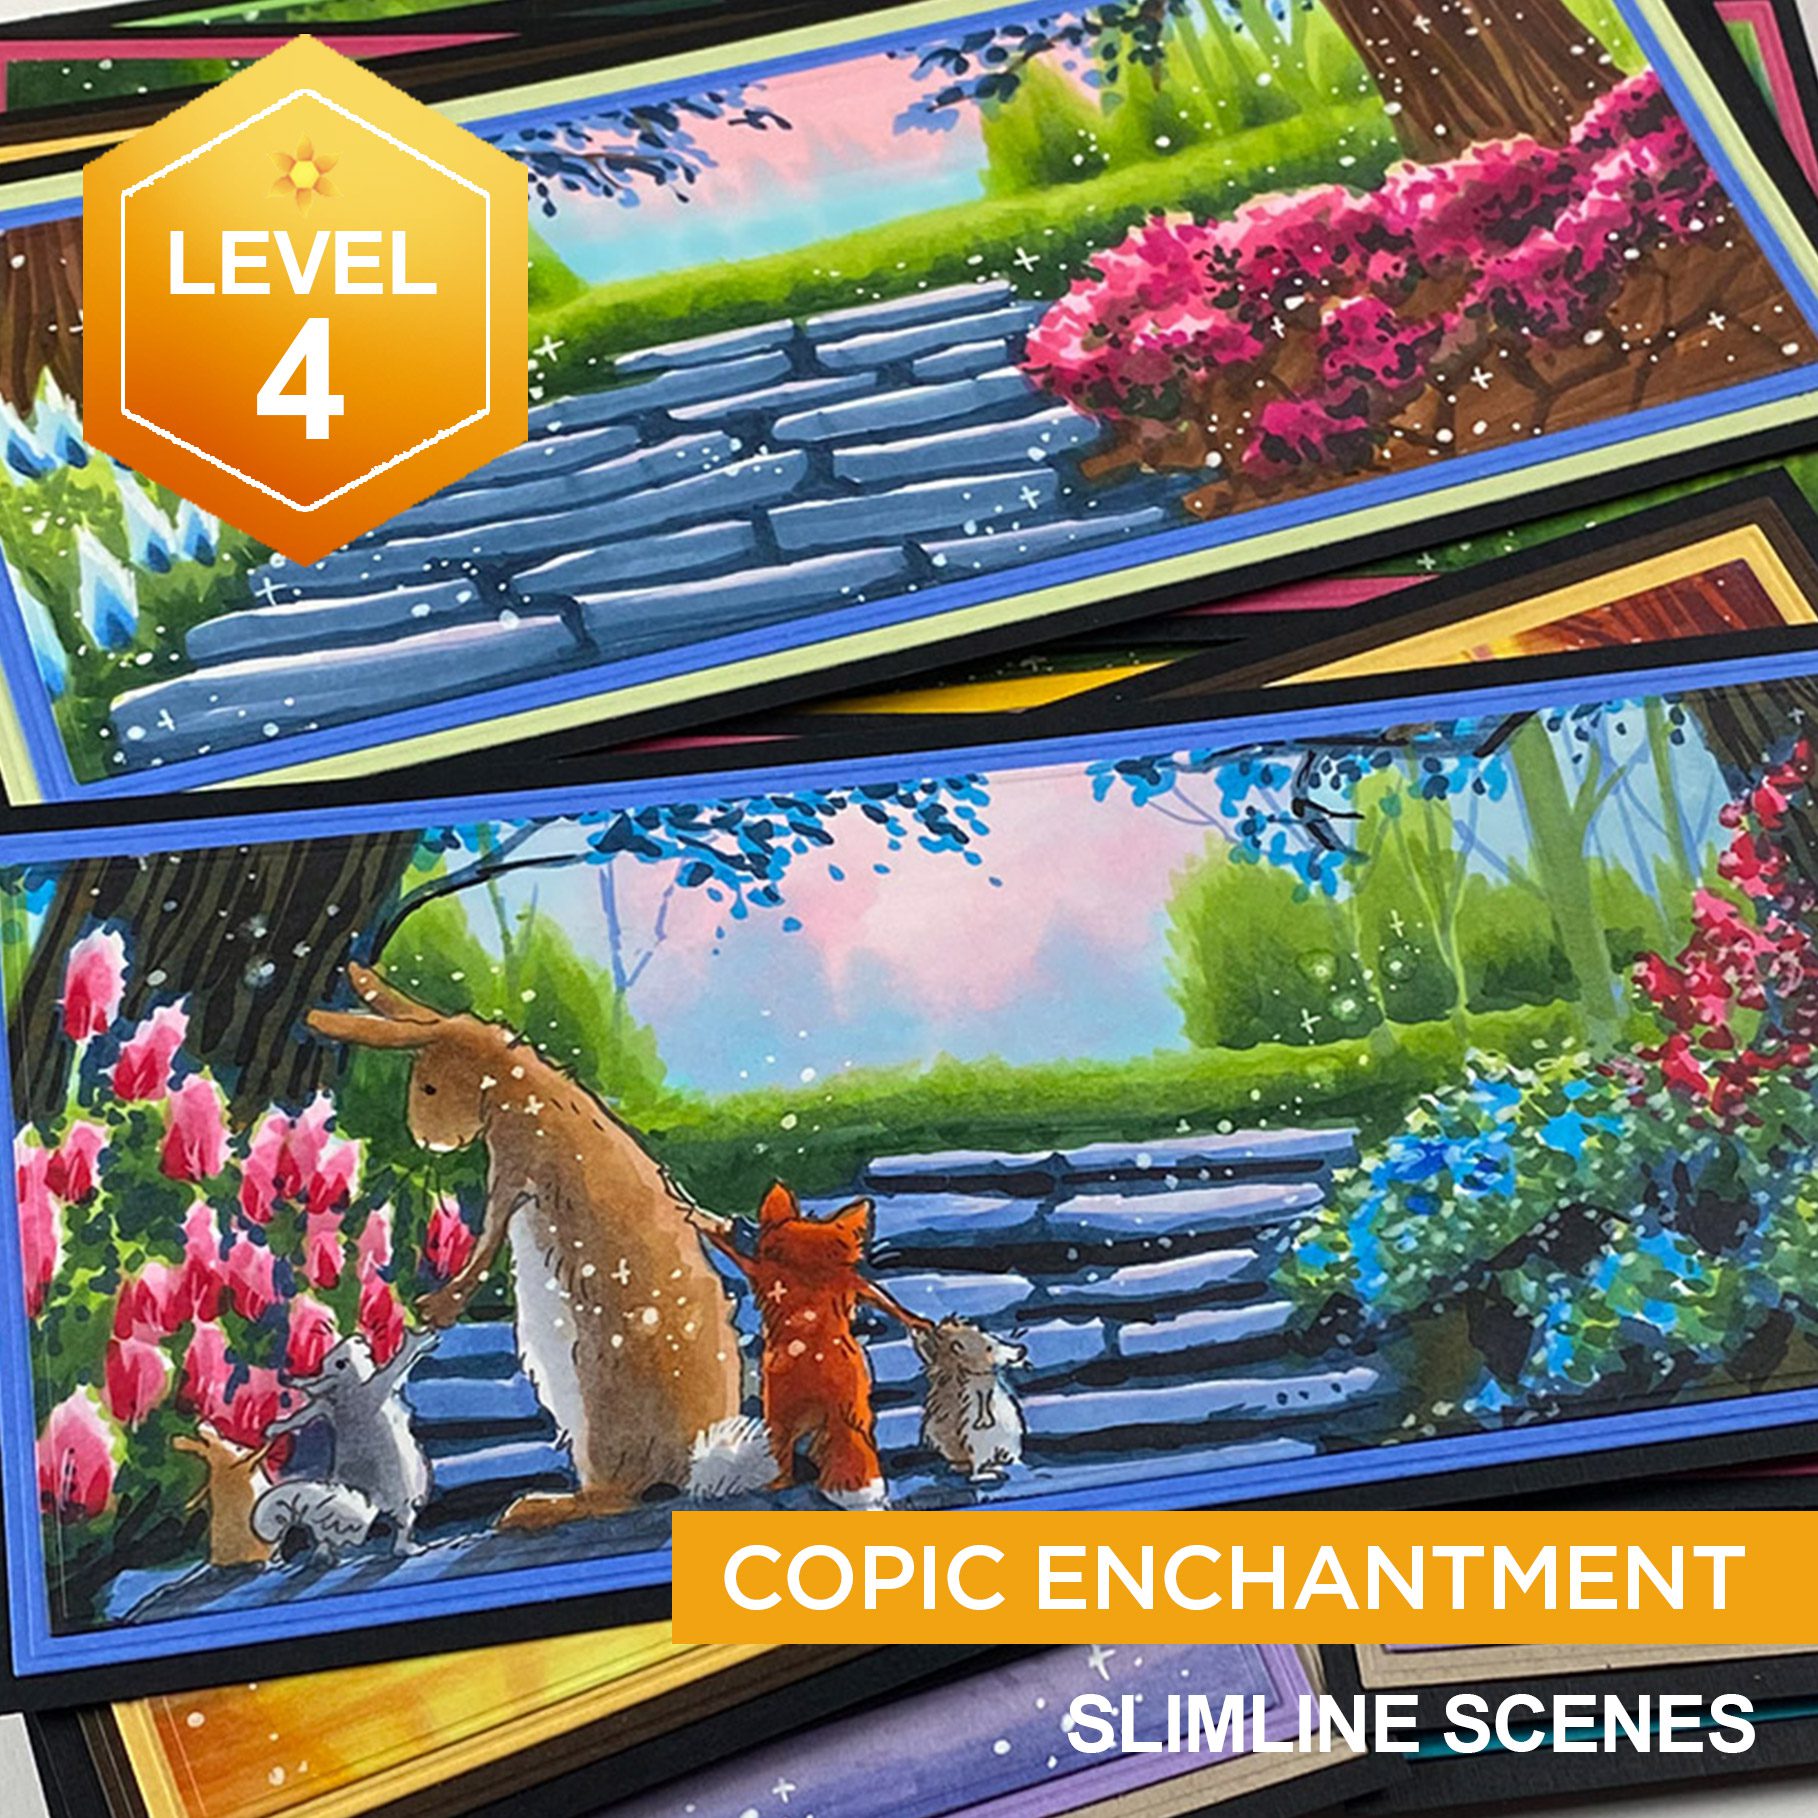
Copic Enchantment

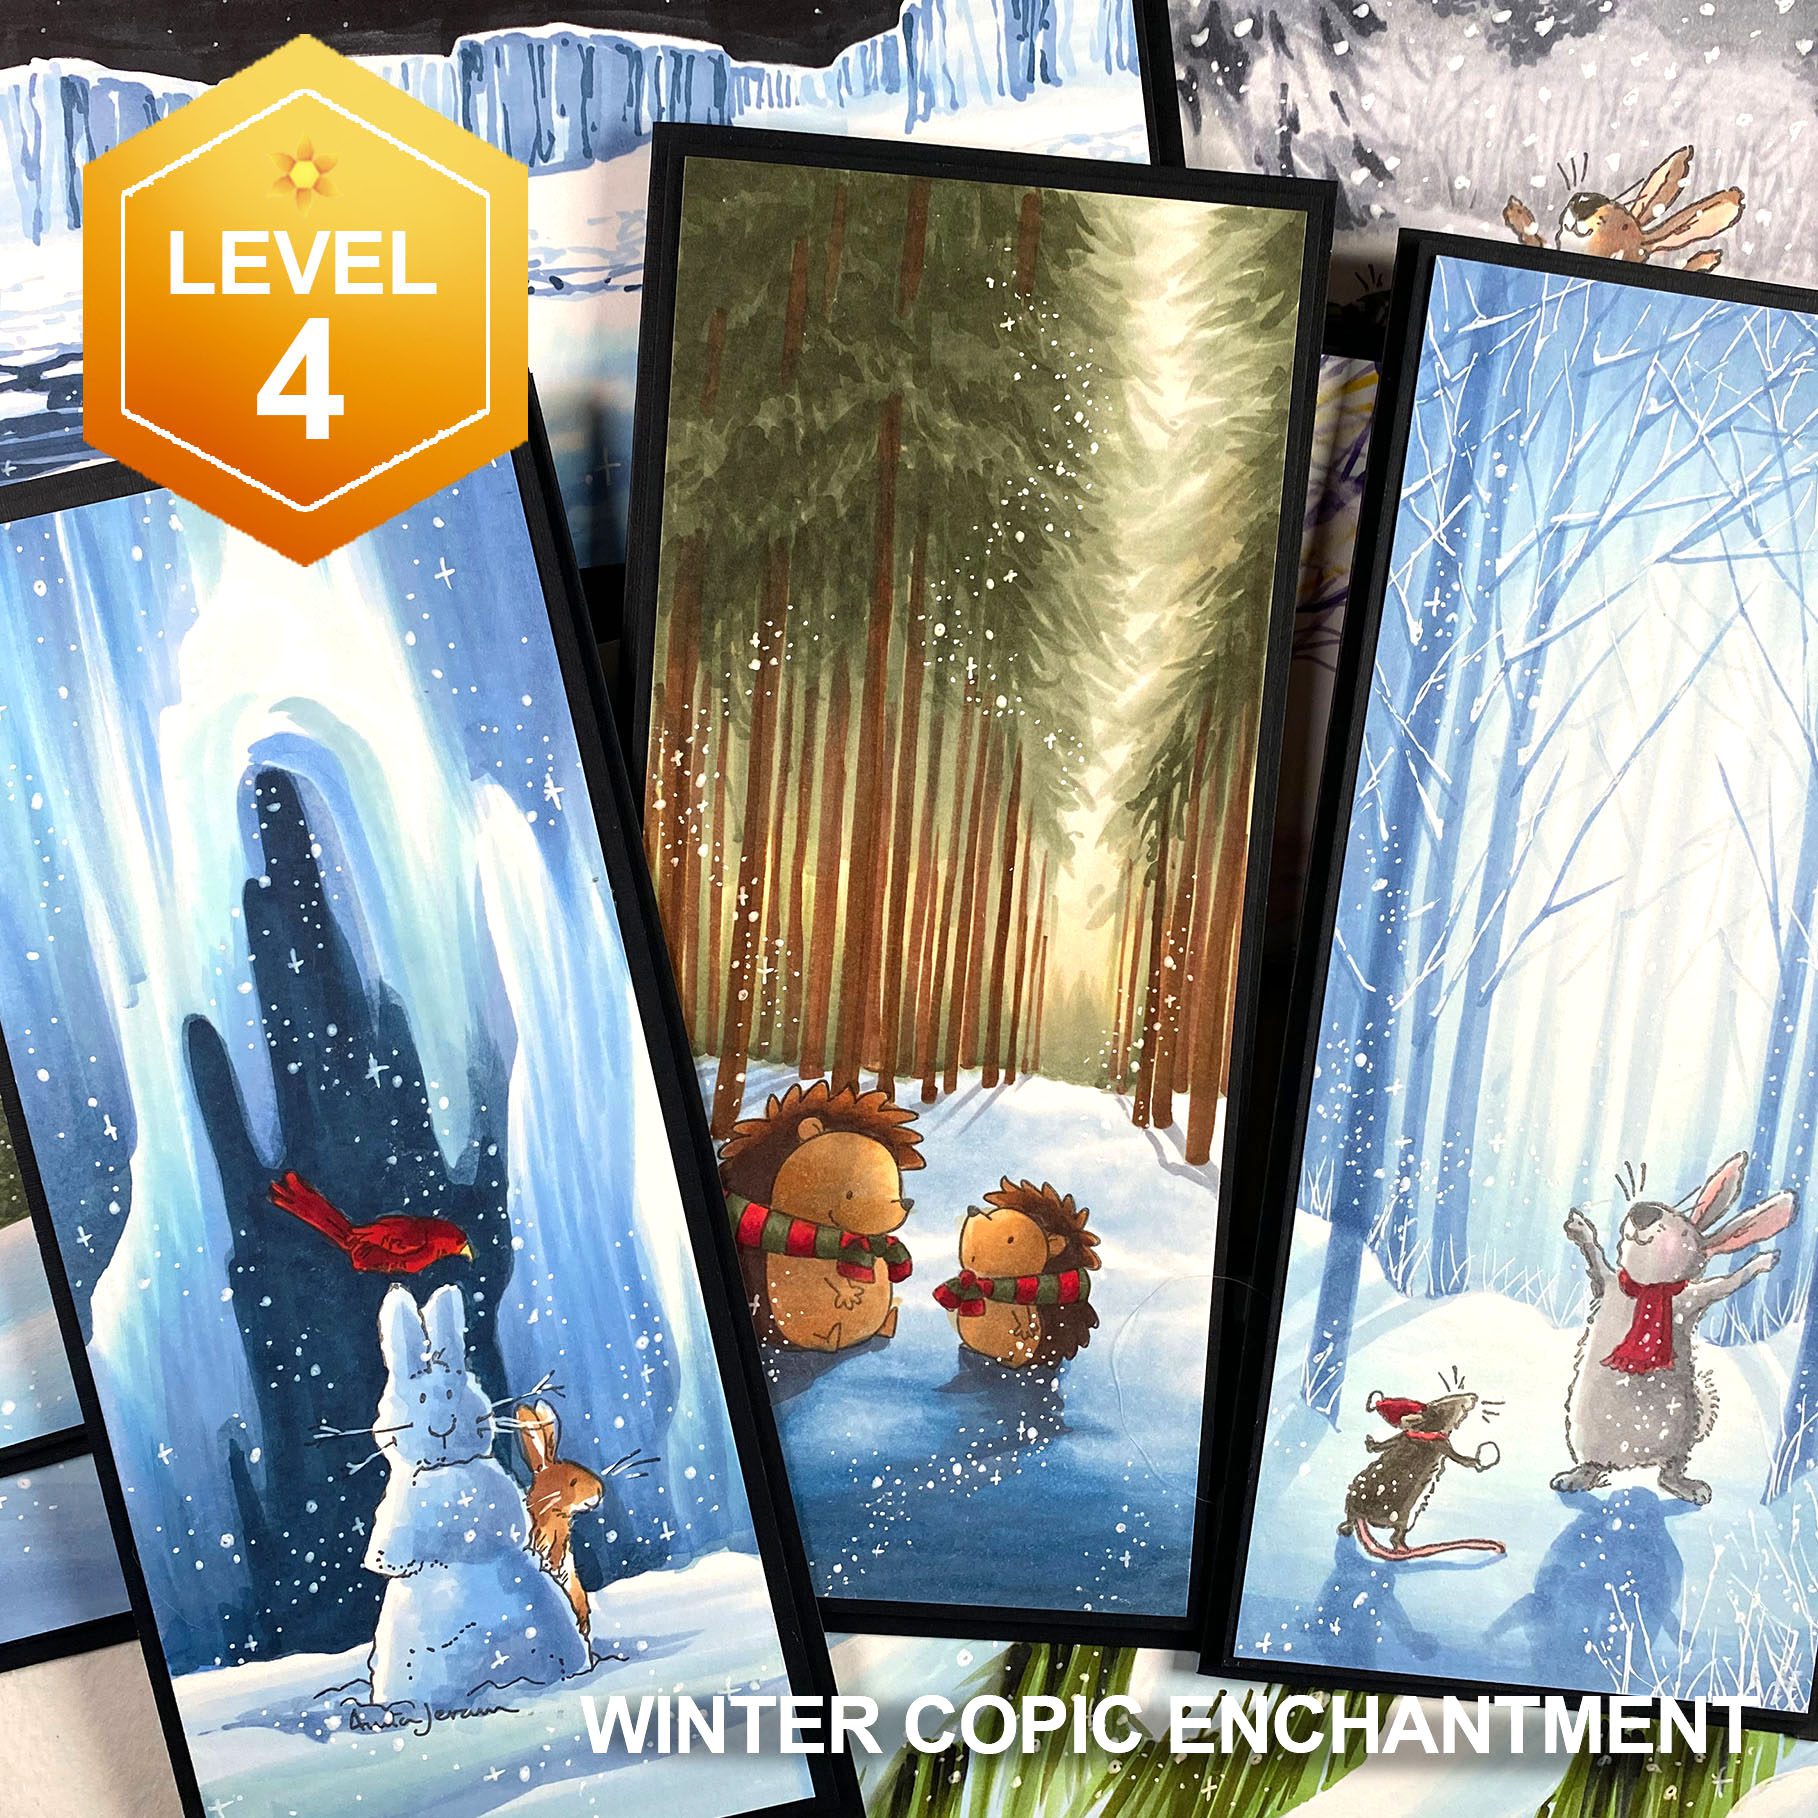
This Level 4 class will teach students how to create 10 magical scenes, in a ā€œslimlineā€ (3.75 x 8.5) format perfect for cardmaking – but easily adaptable for animĆ© artists too! Half are horizontal, half vertical scenes – and all can be adapted or just portions used for other size formats and art as well!

$52.99 $49.99

Winter Copic Enchantment

This Level 4 class will teach students how to create 10 wintry magical scenes, in a ā€œslimlineā€ (3.75 x 8.5) format perfect for cardmaking – but easily adaptable for animĆ© artists too! Half are horizontal, half vertical – and all can be adapted or just portions used for other size formats and art as well!

$52.99 $49.99

Fresh Pumpkins Watercolor

This new watercolor class is for beginners! Join Artventure for free, then look in the menu bar on the left for the class. It’s only a few bucks for four pumpkins!

CCC sale and giveaway!

SALE: Get 10% off storewide with promo code SANDY10. Free shipping on orders over $50.00! Sale ends Sunday night at midnight mountain time. (3 Days Friday, Saturday & Sunday.)
GIVEAWAY: CCC will give out 6 stamp sets to 6 randomly chosen winners who will be chosen from the following three places – so you’ll need to do all three to TRIPLE your chances to win:
  1. Leave a comment on this blog post.
  2. Follow @coloradocraftcompany and @sandyallnock on Instagram….and
  3. Like and comment on both of our instagram posts @coloradocraftcompany and @sandyallnock and tag a friend or two!
Contest entries have to be in by midnight mountain time on the 24th. Winners will be announced on the CCC blog on the 26th. Good luck, and let me know which set you get! šŸ™‚ šŸ™‚ šŸ™‚

Supplies

Some product may be provided by manufacturers for review and use. Compensated affiliate links are here at no cost to you. I appreciate your support of my work with your purchases! Full affiliate and product disclosure | My trusted partners in art

Subscribe to receive blog posts by email:

Coloring fuzzy white polar bear fur (3 mediums)

Coloring fuzzy white polar bear fur (3 mediums)

Welcome to my stop on the Sunny Studios Stamps bloghop!! Mendi’s celebrating the 8th birthday of her business baby and I’m so proud of her!!

In honor of her milestone, I’ve got some fun ahead for which I hope no one needs a wintry coat or scarf like I did – but Holiday Hugs Stamps will be used to make a chilly snowy card perfect for a winter celebration card! šŸ™‚

Tutorial: Coloring fuzzy white polar bear furĀ 

The first few seconds are jarring…watch out! ha!

Watch the video below and scroll to the end to leave comments or questions — or click HERE to watch it on YouTube and leave comments over there. I read both dutifully!

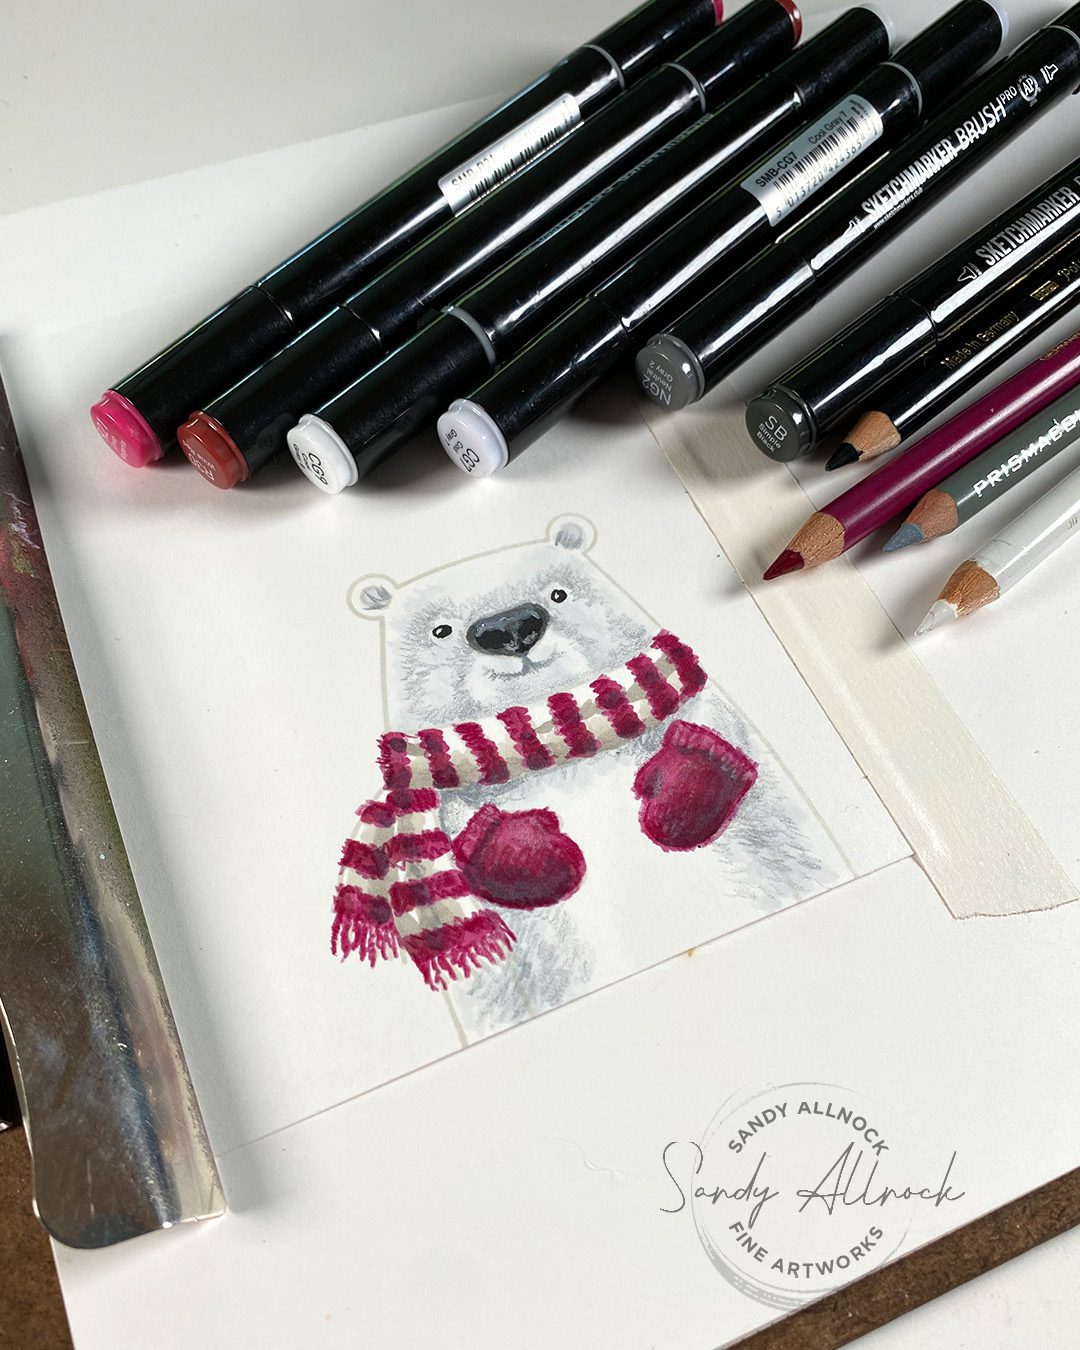
Bear coloring

Start with marker, add pencil, then soften with marker, then more pencil as needed – layer away! The secret to getting it to look fuzzy is partially in leaving tufts of fur white (see above the eyes, top of the head and ears, lighter snout…) in comparison to the other greys. The PUNCH of color in the reddish dark color will make all that grey start to look lighter, along with that dark nose and eyes.

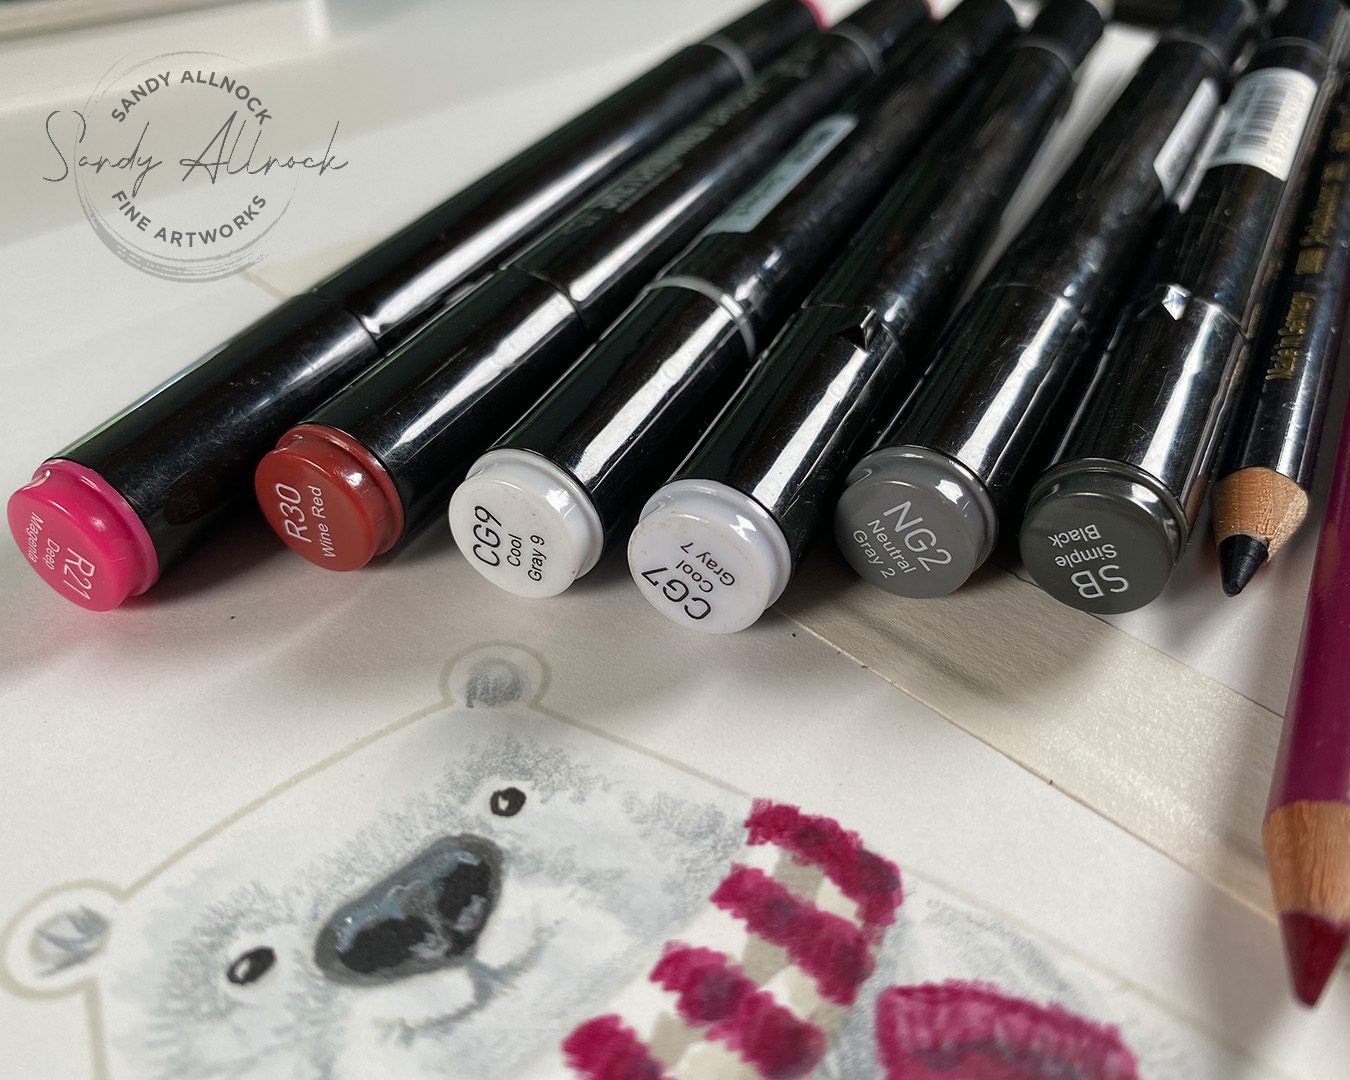
Colors

Colors used include these Sketchmarkers, and a Prismacolor 936 bluish gray color, and a Polychromos 133.

Contrasting background

Creating a big dark shape for all that white fur to bounce off of gives two benefits – “hiding” the lighter stamped line, and all that dark value lightens everything else. Then the white gouache snow also has something to show up on that’s dark enough.

Around the eedges of the bear, pencil only went so far in creating a soft edge – a little gouache also helped whiten places where the stamp line still showed.

Something to hold, no masking!

Then it’s a matter of what your bear will hold, if anything! I hadn’t thought about it in time, but you could take these easy steps to stamp it without ANY masking:

  1. Stamp the cupcake or other item to be held. No masking.
  2. Stamp the bear so that the paws cross over the cupcake.
  3. Definitely color nice dark mittens before coloring the cupcake. That will cover the light stamp lines of the cupcake.
  4. Color the cupcake richly enough to cover the scarf stamp lines. Either dark colors, or add glossy accents and glitter as shown here.
  5. Then color the scarf and bear.Ā 

Something to hold, the way I did it

Since I hadn’t thought of what I’d put in his paws, here’s my steps:

  1. Color the bear, adding mittens.
  2. Stamp and color the cupcake or other object and fussy cut.
  3. With an xacto knife, slice around the top side of the mittens. You might need to curve around to the bottom depending on the size of what’s being tucked in.
  4. Put a little dimensional adhesive on the back of the cupcake and tuck it in.
  5. Add glossy accents and glitter!

My glitter problems of the past stemmed from sending cards overseas to heroes in war zones; glitter gets all over everything, as we all know, and it gets on them when they get something from us too! And glitter can make them visible to the enemy’s night vision goggles. If you send anything to a hero serving abroad, be respectful of your desire for twinkle and shimmer, and settle for the simple pretty shine of something like glossy accents alone – that won’t twinkle in enemy gunsights. šŸ™‚Ā 

Bloghop sale, prizes, & hop links

SALE: Sunny Studios will be offering 20% off Sunny Studio branded products (excluding clearance and new release products) using discount code EIGHTYEARS at checkout through August 29th. Limit one discount code per order.Ā  They will also automatically include a free mini snowflake die on all orders.
PRIZES: I’m authorized to give away $25 to spend at Sunny Studios!! WHEEEEE! The contest will run through Monday, August 28th, and the winner will be posted on the Sunny Studio blog on Friday, September 1st.
TO ENTER: Tell me how MUCH or how LITTLE you love glitter! Do you have a story!?!? I love a good controvery-thats-a-nontroversy!Ā 
HOP LINKS: Go see all the creativity!
  1. Sunny Studio
  2. Wanda Guess
  3. Rachel Alvarado
  4. Sandy Allnock <–that’s me!
  5. Marine Simon
  6. Tammy Stark
  7. Caly Person
  8. Isha Gupta
  9. Bobbi Lemanski
  10. Gladys Marcelino
  11. Tina Henkens

Supplies

Subscribe to receive blog posts by email: