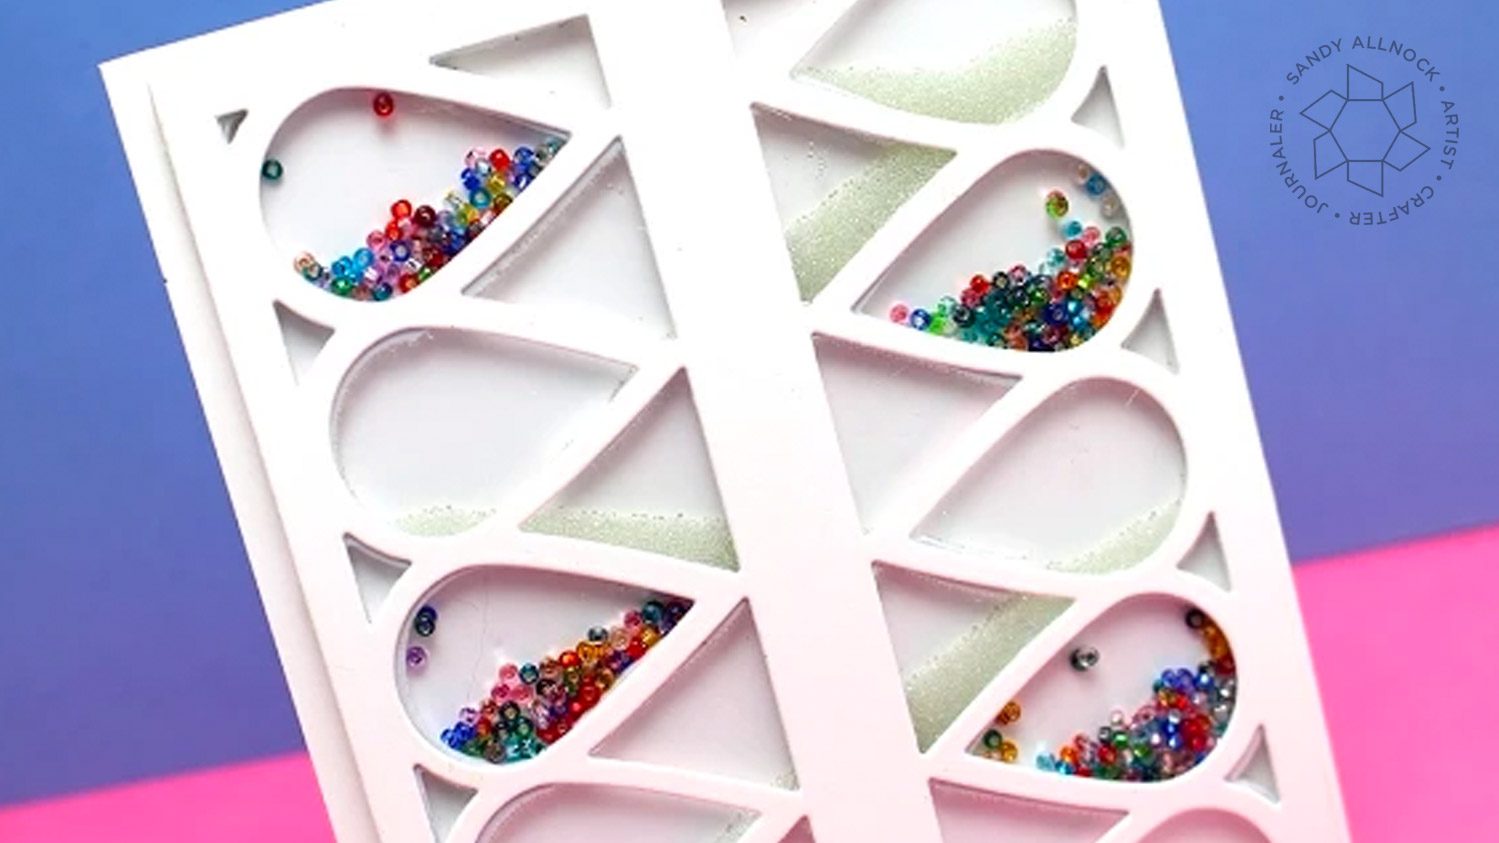
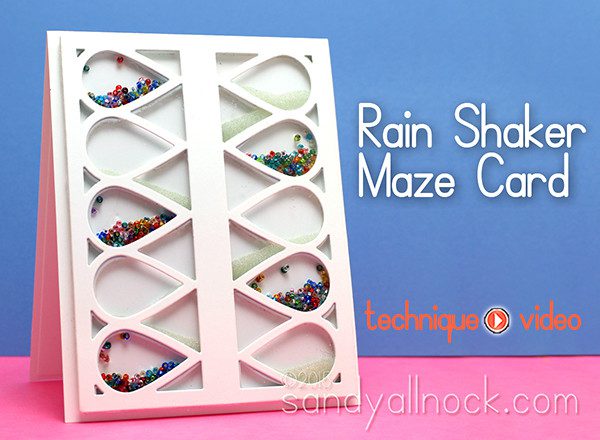
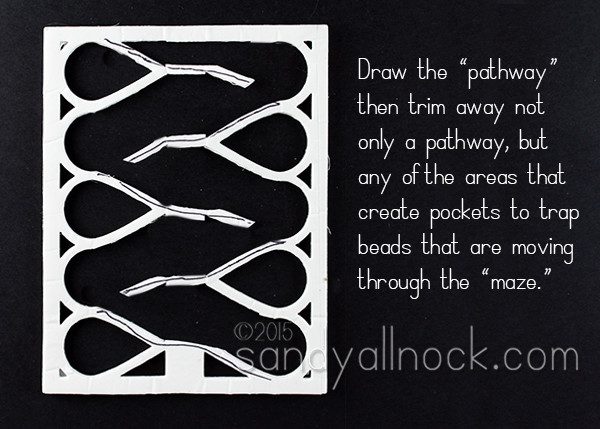
I’m not really sure what a rain shaker maze is – but I made one. 2021 update: The Petal Plate die is out of print now, so you’re all saved from trying to make this one, ha!
This card is one of those I needed to do as soon as I saw the Petal Plate die from Avery Elle. Some dies just scream out to me to try something with them! I had to test out a bunch of different beads for this – and these teensy ones from Judikins were just the right size to flow nicely!
Video
Watch the video below, or click HERE to see it in HD on YouTube.
There are other intricate background dies that could work…if you try one, please please let me know and link me to your project. I’m dying to see if *anyone* would be silly enough to give this one a try! LOL!
Supplies
Some product may be provided by manufacturers for review and use. Compensated affiliate links are here at no cost to you. If you choose to shop using my EH (Ellen Hutson) links, please accept cookies on that site in order to retain the link to my blog, or that compensation does not happen for me. I appreciate your support of my work with your purchases! Full affiliate and product disclosure | My trusted partners in art
Avery Elle Dies, Petal Plate —- no longer available
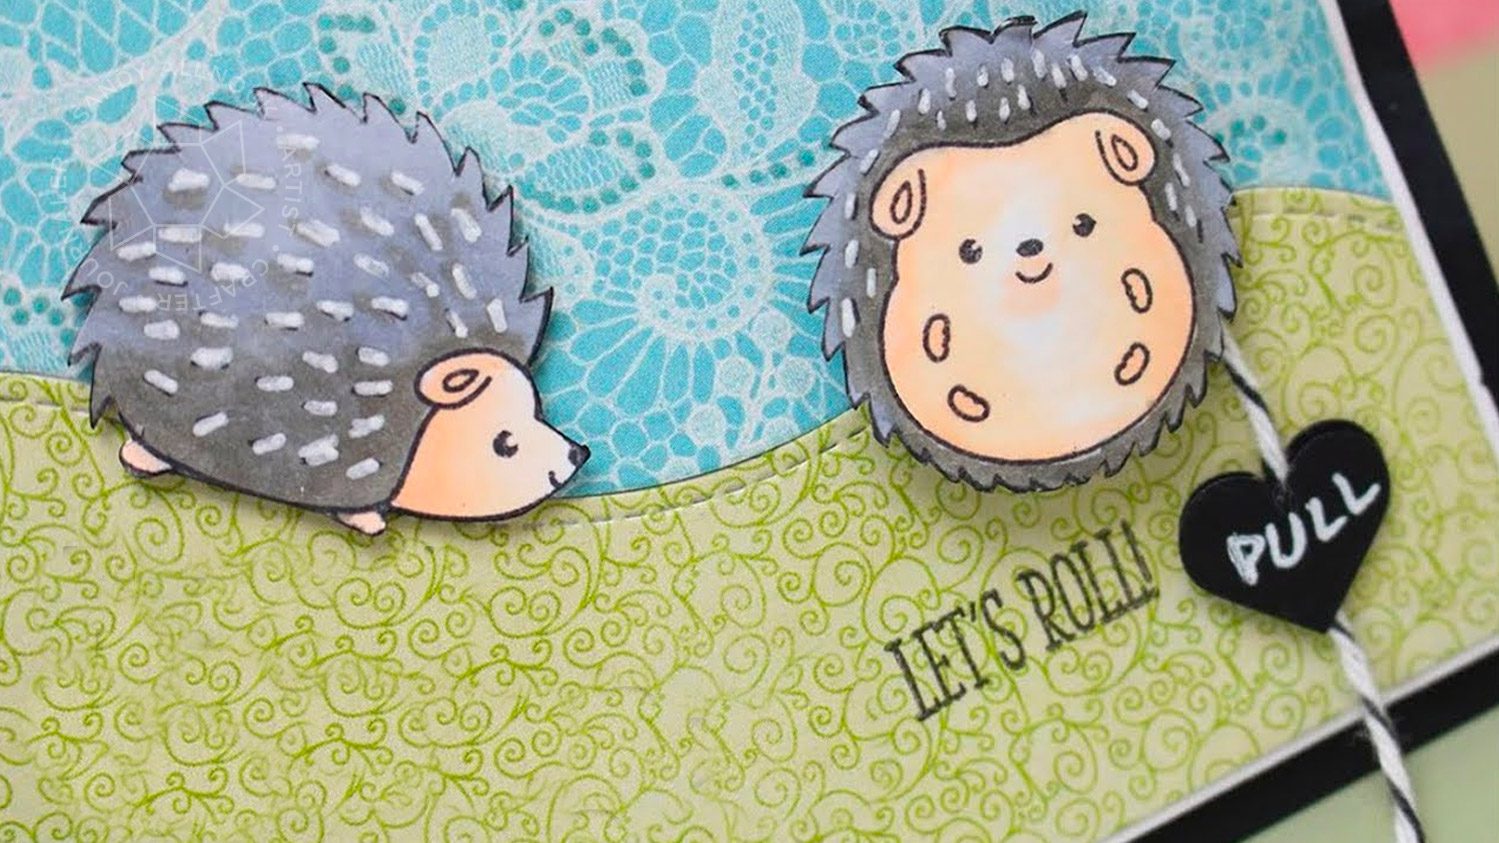
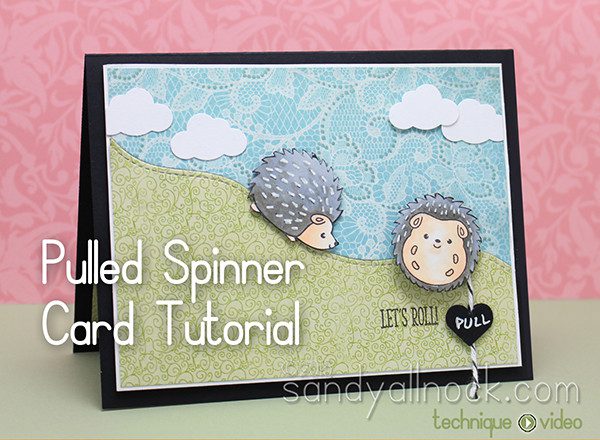
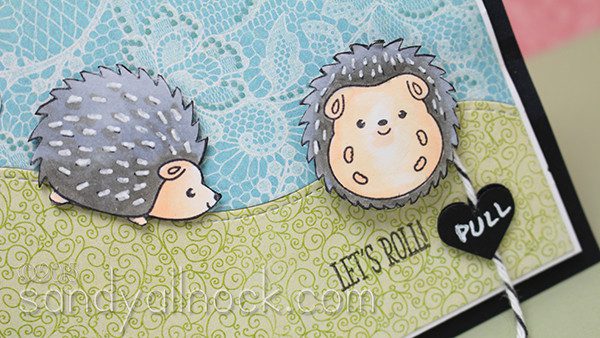
And now for a card that makes me go SQUEE! These little hedgehogs from Clearly Besotted are the cutest lil guys – and perfect for this technique that I adapted from Connie Stewart – her video is HERE as well as linked in a Card at the end of the video if you want to go see it. Cuteness!
Sometimes you see something on Pinterest that makes your lil heart spin – literally. I saw Connie’s bee flitting around and just knew I had to keep my eyes peeled for just the right stamp to try this! The hedgies were going to work so I ordered them as soon as I could find them in stock – they keep flying off shelves! And I used the Lawn Fawn Stitched Hills dies to give them somewhere to tumble. Connie uses Stampin Up products in the construction of her spinner, but I did some adapting with what I have – and it still worked!
In the video the sandwiching of the spinner kinda flew by fast…here are the steps:
Punch a hole in ONE piece of dimensional adhesive before removing one of the papers. (Power Tabs are no longer made)
Remove one paper, leave it facing UP, and put a brad through it. Use a brad with the smallest head on it but the longest tines you have.
Place another power tab on top – with the peeled-back paper on the side facing down.
Punch a hole in the card – a little bigger than you normally would so it will have room to spin around easily.
Add the brad through the hole, peel off the top paper, and stick the spinner image on top!
This means you’re sandwiching the head of a brad between the two power tabs, then sticking the image on top of that. Hope that makes sense if the video wasn’t clear!
Make something to pull the tab with – I cut out little hearts, sandwiching them and the twine with a power tab in the middle.
Supplies
Some product may be provided by manufacturers for review and use. Compensated affiliate links are here at no cost to you. If you choose to shop using my EH (Ellen Hutson) links, please accept cookies on that site in order to retain the link to my blog, or that compensation does not happen for me. I appreciate your support of my work with your purchases! Full affiliate and product disclosure | My trusted partners in art
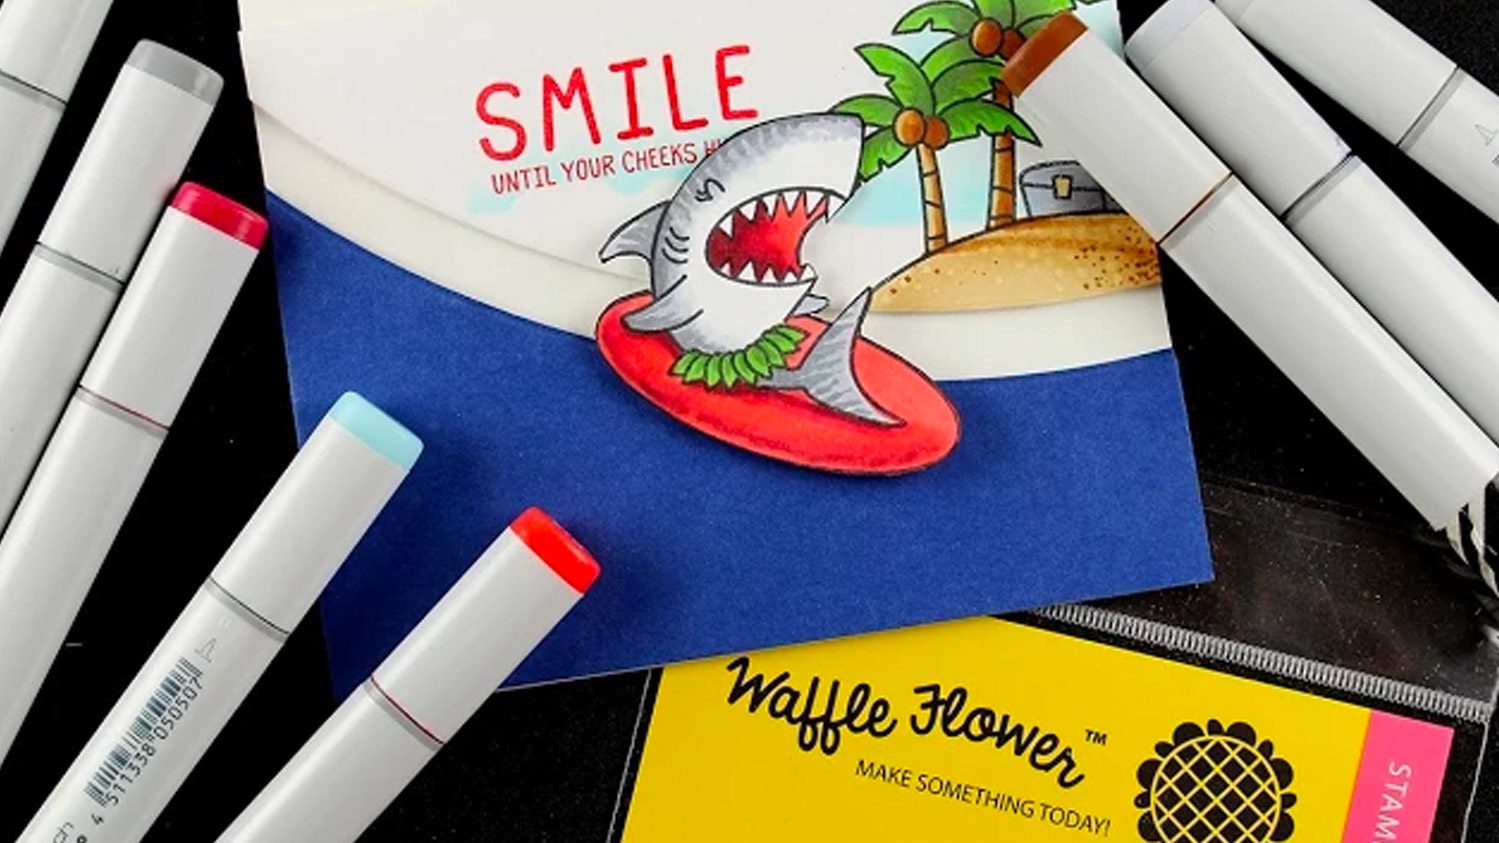
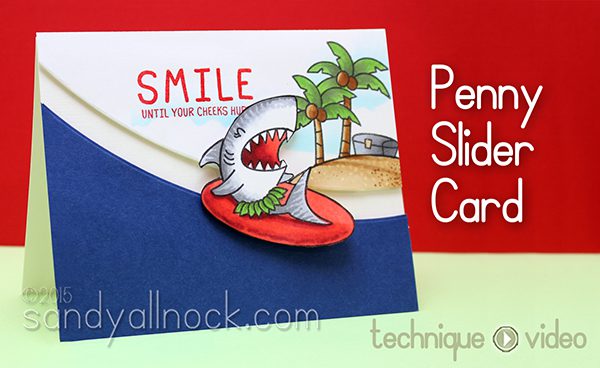
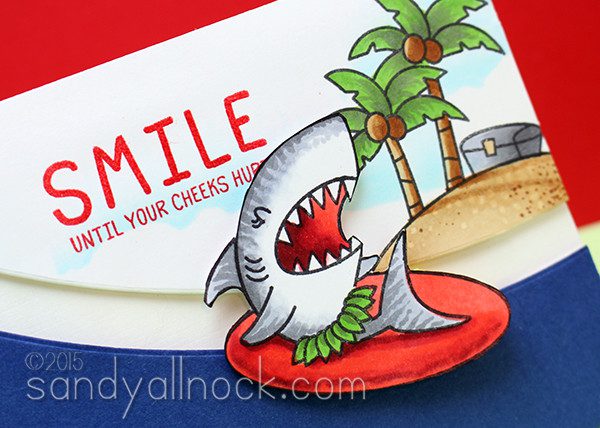
These penny slider cards have been around for ages – and since I seem to always be a bit behind the times, it’s about time I made one, dontcha think? With inflation – mine uses dimes. HA! (Well, because they’re thinner, too!) This sweet little shark needed a wave to surf on, and a die seemed just perfect to create a wave to tumble down.
Video
Watch the video below, or click HERE to see it in HD on YouTube!
I hope you enjoyed this little smile as much as I liked making it….when I saw the shark take its first spin it just made my lil heart happy! 🙂 Be sure to go check out the rest of the Waffle Flower release – there’s some fun stuff to be had!
Supplies
Some product may be provided by manufacturers for review and use. Compensated affiliate links are here at no cost to you. If you choose to shop using my EH (Ellen Hutson) links, please accept cookies on that site in order to retain the link to my blog, or that compensation does not happen for me. I appreciate your support of my work with your purchases! Full affiliate and product disclosure | My trusted partners in art
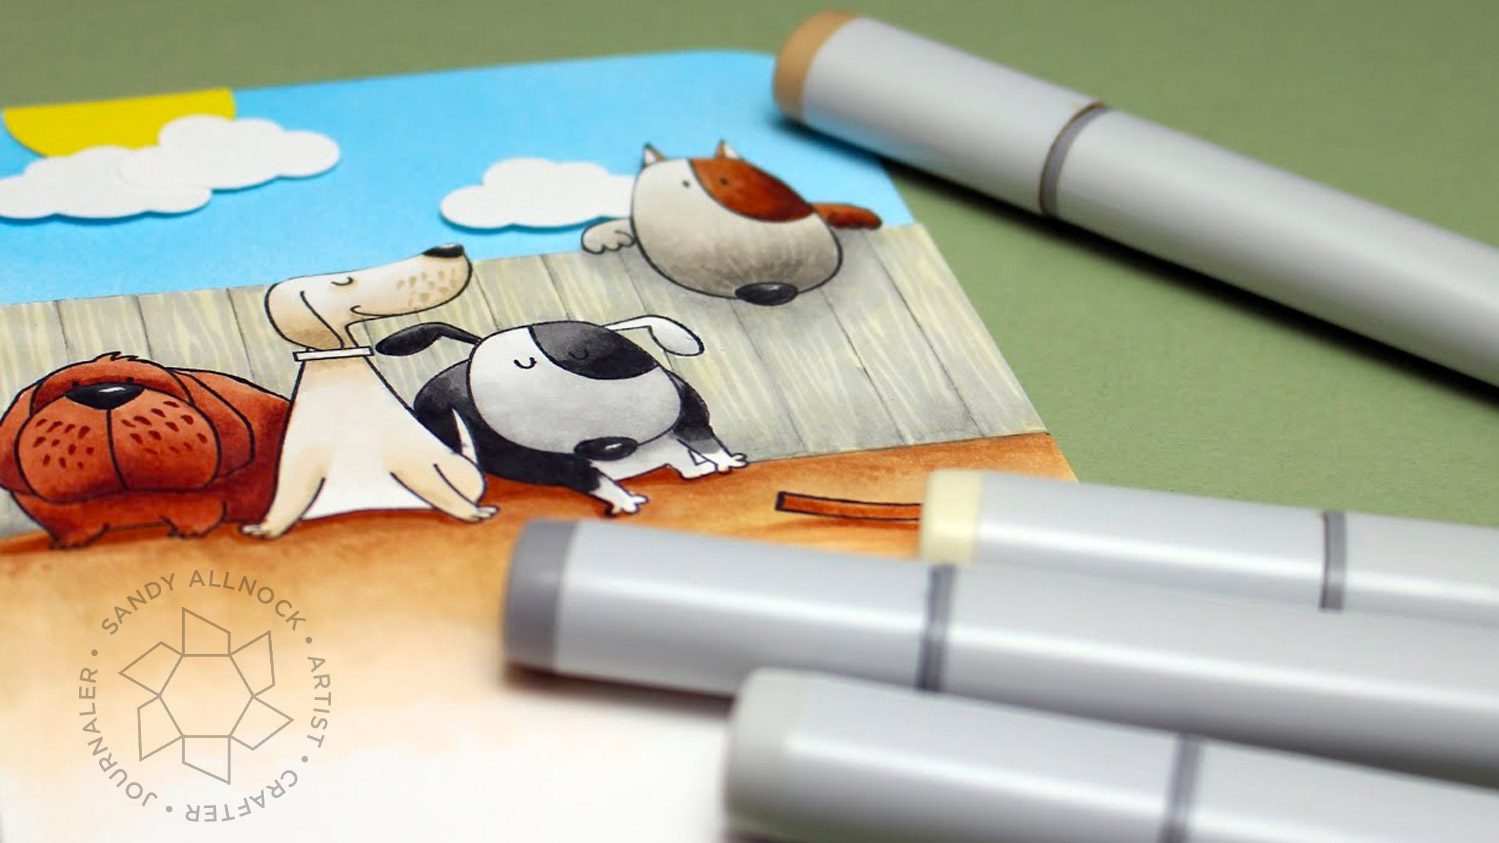
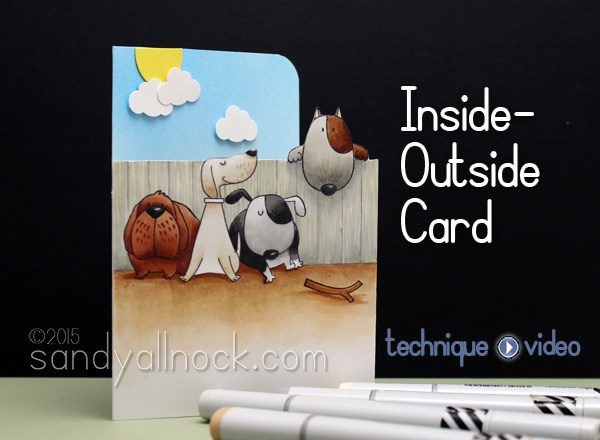
Oh me oh my. I’ve been dying to share this Inside Outside Card with you but have been waiting for it to be back in stock. (I get so frustrated when I go to buy something and it’s all out!) That said – they might go fast after this video. Just saying!
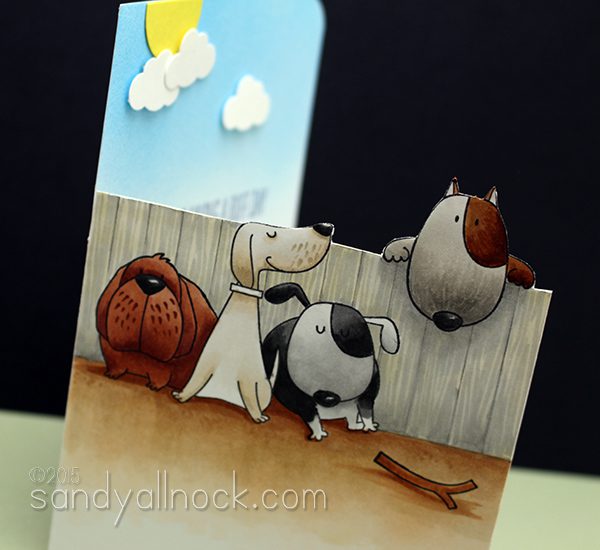
There are a few stamps that lend themselves well to having something going on both inside and outside – those somethings that line up. And when I saw Make My Tail Wag from My Favorite Things, I just knew I had to create a scene that continued from the outside to the inside of a card! It’s all done on the 80# Neenah, too (available in a 25 pack or ream) – the 110 would have been too thick for the layers on the front. Watch the video below, or click HERE to watch in HD on YouTube.
So much FUN, don’t you think? It may have taken double the coloring time for this, but it’s totally worth the impact of that inside outside image. If you know of other stamp sets that would be perfect for this, let me know, I need to do it again! 🙂
I think the poor pup who’s lost his stick needs some new friends. Whatcha think?
How to align the stamping, inside and out
I didn’t film the stamping part – it took a bit to figure out using my MISTI – but basically I stamped the dog peeking over the fence for the inside first, and stamped one on tracing paper. I flipped it, then was able to line up the face for the other side. Does that make sense? If not I’ll try to do this with some other stamps sometime to show you the process. Way fun and easy once you get the hang of it!
SUPPLIES
Some product may be provided by manufacturers for review and use. Compensated affiliate links are here at no cost to you. If you choose to shop using my EH (Ellen Hutson) links, please accept cookies on that site in order to retain the link to my blog, or that compensation does not happen for me. I appreciate your support of my work with your purchases! Full affiliate and product disclosure | My trusted partners in art
My Favorite Things, You Make My Tail Wag —- no longer available
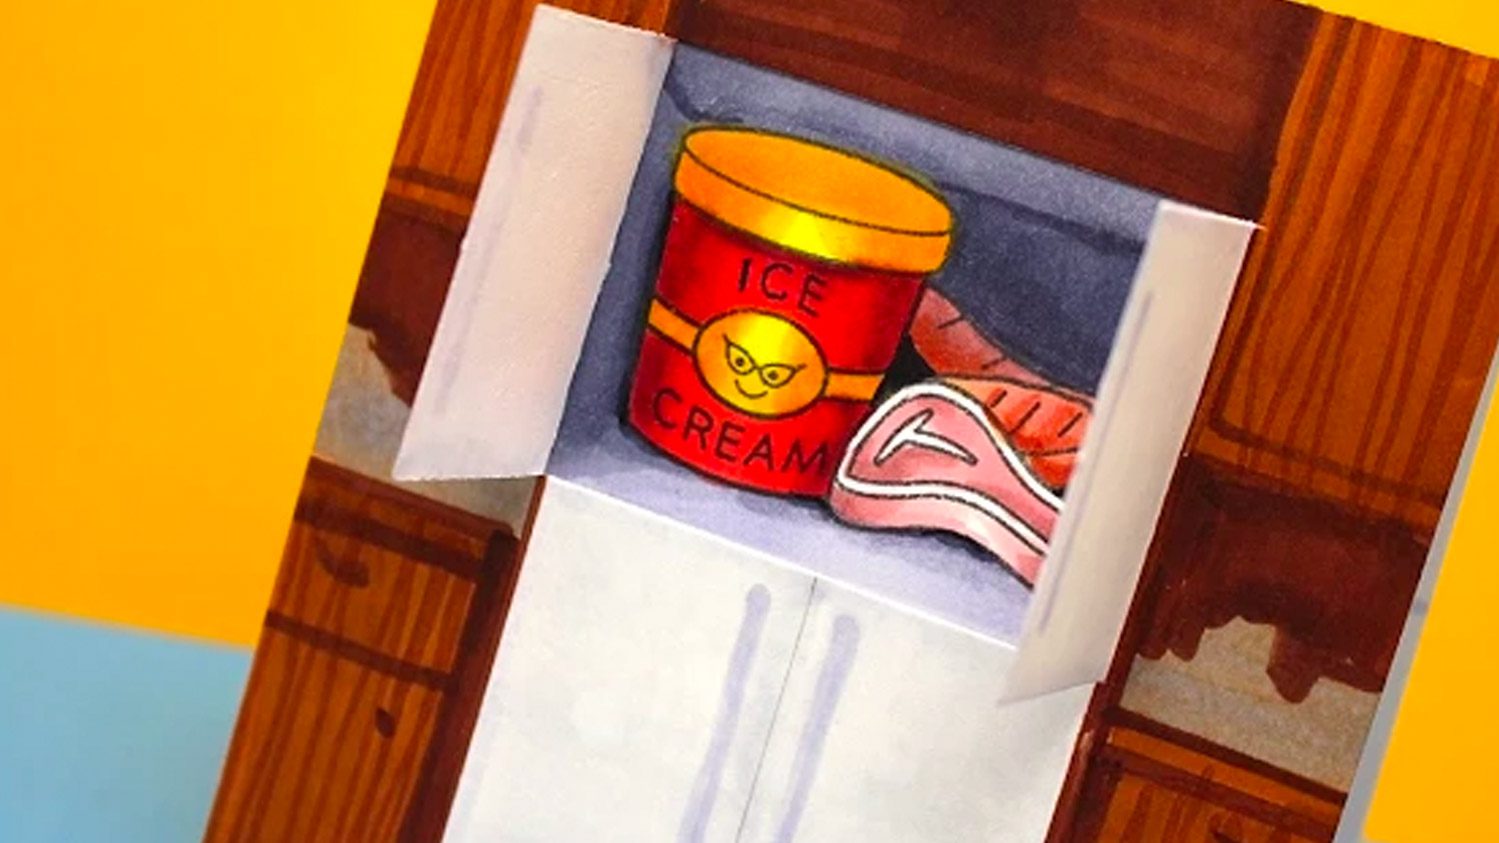
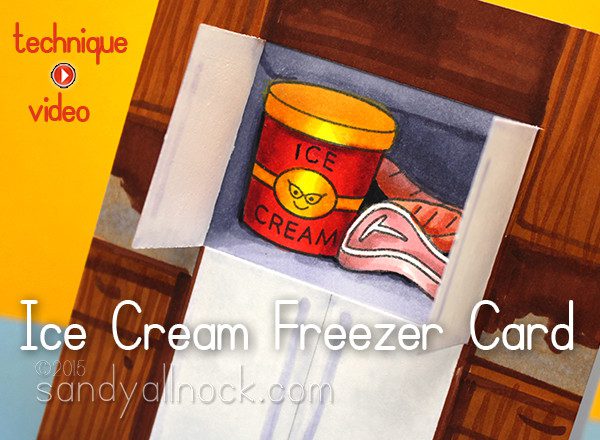
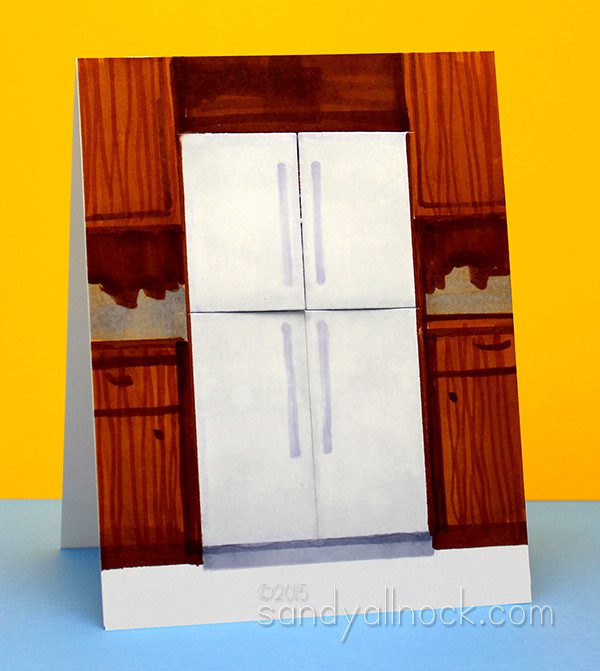
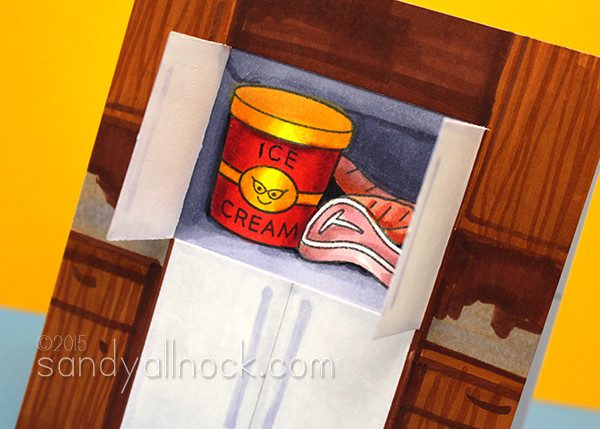
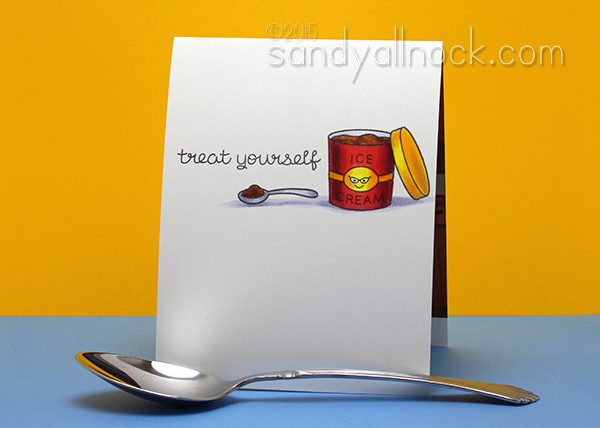
Sometimes stamps just talk to me. Like putting together an ice cream freezer with the brand new Treat Yourself set by Lawn Fawn! It’s been crazy hot here lately – I know 80s doesn’t seem like much to most of you outside the Pacific Northwest, but we never get weather like this in May and early June, so it’s totally ice cream weather here!
This also isn’t the traditional Magical Monday video….usually they aren’t voiced over at all. But since this one had some intricate die work and MISTI stamping, I figured I’d chat through those bits at least. I also mixed in some stamps from some of the other sets in the new release – smileyface on the ice cream is from Sweet Smiles and the freezer meats are from Let’s BBQ!
Video
Enjoy the video below, or click HERE to watch in HD on YouTube!
If you want to color a much easier version of this card, you could just make a white-on-white freezer. Just stop the coloring after the spraying with the mister.
I know the ice cream does look a little oversized for this freezer. But since the person getting it REALLY deserves to treat themselves, why not a 10 gallon bucket? *grin*
The treat on the inside is definitely a little treat, too – we often forget about the inside of cards, but this one has a spoon ready to dish up a yummy bite!
One other tip – lots of folks haven’t tried Neenah because of the cost of a ream…did you know it’s available in a 25pack? So you can try it out without goin’ broke. You’re welcome, friends!
SUPPLIES
Some product may be provided by manufacturers for review and use. Compensated affiliate links are here at no cost to you. If you choose to shop using my EH (Ellen Hutson) links, please accept cookies on that site in order to retain the link to my blog, or that compensation does not happen for me. I appreciate your support of my work with your purchases! Full affiliate and product disclosure | My trusted partners in art
Today I’m sharing stencil techniques – nine of them – since we’re celebrating our 9th and final OWH Memorial Day Bloghop. It’s bittersweet – but I’m focusing on the positive. It’s been an honor to run this charity!
Operation Write Home, a charity that has supported heroes with handmade cards since 2007, closed Dec 31, 2016.
Stencil Techniques
I’m no stencil techniques expert, but I love to play with them – and challenging myself to come up with 9 techniques in 9 minutes? Oh man! Cray cray. I layered these cards all on several layers of cardstock and turned them into cards to write messages inside for our heroes.
Thank you
I also want to say a huge thank you to all those who’ve been so positive and encouraging about the changes coming for OWH. It means so much! I’ve heard a good deal of negative feedback, personal criticism, and rumors – even that some people are rejoicing in the closure of OWH. They don’t seem to understand that we’re ending our mission because we succeeded in our work– not that we (or I) have failed in any way. Your positive comments truly help me keep sight of the good we’ve done not only for our heroes and their families, but for our cardmakers….and I appreciate you kind-hearted folks!
Thanks so much for visiting and checking out my stencil techniques!
Supplies
Some product may be provided by manufacturers for review and use. Compensated affiliate links are here at no cost to you. If you choose to shop using my EH (Ellen Hutson) links, please accept cookies on that site in order to retain the link to my blog, or that compensation does not happen for me. I appreciate your support of my work with your purchases! Full affiliate and product disclosure | My trusted partners in art