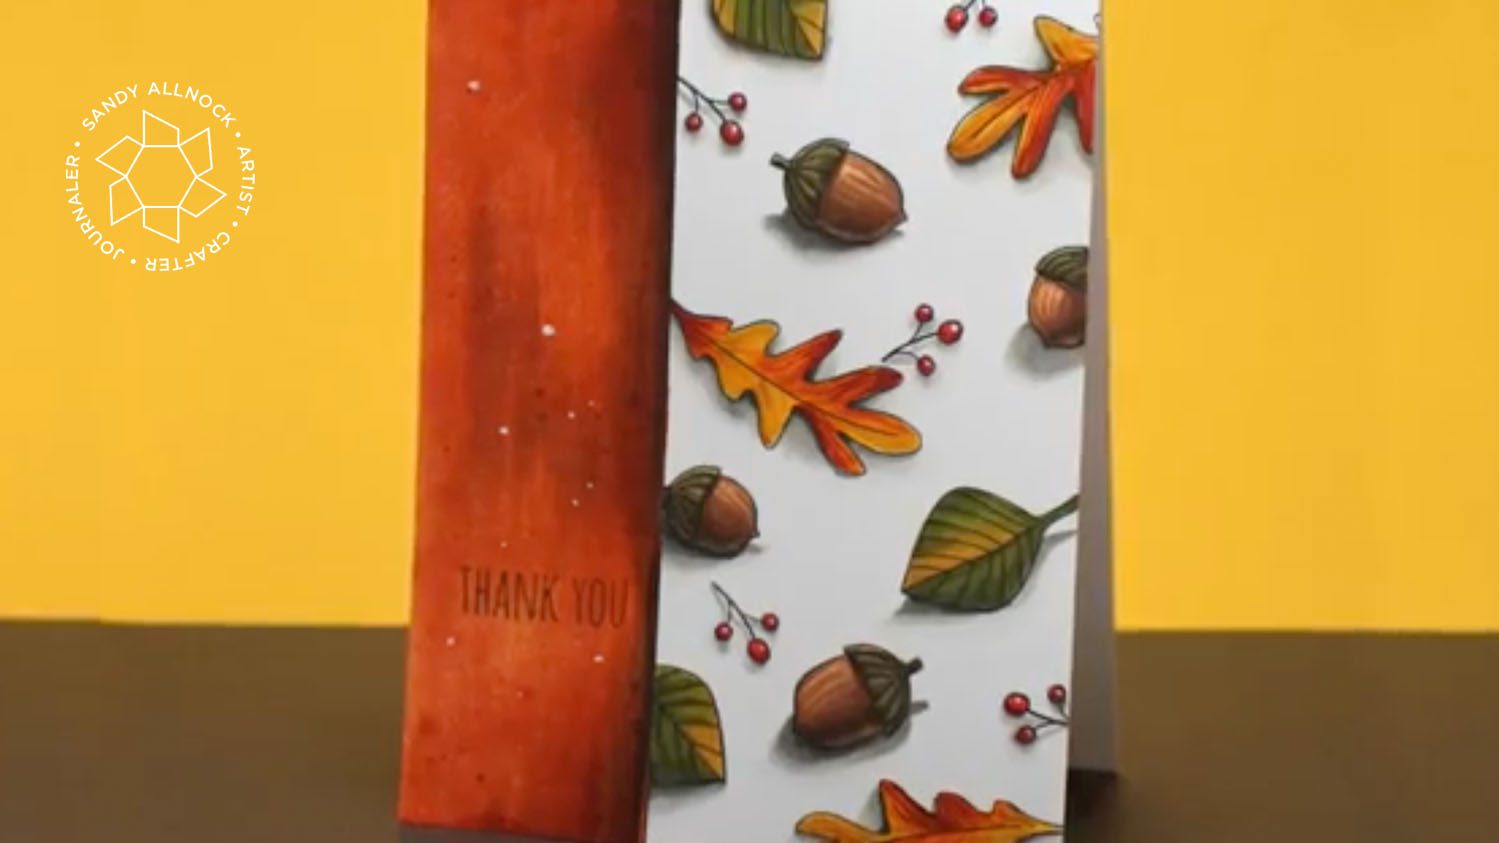
This week, I picked a card I made HERE, but had never made a video for….and it was time! Especially with tomorrow being turkey day. This is a one-layer card, once again, and uses the same Autumn Acorn stamp set as that original card, just with a different colors and sentiment.
Please know that this is one of those cards that’ll be hard for the average person to do; I can teach techniques for trees or hair, but trying to make an object look like it’s shaded perfectly is tough. I studied for years, went to countless extra life drawing sessions and taught some myself, and it takes tons of practice. I always encourage trying things out – but don’t be discouraged if you find this challenging!
Video
Watch the video below, or click HERE to watch it in HD on YouTube.
If you scroll through my blog and see something from a while back that you wanna recommend a “refresh” on, let me know!
This Thanksgiving Eve, I would ask one small favor: think about your list of friends, and one or two who are single. Pick up the phone and invite them to your Thanksgiving feast. A tip: don’t call and ask if they have plans; it’s awkward for the one stuck having to answer “no,” or if they just lied and said “yes” then they can’t back out of that to accept your invitation. Simply invite them for dinner. It’ll be appreciated more than you know.
Supplies
Some product may be provided by manufacturers for review and use. Compensated affiliate links are here at no cost to you. If you choose to shop using my EH (Ellen Hutson) links, please accept cookies on that site in order to retain the link to my blog, or that compensation does not happen for me. I appreciate your support of my work with your purchases! Full affiliate and product disclosure | My trusted partners in art
Ellen Hutson, Autumn Acorns set – – no longer available
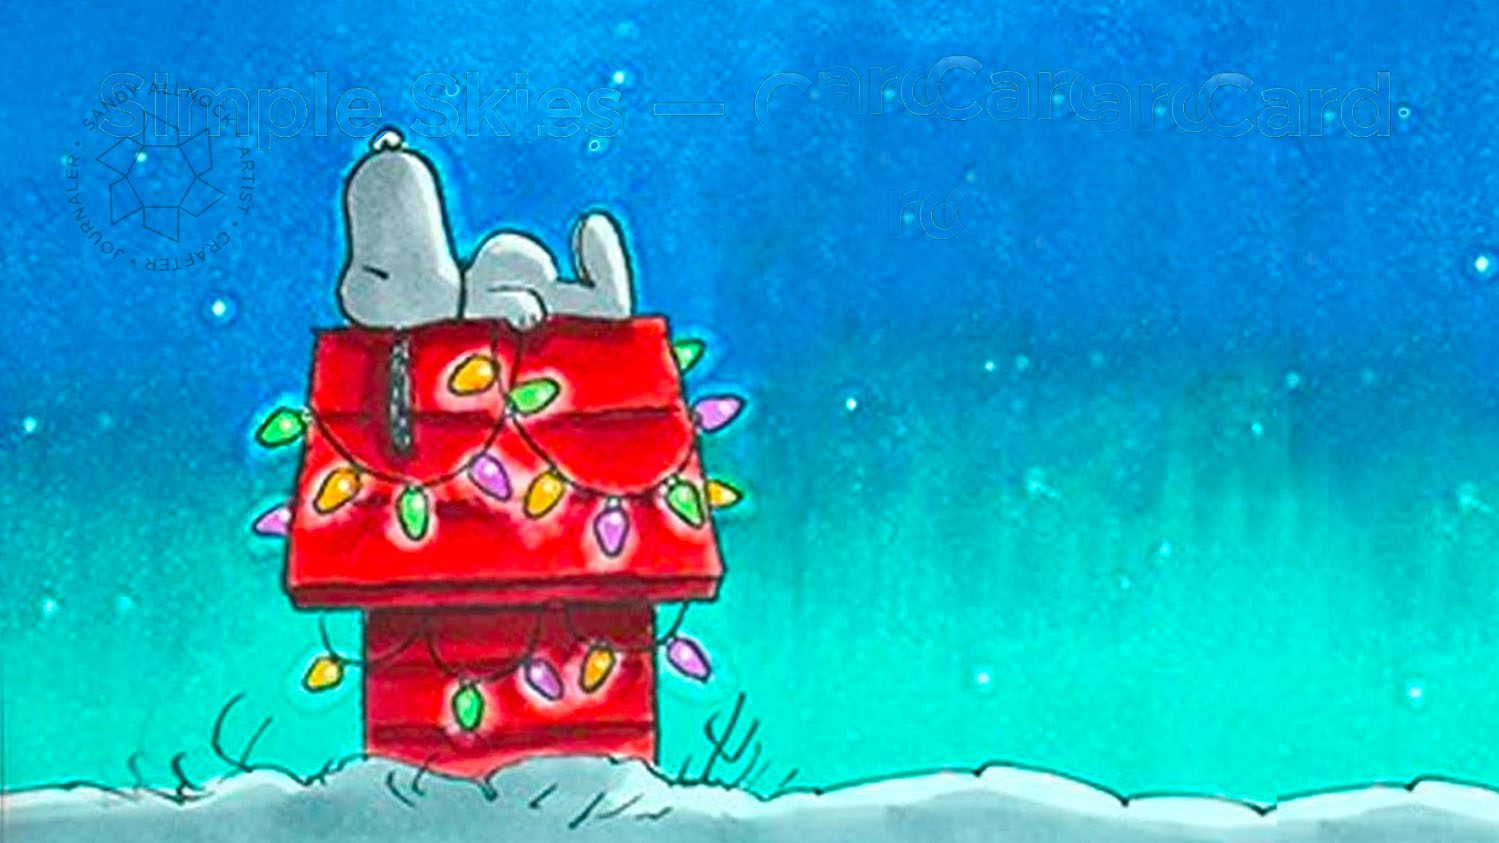
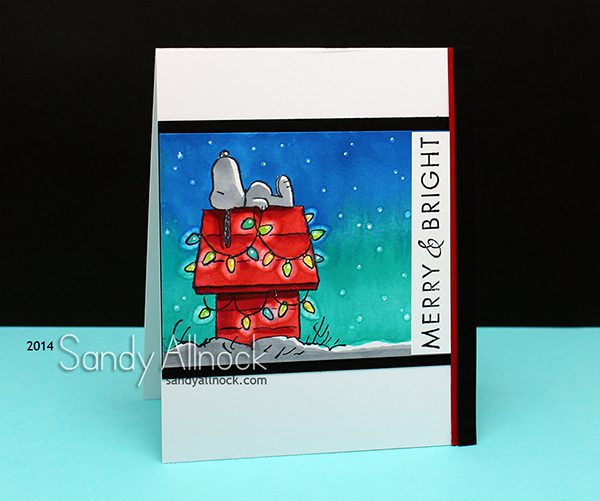
Hello! And welcome to my midweek Technique Refresh post for this week. By request, I’m showing how to make Christmas lights glow…the “refresh” part is to get a Snoopy card on my YouTube channel to recover from that very first (AWFUL) video I ever posted on my channel. And no I’m not linking to it. It’s that bad! lol!
Before you watch – please know the Snoopy stamp doesn’t seem to be available online anymore. So sad! I’ve even emailed a bunch of places I’ve seen it before, and they don’t appear to be making it anymore. Watch eBay, stuff shows up there randomly, maybe you’ll find one. (Or if you have one and don’t want it, it could be worth a lot, so sell it!)
I had created a practice image and didn’t do the background spray on it – I think my markers were juicier so the blending worked better the first time. I kept the design more clean and modern here:
Video
If you can’t view the video below, please click HERE to watch it directly on YouTube.
Supplies
Some product may be provided by manufacturers for review and use. Compensated affiliate links are here at no cost to you. If you choose to shop using my EH (Ellen Hutson) links, please accept cookies on that site in order to retain the link to my blog, or that compensation does not happen for me. I appreciate your support of my work with your purchases! Full affiliate and product disclosure | My trusted partners in art
Snoopy stamp does not appear to be available at this time. Check ebay, sometimes they show up there.
What the HECK is Frisket Embroidery? Are we sewing on cards? Nope! I’m so glad you asked, because I’m really excited to show you how I made this gorgeous dress in today’s video! I used two types of masking fluids (also known as friskets) to create masked patterns to create a fabric on a stamped image that looks like embroidery! At least that’s what I think it looks like. (Do you have any idea how hard it is to name techniques? lol!)
In the video, I show you two brands of frisket, and these way cool bottles that will now be holding my Multi Matte Medium and some other liquids, since it’s got such a nice tiny nib! Love love love it. If you can’t view the video below, please click HERE to watch it directly on YouTube.
As a bonus, I included another card in the video…I wanted to see what a flower might look like using the frisket doodling…so I tried a couple types of lines:
Supplies
Below are links to the supplies I’ve used for today’s project; click on the picture or wording to go directly to the item. Affiliate links may used, which means if you make a purchase I receive a small commission at no extra cost to you. I truly appreciate your support toward the costs of running this blog! Read more.
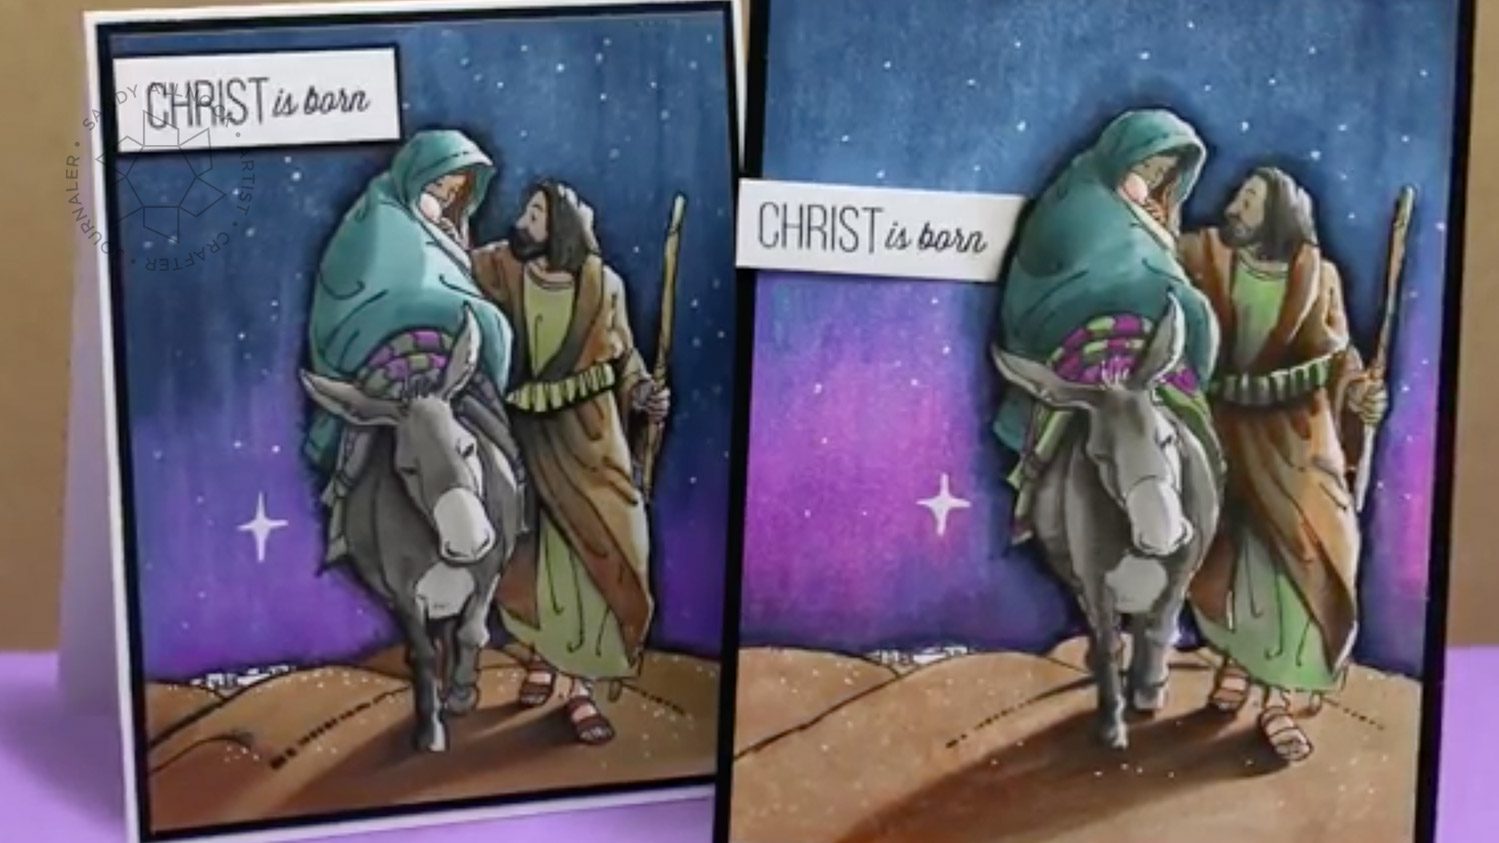
So many people want to know how to color night scenes with their Copic Markers. This stamp, From Bethlehem by Penny Black, is a perfect one for refreshing a night coloring technique I showed a while back in THIS video.
I had colored this image while on a retreat in October, and it came out so cool I was kicking myself for not filming at the time! This is my attempt to recreate it, and in a simpler way than I had done the first time. Enjoy!
Video
Watch below, or click HERE to watch it directly on YouTube.
Supplies
Below are links to the supplies I’ve used for today’s project. Compensated affiliate links may used, which means if you make a purchase I receive a small commission at no extra cost to you. I truly appreciate your support toward the costs of running this blog! Read more.
After last month’s crazy challenge, this month’s was a snap. At least for me! Filmed this while I was at the retreat…and kept getting interrupted. By wonderful people who somehow didn’t see the ginormous camera right by my face. LOL. So anytime you see my pen pause, it was usually to chat for a second! It’s been sped up, so it’s not 9 minutes long, but the clock timer is keeping me honest. If you can’t see the video below, click HERE to watch it directly on YouTube.
I was very glad it was only the coloring that had to fit into the 15 minutes. Because I had to:
stamp, restamp, and rerestamp the sentiment til I got it straight
adhere it to the card
find sequins to dress it up, drop them on the floor, and play 52 sequin pickup
locate an AWOL bottle of the best lil adhesive ever for sequins
Go join in the Make it Crafty monthly challenges HERE (no video required….it’s on the honor system!)
HEADS UP! To those who purchased my fundraiser cards for my sister: I just sent out the next 25 cards the other day, so you should be getting them…unless you’re in this last batch of 22 that I’m still working on. I’m bound and determined to mail them before election day!
Supplies
Below are links to the supplies I’ve used for today’s project; click on the picture or wording to go directly to the item. Affiliate links may used, which means if you make a purchase I receive a small commission at no extra cost to you. I truly appreciate your support toward the costs of running this blog! Read more.
I hadn’t colored anything in a week…and thought a portrait of my girl would be a good start to get me back on that horse…I started by using this to create a light pencil sketch, then dove in with Copics.I shortened 2.5 hours of footage into a 3 minute video….click HERE if you can’t see the video below.
The flowers at the end – Agh. I should have stopped before adding the grass and flowers, but it is what it is. This was the first time i had opened the Opaque White – and was pleased to discover it does completely cover Copic ink, and you can sorta color overtop it too.