Sometimes a stamp really does suggest how to do its Copic coloring background pretty easily…and Tina is flying through the air – so she totally needed a city behind her to do a flyover!
Copic coloring a whimsical background
I asked my friend Kate over at Art Impressions why the stamp set is called “Tina,” since I know they always have a good story. This set was released last year along with THIS one – which is called “Val.” So the two of them together? Val-and-Tina…Valentine! Cute, eh? (The sentiment on my card is from the “Val” set!) Enjoy the video below – or click HERE to watch in HD on YouTube!
I found myself really hoping her balloon is SERIOUSLY strong if she’s flying this high. LOL. But I have to say, Copic coloring this crazy little city is something I’ll do again – so easy to doodle!
Pssst the winners from the Pretty Pink Posh bloghop are posted – go see if you won!
In case you are new to my blog: Magical Mondays, usually Copic coloring videos, are not voiced over – just to give me a break once a week so I don’t need to come up with more to say.
Hello from sunny California! At least I’m hoping and assuming it is as I write this blog post beforehand. Heehee! Today I have a treat that’s more than a little different…an art journal page! I may begin to share a few of these over time….this one came together during a bout of insomnia, so I turned on the camera once I realized it could be a bit of fun. The “Stamp Sketching” technique is something I called the last step in the video – and I’ll be sharing that in upcoming weeks on a card at some point.
Enjoy the video below or watch it in HD on YouTube by clicking HERE.
Here’s the full finished page…if you’re at CHA and want to see it, come find me! My schedule is posted HERE.
And…before anyone types out an answer to my dilemma mentioned in the video – I just accidentally stumbled on a way to embed a video before it’s live! Oh em GEE! This has been kicking my butt for months, and now…boom, there it is! YAY! It’ll make it a lot easier on me when I go to Europe! 🙂
Supplies
Except for the marker colors, of course…I didn’t track those!
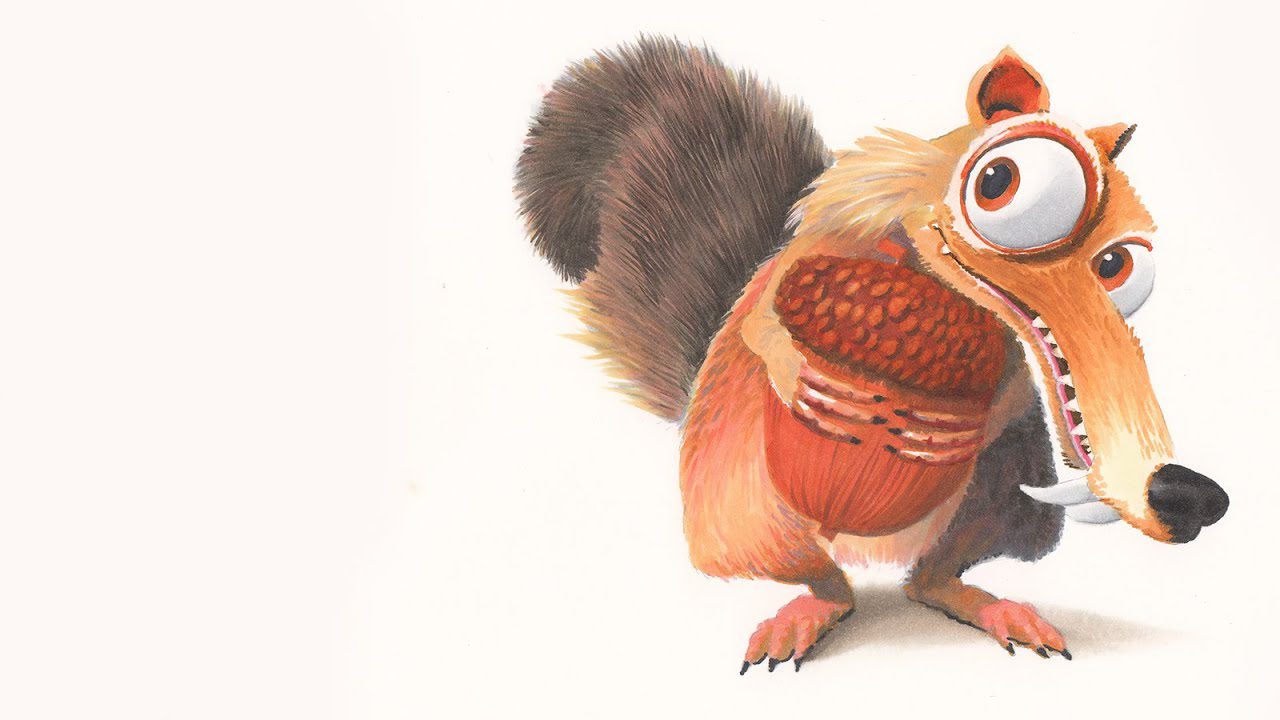
And now…for something completely different! I’ve shared this drawing on Instagram….below is the first one I created. Had I known it was going to come out so well, I’d have filmed the first time! The scan above made the colors a bit harsher than the actual finished piece; it’s a little closer in my cell phone pic below. If you’re going to CHA and would like to see the original, just ask – I’ll have it with me!
This had my biggest number of likes on my page, and over 3000 on Copic’s regram!! With popularity like that, I decided to give it another try and color it in front of the camera this time! Enjoy the video below, or click HERE to watch it in HD on YouTube.
A few tips I learned on coloring that tail:
I built up color in layers – that allowed me to control the shade as I went.
I used a SUPER light flicking motion, and had to hold the marker directly vertical – perpendicular to the paper – to get such tiny strokes. Sorry for my hand being in front of the camera while I did that!
The most challenging part for me was when the tail hairs were aimed left, but the fur on his back was pointing down and to the left. Trying to keep it from gumming up where the two meet? Pain in the behind!
If this video is popular, I’ll likely do a few more like this in the future…so if you want to see more, like it, share it, and I’ll see what I could come up with next!
Supplies
Some product may be provided by manufacturers for review and use. Compensated affiliate links are here at no cost to you. If you choose to shop using my EH (Ellen Hutson) links, please accept cookies on that site in order to retain the link to my blog, or that compensation does not happen for me. I appreciate your support of my work with your purchases! Full affiliate and product disclosure | My trusted partners in art
This blog post was un support of a business that closed in 2020 – Make it Crafty. Bummer!!! Her stamps were intricate and delicate —and great for coloring! These gorgeous new flowers are available in both digital and rubber and the rubber stamps also come with a hand written sentiment, which of course you could use between all the different flowers.
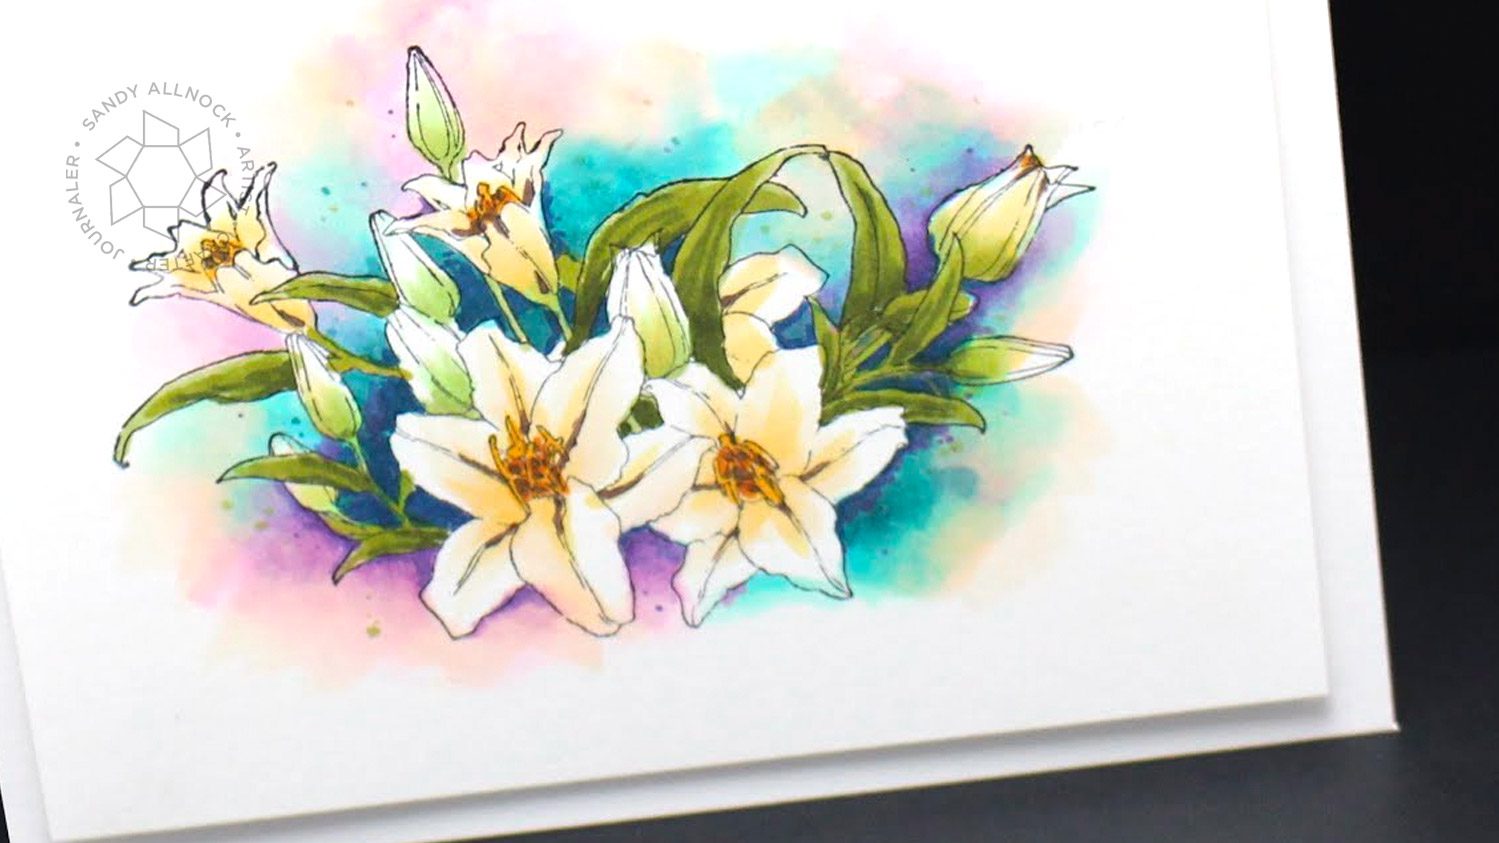
I’ve created a video for my card, of course; the theme for the month’s challenge at MIC is watercolor, so I tried something different – using my markers to fully mimic a Copic watercolor splashy wishy washy spattery background! I’m having a blast finding watercolor paintings on the web and studying them for more textures and splash types that I can recreate with markers.
Video
Enjoy the video below or click HERE to watch in HD on YouTube.
Here’s a closeup of the copic watercolor art…just look at how all those colors layer over each other to create entirely new shades of purples, blues and greens. And going over it with a creamy color? That just makes it all vintage! Coolio!
There are a number of different ways to create a watercolor look, so stay tuned on my blog to see more of them coming up – just do a search for Copic watercolor in the search bar in the sidebar of my blog. Some are easier, some are harder, but hopefully there will be a technique you can tackle!
Supplies
Below are the products featured in today’s project. (Stamp links are in text above, as they were not in the store at the time of this writing.) Affiliate and product disclosure can be found HERE.
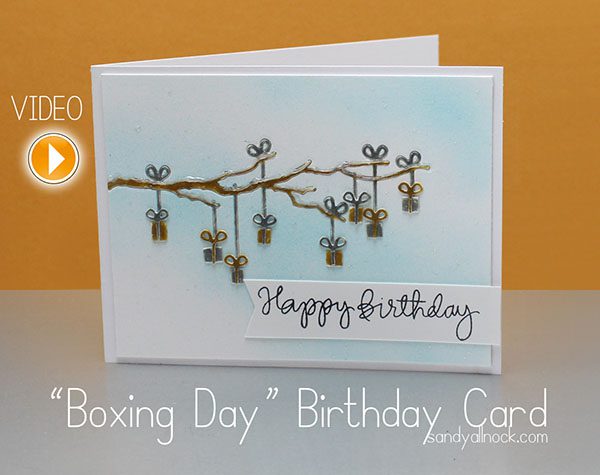
Merry Day-After-Christmas! Otherwise known as Boxing Day to some….I always thought it was a day to return all those boxes full of gifts you didn’t want, but according to Wikipedia, it’s a day that employers would give gifts to their staff. (I think that means I give Punch and Tsuki a box of treats?) But…since my birthday card for my Mom had boxes on it (her birthday was yesterday – Christmas Day)…I thought I’d just play off of that for today’s inspiration.
Enjoy the video below or click HERE to watch it in HD on YouTube.
Need that Dabber? Get a discount using the coupon code below. You’re welcome! (Christmas is over now, it’s legal to shop for YOU!)
Things of Note
SALE! If you wanted to try that Dabber from Ranger…all products from Ranger are 20% off at Simon using coupon code RSALE until Dec 30th. Now’s a great time to go pick one up!
SALE! Been wanting any Impress-exclusive items? 20% off sale in the entire store using coupon code thankyou2014 !!
NEW CLASSES! I’ll be teaching two more classes while in California for CHA – on Saturday and Sunday evenings in Anaheim! They’re Copic classes and will be using the brand spanking new (and not yet seen!) OWH fundraiser stamps from Hero Arts. Yeah! It’s for store owners and employees only…click HERE for the registration form. Please feel free to take a copy to your LSS and ask them to come to class and hear all about OWH!
I spent some time on Christmas playing around with my markers again…check it out on Instagram.
European friends: I just booked my ticket to come across the pond! Stay tuned for more info…trip is in February!
A Valentine? Not exactly since it has a “miss you” sentiment. But this card idea came from looking at Valentines on Google…so it’s got lots of hearts!
When I saw this mini stamp set with a girl and her sweet kitty from WPlus9, I immediately knew I’d have to create a vintage image. (By the way she comes with a die…just so ya know!) I started looking online for vintage images of little girls so I’d get an idea where I wanted to go….layers of hearts is what I saw! I stamped the sentiment and little girl in a steel blue first, just to keep the lines softer. I airbrushed the piece quickly first to create a vintage texture, then went to town with my markers.
The pen I used to touch up a bit of the lines was a warm grey SP Multiliner – I’ve had it sitting in my pen drawer for ages and decided to try it out on this image since I didn’t want a harsh black in there. A lot of the soft white you see in the image is from using colorless blender over the airbrushing – the rest? Signo, of course! If you can’t see the video below, click HERE to watch it in HD on YouTube.
If you’d like to see this image colored by a master, check out Dawn’s image HERE – I couldn’t believe it looked this good and she asked me for advice!? (By the way my friend Dawn is the owner of WPlus9 and designs their stamps. And is a creative GENIUS. And super sweet. And a military brat. And drop dead gorgeous – no fair to have all those things wrapped up in one person.)
If you’re not enamored with this little girl stamp and the amount of coloring she is (even without this background!), stay tuned next week – I’ll be using THIS easy to color set from the same new release. Just a heads up if you wanna order it right now. After THIS, I’m going out on a limb to predict it’s going to be sold out before next week.
I hope you enjoyed this bit of coloring – it took me over an hour to complete the image, so it’s not for the faint at heart! But I know a hero will love sending it to their kiddo at home…and since it’s been pretty slim on cards lately, I’ll be spending part of my weekend making a bunch of cards for OWH I think.
Coming up
Tomorrow: something for your kids. Yes, your kids! Then next week I have a huge project I’ve been working on – I daresay some of my best work yet – and it comes with giveaways. Be sure to come back for a visit, or better yet, subscribe to my blog – and it’ll all come right to your inbox!
Things of note
I’m excited to have inspired Janine to try a northern lights background HERE!
Love ugly sweaters? You might need to make some of THESE – I know I will be.
I just had a sneak peek at an upcoming Lawn Fawn release, and Oh. Em. Gee. Watch for it.
For some reason, I clicked through to watch THIS from Rhett and Link. Warning, fart humor!