AI: Is it art? Choose Your Fighter

AI: Is it art? Choose Your Fighter

In my last video I said I had a topic. And this little something is about a topic I’ve wanted to talk about for a while. AI. Artificial Intelligence. 


You’d think they could have named it better, right? If you need a qualifier to the word “intelligence” it seems like it might not be a good thing. But I digress.

For months now I’ve participated in countless discussions about AI. Some with those vehemently opposed. Others who are AI-curious. Each person with justifiable positions on AI. I can see all of it, and have pondered how it fits in with my own perspective on what makes something an “art” piece.
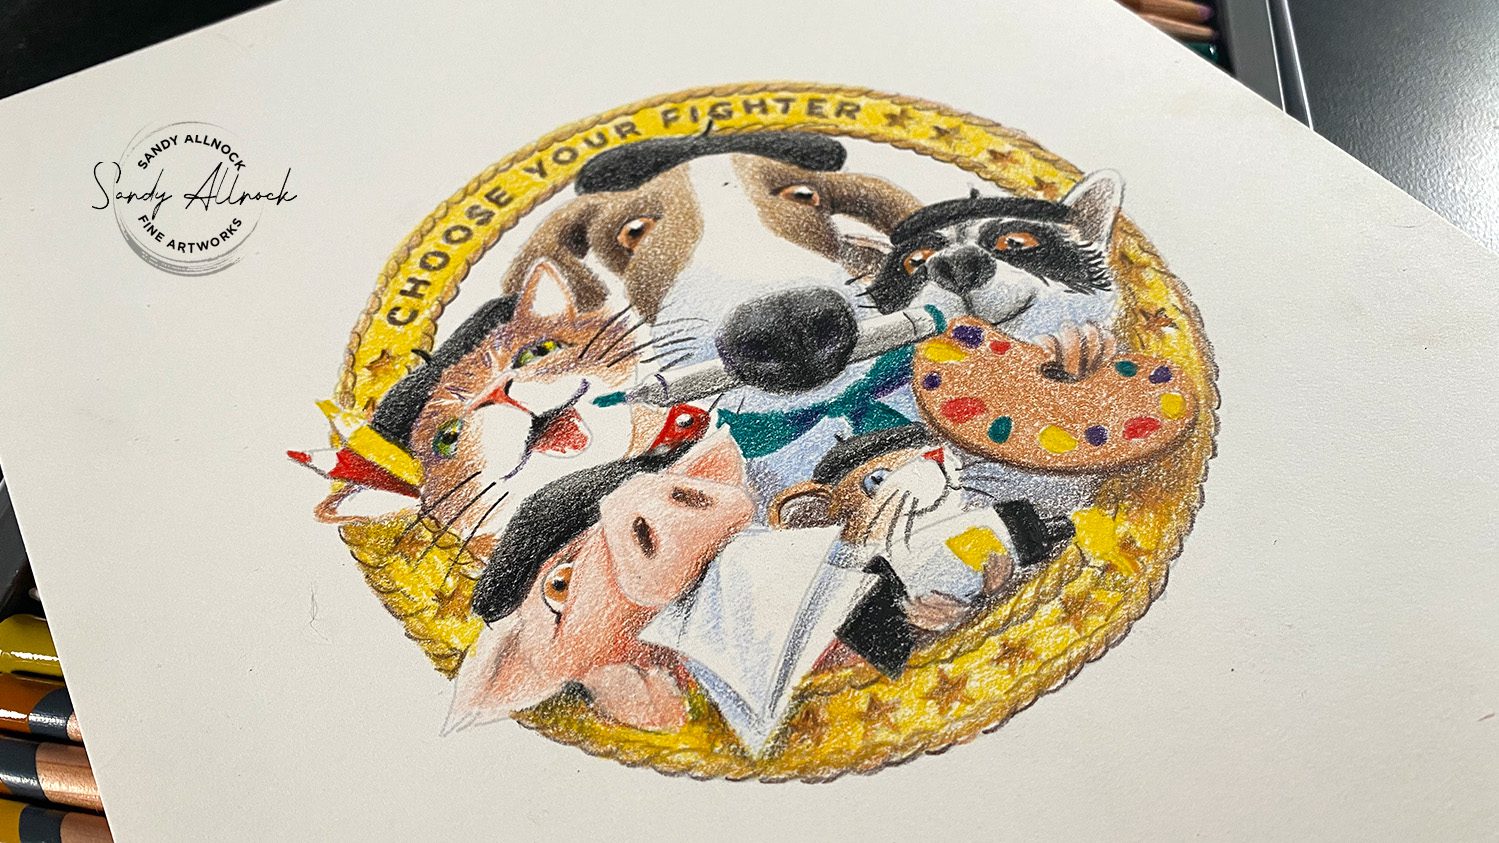


AI is by no means new right now. It’s fall 2024, and it’s been taking the world by storm. It seems I run into it in every aspect of life, expecially on the web – every plugin, every website, every search engine – it’s all powered by AI. All the first Google suggestions are AI compilations from what it THINKS is the best answer. (I scroll past that to get the REAL answer to my questions!)

And with customer service turning increasingly to AI to respond to us, the world is feeling less in-touch, less human, by the day. Very depressing! I can promise you that on my blog, in my newsletters, on my Art-Classes site – there’s nothing you should run into that’s AI-powered. If you get an email back from me, it’s going to be me writing it. (Thus the typos!) My newsletters could be AI generated – but I’m refusing to click that button. 

And with AI trying to get into art…well, it’s about time I put some thought into what *I* think about it. I’ve had many a discussion with other artists, and find all sorts of opinions, though most are worried about where it’s headed. Visual models are based on the art of people who were never given an opportunity to opt out – no one whose art is utilized gets a penny from usage of their work, and there’s no credit given.

So I’ve put my thoughts into a video while creating a cute piece of art – and would love to know YOUR thoughts on AI after you watch. What’s your experience been?

Video: Is AI art? Choose Your Fighter

Watch the video below and scroll to the end to leave comments or questions — or click HERE to watch it on YouTube and leave comments over there. I read both dutifully!

SUPPLIES

Some product may be provided by manufacturers for review and use. Compensated affiliate links are here at no cost to you. I appreciate your support of my work with your purchases! Full affiliate and product disclosure | My trusted partners in art

Black and white original drawing:

    1. TWSBI Eco fountain pen medium nib 
    2. Hahnemule Hand lettering pads
    3. Platinum Carbon Fountain Pen Ink

Color drawing, printed in a tint:

    1. Legion Stonehenge Drawing Paper, 9×12 pad
    2. Derwent Lightfast Colored Pencils (12pencil set used here)
    3. Dahle Dual-hole sharpener

Subscribe to receive blog posts by email:

Pen and ink drawing

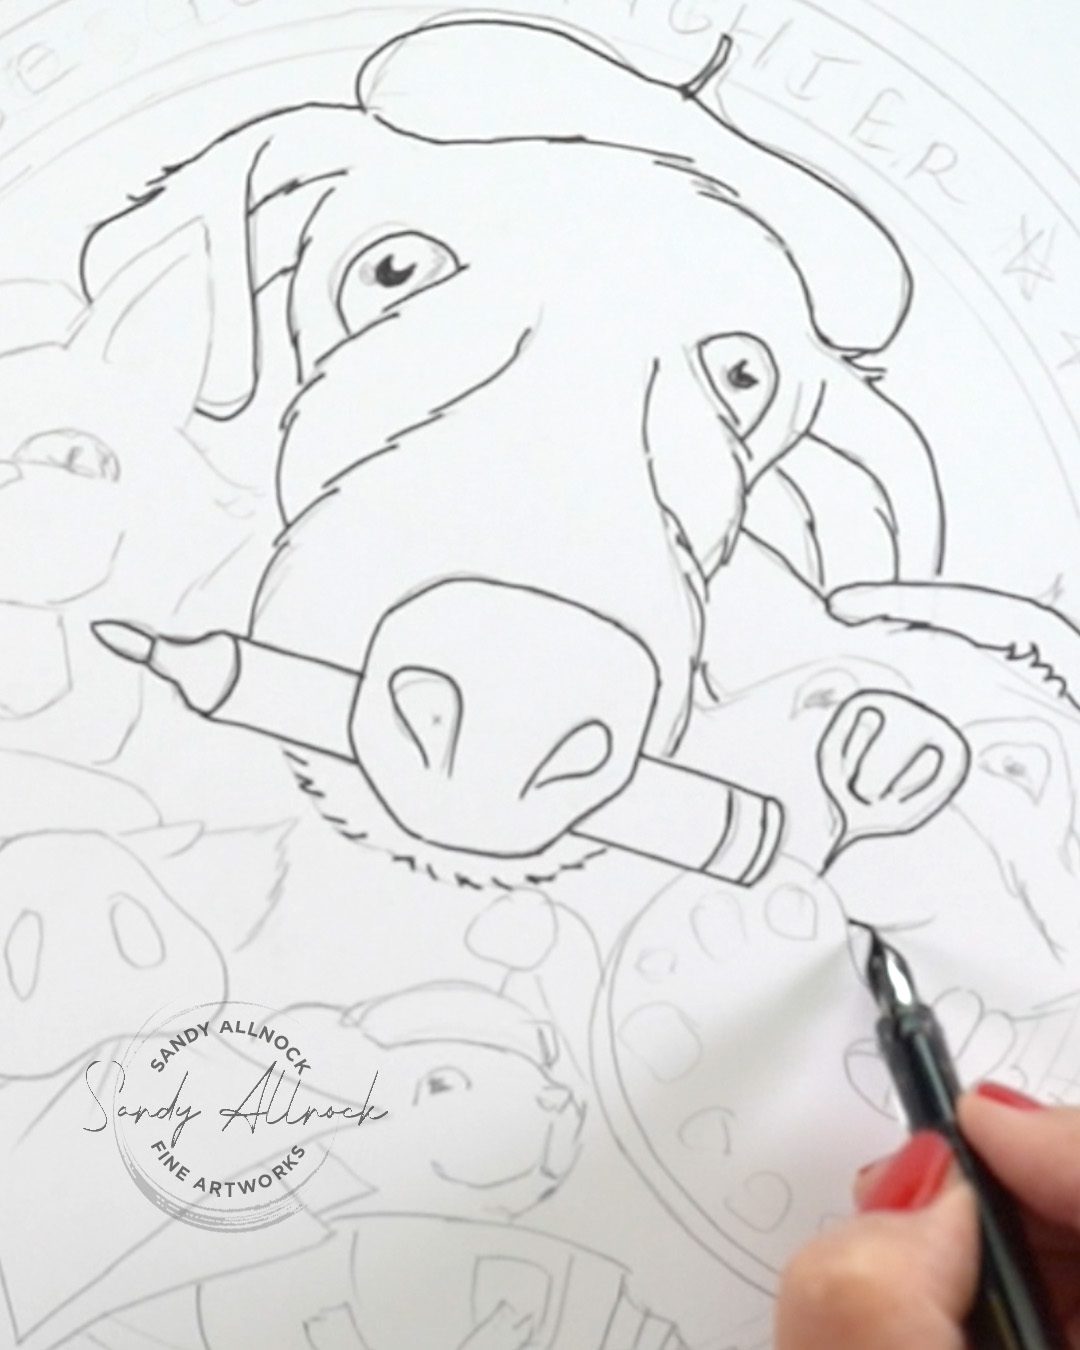
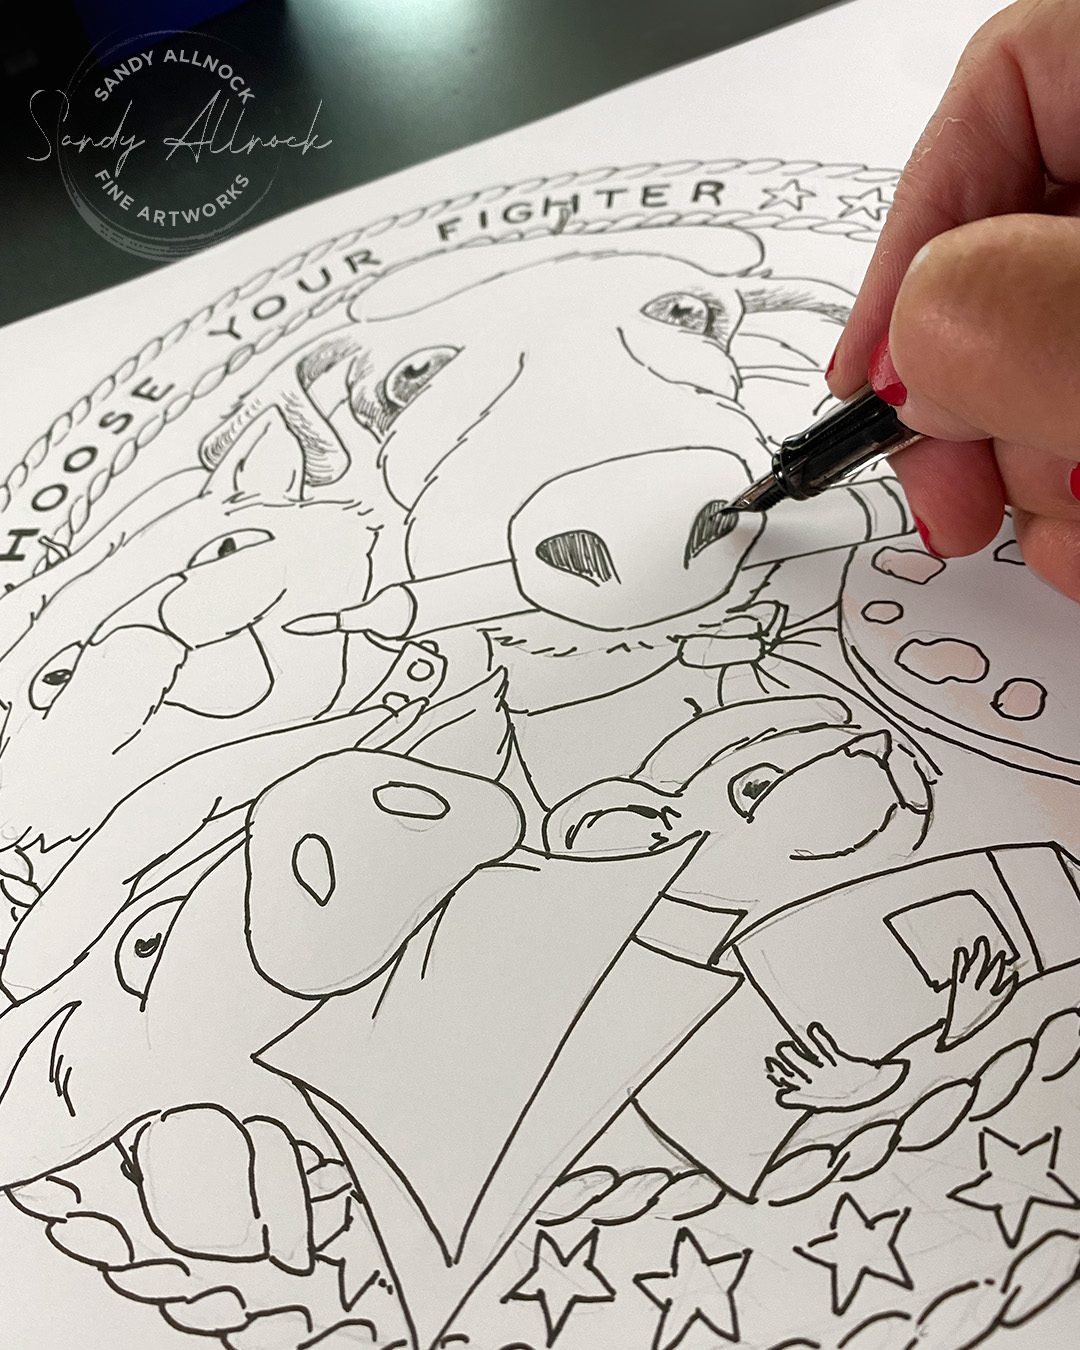
After a relatively detailed sketch of the shapes, I dove in with my Eco Twsbi (medium nib) Eeep! It’s been a while and I’m out of pen and ink practice. Inktober’s coming up, I need to get back my skillz.

Then the pen and ink drawing…the Hahnemule lettering paper does the least feathering, so when I’m going to create something that might end up as a printable, I use this to be sure I get the best lines with the least fraying.

The pen did a nice job of it since I was working so large; it’s always hard to tell what thickness will shrink down well. I’d recommend not making this an A2 card size, it’s got a lot of small bits! Originally I had planned to add a lot of crosshatching and shading in pen and ink – but I wrecked it in that phase so totally that I was VERY glad I captured the drawing before I added all of that so I could both shrink it down for me to color and still offer it to you. 

Another note: I had originally hand-lettered the text. But not only did it end up not centered, it just looked a mess! So using graphics programs I replaced it with real text, and centered it up. #graphicdesignnerd !!!
 

Derwent Lightfast, 12 color set

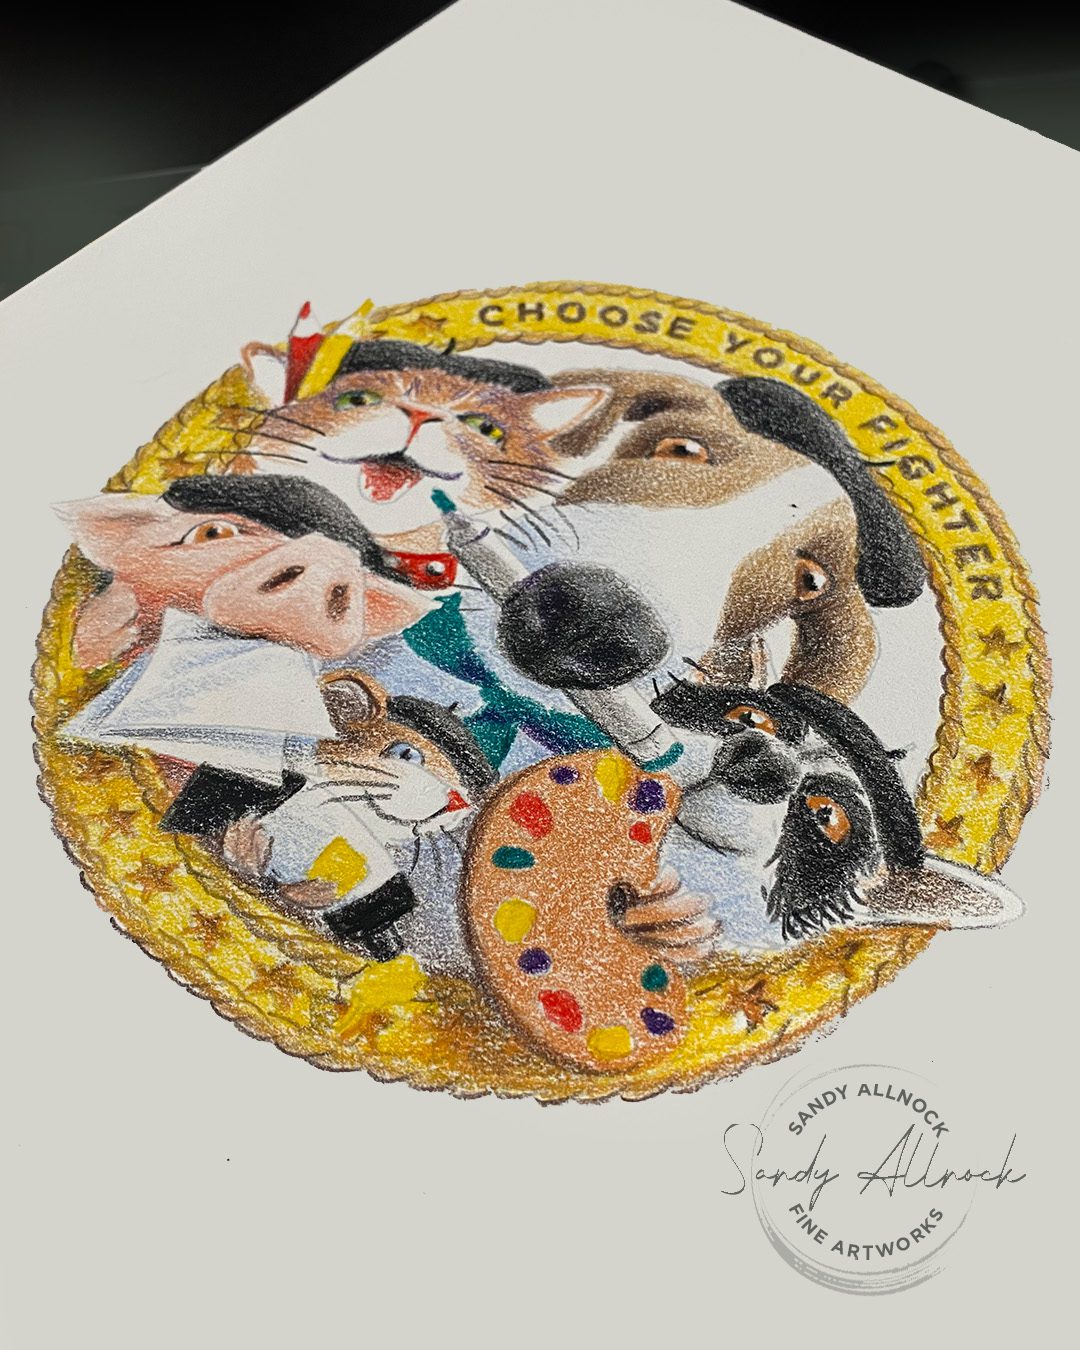
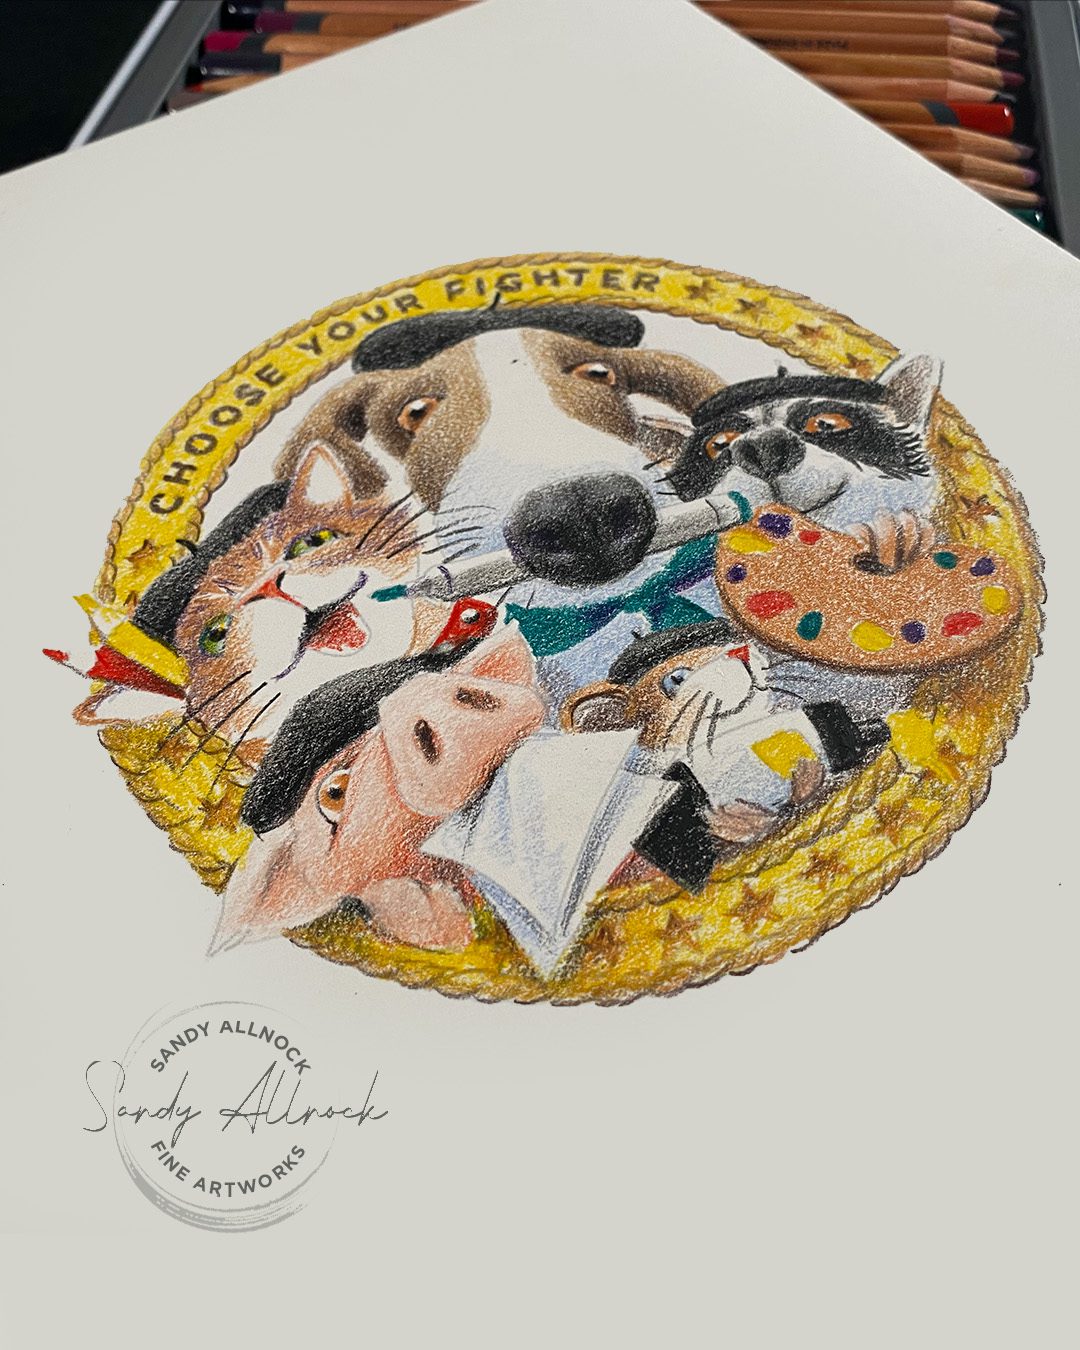
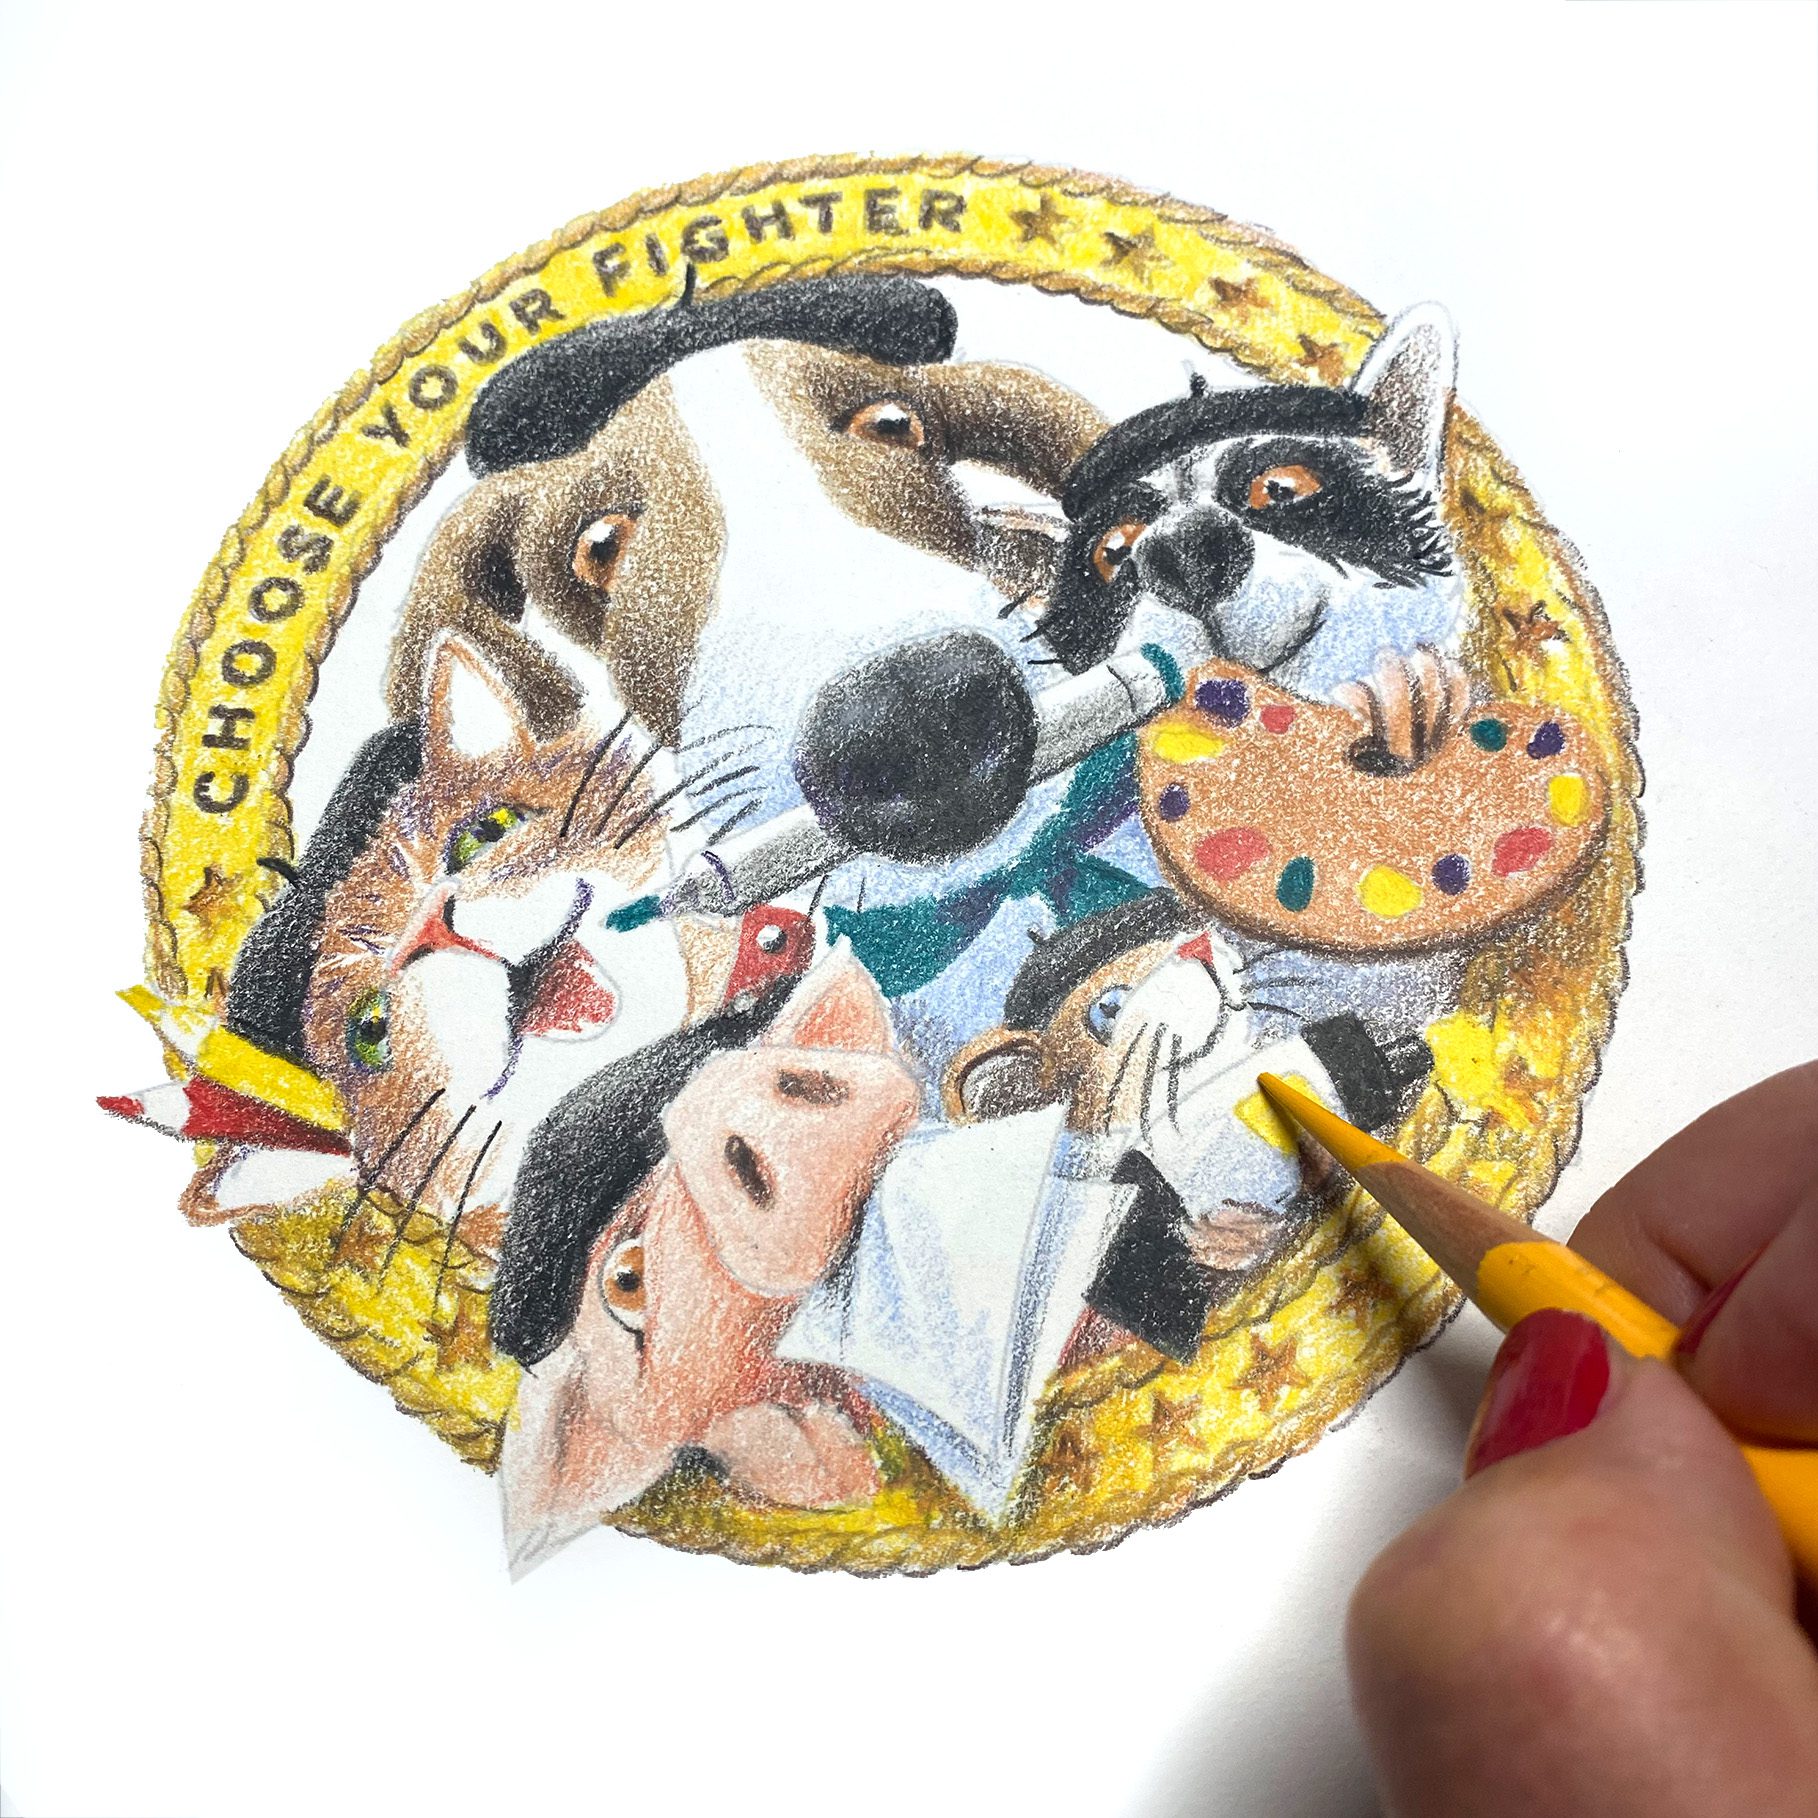
Since these pencils aren’t cheap, I decided to see what I could do with the set of 12 colors – and that way if you wanted to see what you think of them before a bigger investment, you could start with something smaller. It’s a relatively good set? I felt like I’d have preferred a medium blue rather than the lightish blue, because this one won’t darken (though light pressure lightens any color). And they had 3 browns, so I can only guess what they thought folks buying this set would be drawing with it. (Coloring books? uh no!)

I’m in progress on the 100-pencil hex chart, but one assessment I can tell you is they have far more darks than lights, likely for the aforementioned reason; if you’re not used to / or don’t like working in soft layers, try a different line of pencils. They have an exorbitant amount of blues though, and some dark greens that are going to be delicious for plant subjects. A decent range for skin tones and fur. It’s just not a “brights” line of pencils – which might tell us also why other lines of pencils are less lightfast: perhaps the darker colors are more fade-resistant by nature. I’m hoping to do more pigment research soon and figure this out.

But nonetheless, the 12 pencil set IS decent, and you can see what it does here with these critters.
Lines or implied lines?

I had some challenges with printing – not ones anyone else will have! My printer is on its very last legs, it’ll only print in the faint lines you saw on my printout. So basically everything I do right now is implied lines, though not by choice.

An attempt to take the file to print at FedEx didn’t help as their printers were down. I drove all over town til I was too exhausted to try further, and just printed it light! 

In the printable PDF, both the heavier and lighter lined versions are included, you can see which you prefer; I lost track of where my lines were since they were so faint. Which was a challenge to say the least. A sharp pencil was a MUST.
Color it yourself!

You can pick up the printable yourself – it’s a PDF with 2 versions to try as well as a resizeable JPG.

Print it on your favorite paper for whatever medium you want to use, and have fun with it. Frame it and hang it up in your workspace to remind you to choose a fighter – and get out there and save the world with your art!

How to Wash and ink: Leopard in the shade

How to Wash and ink: Leopard in the shade

I’m finally back with fresh mojo. THANK YOU for your patience with me these last few weeks since we lost my Mom! It’s been hard but the days get slightly brighter one at a time before they slip backwards again. I know it’ll be ongoing, but…I’m thrilled that I finally created something. A few somethings, even! 

My fountain pens had gone a bit unused for some time; I was busy with World Watercolor month, chased that with the partnership with Olo Markers, and my own family things. But I’ve had a class in mind I wanted to create for winter – and I needed to get the pens warmed up again.


Since my fountain pens sat around so long, I discovered I had to do some cleaning! Fortunately a quick search on YouTube using the name of the pen and “removing nib” resulted in a nice quick result that helped right away. I even took the back end apart in case that’s what was gumming things up! 

I had a course I wanted to start working on, but decided my first project after this time away needed to be something for my heart. Something Mom would have loved. And since she told me she wanted me to create more art with animals….that’s what I opted for. The photo was taken by Robert Pointer, a photographer who’s uploaded some of his work to Paint My Photo. This one was so beautiful. (His original is here.)

Video: Wash and Ink Leopard in the Shade

Watch the video below and scroll to the end to leave comments or questions — or click HERE to watch it on YouTube and leave comments over there. I read both dutifully!

SUPPLIES

Some product may be provided by manufacturers for review and use. Compensated affiliate links are here at no cost to you. I appreciate your support of my work with your purchases! Full affiliate and product disclosure | My trusted partners in art

Pen and Ink:

Fountain Pens:

  1. TWSBI Eco fountain pen Fine nib 
  2. TWSBI Eco fountain pen Medium nib 
  3. Platinum Carbon Fountain Pen Ink 

Watercolor:

Paper:

  1. Arches Bright White Rough 22×30 sheet BLICK JACKSONS

Brushes:

  1. Da Vinci Maestro Kolinsky Sable Round 10 BLICK   AMZ   JACKSONS
  2. The needle brush….a 9 or 10 are my most common sizes:
  3. Da Vinci Series 17 Maestro Inlaid Needle, Size 10 , Size 9

Daniel Smith Watercolors:

  1. Yellow Ochre BLICK  AMZ  JACKSONS
  2. New Gamboge BLICK   AMZ   JACKSONS
  3. Moonglow BLICK   AMZ   JACKSONS
  4. Chromium Green Oxide BLICK   AMZ   JACKSONS
  5. Burnt Sienna BLICK   AMZ    JACKSONS

Subscribe to receive blog posts by email:

Photo adaptations

Starting with a photo always presents an artist with a dilemma: What to adapt? How far can I stray? What would look weird?

The answers to those questions come from experience, but asking the questions about what to change is, in itself, a big step away from how can I make it look like the photograph exactly?

It takes a long time of learning to replicate to get to a place where adaptations are even possible. But as you are working through copying a photo or an art project exactly, let your mind wander. “If I could do something different, what would I want to do?” Maybe it’s beyond your skill, and that’s okay. But thinking that way will help you in choosing new projects to try; following a tutorial on that thing you can’t do might be your next step in growing. It could take a while, but it’ll move the ball forward! 

What order to draw…?

In a drawing I knew would take a few days, I made the decision to work on 1) my favorite part, then 2) the hardest part, then 3) the most satisfying. That led me to:

  1. The tree branches. I love doodling, and in a murky dark bit of wood, I can let my mind go and just doodle shapes and lines at will.
  2. The leaves. With the crazy brushstrokes to guide me, I did have to think carefully about positive and negative shapes, and at one point I was getting tired of them. But kept thinking about #3.
  3. The leopard. Rather than drawing it first, saving it for last saved the sheer satisfaction for the end. Along with a huge nuuuuddddggggeee to get it right with the pen and not much for sketch guidance.

Using the shadows and shapes in the paint as a guide for the pen and ink, I worked out some of the big cat’s shadows early on, so once I was putting in the spots, I just fit them into those sections. I could focus on the shapes, and which ones were a little more leaned one way or the other, which sections had smaller spots. Less about where to put them.

Winter Wash & Ink

If you love wash and ink, and want to make some fabulous hand-sketched cards, this class might just be for you! It takes the first Wash & Ink class and amps up the watercolor, letting the ink sing on important parts of it.

Lots of fun with tons to learn – and will help you get a jump on those Christmas cards, too!

$32.99  $29.99

Need this original?

It’s for sale! Once originals sell from my shop, I’ll add them to Fine Art America to the collection of works that you can have prints made from. 

PURCHASE ORIGINAL

Best garage sale sign ever?!?

Best garage sale sign ever?!?

Every year my neighborhood holds a ginormous garage sale – dozens of shopping opportunities. But last year I got rid of the last of the stuff – and this year, I opted to see how it would go selling my ART instead. Of course, I had to make a sign……to hang on my sawhorses!

Tutorial: Best garage sale sign ever?

Watch the video below and scroll to the end to leave comments or questions — or click HERE to watch it on YouTube and leave comments over there. I read both dutifully!

The sign

Surprisingly the sign got far more attention than anything – that and the pastel painting also out at the street! Which made me happy not to have wasted my time and energy the night before of course 🙂 Getting people to stop and look at ANYthing is hard, even for garage sales, folks just drive by and assess you in seconds. To stop and look closer was a win!

What should I do with my “art” sign now?

The art

I was mostly worried about people coming by to offer me $1 for something my heart and soul was poured into; I don’t recommend selling your art on a garage sale day if you’re tender about it! I did struggle with marking a bunch of things 50% off, knowing HOW LONG they took and how hard they were, to let them go for such prices feels awful. 

Surprisingly I didn’t have anyone try to negotiate except the child. Part of my strategy to counter haggling was to leave the full price tags on them, and just add the stickers with the day’s price, so they would know how much of a deal they were getting. (As I listened to my neighbor shouting to people “Oh that’s brand new, never been used…” to justify her pricing, I realized I had decided on a good strategy. People need to know what something is worth in order to decide if they’re getting good savings!

Also – since we did have a few sprinkles throughout the morning, I was glad I had opted for baskets and racks for most of the art – I could toss them quickly under the table. Once that happened several times I no longer put art out separately so it’d be easier to hide from the rain!


Subscribe to receive blog posts by email:

Demonstration

Any time you’re selling art, whether at a fair or in your driveway, if you’re able–demo! It has a few benefits.

  1. You’re not staring at everyone as they look around and they feel more free to just look.
  2. You have something to keep you busy and not fretting over sales.
  3. You communicate that your art is handmade. 
  4. You get art done.
  5. You may get to engage in some lovely conversations.

Don’t get offended if people look from a distance or don’t come over at all; sometimes they think you’re working and not there to chat. I look up and greet people so they know I’m there to visit, and lots will do that. 

You never know who you’ll inspire by working “live” in front of them. I had many conversations with people who said they were too old to take up a new hobby. And if you know me, you know I had some words for them. 🙂 🙂 🙂

Dear future me:

Consider whether you could do more for your art and business by spending the two days prepping for this on something else. Your driveway isn’t all that nice for a sale. If you decide to try it again, borrow a tent and wall racks from your friend and set it up as an art show, not just a bunch of stuff on a table. Make it look like it’s worth what people will spend. But good on you for making the QR code sign, that was genius and worked well. Also: more posting on Facebook and emailing your collectors, you got some sales from your regulars who couldn’t come to the event.

But really, assess your time spent. World Watercolor Month is coming, and your efforts toward that could be thwarted by this little driveway venture.

Sinceerly, past me

Supplies

Some product may be provided by manufacturers for review and use. Compensated affiliate links are here at no cost to you. I appreciate your support of my work with your purchases! Full affiliate and product disclosure | My trusted partners in art

  1. cardboard
  2. sharpie
  3. tape 

Drawing Vintage Roses for Mom (easiest coloring ever)

Drawing Vintage Roses for Mom (easiest coloring ever)

This year’s Mother’s Day celebration is so much more meaningful to me. In the past, even though Mom was up there in years, I had thought she’d be around forever. She’d been through so much, she’d fight off anything, right? But the last month or two has shown me not to take her for granted one BIT. And this year I wanted to make her the most special card I’ve ever sent her!

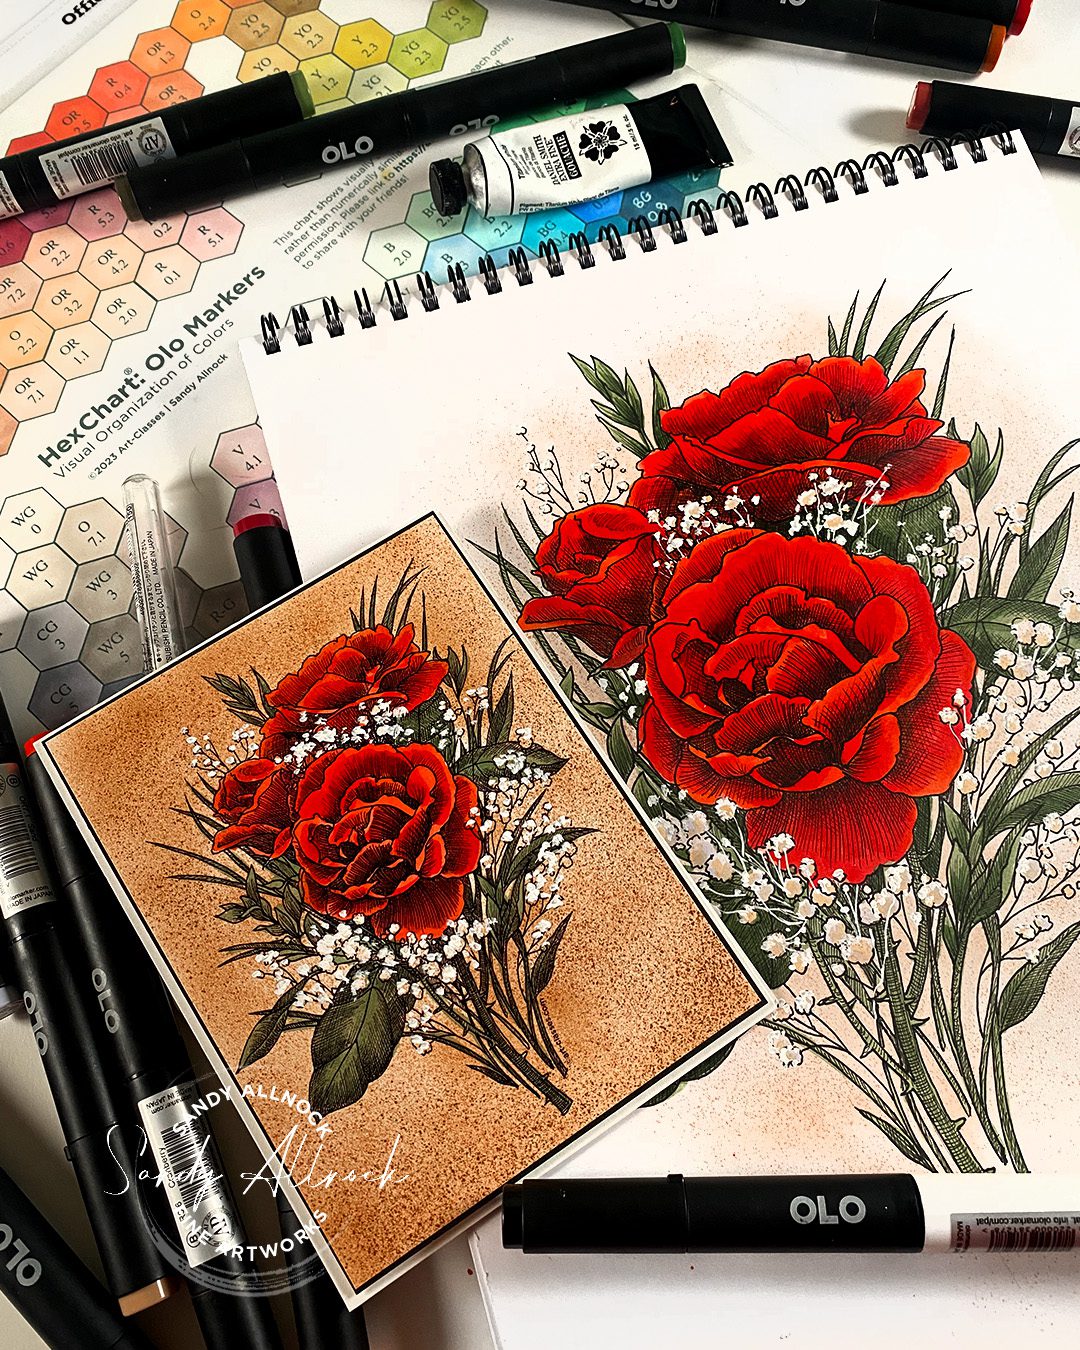
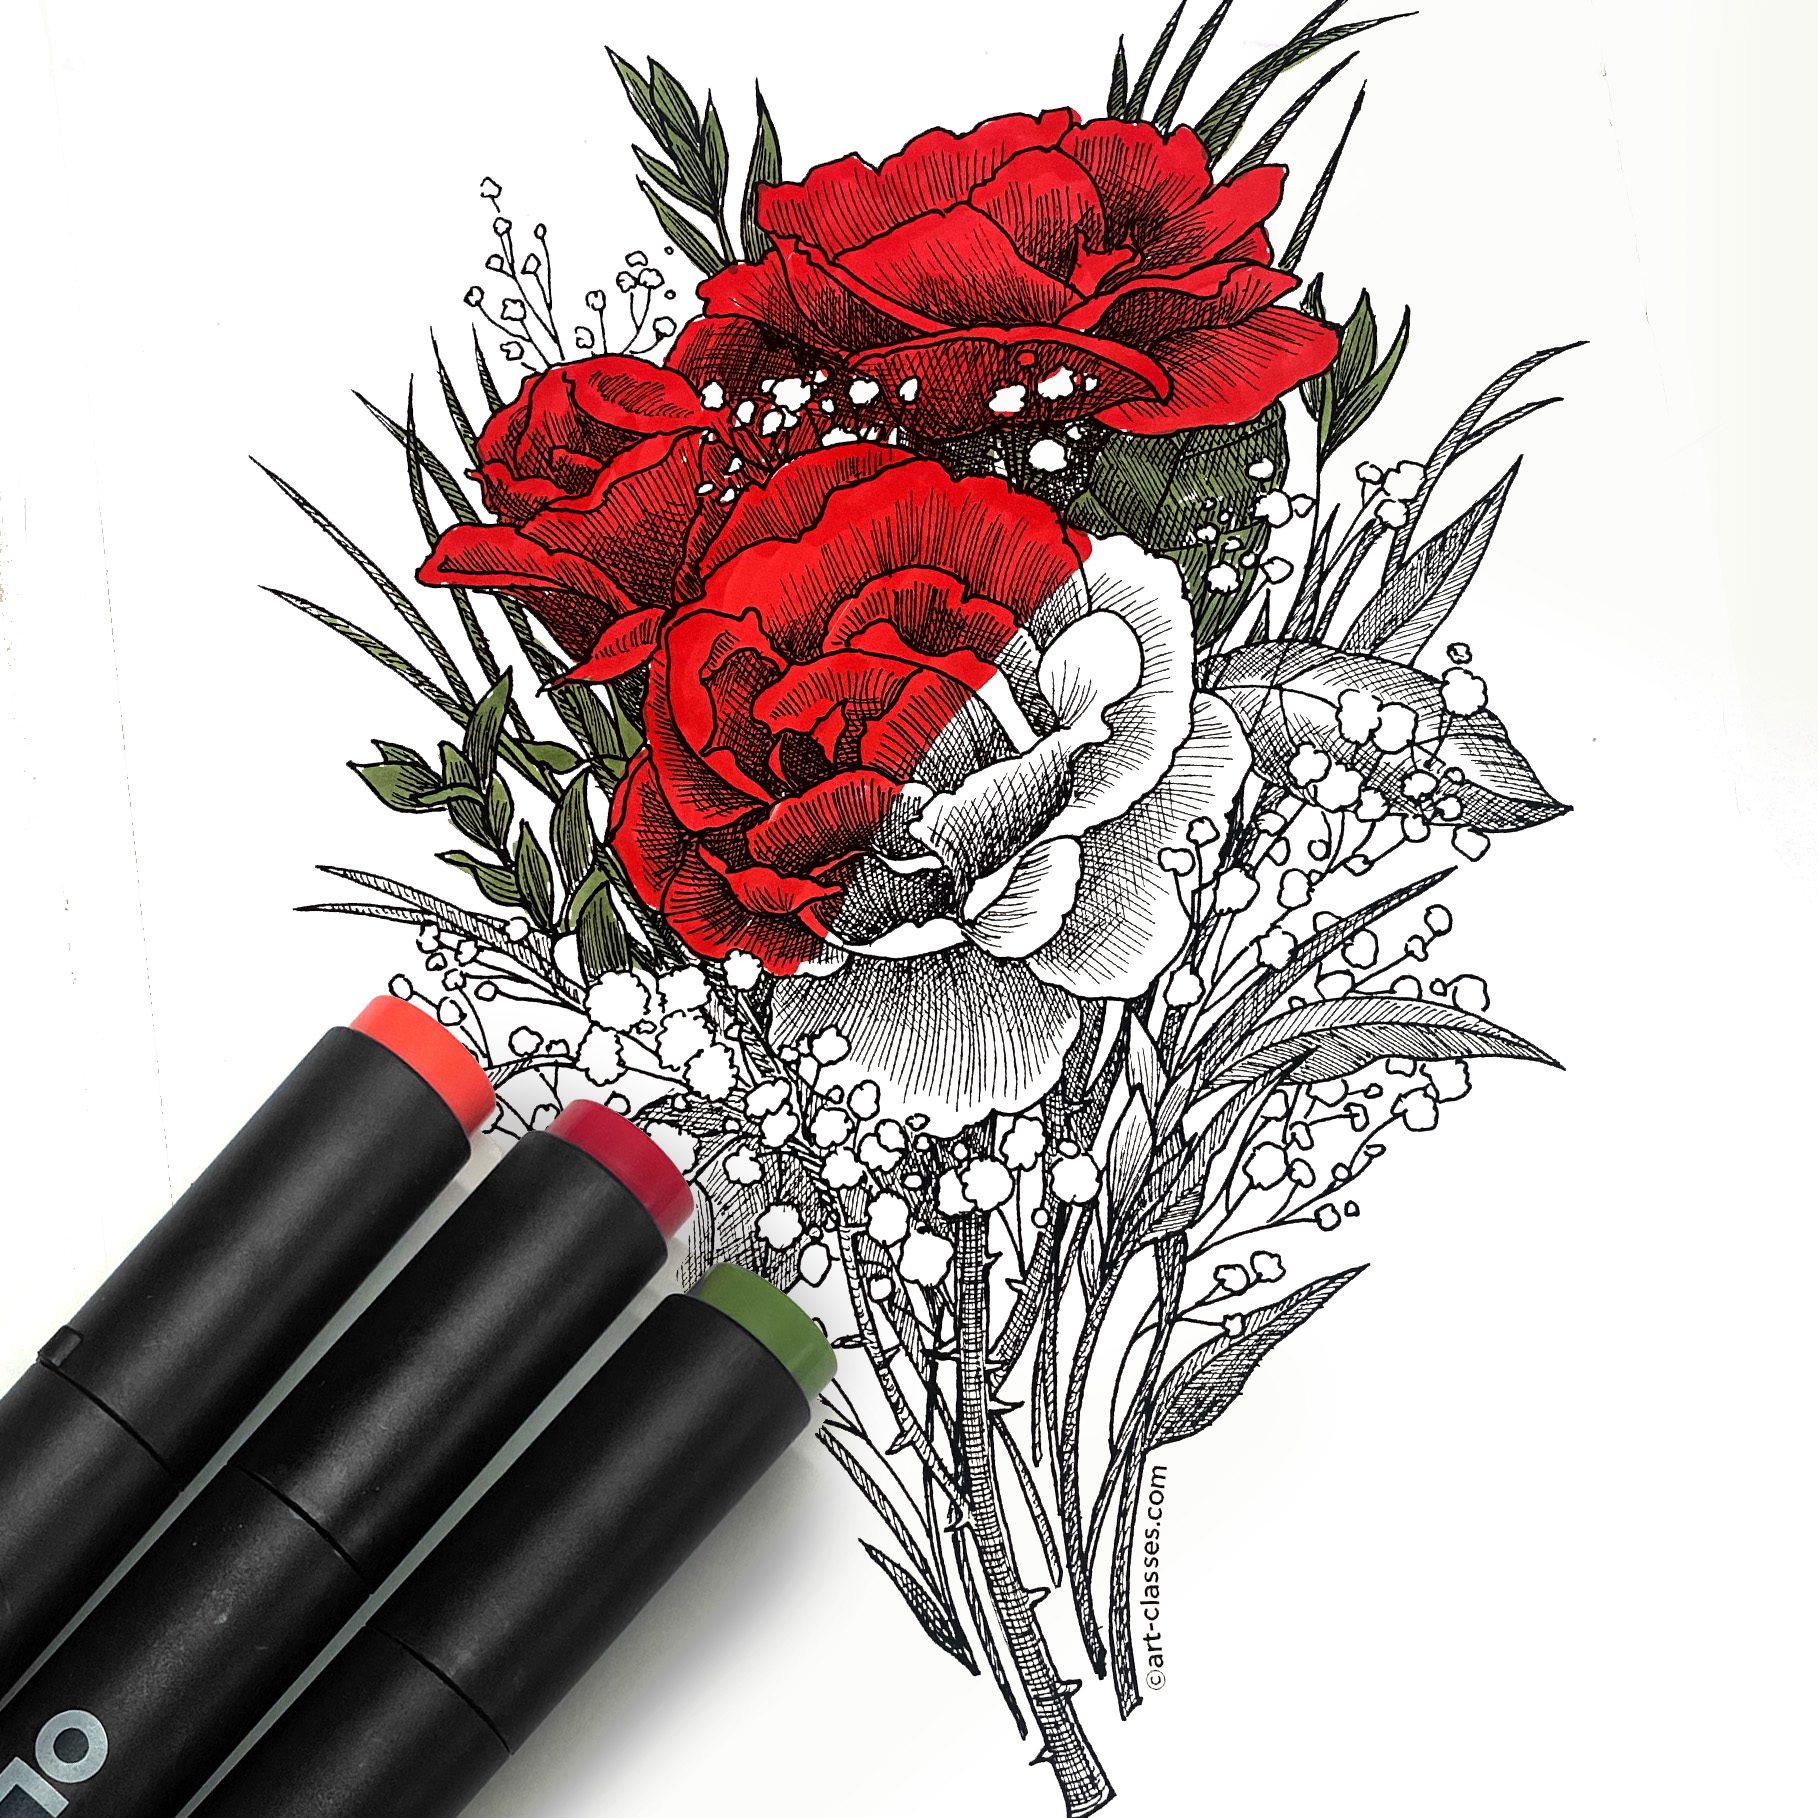
In the video I’ll show you parts of the drawing process, and of course talk through it as I am wont to do. 🙂 Then the color begins – I did fancier coloring than needed for this image, because on the card, I did NO blending and it still looks phenomenal!

Tutorial: Drawing Vintage Roses for Mom 

Watch the video below and scroll to the end to leave comments or questions — or click HERE to watch it on YouTube and leave comments over there. I read both dutifully!

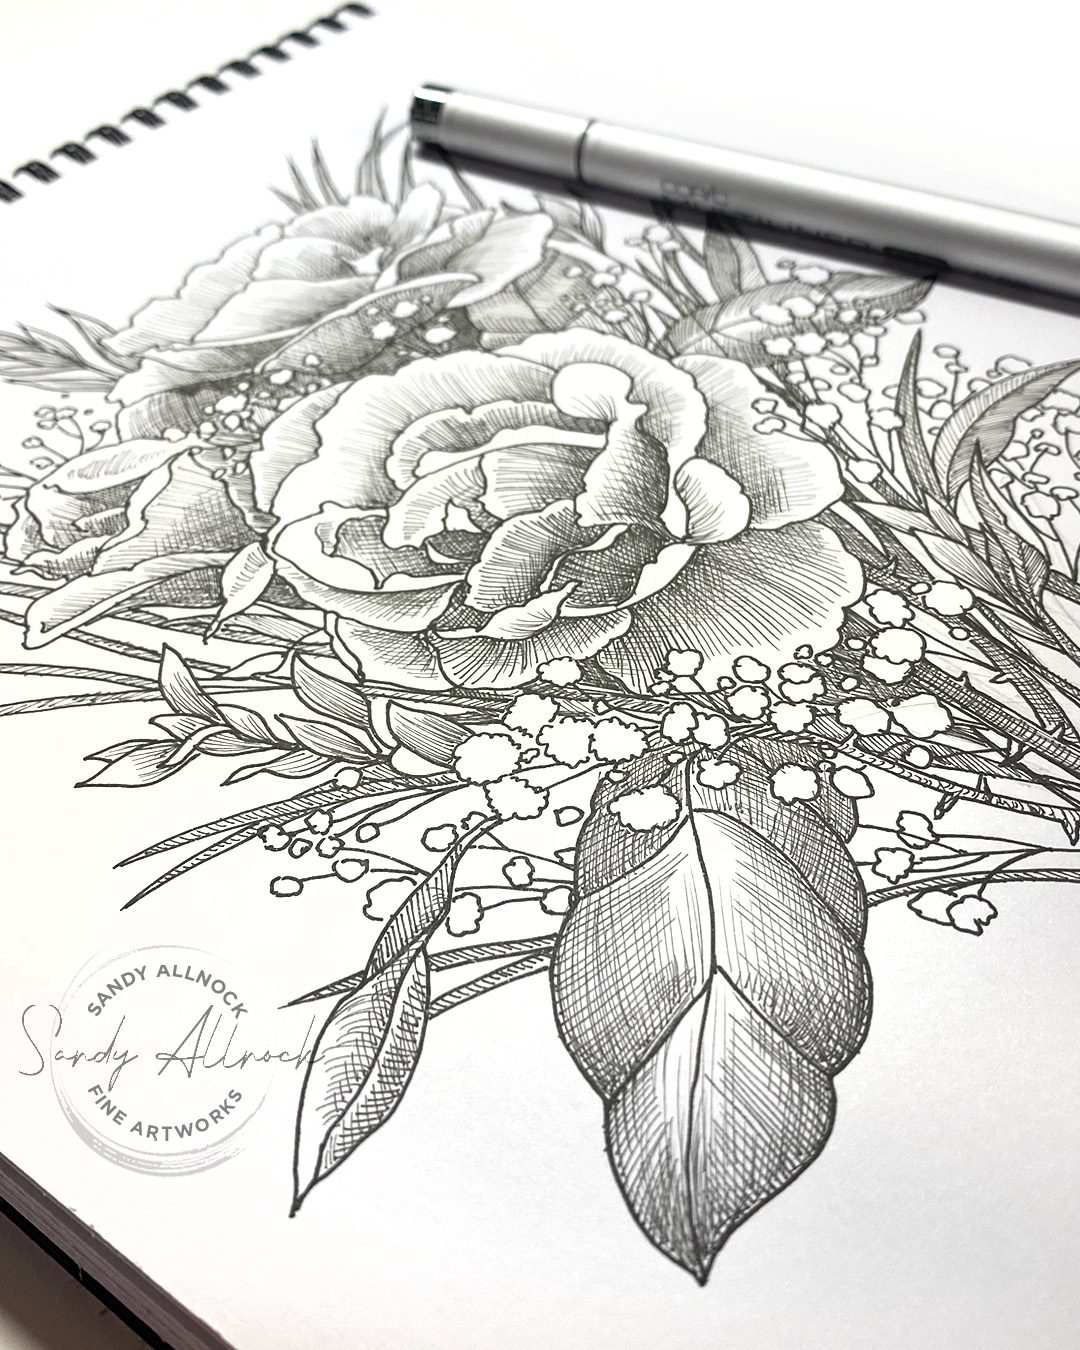
Shading part 1

I began by creating linear shading in just one direction in each section. I wanted to see the overall effect it would have – is there enough contrast? Not really.

Subscribe to my weekly newsletter, Creativity In Your Inbox

* indicates required

Shading part 2

Then I added cross hatching in other directions to create depth with different values. Much better, imho!

Adding color

While I did fancy shmancy blending, that’s not really needed here. The card has just ONE color for the red and one for the green. Then gouache for the babys breath. It couldn’t be easier! You could even do an ink blended background – just make it a light enough color that the red and green can cover it up.

Vintage Roses printable

You can get this image for FREE if you purchase $50 at art-classes.com! I’ll be doing it manually since my plugin seems to be acting erratically. But within hours of your purchase I’ll get the image added to your downloads folder, so check back in. 🙂 

Supplies

Some product may be provided by manufacturers for review and use. Compensated affiliate links are here at no cost to you. I appreciate your support of my work with your purchases! Full affiliate and product disclosure | My trusted partners in art

  1. Olo sketchbook 
  2. Olo markers 
  3. Olo marker hex chart 
  4. Titanium White gouache
  5. Vintage Roses printable
  6. Multiliner SP 
  7. Airbrush:
    1. ABS3
    2. Air Compressor – (only need comp and cord, not this kit)
    3. Cord, if it doesn’t come with the compressor 

Brushstroke Floral Cards (Asian-inspired)

Brushstroke Floral Cards (Asian-inspired)

If you were here for part one – which was my review of a set of $1 brushes – you’ll know I was knee-deep, or perhaps elbow deep, in getting it all finished. And I’m delighted to report it’s finished!

Not so delighted that I was so overwhelmed with footage that I disappeared the footage for the little card paintings for today’s post – however it’s the very same loose process for the larger painting I have included. And I do show you the making of the cards! 

Tutorial: Brushstroke Floral Cards (Asian-inspired)

Watch the video below and scroll to the end to leave comments or questions — or click HERE to watch it on YouTube and leave comments over there. I read both dutifully!

Watercolor paper vs Sumi-e paper

Sumi-e is another animal entirely…not like anything I’ve ever painted on. It’s a process that needs you to just touch your brush and then let go and don’t fuss! Which is something I need to learn in painting anyway, but is more important for this very soft paper. 

The card below is on watercolor paper though – hot press. Much more the norm for me, though I generally love a textured cold press or rough paper far better! So all this is stretching me – and as mentioned earlier, I’ll do anything for mom, so that’s what I’m doing. She spent time in Japan and studied Sumi-e painting….I can’t do that right now but I can do “my” version of loose, simple flowers!

Don’t use water soluble inks

To attach the lightweight Sumi-e paper to something beefier like a cardstock or bristol, you need to wet the paper. And the Diamine ink I used in these next two just melted like buttah! Fortunately my “signature box” that blurred could be turned into more flowers, and then re-added after the mounting process had finished. WHEW! Saved.

Sumi-e after mounting

Oddly this paper seemed able to handle painting with much less bleed once it was mounted! That might get me to save detail and sharp edges for after that process is done. The one thing I don’t like? That has to wait overnight, and I’m not patient. LOL

Subscribe to my weekly newsletter, Creativity In Your Inbox

* indicates required

Watercolor works better

While watercolor does blur slightly (see the signature box below), it’s not terribly bad, and sometimes is nonexistent. Just don’t overwet or scrub over it with a brush, keep it simple.

Brushstroke Flowers Class

After several days of massive work – the cards are done! I’ve organized them and gotten some of the videos posted in class, more to come by the end of the day. Marathon, I tell ya! CLICK TO SEE THE CLASS

Supplies

Subscribe to receive blog posts by email:

Can I paint with cheap $1 brushes?

Can I paint with cheap $1 brushes?

Can a brush snob like me handle SUPER cheap brushes? I’ve paid more than this for KIDS brushes, for crying out loud. What is wrong with me? ha!

Tutorial: Can I paint with cheap $1 brushes?

Watch the video below and scroll to the end to leave comments or questions — or click HERE to watch it on YouTube and leave comments over there. I read both dutifully!

My hot take

While these are pretty cruddy quality – I wanted something cheap I could use with inks. While I think washing out my watercolor brushes well keeps them safe, it’s making me more nervous over time with the good brushes – so these will do for now!

But just know that….

The hairs WILL fall out.

The “experience” doesn’t “feel” nice when painting. Not smooth IYKWIM.

They’re completely replaceable at the price.

I’m not one to tell you to go ahead and get cheap brushes, I can’t really fault these puppies for being awful. They still paint decently enough, although my slow learning curve with sumi-e paper could be the brushes’ fault, who’s to say?

Earlybird: Brushstroke Flowers class

If you think this is a class you might like, now’s the time to snag it! Brushstroke Flowers course lessons 1-5 —with 2-1/2 hours of teaching—are uploaded so  you can start gathering supplies and painting; the cardmaking lesson at the end is not yet finished though, so I’m letting you have access now for a little deeper discount than the real launch day on Tuesday. 

Subscribe to my weekly newsletter, Creativity In Your Inbox

* indicates required

Supplies

Some product may be provided by manufacturers for review and use. Compensated affiliate links are here at no cost to you. I appreciate your support of my work with your purchases! Full affiliate and product disclosure | My trusted partners in art