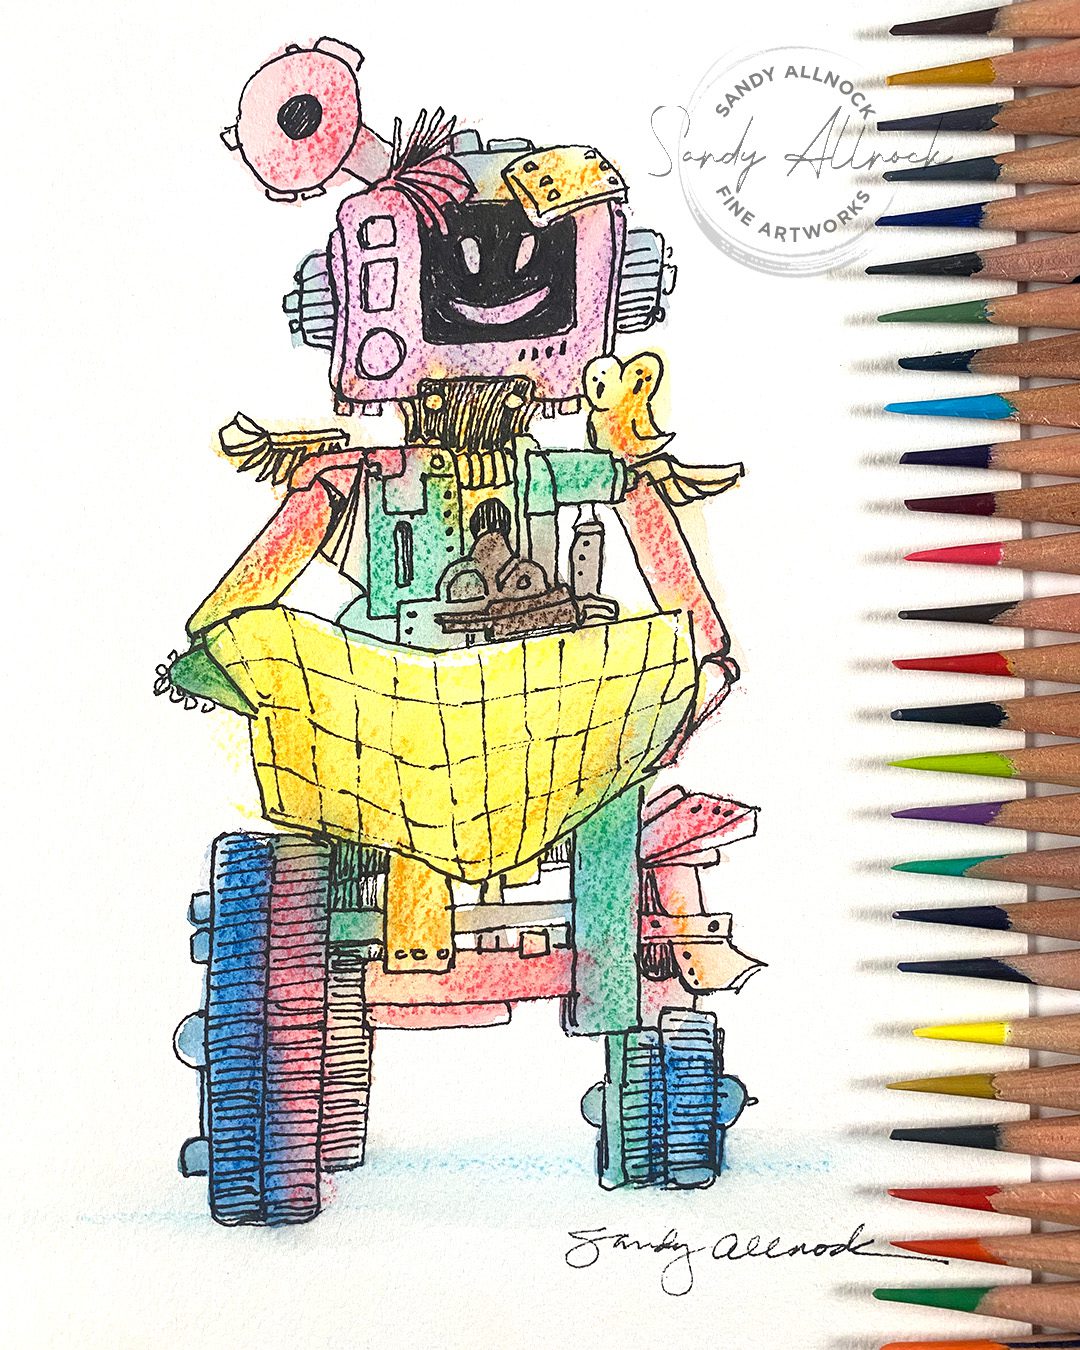
How to draw a robot (wash and ink)
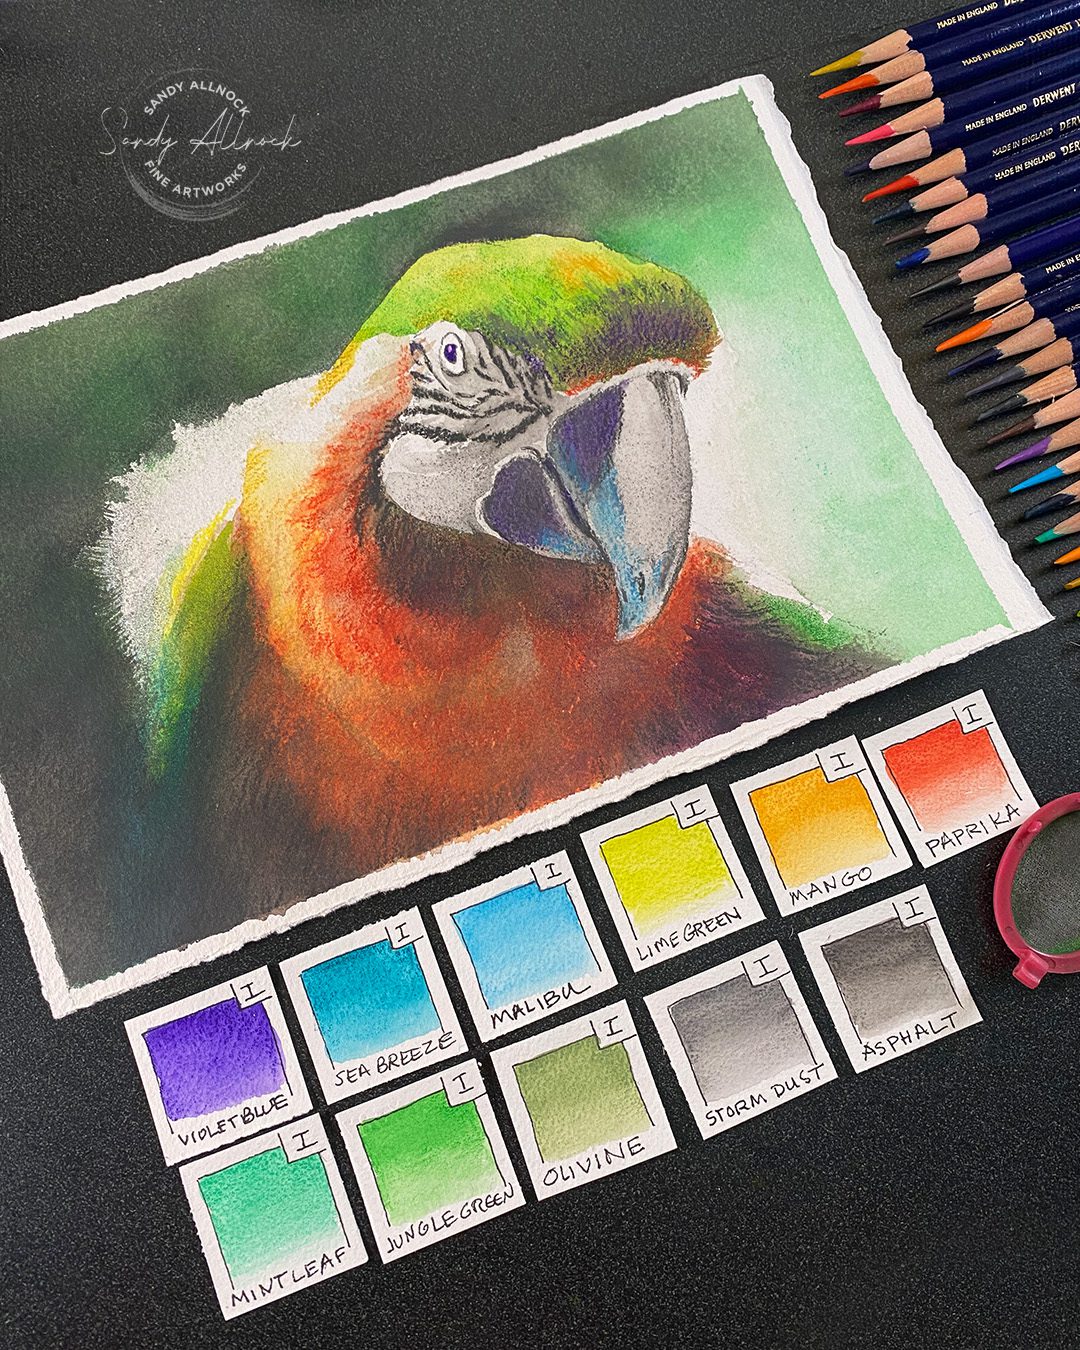
I finally have the 28 new colors in my hot little hands! Last year when I heard they had new ones, I couldn’t find anywhere in the US to buy all 28 easily; sure I could pick ’em out pencil by pencil, but I figured it would eventually happen. Uh, NOPE! I googled and eventually found a coupon code I could use at Cult Pens, which got the price down, even with overseas shipping. So now they’re here!
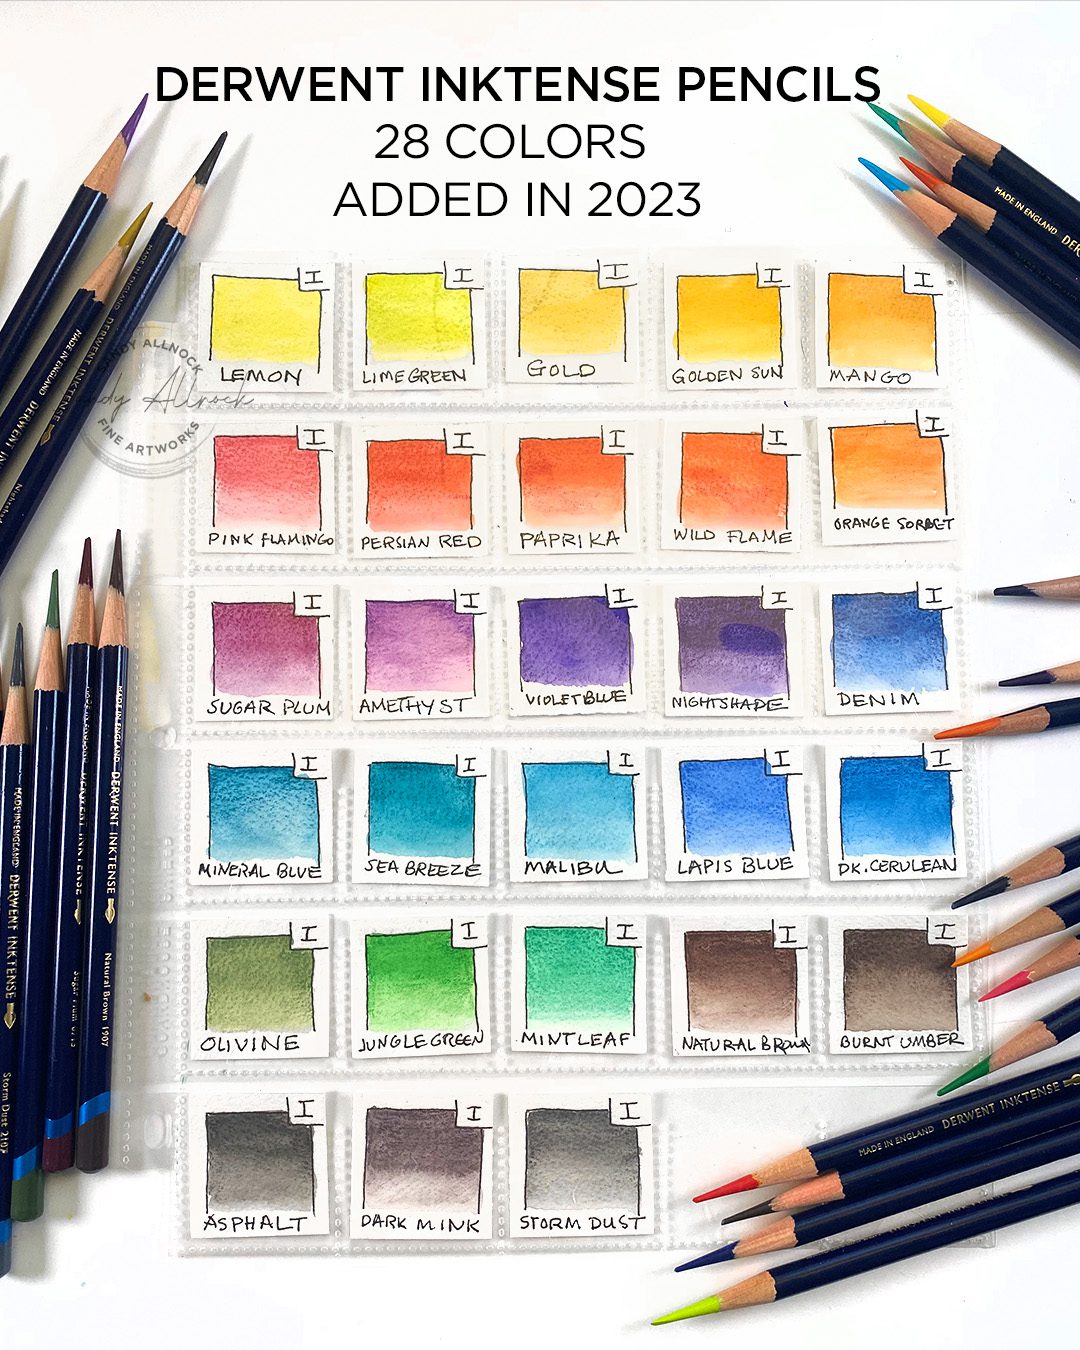
I do keep swatches of colors – mostly for use in classes so I can show colors used in a particular project. I indicate what brand in a box in the corner so I can get them back into the right pages in my book 🙂
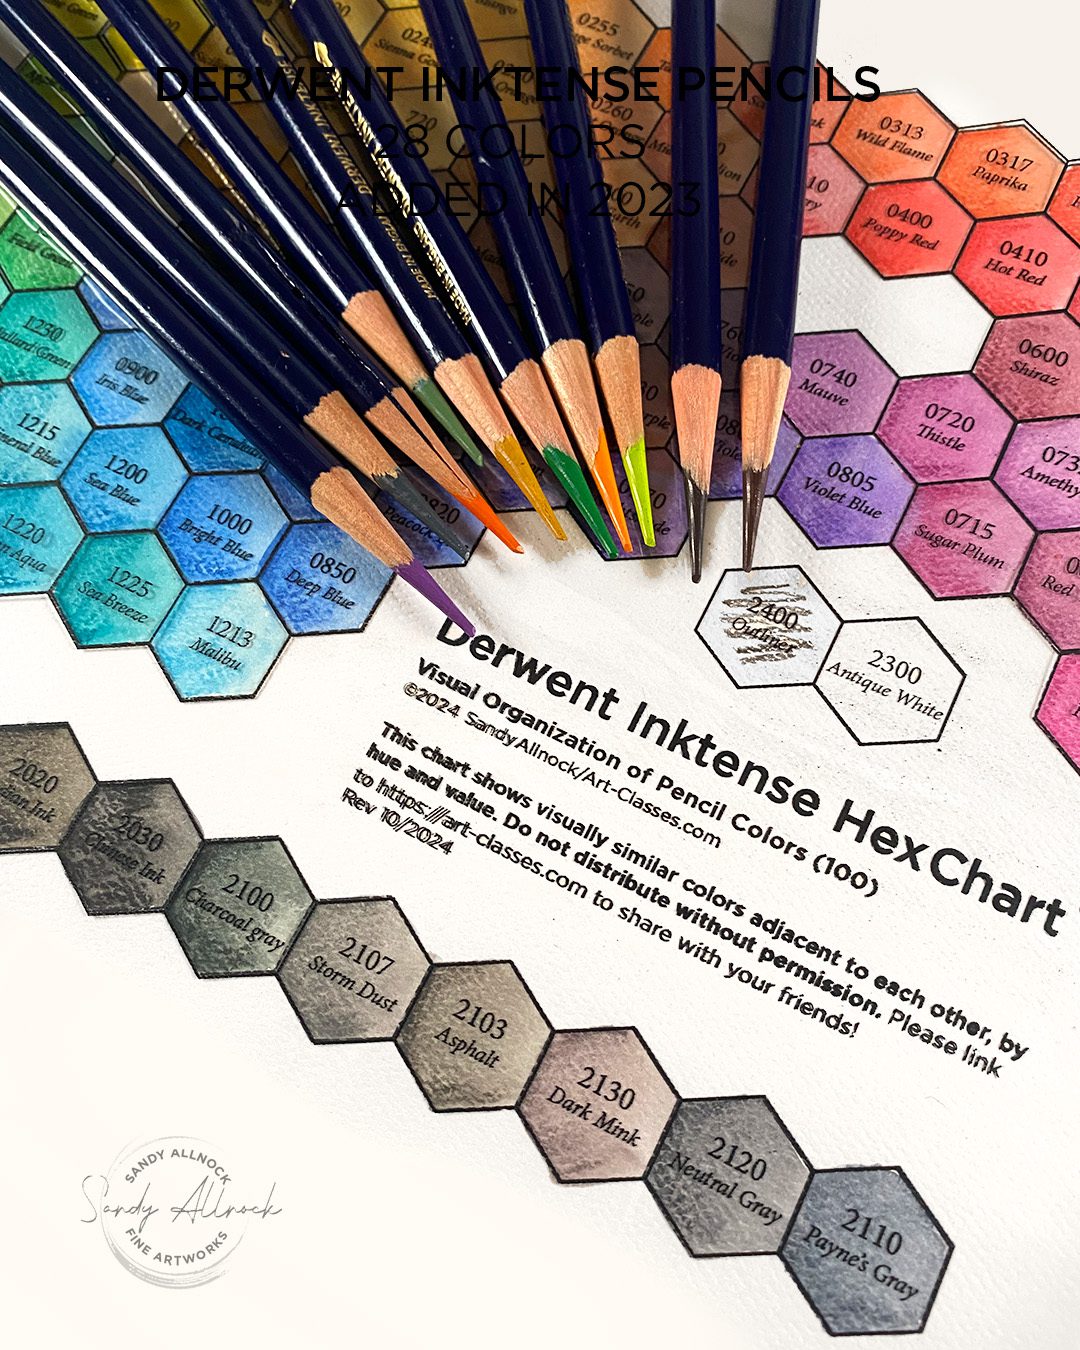
The hex chart has been updated from a 72 to a 100 chart! If you only have the 72 and don’t need the bigger one, just email me after purchasing and I’ll send you the 72 as well. If you already purchased, just re-downlaod from your account to get the full 100.
Tutorial: How to Draw a Robot
Watch the video below and scroll to the end to leave comments or questions — or click HERE to watch it on YouTube and leave comments over there. I read both dutifully!
SUPPLIES
Some product may be provided by manufacturers for review and use. Compensated affiliate links are here at no cost to you. I appreciate your support of my work with your purchases! Full affiliate and product disclosure | My trusted partners in art

Underpainting:
- Derwent Inktense pencils
BLICK
AMZ
JACKSONS
CULT PENS in the UK (full set of 28) - Arches Cold press 9×12 pad
BLICK
AMZ
JACKSONS
For powdered pigment
Inking
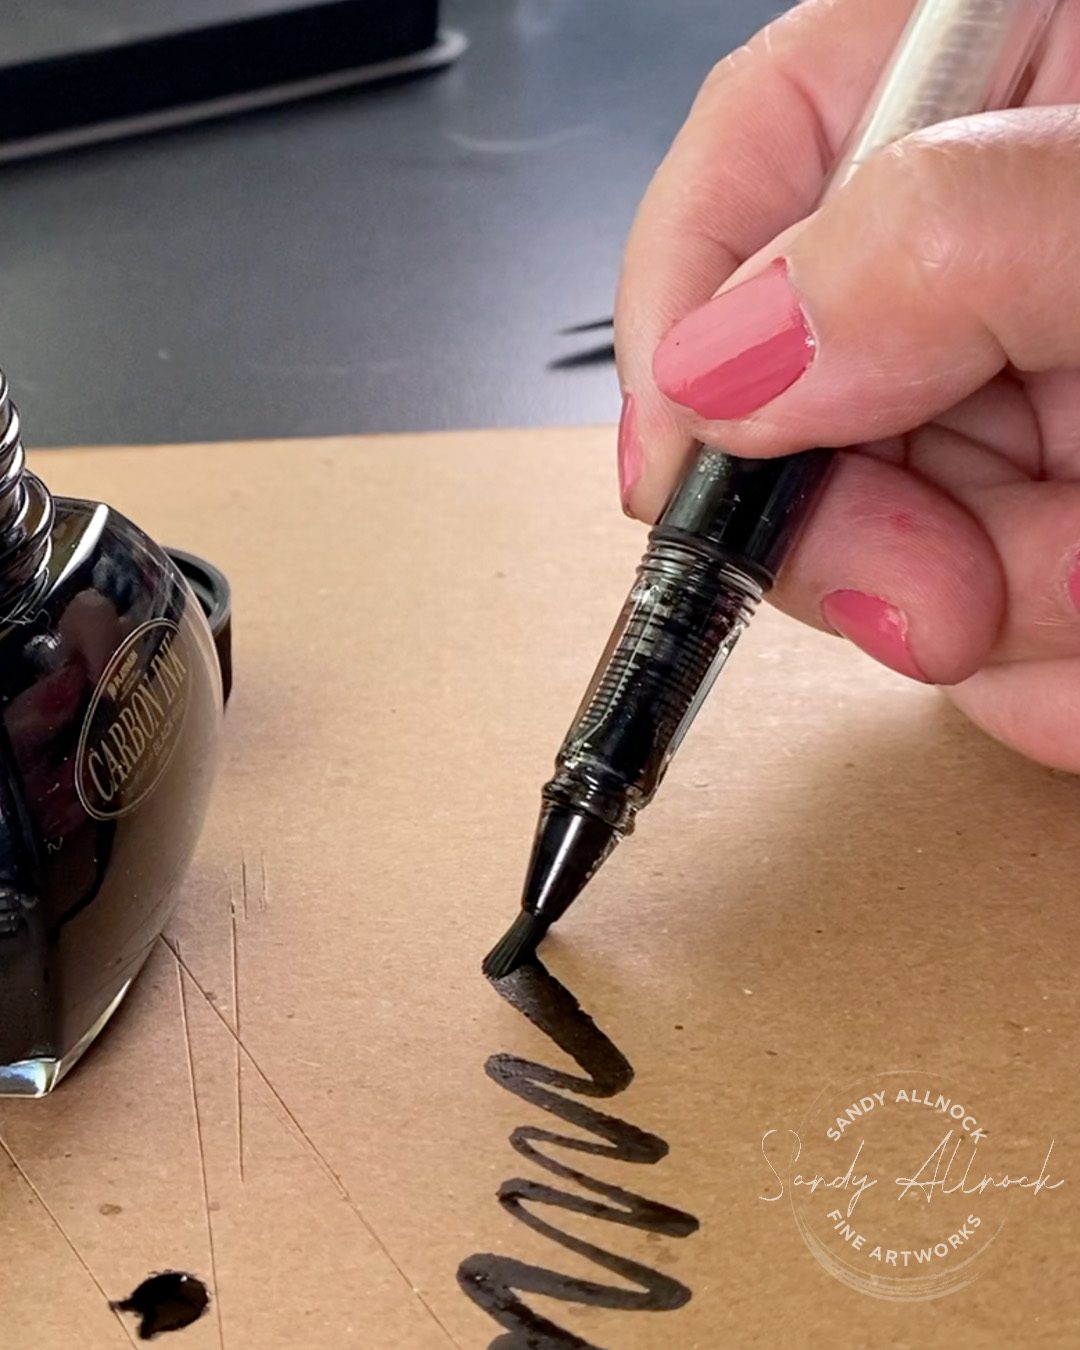
TWSBI Eco fountain pen, medium nib
Draw a robot the easy way
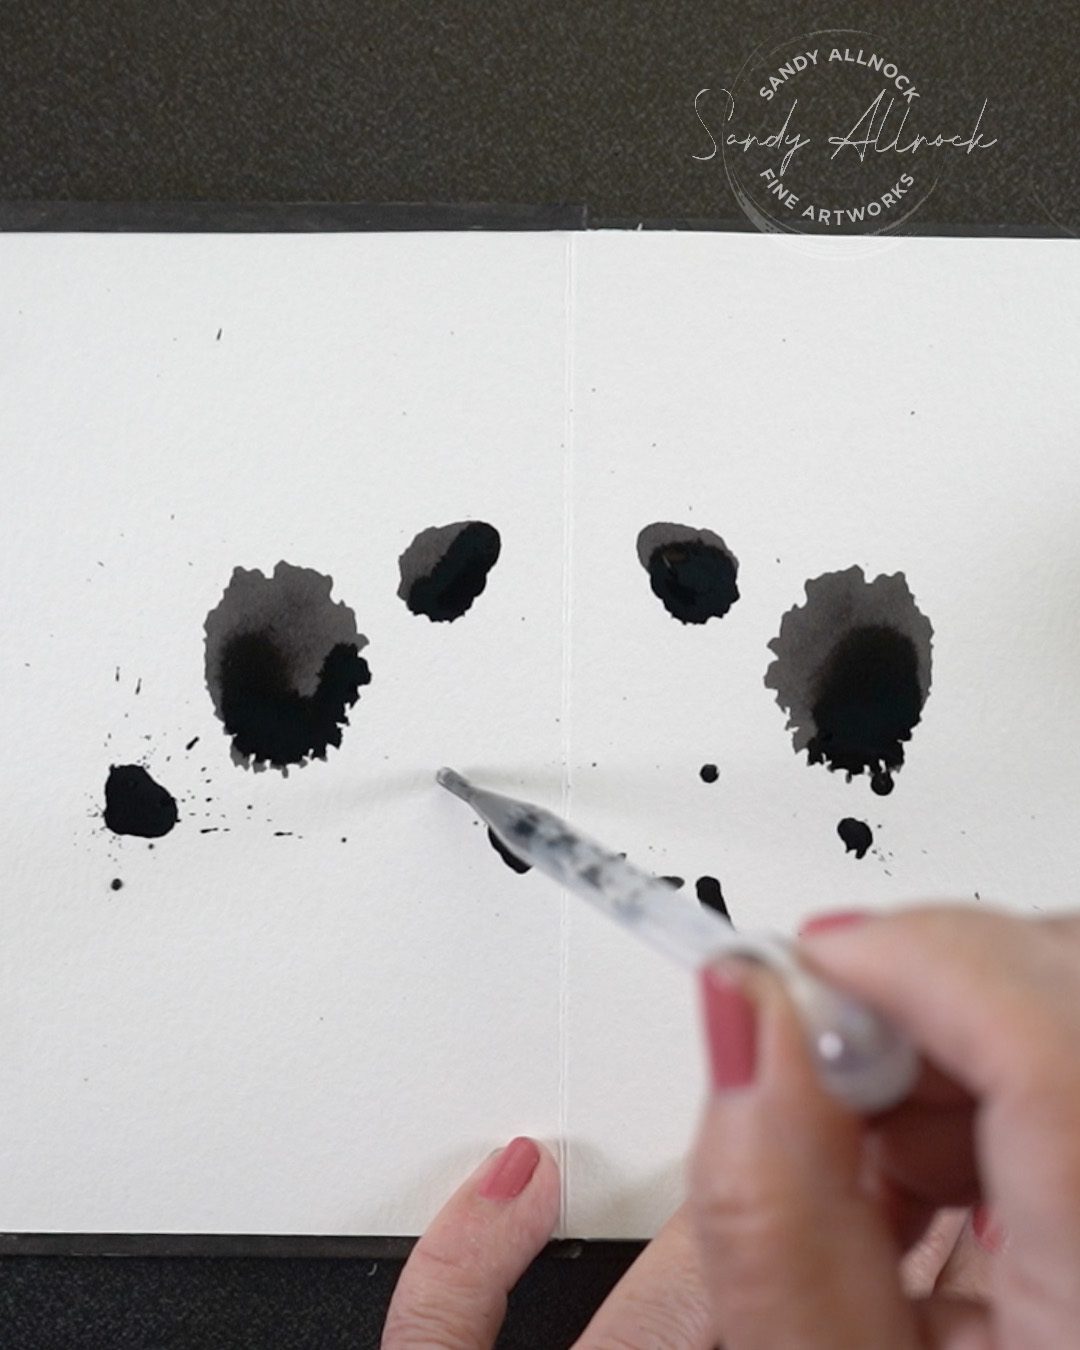
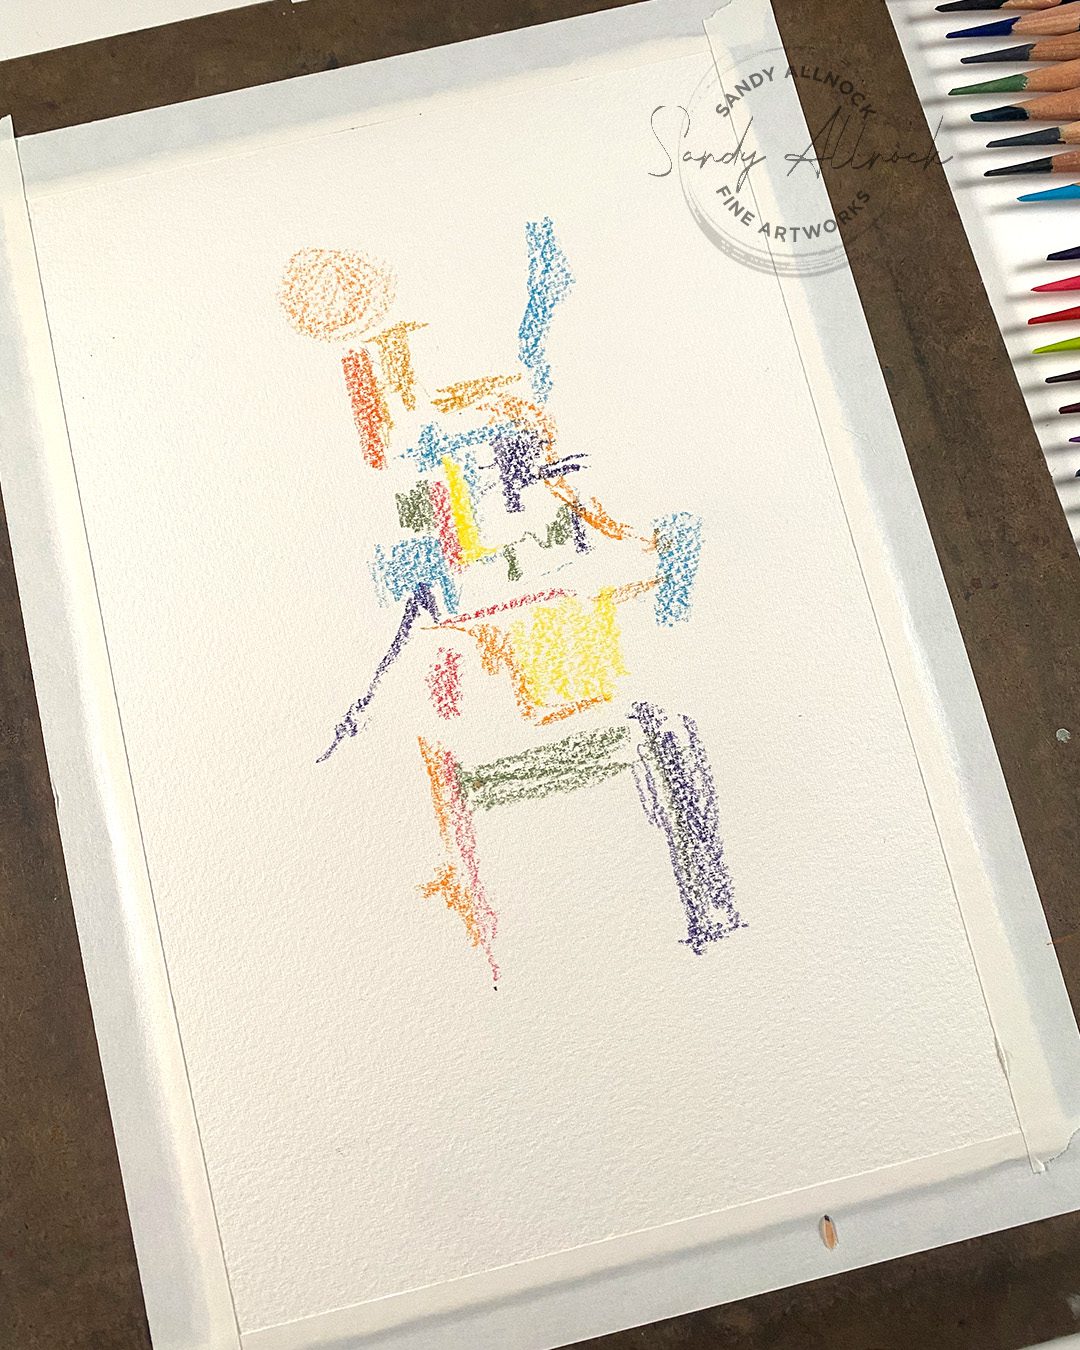
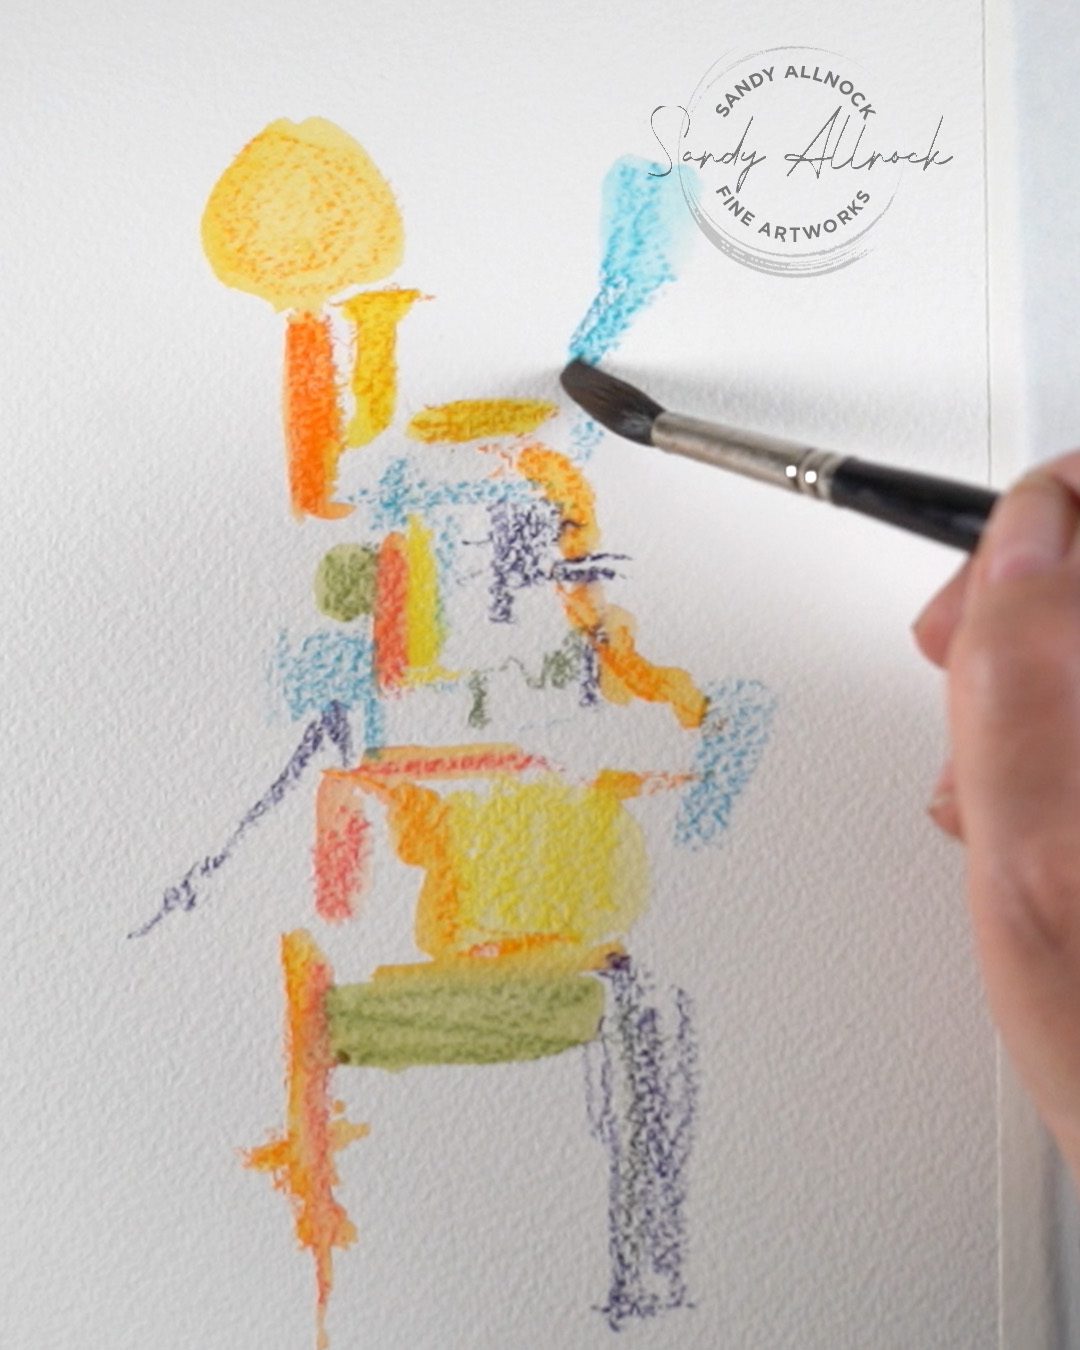
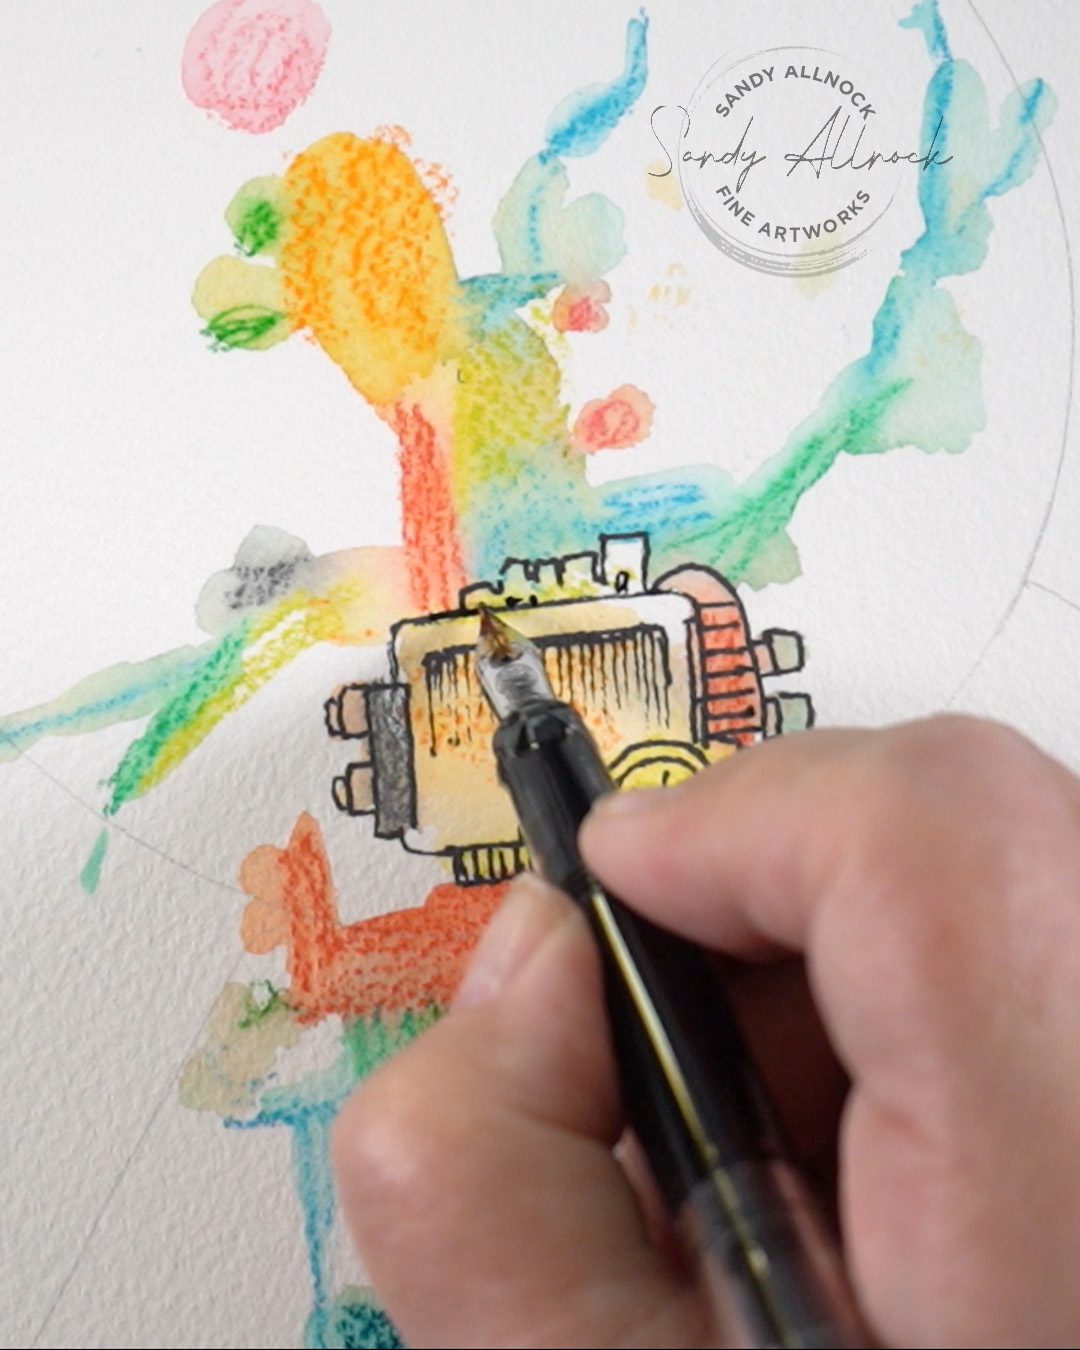
Create blobs of color on the paper – stack them in a way to give yourself legs or wheels, body sections, and as many arms, legs or tentacles desired!
If using watercolor pencils, then add water generously. To keep colors from running into each other, dry in between.
Or use watercolors to do the same thing. Or marker blobs. Anything at all!
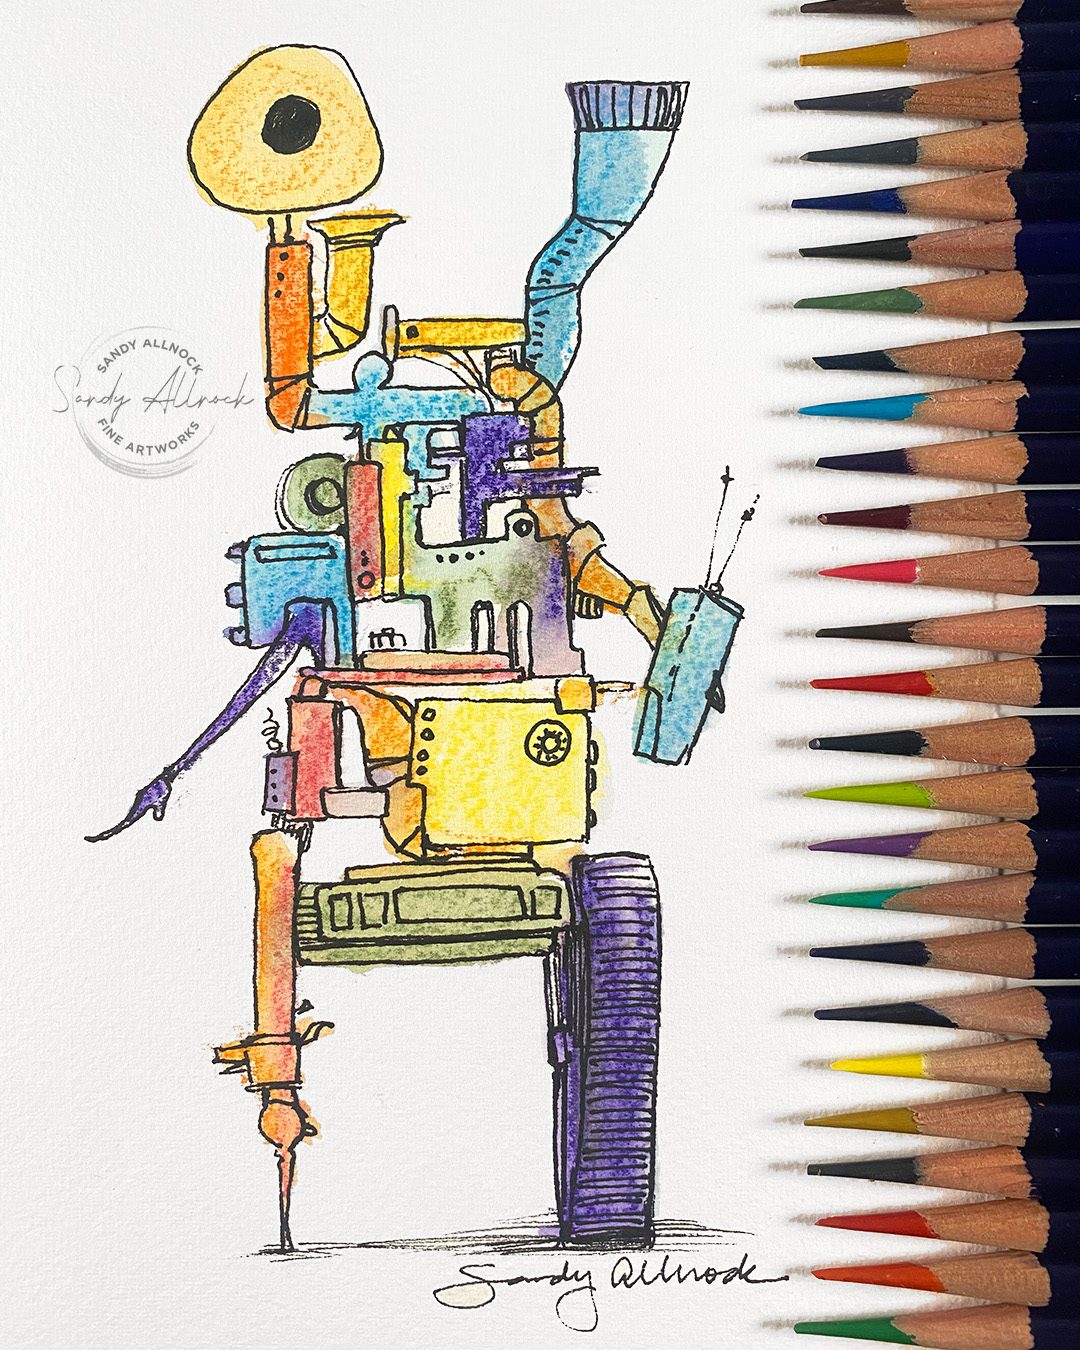
Then use the shapes created to design your robot – break shapes up, add lots of nuts and bolts, gears, buttons…get as crazy as you want!
Tap on a picture to make it larger:
Draw a robot the hard way
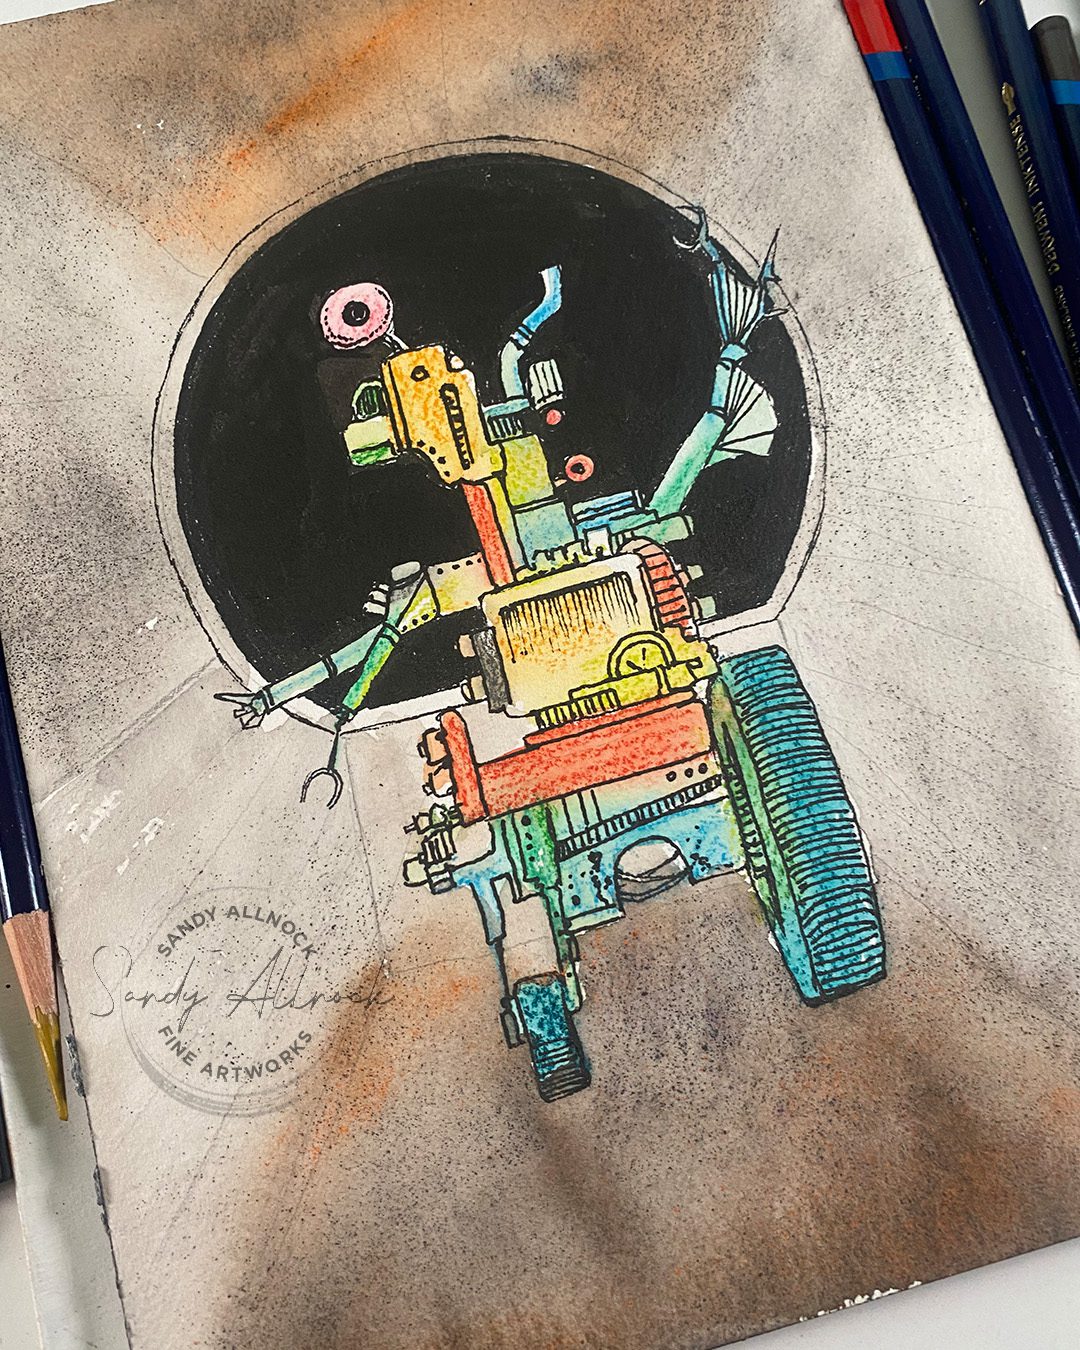
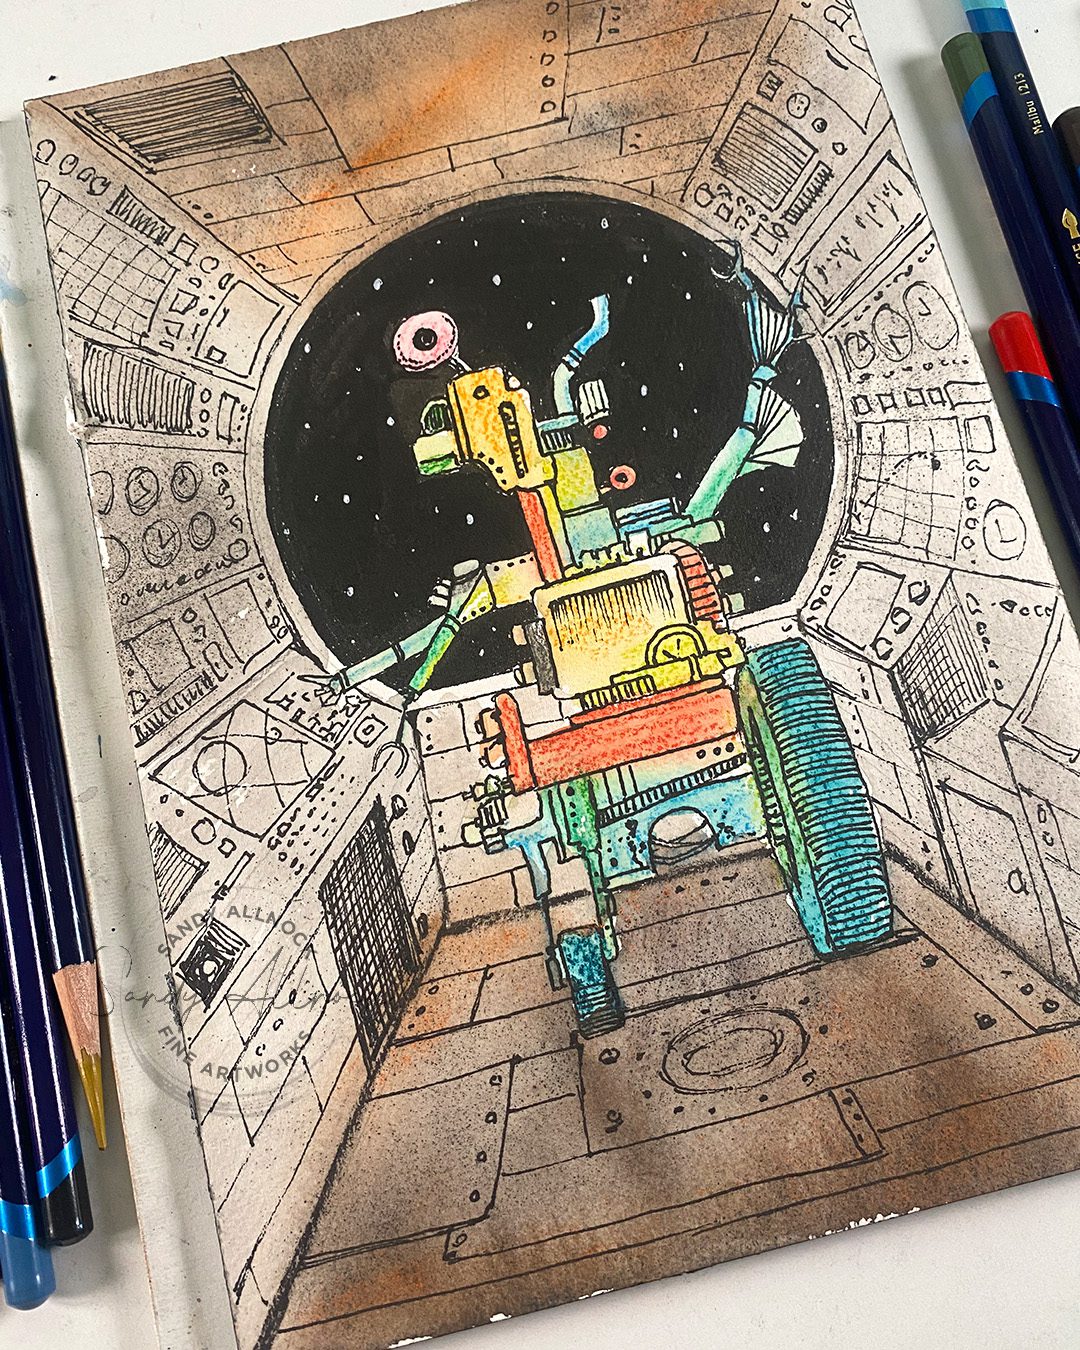
Follow the same process as above for the robot. Remember, he’s facing the dials, most likely, so you can think about what you’d add to the BACK of him. Does he have a backpack on?
To create the scene, draw a circle in the middle of the page, and lines radiating out from the middle.
Use powdered pigment with watercolor pencils – or traditional watercolor – to the scene.
With ink, follow the lines generally to keep buttons aligned with the perspective of the picture. Have fun imagining what pressing all those buttons would do!
Tap on a picture to make it larger:
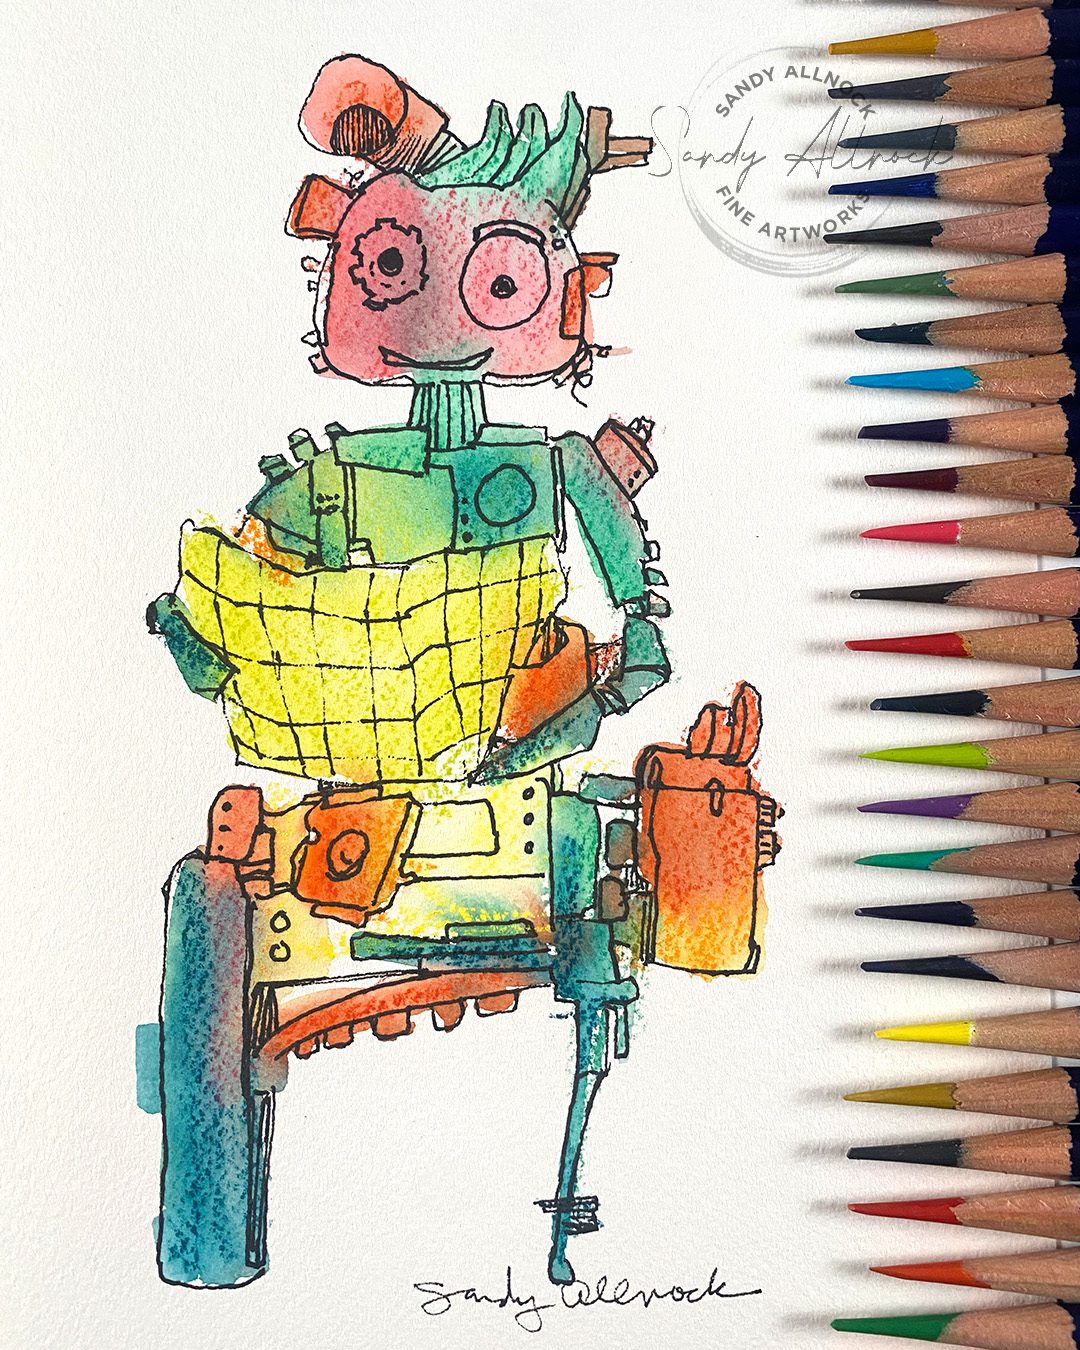
Make more robots!
These two are also “navigator” robots, but the kind you can hire to take on a car trip. They can look at a traditional map and get you to grandma’s house for Thanksgiving!
Subscribe to receive blog posts by email:
Use your Inktense pencils
I’ve got a class specifically demonstrated in Inktense pencils – the first 72 colors, though there’s nothing stopping you from breaking out new colors too! Beautiful gardens from all over the world – you’ll learn to draw plants in pen and ink, adding lovely color….a great project for a cold and dreary winter ahead!

Coming up Saturday
I’ll be doing a rare-ish realtime video – painting this parrot! The reference photo is on the left, so tap on it to make it larger/download to create your sketch, then come create with me. My painting is an eighth sheet – about 7 x 10 inches.