Drawing Plants part 2: graphite vs marker

Drawing Plants part 2: graphite vs marker

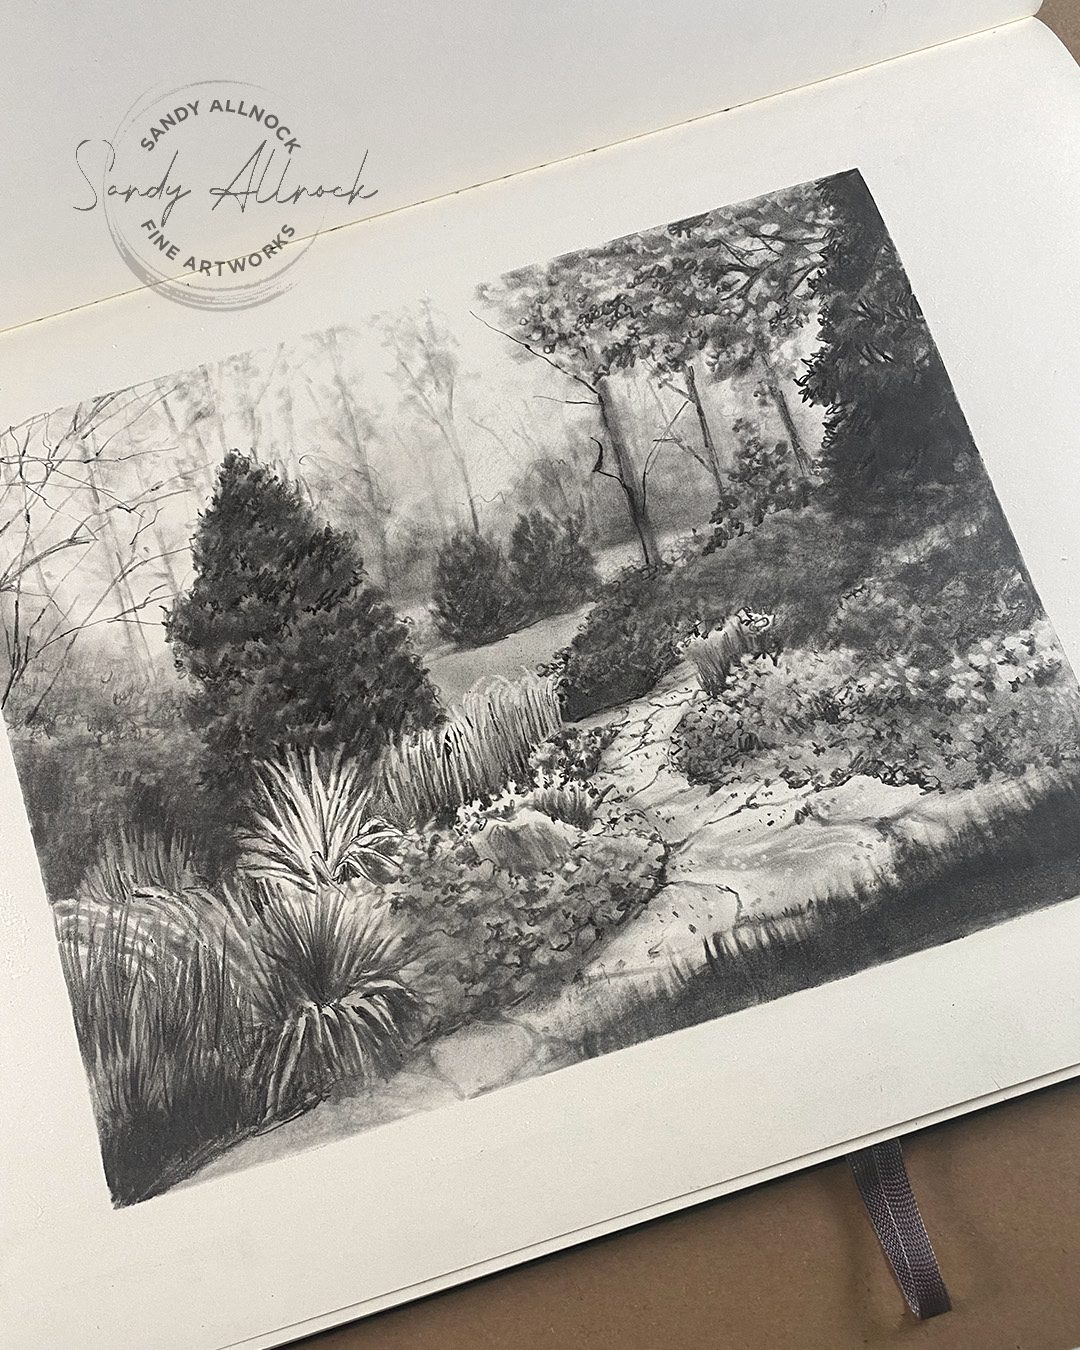
A few weeks ago I posted a graphite drawing I had created. And today – I’ve taken that same landscape and turned it into an alcohol marker drawing! Not an excellent one due to my color challenges, but I think I can say I rocked it nonetheless…..I’ll let you weigh in on that!
Tutorial: Drawing Plants part 2: graphite vs marker

Watch the video below and scroll to the end to leave comments or questions — or click HERE to watch it on YouTube and leave comments over there. I read both dutifully!

What I didn’t like….and what I loved

I had mentioned I had some mixed feelings. The color choices here are fairly atrocious – not because they’re bad colors, but because there are so few greens, I had to deploy every last bit of color theory knowledge to try to make different greens! (I can’t wait til Olo’s new colors come out!)

But what I loved here – the values ROCK! A watercolor mentor of mine has said to me for years that colors don’t matter one bit if the values are spot on. You can paint an entire landscape in pink and purple and it’ll read right if the farks and lights are correct. And that’s what this drawing proved to me – and since I had done a detailed value study, I was able to really rock this marker version! 

You can do the same – try a value study first before your next drawing or painting, and see if it helps!

Story behind the class

Sometimes a piece I work on makes NO sense as a video, sometimes only as a YT tutorial, sometimes it needs to be a class. It depends on how much I have to say about it! There were overwhelming numbers of techniques and textures involved here, and I considered making it a class right away, but thought, after a couple classes have bombed, maybe I should ask first. (I end up doubting my ability to know what people might want to learn!)

In this case I did ask – and a bunch of YT commenters said they DID want a class. Now we’ll find out if that’s true, LOL! I’ll be messaging the commenters, so I hope they are ok with that. 🙂 If you’re interested, class sign up is here…..and the other classes I mentioned in this video are linked later in this post!

Subscribe to my weekly newsletter, Creativity In Your Inbox

* indicates required

Classes recommended in this video

These are on sale through the end of March…
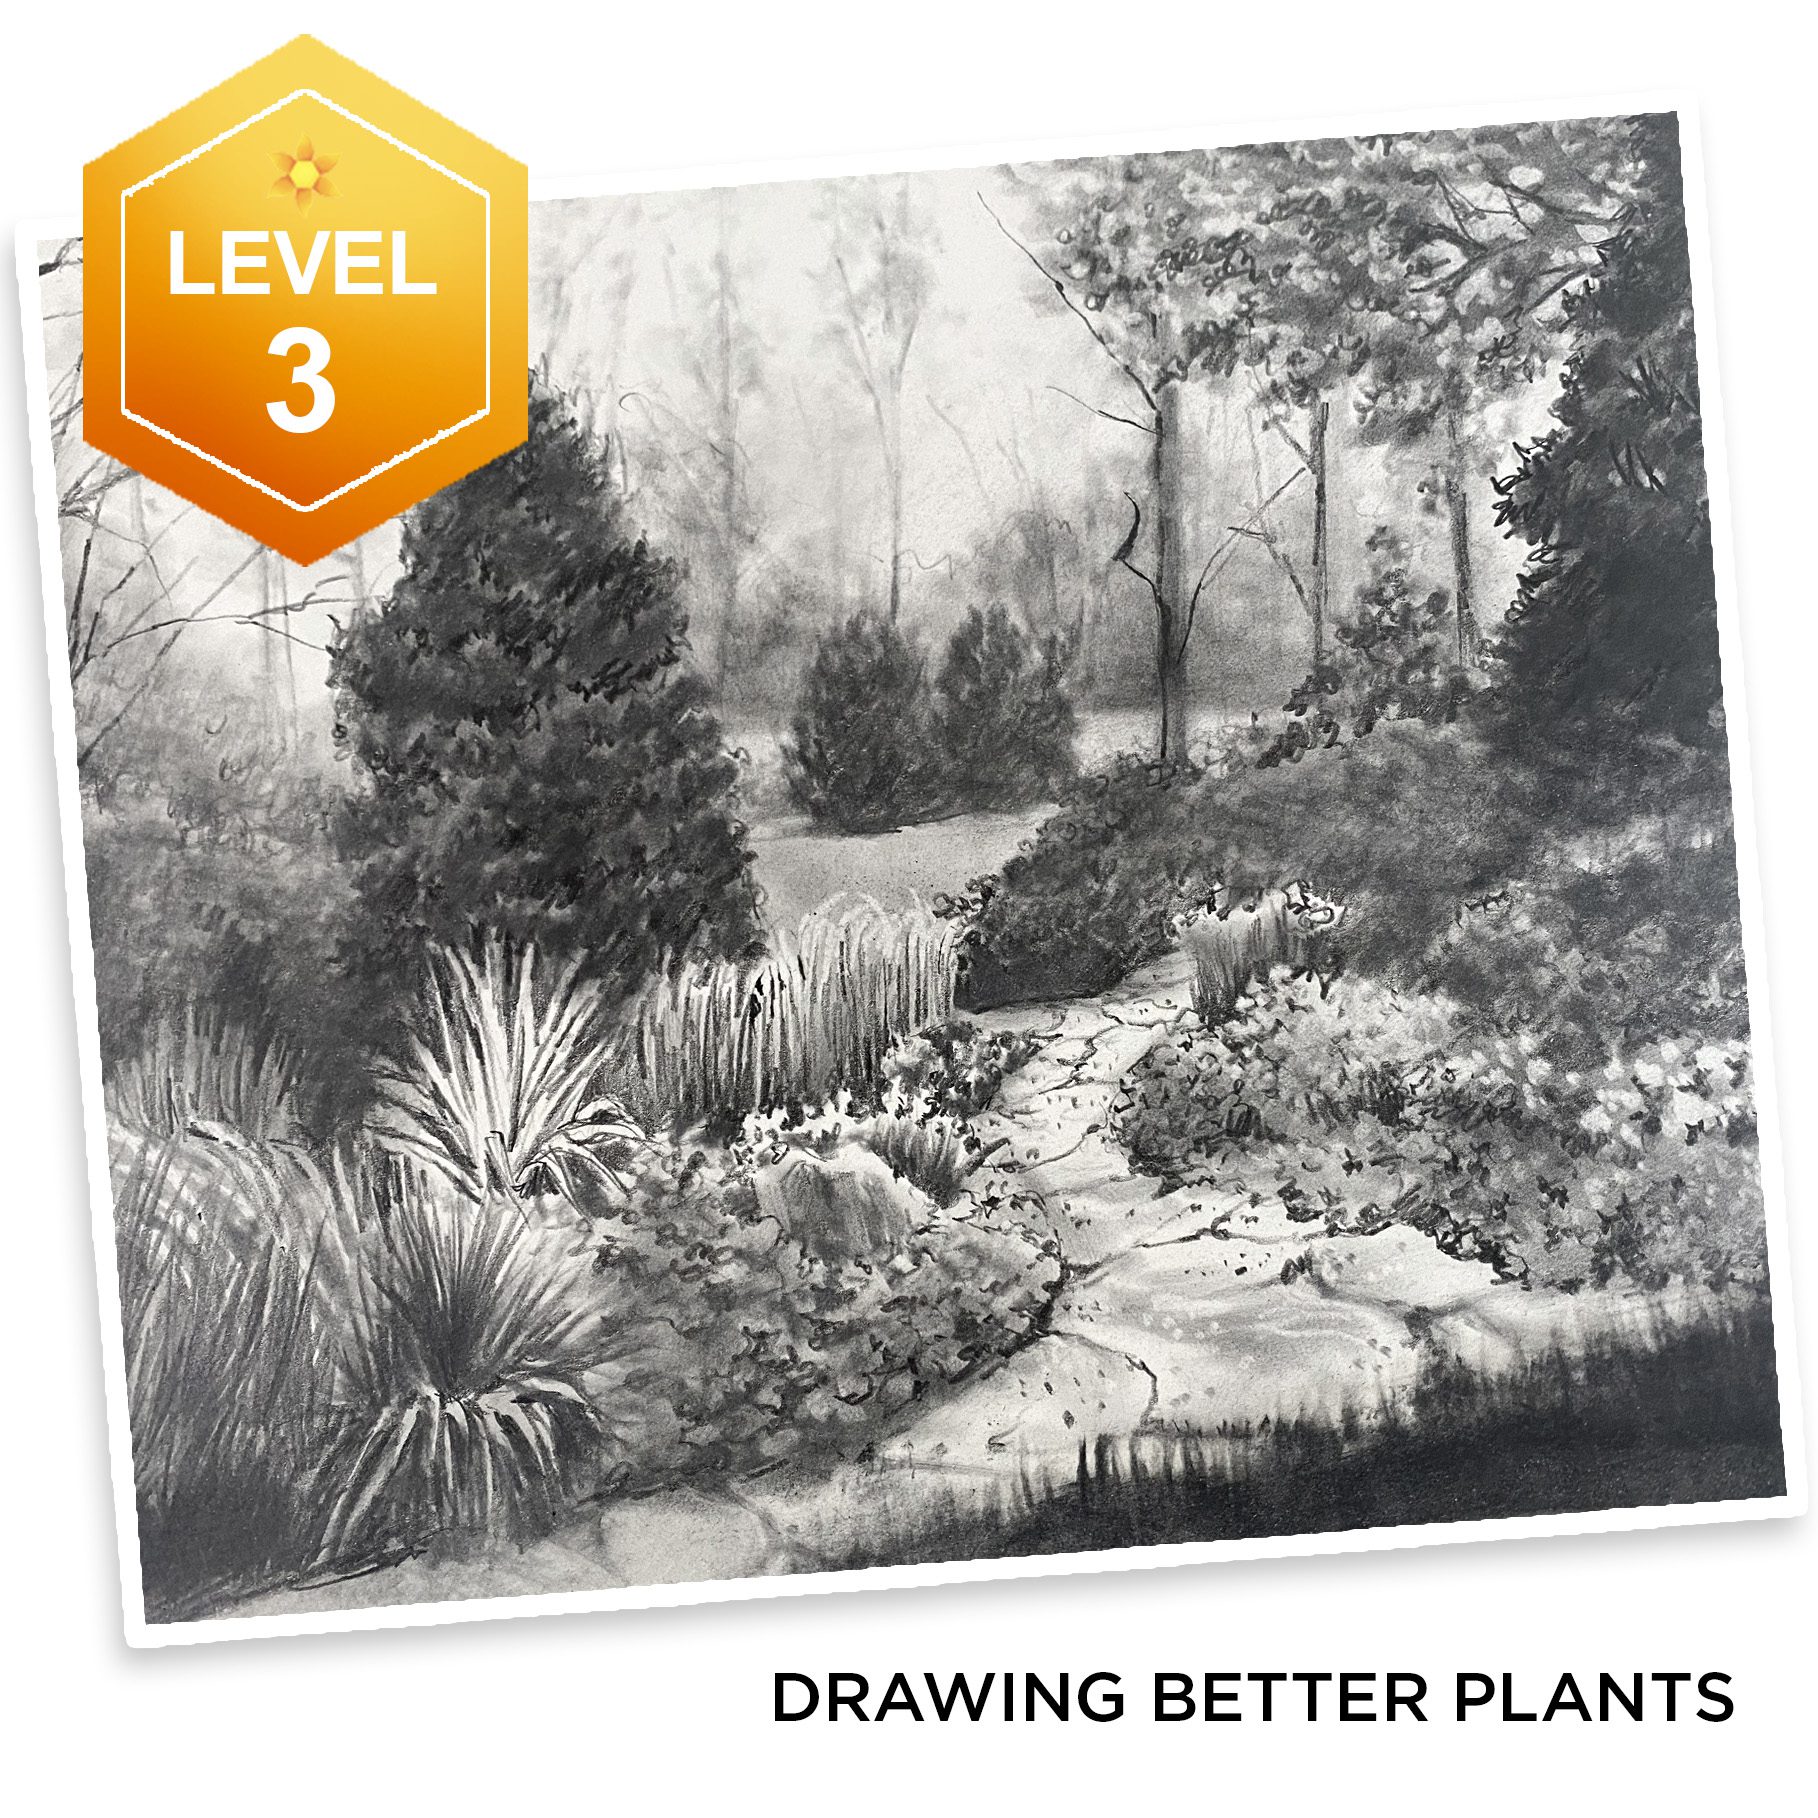
Tutorial: 14 Tips to draw better plants (part 1)

The aforementioned part 1 video!

Watch the video below and scroll to the end to leave comments or questions — or click HERE to watch it on YouTube and leave comments over there. I read both dutifully!

Supplies

Draw an enchanted pumpkin house

Draw an enchanted pumpkin house

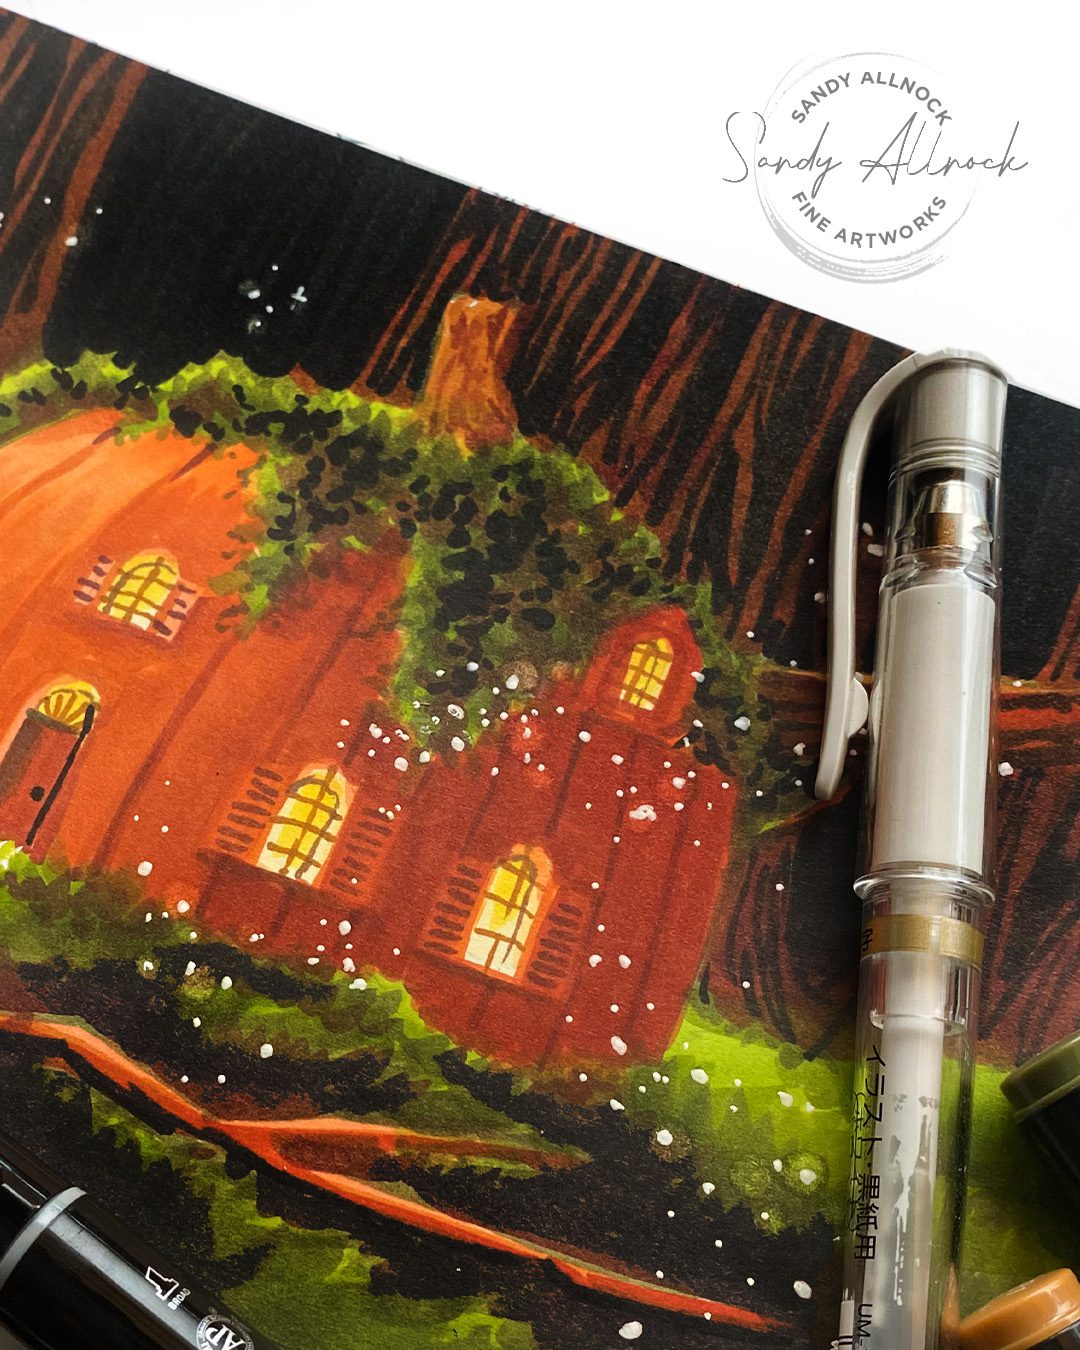
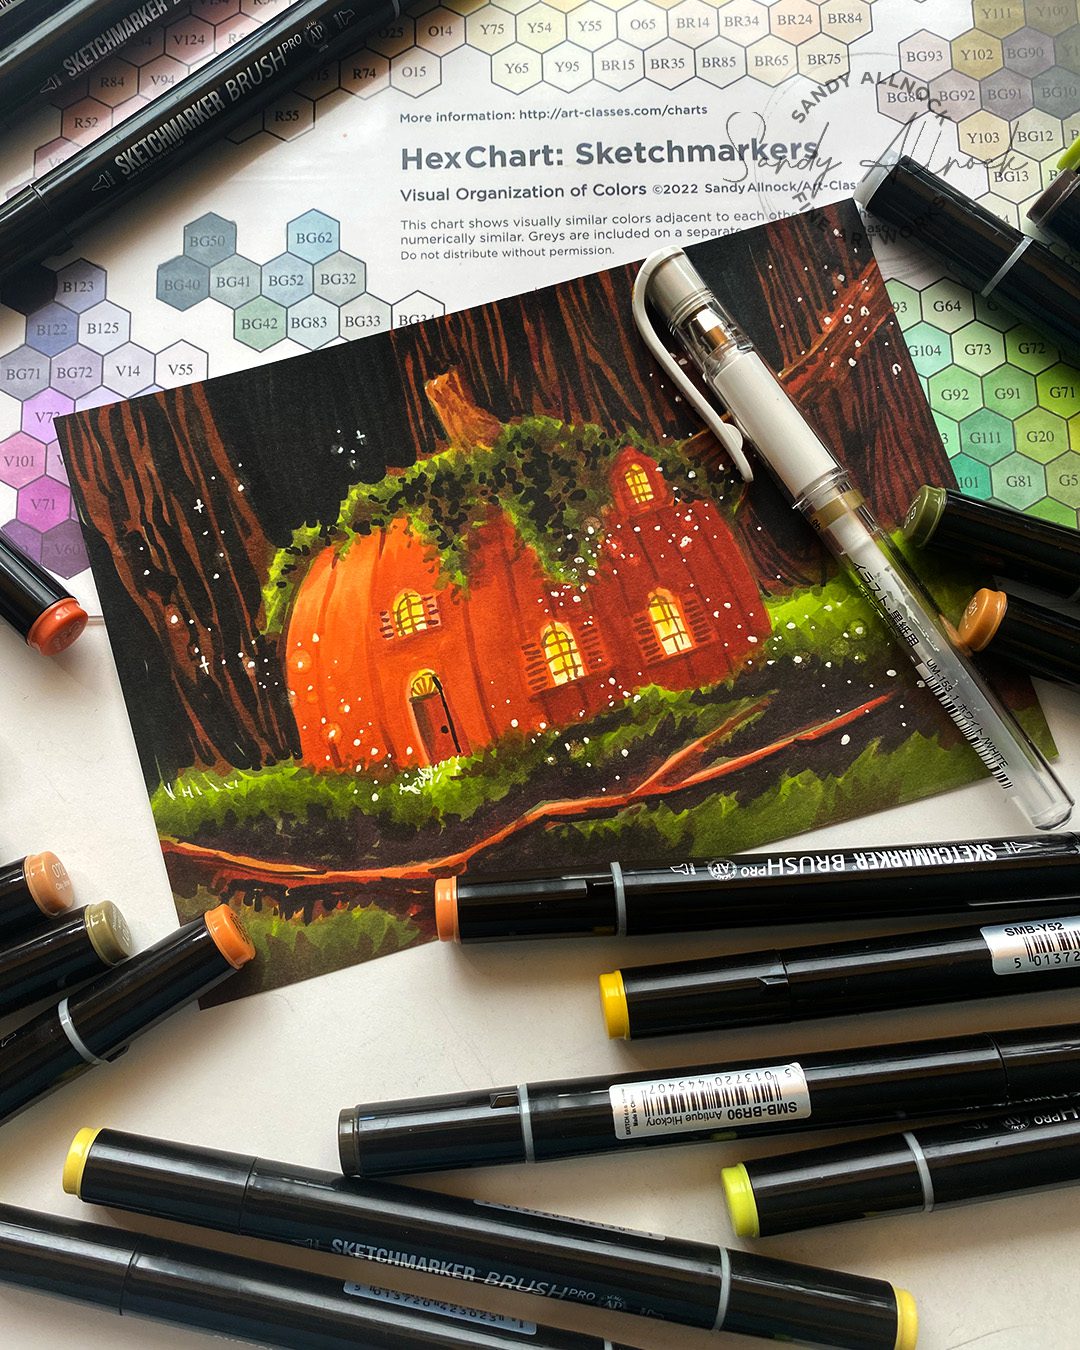
Have you ever seen a pumpkin house? I’d sure love to stumble on one while walking in a forest!

After creating watercolor pumpkins in my previous post – as well as a beginner watercolor class at Artventure – I thought I’d tickle the fancy of my alcohol marker friends. Maybe YOU will be inspired to try one! In the video I list a bunch of ideas for ways you can customize your own, and I’ll add more in this post after you see the video.

Tutorial: Draw an enchanted pumpkin house

Watch the video below and scroll to the end to leave comments or questions — or click HERE to watch it on YouTube and leave comments over there. I read both dutifully!

Customize your own pumpkin house

There are so many ways you can change up a pumpkin house drawing and make it your own:

  1. Google for pumpkin colors. There are blues, yellows, whites, stripes…..
  2. Google for pumpkin shapes too! Short and squat, concave or convex, perfectly round. Lots of options!
  3. Change the architecture. Use your grandma’s house or a favorite castle as inspiration!
  4. Give it a yard. Maybe a fence, a garden? What else could you add?
  5. Add a character! How about a mouse who needs a home?
  6. Change the time of day or weather. Sunshine? Rainy day? 

SALE!

This week only, both of the Enchantment classes are on sale. And if you get both together, you’ll get an automatic 5% off at checkout.

Copic Enchantment

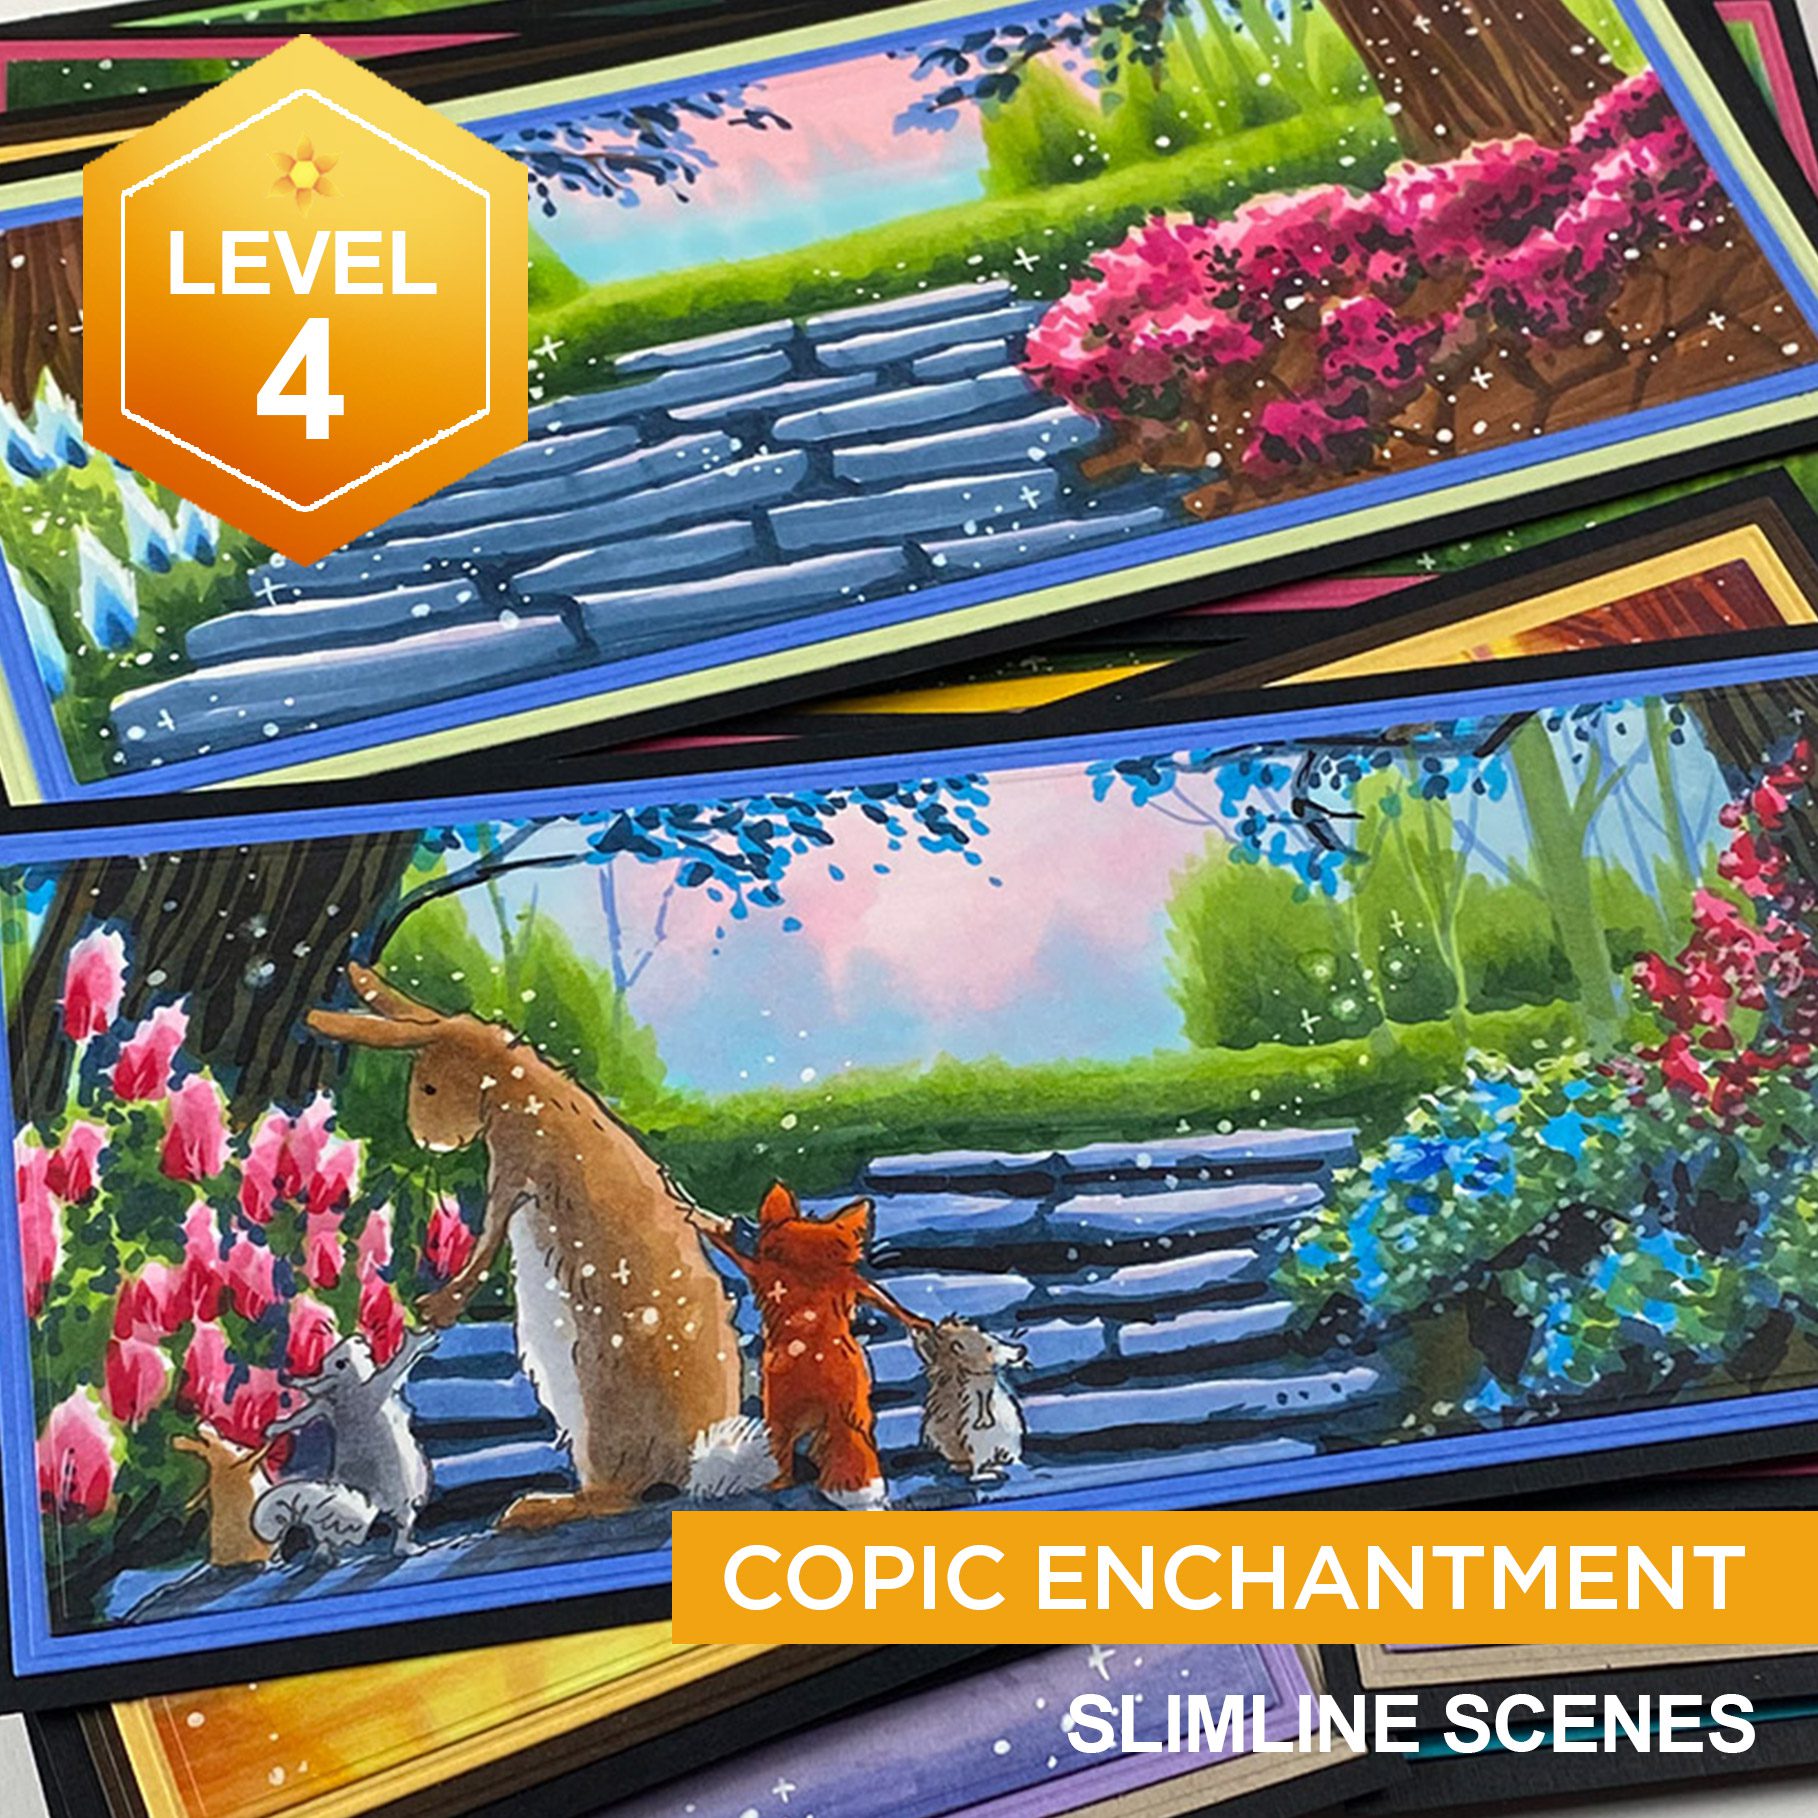
This Level 4 class will teach students how to create 10 magical scenes, in a “slimline” (3.75 x 8.5) format perfect for cardmaking – but easily adaptable for animé artists too! Half are horizontal, half vertical scenes – and all can be adapted or just portions used for other size formats and art as well!

$52.99 $49.99

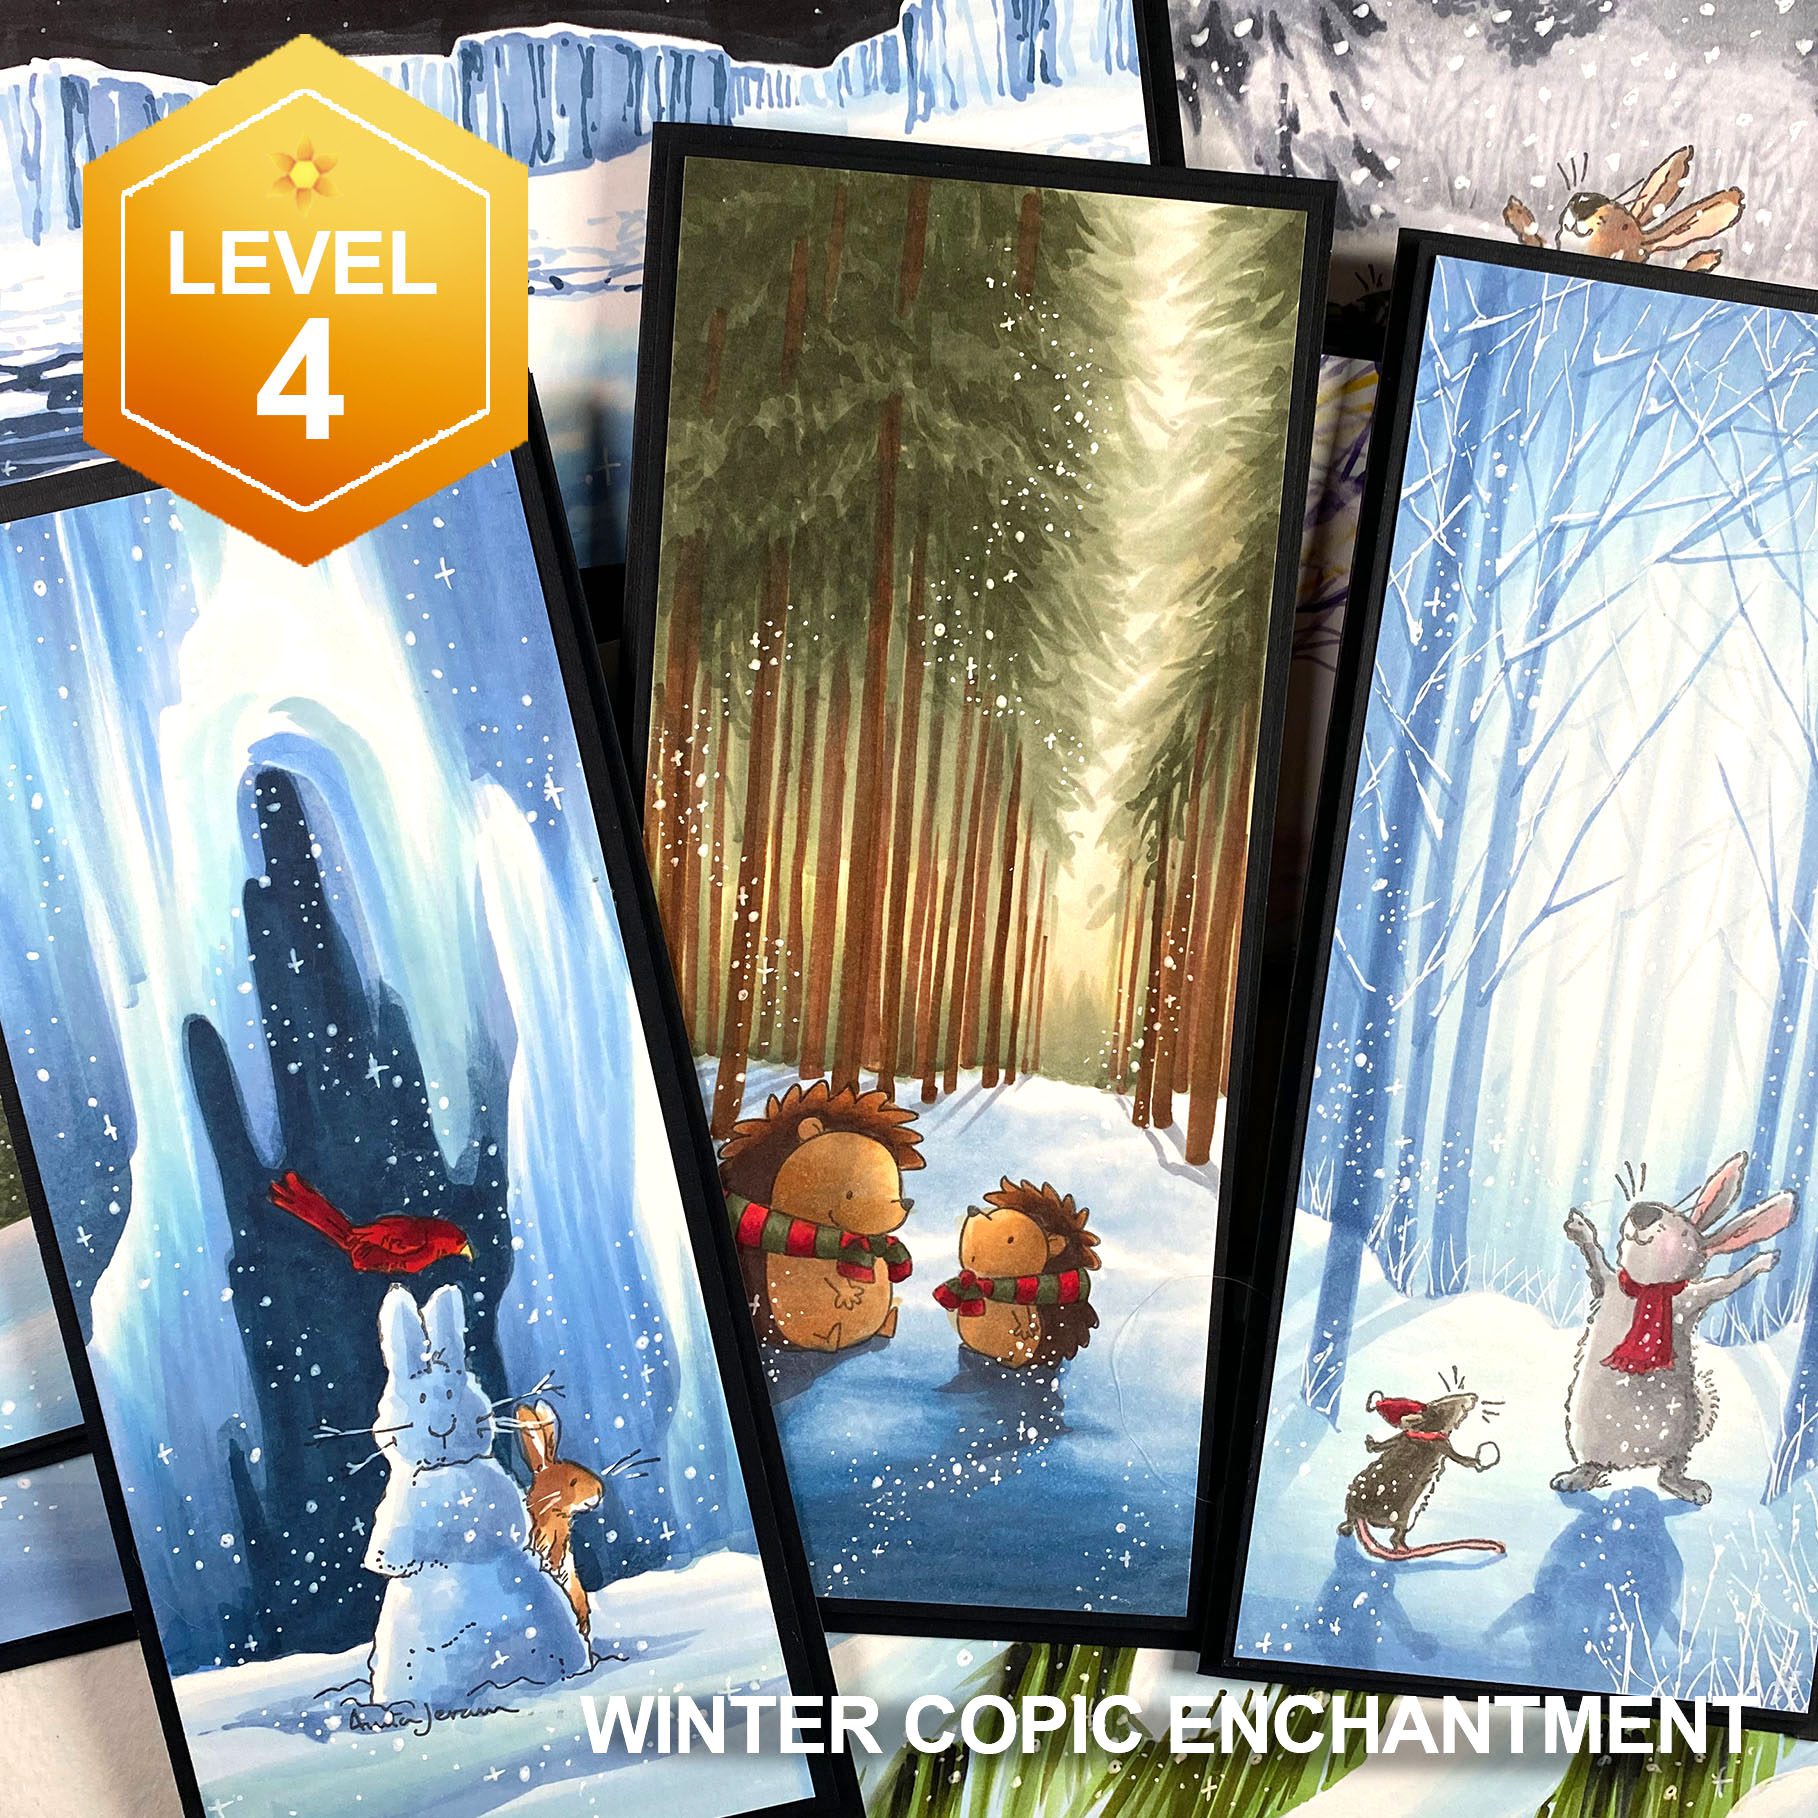
Winter Copic Enchantment

This Level 4 class will teach students how to create 10 wintry magical scenes, in a “slimline” (3.75 x 8.5) format perfect for cardmaking – but easily adaptable for animé artists too! Half are horizontal, half vertical – and all can be adapted or just portions used for other size formats and art as well!

$52.99 $49.99

Fresh Pumpkins Watercolor

This new watercolor class is for beginners! Join Artventure for free, then look in the menu bar on the left for the class. It’s only a few bucks for four pumpkins!

What features would you add to your pumpkin house?

Even if you don’t plan to draw one, add some ideas to the comments and maybe someone else will be inspired!

Supplies

Some product may be provided by manufacturers for review and use. Compensated affiliate links are here at no cost to you. I appreciate your support of my work with your purchases! Full affiliate and product disclosure | My trusted partners in art

Subscribe to receive blog posts by email:

Coloring fuzzy white polar bear fur (3 mediums)

Coloring fuzzy white polar bear fur (3 mediums)

Welcome to my stop on the Sunny Studios Stamps bloghop!! Mendi’s celebrating the 8th birthday of her business baby and I’m so proud of her!!

In honor of her milestone, I’ve got some fun ahead for which I hope no one needs a wintry coat or scarf like I did – but Holiday Hugs Stamps will be used to make a chilly snowy card perfect for a winter celebration card! 🙂

Tutorial: Coloring fuzzy white polar bear fur 

The first few seconds are jarring…watch out! ha!

Watch the video below and scroll to the end to leave comments or questions — or click HERE to watch it on YouTube and leave comments over there. I read both dutifully!

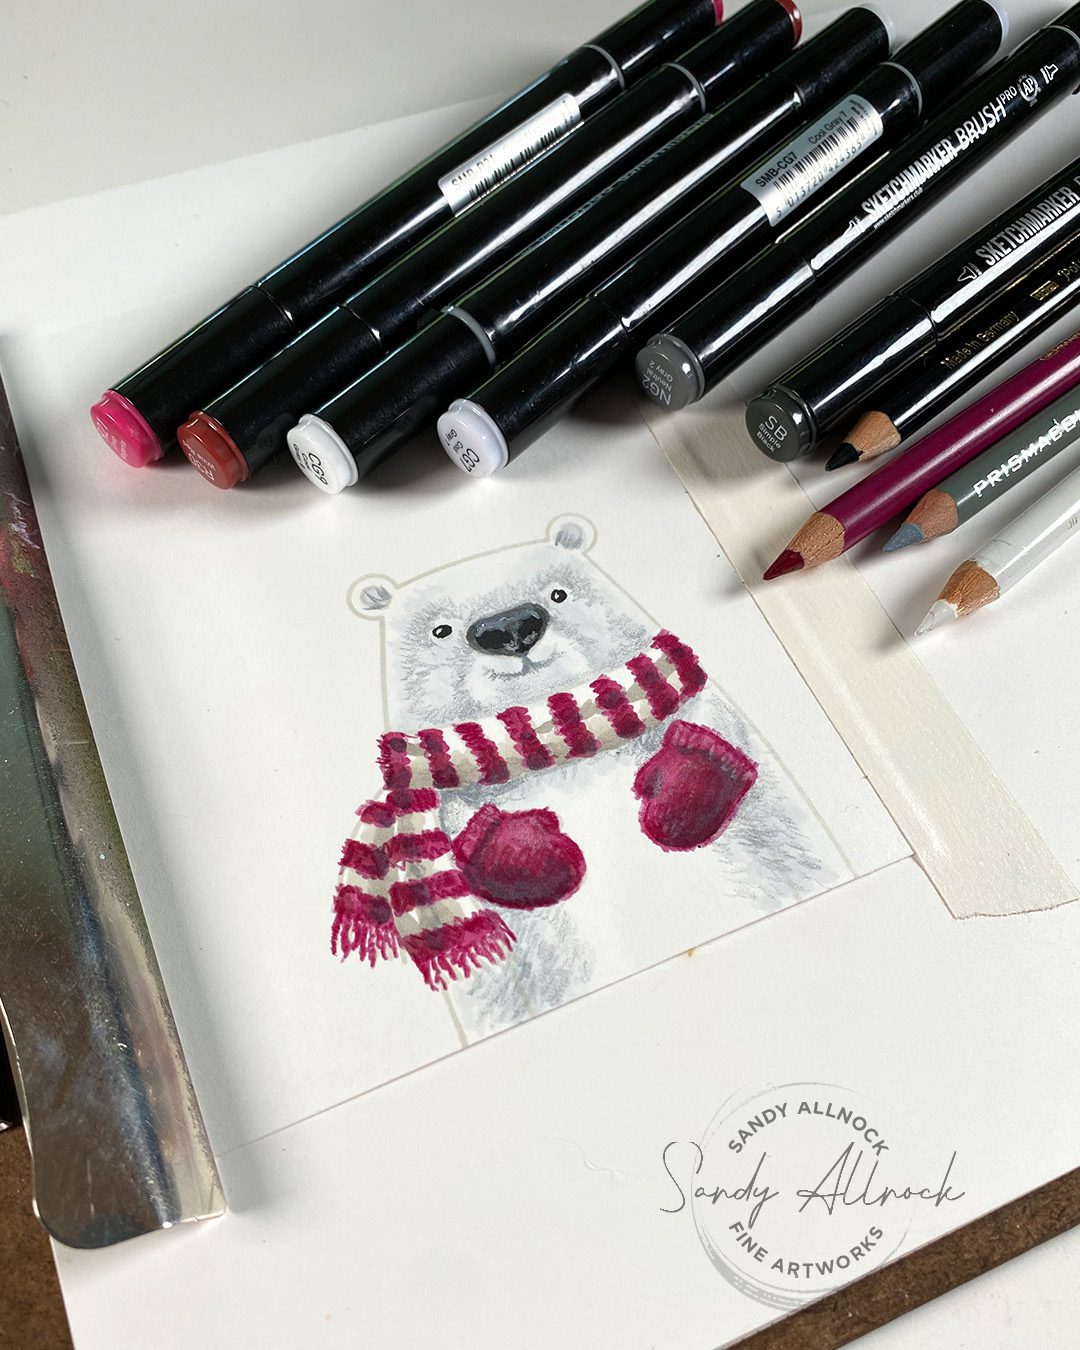
Bear coloring

Start with marker, add pencil, then soften with marker, then more pencil as needed – layer away! The secret to getting it to look fuzzy is partially in leaving tufts of fur white (see above the eyes, top of the head and ears, lighter snout…) in comparison to the other greys. The PUNCH of color in the reddish dark color will make all that grey start to look lighter, along with that dark nose and eyes.

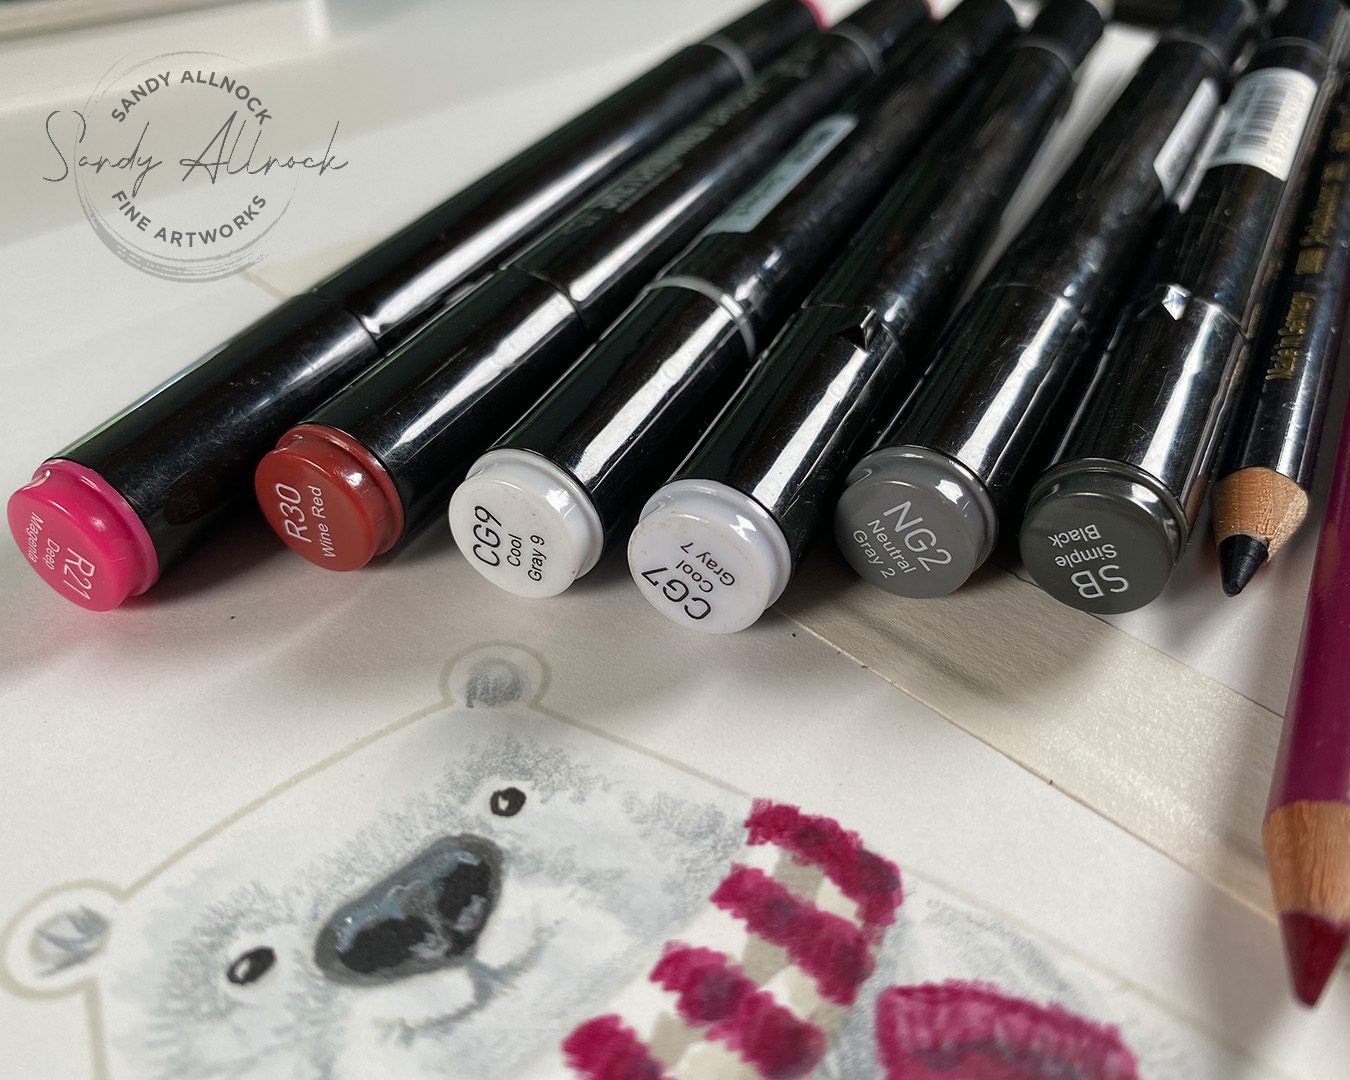
Colors

Colors used include these Sketchmarkers, and a Prismacolor 936 bluish gray color, and a Polychromos 133.

Contrasting background

Creating a big dark shape for all that white fur to bounce off of gives two benefits – “hiding” the lighter stamped line, and all that dark value lightens everything else. Then the white gouache snow also has something to show up on that’s dark enough.

Around the eedges of the bear, pencil only went so far in creating a soft edge – a little gouache also helped whiten places where the stamp line still showed.

Something to hold, no masking!

Then it’s a matter of what your bear will hold, if anything! I hadn’t thought about it in time, but you could take these easy steps to stamp it without ANY masking:

  1. Stamp the cupcake or other item to be held. No masking.
  2. Stamp the bear so that the paws cross over the cupcake.
  3. Definitely color nice dark mittens before coloring the cupcake. That will cover the light stamp lines of the cupcake.
  4. Color the cupcake richly enough to cover the scarf stamp lines. Either dark colors, or add glossy accents and glitter as shown here.
  5. Then color the scarf and bear. 

Something to hold, the way I did it

Since I hadn’t thought of what I’d put in his paws, here’s my steps:

  1. Color the bear, adding mittens.
  2. Stamp and color the cupcake or other object and fussy cut.
  3. With an xacto knife, slice around the top side of the mittens. You might need to curve around to the bottom depending on the size of what’s being tucked in.
  4. Put a little dimensional adhesive on the back of the cupcake and tuck it in.
  5. Add glossy accents and glitter!

My glitter problems of the past stemmed from sending cards overseas to heroes in war zones; glitter gets all over everything, as we all know, and it gets on them when they get something from us too! And glitter can make them visible to the enemy’s night vision goggles. If you send anything to a hero serving abroad, be respectful of your desire for twinkle and shimmer, and settle for the simple pretty shine of something like glossy accents alone – that won’t twinkle in enemy gunsights. 🙂 

Bloghop sale, prizes, & hop links

SALE: Sunny Studios will be offering 20% off Sunny Studio branded products (excluding clearance and new release products) using discount code EIGHTYEARS at checkout through August 29th. Limit one discount code per order.  They will also automatically include a free mini snowflake die on all orders.
PRIZES: I’m authorized to give away $25 to spend at Sunny Studios!! WHEEEEE! The contest will run through Monday, August 28th, and the winner will be posted on the Sunny Studio blog on Friday, September 1st.
TO ENTER: Tell me how MUCH or how LITTLE you love glitter! Do you have a story!?!? I love a good controvery-thats-a-nontroversy! 
HOP LINKS: Go see all the creativity!
  1. Sunny Studio
  2. Wanda Guess
  3. Rachel Alvarado
  4. Sandy Allnock <–that’s me!
  5. Marine Simon
  6. Tammy Stark
  7. Caly Person
  8. Isha Gupta
  9. Bobbi Lemanski
  10. Gladys Marcelino
  11. Tina Henkens

Supplies

Subscribe to receive blog posts by email:

Magical Rainforest Class: A peek into one lesson with a dinosaur!

Magical Rainforest Class: A peek into one lesson with a dinosaur!

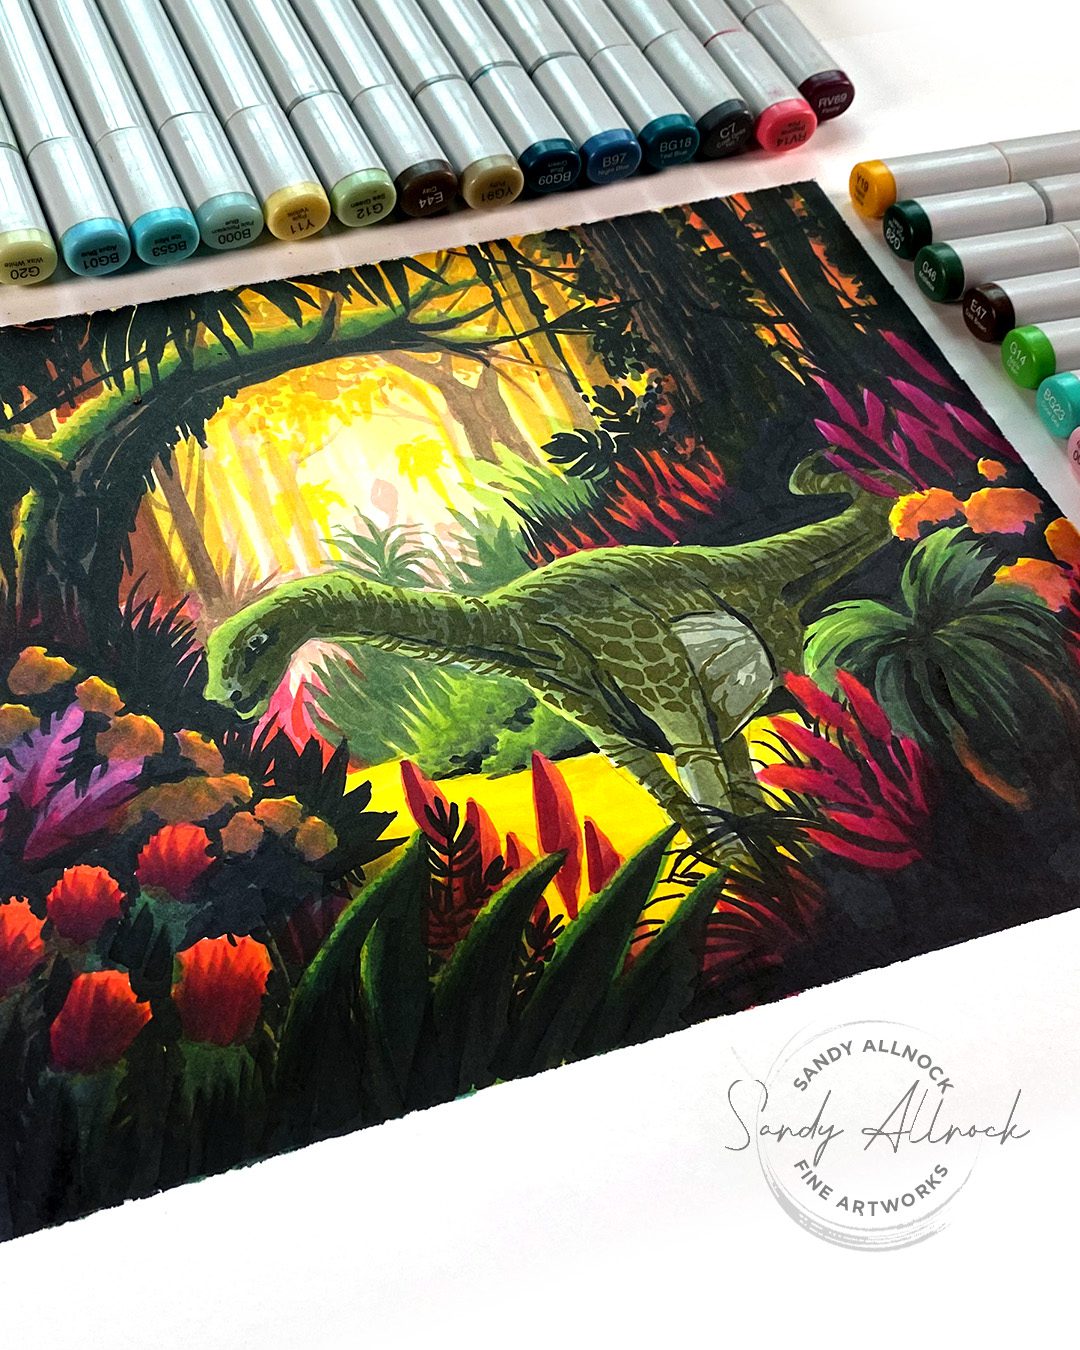
Is a dinosaur magic? And do they live in the rainforest? Frankly both could be true, but I’m going to guess not. I’ve mashed together a bunch of things that have been going on in my head and in my news feed – and turned it into some really fun art you can learn to make with your alcohol markers in the new Magical Rainforest Class!

Let’s deal with the rainforest first; Have you seen the news stories about the children who were lost in the rainforest for 40 days? Oh my, what a story of tragedy – and ending in the blessed survival of the children! READ THE STORY

And then there’s another story about the Brontosaurus being restored to its rightful place after being displaced for 100 years (ineffectively!) by the Apatosaurus. It’s a rather long crazy story I tell in the video but you can read more in an article here. I decided the Apatosaurus would win the battle for who gets into my drawing.

Tutorial: Dinosaur in magical rainforest

Watch the video below and scroll to the end to leave comments or questions — or click HERE to watch it on YouTube and leave comments over there. I read both dutifully!

Scene first?

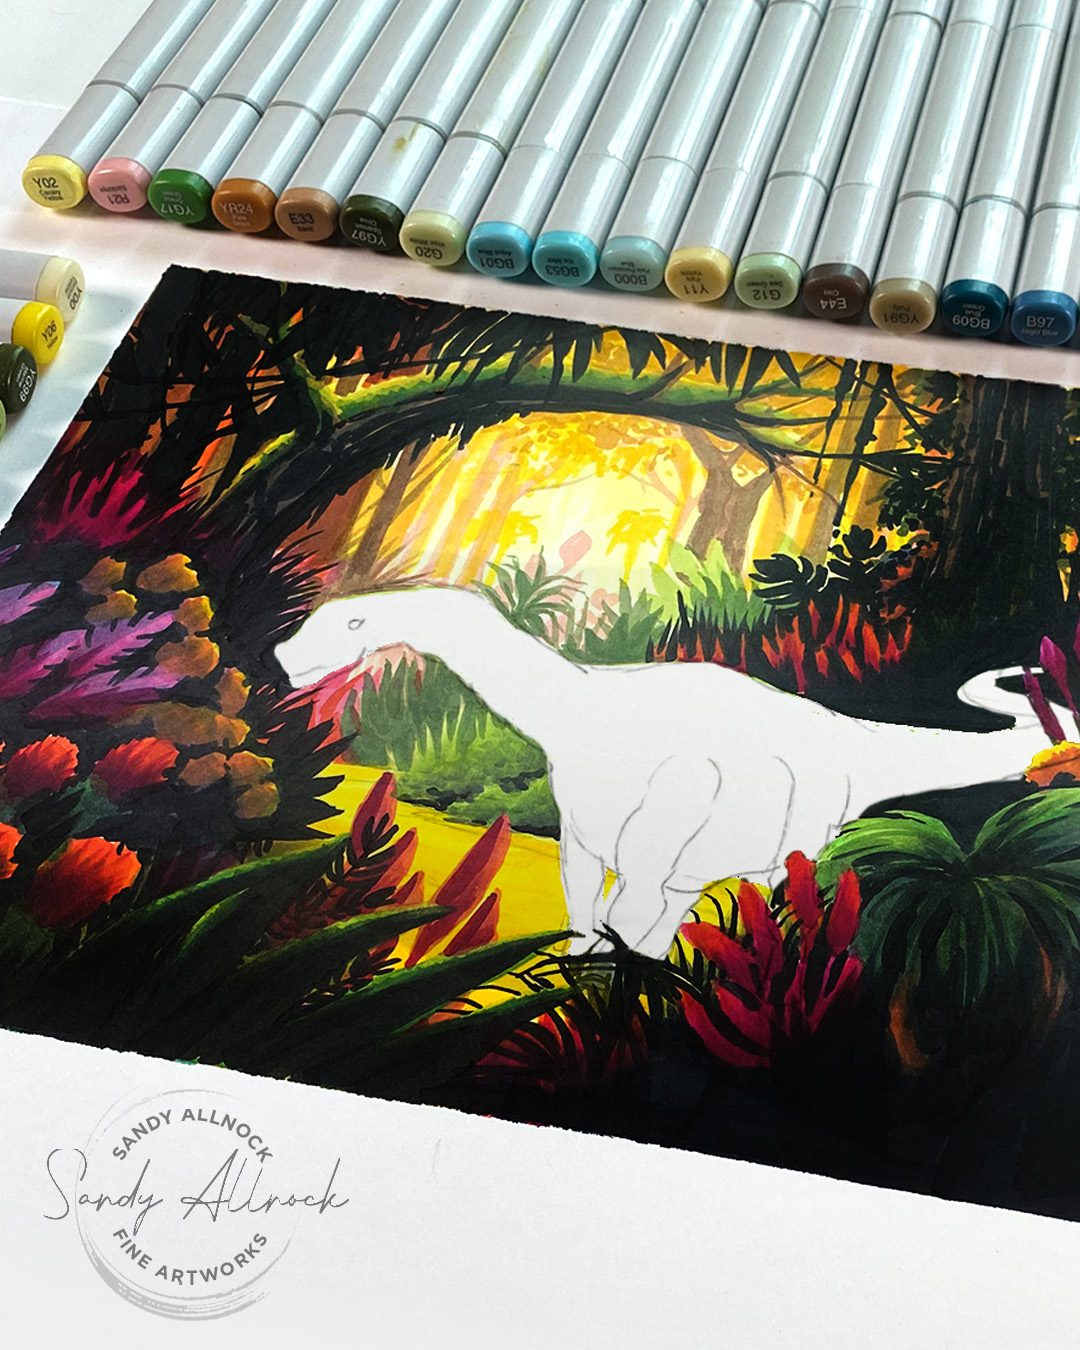
Typically I don’t color a scene first – I start with the featured image. But in this case, the scene is the bonus lesson in the new Magical Rainforest class, and the dino was just for YT – and thus, it’s scene first.

Dino sketch

The sketch for the dinosaur is also included in the bonus lesson, in case you decide to try this kind of a scene!

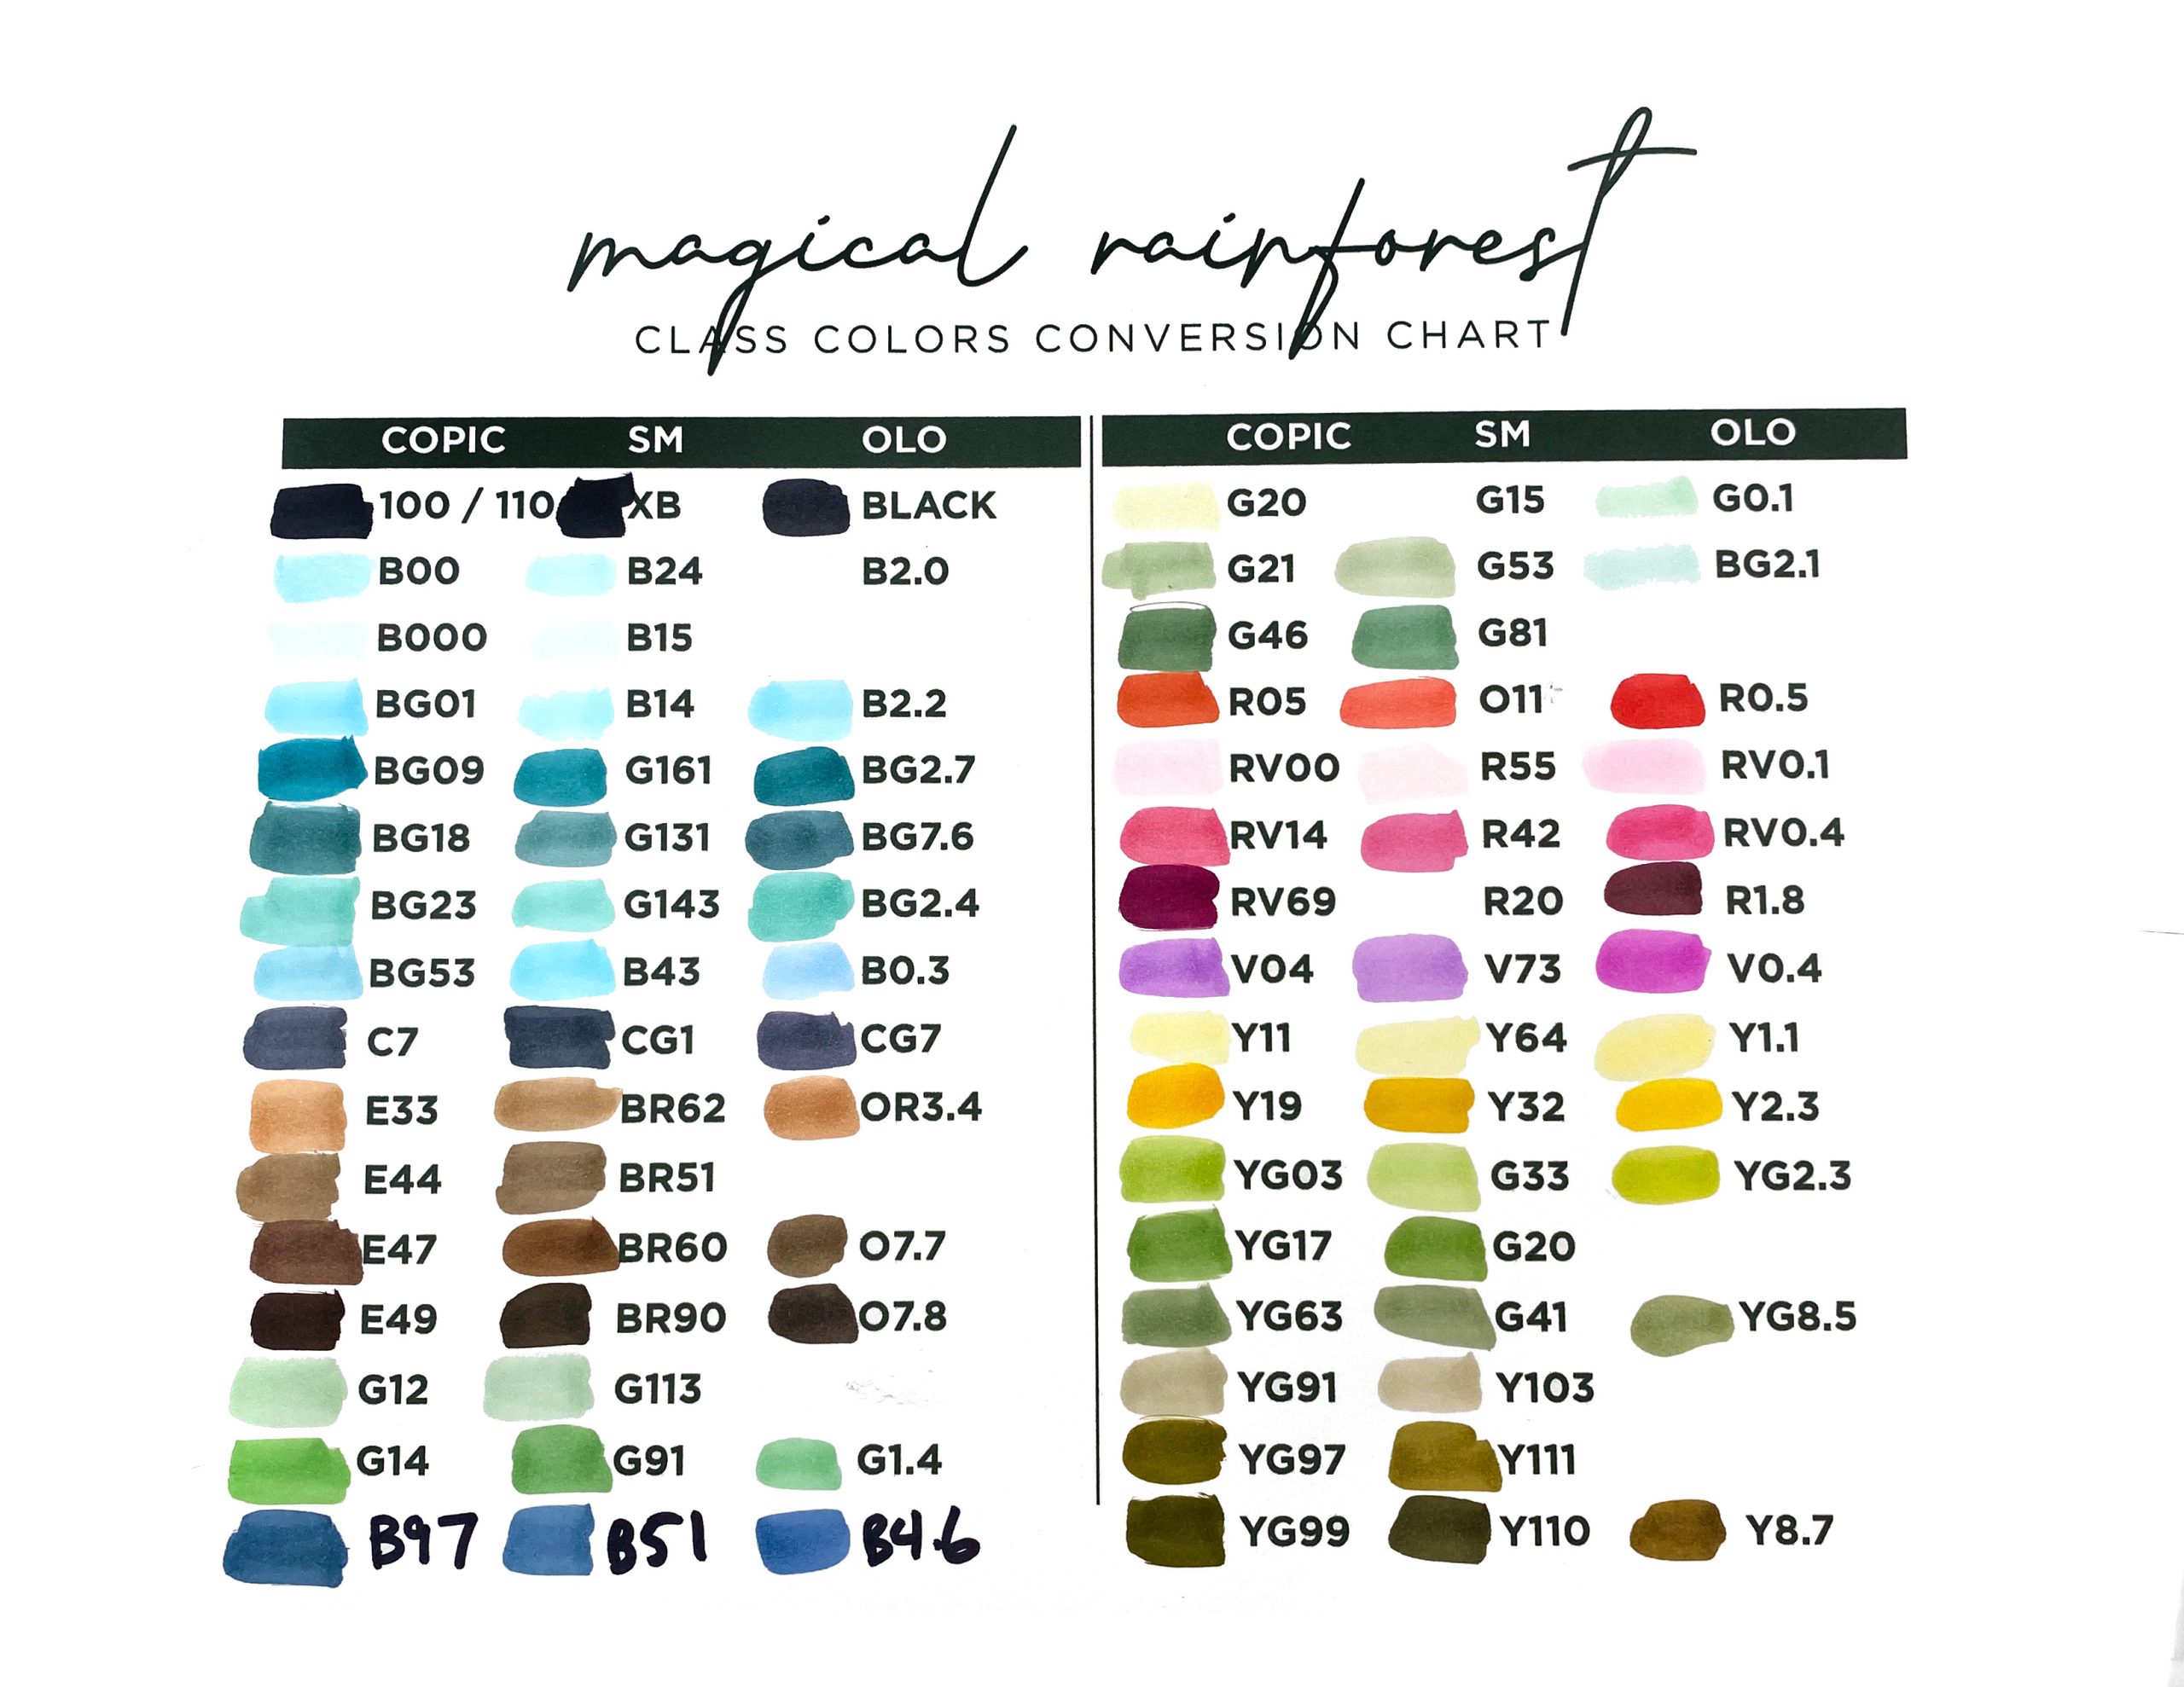
Colors

In class I use Copics, but you can also adapt to other brands. Note that Olo doesn’t have the pale colors that the other two do, but…..Olo users are likely used to finding adaptations 🙂

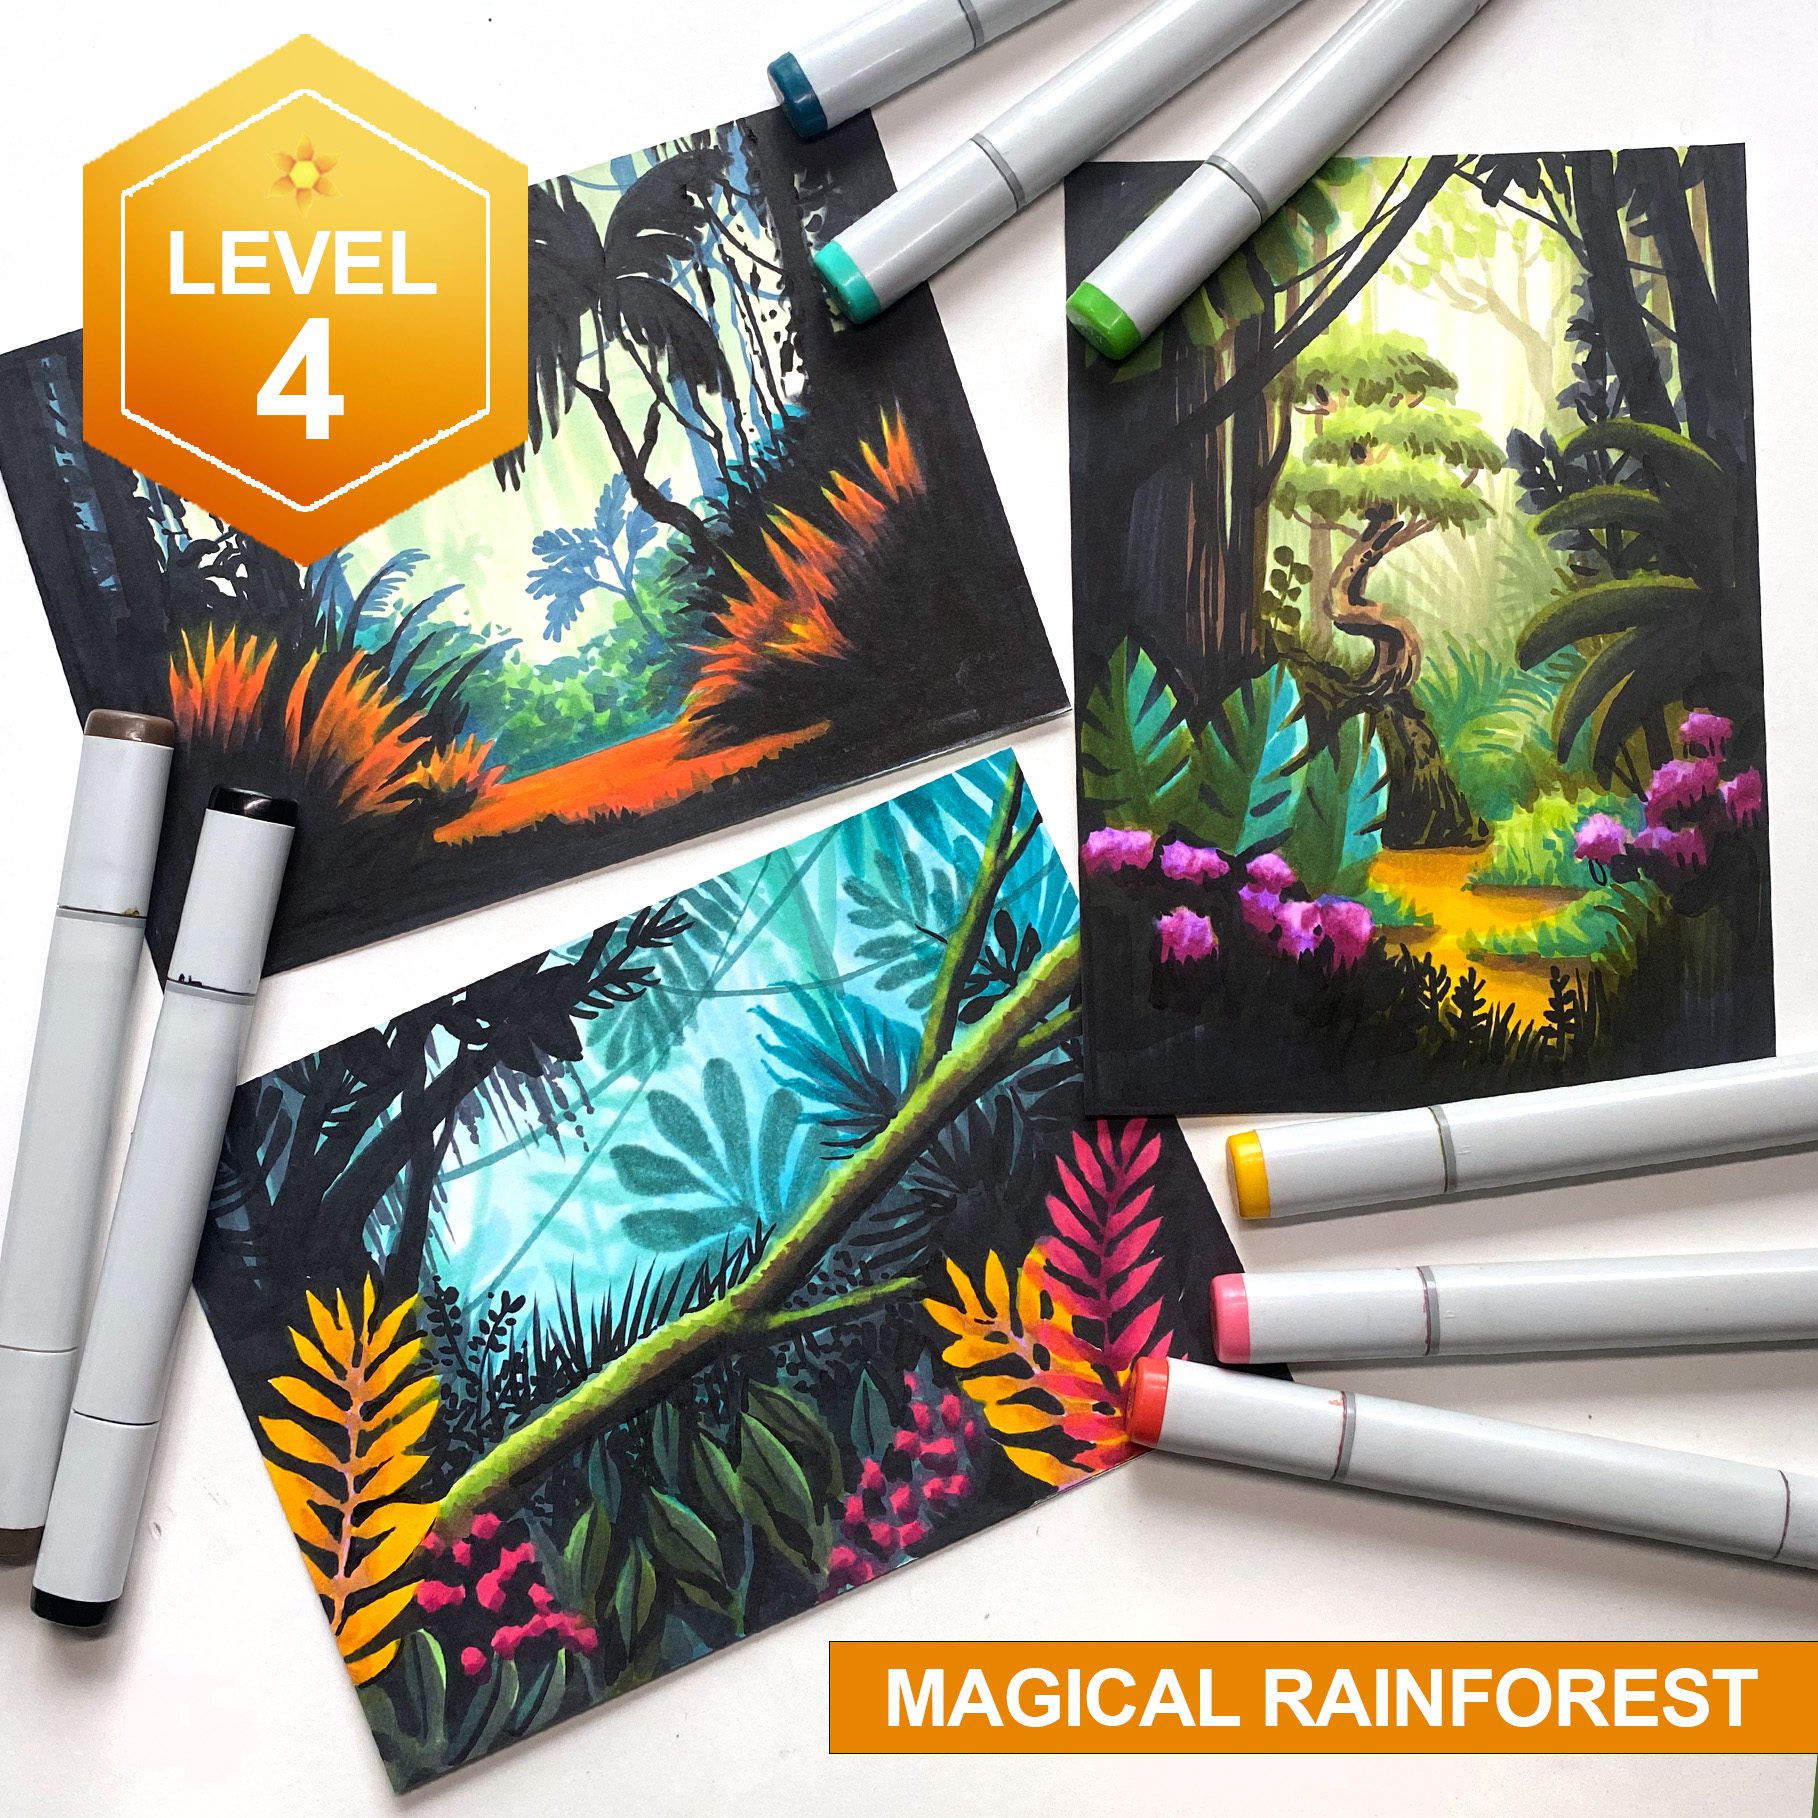
Magical Rainforest Class

This is a level 4 class – and a little of the backstory is that I wanted to have a Level 4 alcohol marker class that wasn’t as pricey as the Enchantment series or other advanced classes. Magical Rainforest Class is a good chance to see if you’re at that level without having to break the art bank to pay for a big class! So it has fewer lessons in it to keep the price manageable.

A little reminder: use code SUPERPOWER to get 10% off throughout June on all adult classes!

Supplies

Some product may be provided by manufacturers for review and use. Compensated affiliate links are here at no cost to you. I appreciate your support of my work with your purchases! Full affiliate and product disclosure | My trusted partners in art

Subscribe to receive blog posts by email:

Choosing pencil colors to use on top of alcohol marker (Trinity Stamps Hop)

Choosing pencil colors to use on top of alcohol marker (Trinity Stamps Hop)

I’ve used pencils WITH  alcohol marker for many years now – but after a question was left recently on YouTube, I realized there are times when I’ve shown you which colors *I* used on a project…but never really talked about what YOU might think about when choosing a pencil color. Let’s do that today!

Congratulations to my friends at Trinity Stamps!! Five years in business is nothing to sneeze at….so many never last that long, and Trinity doesn’t seem to be going anywhere but up! 🙂


Two days of bloghop, videohop, facebook, and instagram hops offers you lots of chances to see ideas with each stamp and die set and decide what may need to come home with you; when I peeked at the release and got to choose, the walrus with donuts had my heart. So you’ll get to see that today!


Tutorial: Choosing pencil colors to use atop alcohol marker

Watch the video below and scroll to the end to leave comments or questions — or click HERE to watch it on YouTube and leave comments over there. I read both dutifully!

Choosing colors

When trying to smooth out a blend, the best way to choose a color is finding something in between the dark and the light you’re trying to blend; cover part of the dark with the semi-opaque pencil, then part of the light with a lighter touch of the pencil. The effect will be to flatten the overall dimension – since you’re averaging out the two marker colors. But have no fear! It’s easy to use a dark, in this case black, to restore the darks. With the ability to lighten pressure slowly, it’ll be easier to recreate the flattened blend.

Donut Shop Scene!

I’ve created a fun donut shop scene with the hopes of helping those struggling with perspective to find their way through; if this is helpful I may do more of these in the future; these will likely be in Artventure for the time being, because that’s where I’m keeping the card-centric ones; the ‘big’ website has the classes that aren’t, for the most part, reliant on stamps that’ll go out of production at some point.

So if you’d like to learn this background, join Artventure; the app stores can be abysmally sloooooow at approving classes, but you can still purchase in the web version of the site no matter which app store you normally use. Here’s the link. https://artventure.mn.co/

Hop along!

Trinity has things going on across platforms….YouTube, blog, instagram, facebook…..wherever you like to hang out go find them and see what’s shaking! And have a donut for me 🙂

Instagram hop:

@trinitystamps
@carrierhoades
@jennshurkus
@starofmay
@kellytaylorcards
@cassietcards
@sandyallnock  MEEEE 🙂
@kelleykohout
@scrapbooking_swe
@lauren.taylor.made
@tanyaboser
@caffeinated.craftiness
@lisacisneros1
@insideoutjeans
@bromerocards

YouTube hop: (I didn’t make the cut but here’s the rest)

  1. Carrie Rhoades:    • Shaker Pouches an…  
  2. Ricky Burton:    • Tardy Turtle feat…  
  3. Cassie Trask:    • Trinity Stamps 5t…  
  4. Lauren Taylor:    • Party Snake Birth…  
  5. Emelie Heskett:    • Trinity Stamps Ju…  
  6. Shanna Slater:    • Trinity 5th Birth…  
  7. Jeannie Lieu:    • Rainbow Coloring …  

Supplies

Some product may be provided by manufacturers for review and use. Compensated affiliate links are here at no cost to you. I appreciate your support of my work with your purchases! Full affiliate and product disclosure | My trusted partners in art

  1. Entire new release, Trinity Stamps 
    1. Used here;  Fan-tusk-tic Stamp Set –  Die Set 
  2. Copic Markers 
  3. Copic Hex Chart 
  4. Neenah Cardstock, Solar White 250pk
  5. Prismacolor pencils 
  6. Prismacolor Hex Chart
  7. White Signo Uni-ball Gel Pen: AMZ – • BLICK 
  8. Presto Jumbo White

Subscribe to receive blog posts by email: