I’ve got a tutorial packed with an efficient overload of information:
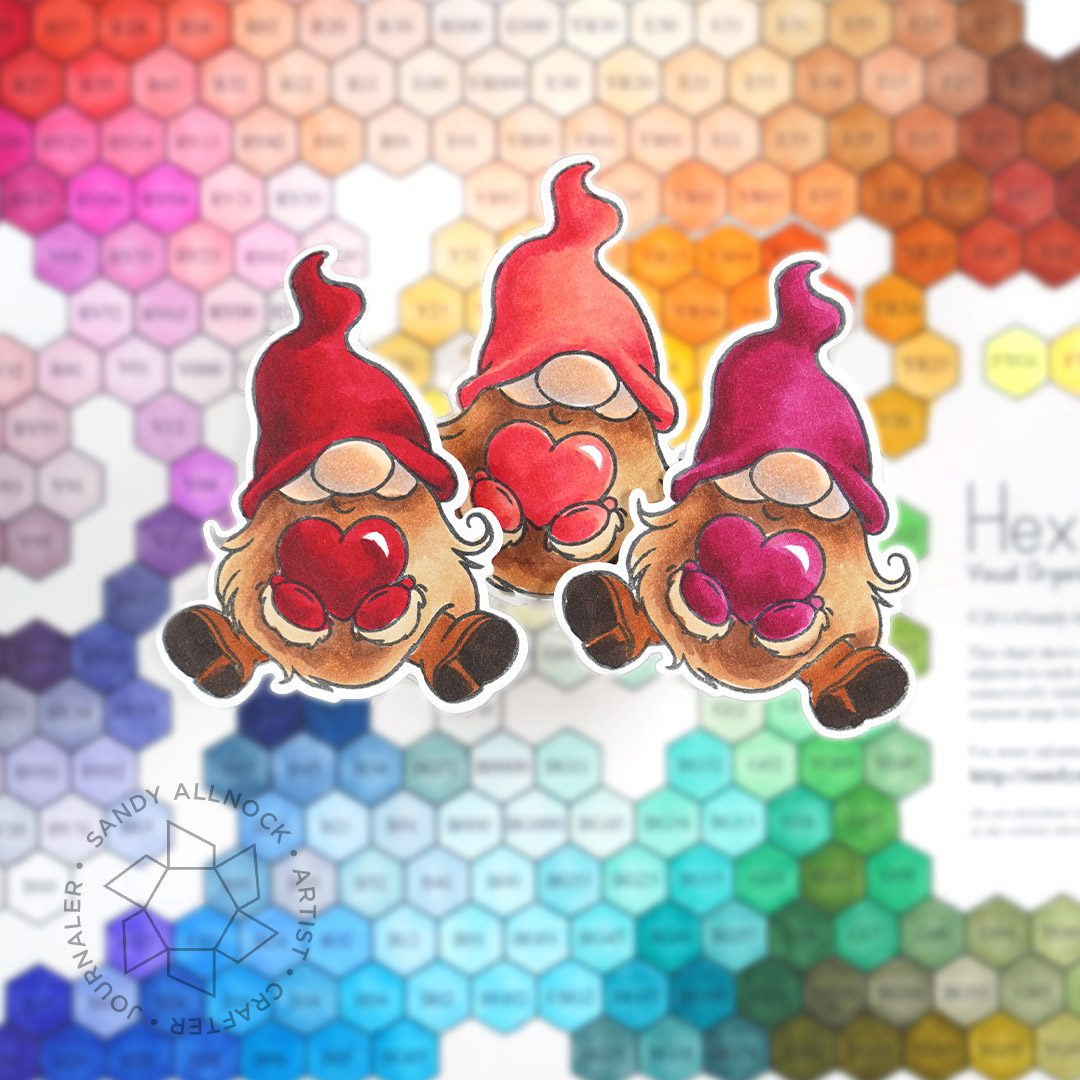
some Copic red pairs of colors picked from the Hex Chart;
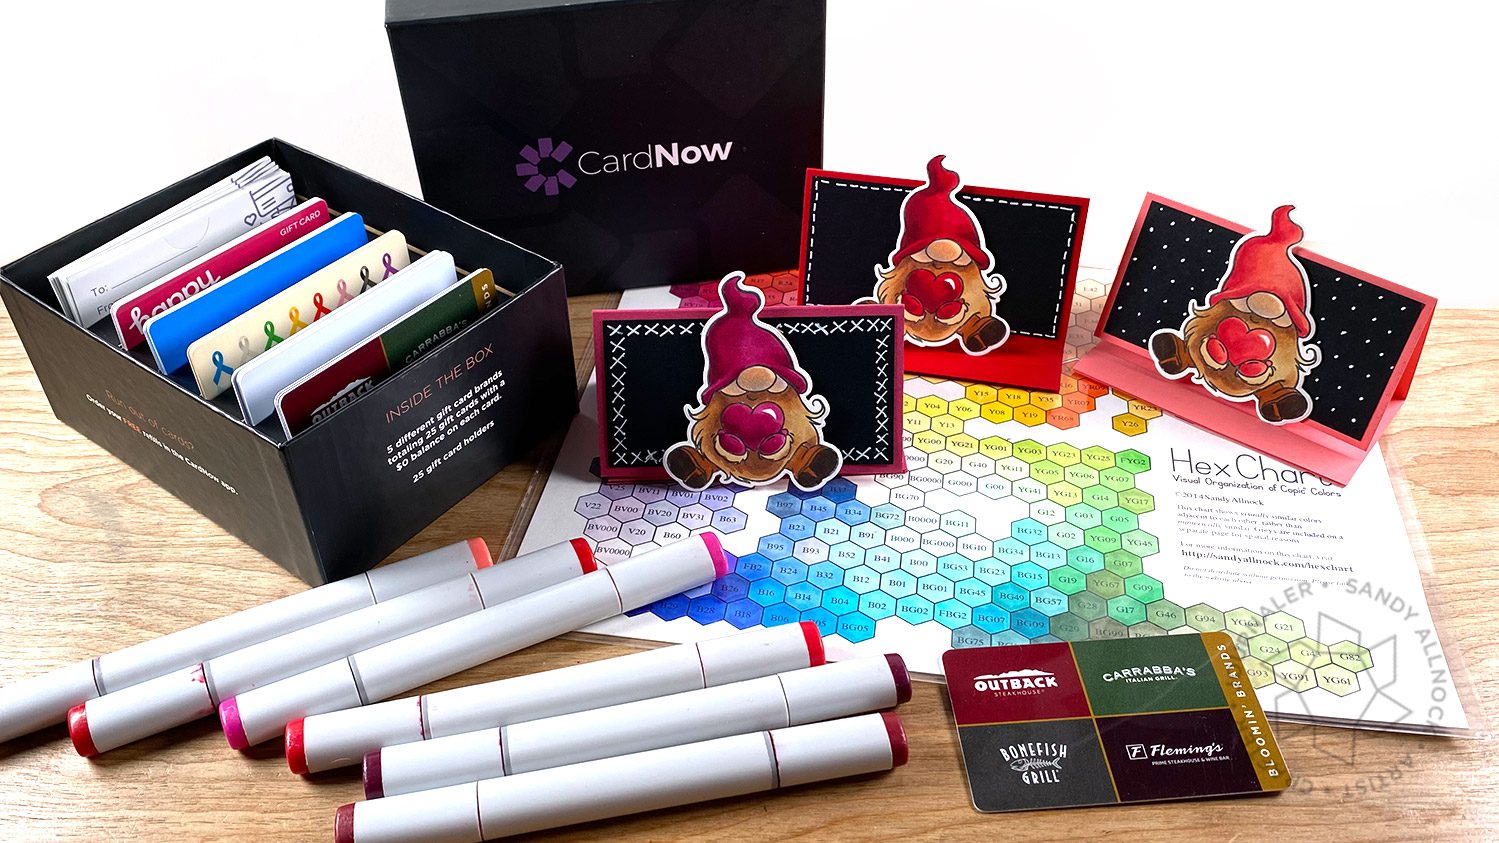
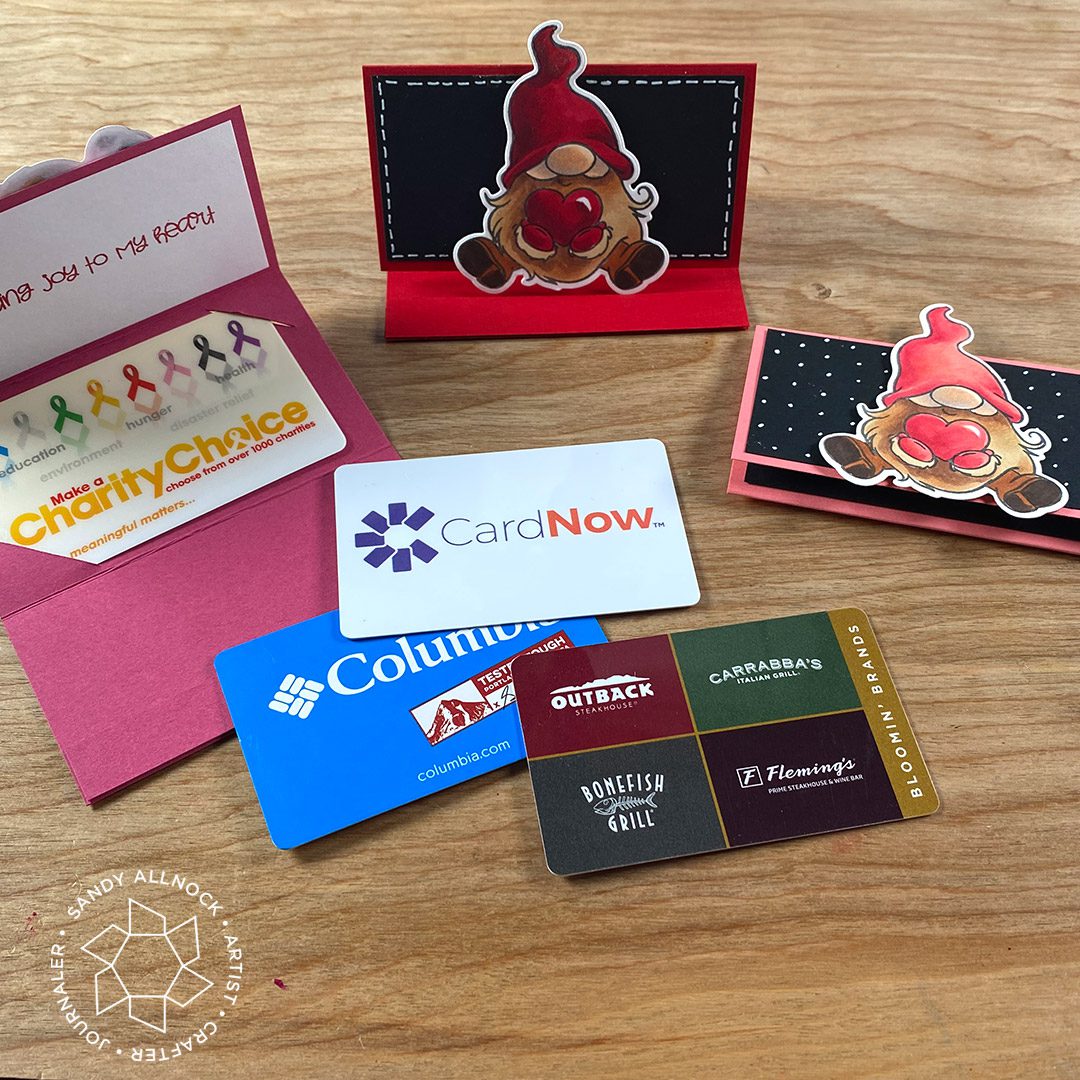
a simple way to create a gift card that stands “up” like an easel;
and a new way to have gift cards handy anytime you need one!
Supplies for this project are linked at the end of this post. Compensated affiliate links may be used at no cost to you.
Video
Copic pairs of reds
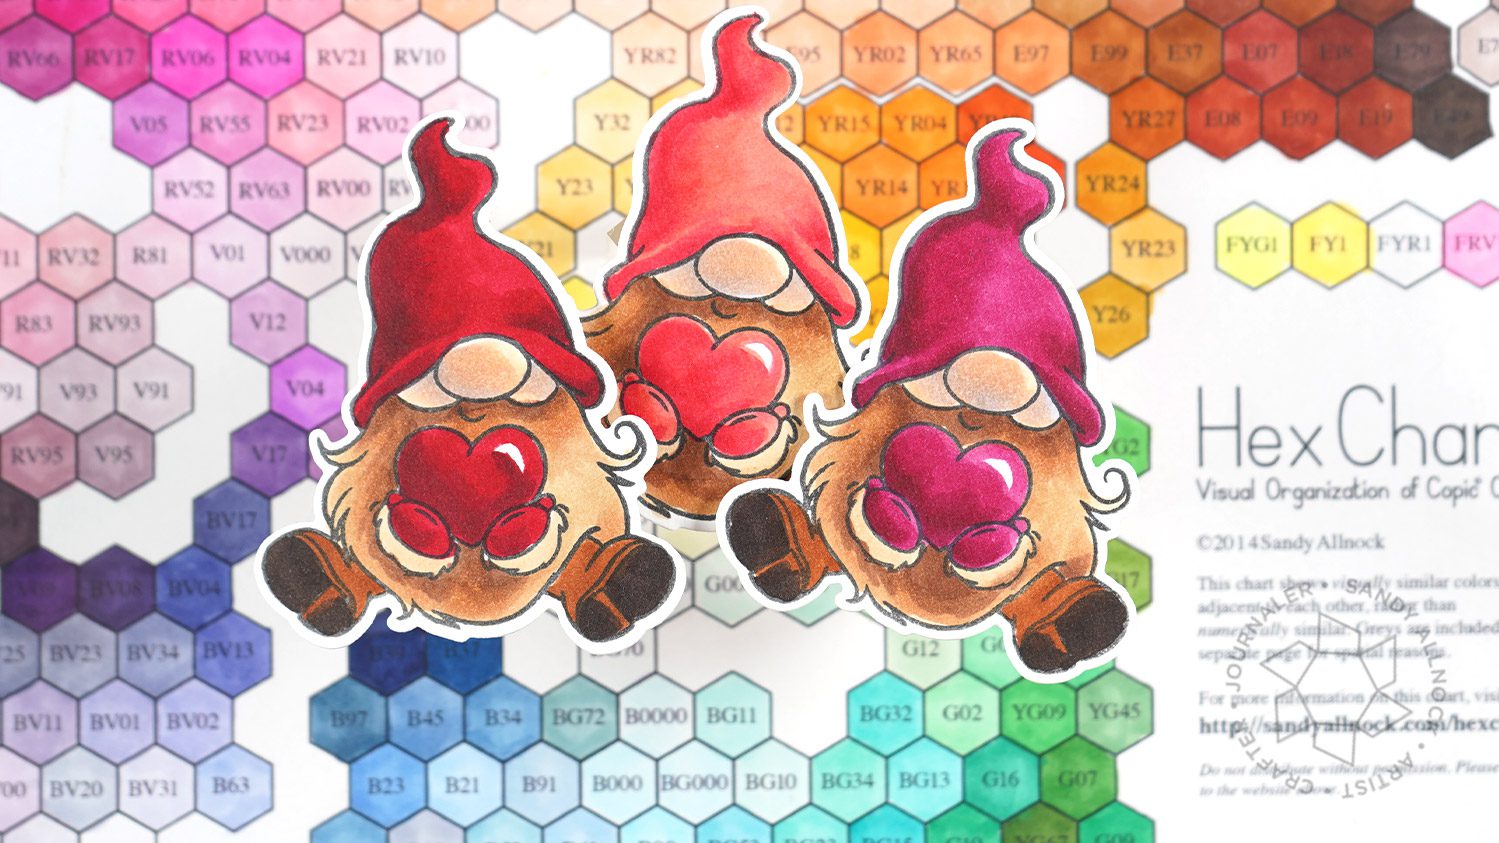
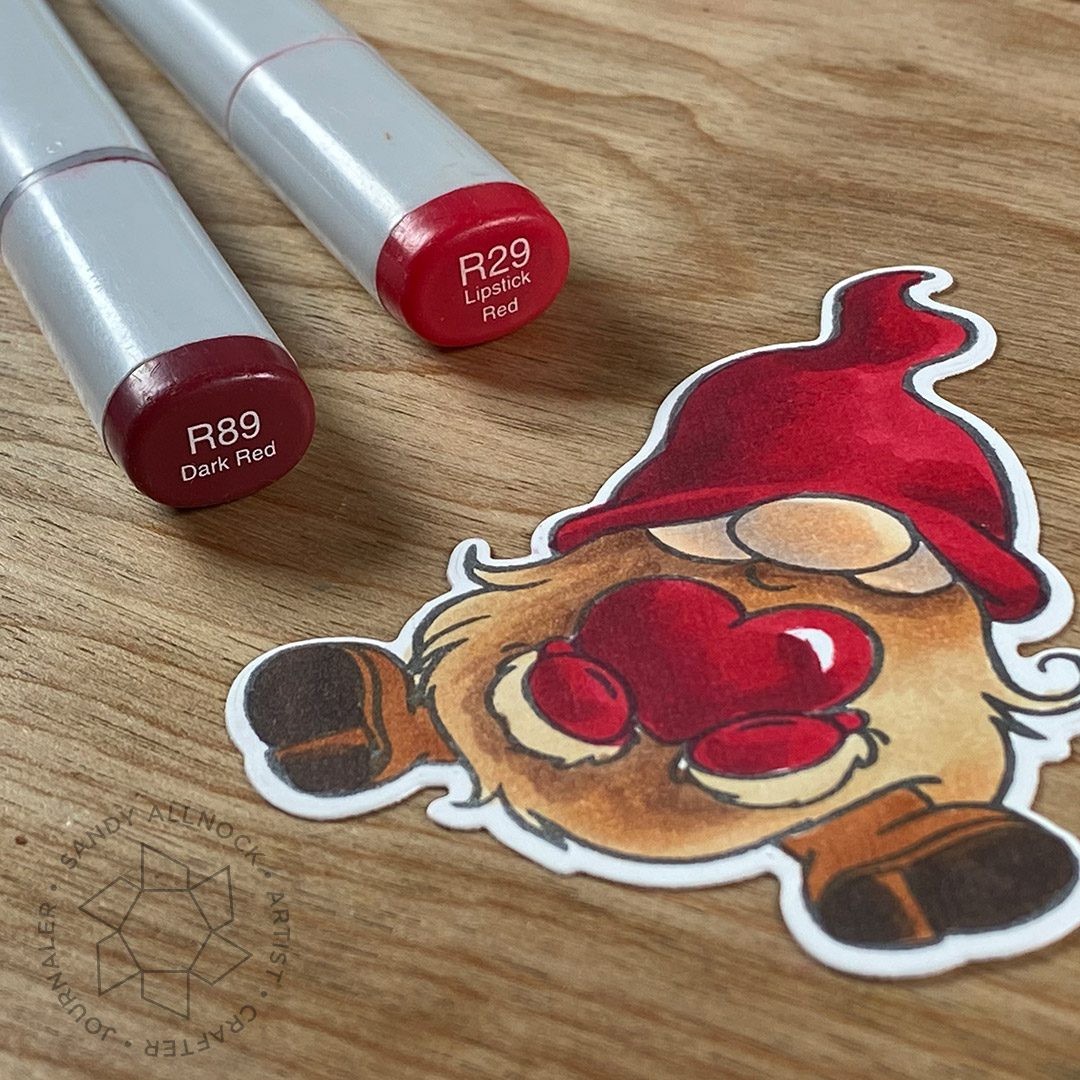
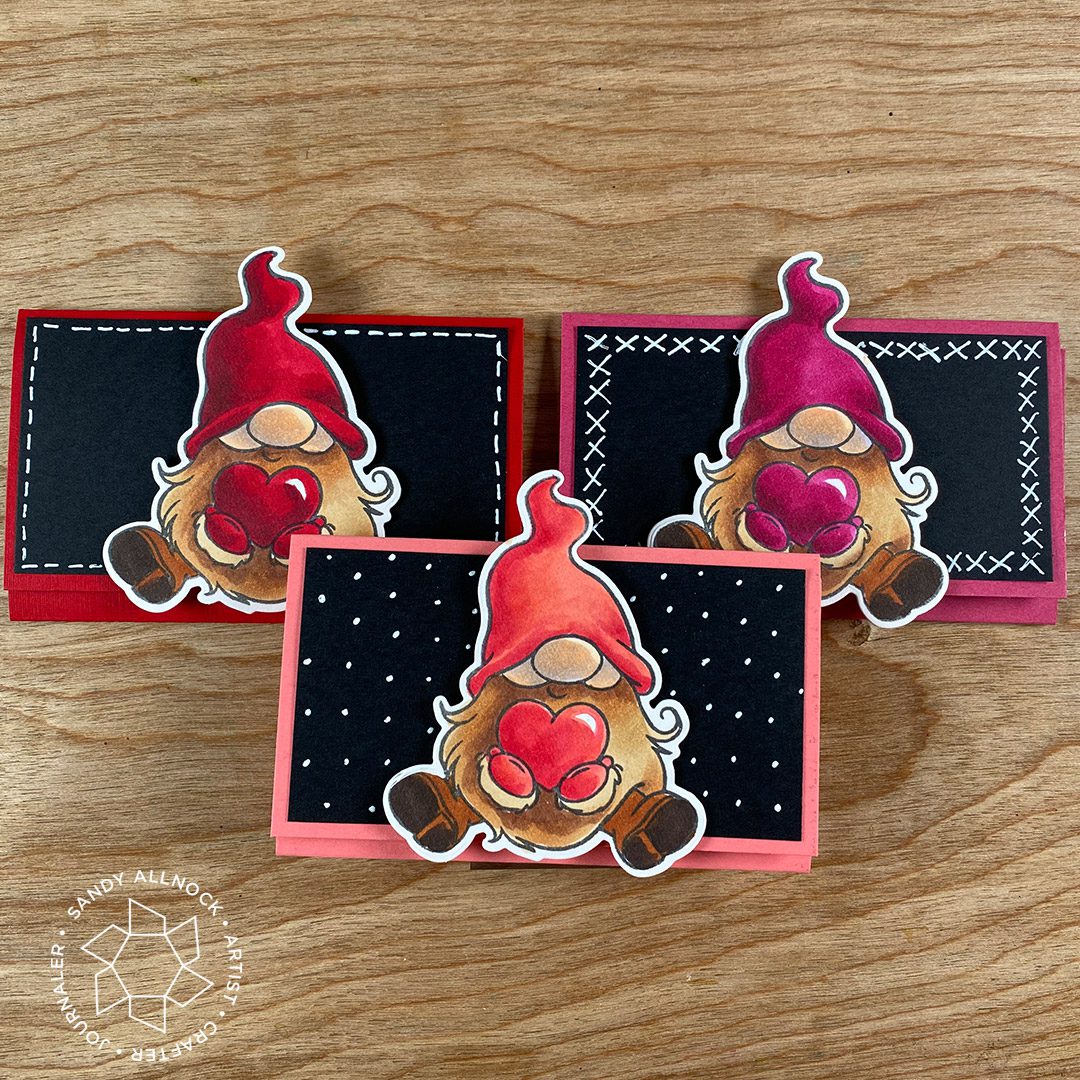
I chose a red and two pink cardstocks, two warm and one cool red….and used the Hex Chart to find some color pairs to use on these cute gnomes. You can certainly choose three colors for blending, but it IS possible to just use two. There’s no law of threes! This first one has my favorite dark red in the pair.
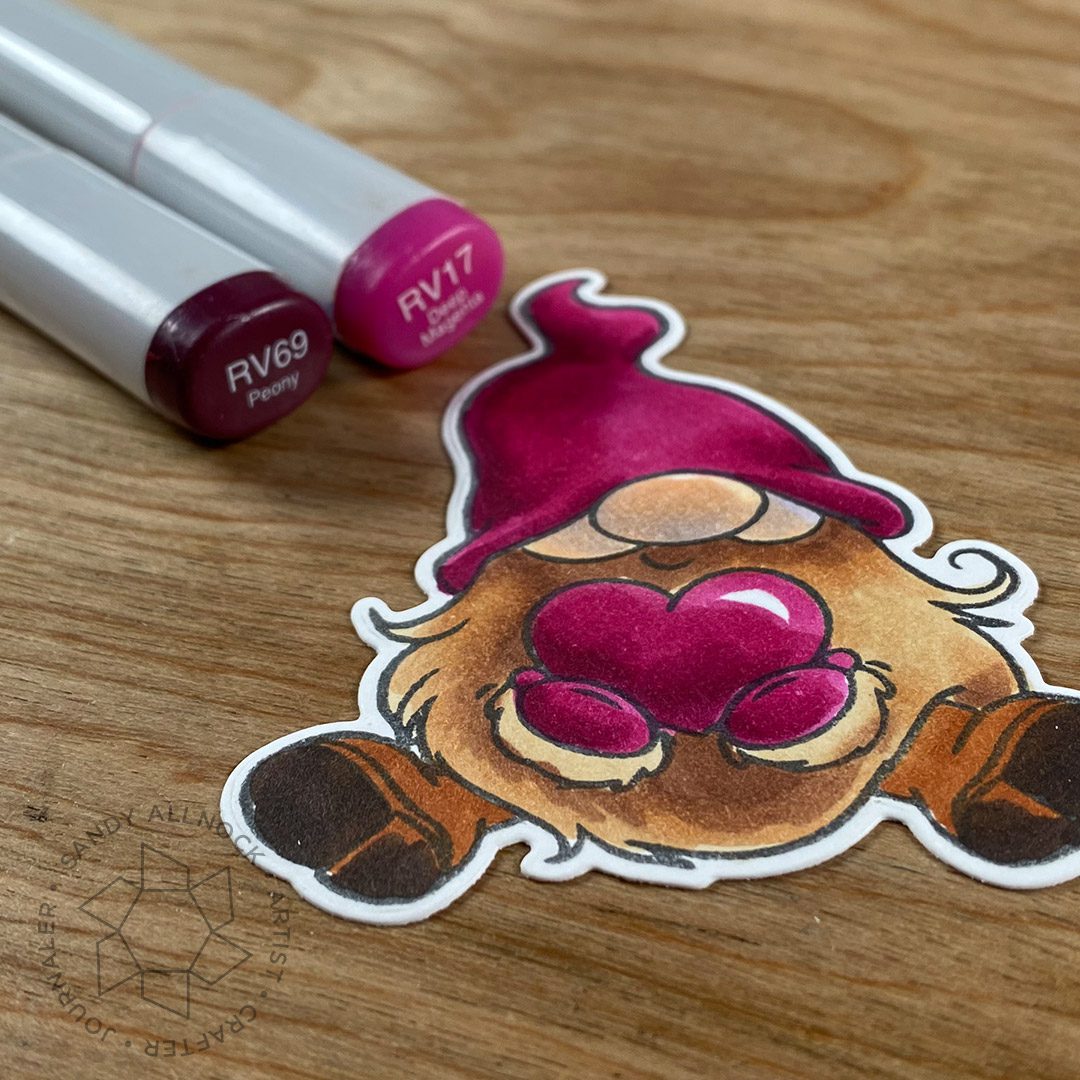
When choosing a color to shade a pink, especially if only picking 2 colors, the tip-to-tip technique can be really helpful.
The cool dark pink cardstock is fairly close to RV17 – and I chose a dark RV to use for its shadow color.
Arent they just THE cutest little gnomies?
The gift card holders are 4″ x 7″ panels, with scores at 2-1/4″ from each side. You can decorate any of the panels with patterned paper (I have none, eeeep!) or just create your own decor on them with a white pen like I did!
I cut slits in the center panel to hold the gift card, and you can decorate the other panels as desired – even with white pen doodles if you want, like me!
CardNow
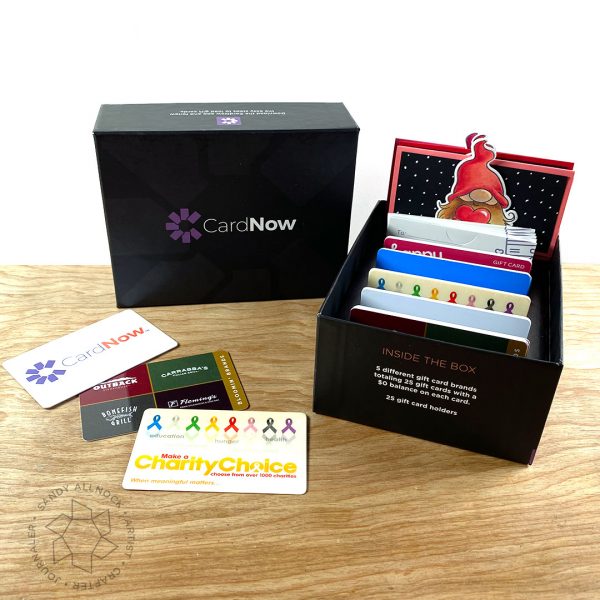
I was approached last month to see if I would be interested in sharing the CardNow program with you – a system wherein you buy “empty” gift cards in either a starter pack or starter box (with a business picture on the front, so it really is a “normal” gift card) – and then when ready to send them to someone, you load it up with your funds on an app! It does cost a few bucks to get the kit – but for about 50cents extra per gift card, and during a pandemic when going to a store isn’t always the best idea, this might make some of you quite happy like it did me! Note that I do receive a commission if you choose to participate, but no pressure, just thought it might be fun for more than just me! I tucked my gift card holders in the box so I’m ready to roll for a birthday coming up next month!
Supplies
Some product may be provided by manufacturers for review and use. Compensated affiliate links are here at no cost to you. If you choose to shop using my EH (Ellen Hutson) links, please accept cookies on that site in order to retain the link to my blog, or that compensation does not happen for me. I appreciate your support of my work with your purchases! Full affiliate and product disclosure | My trusted partners in art
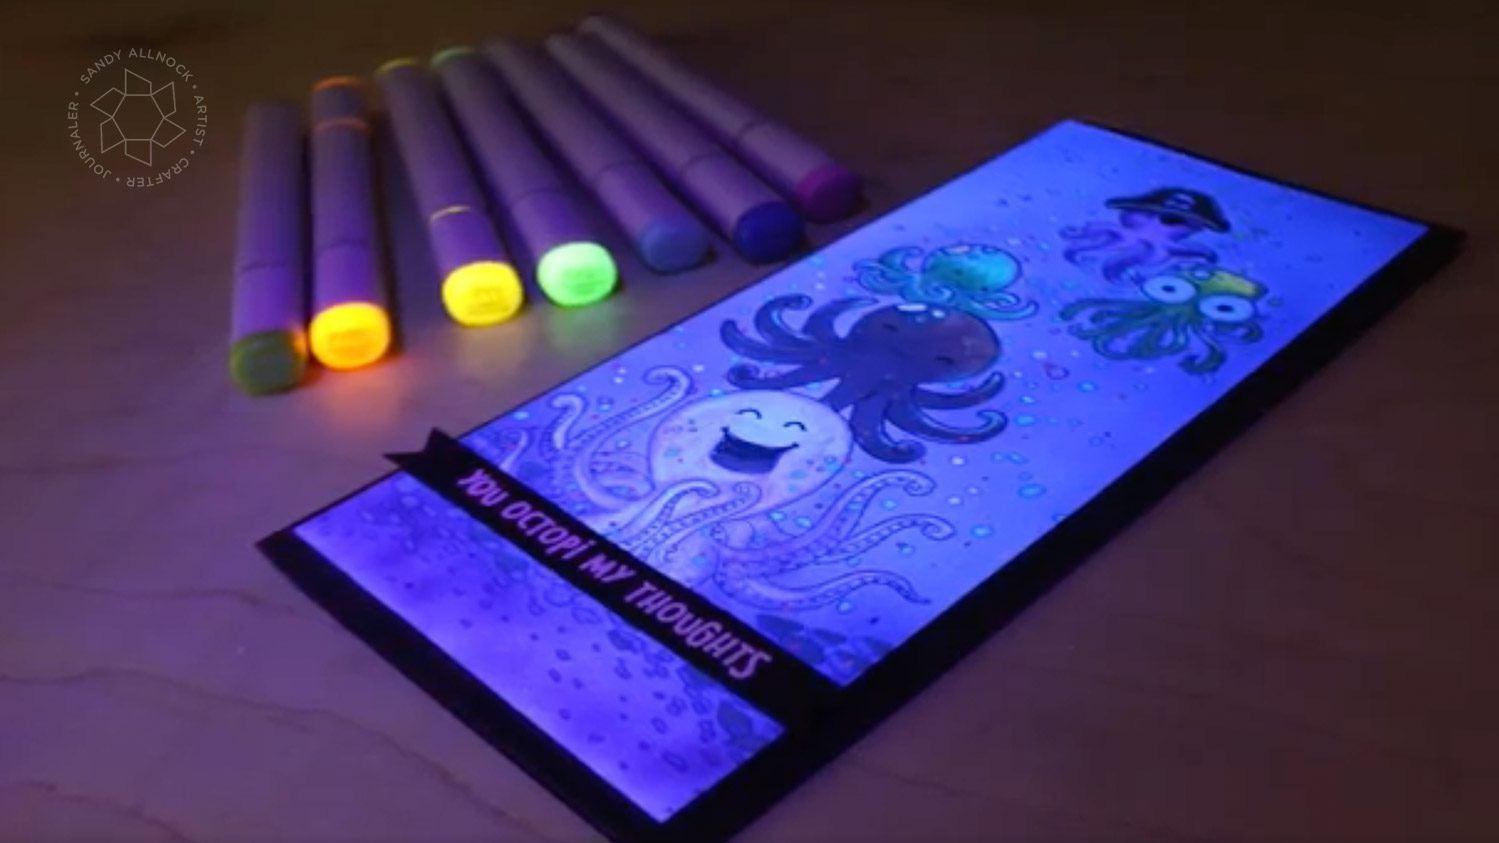
Are flourescent Copics really glow in the dark? Let’s see!
It JUST occurred to me that Copic has always had a couple flourescent colors in the mix…and aside from the ones that LOOK flourescent being kinda garish (and I rarely have anything that needs those colors!), I hadn’t ever *tested* their flourescence!
Supplies for this project are linked at the end of this post. Compensated affiliate links may be used at no cost to you.
Be sure to stay tuned in the video to see the sneak peek at the end:
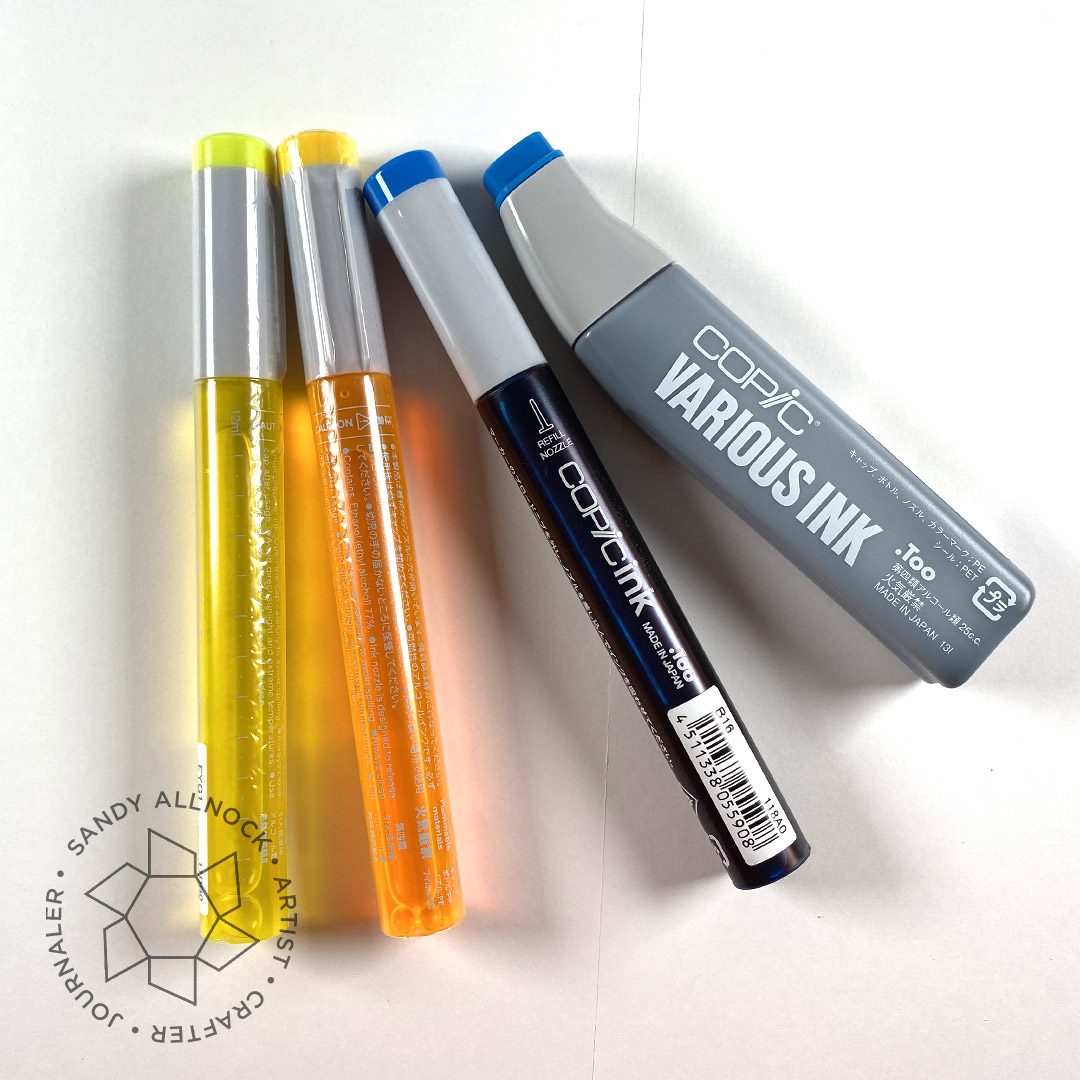
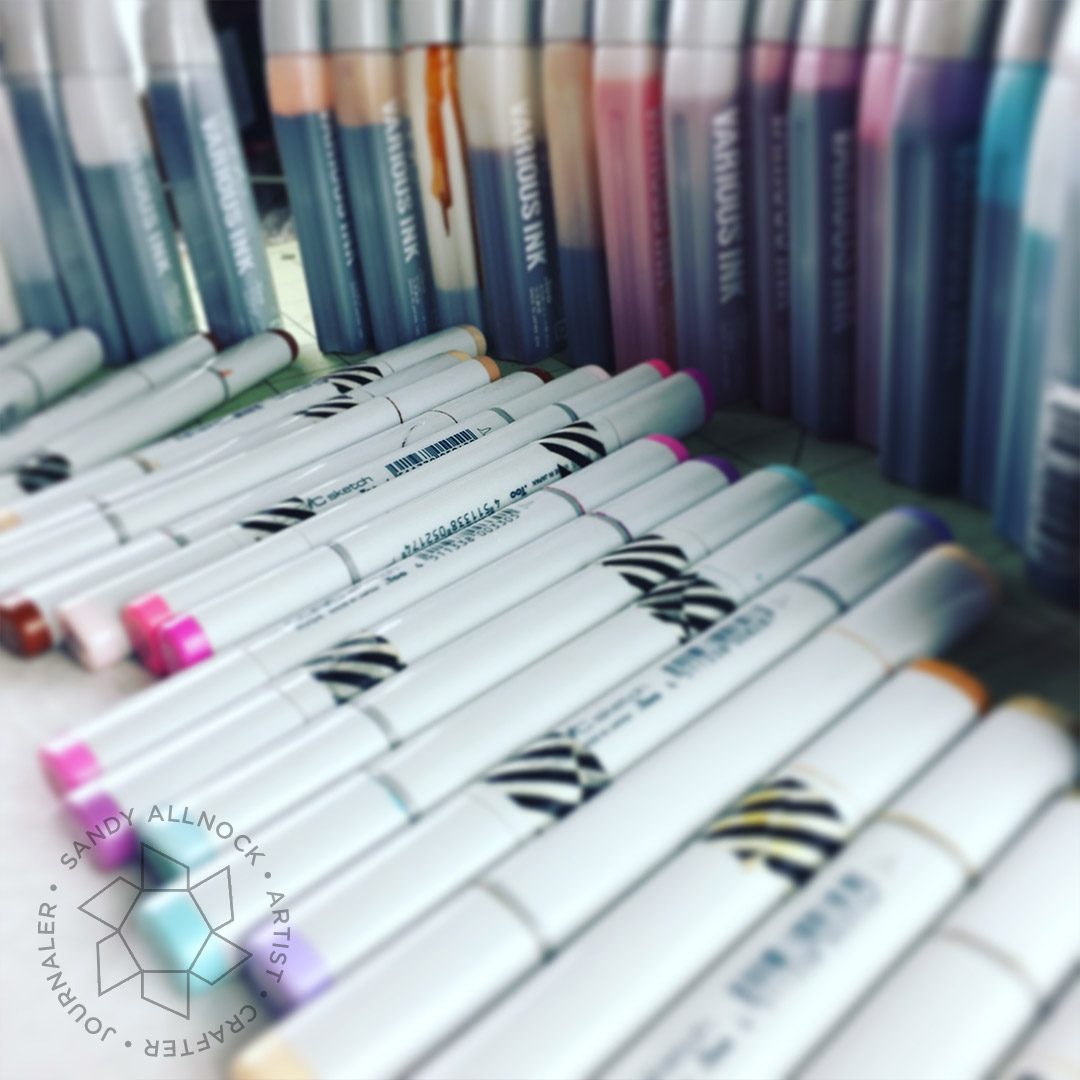
Once again the reinker bottles are not named “reinkers”, which would have been helpful, ha! Though “Copic Ink” is better than “Various Ink.” I’d been waiting for them to show up at crafty outlets so I’d been saving my money to get them in Ellen’s shop – yay for at least parts of the orders to get into the shop.
I’m 88% excited about them because:
Bottles are smaller and will not take up so much space
Nib is longer – less mess in reinking pens!
Slowly becoming available in the marketplace.
Less expensive overall.FAR better than the “same price half the ink” rumors going around months ago!*
*This is the 12% of not thrilled: they’re more expensive than they once were per ounce. That’s a VERY normal thing in this world, and while I know it’s no fun, companies’ costs do go up, so a little more isn’t as
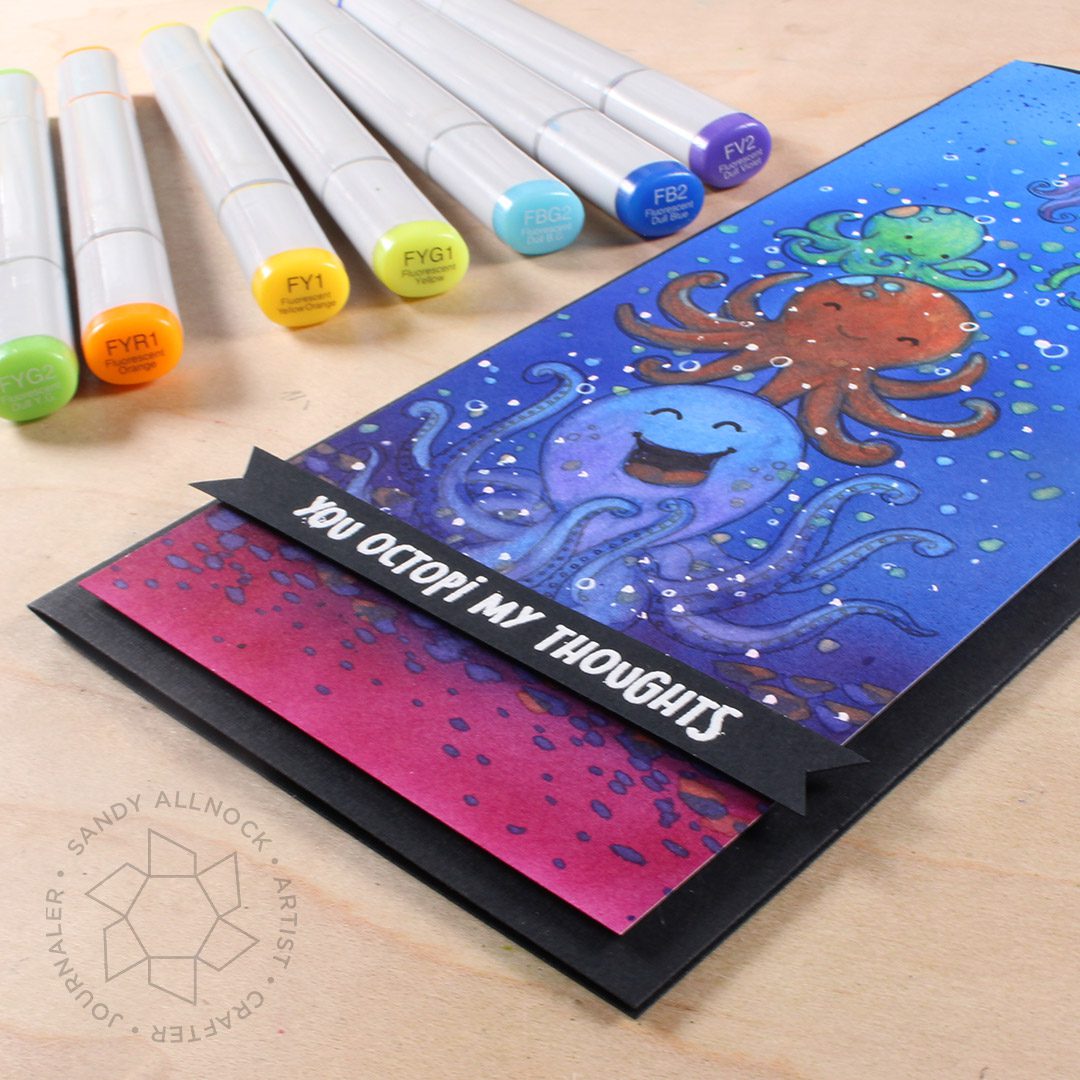
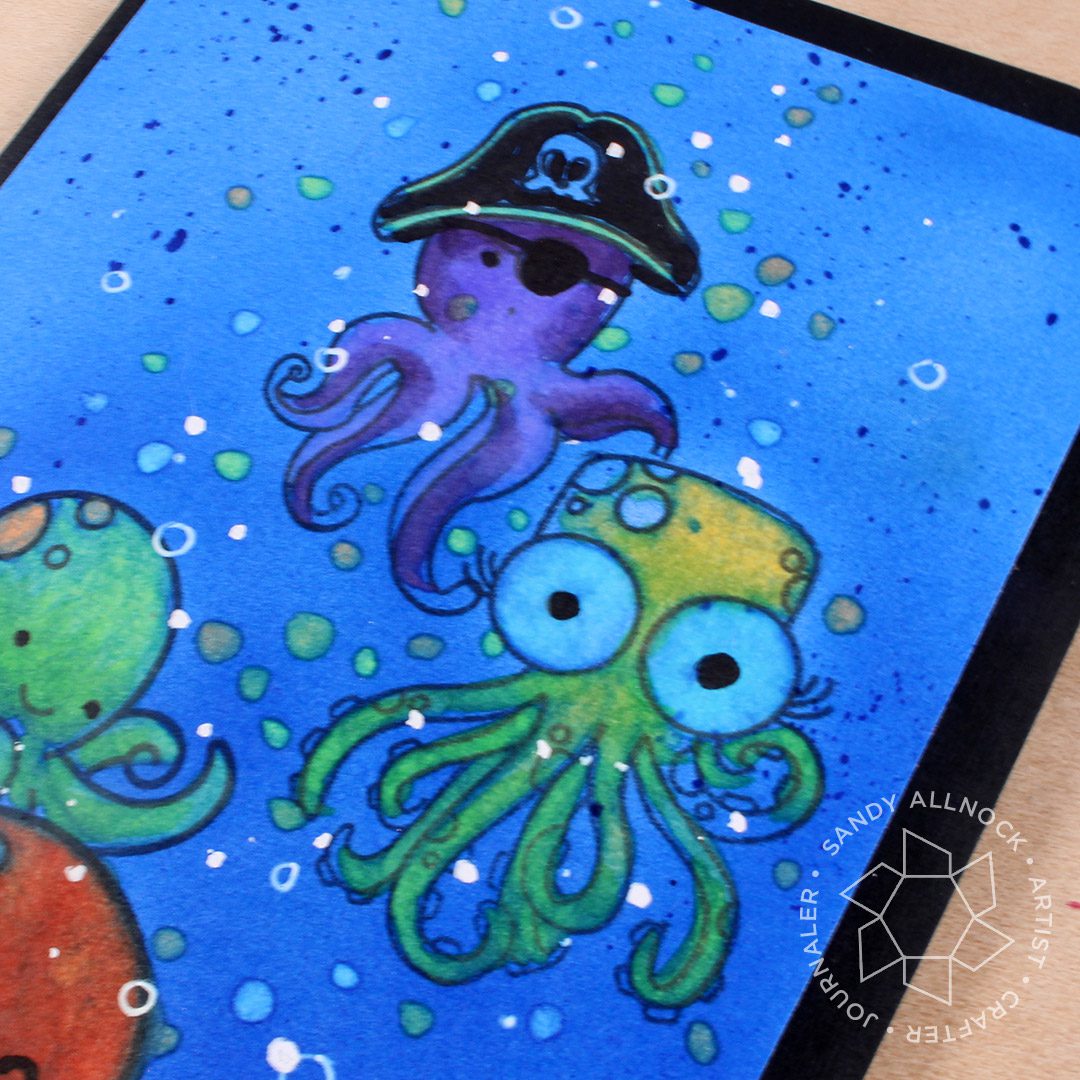
Flourescent Octopi Card
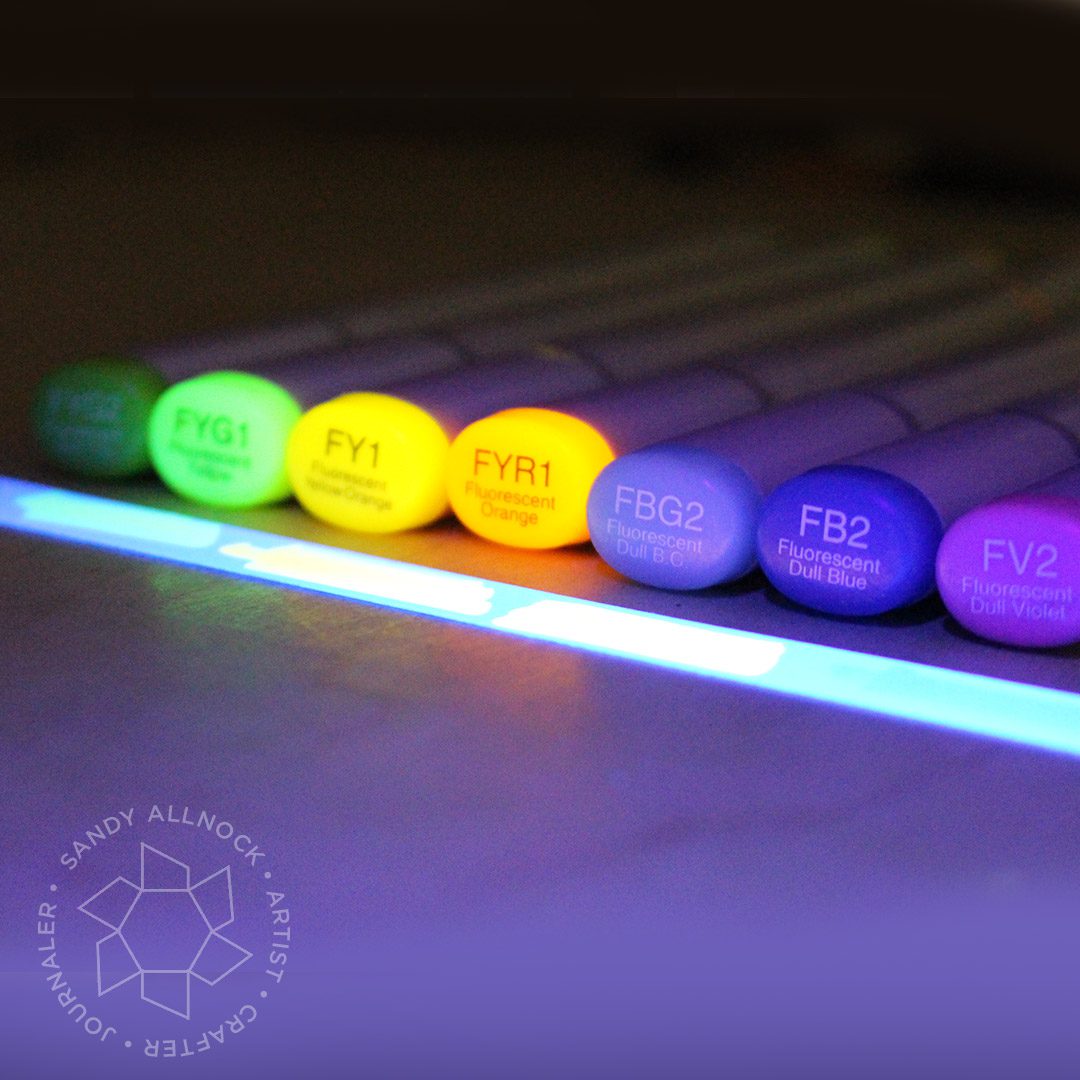
Only three of the colors are truly flourescent – FY1, FYR1, and FYG1. Maybe FBG2 if it works hard. lol. The rest – maybe there are other uses that would show off flourescent properties, but whether on dark or light paper, I didn’t find much going on. However, since few people will send a blacklight along with a card, all that may not matter, eh?
Oddly you can tell under blacklight by the caps which markers have the real flourescence.
All the colors used on my card:
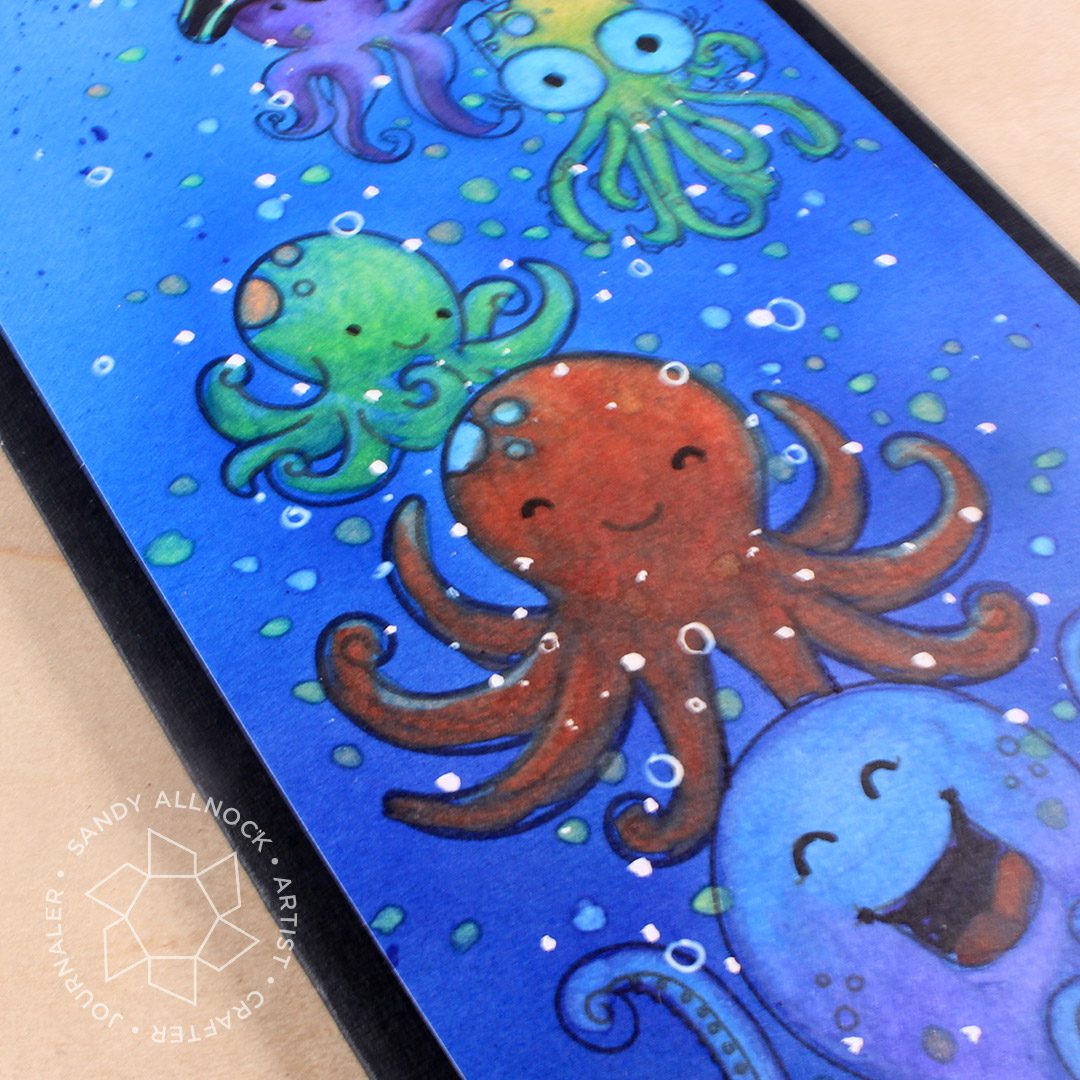
I have so many octopi in my stamp collections! lol. The pirate is from Sea Birthday, by Waffle Flower, and Mr Big Eyes is from Subbing In by Ellen Hutson.
Lawn Fawn’s Ocean Shell-fie has the mama and baby sized octopi…
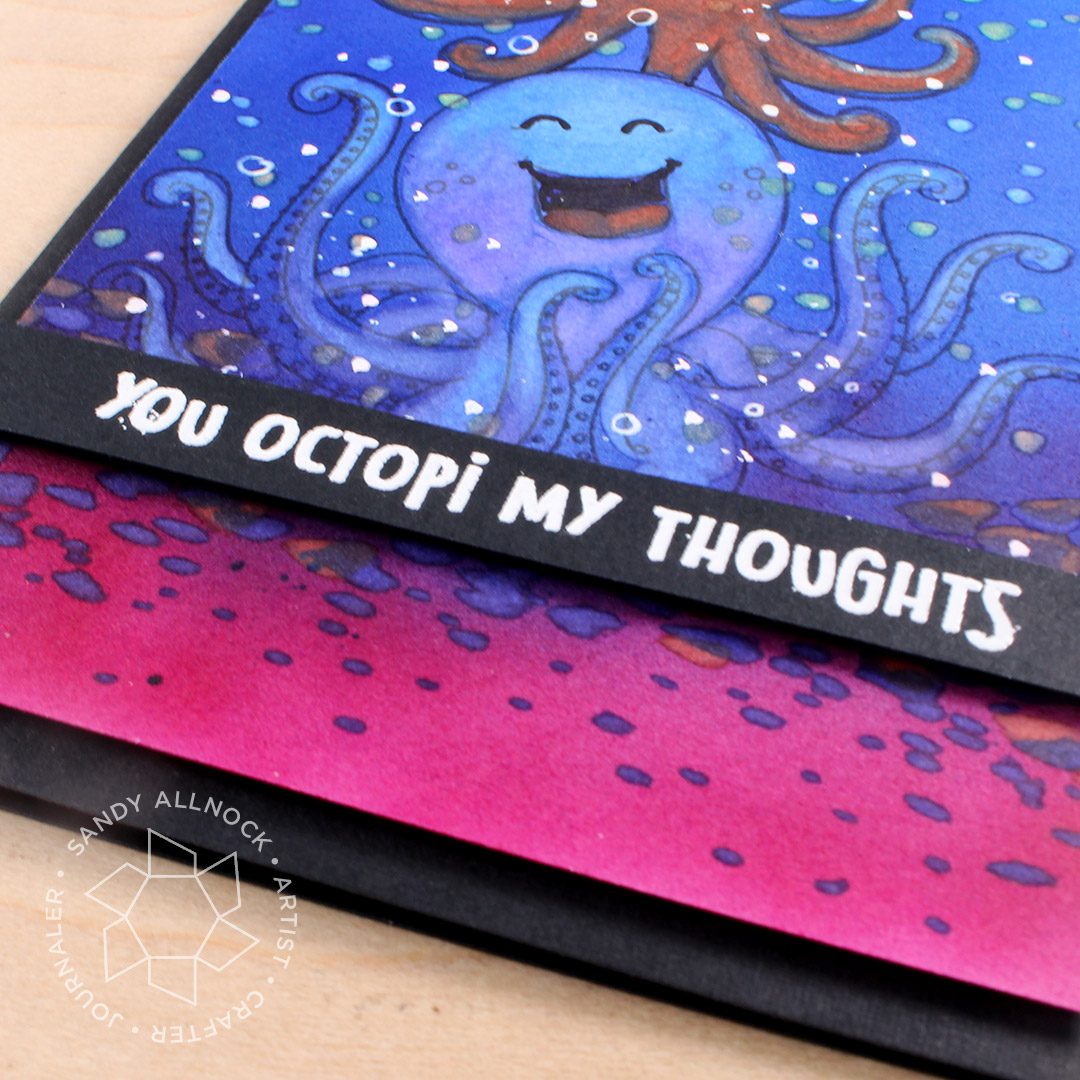
The last but not least – the happiest octopi of all is from Shellebration by Trinity Stamps –and since the outlines were much thinner I kept him at the bottom in the darkest areas. Sentiment is from the Lawn Fawn set.
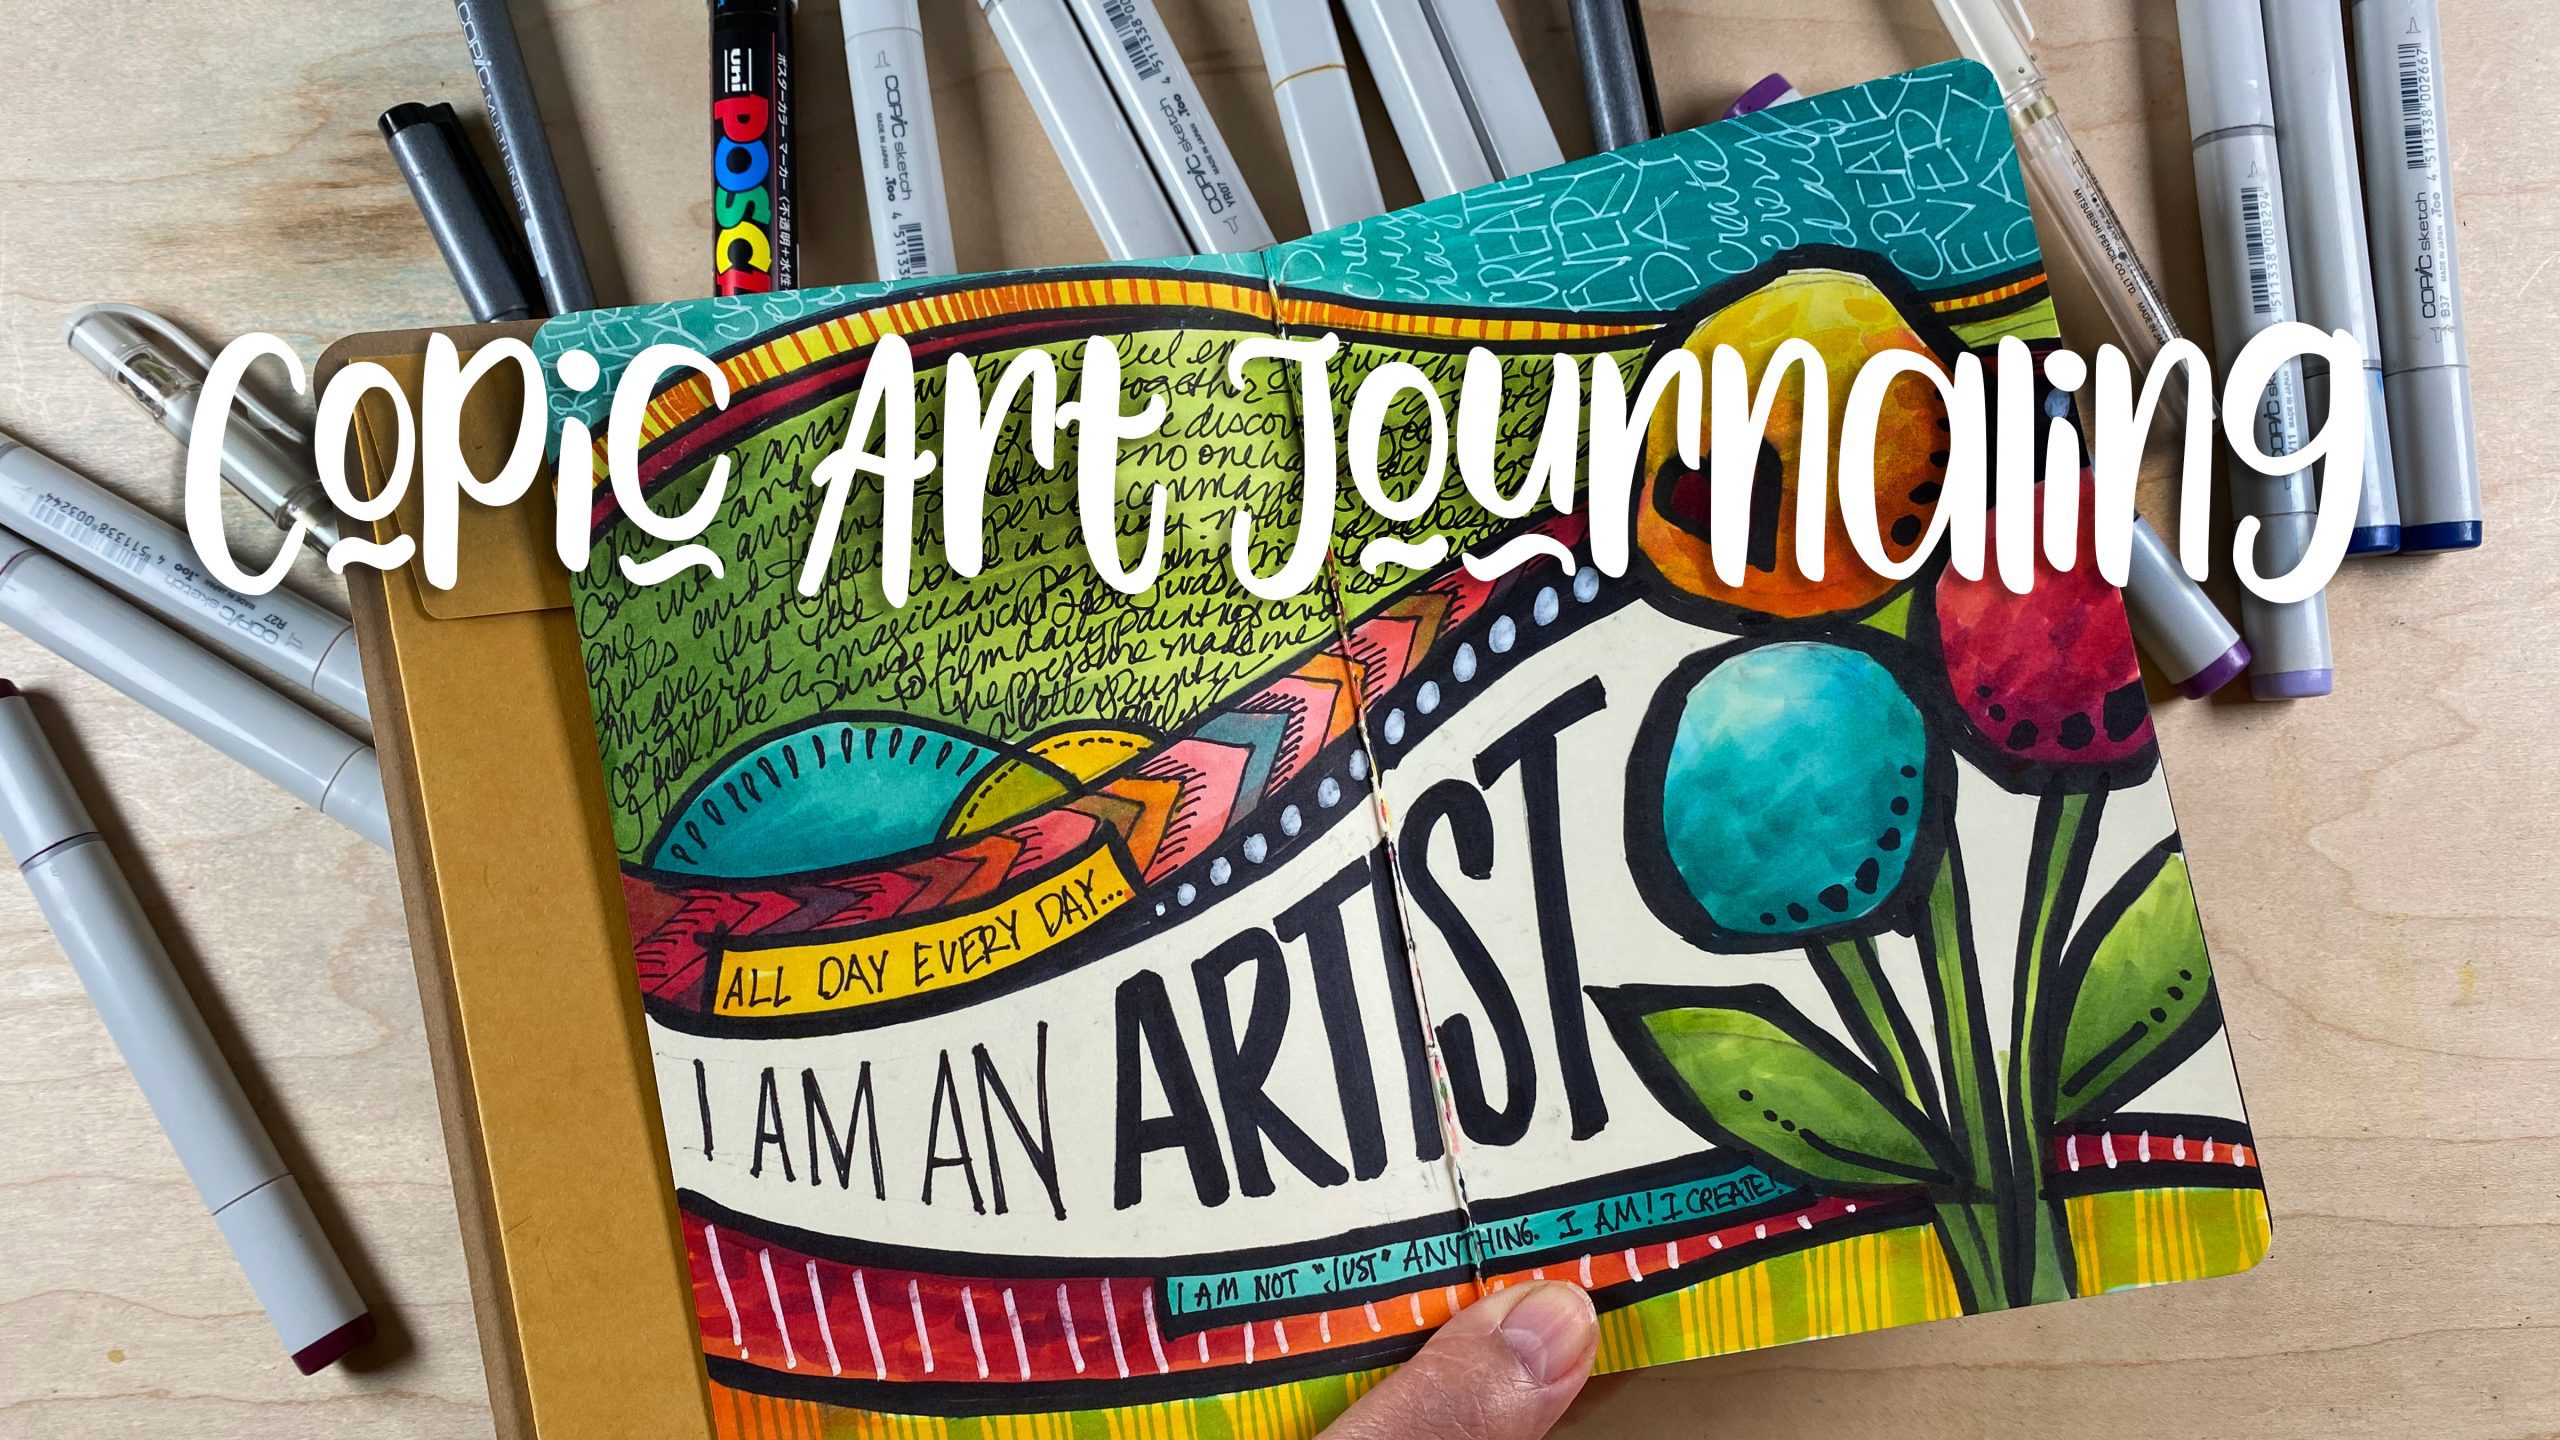
Copic Art Journaling Class
I’ve been working like mad on the intermediate Copic Art Journaling class that’s been on my back burner for YEARS now…..it has two major components:
Techniques for coloring and drawing pages – no drawing experience is needed, but Copic Jumpstart or equivalent experience is recommended since I won’t be getting into basic blending or color theory and you’ll want to know both.
Changing your mindset about yourself as an artist – this art journal is all about YOU! Which means your pages will look different than mine, so you can add stamping, stencils, or drawings of your own too.
#2 is the biggie for me; I am hoping to help students write over their “I can’t do it!” tapes in their heads with positive messages, reminders to look at how far they’ve come, and write down areas they want to continue growing in. We’re all on a journey in art – there’s no right or wrong place to be!
What supplies are needed? As for #1, the supply list is what everyone’s going to want, eh? Hopefully in this pandemic-economic-hard-times, you already own lots of what’s needed! You can visit the free pre-class lesson (link at the bottom of the class page) to see what’s needed.
How many pages? The class will have 10 lessons in it, but each one includes two spreads; the main lesson is a technique and pep talk on a topic, and the ‘bonus’ spread is tips on ways to handle the BACK side of the pages in between the previous lesson and the current one. Ink bleeds through, and sometimes can be recovered to create a whole new page, sometimes can be covered up, and I’ll show you what I’ve done to not “lose” pages in my 96-page book.
Supplies
Some product may be provided by manufacturers for review and use. Compensated affiliate links are here at no cost to you. If you choose to shop using my EH (Ellen Hutson) links, please accept cookies on that site in order to retain the link to my blog, or that compensation does not happen for me. I appreciate your support of my work with your purchases! Full affiliate and product disclosure | My trusted partners in art
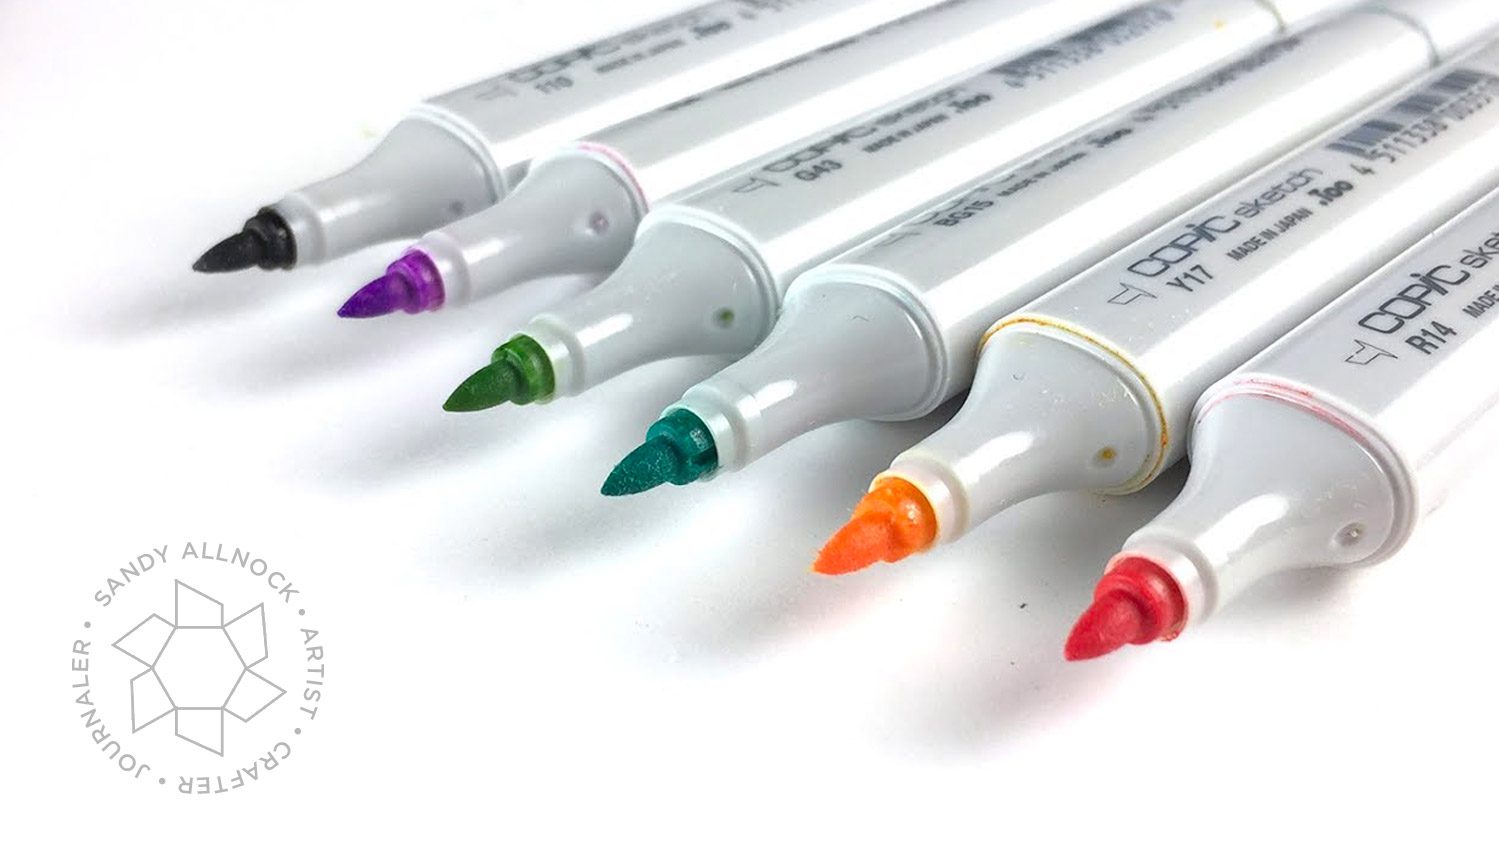
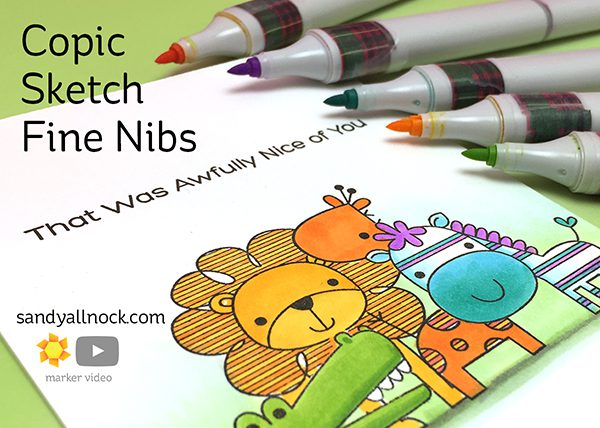
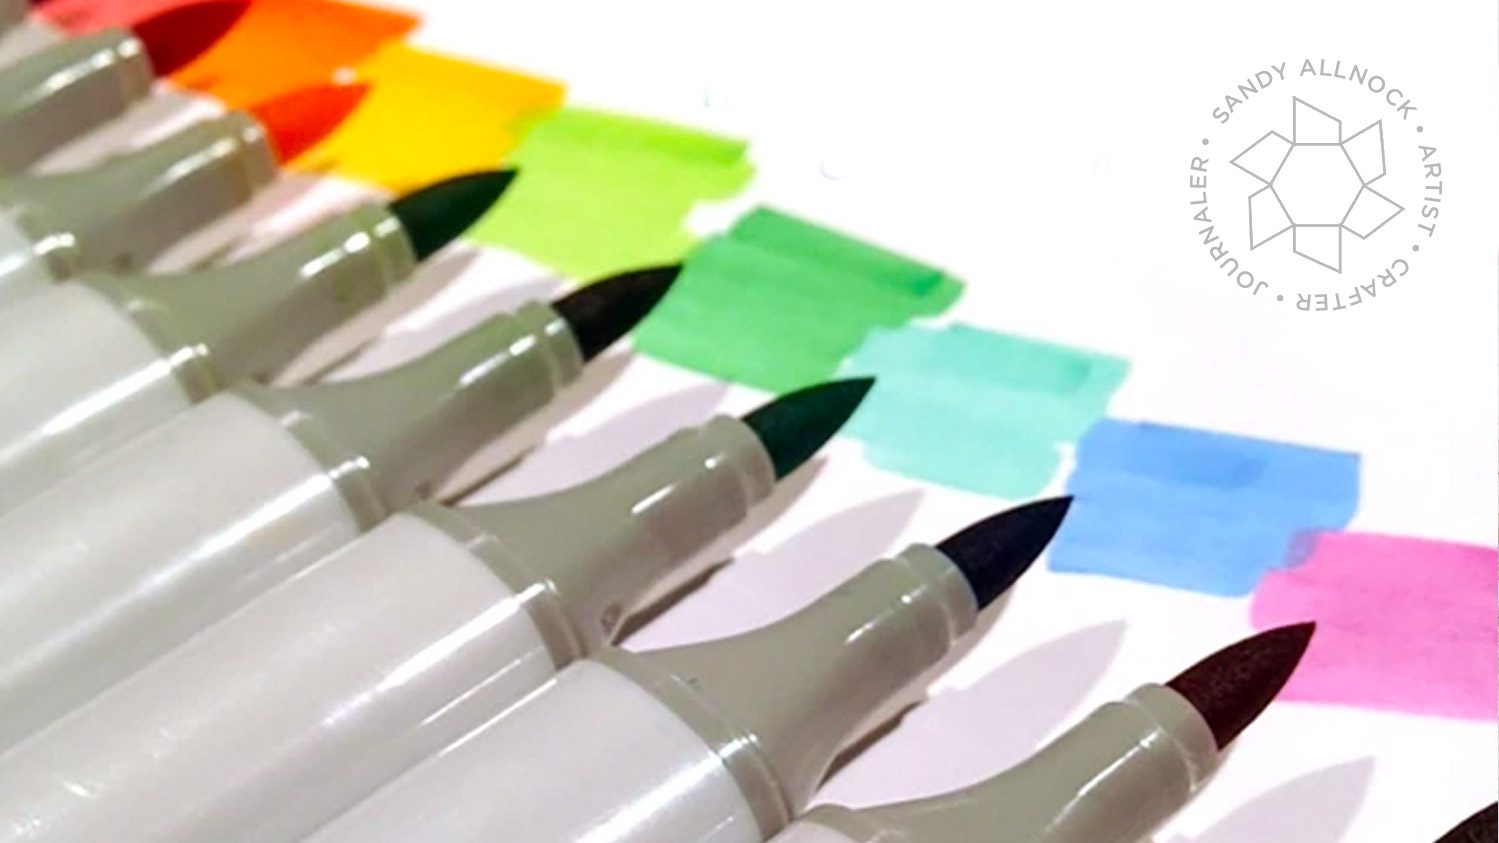
Before getting to this post, an update as of 2020: I no longer like these nibs. Why? Well I have found that if I do need a thin line, I can get that from careful use of the Super Brush nib. These bullet nibs have alcohol ink in them – which means they’ll bleed/spread, so they’re not giving you a line the way a waterbased marker would. That said, some people love them – so rock on. I haven’t found that they work badly or anything, just that I don’t have a use for them in my art.
I posted a video over on my 2nd channel a while back – but have had lots more questions since. So today – a quick update with suggestions on choosing pens you might want to swap out nibs on! Here’s the other channel first:
And now, today’s project:
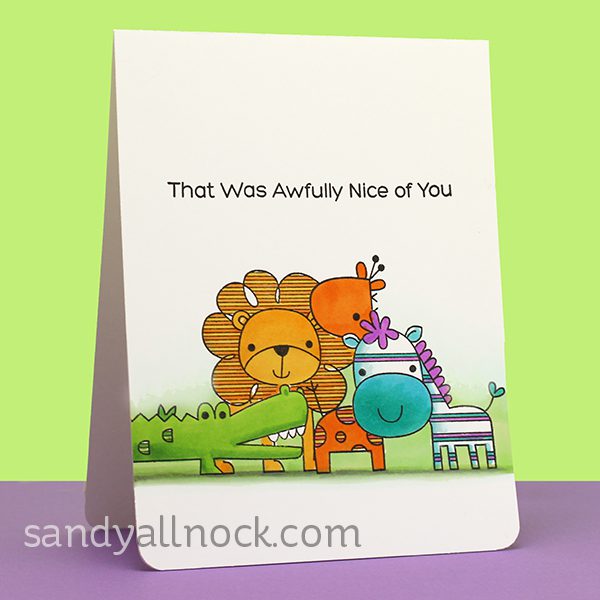
Here’s the full clean and simple card – sometimes easy is best, eh?
Supplies
Below are links to the supplies I’ve used for today’s project. Compensated affiliate links may used, which means if you make a purchase I receive a small commission at no extra cost to you. I truly appreciate your support toward the costs of running this blog! Read more.
My Favorite Things, Wild About You – stamps no longer available
A common question I’m asked often is how to change Copic nibs – when do you do it? What’s the process? And how do you refill Copic markers? Today’s very short video will talk about both! Supplies are linked at the end of this post.
In case it didn’t come through clearly enough in the video: do NOT use rubbing alcohol in place of Colorless blender except in cleaning functions only. If you soak your caps, 99% alcohol works great. It’s super for putting on a rag or paper towel and wiping off ink around the nib. But do NOT mix it with color inside your pen or touch it to the nib. You don’t want to mix that with the Copic ink. Use colorless blender if you want to do things like mix custom colors, etc.
How to refill Copic markers
I recommend only purchasing refill bottles for colors as you use them; you may THINK you’re going to use a color a lot, but wait until you find out if you actually do. You’ll get many refills out of one bottle; so don’t get too worried by the price, it’s a great deal. I’ve posted a list of my most-refilled markers HERE – that means that they’re the colors I use the most!
Signs that a marker needs refilling:
inconsistent coloring
“dragging” of the nib while coloring; sometimes with a squeaky sound
whitish nib
Refill from the chisel side, especially if you use my technique (removing the chisel nib, dripping ink directly into the marker) or the Booster System. I’m going to make a wild guess and say that most people who make videos – including Copic – must not use the booster needle, because I couldn’t find any how-t0-refill videos showing it! ha. I’ve tried it before and it works, it’s just easier to put the drops in directly. Some folks use the measurement notches on the bottle and figure out how many cc’s to put in; I hold the bottle above the marker and drip ink into it, and just count drops.
Once you think you’ve got enough ink in the pen, be sure to test it. If ink is dribbling out of the brush nib – you’re over full!
If your marker still isn’t quite right….a Copic hack!
I’ve had a few markers over the years that weren’t coloring quite right even after refilling. They were a little “gummy” on the surface of the nib – if you end up with that kind of nib, you’ll know it.
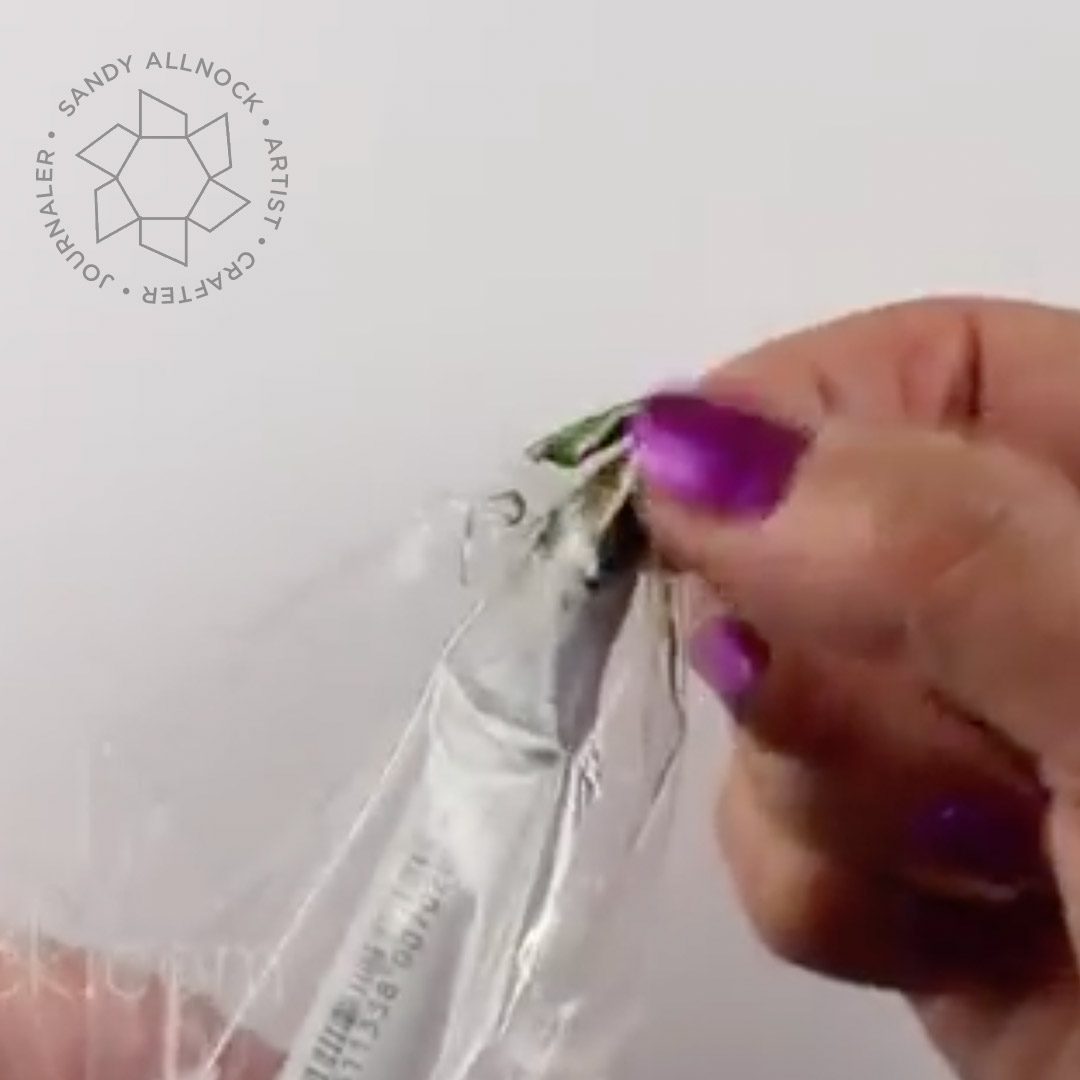
The trick with the bag shown in the video worked BRILLIANTLY on the marker I used it on this week. I was so excited to see that! In the past I had just changed those nibs…so from now on when I get a gummy marker, I’m going to mess with it more before giving it up. Just put a little Colorless Blender into a plastic bag, and massage it into the nib for about 30 seconds or so. Scribble off color – it should be lighter and thinner ink at first, as the blender solution wears off. You may need to add more ink to get it to color properly.
And if that doesn’t work – try changing the nib.
How to change Copic nibs
I replace nibs most often when the nib breaks down; that means either the tip develops a little “tail” that flips around as I color (agh! Frustrating!)…and sometimes the sides of a nib break down and develop what looks like pilling. If it still colors fine and you aren’t bothered by it, though, don’t change it. If it ain’t broke, don’t fix it!
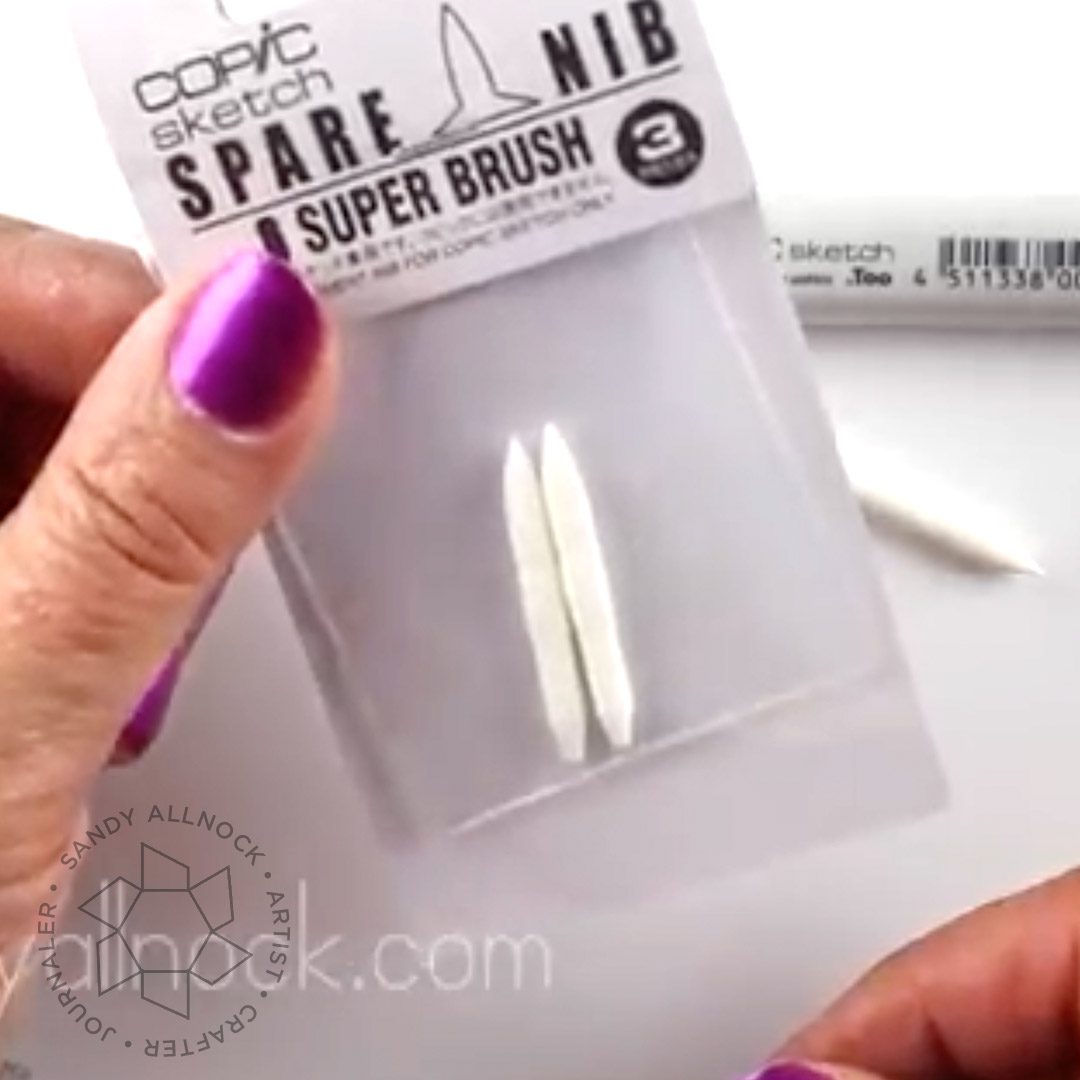
How to change Copic nibs: Pull out the nib with Copic tweezers. It’s an inexpensive item, so go ahead and pick one up, honestly. It’ll keep your fingers clean when changing nibs or refilling – and it’ll make pulling out a brush nib WAY easier. I tried replacing a nib and using my regular makeup tweezers to pull out the nib – and only the foam part came off, and I had to do crazy things to remove the rest….it’s easier to just use the Copic one.
Pop a new nib into the empty marker, then wait for the ink to wick down to the end. Super easy. You may need to add more ink, but wait til the ink wicks out to the end first.
Extra links
The “hack” I showed with the bag isn’t mine, though I had always wondered if it would work. So happy that marker is back to working well instead of needing a new nib! Here are two ladies with blogs that are jam packed with great info:
I hope this post was helpful in learning how to change Copic nibs and refill your markers!
Supplies
Some product may be provided by manufacturers for review and use. Compensated affiliate links are here at no cost to you. If you choose to shop using my EH (Ellen Hutson) links, please accept cookies on that site in order to retain the link to my blog, or that compensation does not happen for me. I appreciate your support of my work with your purchases! Full affiliate and product disclosure | My trusted partners in art
First, a disclaimer: I don’t know *everything* there is to know about Copic Airbrush – but I’m sharing what I have learned thus far. Which is better than nothing – I’ve found little on the web with enough detail to help me make my own decisions about what to buy. So at least this is a start!
Watch this from a few years ago and then read on for lots more updated, written info below.
FAQ
Is the Copic airbrush system still available?
At the time of this writing, yes, but I’ve heard rumors through 2020 that it could be discontinued.
Does Copic airbrush use more ink than just coloring?
No. It actually uses less! You get control (after lots of practice) to create light or heavily-saturated backgrounds, but the ink all sits on TOP of the paper, not sinking in as it normally will with marker strokes. So more area can be covered with less ink. That said, once you START airbrushing, you’ll be airbrushing everything, so there’s that.
Does the designation of ABS1, ABS2, and ABS3 for the airbrush kits indicate the order of expensiveness/extensiveness of the kits?
Not so. The ABS3 is my strongest recommendation, but which you choose depends on what you’ll be doing. I personally chose to go the compressor route right away. I knew I liked the look of airbrush enough that I didn’t want to feel like I had to “save” the air in a can – I wanted to be able to play freely. Also – those cans are disposable, which just clutters the landfills. With the cost of a compressor, it makes little sense to buy cans except for specific uses.
Light-use airbrushers can do fine with the ABS2 that just uses an air can, while more invested folks will want to consider a compressor – by the time you purchase a few cans of air, you could already own a compressor (between $60-$75US).
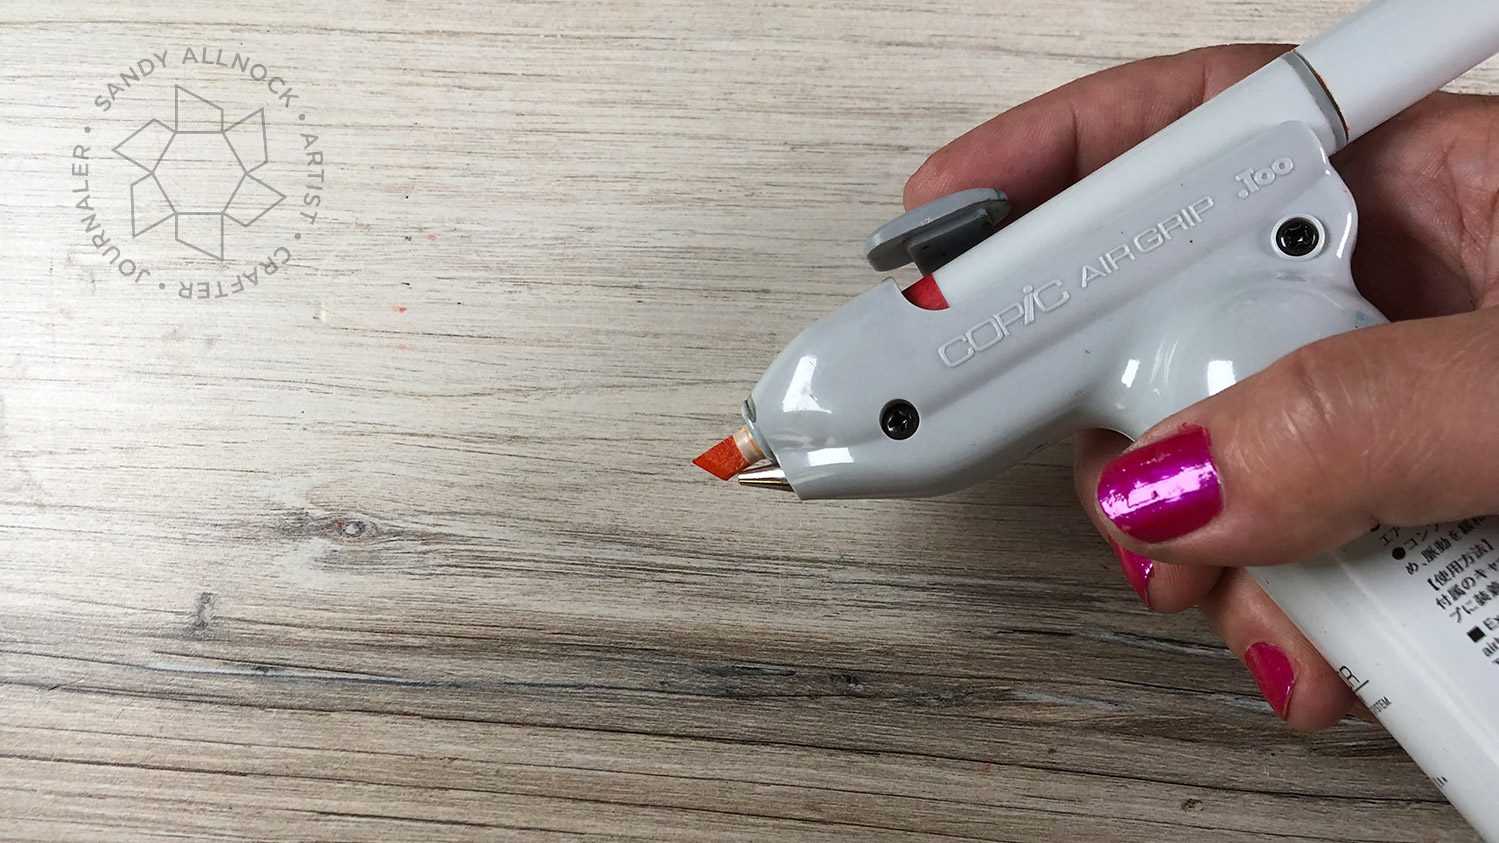
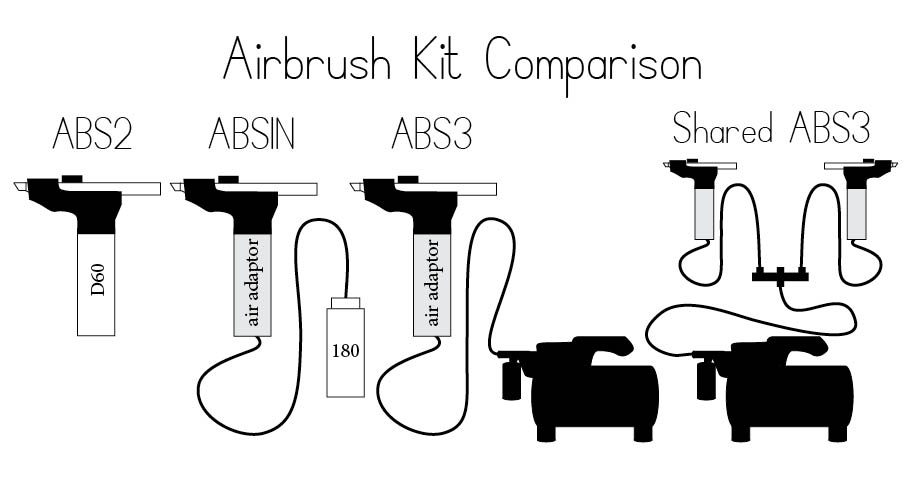
ABS2 – The least intricate kit. It comes with the Air Grip (the thing you put the marker in) and the can of D60 air. That air lasts 4-5 minutes- some places it says 7-8 minutes, but I mentioned 4-5 to be on the really conservative side. In either case, it’s not a lot of airtime. I’d recommend this for folks who just want to do a little spritz here and there. Replacement costs for the cans are $12-15 depending on where you get them.
ABS1N –The middle of the road kit. It comes with the Air Grip, can of air called the 180 that contains 30-45 minutes of air, plus an air adaptor, hose, and foam piece to hold the air can. More airtime here, and the replacement cans run around $20.
ABS3 – This kit goes with the compressor. That’s what I have. It’s got the Air Grip and air adaptor, and if you get the Copic compressor it comes with the one hose you need. Best thing – once you have a compressor, your air is now free!
Is it easy/logical to step up from one kit to another?
To step up from one kit to the next, you should know a few things.
If you start with the ABS2, the only part you have in your possession that you’d need for the others is the Air Grip. If you want to move to the ABS1N, you need a bunch of new stuff: air adaptor, hose, air can 180, foam holder. If you want to go to the compressor system, get the air adaptor and compressor with the hose and you’re done.
If you start with the ABS1N, stepping up to the compressor is easy. Just get the compressor with the hose! You have everything else in the ABS1N kit.
The hose that goes with the compressor runs around $30ish – and you need that specific hose. The Copic compressor DOES include the hose, so know that if you get their official one, you get the hose with it.
How hard is it to set up?
Pretty easy! The ABS2 just needs the Air Can 180 to attach to the grip. ABS1N with the separate air can, just pop the grip onto the adaptor, then the hose to the can. ABS3 – same hookup, just goes to the compressor instead.
Can I share a compressor?
If you have two people who want to airbrush at the same time, you can get a splitter – that doesn’t diminish the air enough to be a problem. But usually taking turns with one air grip is easier, unless you’re doing this for classes, when you’ll want multiple folks airbrushing at once.
Supplies
Some product may be provided by manufacturers for review and use. Compensated affiliate links are here at no cost to you. If you choose to shop using my EH (Ellen Hutson) links, please accept cookies on that site in order to retain the link to my blog, or that compensation does not happen for me. I appreciate your support of my work with your purchases! Full affiliate and product disclosure | My trusted partners in art