Sketching Outside (PowellsWood Gardens, Snoqualmie Falls)

Sketching Outside (PowellsWood Gardens, Snoqualmie Falls)

With the advent of these lovely first days of early spring – it’s time to get outside and sketch! I did so twice recently and you’ll see some of both; the main one that I have the most footage from is going to PowellsWood Gardens again (yes the same one in the class!) this past week to celebrate the spring equinox. The other is older from a few weeks back, a little jaunt to Snoqualmie Falls in a sketch session that ended up a soaking wet disaster!

Tutorial: Sketching Outside (PowellsWood Gardens, Snoqualmie Falls)

Watch the video below and scroll to the end to leave comments or questions — or click HERE to watch it on YouTube and leave comments over there. I read both dutifully!

Gouache

As an opaque watercolor, gouache can be easily layered as you saw in the video. Darker colors first, lighter on top. You can also go back in with more darks or midtones, but dark to light most often works out best. Bigger brushes at the start, then smaller ones as you reach details. And I love a good Pentallic sketchbook – excellent surface for gouache, in any size.

Sketching outside with gouache, for me, is most easily done with my sketchbook attached to an L shaped Sketch Easel – got mine on Etsy from True’s Hard Goods. It’s got a little connector on the bottom that hooks up to any standard tripod. I like to sit on a folding stool (mine is a hunting one, one day I need to replace the fabric in the seat to something more creative than camo!) with the book on the top of the easel, paints and water resting on the flat part.

Subscribe to my weekly newsletter, Creativity In Your Inbox

* indicates required

DIY sketchbook

You can make your own sketchbook out of your favorite paper! Drawing, painting, whatever you create on, have at it. In the video below, seen in the free pre-class lesson of the Travel Sketches 2 class, you can see how I made the one that got dunked in the river! (The rest is about supplies for class.)

Thank you

To all who  have sent me such lovely messages this week, my heartfelt thanks goes out to you! Sometimes when you fall into a spiral, the best thing to do is just….well….talk it out. At least for me. It may not be the most pleasant – and it has its downsides, as I found out in posting publicly about it. 

But even with that, I received messages from several artists who were glad that SOMEONE finally said out loud what we all go through. When you’re an independent artist, life’s hard. So I now have a new tribe of people to message with privately when things get overwhelming, and that’s a lovely benefit from what this week has wrought.

So thank you for being kind and loving, I appreciate you more than you know!

Supplies

Some product may be provided by manufacturers for review and use. Compensated affiliate links are here at no cost to you. I appreciate your support of my work with your purchases! Full affiliate and product disclosure | My trusted partners in art

Subscribe to receive blog posts by email:

Drawing Plants part 2: graphite vs marker

Drawing Plants part 2: graphite vs marker

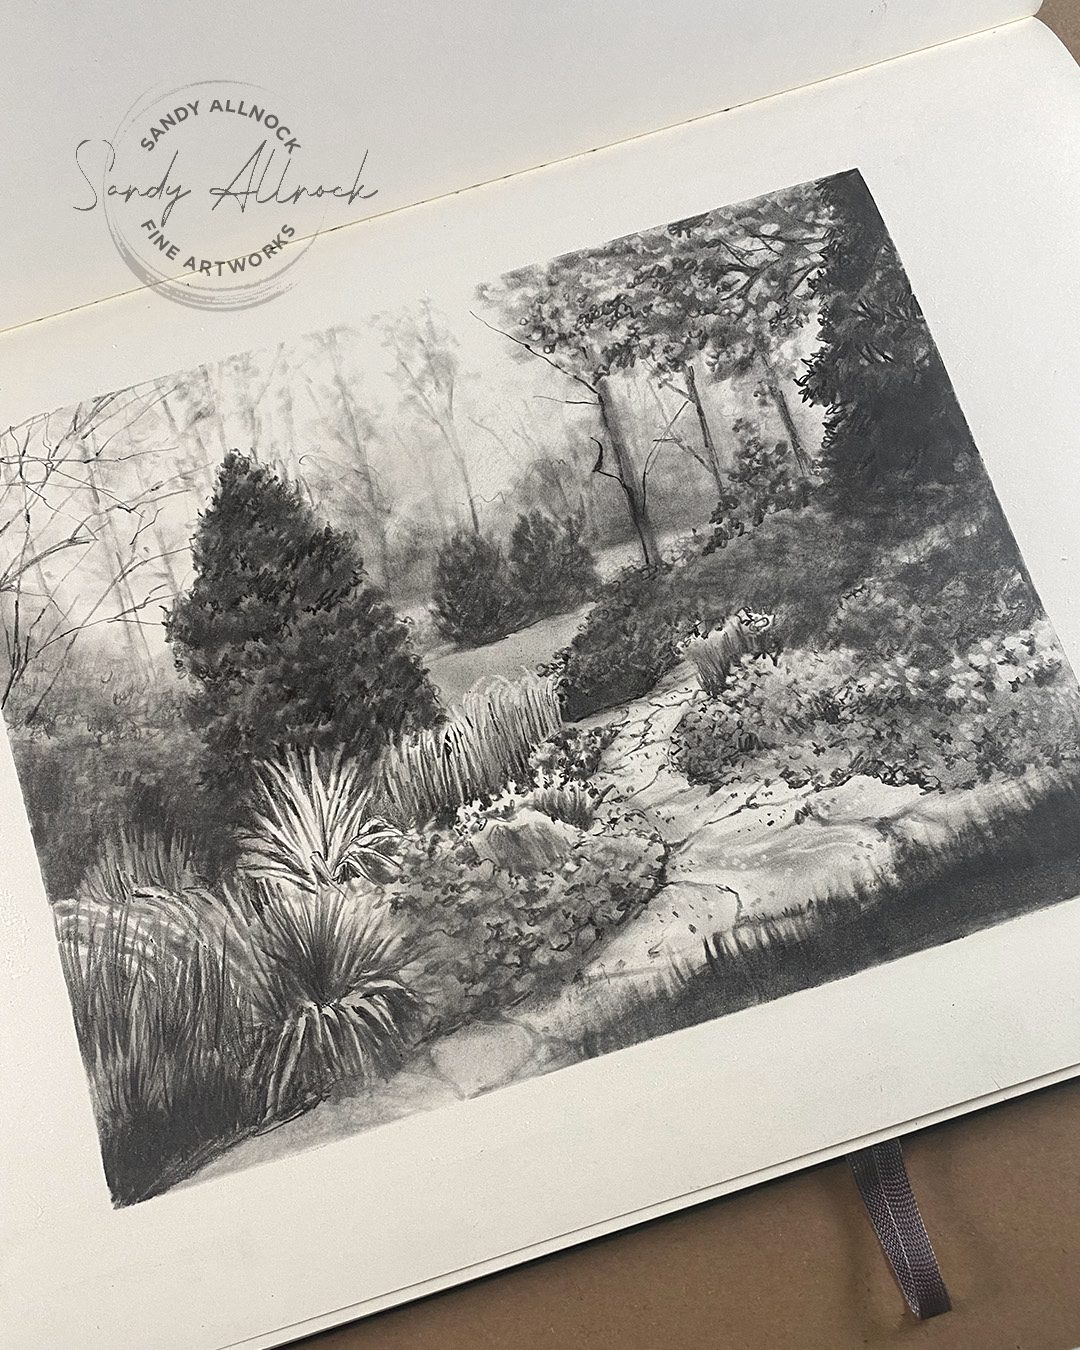
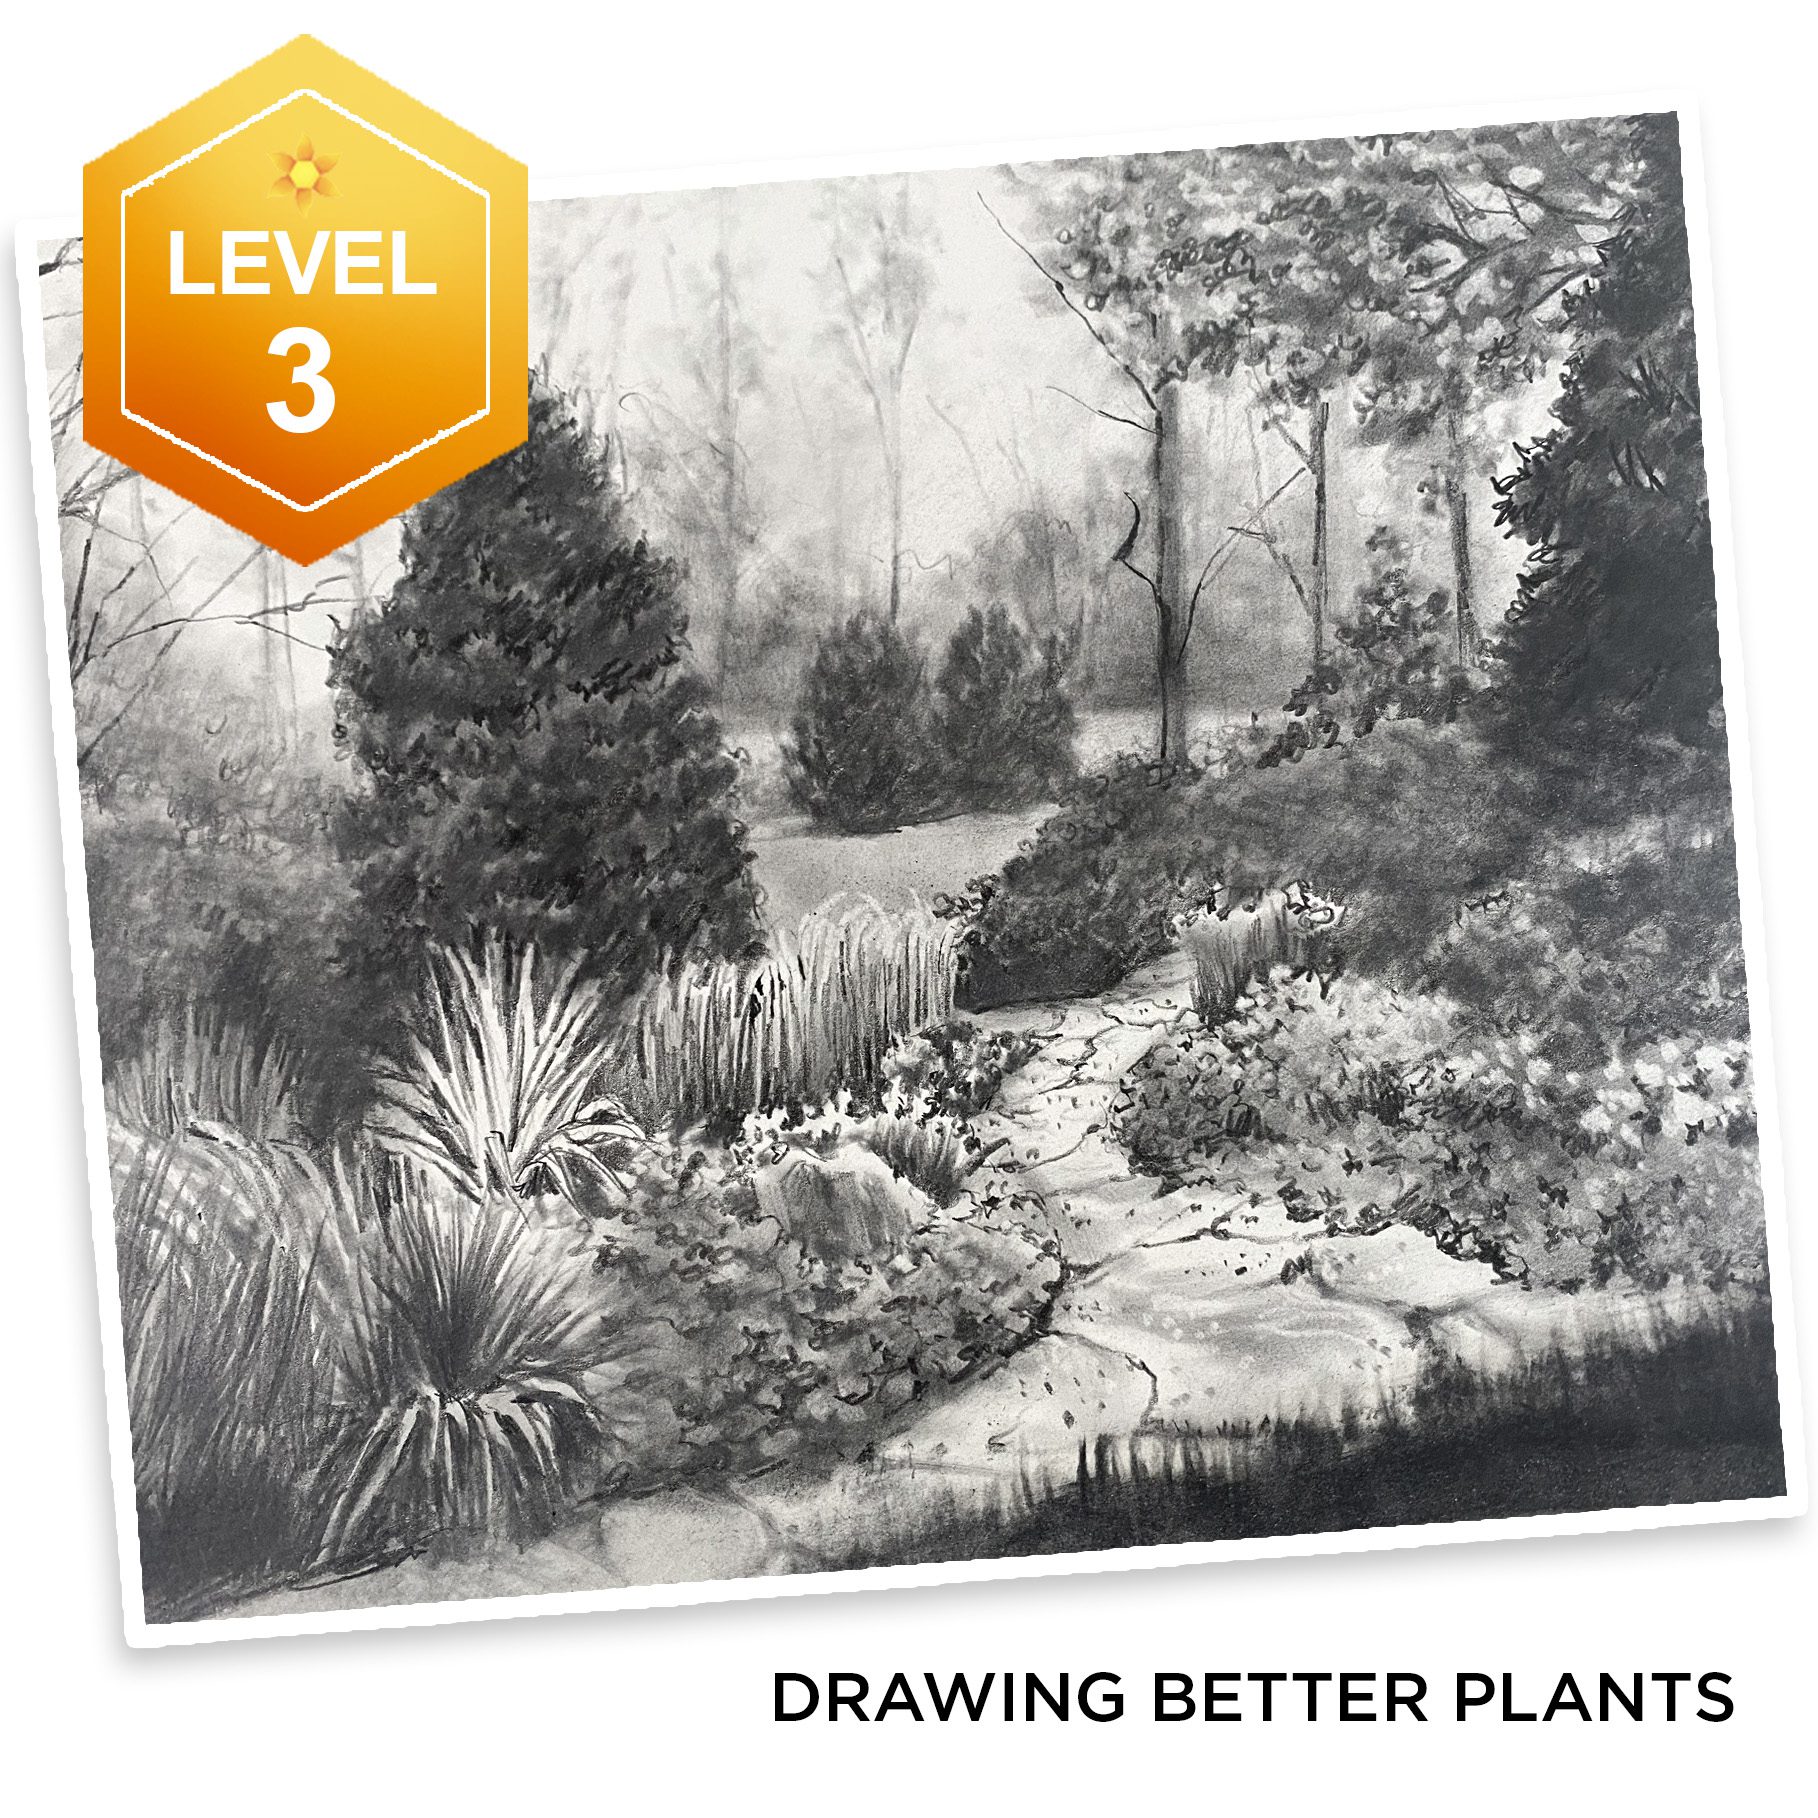
A few weeks ago I posted a graphite drawing I had created. And today – I’ve taken that same landscape and turned it into an alcohol marker drawing! Not an excellent one due to my color challenges, but I think I can say I rocked it nonetheless…..I’ll let you weigh in on that!

Tutorial: Drawing Plants part 2: graphite vs marker

Watch the video below and scroll to the end to leave comments or questions — or click HERE to watch it on YouTube and leave comments over there. I read both dutifully!

What I didn’t like….and what I loved

I had mentioned I had some mixed feelings. The color choices here are fairly atrocious – not because they’re bad colors, but because there are so few greens, I had to deploy every last bit of color theory knowledge to try to make different greens! (I can’t wait til Olo’s new colors come out!)

But what I loved here – the values ROCK! A watercolor mentor of mine has said to me for years that colors don’t matter one bit if the values are spot on. You can paint an entire landscape in pink and purple and it’ll read right if the farks and lights are correct. And that’s what this drawing proved to me – and since I had done a detailed value study, I was able to really rock this marker version! 

You can do the same – try a value study first before your next drawing or painting, and see if it helps!

Story behind the class

Sometimes a piece I work on makes NO sense as a video, sometimes only as a YT tutorial, sometimes it needs to be a class. It depends on how much I have to say about it! There were overwhelming numbers of techniques and textures involved here, and I considered making it a class right away, but thought, after a couple classes have bombed, maybe I should ask first. (I end up doubting my ability to know what people might want to learn!)

In this case I did ask – and a bunch of YT commenters said they DID want a class. Now we’ll find out if that’s true, LOL! I’ll be messaging the commenters, so I hope they are ok with that. 🙂 If you’re interested, class sign up is here…..and the other classes I mentioned in this video are linked later in this post!

Subscribe to my weekly newsletter, Creativity In Your Inbox

* indicates required

Classes recommended in this video

These are on sale through the end of March…

Tutorial: 14 Tips to draw better plants (part 1)

The aforementioned part 1 video!

Watch the video below and scroll to the end to leave comments or questions — or click HERE to watch it on YouTube and leave comments over there. I read both dutifully!

Supplies

Watercoloring Dew Drops on Clover

Watercoloring Dew Drops on Clover

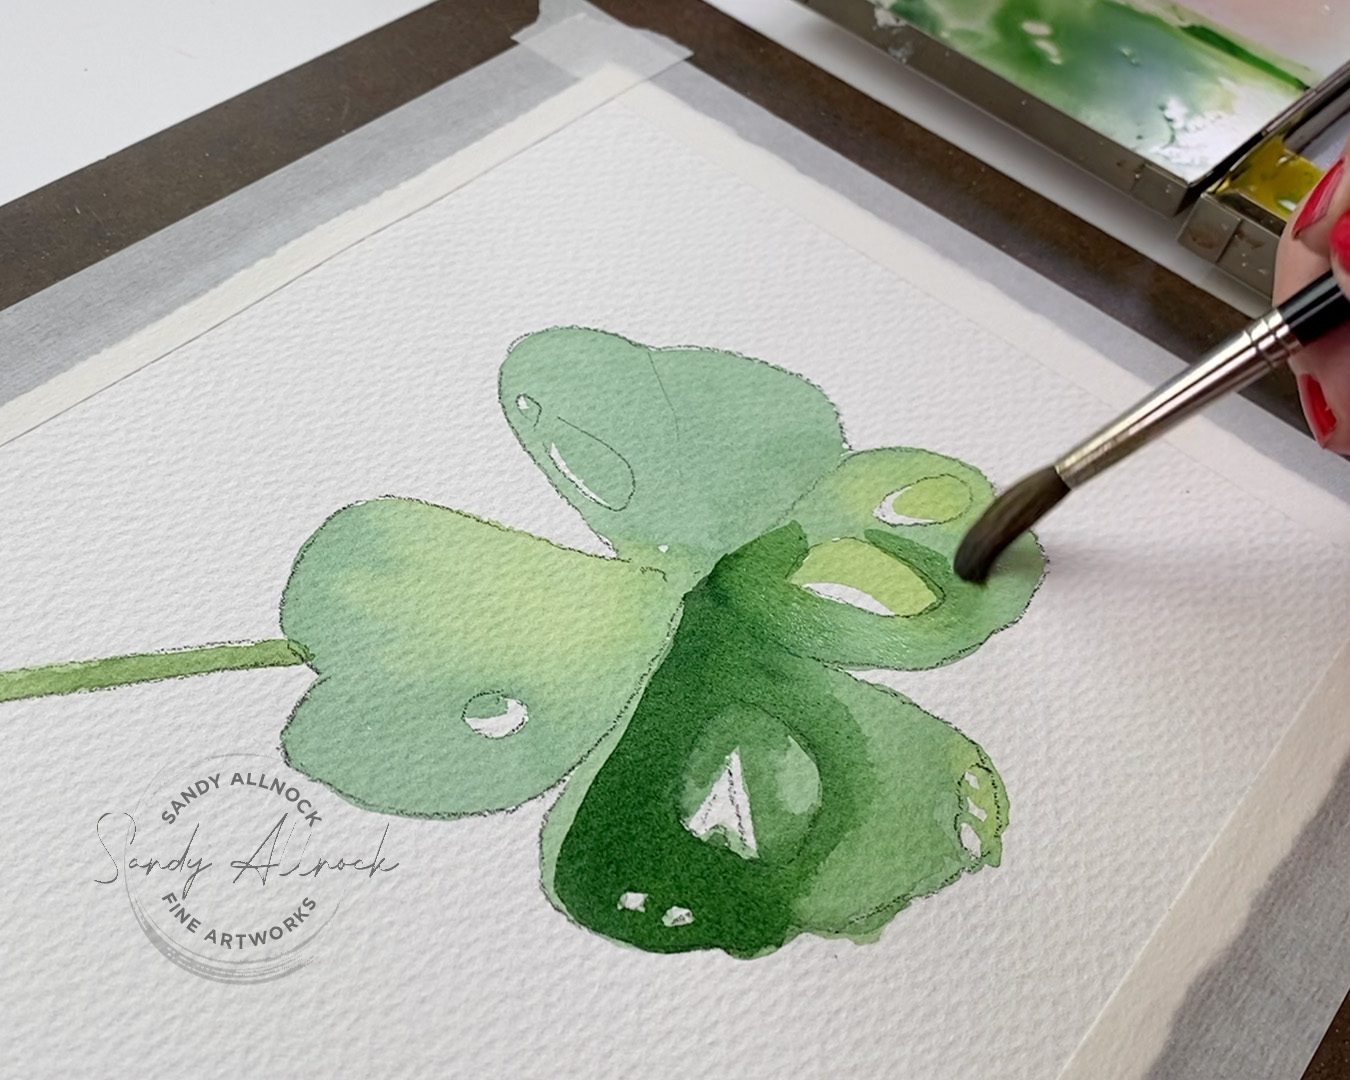
Have you ever painted dew drops – on clover or anything else? They can be a lovely addition to a rose or other flower….anything in springtime if your spring is as wet as mine has been! We have some sunny warm days coming at the end of this week I hope!

I’ve been away from adding to the Green Thumb Watercolor Sketches class for some time now. This will be the fifth lesson in the class, maybe the last; it’s only $7 so I can’t add to it forever, ha! But today I’ll show you a quick version of the lesson in the class, and if you find you want more discussion on each step, or to paint other plants – sign up for the class!

Pop over to my Fine Art site and sign up for my quarterly newsletter on the homepage – I’m about to send out a newsletter tomorrow with a coupon vode, so you might like to take advantage of that 🙂

Tutorial: Watercoloring Dew Drops on Clover

Watch the video below and scroll to the end to leave comments or questions — or click HERE to watch it on YouTube and leave comments over there. I read both dutifully!

A few Tips for Droplets

Start with a light wash – and if you’re bold enough, just paint right through the droplets except to leave white highlights.

Dry the paper well, then add a second pass of thicker pigment. Leave the droplets open, or let a little color in.

Not all the leaves have to be the same – ie not all need a “split”, not all need the same shape. 

Let some droplets melt into the color around them – you can’t always see every edge of a drop.

Subscribe to my weekly newsletter, Creativity In Your Inbox

* indicates required

Also when learning droplets…

Less is more. It’s real easy to look like you’ve got a clover with measles.

Green Thumb Watercolor Sketches

This is one of the least expensive classes on the website! It’s now got five lessons, which might be it, since $7 for that much is a great deal.  Pop over and try painting some plants with me!

Supplies

Some product may be provided by manufacturers for review and use. Compensated affiliate links are here at no cost to you. I appreciate your support of my work with your purchases! Full affiliate and product disclosure | My trusted partners in art

EASY! Draw a Celtic Trinity Knot

EASY! Draw a Celtic Trinity Knot

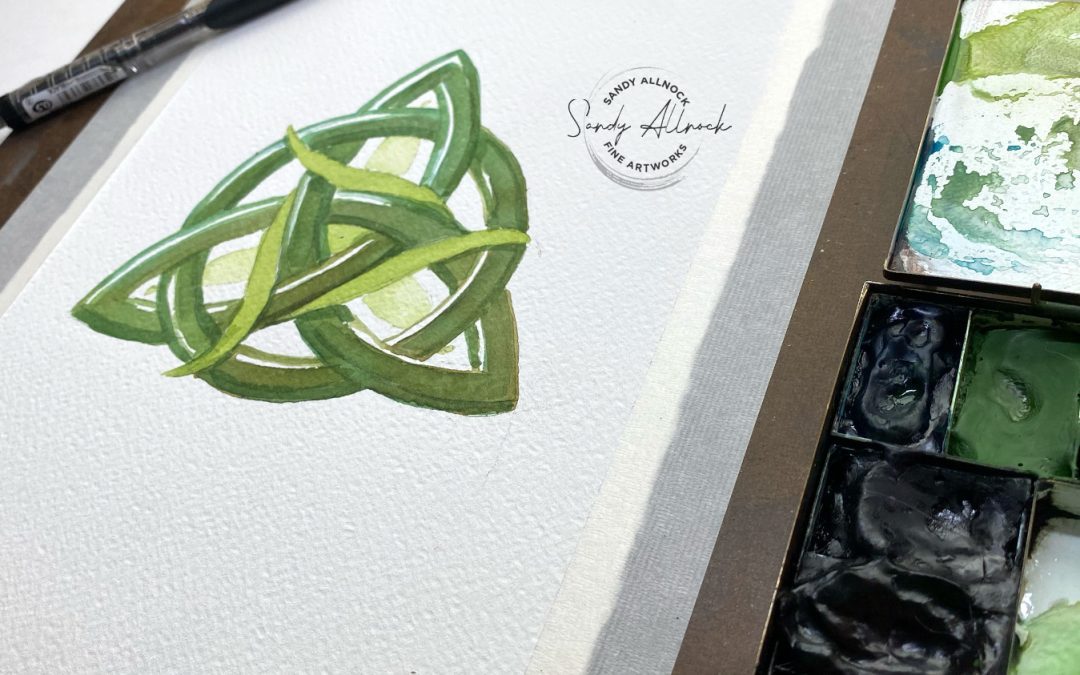
St. Patrick’s Day is around the corner – and making art for holidays can be just for fun or perfect for a card to send good wishes to an Irish friend! Today’s project is easier than you might think it is – give it a try!

What’s a Celtic Trinity Knot anyway?

Celtic knots have a variety of stories associated with them – including Christian!

The three points of the knot are symbols like the divine trinity of Father, Son and Holy Spirit;  love, friendship, and strength; and so many more you’ll find listed all over the web. The interweaving lines, without beginning or end, symbolize eternity.

Tutorial: Celtic Trinity Knot

Watch the video below and scroll to the end to leave comments or questions — or click HERE to watch it on YouTube and leave comments over there. I read both dutifully!

How easy is this?

I know some of you may think this looks hard. But I made it easy! There’s a PDF you can get for free HERE – and it has the basic math *SIMPLE MATH* and instructions.

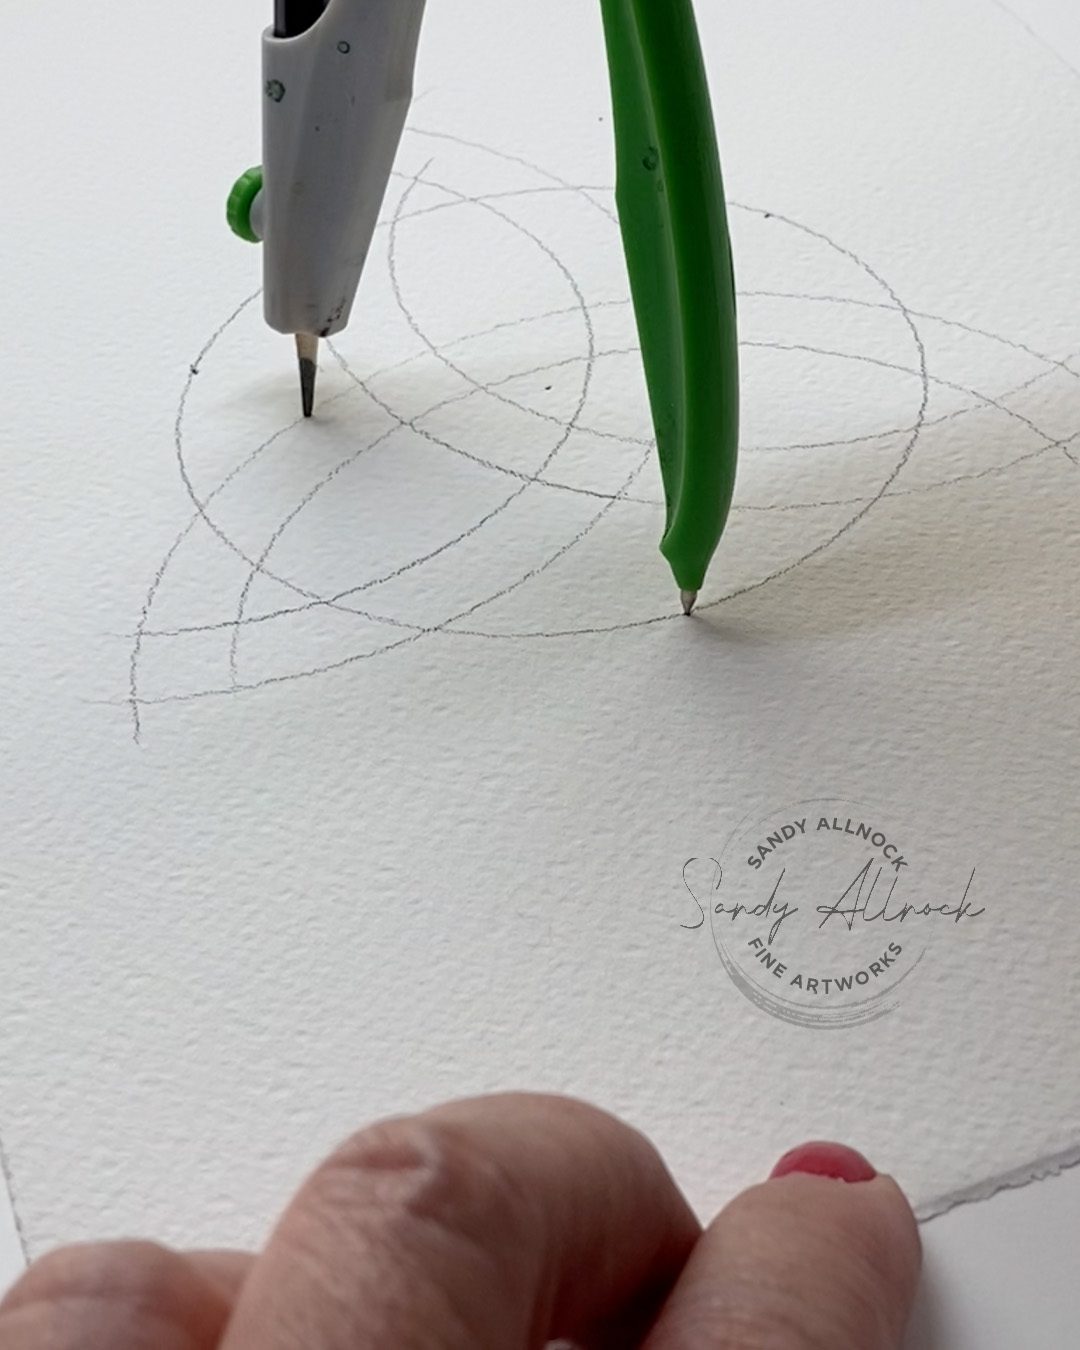
First is making the “trefoil” – the three interwoven “leaves” of the design. If you can measure a SQUARE, then you can locate the three points on the outside of the circle and the center of it. Then let the compass do its work!

Interweave the lines

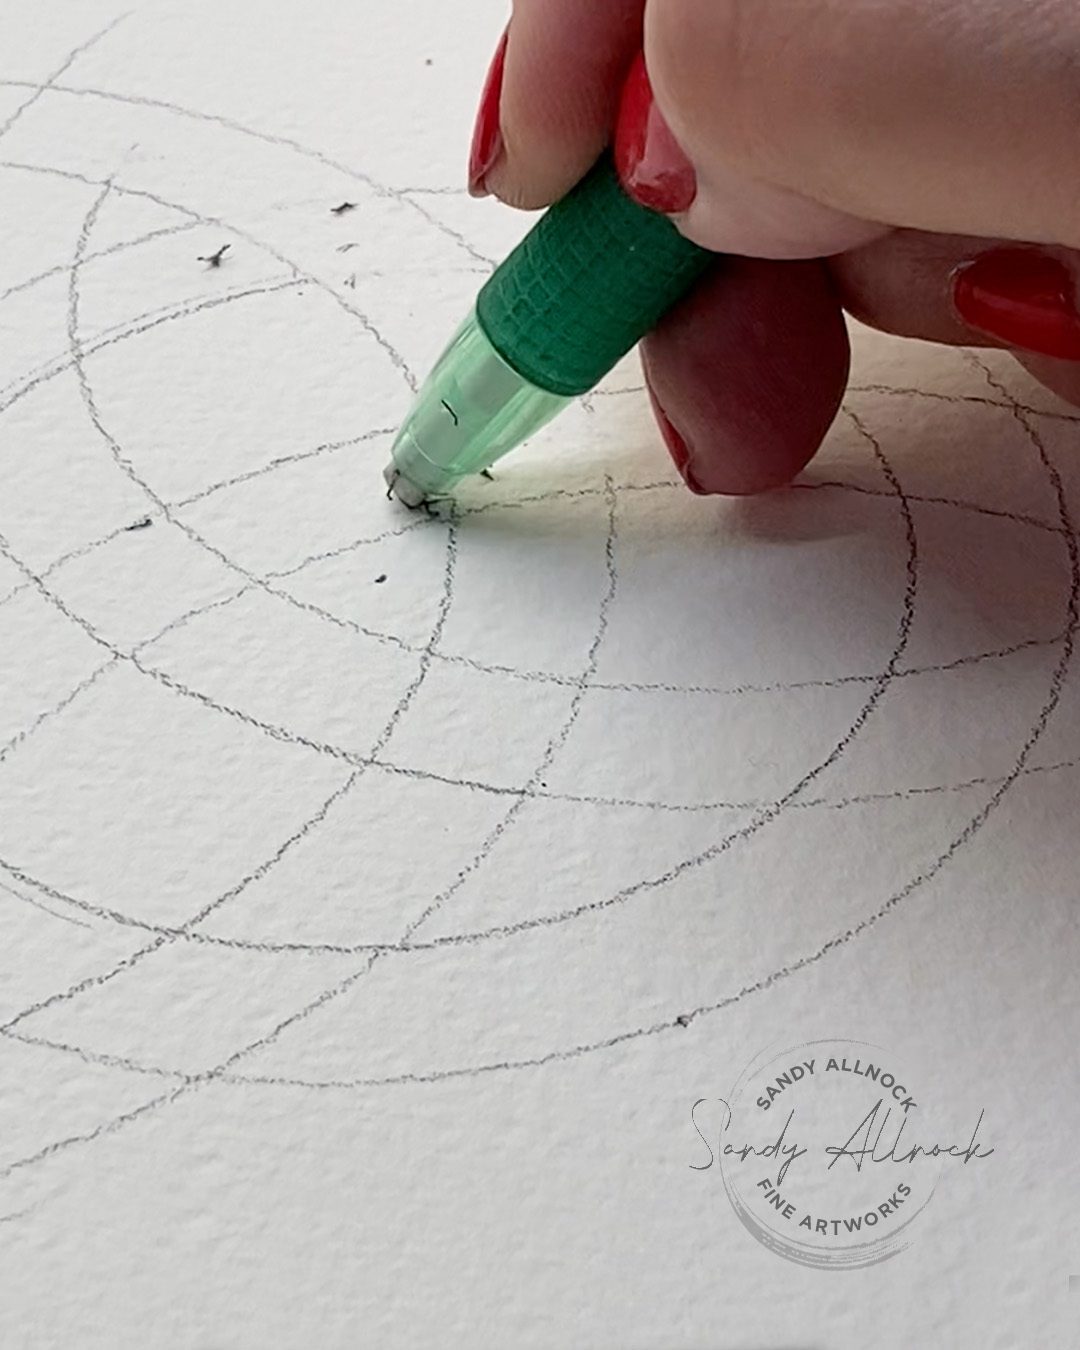
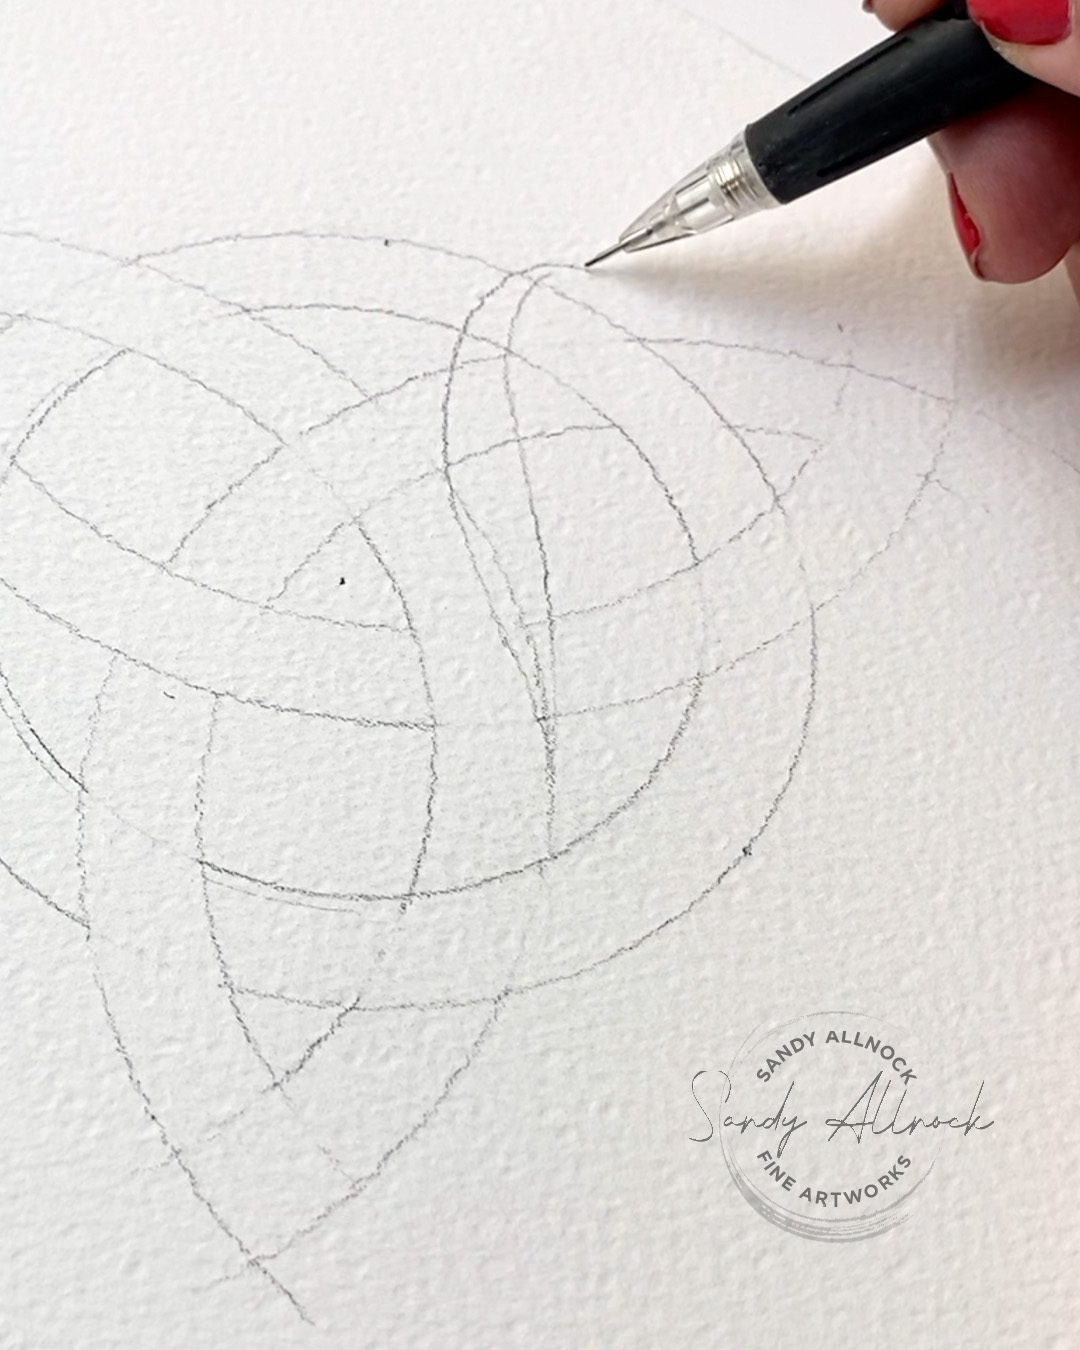
Make them look like they weave in and out by erasing either the vertical or horizontal lines from each section.  Just remember that each trefoil has a “left” and “right” side – once I kept that in my head it was something I could follow. (Don’t do all three leaves at once; focus on one so you don’t get lost.)

Subscribe to my weekly newsletter, Creativity In Your Inbox

* indicates required

Embellish – or not!

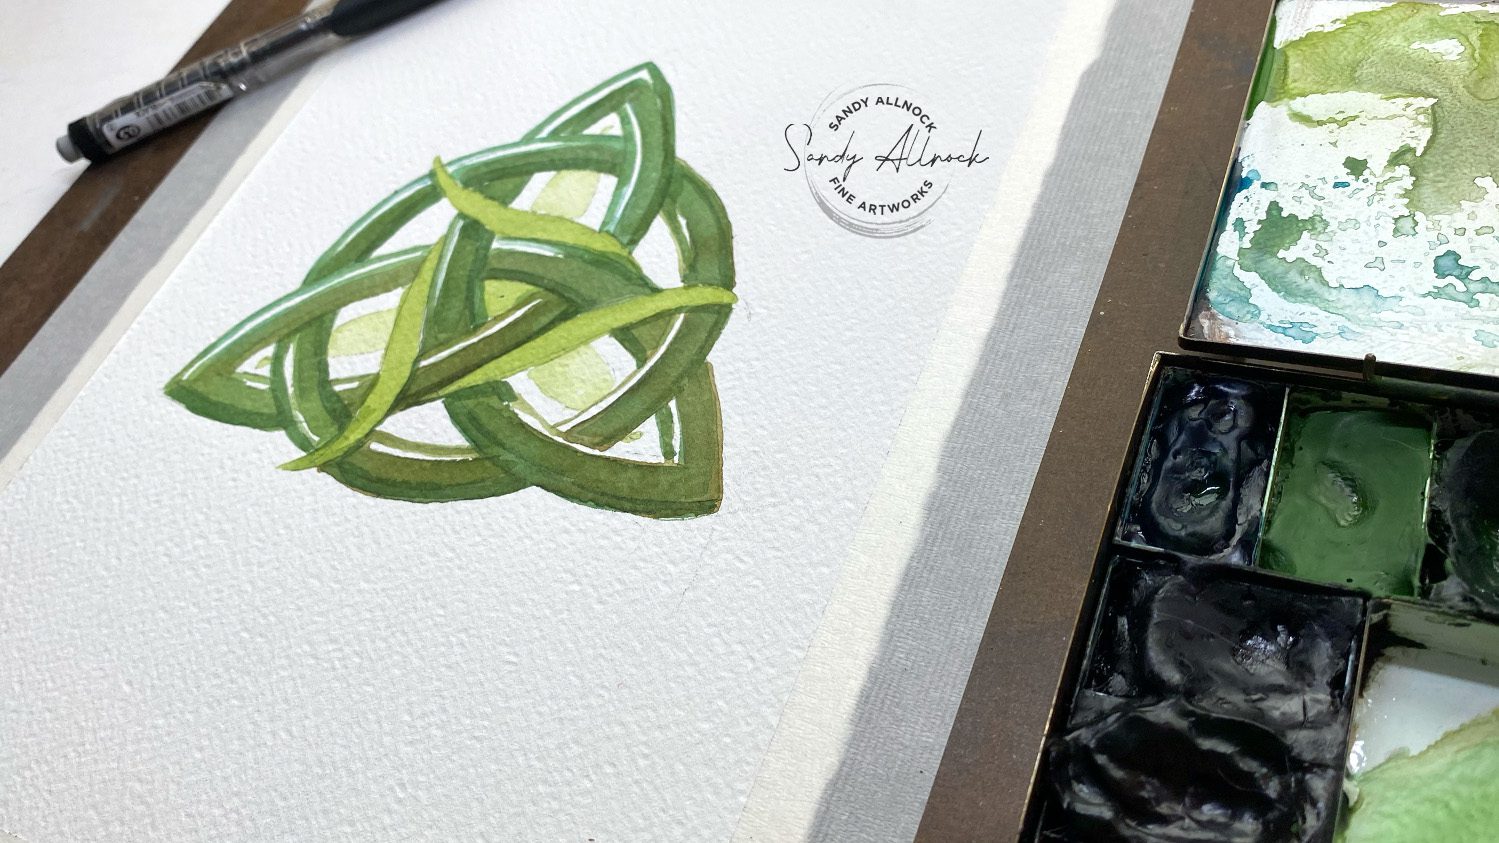
Knots can be very basic, or extremely fancy! Google the knot and you’ll see many examples for inspiration. I decided on one simple leaf repeated three times. Placing your repeating object in a way that it starts/ends in a location you can easily find is helpful. Tracing paper can help too – trace that thing three times and lay it over the page to arrange them and see where you want to start/end.

Add color!

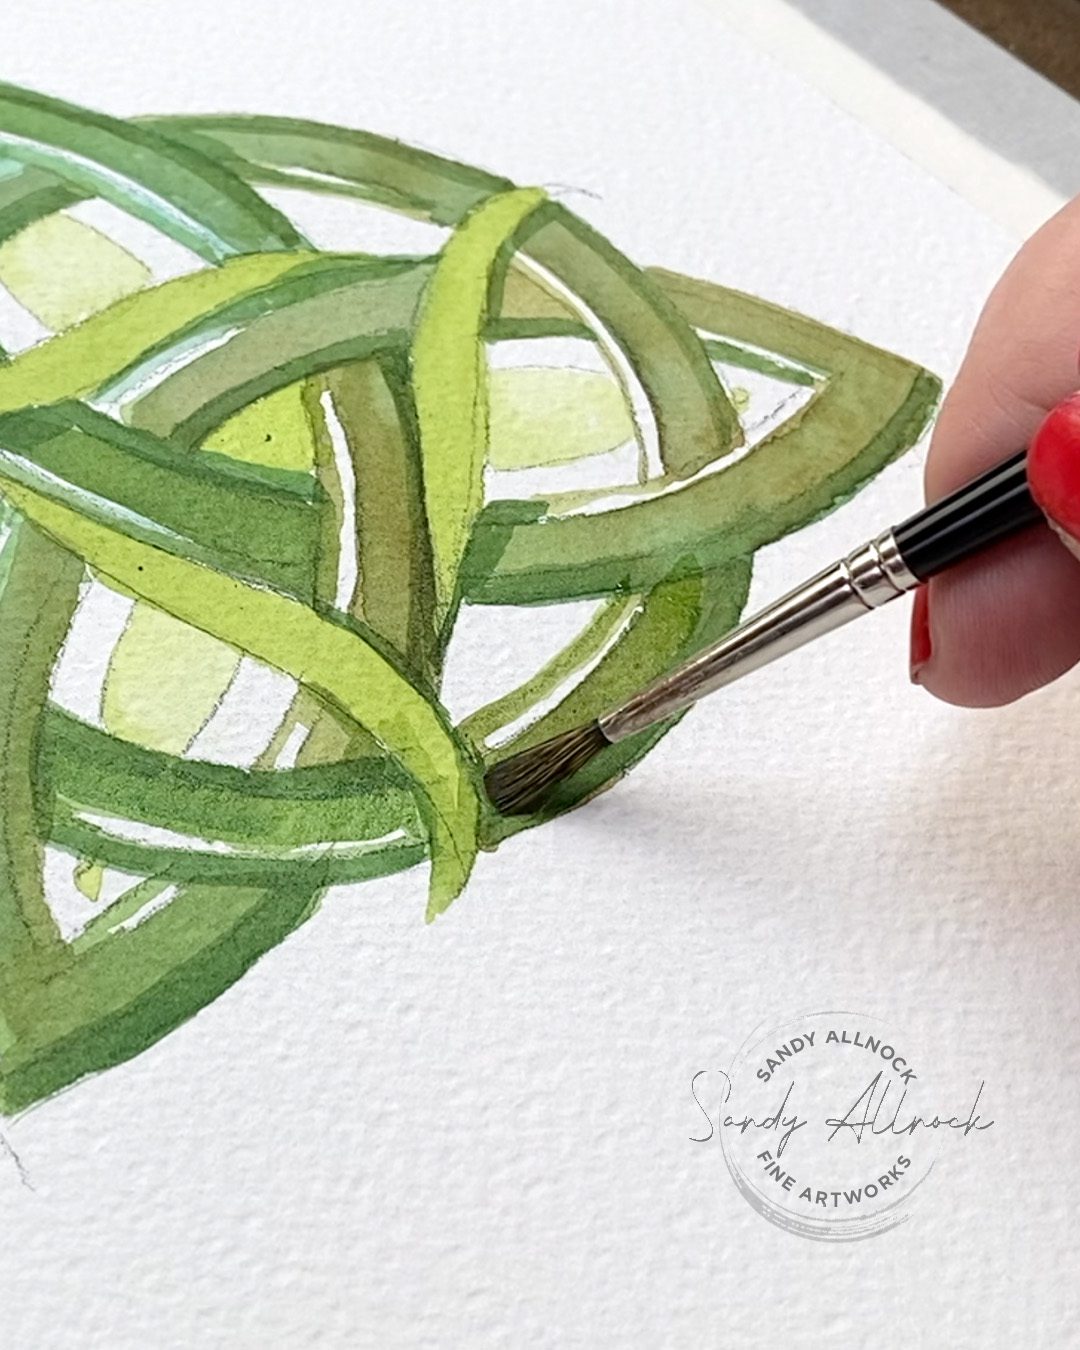
Not all Celtic Trinity Knots are green, but many are – I did see some lovely purple ones, rainbow ones – so basically you can do whatever you like! Mine’s in watercolor, with glazes of watercolor that helped me shift the color as I went.

Give it a try!

The free PDF is available to help you out! I’ll be posting a few more of these this week on social, so keep your eyes open for those in different mediums!

New Zooms Scheduled!

Head over to Artventure to RSVP in the Events tab.

EduZoom Color-along

The pot of gold image will be provided for those who sign up, so get yourself registered. Free!

Birthday Open Studio

Last year I had to work at my party, but this year we’ll just do a normal open studio. Bring your own birthday snack! Also free.

Supplies

Some product may be provided by manufacturers for review and use. Compensated affiliate links are here at no cost to you. I appreciate your support of my work with your purchases! Full affiliate and product disclosure | My trusted partners in art

Subscribe to receive blog posts by email:

Acrylic Ink Doodle on Black

Acrylic Ink Doodle on Black

I’m a noob to acrylic inks and….I may be hooked.

Previously I had avoided them. If I couldn’t put it IN a pen, what would I want to get a bunch of opaque inks for? I’d have to figure out dip pens, and since I hadn’t had a lot of success with the cheapo dip pens I had bought over the years, new inks would mean new pens and well – who’s got money for all that?

Well I only bought ONE new pen. A new cheap glass pen (not used here because it didn’t do bupkus with the acrylic ink) – and for the rest I used some of the nibs and the pen holder that I’d already had. So at least that’s solved – even if now I just have one color to play with. Ha! Anyone got a lottery ticket I can use for more new inks?? heehee!

Tutorial: Acrylic Ink Doodle on Black

Watch the video below and scroll to the end to leave comments or questions — or click HERE to watch it on YouTube and leave comments over there. I read both dutifully!

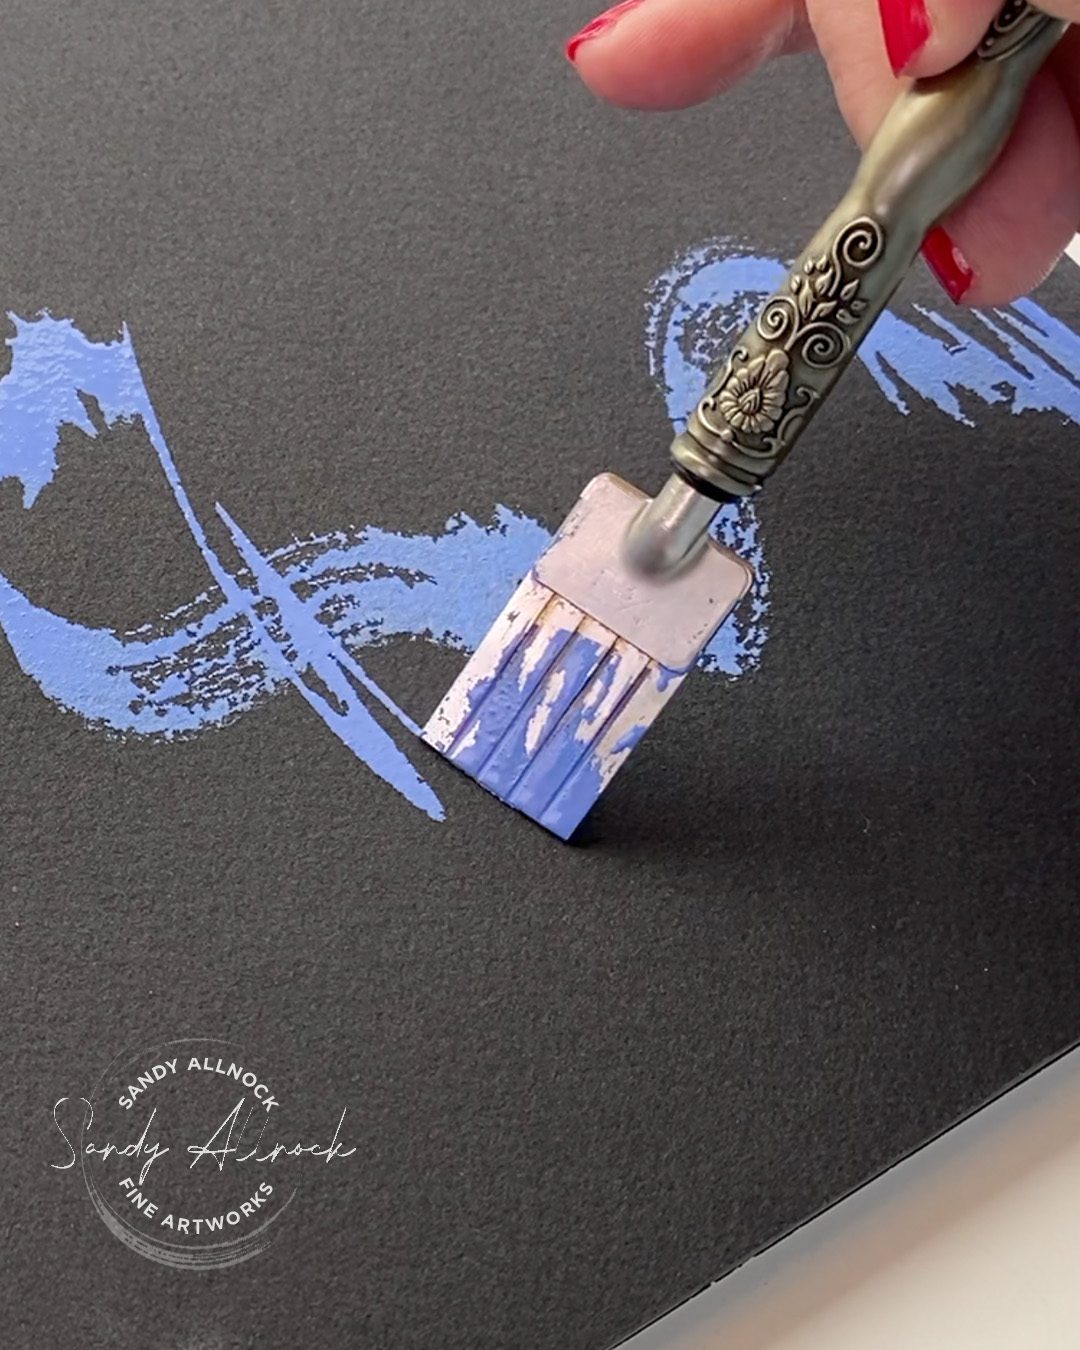
Ultra Marina

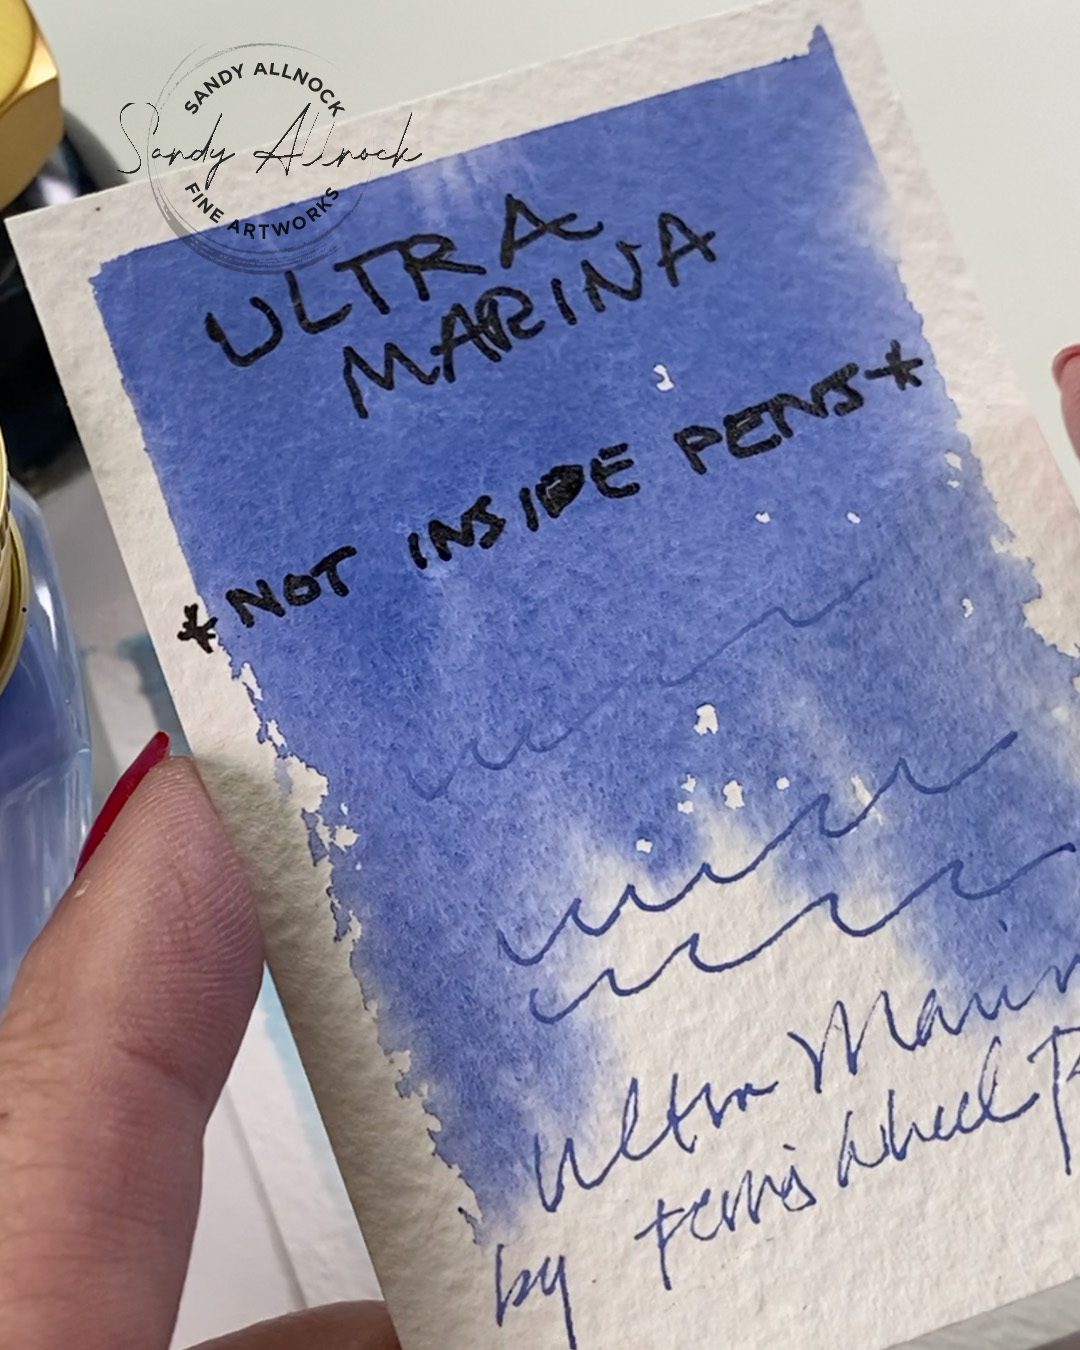
This one is the Ultra Marina acrylic ink – waterproof! Do NOT put it in a pen, unless you like gumming up a fountain pen. If you end up with dried ink, isopropyl alcohol is supposed to clean that off – soaking it if needed. No reaction with water or bleach after dry so it won’t lift.

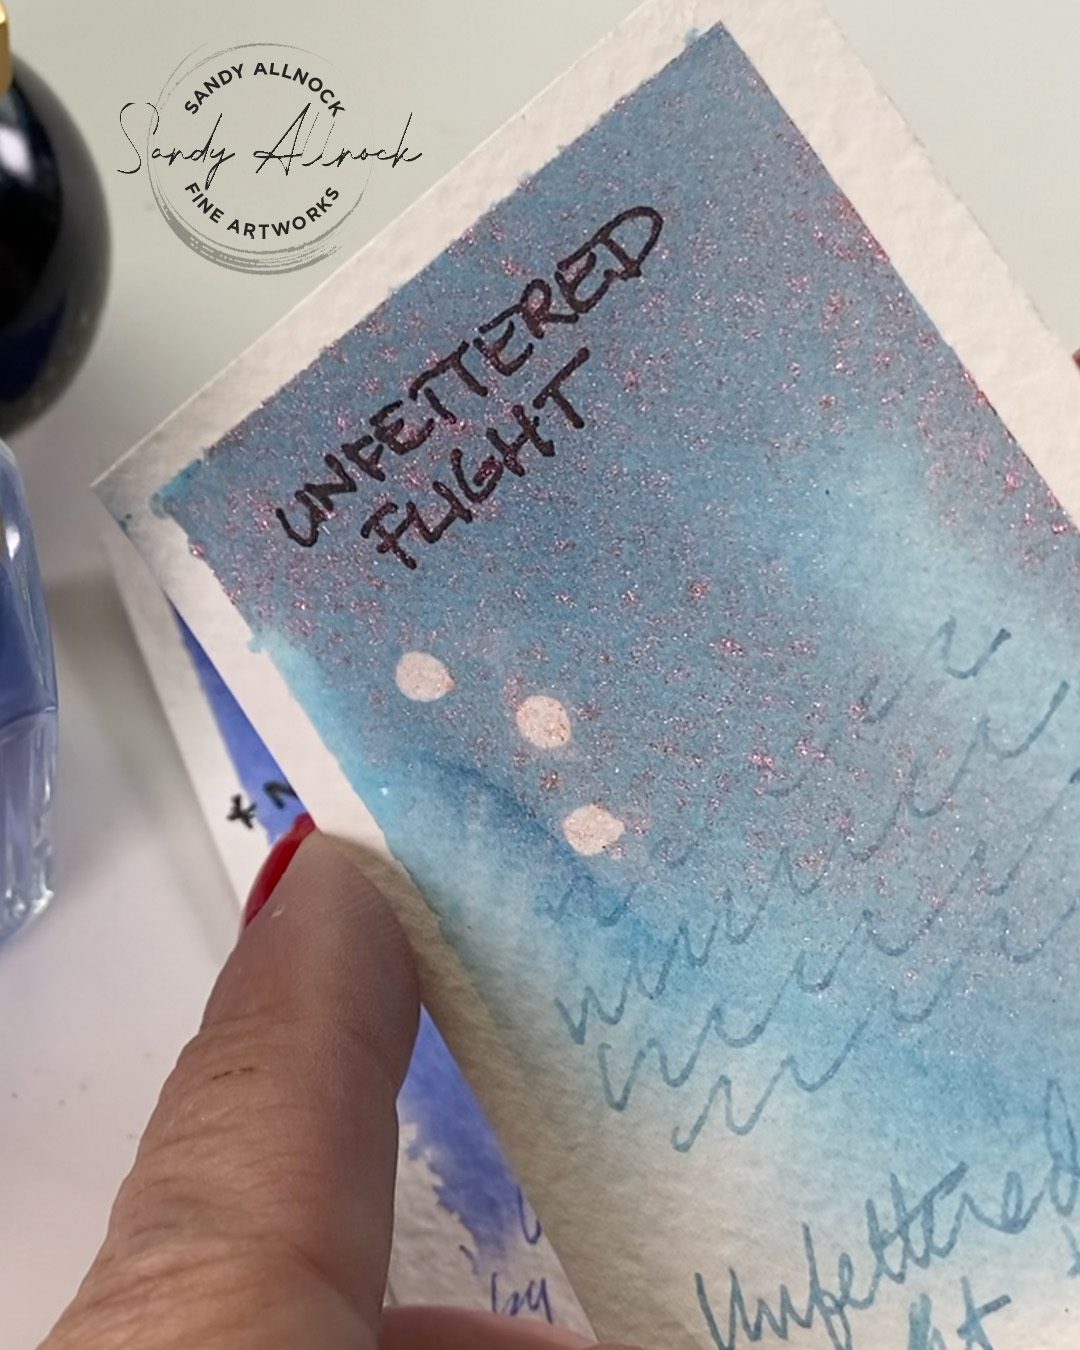
Unfettered Flight

A duochrome light blue with what they call a pink/gold shimmer (looks more bronzey to me? Maybe that’s all the same!) is Unfettered Flight. Shake it well so you mix that shimmer around in it. And use enough to get that shimmer on the paper; a super light wash is just the pretty blue. Lifts well with bleach.

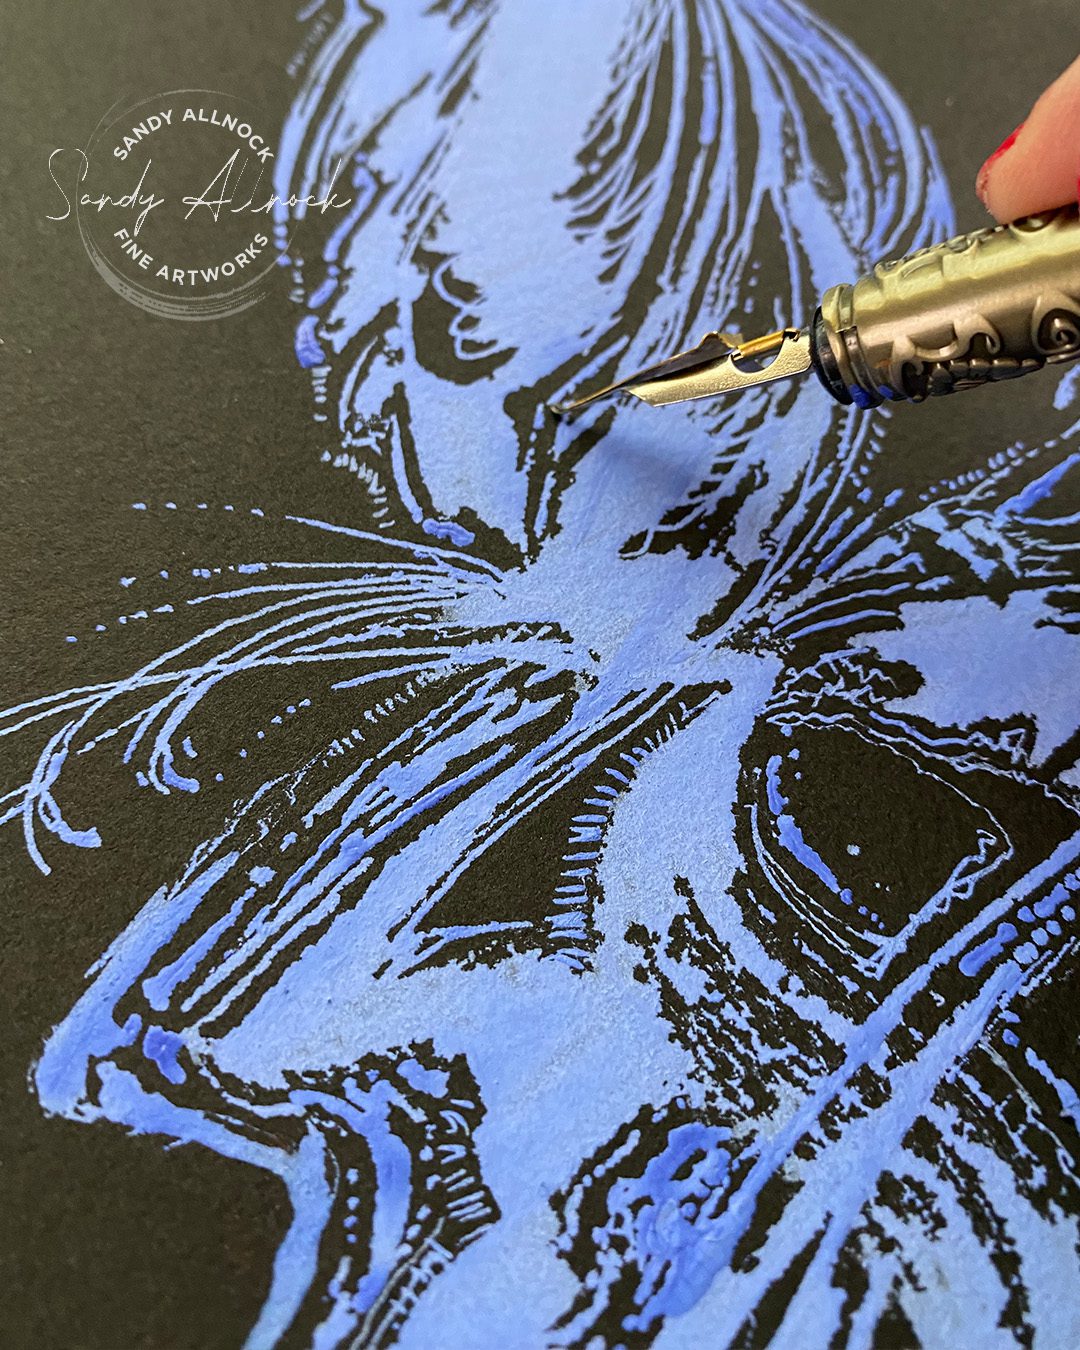
That crazy nib

When digging through my box of pen nibs I found this wide one that I bought quite a number of years ago. I looked for the UK company I bought it from and couldn’t locate them, but did find some others and ordered a few nibs – the ones on the way are significantly cheaper than this one, as I remember it being pricey. Once all that comes in I’ll post another video with some recommendations if those nibs work well – this one seems to have some layers that it doesn’t look like the others have and I don’t know if that’ll be good or bad.

Subscribe to my weekly newsletter, Creativity In Your Inbox

* indicates required

Other nibs

Since I’m only just starting out with dip pens and the nib sets I had bought also a very long time ago, I don’t know what they all do and what marks they make, so I just played around and tested some out. The fancy “handle” I have needs some repair – the metal neck keeps falling off the stick part. LOL.

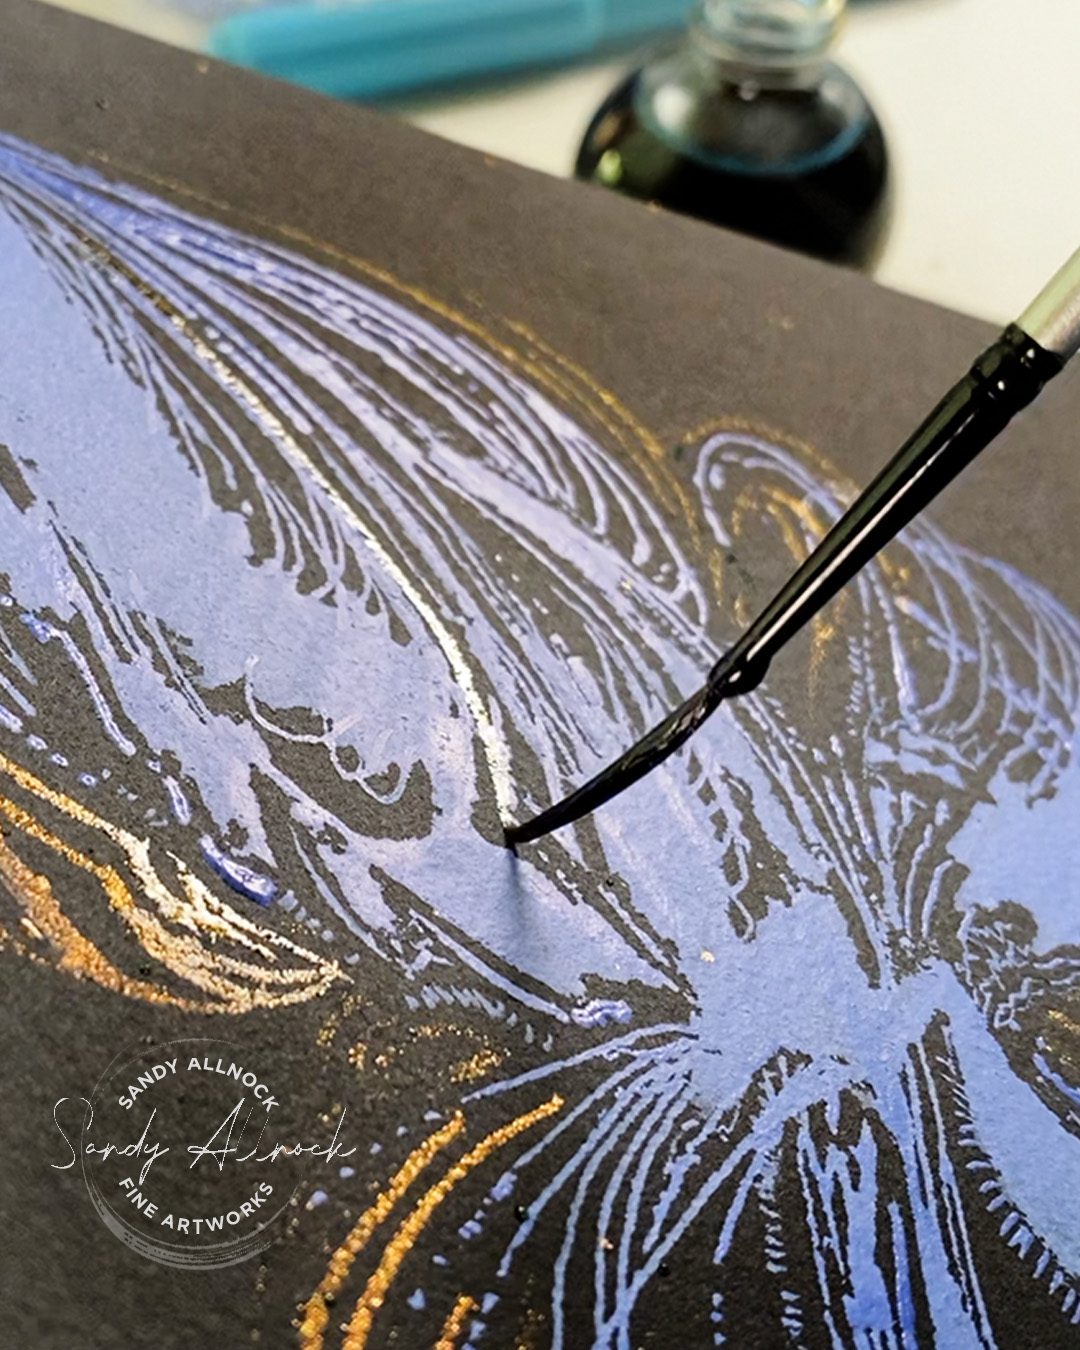
And then a brush

The handle of my dip pen also doesn’t fit down into the small bottle neck, so I decided to try out a brush instead – a Script Liner brush that I never use for anything else. Worked pretty nicely not only to stir up the duochrome but then to make doodled lines!

Update!

I’ll be turning the garden drawing into a class, it appears about a dozen folks on YouTube said they’d be interested. And given that my mortgage company needs me to pay them for some reason, I’ll take a dozen  🙂 I’m also in progress on two ink and wash courses, so hang tight for those too – they’ve been waiting for my voice to return!

Supplies

Some product may be provided by manufacturers for review and use. Compensated affiliate links are here at no cost to you. I appreciate your support of my work with your purchases! Full affiliate and product disclosure | My trusted partners in art

  1. Ferris Wheel Press:
    1. Ultra Marina Acrylic Ink 
    2. Unfettered Flight Ink 
    3. Unfettered Flight Fountain Pen 
  2. StonehengeBlack Watercolor Paper 
  3. Silver Black Velvet script liner brush 
  4. I don’t have brand/size info on other pens used