ARTIST! Is your vision bigger than your skill?

ARTIST! Is your vision bigger than your skill?

Today’s video is a little different – not exactly a tutorial, but sharing an experience I’ve had in the last couple weeks that vaused me massive DOUBT in myself as an artist. It brought to mind a question I saw someone ask, and the answer from Hank Green….and it helped me reframe how I was looking at my problem. I hope it’ll do the same for you!

Tutorial: ARTIST! Is your vision bigger than your skill?

Watch the video below and scroll to the end to leave comments or questions — or click HERE to watch it on YouTube and leave comments over there. I read both dutifully!

The “rejected” art

This piece ended up not in the course – and I almost deleted the footage. Glad I didn’t so I could have this to post today, though with a voiceover addressing something I hope helped you!  I really do like how this one came out, but it just wasn’t teaching anything unique in and of itself like the other 10 drawings did.

Subscribe to receive blog posts by email:

Coral Enchantment

If the alcohol marker drawing you just saw in the video intrigued you, consider taking the course!

Coral Enchantment scenes – I need YOUR ideas!

Coral Enchantment scenes – I need YOUR ideas!

I’ve got a rather quick post for you today …. a short announcement about a new level 4 class under the sea called Coral Enchantment….and a request for your help! Please pardon my brevity; listen to the video to get an idea what I’m in need of. Thanks!

Tutorial: Coral Enchantment scenes 

Watch the video below and scroll to the end to leave comments or questions — or click HERE to watch it on YouTube and leave comments over there. I read both dutifully!

The Enchantment Series

Below are the three courses – if you need to you can go check out their individual videos on the pages linked, or re-watch the video above to get ideas for sentiments for these scenes. THANK YOU for sharing your ideas, I’m all tapped out 🙂 

Coral Enchantment

In this course it’s all about undersea coral, fishies, and beautiful water! 

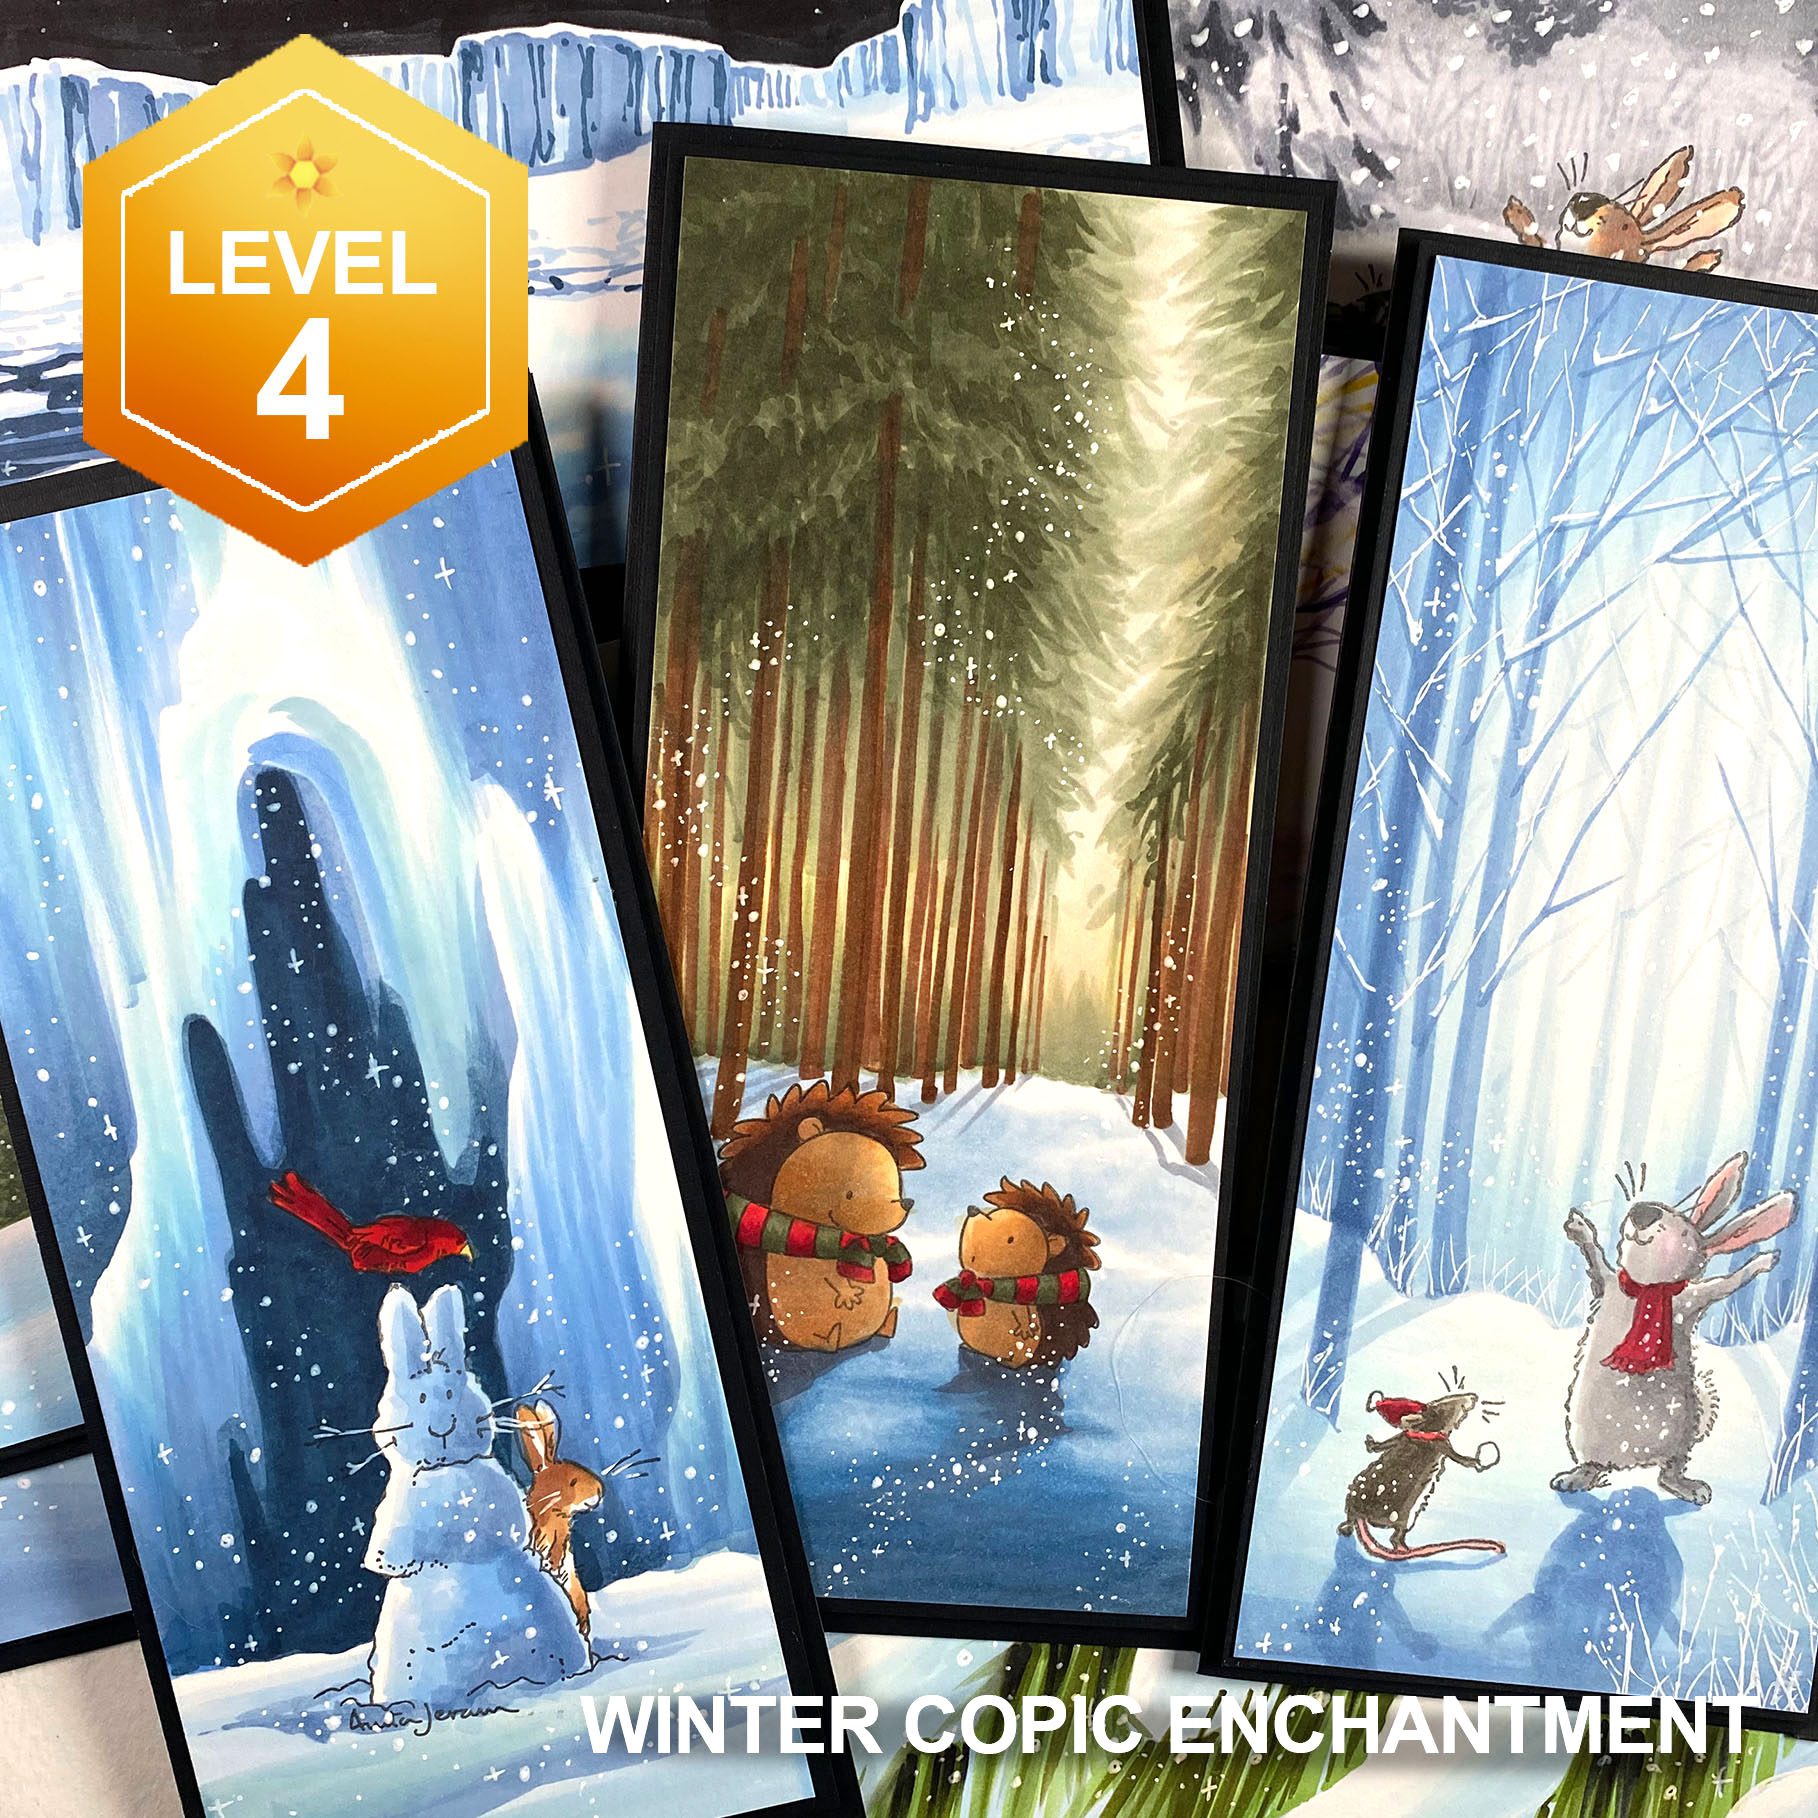
Winter Enchantment

Getting started on your holiday cards? This class could be perfect!

Subscribe to receive blog posts by email:

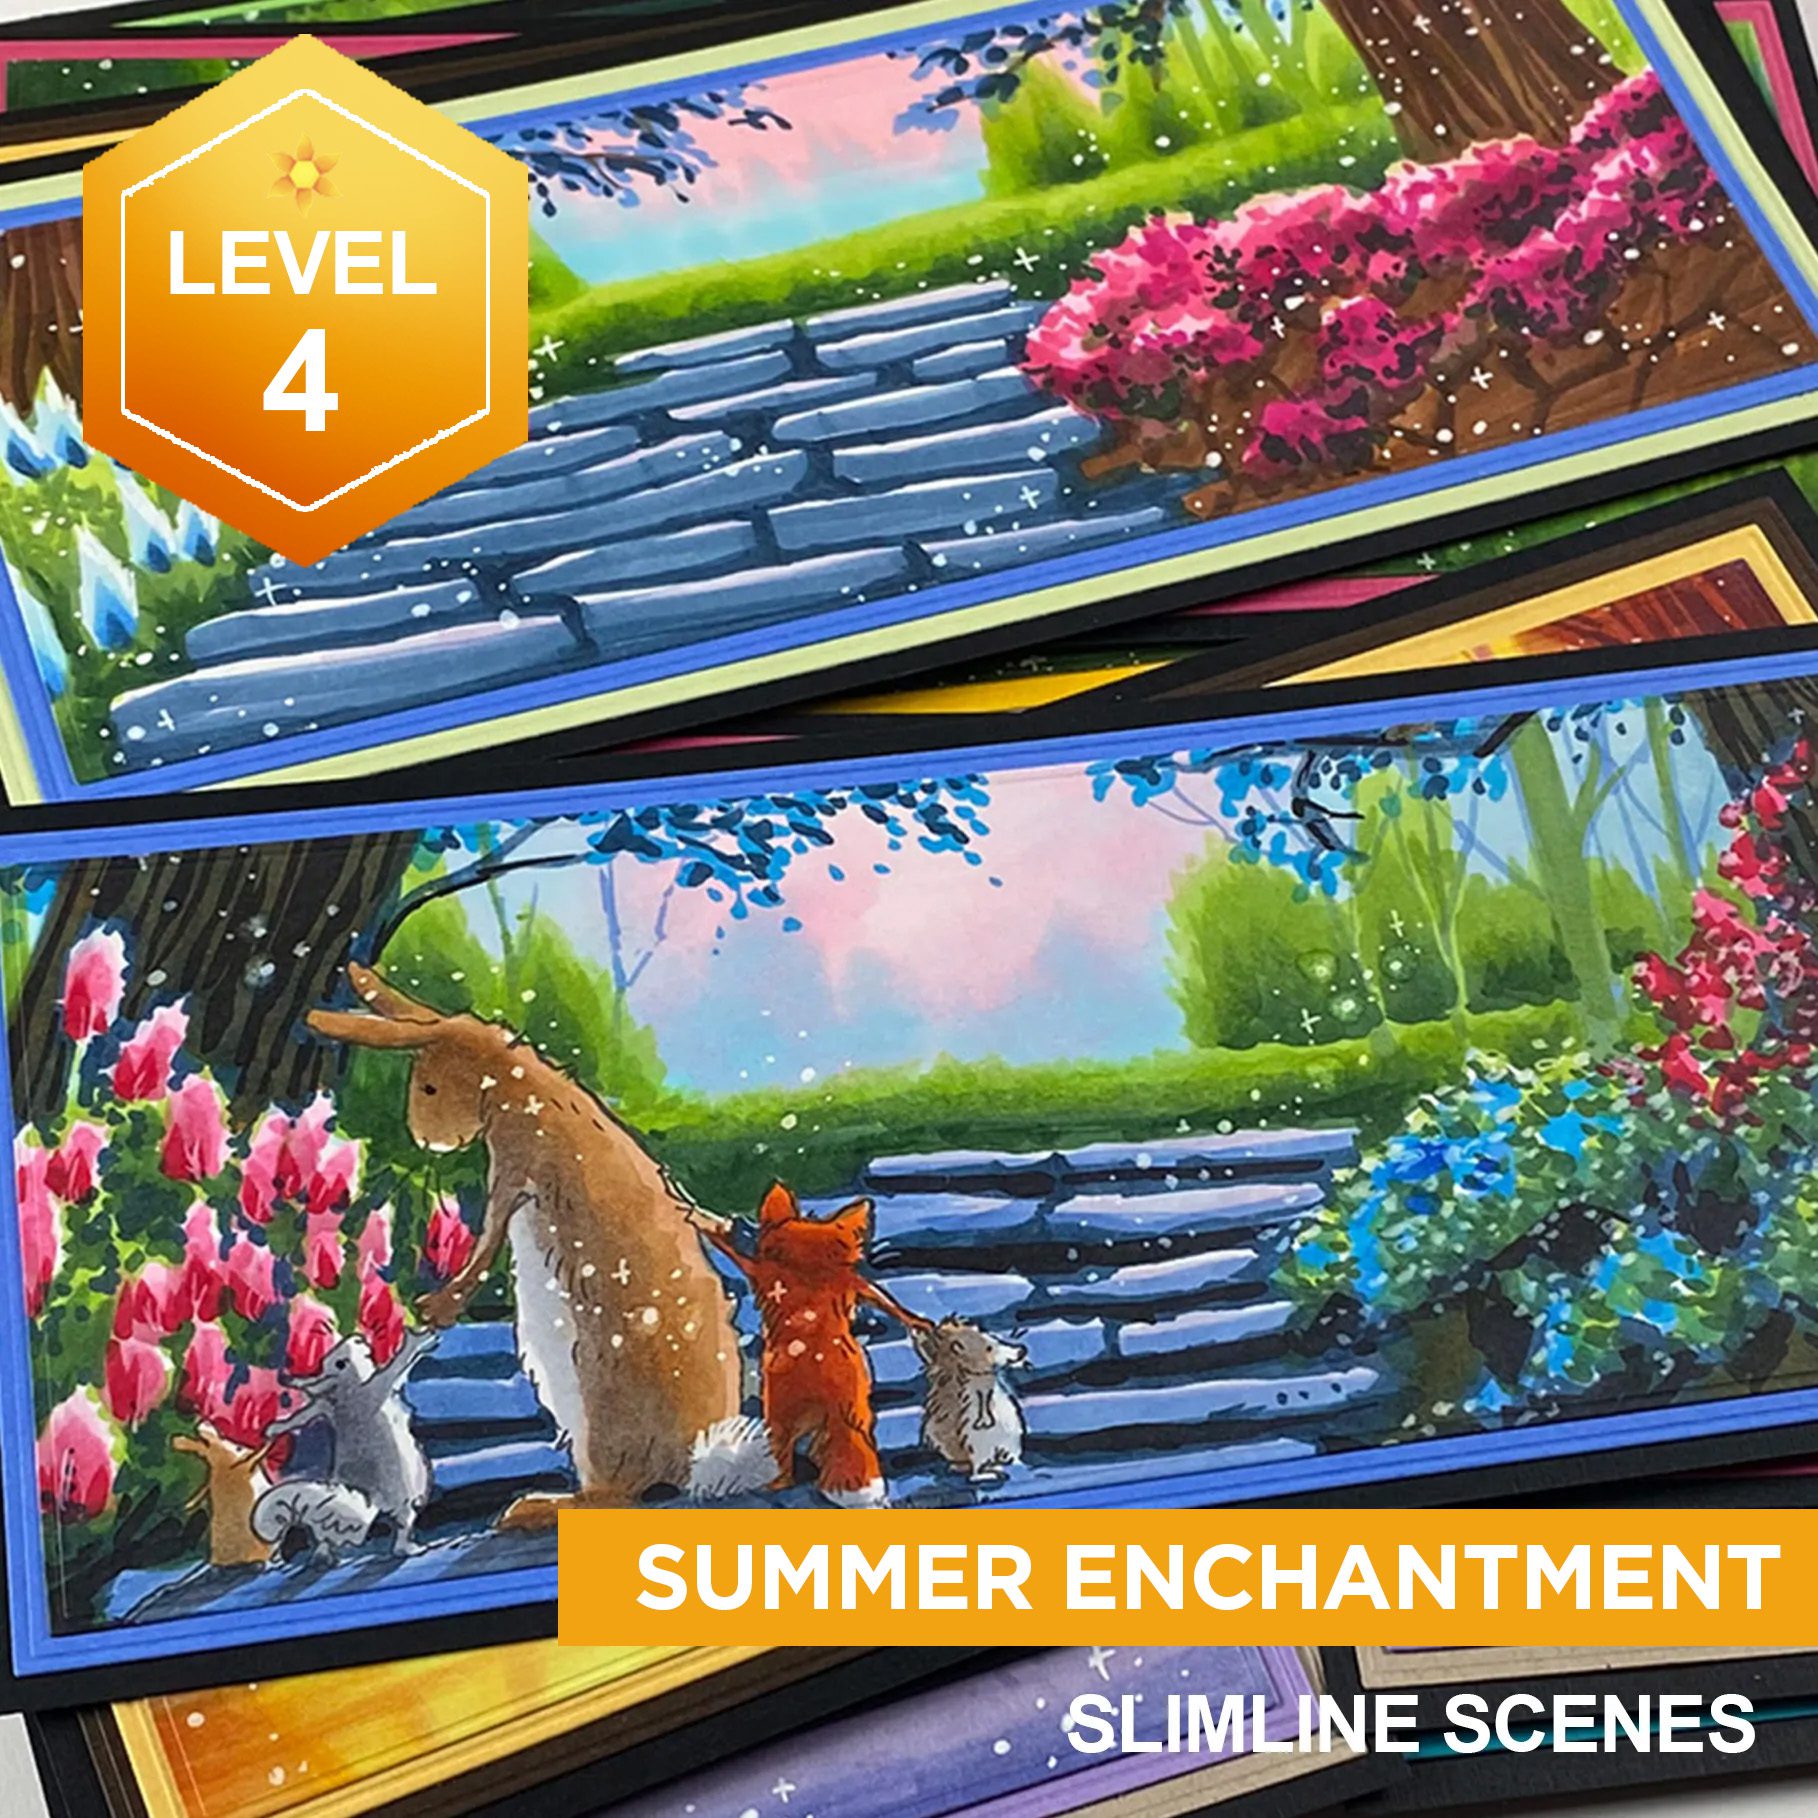
Summer Enchantment

Forests and gardens will be the perfect setting for all your stamps — add a sprinkle of magic pixie dust!

Many thanks

I truly appreciate your help with getting a good sentiments list going!

Replenishing inks in Olo vs Copic – pros and cons

Replenishing inks in Olo vs Copic – pros and cons

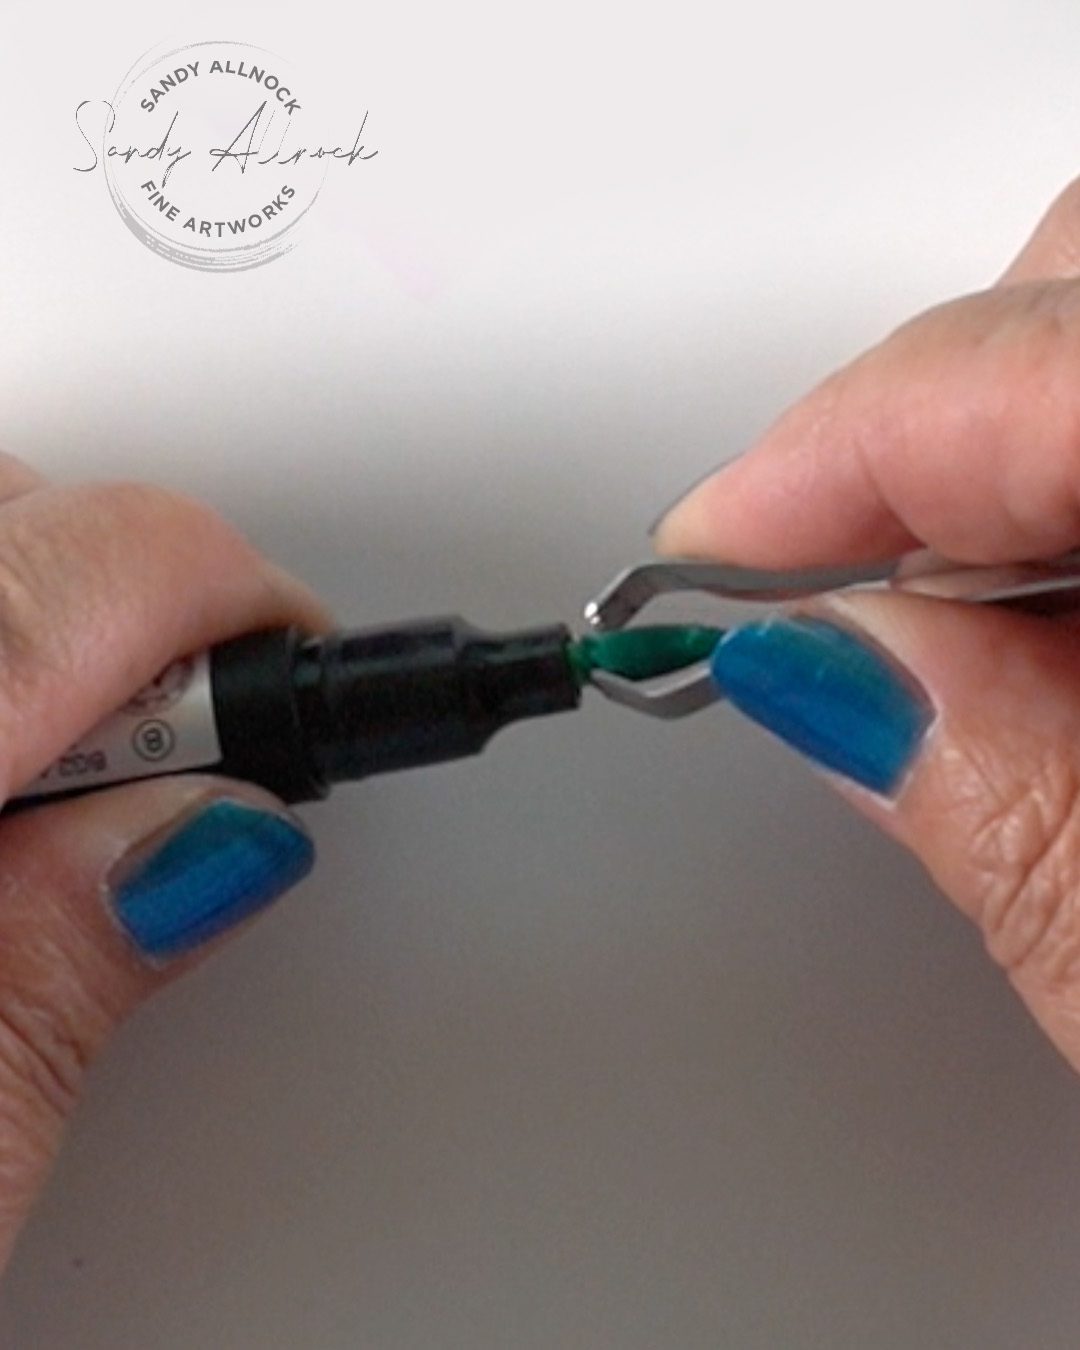
Today’s quick little video will show how to deal with replenishing inks in markers – at least the 2 brands I have here in the studio. There are some pros and cons I’ll list out later in the post.

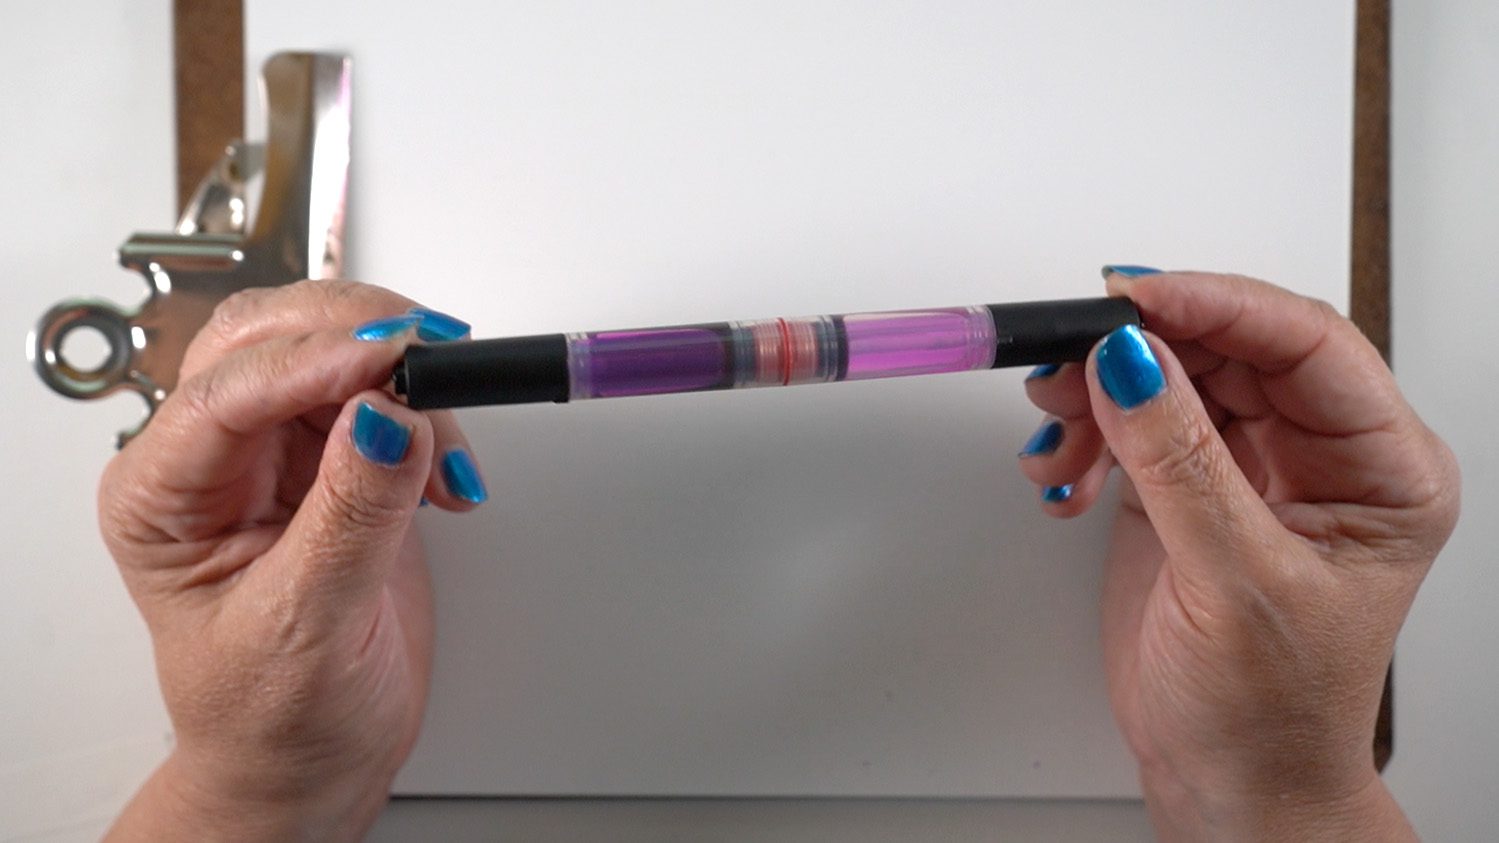
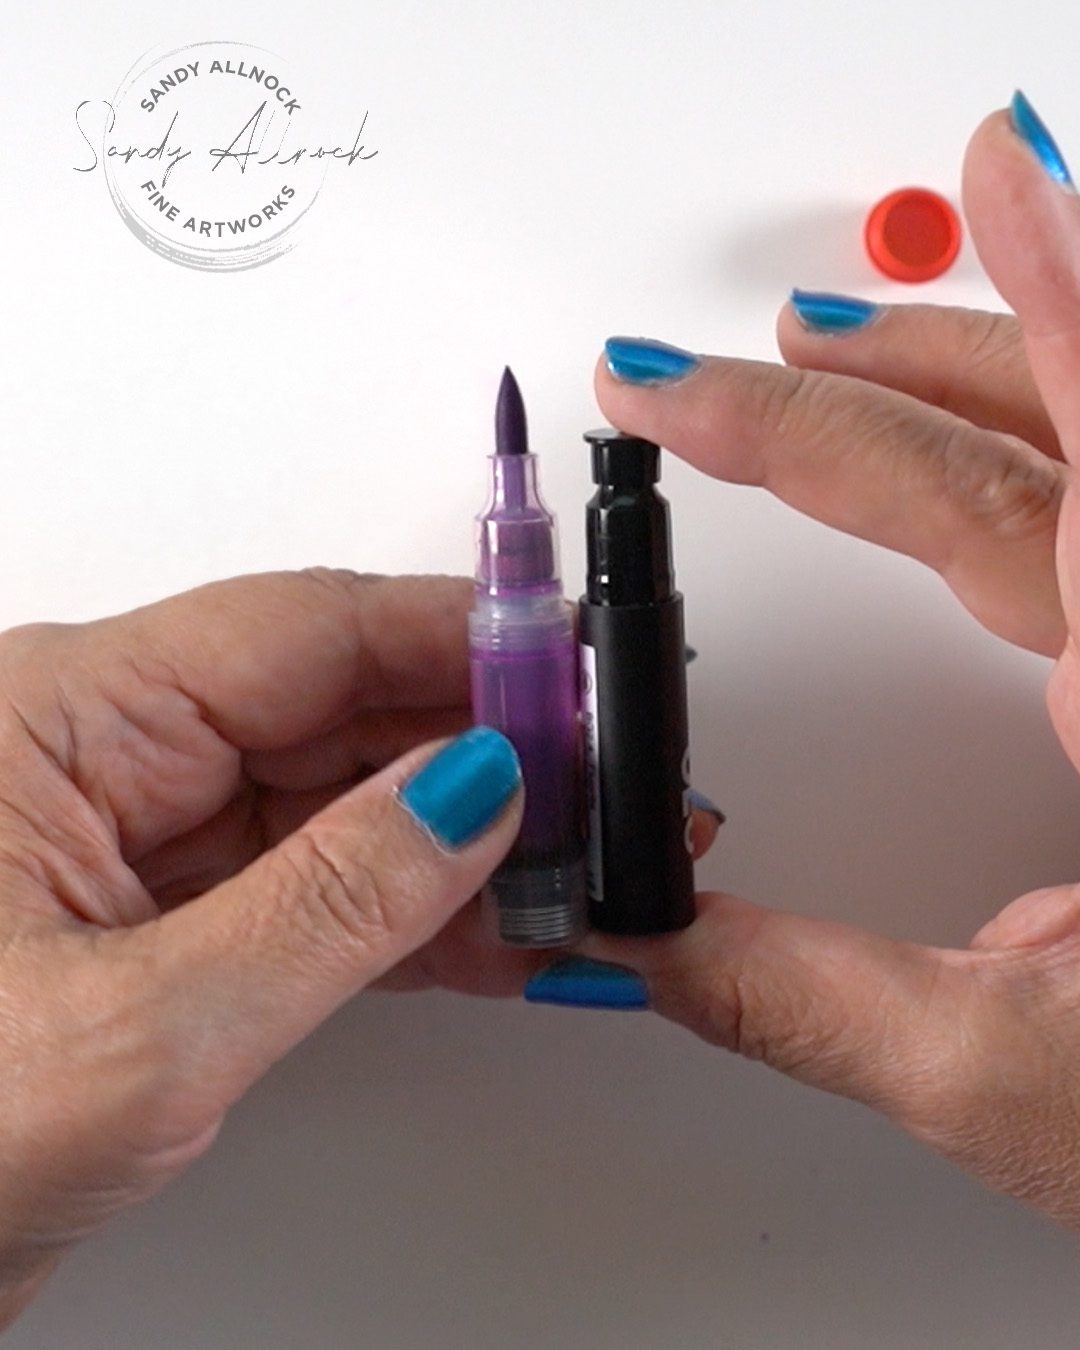
Ever wonder what the inside of an alcohol marker looks like? Olo sent me this “demonstrator marker” with my set of replacement inks (I kinda used up all my ink in all my coloring for months now!)….see the video to see that pretty purple ink slosh around!  I have some clear fountain pens and have often wondered why nobody makes clear markers. I’d love to know how much ink is still in there.

Tutorial: Replenishing inks in alcohol markers

Watch the video below and scroll to the end to leave comments or questions — or click HERE to watch it on YouTube and leave comments over there. I read both dutifully!

Olo replenishing: pros and cons

Pros: 

  1. Super easy to do – take off the cap of the replacement body, move the nib, done.
  2. Much less expensive per ounce.
  3. Not in the least messy as long as you use tweezers. They can be regular ones not my grippy ones with teeth, but the teeth work great.

Cons:

  1. Pens run out of color without warning; no bottle of ink means I can’t finish a project unless I keep a replacement on hand.
  2. Numbers are listed on the cap and the body but there’s no color indication to grab one fast.
  3. I need to work out a storage system to figure out which replacements I have and which I need.

Copic replenishing: pros and cons

Pros:

  1. Bottles kept on hand make refilling mid-project a breeze.
  2. Caps have the color so you know what you’ve got.
  3. For those who use the weight method, the pens can be “perfectly” filled vs my crazy guessing method.

Cons:

  1. More expensive per ounce.
  2. New bottles are hard to squeeze.
  3. Bigger items to store, unlike Olo.

Demo drawing

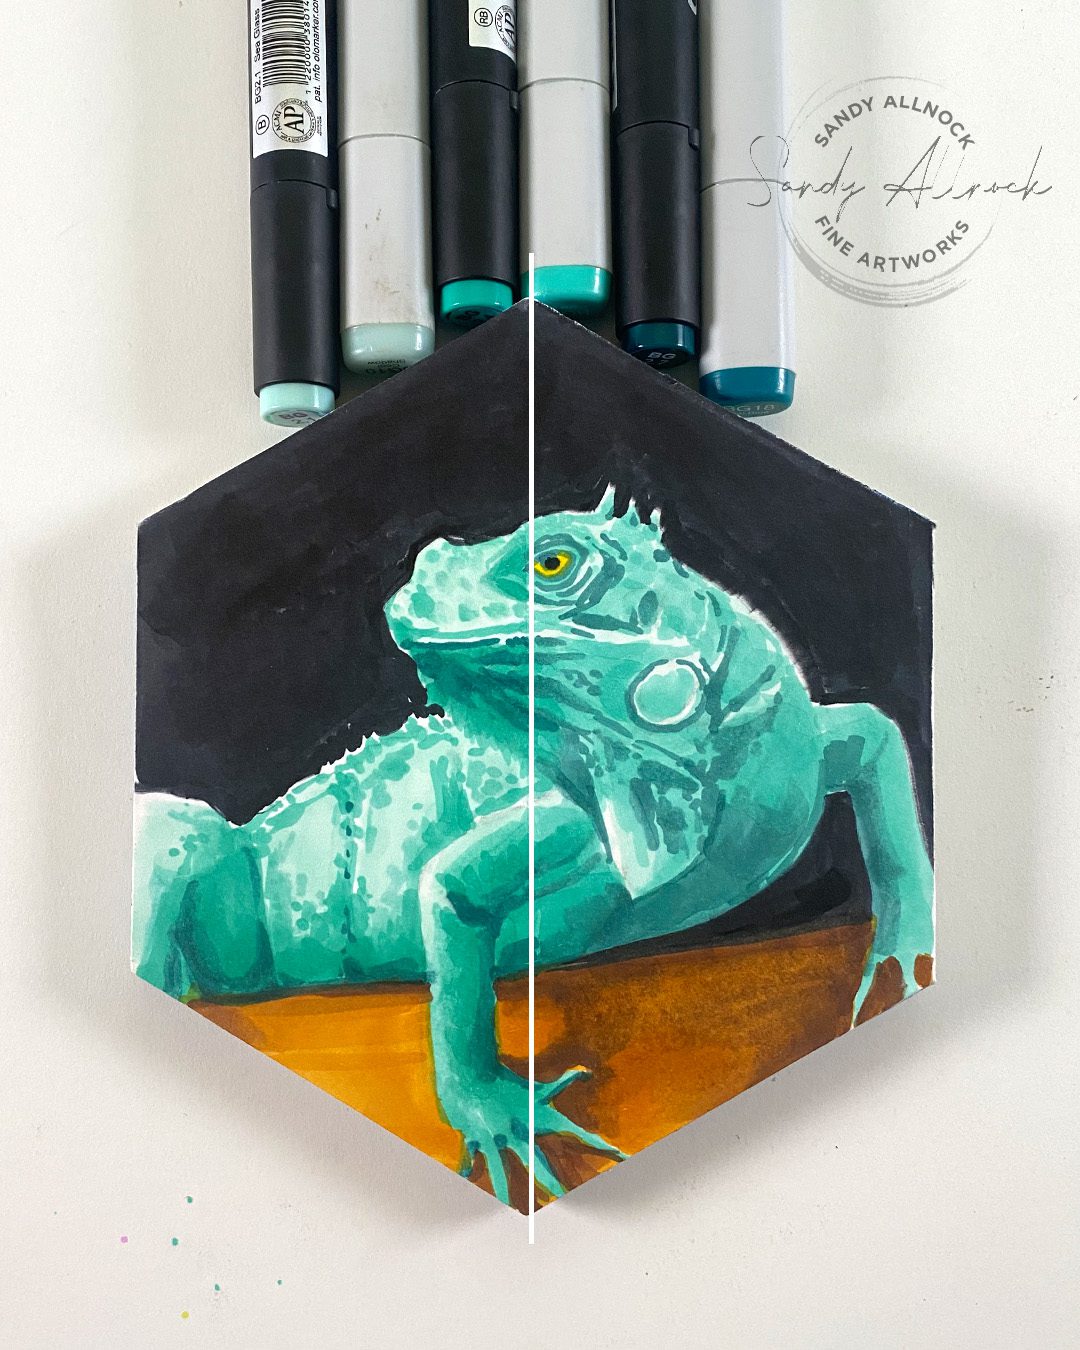
While I was DYING to get out other colors to do some color adjusting, I stuck with a BG blending group for a quick sketch. You can hardly tell the difference. Color match is near perfect; Olo is just a little more pigmented so watching how much is used can make both matches work well. 

Subscribe to receive blog posts by email:

The two newest courses

Though demonstrated in Olo, it’s very easy to follow in other brands; I didn’t use any color numbers as I said which marker to choose, just “select the midtone bluegreen” so you can just adapt that to your own brand! Tap on either class for more info.

Upcoming events

This Saturday, we’re having a zoom call – and its free! Bring some summer themed artwork to work on, get out your Hawaiian shirt finery, a drink with an umbrella….let’s cheer me up!

And through September I’ll be working on alcohol marker pieces throughout the month at Artventure. A little on YouTube but more in the background, answering questions, demonstrating things. Let’s color together!


Supplies

Some product may be provided by manufacturers for review and use. Compensated affiliate links are here at no cost to you. I appreciate your support of my work with your purchases! Full affiliate and product disclosure | My trusted partners in art

  1. Copic Tweezers Blick – AMZ 
  2. My Olo marker set 

How to make a hex shaped sketchbook + SOME EXCITING NEWS

How to make a hex shaped sketchbook + SOME EXCITING NEWS

I’ve been sitting on a little secret for a few months now, but the cat finally gets to pop out of the bag!


I’ve been talking with Olo Markers about creating a set of “Sandy Allnock curated” markers….and today’s the day! Olo now has a set of markers on their “Artist Picks” page that are my own selection….it’s a beautiful rainbow collection, and the colors mix and layer well to create LOTS of new colors, too!


My excitement is not just about a set of markers, or that I have TWO classes that use just those colors….but by golly there are PRIZES! Watch the video and read on for more about the giveaways.

Tutorial: How to make a hex shaped sketchbook

Watch the video below and scroll to the end to leave comments or questions — or click HERE to watch it on YouTube and leave comments over there. I read both dutifully!

New around here?

Welcome to my new friends coming over from Olo!! I’m excited to have you here for a visit.

A little about me – I’m an independent artist and online instructor, living just south of Seattle. I use a TON of different mediums, and if you follow along with my newsletter below, I’ll send you inspiration every Saturday – two videos a week, lots of ideas and new classes to get your skills to wherever you want them to be!

Subscribe to receive blog posts by email:

My marker set

I selected a group of lovely rainbow colors – and have worked with them in creating not only today’s new course but one of the classes launched earlier this summer (see below)…..you can purchase the whole set, or pick up just a few colors that you think you need in your marker rack!

A page just for Olo friends

I just created an Olo page over on my teaching site that contains the courses, link to the markers, the hex chart, and a super Getting Started video….if you’re looking for a one-page-fits-all, everything is there. Click to visit!

Two marker courses

If you’re an Olo marker user, two of my classes are now taught in that brand:

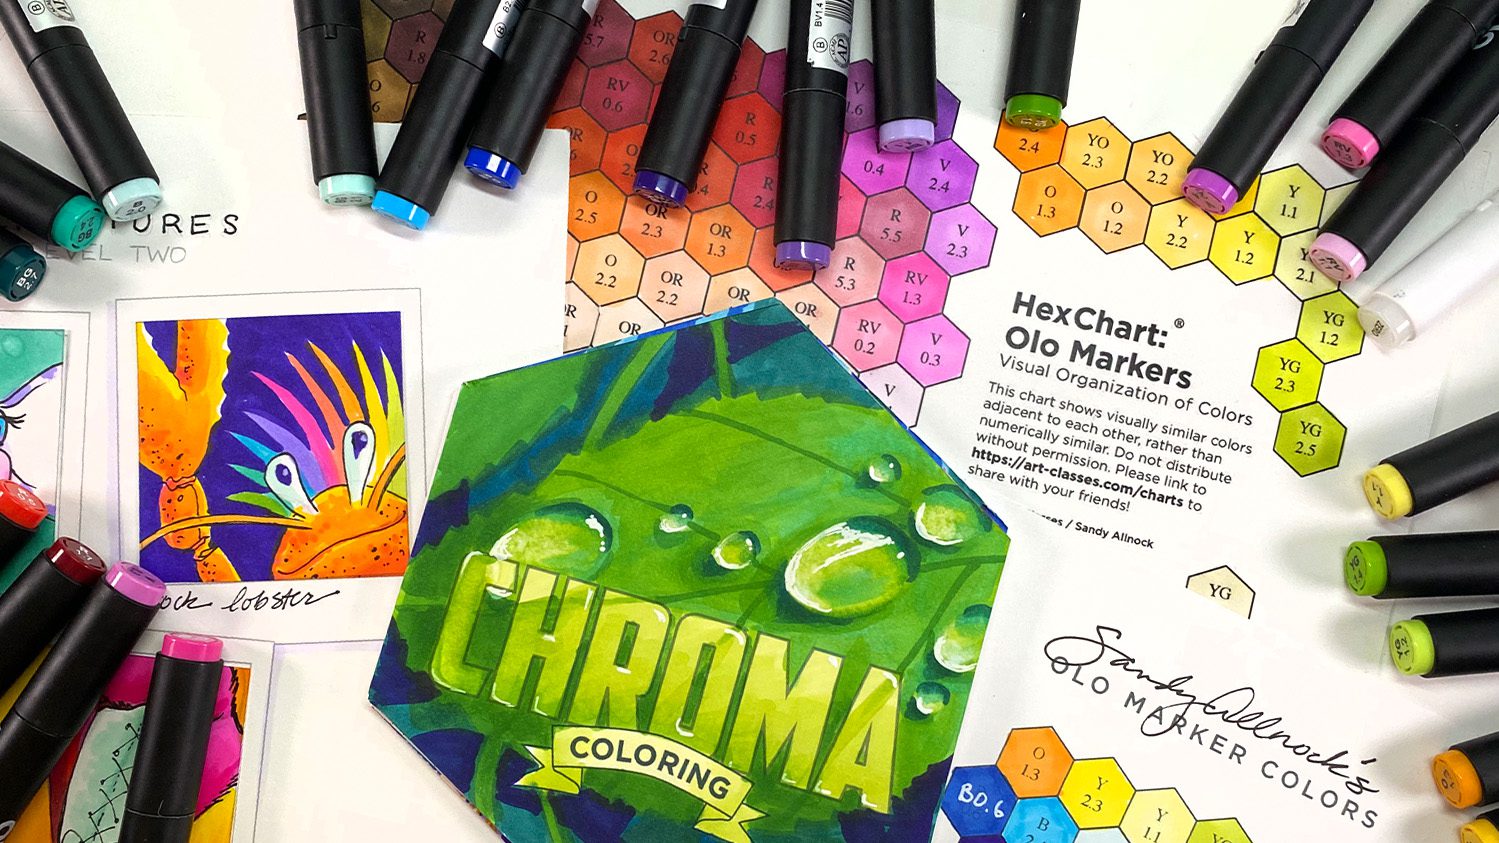
Imaginary Creatures is a level 2 class that’s so much fun – silly images, colorig practice….and lots of puns!

Chroma Coloring is brand new today – it’s partway between level 3 and 4; there are sketches to trace, but it’s not a full line drawing to just fill in, so you’ll need to do some tracing and drawing yourself.

And remember if neither of these appeals, there’s always MANY MORE classes on alcohol markers, though most are using Copics – but all brands are welcome in all courses!

Tap on either image to go see them and watch a short video preview to see which works best for you!

CLASS GIVEAWAY

I’m so thrilled to say I’ve got some fun to give away….4 seats in the courses listed above! It’ll be winner’s choice so the 4 winners can pick whichever they’d like to study! Winners will be announced in my September 1 newsletter.

If you’ve already purchased the course over the next couple weeks, then your course fee will be refunded if you win, so there’s no need to wait to get started learning if you’re excited to do that right now!

To qualify to win:

  1. Subscribe to my newsletter; form is above. (That’s how you’ll hear if you won, and I don’t want you to miss out!)
  2. Comment on this post and tell me two things:
  3. What is your favorite subject to draw or color?  
  4. Which course of the two would you choose if you won?

GIFT CERTIFICATE GIVEAWAY

And my friends at Olo are doing the big giveaway over on my Instagram page so head over there and see the pinned posts at the top of my page. and read the instructions to qualify!


Supplies

Some product may be provided by manufacturers for review and use. Compensated affiliate links are here at no cost to you. I appreciate your support of my work with your purchases! Full affiliate and product disclosure | My trusted partners in art

Blending Trios “+” (Alcohol Markers)

Blending Trios “+” (Alcohol Markers)

Most alcohol marker colorists have heard of blending trios…those are groups of light/medium/dark colors that blend nicely.  

There are “natural” groups that share the letter code (the color family) and first digit – at least in some brands! (Some have no rhyme or reason, or an inverted version of the Copic model.) I’ll be dealing with Copic and Olo markers here, which are similar in their numbering system.

(Olo’s numbers aren’t the equivalent of Copic’s, but the first digit before the “.” is still saturation level, and the part after the period is the value–just like Copic.)

If you understand some basics of color theory, you can add to a trio in a way you can create expected results – though practicing to see what the results will be is important when getting started!

Tutorial: Blending Groups “+”

Watch the video below and scroll to the end to leave comments or questions — or click HERE to watch it on YouTube and leave comments over there. I read both dutifully!

Black Bear – with underpainting

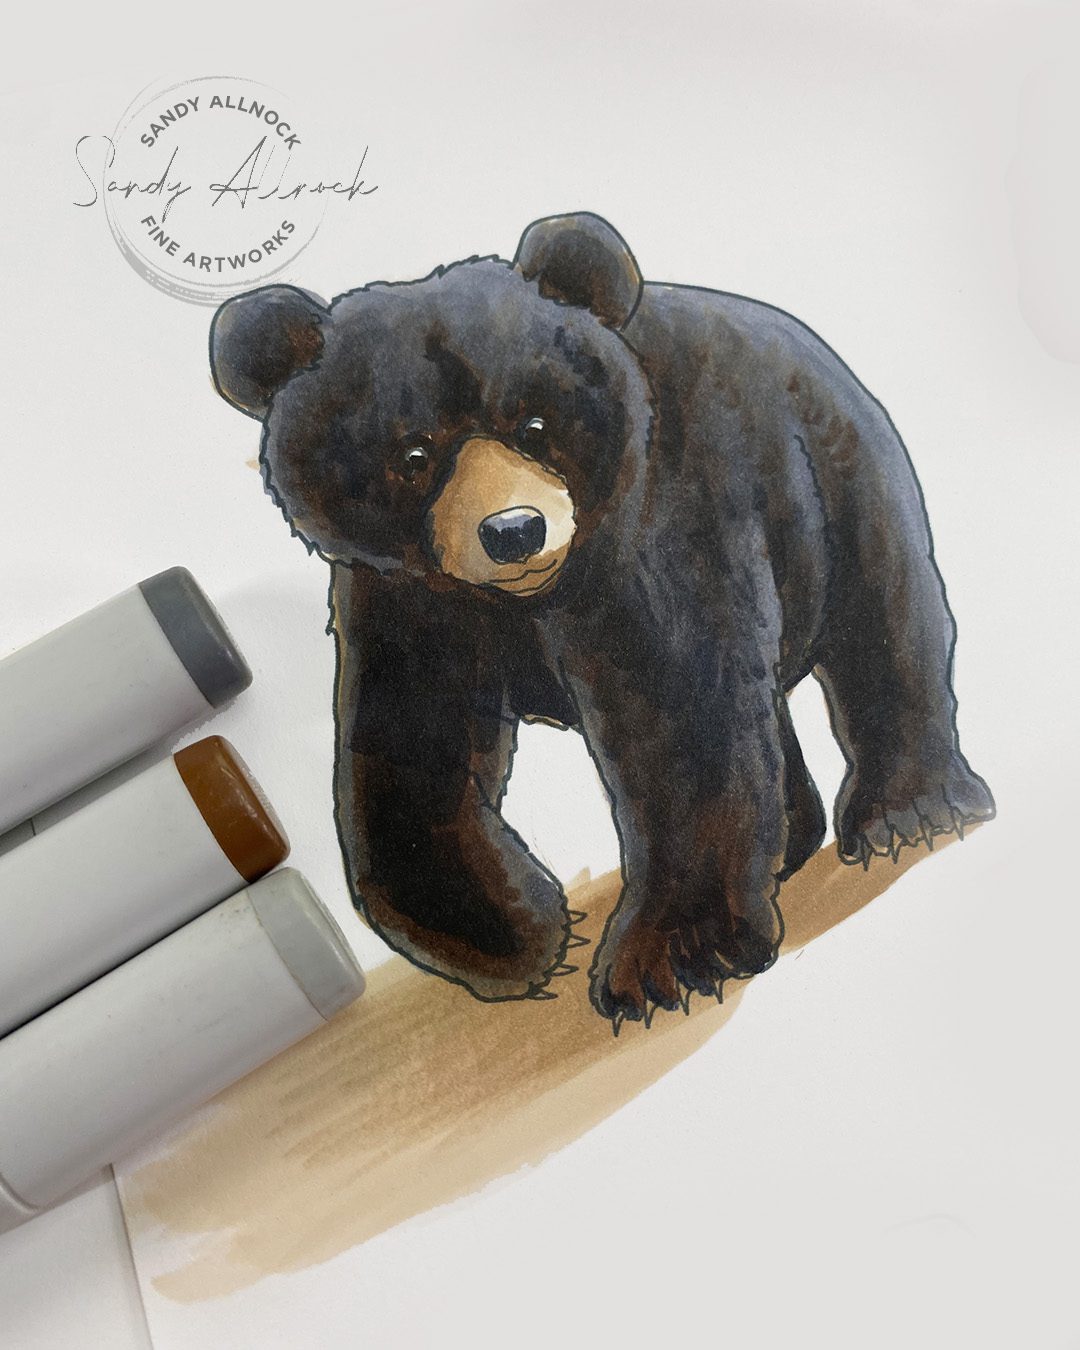
Using a blending group underneath with greys on top helps to bring that black “alive”–greys can look so dead! Experiment with lighter vs darker greys; each situation will be a little different. If you use too light of a color, it can pull color OUT from underneath, so the value needs to be a little darker than the underpainted color. 

On the left is the example using browns (E42 E44 E49 Copic), and on the right are purples (V12, BV08) with some of the grey shading added with greys. 

White vs Cream in animals

Each animal will have a different flavor to its white – some feel more creamy, some more greyish, some more bluish – if the cream shown on the left is what you want but lighter or more desaturated, try a pale grey over it; that will lift out some of the color as well as value. On the right is what greys alone look like. 

CLASS REVAMP!

A while back I had changed the class title from Copic Jumpstart to Alcohol Marker Jumpstart. I always meant to go back and add more to it and refres things, and all this, plus finding my notebook, made me do a little more!

If you’ve purchased the course already you can just log in and go to the Light and Shadow lesson. There’s individual jpgs you can resize, or use the PDF version with all of them on one page!

In September I’ll be going through class “as a student” and adding more written content – I want to redo the pdfs at the end of each lesson, but not til I review everything to see what was missed. 2016 was a long time ago and I learned a ton since then!

Subscribe to receive blog posts by email:

Sandy’s Favorite Blending Trios

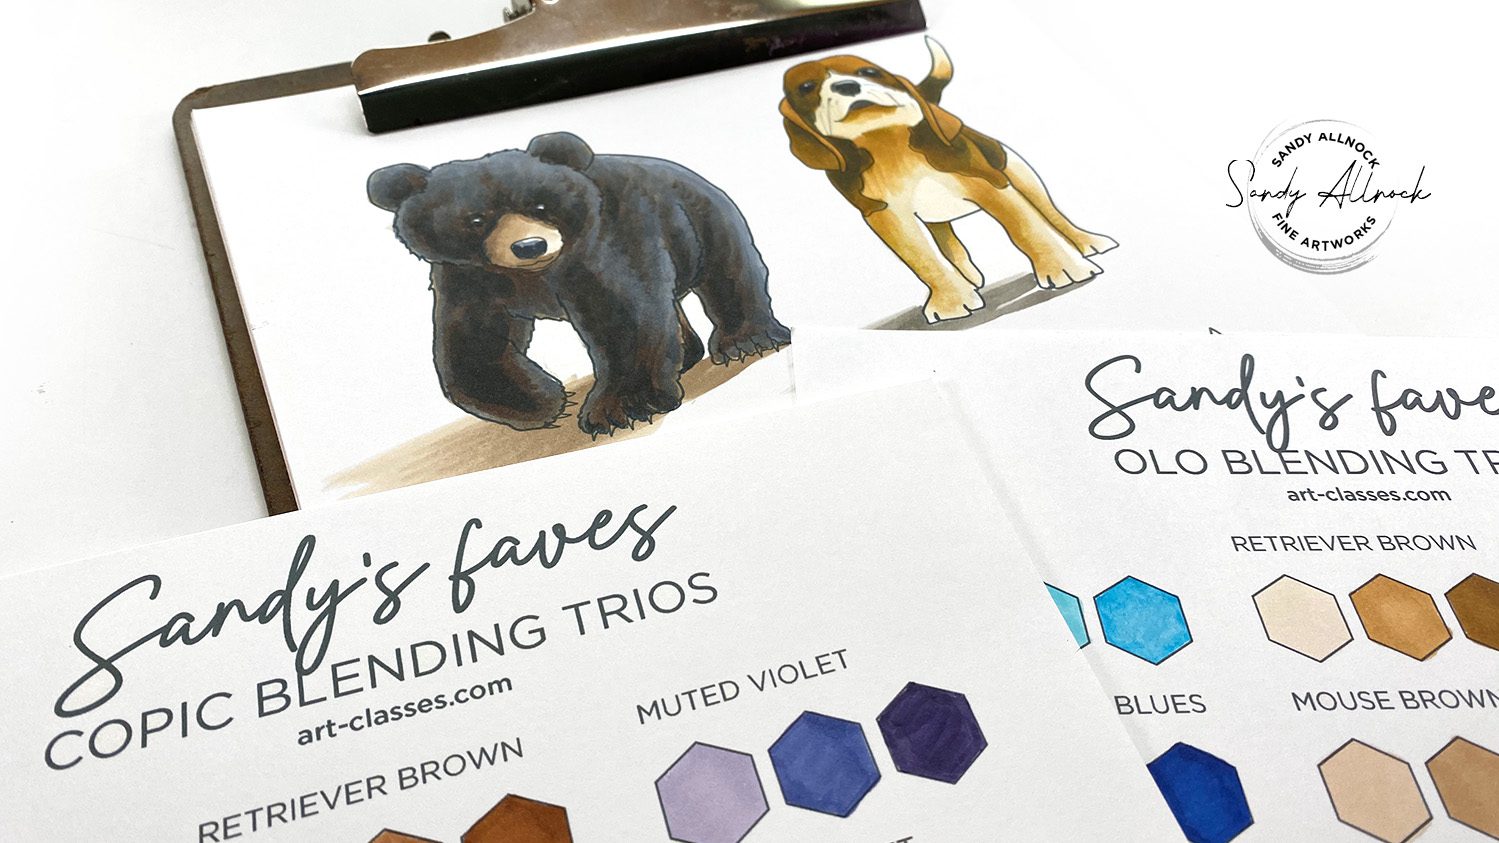
As I was working on all of this, I also put together a trios chart with 21 combos each in Copic and Olo….it’s really cheap but if you want to get it, this PDF comes with a color version but I recommend printing the black and white one and creating your own samples; scanning marker color translates so poorly when printed!

Stay tuned for Saturday’s fun!

Not only is it new-class day, but it’s also giveaway day as I wrangled a partner…and I’ll show you how to make a SIMPLE hexagonal sketchbook because the big one I made was silly-hard. ha! Sign up for my newsletter if you want to be first to hear!

Supplies

Some product may be provided by manufacturers for review and use. Compensated affiliate links are here at no cost to you. I appreciate your support of my work with your purchases! Full affiliate and product disclosure | My trusted partners in art