I’m using some brand new Ellen Hutson products to do some stitching! Oh my. Do I actually need to make a sewing YT playlist now? LOL.
First, a sewing story
Unrelated to this project in most ways, but it’ll prepare you for the flower sewn in my tutorial! When I was little I loved to cross stich and crochet. Crocheting especially! I loved to make up my own patterns for animals – I’d make “forms” out of socks, newspapers, tshirts – whatever I could find, and start stitching around them. My most memorable one was a crazy green dragon – I was SO PROUD of that thing! I wish I had pictures now, I’m pretty sure it didn’t look like much. But it taught me as a wee little girl that making up your OWN thing was just fine – just grab supplies and go. Who needs Mom to give you money to buy a pattern? Just build your own! So when I decided to stitch the flower….well…..that dragon came roaring back when the paper started falling apart on me and I got the tape out! Ha! Enjoy…..
Supplies for this project are linked at the end of this post. Compensated affiliate links may be used at no cost to you.
Video
The new release is available, and for those who like to stitch – the coverplate might end up being way more fun than you bargained for. If I’m going to keep on sewing I need you to give me tips on how to keep from hurting my fingers with the needles! lol! In today’s video I show you two cards, one really easy, one….well not easy at all. Ha!
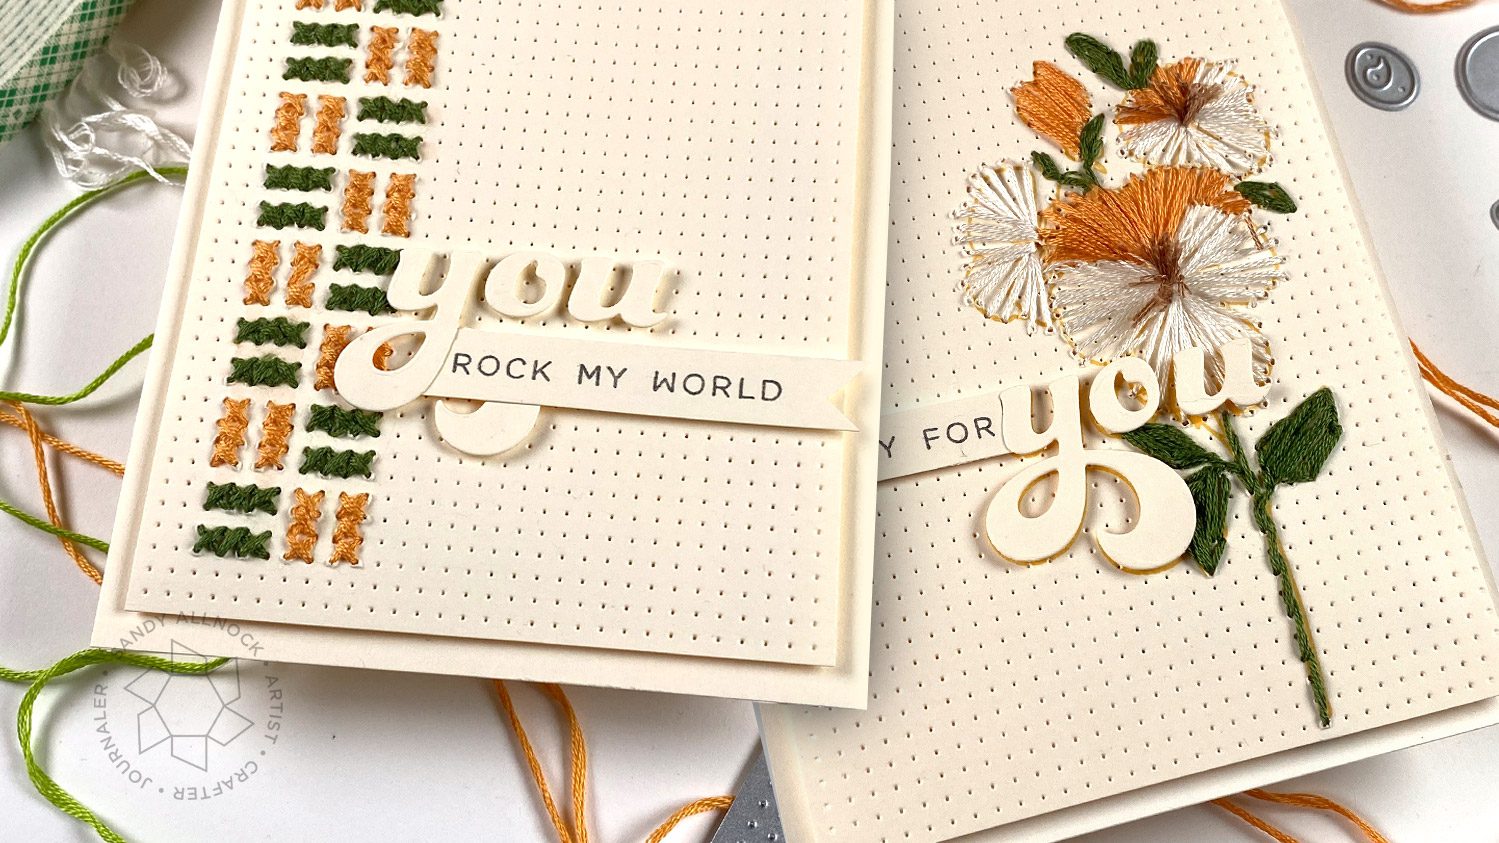
First the easy version – with a graphic I created to show you the pattern. (Ellen has a stitching guide that’s free with the A2 piercing plate or you can grab it solo if you need it – I find it way more helpful than watching a ton of YT videos to find the stitch I want!) I have zero idea if this is how cross stitch patterns are rendered but it was the clearest way I figured I could show you what I did:
I did get bored with it after a while (that happens often to me!) and decided to just do two strips down one side and let the rest of the card be CAS. The sentiment and die are from All About You.
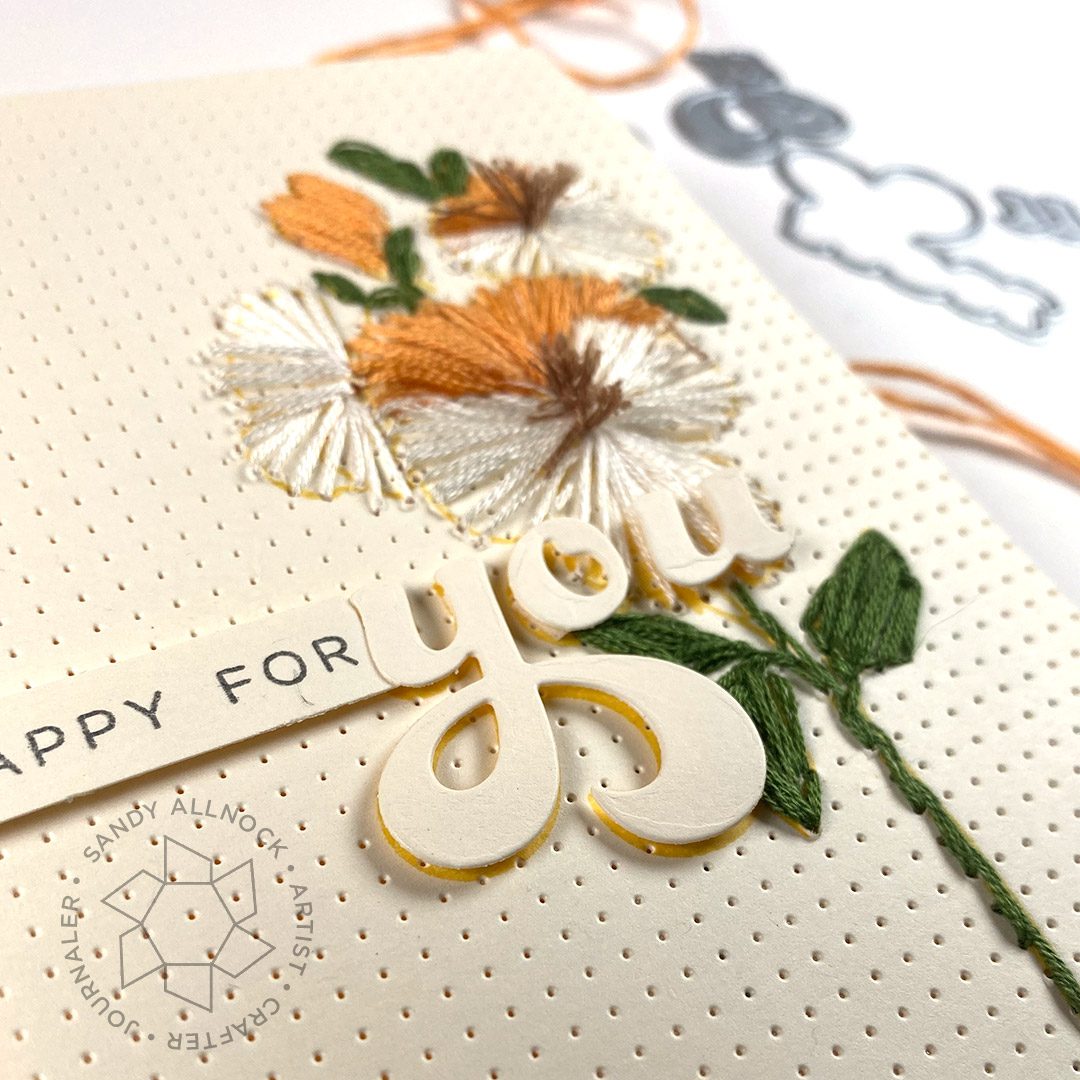
My second card was a whim – I wondered, “How hard could it be to fill in stitches into a stamp?” Apparently harder than I bargained for! One section got so crazy I had to tape it on the back and re-sew it so as not to waste the work I had already done. Gah! For the flower centers, by the way, I made a couple “loops” of thread, then used scissors to trim them then fluff to make it a flower center. I opted not to sew the “you” text…I was toast by that point.
Abstract landscapes
Ellen’s abstract landscapes in this release are a lot of fun – on Friday I’ll have a video of this one over on Ellen’s YT, and I have a special version of the other landscape on my channel the following Monday. Lots to look forward to!
Instagram hop
There’s a hop over on IG today – with prizes! So be sure to go check that out. But as always – I appreciate your shopping from my links, it means a lot to me to help keep my videos comin’….feel free to pop back here after you get all inspired so you can get your shopping done!
Supplies
Some product may be provided by manufacturers for review and use. Compensated affiliate links are here at no cost to you. If you choose to shop using my EH (Ellen Hutson) links, please accept cookies on that site in order to retain the link to my blog, or that compensation does not happen for me. I appreciate your support of my work with your purchases! Full affiliate and product disclosure | My trusted partners in art
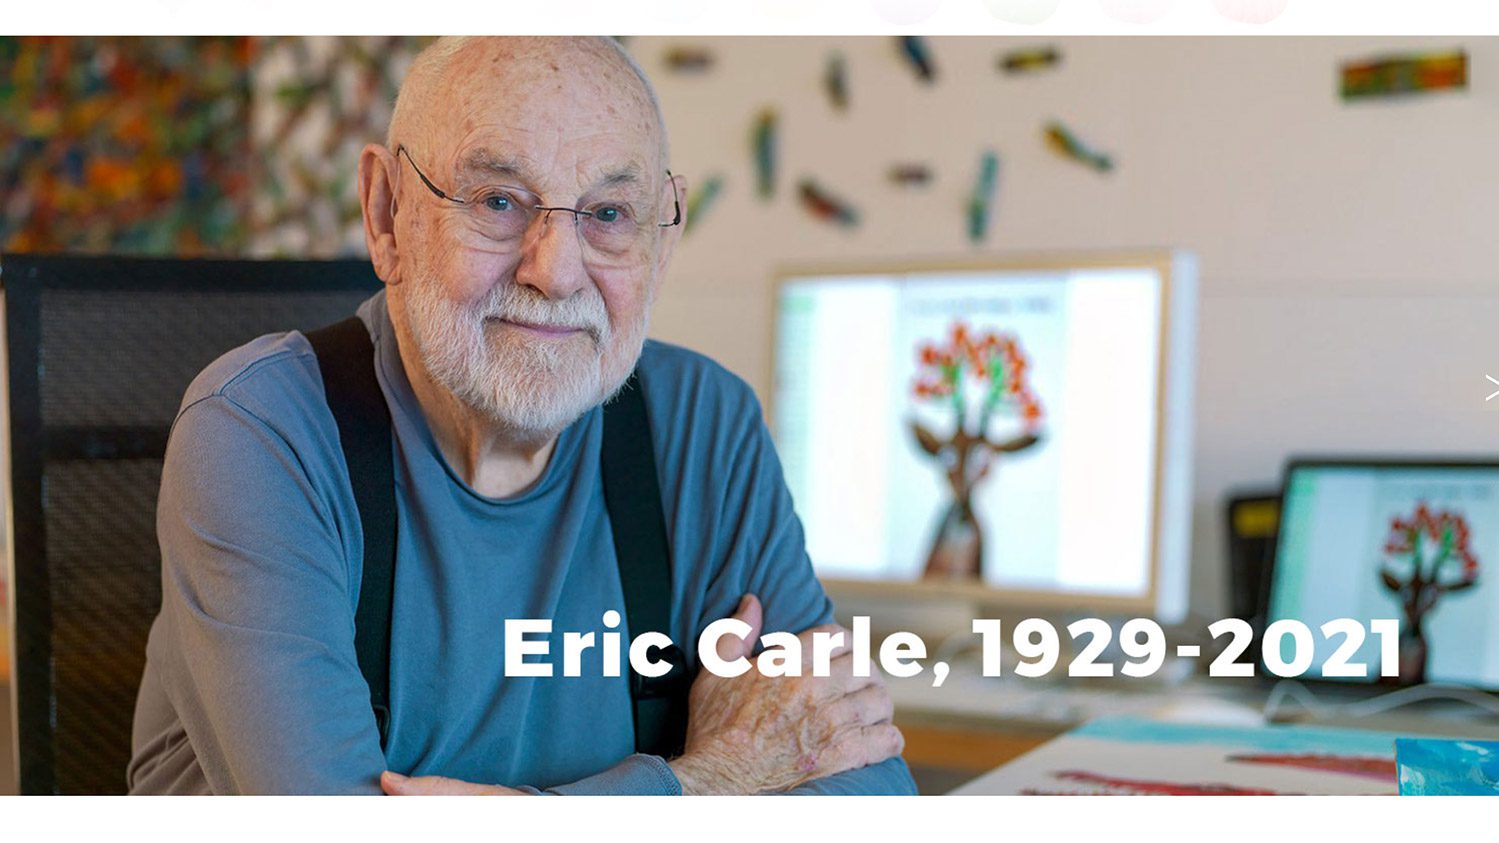
Eric Carle, author and illustrator of many books, passed away recently. May 23, 2021 – so today I’m adding to my series of art inspired by children’s illustrators by taking on Eric’s imagery and style for inspiration!
Supplies for this project are linked at the end of this post. Compensated affiliate links may be used at no cost to you.
Yesterday someone sent me video of Mr. Rogers visiting Eric Carle in his studio! It’s worth a few minutes :
https://youtu.be/7ED2FcOOYEU
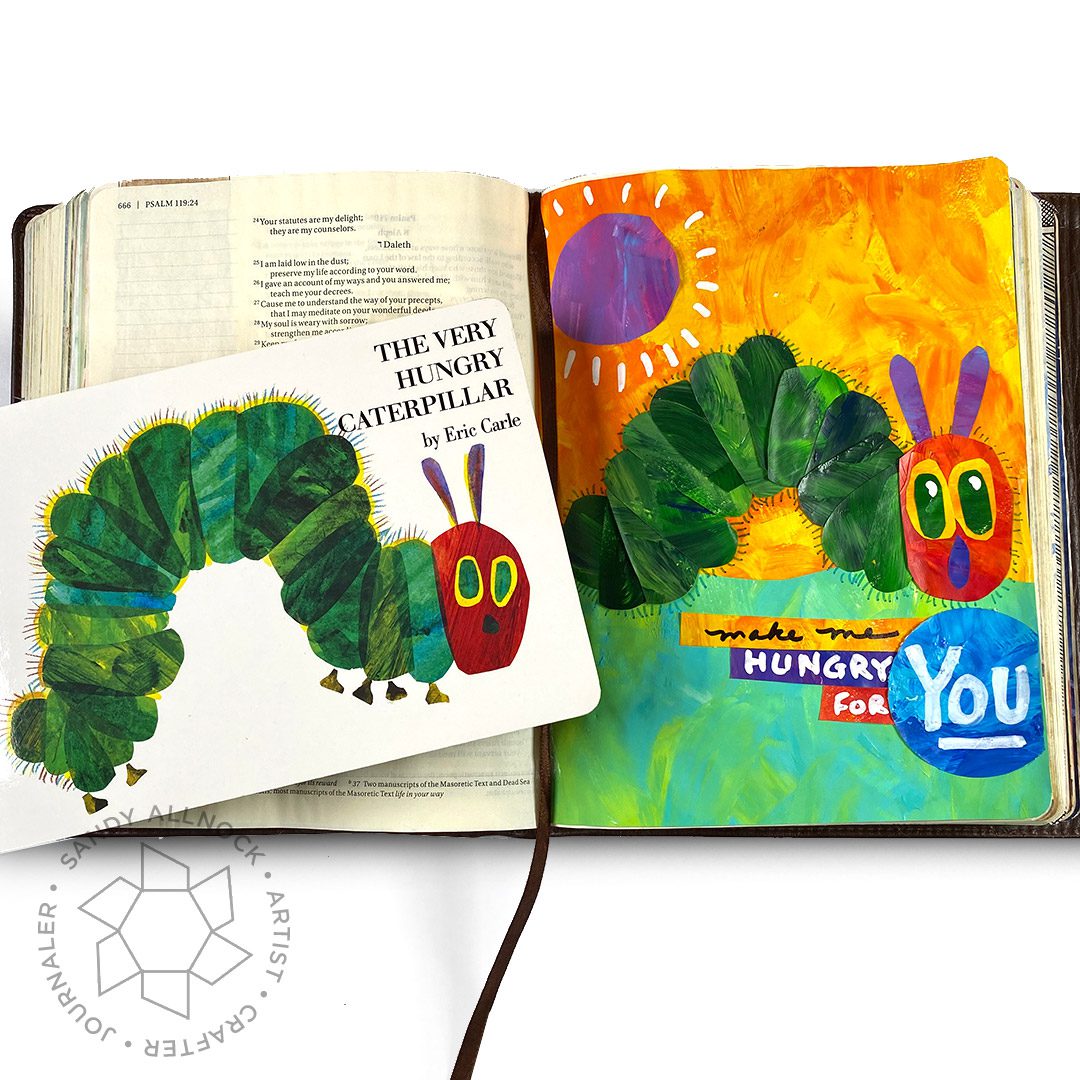
I chose a favorite classic by Carle, The Very Hungry Caterpillar, as my inspiration! If it’s not in your library for reading to any littles who come to your house, you can rectify that. While I had no idea what his process was while creating my projects, I thought collage could work well.
Video 1: cards
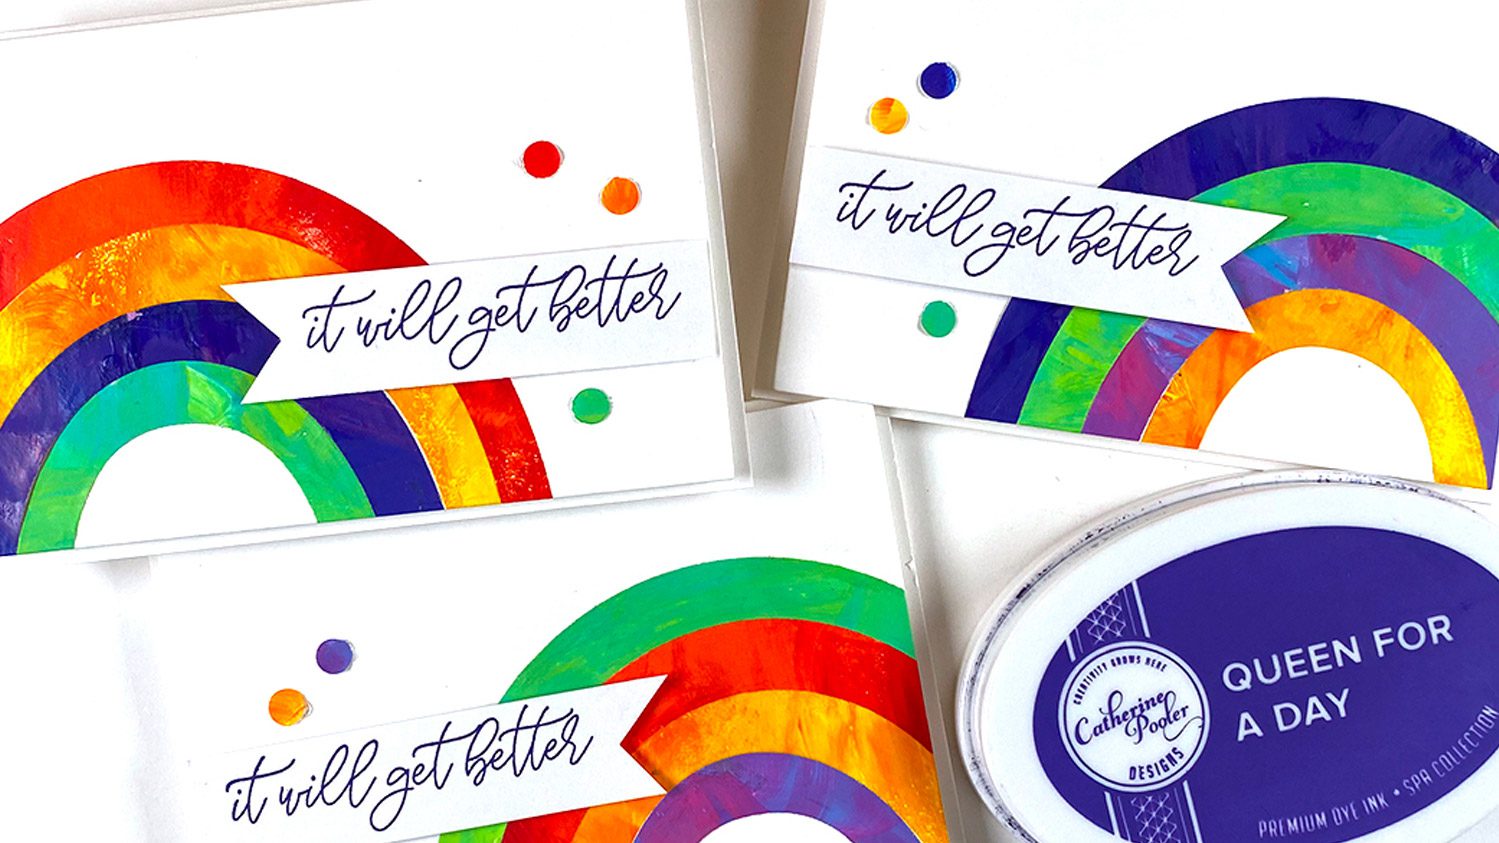
On my main channel I created cards that are CAS (clean and simple) 4Bar size cards (5″ x 3.5″)….Watch the video below or click HERE to see it on YouTube.
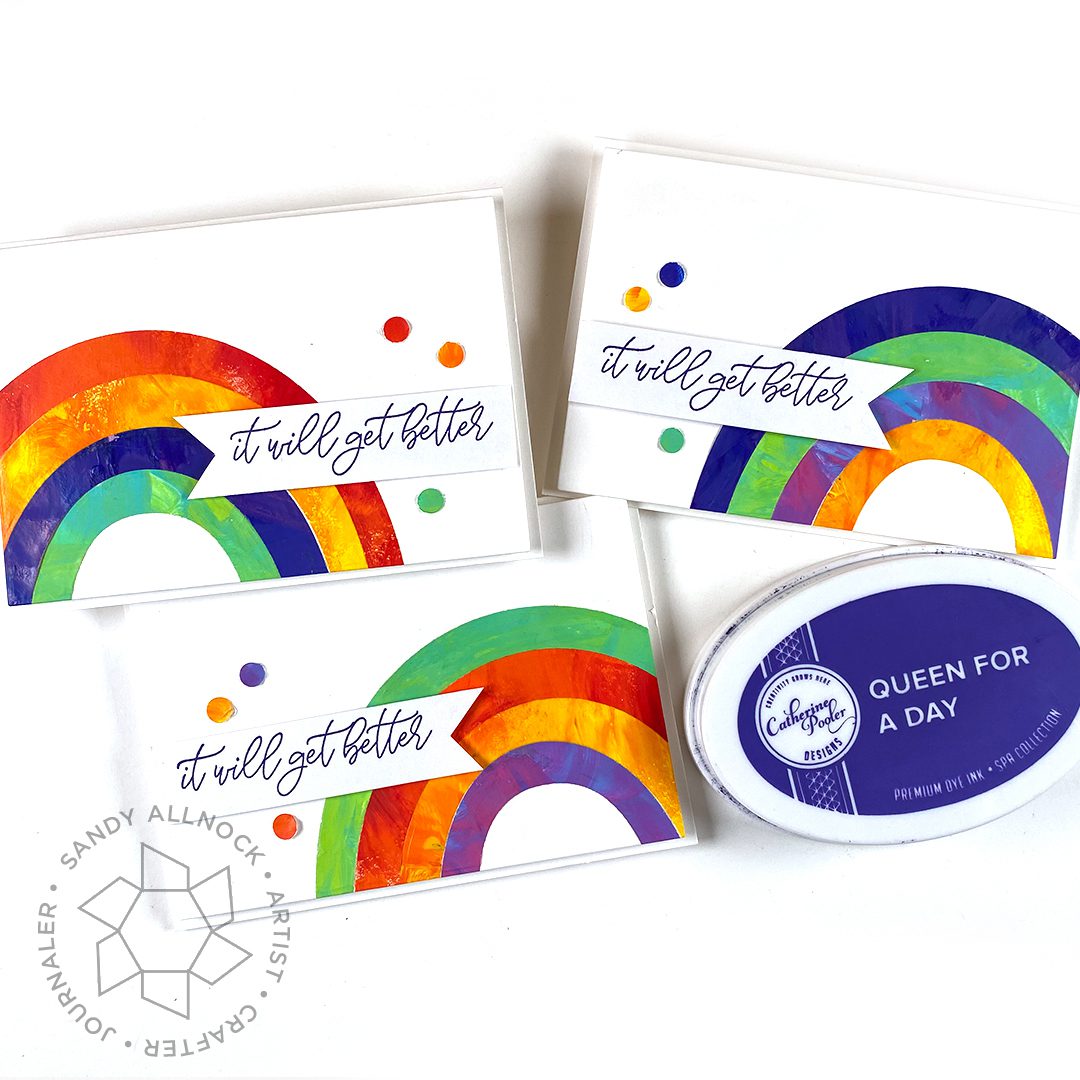
These are 4Bar cards as I said – 5″ x 3.5″….I used the Rainbow Card die with the Better Days Ahead stamp set for the sentiment, and a nice purple ink for it. Embellishments were holepunched from the painted papers!
Sunshine Cards
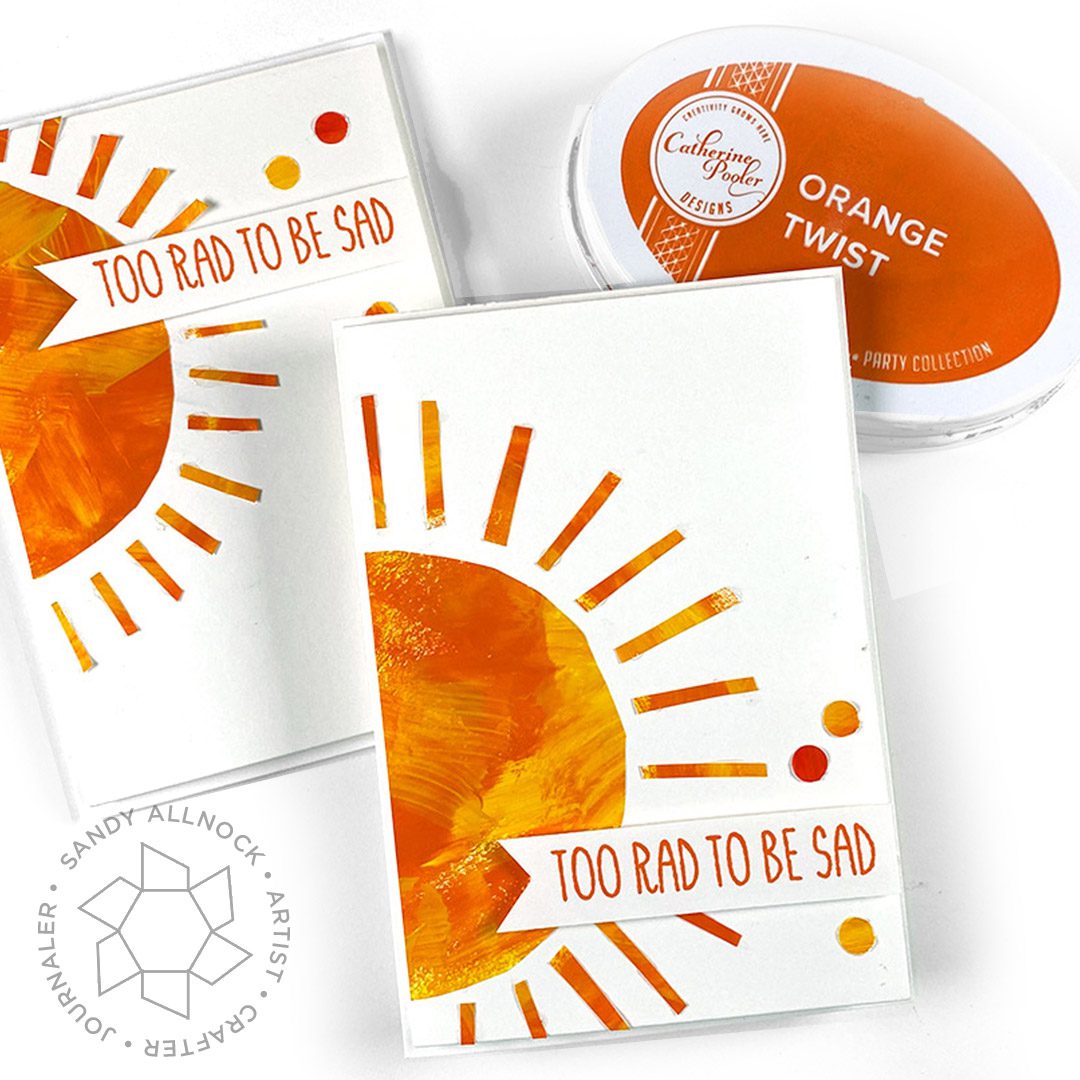
Simpler cards! Just cut a semi-round circle, draw radiating lines with Glossy Accents or other liquid glue, and attach the rays! I used the same Bettr Days stamp set for the sentiment – and this time an orange ink.
Bible Journaling page
I decided to take a more direct route to Eric Carle’s work on this one – putting my clunky version of his caterpillar on my tip-in page! (A tip-in is a separate sheet inserted into the Bible; I squeezed a tiny line of glue into the inside of the book and slipped the trimmed page into it.)
Supplies
Some product may be provided by manufacturers for review and use. Compensated affiliate links are here at no cost to you. If you choose to shop using my EH (Ellen Hutson) links, please accept cookies on that site in order to retain the link to my blog, or that compensation does not happen for me. I appreciate your support of my work with your purchases! Full affiliate and product disclosure | My trusted partners in art
Here’s the little doodled design on scratch paper that II made – I didn’t follow it but it was sure helpful to know if this was going to work before starting the transfer to the fabric and sewing!
The package of hoops had a couple in it – and the fabric was large enough too – so stay tuned to see if I do more. It’ll probably be on social media for a while to see if I like it before bothering with any more sewing – my channel is about coloring, but I thought maybe some of you could be inspired by a project like this!
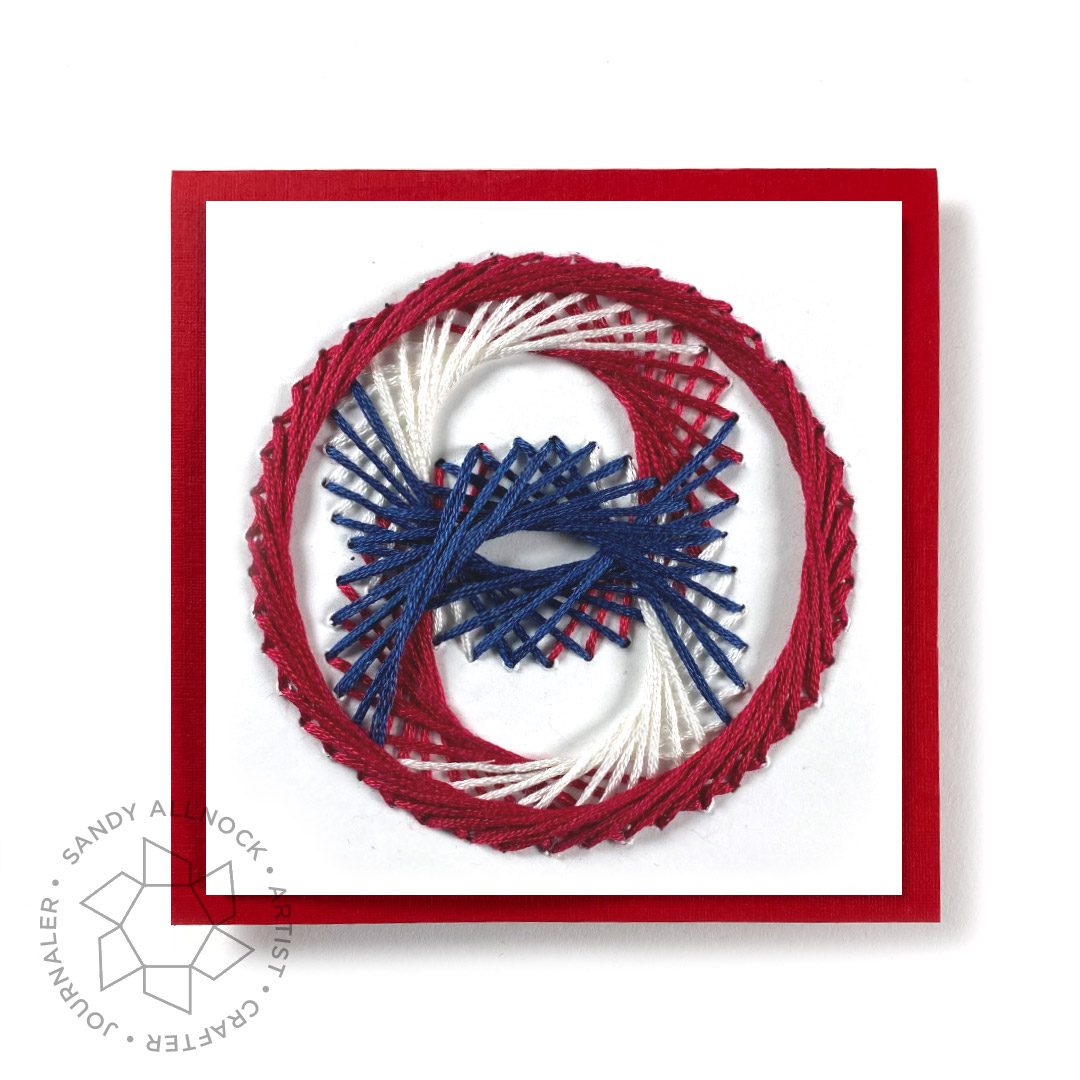
I did make a card version of the first design with only two circles….but my camera ate the film so we just have a picture left….note that I used all SIX strands of the skein for this, whereas I used three on the fabric. So this is thicker/more dense:
Guest video today
I’m also over at Ellen Hutson’s channel with a card – this one’s easier to follow, no pattern required. Just use the stitching die!
You might want more on using these dies, so…..click on the pic to go to a previous post with these:
Supplies for both videos shown
Some product may be provided by manufacturers for review and use. Compensated affiliate links are here at no cost to you. If you choose to shop using my EH (Ellen Hutson) links, please accept cookies on that site in order to retain the link to my blog, or that compensation does not happen for me. I appreciate your support of my work with your purchases! Full affiliate and product disclosure | My trusted partners in art
In 2020 I created my Fine Art website for the first time….and for the first time offered up some of my work to (GASP!) be sold. I was pretty sure nothing would go, but recently I crossed the 50 piece threshhold!?! I guess all my whining about how hard that website was to build was worth it.
However – I have really been doing a bad job at packing up my work! I’m a recycler, and was excited I could finally use up all the boxes I save…..but….I wasn’t feeling great about the user experience. Yes if it’s my “green” sister, who reuses the same Christmas wrapping every year, she’d be tickled. And with Earth Day being tomorrow I can promise none of that stuff will go to waste – it’ll just be the outer wrapping, and the inside is what needs to be awesome.
So since I’ve had this Repetitive Stress Injury to my dominant hand, I’ve dedicated myself to doing a bunch of tasks that never bubbled up too high on the list, and learning how others present their pieces to buyer is something my left hand can do with no help at all from my right hand. Today’s video is the result of that….a bunny trail into wax stamps! Before shopping -please do read on in this post; I have formed a few DEFINITE opinions on what works and why since the making of this first video.
Video
Watch the video below or click here to see it on YouTube.….then read more detail below on some of the supplies I feel comfortable recommending at this point.
Cards have always been included – and I haven’t gotten them revamped yet but it’s comin’ soon. I was out painting last week and had several inquiries and didn’t have current cards to give them!
Packing art
This video deals with only the inner “presentation” portion of packing; the outer layers of packaging (boxes, envelopes, bubble wrap etc) are a choice to make based on the art, size, etc. But the wrapping right around the art piece can be quite special and make a buyer feel better about their purchase, especially as you grow in notoriety and charge more for your work, which is where I’d like to end up.
Layers from the inside out:
Glassine right on top of the art, slick side down. This protects the surface of the paper from scratching or any dirt to rub against it and do any damage.
Backer board or illustration board cut to just larger than the art. How much larger is up to you. But something good and heavy; the board I’m using is similar to the stuff they use for the back of a watercolor pad.
Wrap that in more glassine. I’ve ordered in the stickers I talked about! Stay tuned for more on that.
Add a handmade card, or letter on really nice paper if you’re not a crafty type. Tuck into a nice envelope.
Wrap in kraft paper, use brown tape for the flaps, and add a wax seal to the seam.
Then add whatever cardboard, bubble wrap, etc is needed.
What you need to get started
There are some sets that’ll give you most of what’s needed; in the longform description below I list at the end of each one the items to consider in addition to that set. But the basics:
A stamp
Wax
Candle for heat
A spoon
Main differences come in A) whether you want a warmer/furnace so you don’t have to hold the spoon for 3 minutes; B) which form of wax you want to use (beads, candles, glue gun sticks). I’ve done my best to describe the options below.
Wax seal stamps
The design of stamps you decide on is very personal. So. Many. Choices! The one used here is Regal Letter S. Note that the recessed part of a design will be the RAISED part when stamped – wax pushes up into the stamp, and can make some gorgeous 3D effects. Or not. The cheaper the stamp, the less beautifully it handles that.
Wax seal sets
The “set” I recommend first is the Craspire Wax Warmer set shown below. Any warmer is fine, I’m sure, but this is the one I got and it’s working fine. Without something to set the spoon on, you’re stuck holding it. For 2-3+ minutes; different waxes may take different amounts, but nothing is lickety split. This also comes with a spoon that’s larger than what appears to be “standard” (all the other “sets” I bought had the same aluminum spoons with longer handles) and the spoon in this warmer set was the only one with a little triangle to guide pouring (which seems to help little). The aluminum spoon handles get warm – not warm enough to burn you or anything, but if you do a lot of seals, it may warm up a bit. It also comes with some pens (gold and silver), and a couple wickless candles, which you cut up into chunks to melt in the spoon. (More on those in a minute.) Get this set and you still need a wax stamp of choice.
The Tree of Life set below is also nice – the stamp here is just gorgeous. The box is nice to keep everything in, and has the wickless candles (see note below). This comes without a warmer (sometimes called a ‘furnace’), and the silver spoon is the standard one mentioned above. All the sets I bought for testing come with at least 1-2 tealights – don’t count those as “wow this has everything” because those add practically nothing to the cost. Get this set and I’d recommend a wax warmer to add to it.
Glue gun wax seals
I played with the glue gun method of wax delivery and it’s NOT going to be my preference. I’ll show you a video on it in the near future, but don’t just get excited that you already have a gun so you’re good to go. Here’s some things to consider:
For mass production (wedding invites etc), this is likely the way to go. The wax is melting constantly inside the gun so you don’t have the wait time for melting. But you know what you do have? Wait time for COOLING. The wax stamp, since it’s metal, gets hot. Even a warm wax stamp is a MESS when trying to stamp it—the wax will stick to it and peel up, it’s just a mess. So you need to have ice in a ziploc that you can cool your stamp on, which takes, get this, at least a minute between stampings. So yes, you save a minute or two each when using glue guns, but….I don’t find the experience satisfying enough for the tradeoff.
There are 2 sizes of glue guns. And 2 sizes of wax sticks. At first I didn’t know that, I’d never had a glue gun before, and bought a mini gun but the larger sticks. Yeah. I know. Glue gun newbie here. So I went and bought the bigger gun AND smaller sticks. So be careful when buying.
The last thing is the cleaning out of the gun. If you plan to stick with one color, then fine, just let the stick cool in the gun, and it’s your dedicated gold wax seal gun forever. Just keep adding sticks as it runs out and you’re fine. But if you want to create one seal with one color, and another with a different color…well you’re out of luck. It’s not a quick-change. If the stick is long enough that you can pull it out, you still have some of color 1 stuck in the barrel, and to get it cleaned out, you either waste some wax of the 2nd color to push it through, or sacrifice a gluestick for the purpose.
All these mean that I’m gonna be a spoon girl.
Wax Seal Warmers/Furnaces
I decided on getting a set that included one but if you choose to go the piecemeal route. one warmer I saw and considered was the Mudder Wax Furnace – it comes with a nice spoon with wooden handle. A few dollars more is the Triwol Wax Seal Kit that has a little fancier design and fancier wooden handled spoon. I can’t vouch for either but I also can’t imagine they would be bad.
Wax beads and candles with and without wicks
Wax beads are chopped into tiny hexagons; in my first attempts they melted easier/faster and were “puffier” than the wax candles if that makes sense? I don’t have enough experience with a variety of brands, so it might be that. However wax beads come in a crazy wonderful variety of colors, and there are techniques to do fun stuff with that….so stay tuned. I bought these blue ones and this mixed set to play with. I started with the Yoption Blue Beads (360 pc) and Tegg Colourful Beads (100 pc)….and you know more are coming.
Wickless candles (pictured in the boxed set above) have two ways to be used: either chop off pieces to put in the spoon, or hold the end of it in the spoon over the flame and wait for it to melt (the latter is only possible while the candle is long enough that you don’t get burned. I didn’t find the latter to be very easy, but maybe there are techniques I can find tutorials on. Chopping off pieces is easier.
Candles with wicks for seals are also available – light it and wait for it to drip where you want the seal to be. I only used cheap ones from Amazon so it’s possible good wax would work better – but I found two problems: 1) it took FOREVER to get enough wax to make a seal to drip, and 2) the wax that did drip was charred from the flame. So the wick candles will now be chopped into little bits to melt in a spoon.
NOTE: don’t use normal candles. Those don’t have resin in them which is what makes the seals attach to the surface of the paper you’re adding them to.
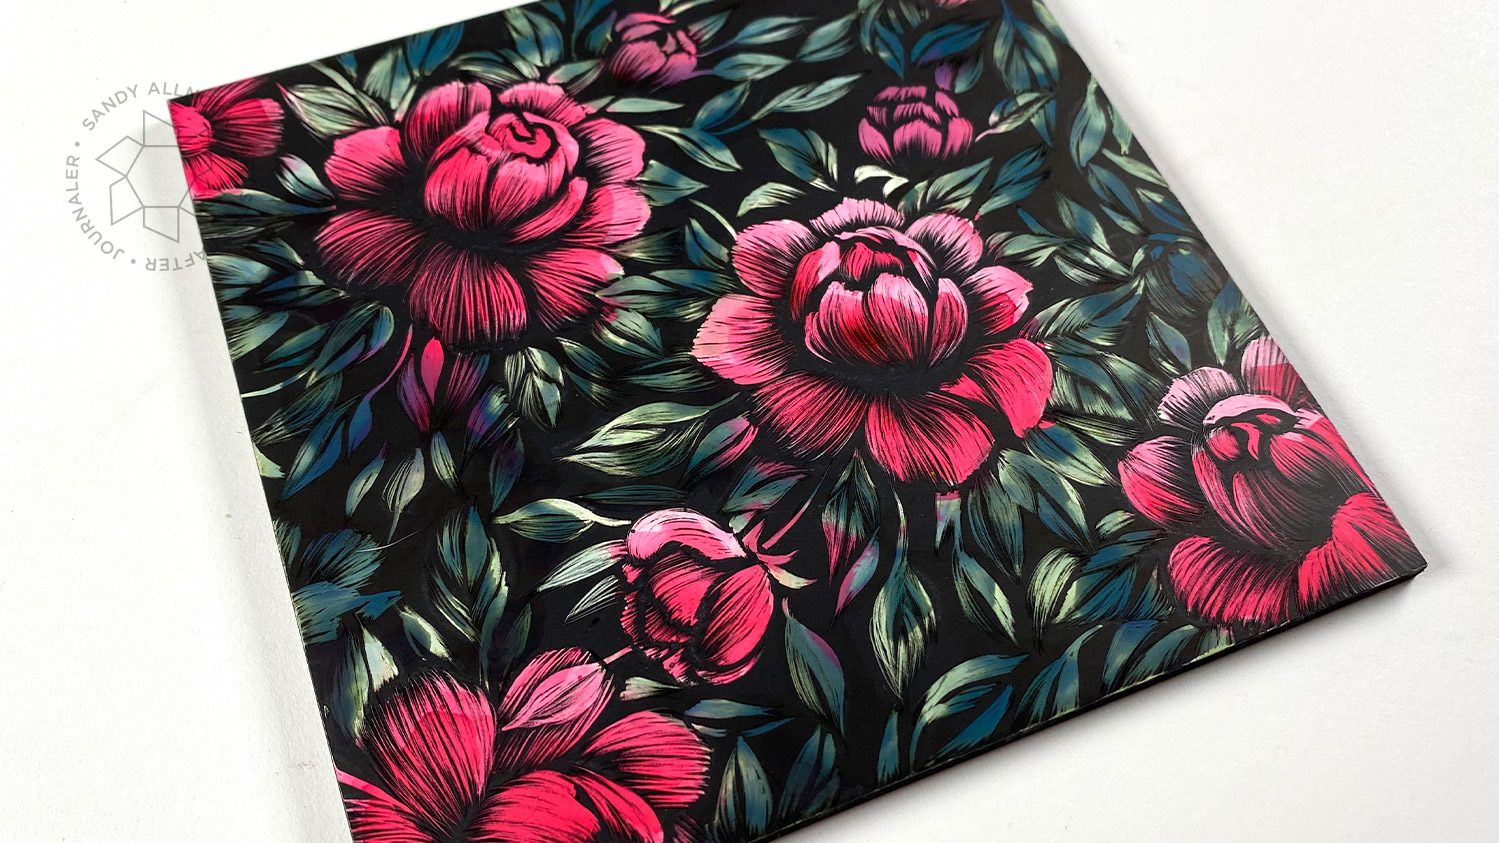
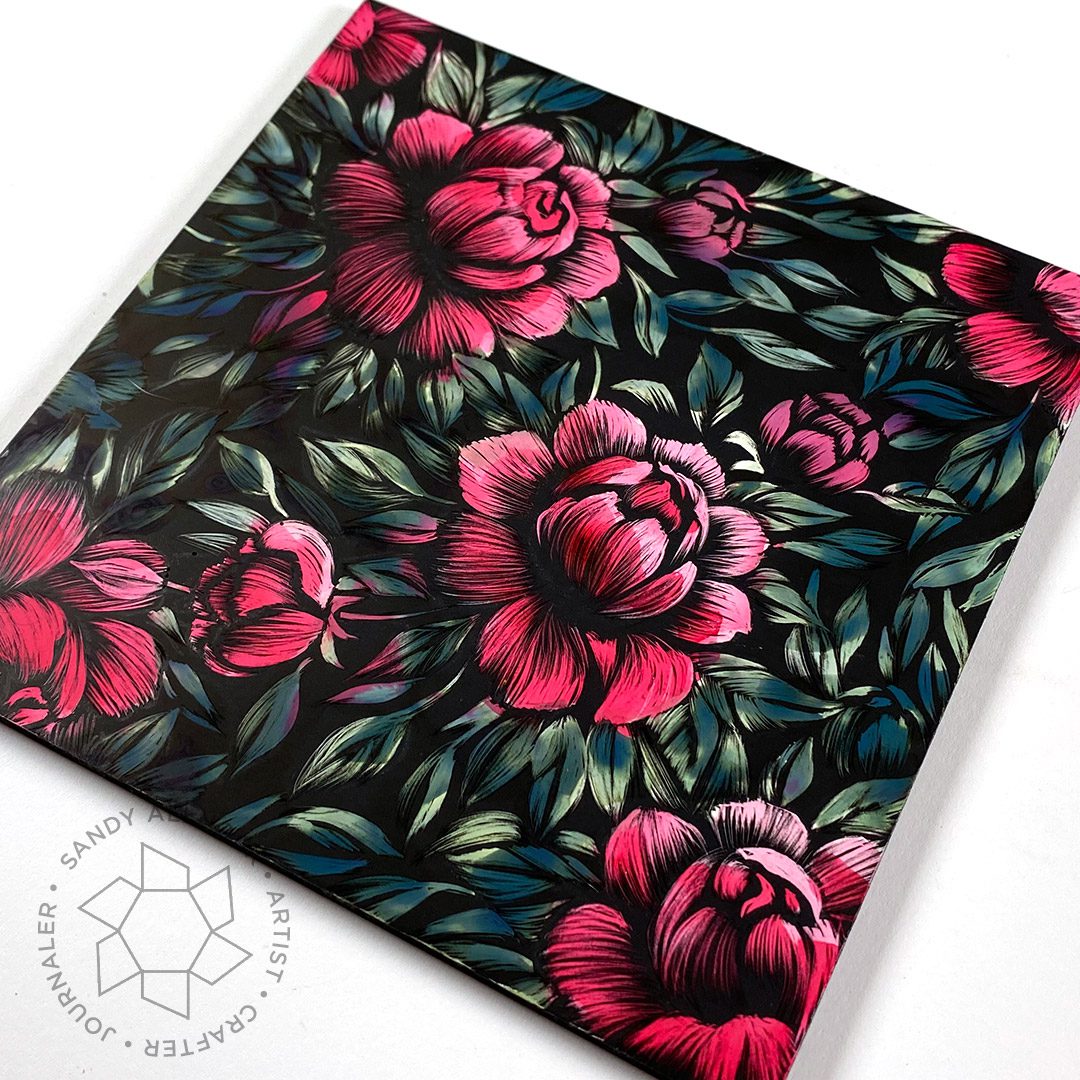
A little while back I showed you some DIY scratchboard on a card – today I’m back with a more fine art kind of piece with more control and detail!
Supplies for this project are linked at the end of this post. Compensated affiliate links may be used at no cost to you.
Video
This time I trusted the pros: they make a really NICE scratchboard as compared to my DIY, and wow did it make a difference! I did some online searching lately and found other scratchboard artists doing crazy beautiful things and I have a lot to learn – which is my sweet spot anyway, I love learning new things!
While MY inks didn’t work as hoped, I’m still tickled pink at how this came out! I even put it in the shop.
I found the inspiration video!
The “Maxwell technique of adding color to scratchboard” is here.
Winners
The winner in the Colorado Craft Company giveaway: Lynne Lugo! Email me for info on how to use your $25 gift certificate.
Winners were announced yesterday in the Altenew giveaway – if no one replies by the end of tonight, I’ll pick new winners and try again.
(Y’all are killin’ me on giveaways….folks enter but never come see if they won…)
Supplies
Some product may be provided by manufacturers for review and use. Compensated affiliate links are here at no cost to you. If you choose to shop using my EH (Ellen Hutson) links, please accept cookies on that site in order to retain the link to my blog, or that compensation does not happen for me. I appreciate your support of my work with your purchases! Full affiliate and product disclosure | My trusted partners in art
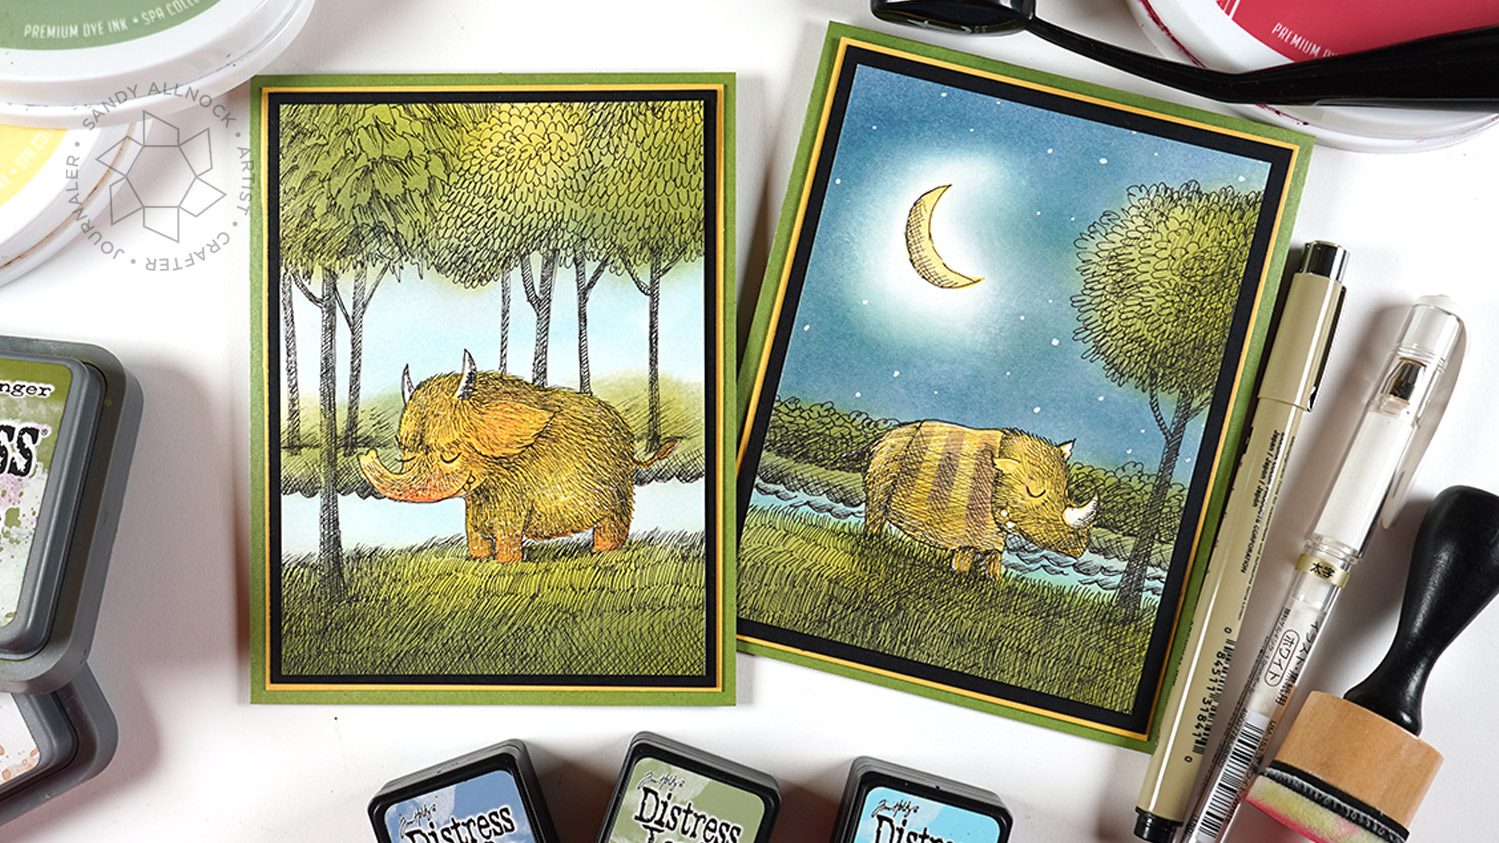
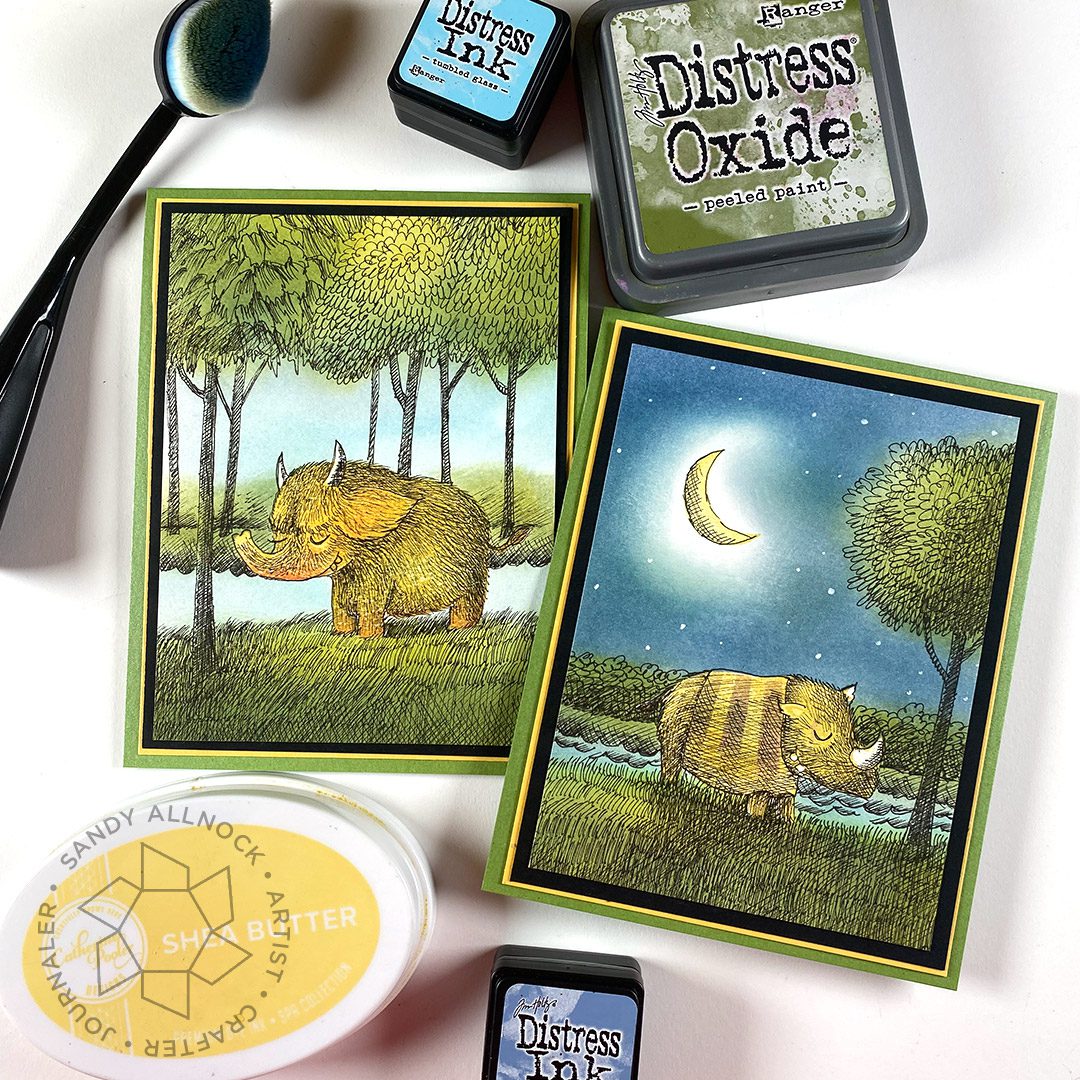
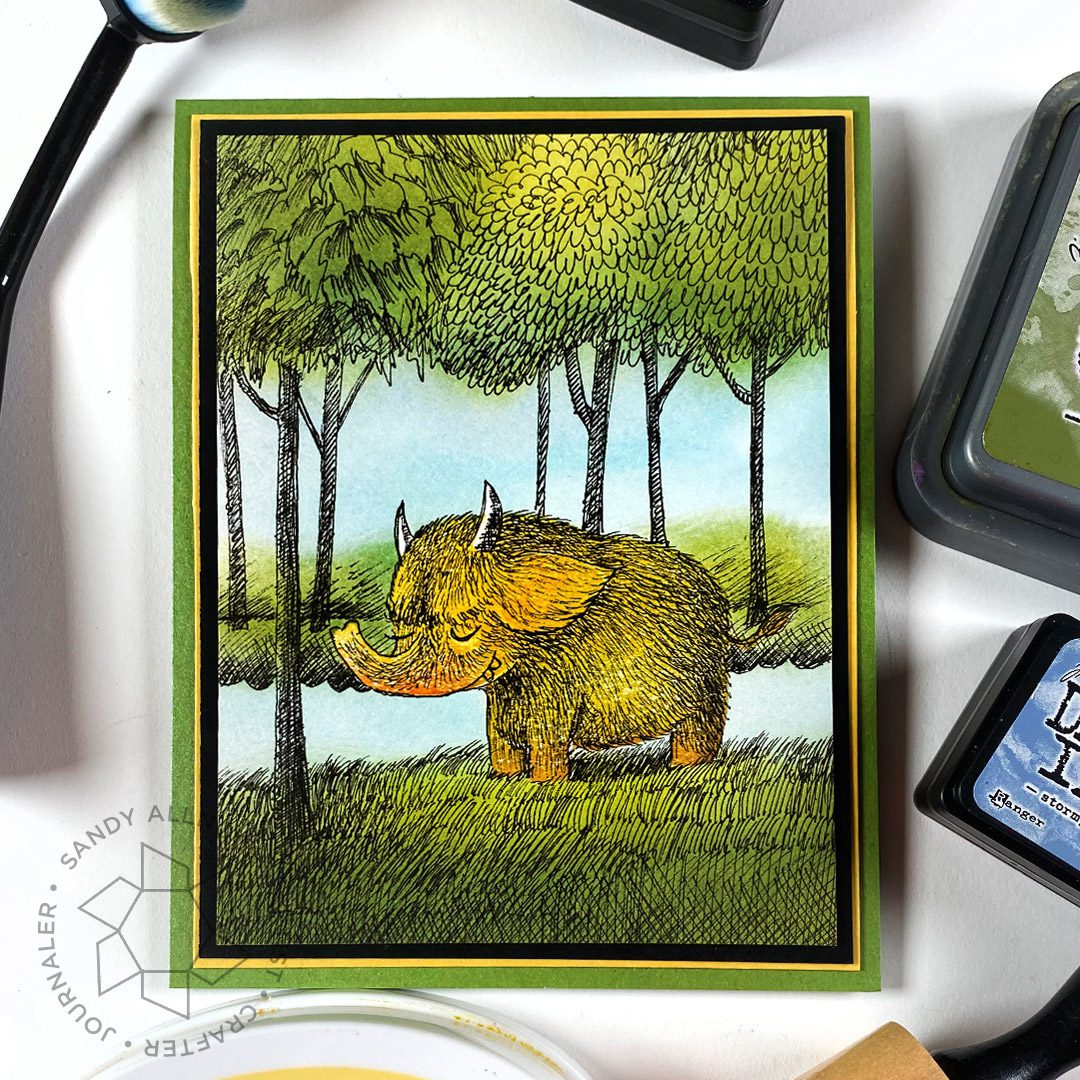
This might be the start of a series…..art inspired by favorite children’s illustrators. Maurice Sendak’s work is SO inspiring to the likes of me – lots of pen and ink work, fun subject matter, muted colors – it’s all right up my alley!
Supplies for this project are linked at the end of this post. Compensated affiliate links may be used at no cost to you.
Many art students learn by trying to replicate a master’s work; I’ve never been much for that since that painting or drawing is already done – I’d rather try to mimic a style, and see what I can incorporate from it into my own. With Maurice Sendak’s Where the WIld Things Are, I love the line work’s looseness that fits right in with my own style.
Video
You don’t have to replicate all of a person’s style – you can make these with super bright fun colors. Or with his colors and no black lines. Or whatever it is YOU learn from looking at his work!
Some product may be provided by manufacturers for review and use. Compensated affiliate links are here at no cost to you. If you choose to shop using my EH (Ellen Hutson) links, please accept cookies on that site in order to retain the link to my blog, or that compensation does not happen for me. I appreciate your support of my work with your purchases! Full affiliate and product disclosure | My trusted partners in art