I’ve wanted to try Pysanky for SO long – and with the war going on in Ukraine, I thought this might just be the year to give it a go. I did not expect this to be as hard for me! So in today’s tutorial I’ll share how to make etched eggs – which are much easier with my wonky lines since tone-on-tone doesn’t show off th wobbliness! Tomorrow I’ll get into color (it’s the week before Easter so I’m getting both videos out early this week.)
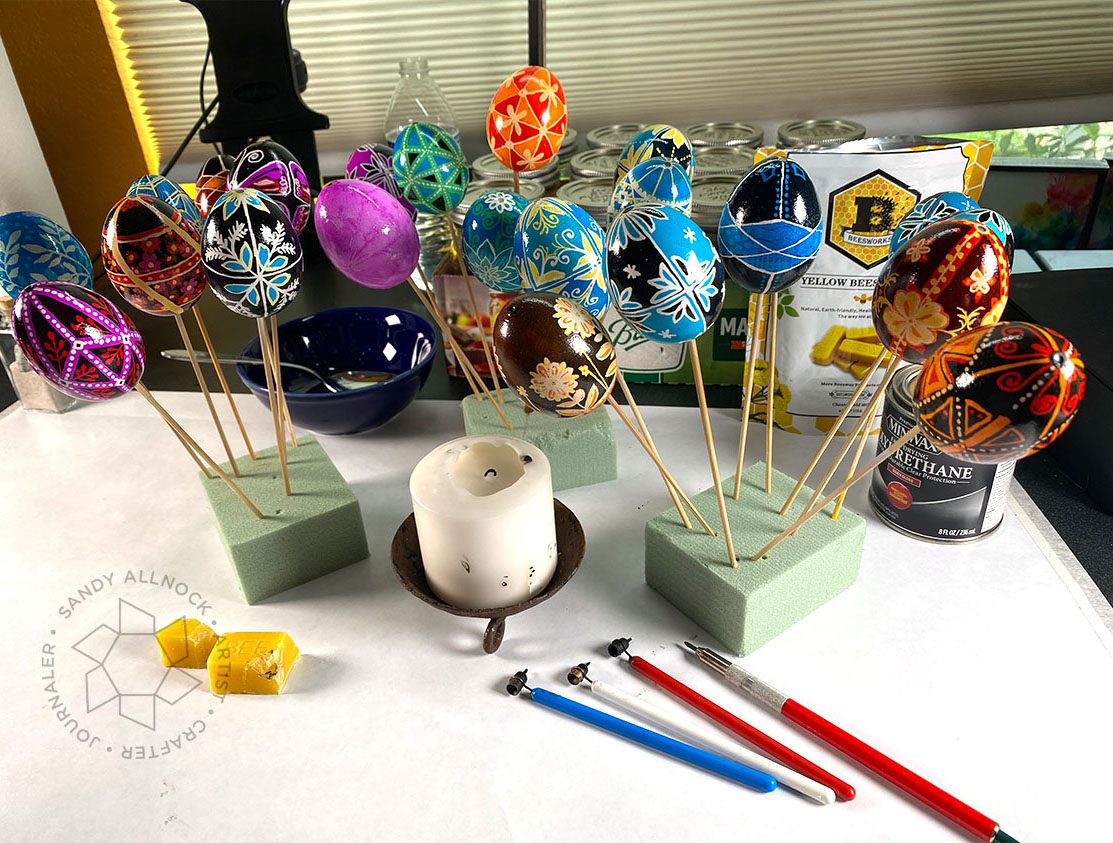
Another bonus to these etched eggs? You don’t need a lot of supplies. Or at least they’re things at your local store, aside from the kitska! And I know some of you got the fluid writer when I shared that a while back, so you can use that.
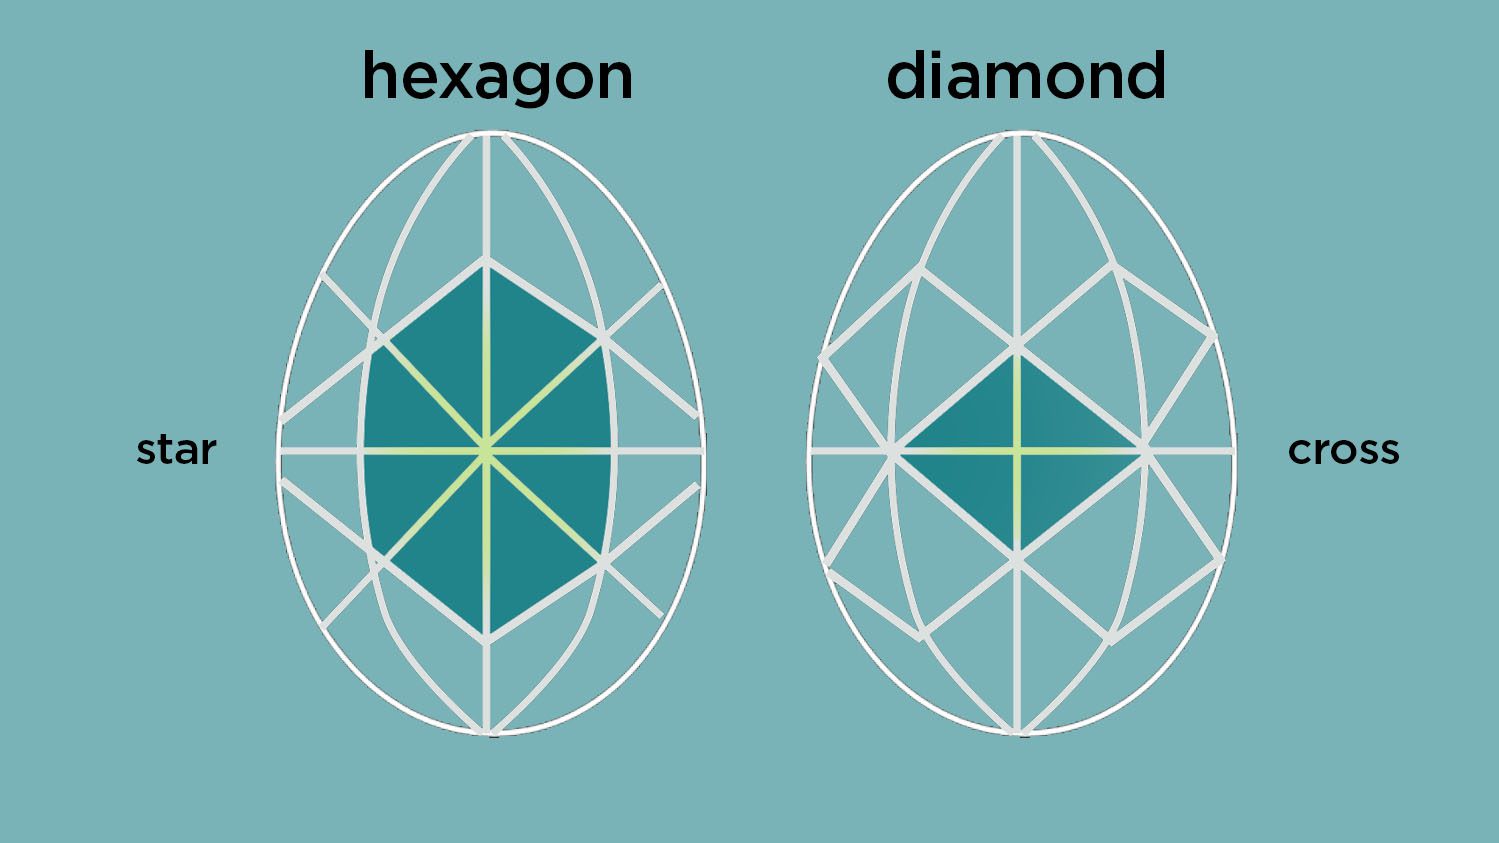
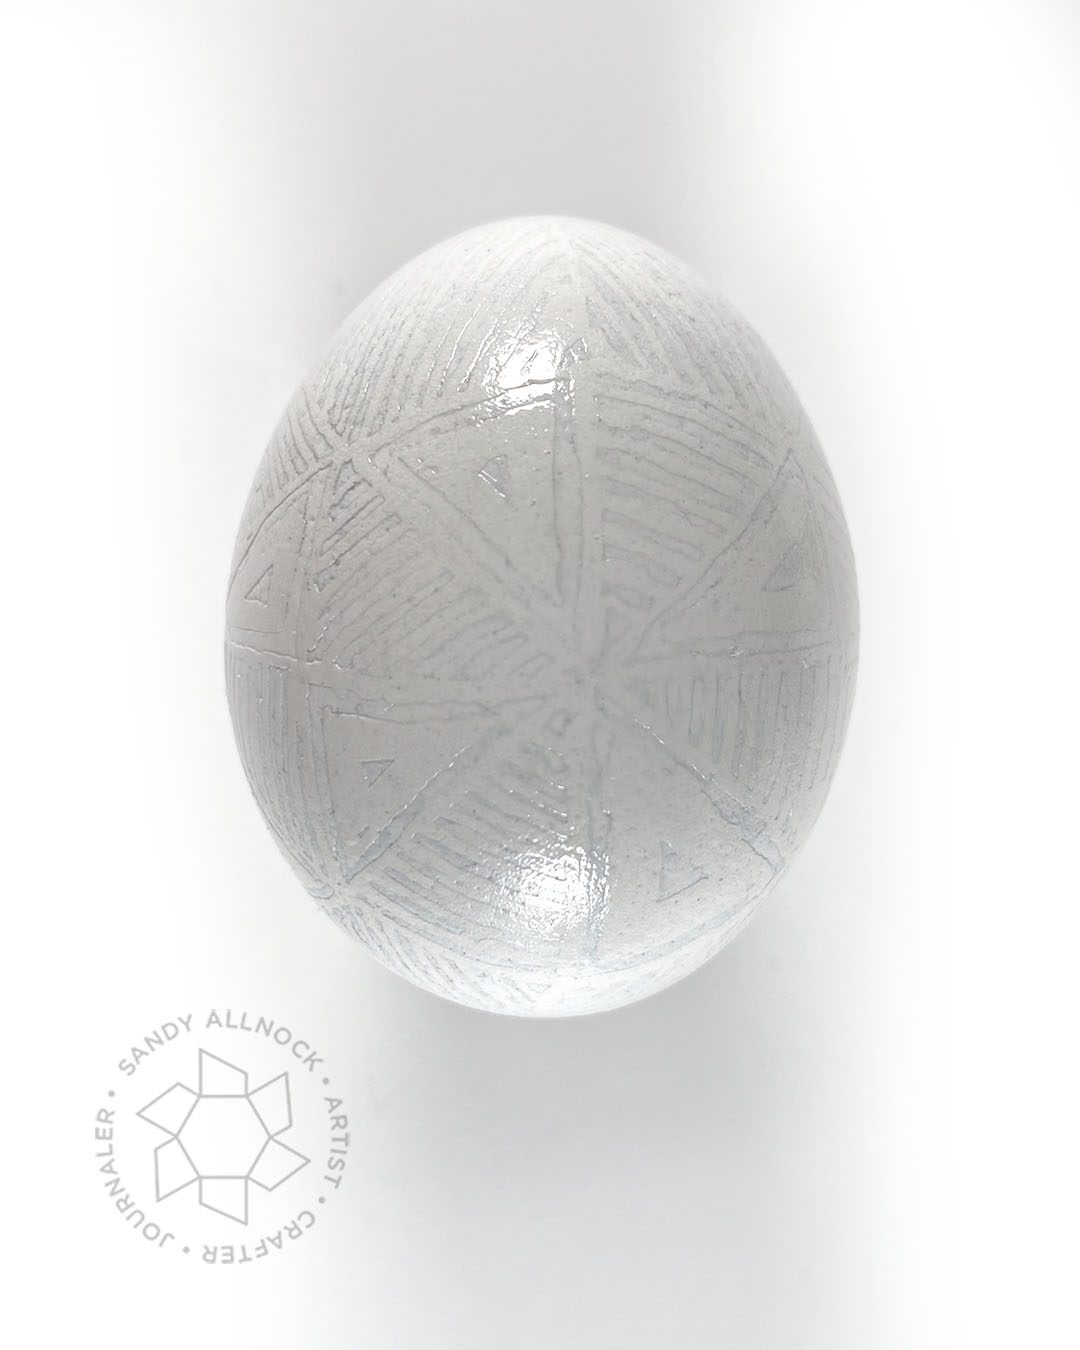
This is a traditional way to divide an egg: 8 vertical lines at equal distance; 1 straight horizontal “equator”; then X’s that cross two of the 8 sections. There are tons of tutorials on drawing the guidelines in different order, but what I shared in the video is what’s working for me. The design leaves you with basically two shapes to use to create repeatable patterns – 4 hexagons including a “star” at the center of it, and diamonds all over the rest of the egg. (The top and bottom when viewed from above or below are hexagons too.)
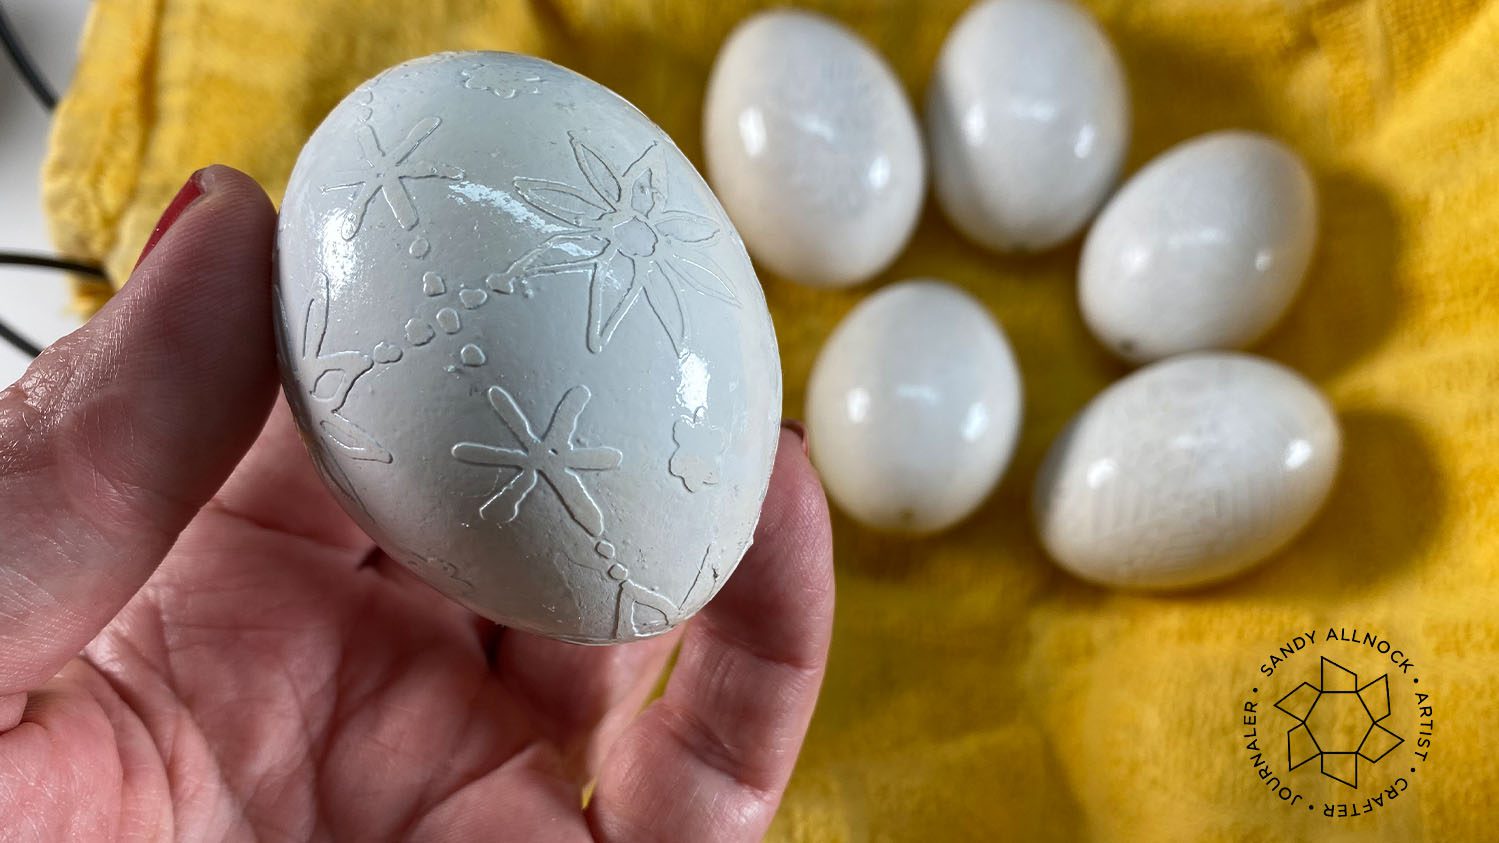
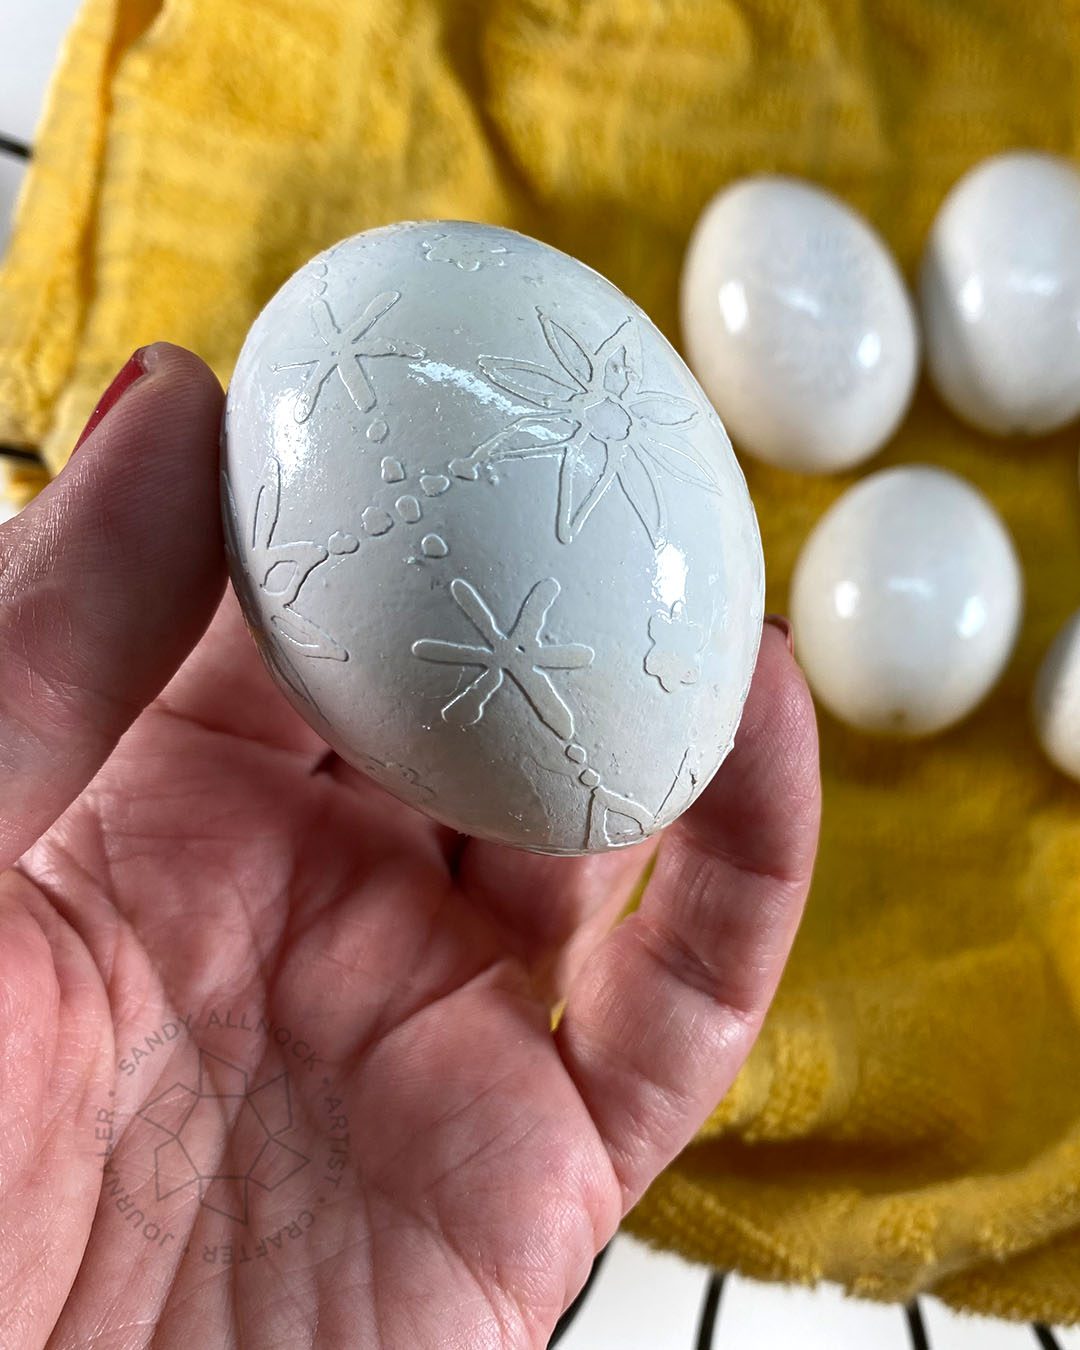
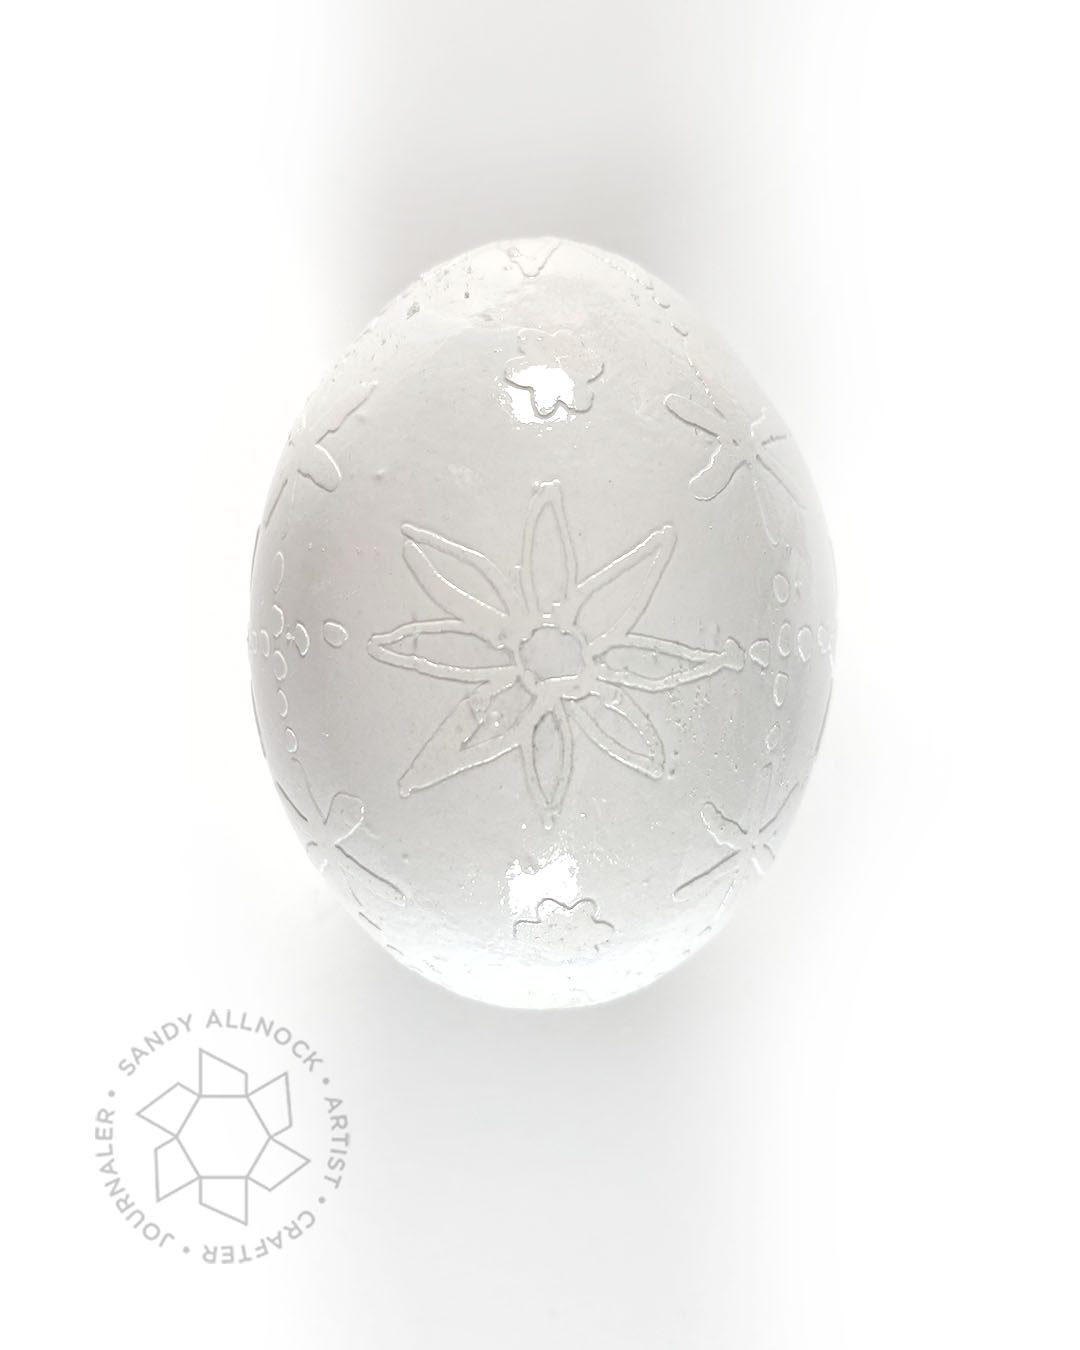
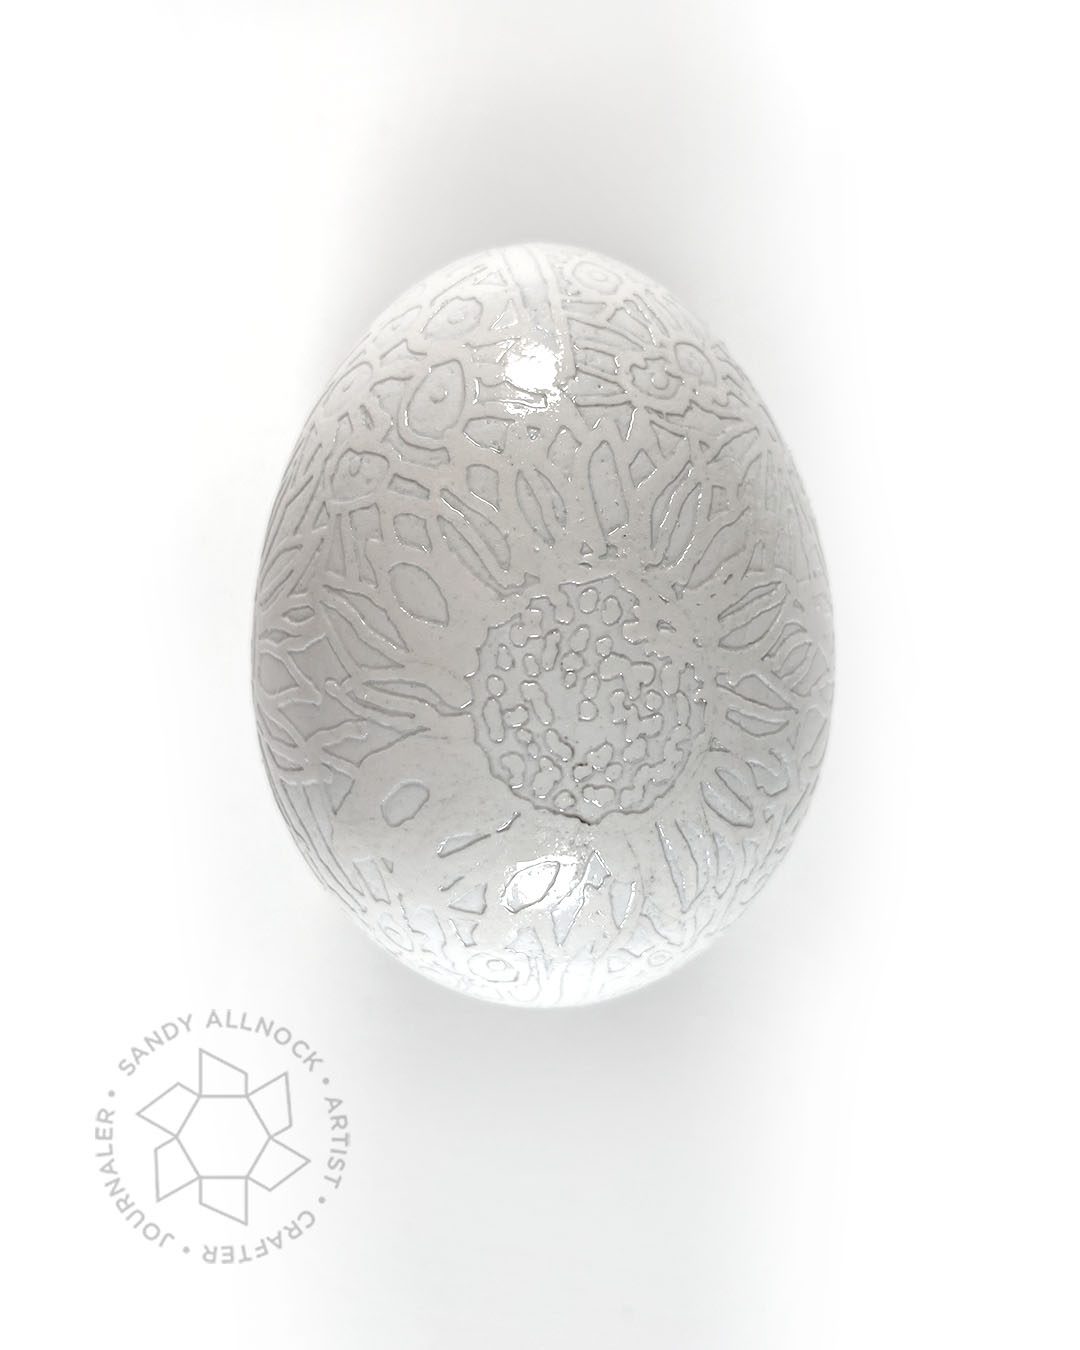
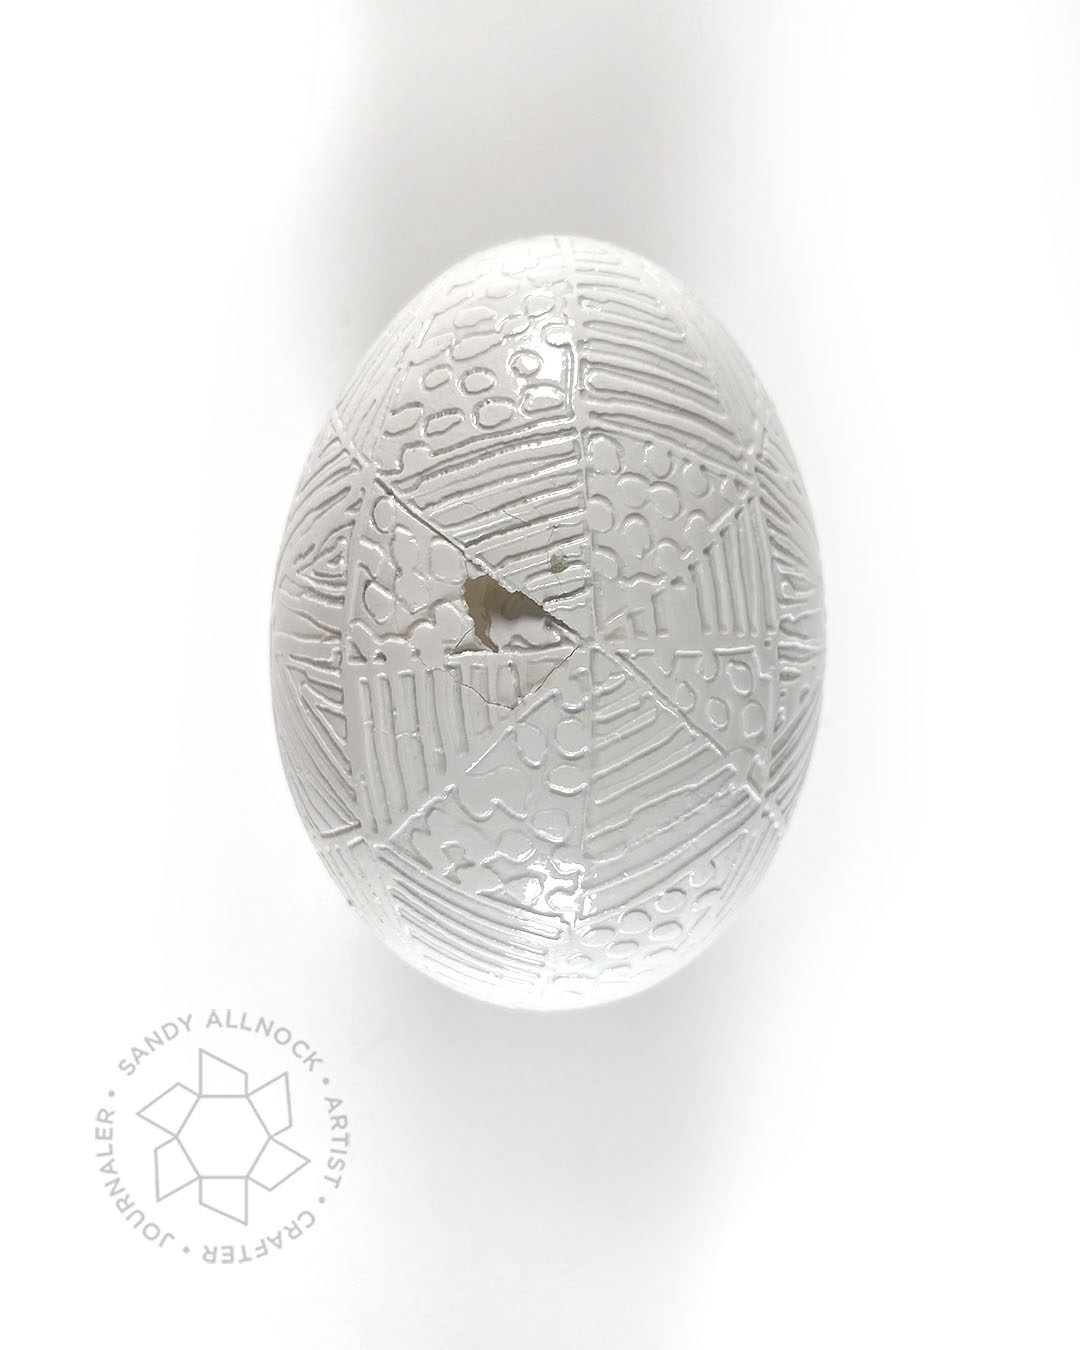
Today’s egg
I kept it pretty simple – big flowers in the hexagons, and smaller ones everywhere else there was a crisscross in the lines. And a few dots along some of the lines along the way.
This one has four BIG sunflowers in the four hexagons – then random scribbly flower shapes over the rest. Lots of time in the etching bath!
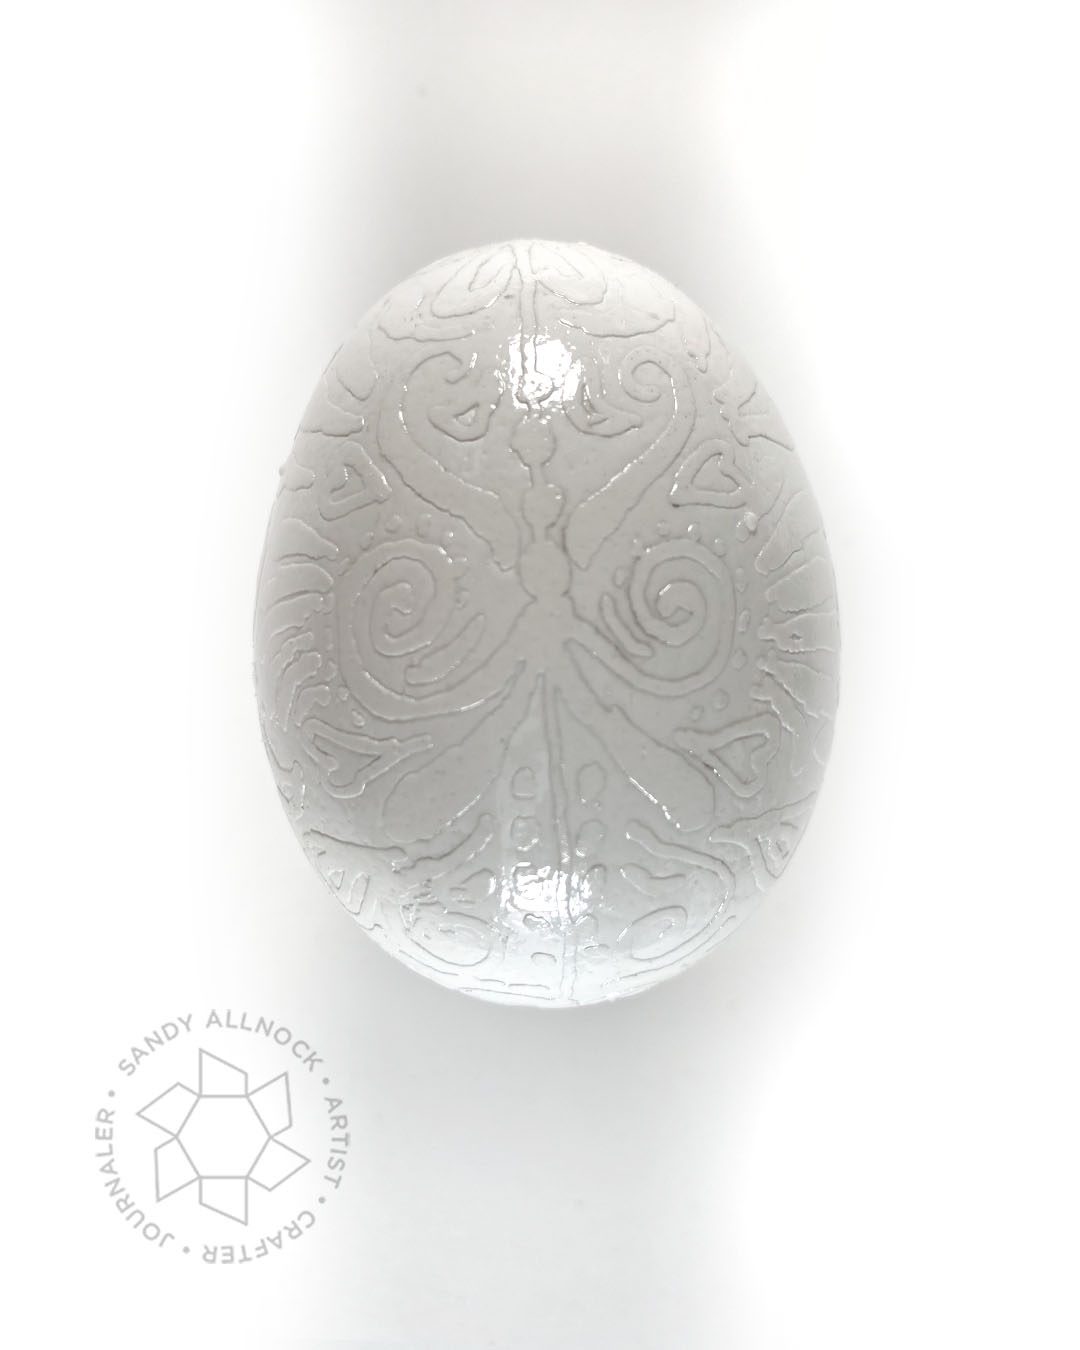
One of my early ones; I didn’t know about the 48 triangle design so I was winging it – and once I found there was a way to organize my shapes, my eggs got better.
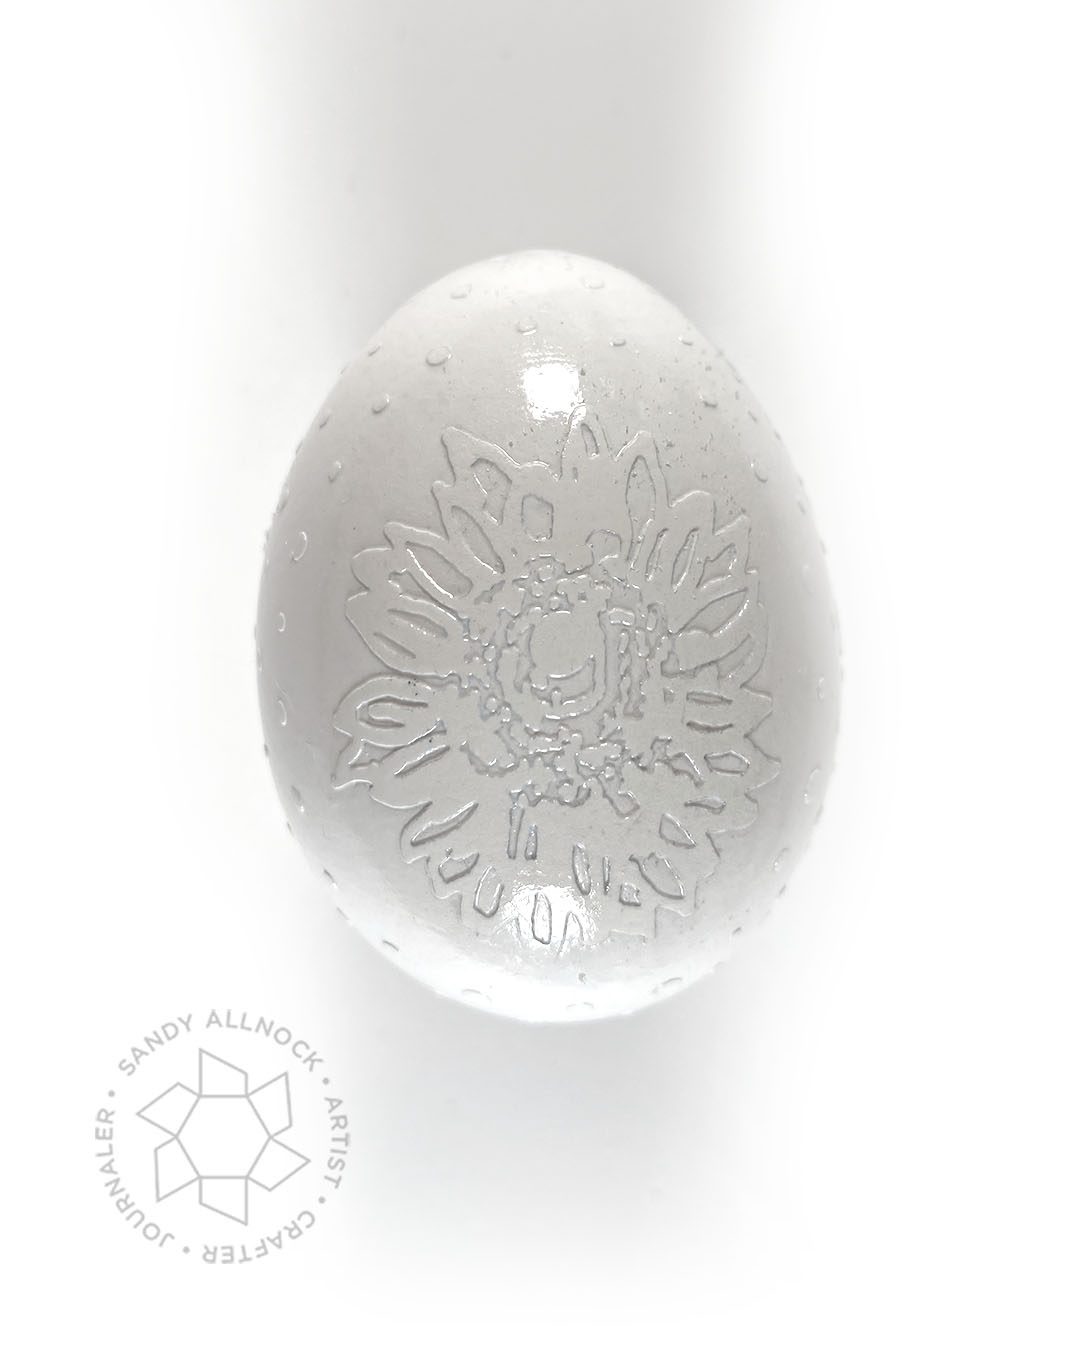
A single big sunflower on two sides, and polka dots elsewhere…
Another early attempt, with very little time in the etching bath:
Lots of etching time…and I think I had let it float on the top of the etching bath for an extra minute on one side, and it became weak…put my finger right thorugh it!
Here’s a peek at tomorrow’s color chaos….be sure to pop on by to catch it!
Taking the rest of the week off
As we lead up to Easter I’ll be taking time away from email and social (though I have social posts with Easter-y things prepared for the rest of the week!) so I’ll only be responding to urgent things. But I’ll be back in full swing next Monday so I look forward to seeing yall then!
Supplies
Some product may be provided by manufacturers for review and use. Compensated affiliate links are here at no cost to you. If you choose to shop using my EH (Ellen Hutson) links, please accept cookies on that site in order to retain the link to my blog, or that compensation does not happen for me. I appreciate your support of my work with your purchases! Full affiliate and product disclosure | My trusted partners in art
I can’t always respond to questions by buying supplies to test – but when several folks asked if I knew what the quality level is for the wax seal supplies that Altenew sells, I figured I could use that “hello” stamp – so I’d toss a few wax items in the cart too. I think I hit a busy time because it took quite a while to get my order – but once I got it I wanted to try them out!
Supplies for this project are linked at the end of this post. Compensated affiliate links may be used at no cost to you.
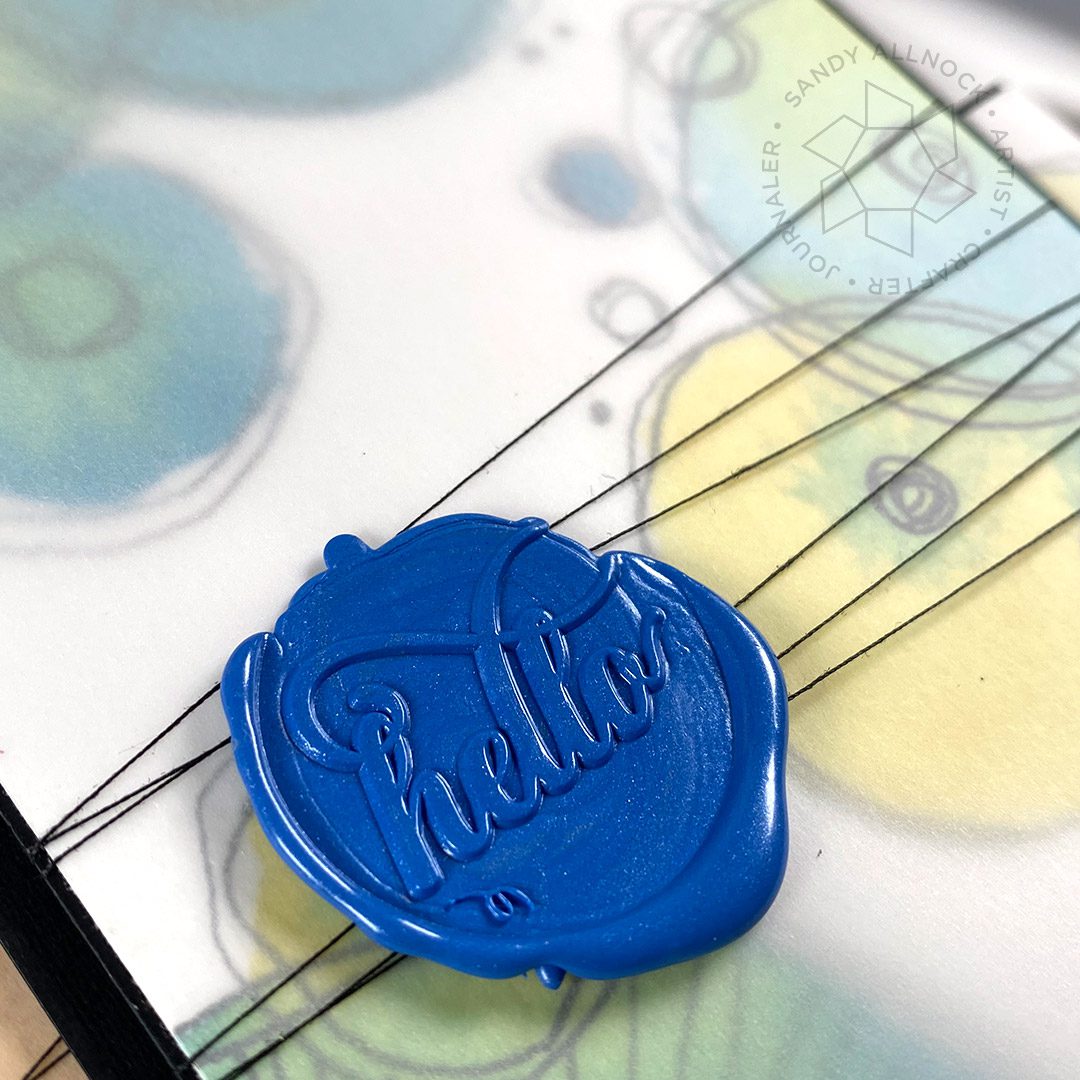
First off – I do love the hello stamp! I am not as big a fan of my stamping. I’m a terrible normal stamper (ink on paper) so some of this might be me – but I do have more trouble getting clear impressions using less-than-optimal wax. The red one is the only one that makes me want to peel it all apart and restart with new vellum.
The blue color is super pretty – while it doesn’t go with the kind of blue in the background all that well, the vellum kind of makes that not a big issue.
This is the rose gold – same color as the hexagon-shaped beads I bought.
And here’s the brighter gold; you can see what the wax quality can do to a stamp, but as long as it reads clearly, an angle like this only emphasizes scratchy marks in the wax that the average person will never notice. Your card recipient would just LOVE that there’s a wax seal on their card!
Reminder
Be sure to consider seals on cards as embellishments; if you do like I do and keep the dimension to a minimum underneath a thick item so the post office doesn’t eat the card in their machine – do that with these.
The card backgrounds
Painting the backgrounds:
Supplies
Some product may be provided by manufacturers for review and use. Compensated affiliate links are here at no cost to you. If you choose to shop using my EH (Ellen Hutson) links, please accept cookies on that site in order to retain the link to my blog, or that compensation does not happen for me. I appreciate your support of my work with your purchases! Full affiliate and product disclosure | My trusted partners in art
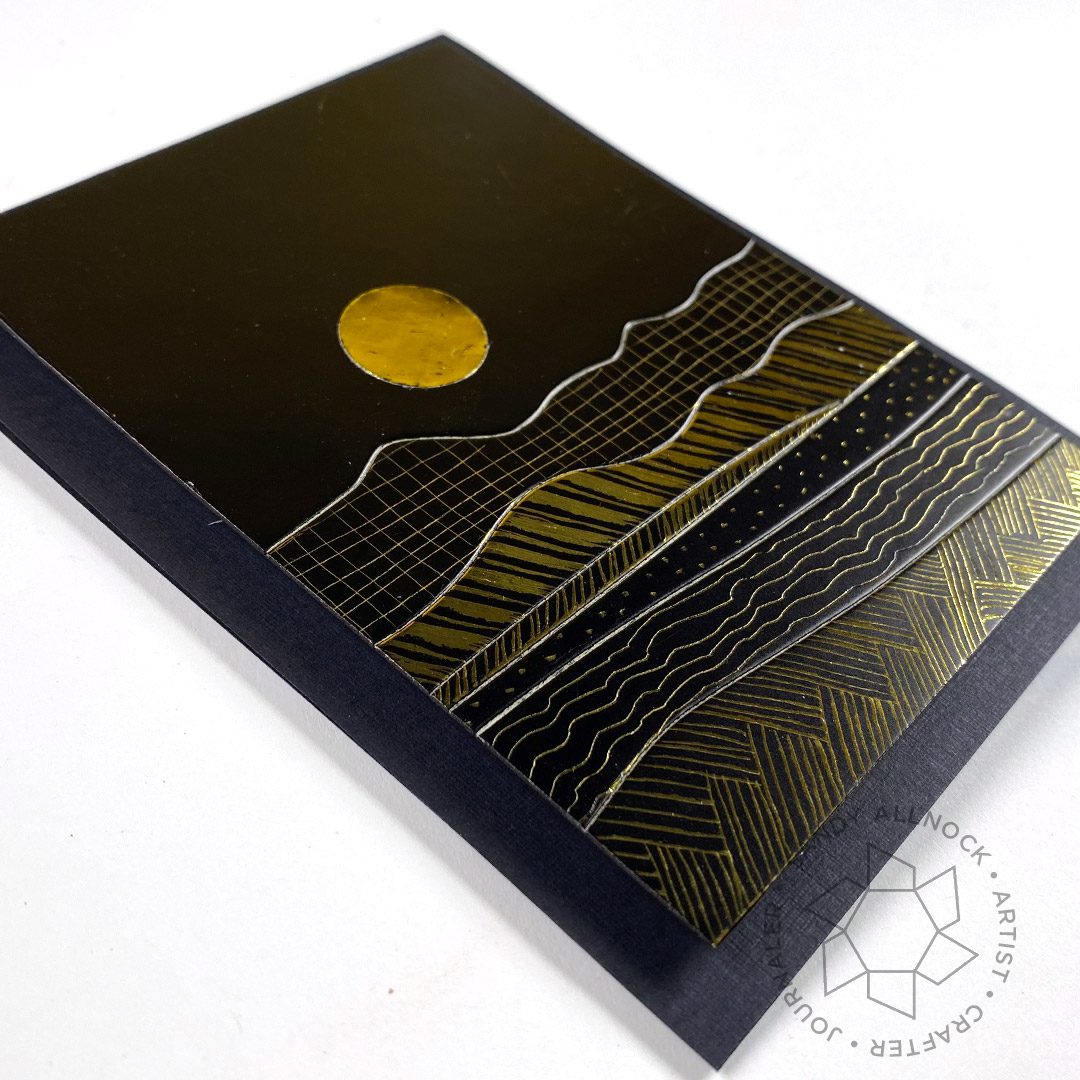
I don’t have a foiling machine or any of those supplies….and being afraid of a rabbit hole that requires a machine, I’ve stayed away. But I think I found a way I can get some of the sparkle of foil with a much smaller investment in supplies!
Look at all that shine – with only a little package of this gold and ink paper!
Don’t forget the inside! This sentiment is from “All About You.”
Supplies
Some product may be provided by manufacturers for review and use. Compensated affiliate links are here at no cost to you. If you choose to shop using my EH (Ellen Hutson) links, please accept cookies on that site in order to retain the link to my blog, or that compensation does not happen for me. I appreciate your support of my work with your purchases! Full affiliate and product disclosure | My trusted partners in art
I recently came across my Mom’s old pastel tools….she sent them to me years ago along with a bunch of boxes of all sorts of brands of pastels she used for years! I did a drawing or two and kept saying I’d get back to them….and it’s about time. I’ve been seeing a lot of hyperrealistic wildlife art on Instagram that gave me motivation!
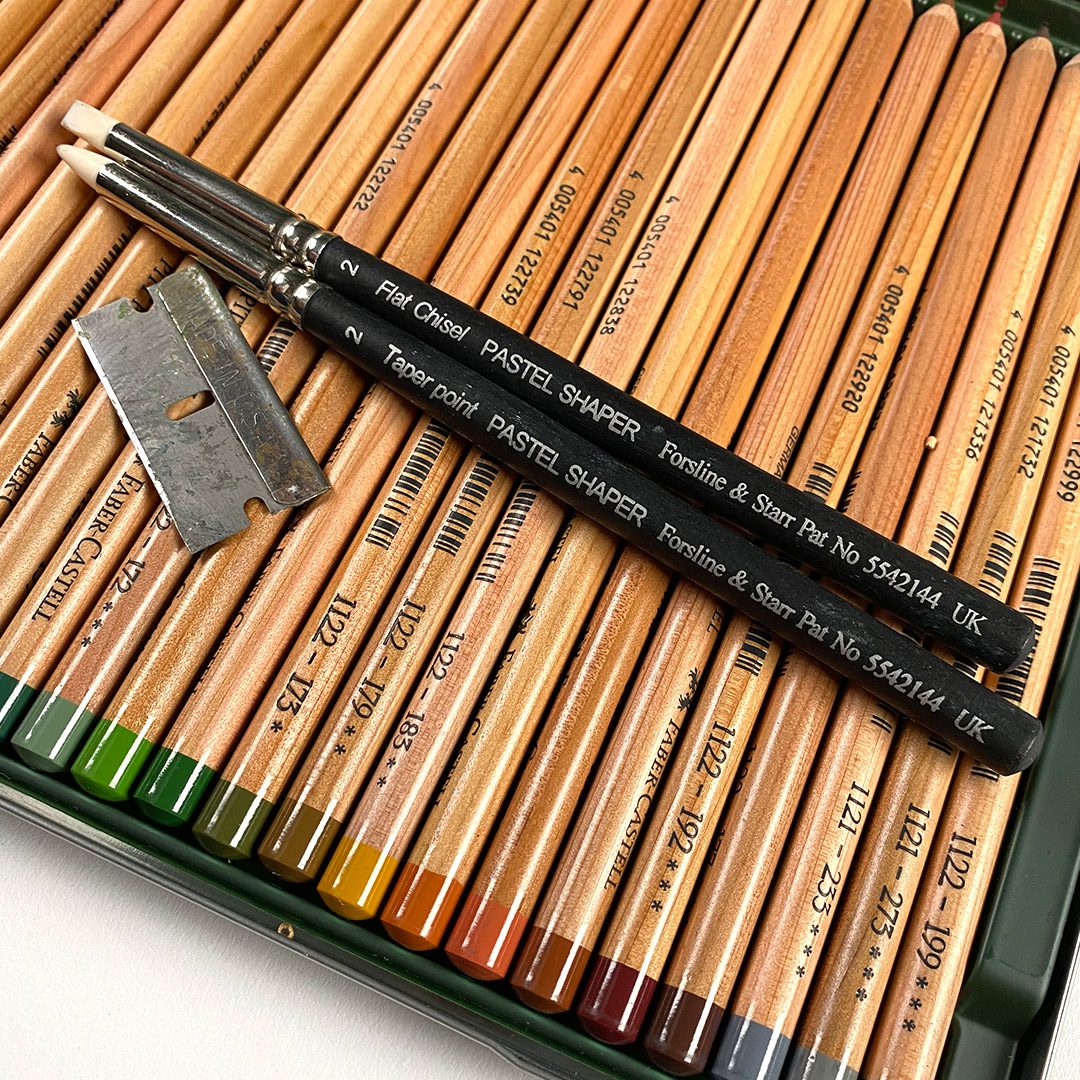
Meet Mom’s pastel shapers – and what turns out to be a pencil sharpener!
Supplies for this project are linked at the end of this post. Compensated affiliate links may be used at no cost to you.
First, about Colin Bradley!
I found him by looking for videos on HOW to use the pastel shapers I’d found in Mom’s stuff. And he has a treasure trove of video instruction. Do you miss Bob Ross? You’ll enjoy Colin.
I just signed up for his online school – the lifetime membership, which converts to $273 for those wondering. Crazy amounts of content, and I’m excited to even have his videos running while I’m working on other stuff. It gets quiet around here and I think he’ll be a soothing voice in the studio – not to mention all his wonderful art tips. For all of you who keep saying I need to teach animal classes? See if Colin is up your alley! (And no I get no commission, I’m just a fan.)
I did attempt to use a hand held pencil sharpener but that only sometimes worked. If the pencil was too soft – the navy blue just didn’t want to play nice – then the only solution is a knife or sandpaper block.
First I tried a regular card, using the Life Lasts set, new from Colorado Craft Company. I had to mask out just the tiniest but of one leaf and the bird’s head to get them to nest together nicely. But I did this on Arches Drawing Paper which got weirdly pilly. I’ve not been a superfan of the paper, but I’m trying a lot on it to see if I find a sweet spot for what works well. This aint it, lol!
There was the slightest bit of black ink that was moved into the color on the card – so I decided not to try black ink again. Instead – I had actual pastel paper, so gave it a whirl. Bigger texture, not as soft – but it worked like a charm. (I also have some pastelbord to try too.) And since I like working on colored papers this was enjoyable!
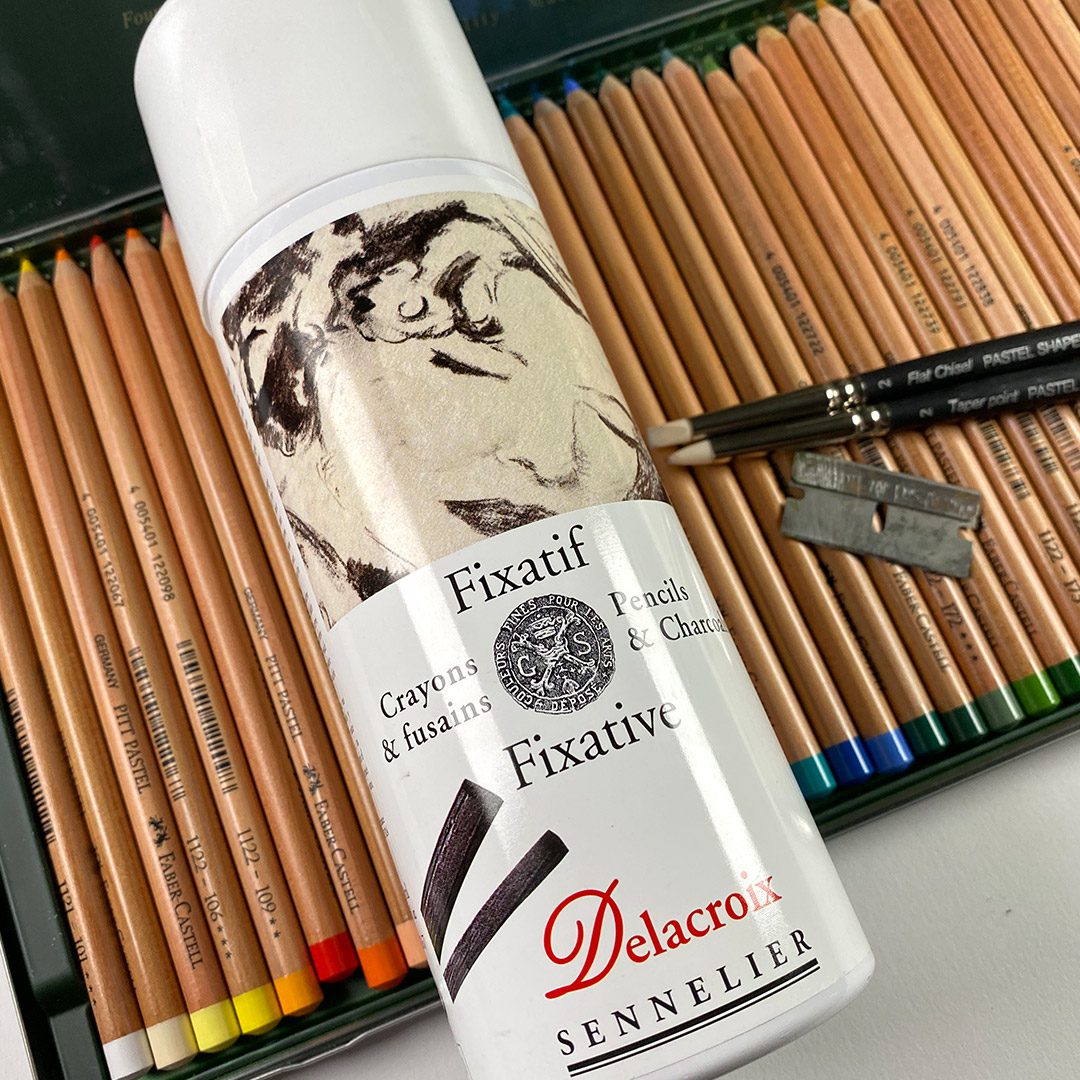
When finished, both got 2 coats of fixatif. Float the spray down over the art from 6-12 inches, a light coat, then a second light coat. It darkens the color – so if you don’t want the color change, just frame it asap.
Bloghop
There’s suppose to be a bloghop today with CCC – but I didn’t get a list, so check it out by hading over to the CCC blog!
Supplies
Some product may be provided by manufacturers for review and use. Compensated affiliate links are here at no cost to you. If you choose to shop using my EH (Ellen Hutson) links, please accept cookies on that site in order to retain the link to my blog, or that compensation does not happen for me. I appreciate your support of my work with your purchases! Full affiliate and product disclosure | My trusted partners in art
I haven’t played with watercolor powders in what feels like eons – but lately I’ve gotten them out again! And I made a fun little discovery. Even if you don’t paint fine art with these, you’ll want to get out a little bleach with your art supplies next time you get out the Brusho!
Video
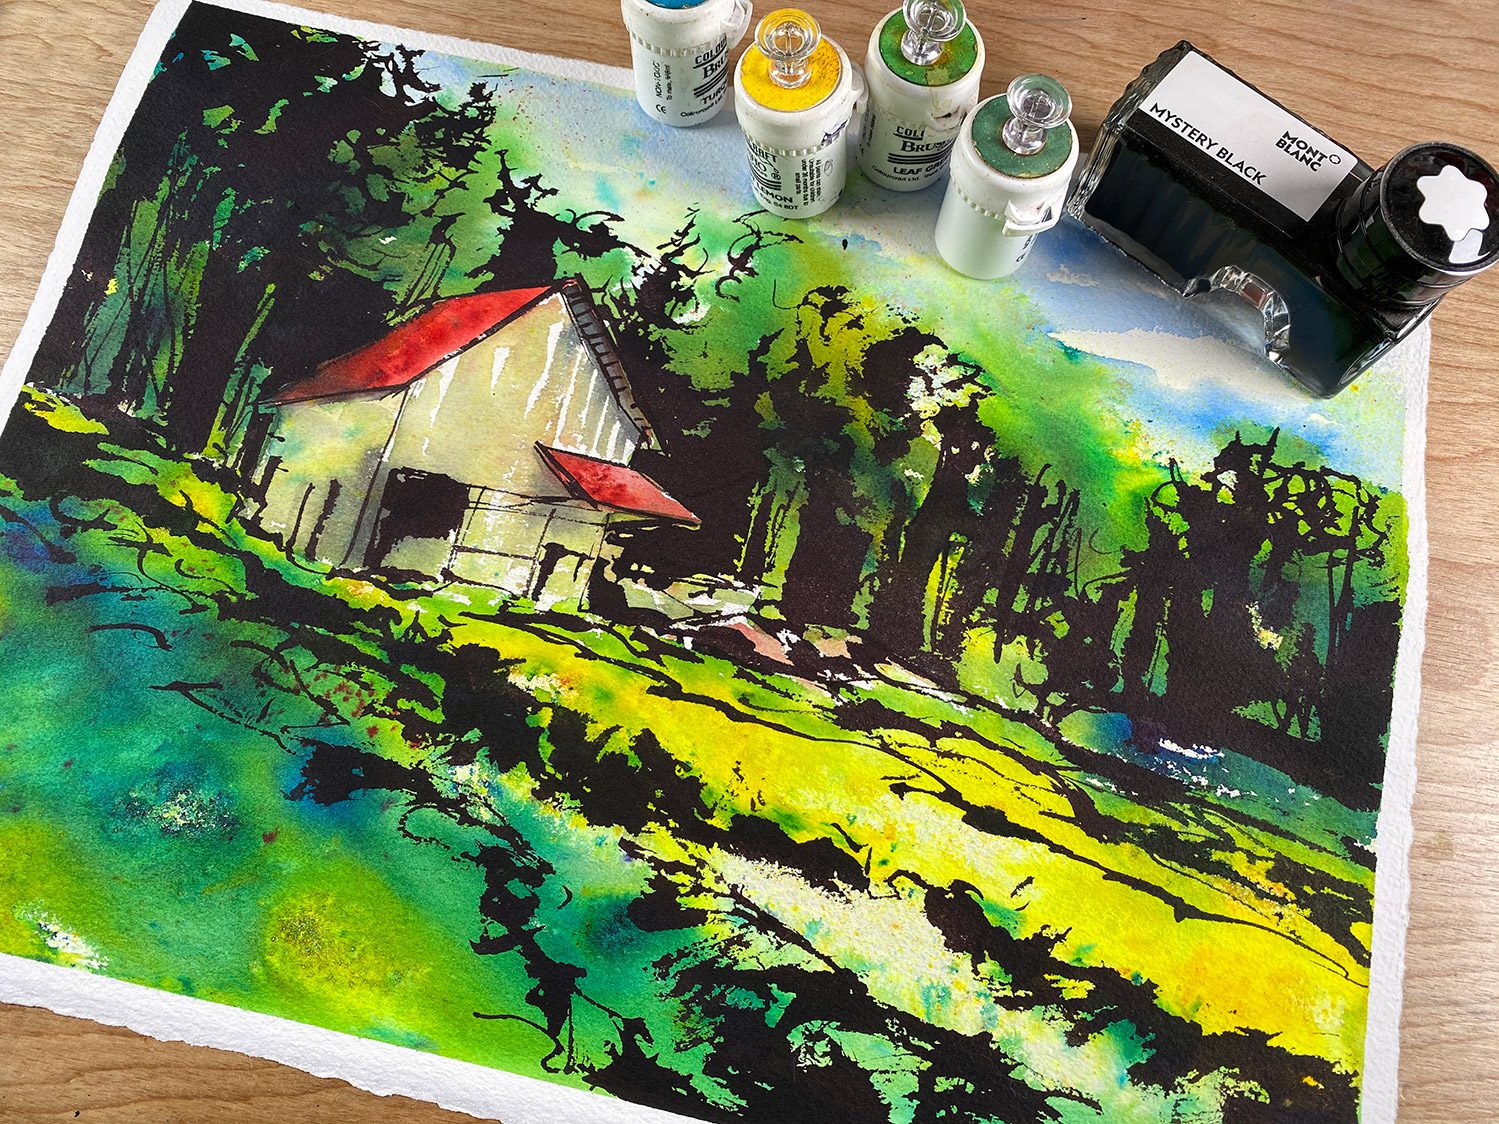
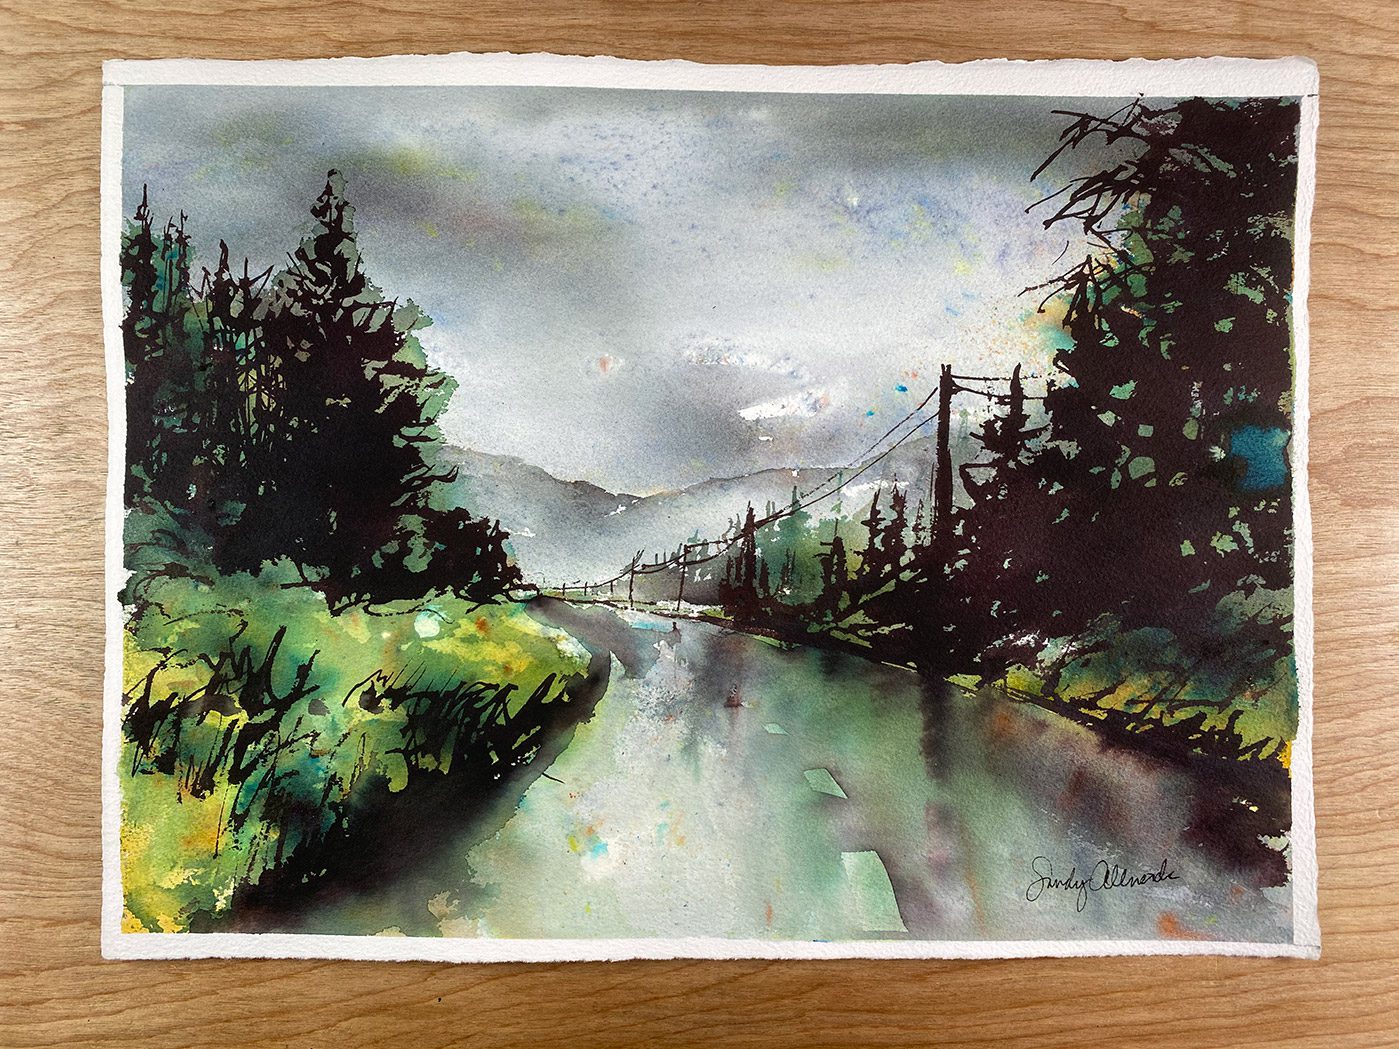
As I’ll show you in the video – I had a bunch of failed paintings first. One was toooo bright and the detail was all washed out. The other was better colorwise – but I didn’t retain white. Both of those I painted with black ink to at least get some “calligraphy” practice – creating loose linework with a brush, developing my own style.
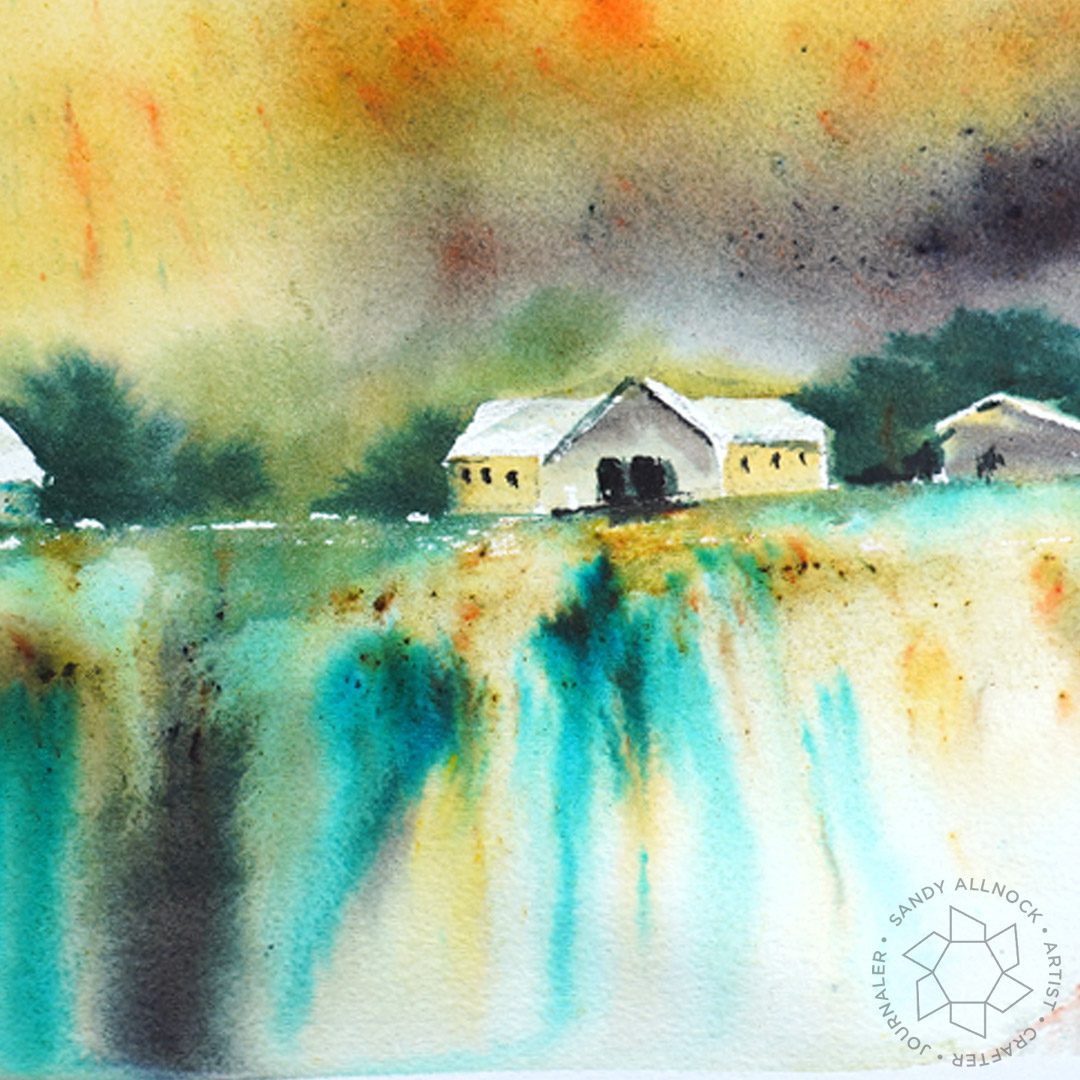
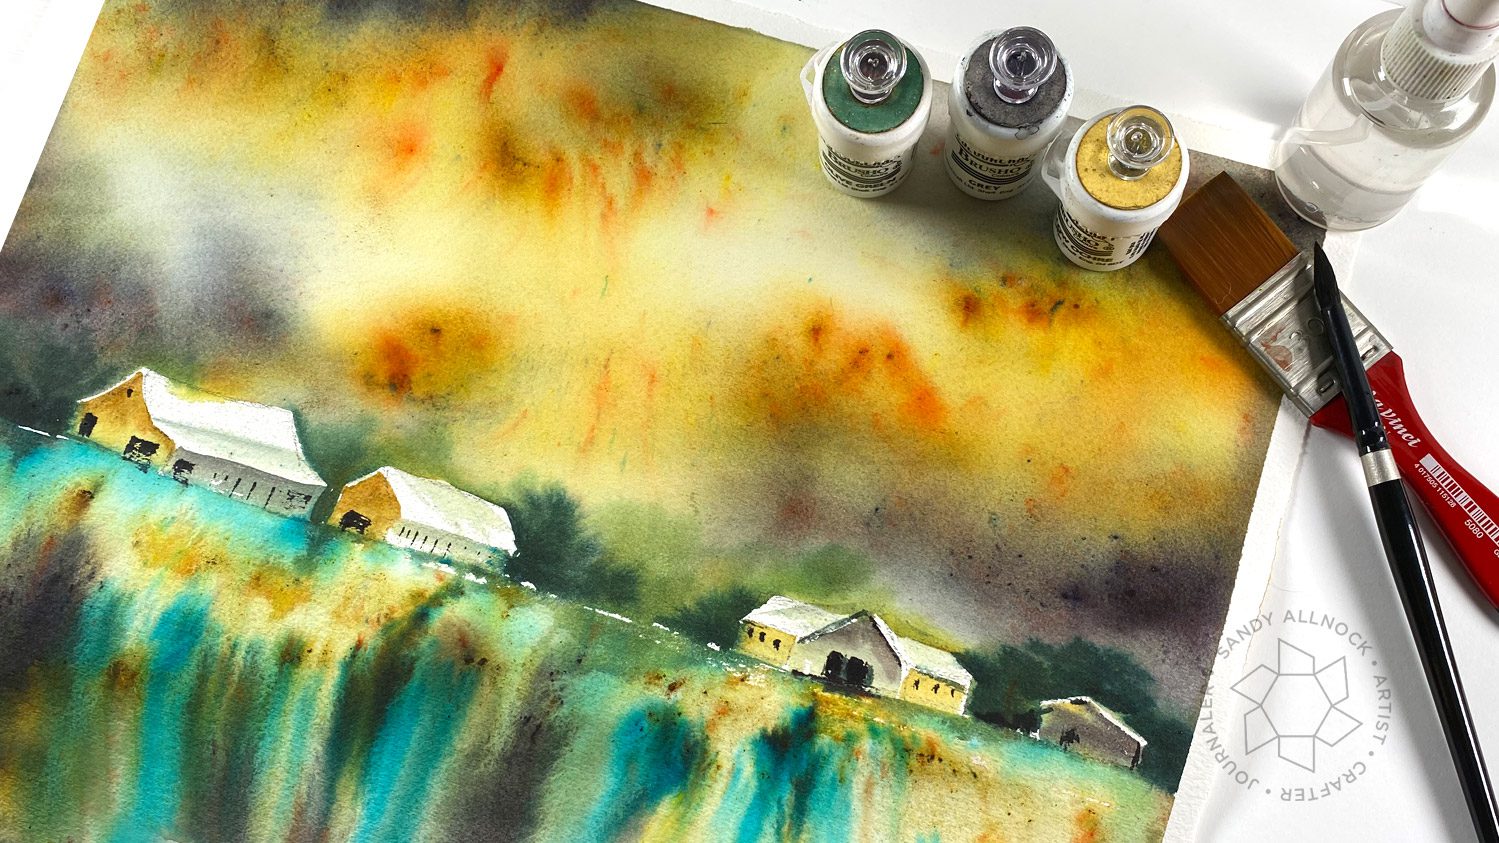
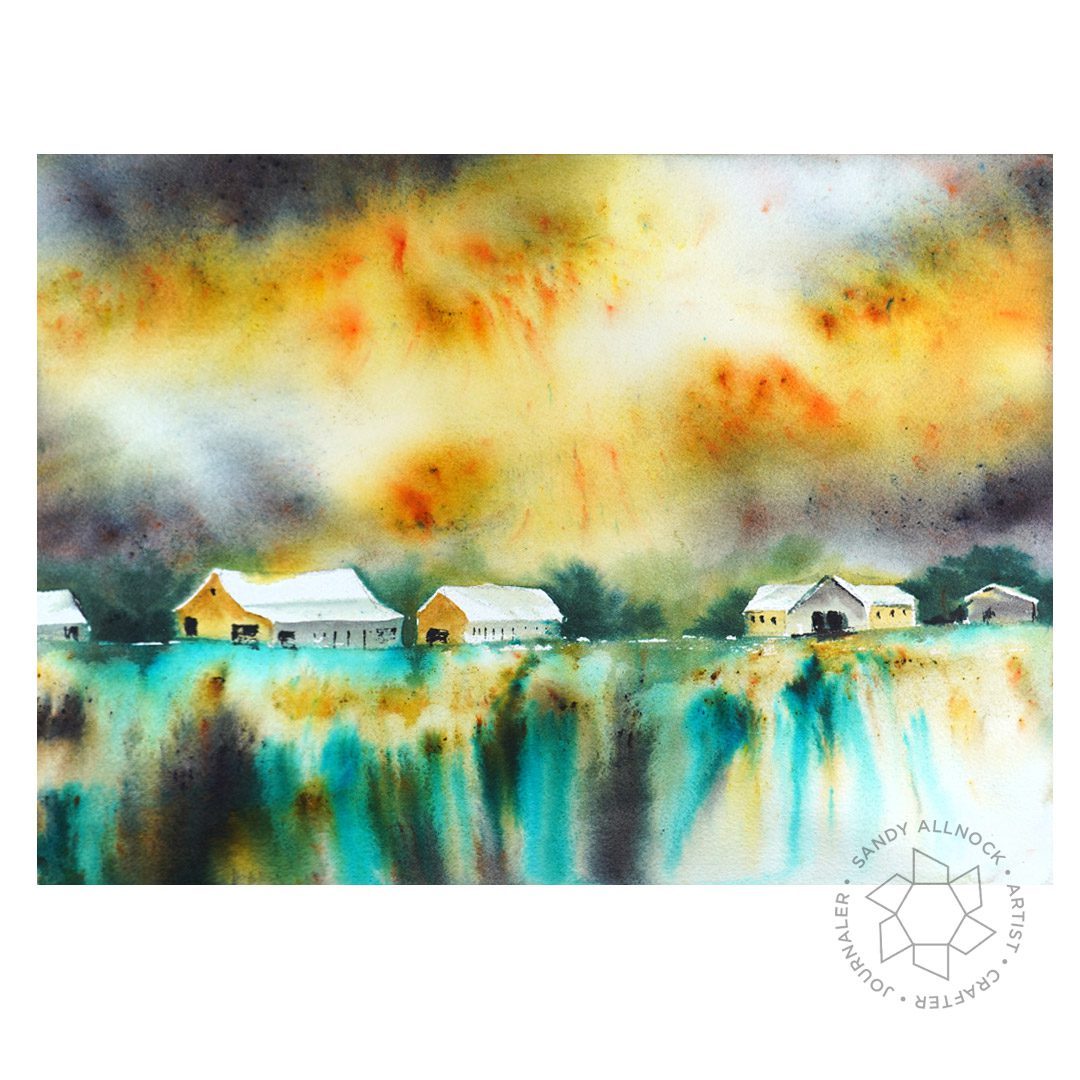
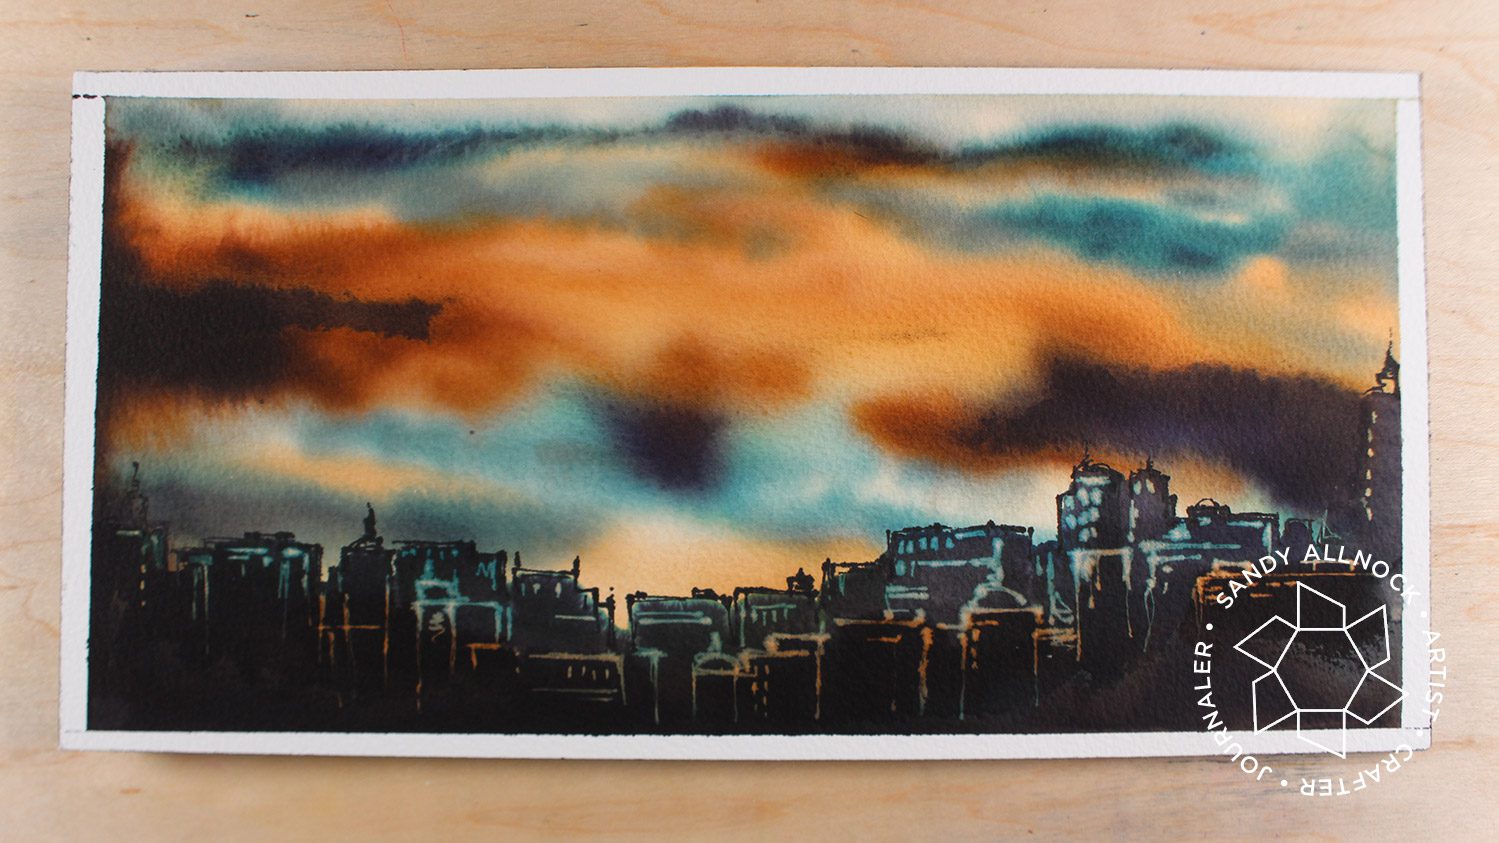
Imagine what you might try with bleach on your next watercolor powder project. Stars in a galaxy sky….use bleach in an aquabrush to do lettering….all kinds of fun stuff! Colors used: Yellow Ochre, Grey, and Olive Green.
On one of my practice paintings I tested out a drop of bleach – and realized it’d work on Brusho too! While there’s more testing to go, full-strength bleach seemed to make a hard edge so I tried a mix and it did a better job for me.
This was one of my not-so-great experiements. Wayyyy too bright, and before adding the black ink it was just a mess with no definition. So I used the opportunity to practice inking with a brush – not to let a piece of paper go til it teaches me all it can!
My other painting of a rainy road – again served as a way to practice my brush calligraphy. Never let a
If you’re new to these powders and want to see what else they can do, check out the card and other projects in this compilation post:
Some product may be provided by manufacturers for review and use. Compensated affiliate links are here at no cost to you. If you choose to shop using my EH (Ellen Hutson) links, please accept cookies on that site in order to retain the link to my blog, or that compensation does not happen for me. I appreciate your support of my work with your purchases! Full affiliate and product disclosure | My trusted partners in art
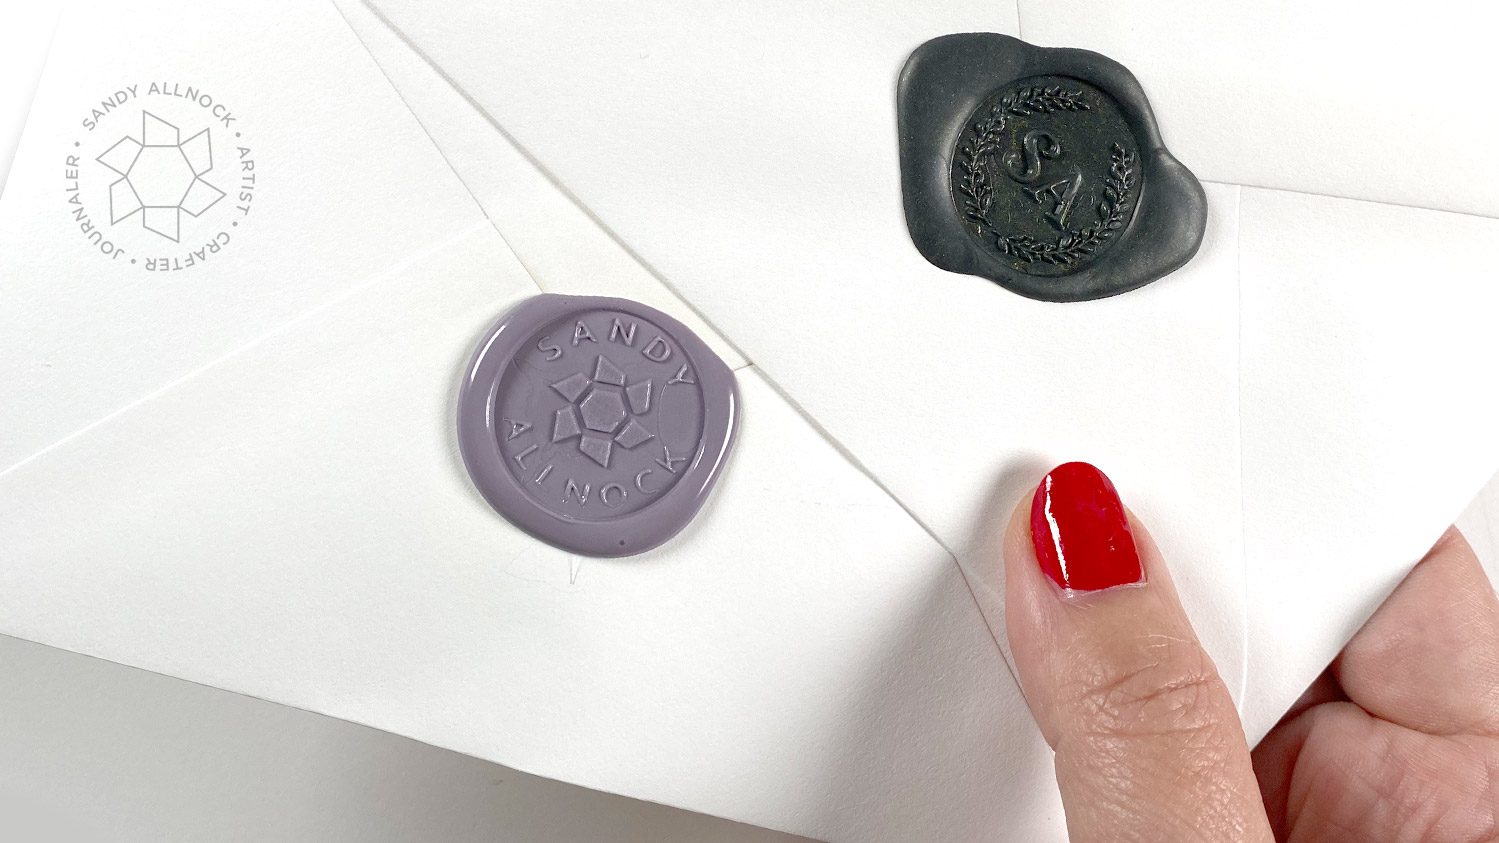
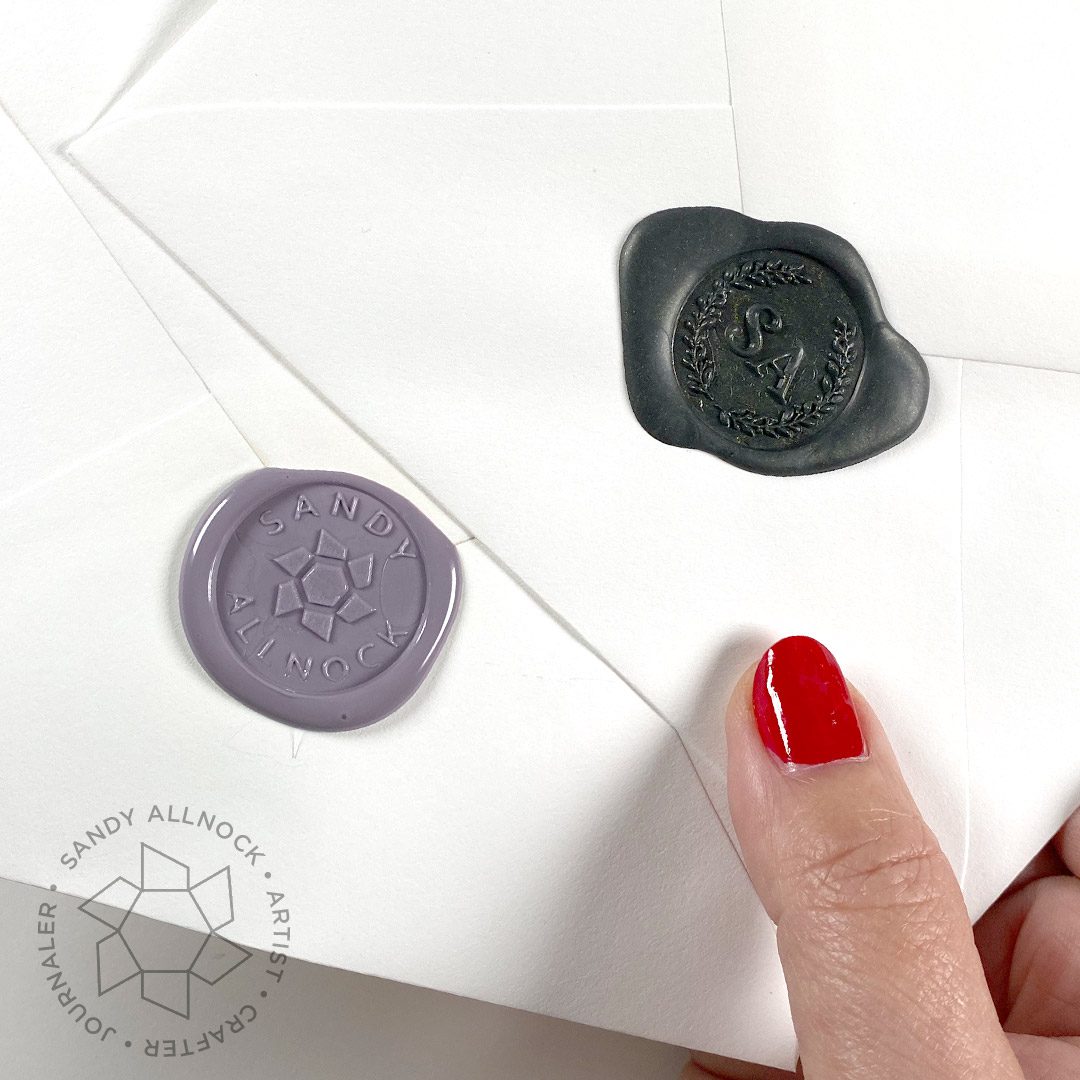
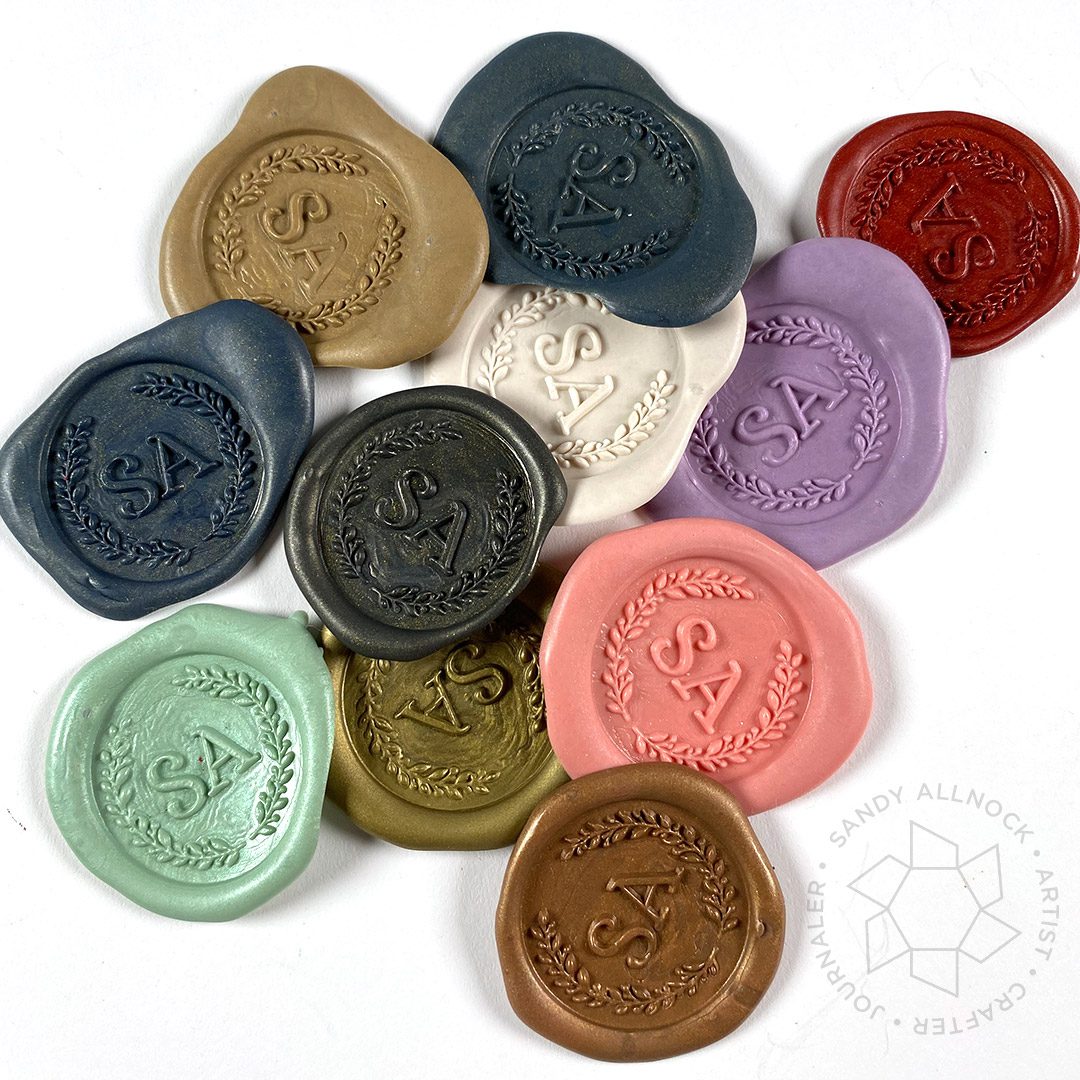
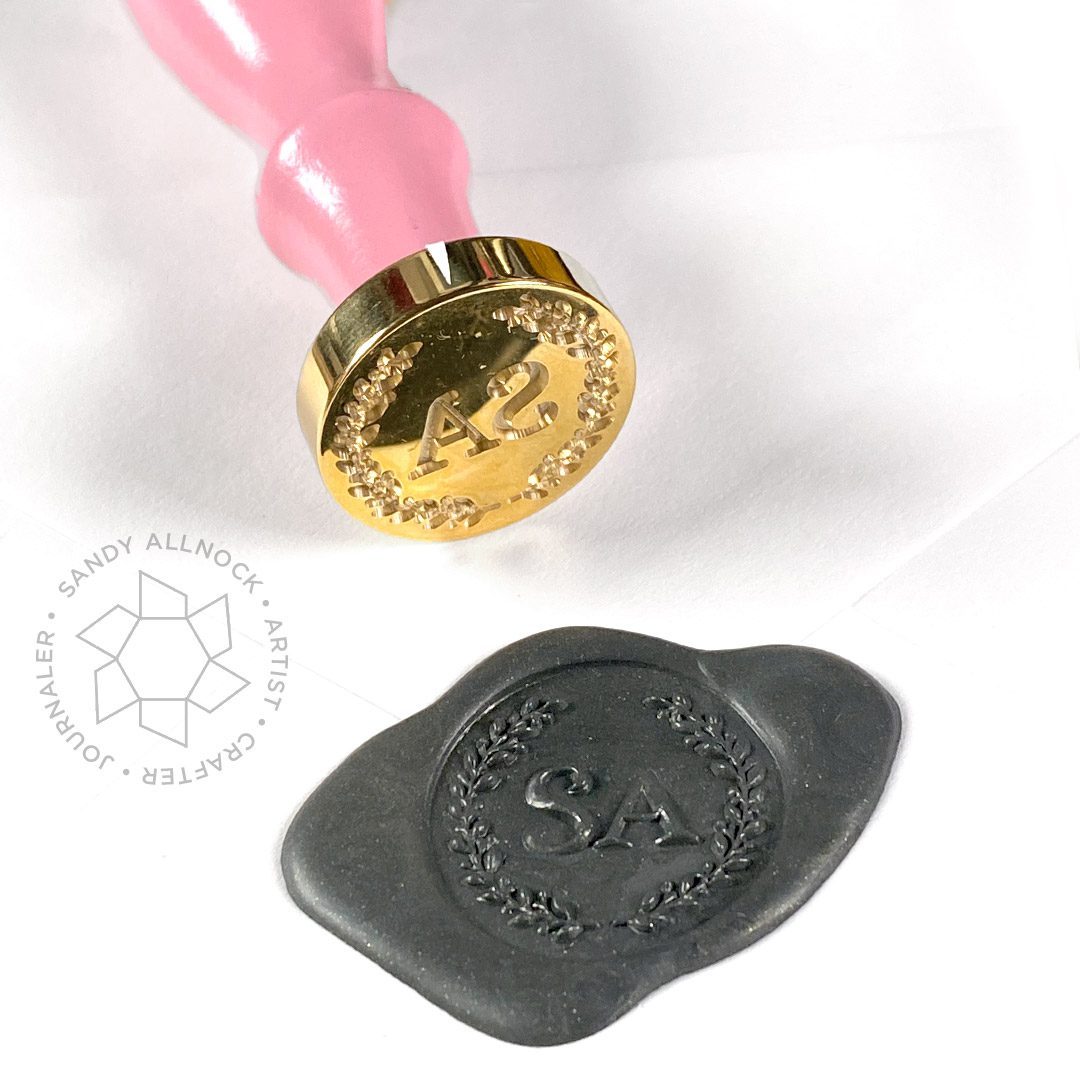
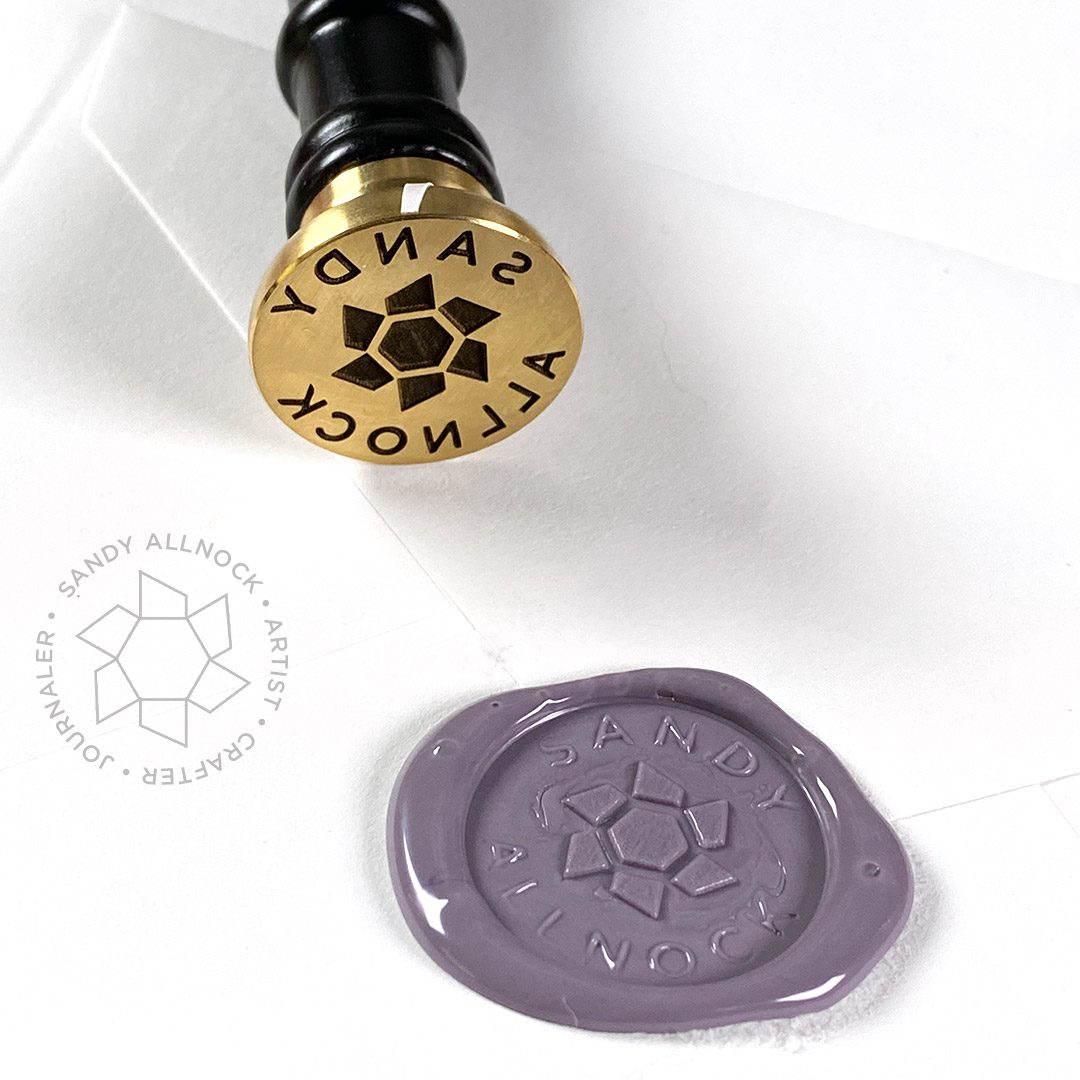
I’m back with….more wax seals! ha! I got these new custom stamps – one monogram, one logo – a few weeks ago and am so tickled with them I just had to share. They’re not for everyone, and I get that – but if you’re in the market for something custom these are worth looking at. Both companies, by the way, make custom stamps.
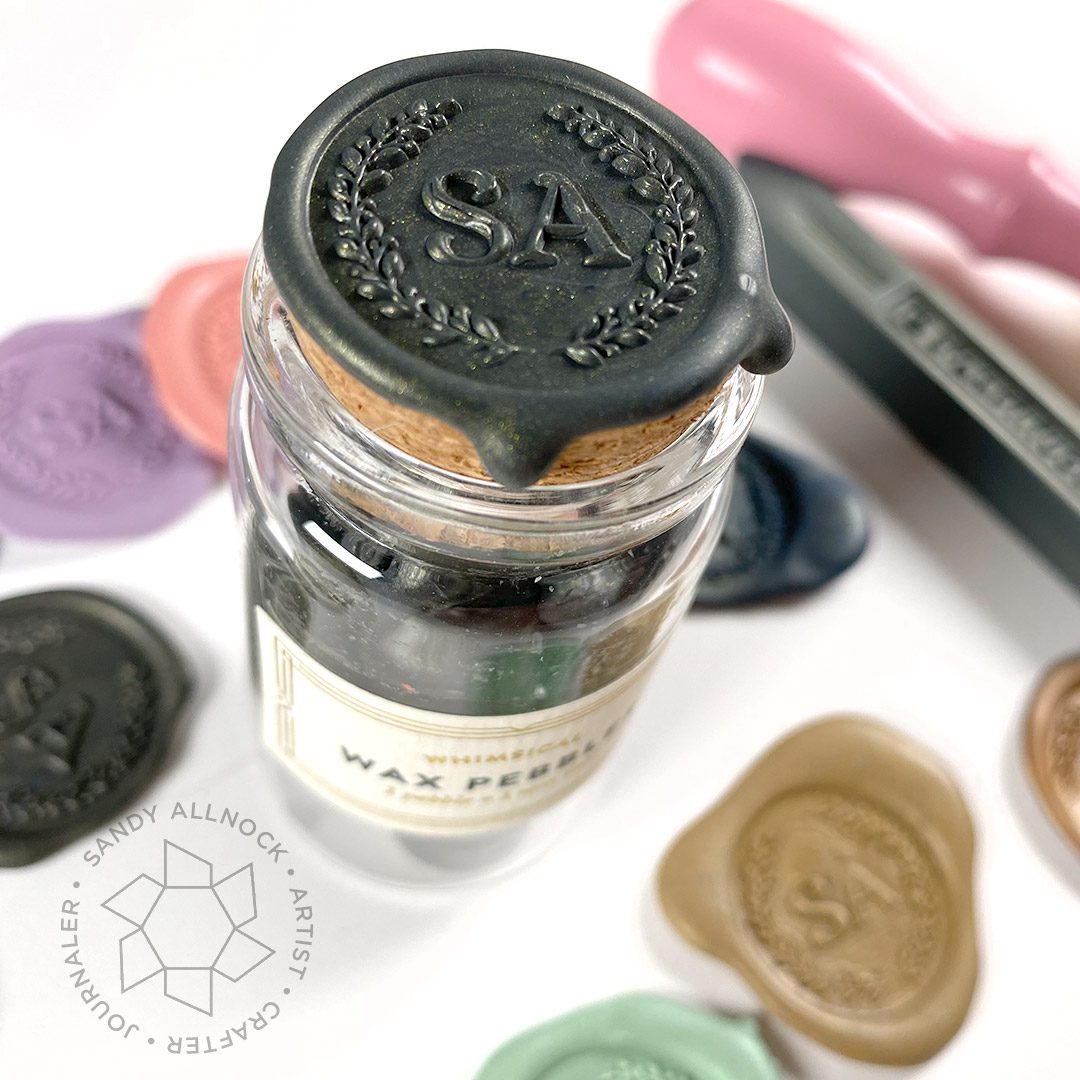
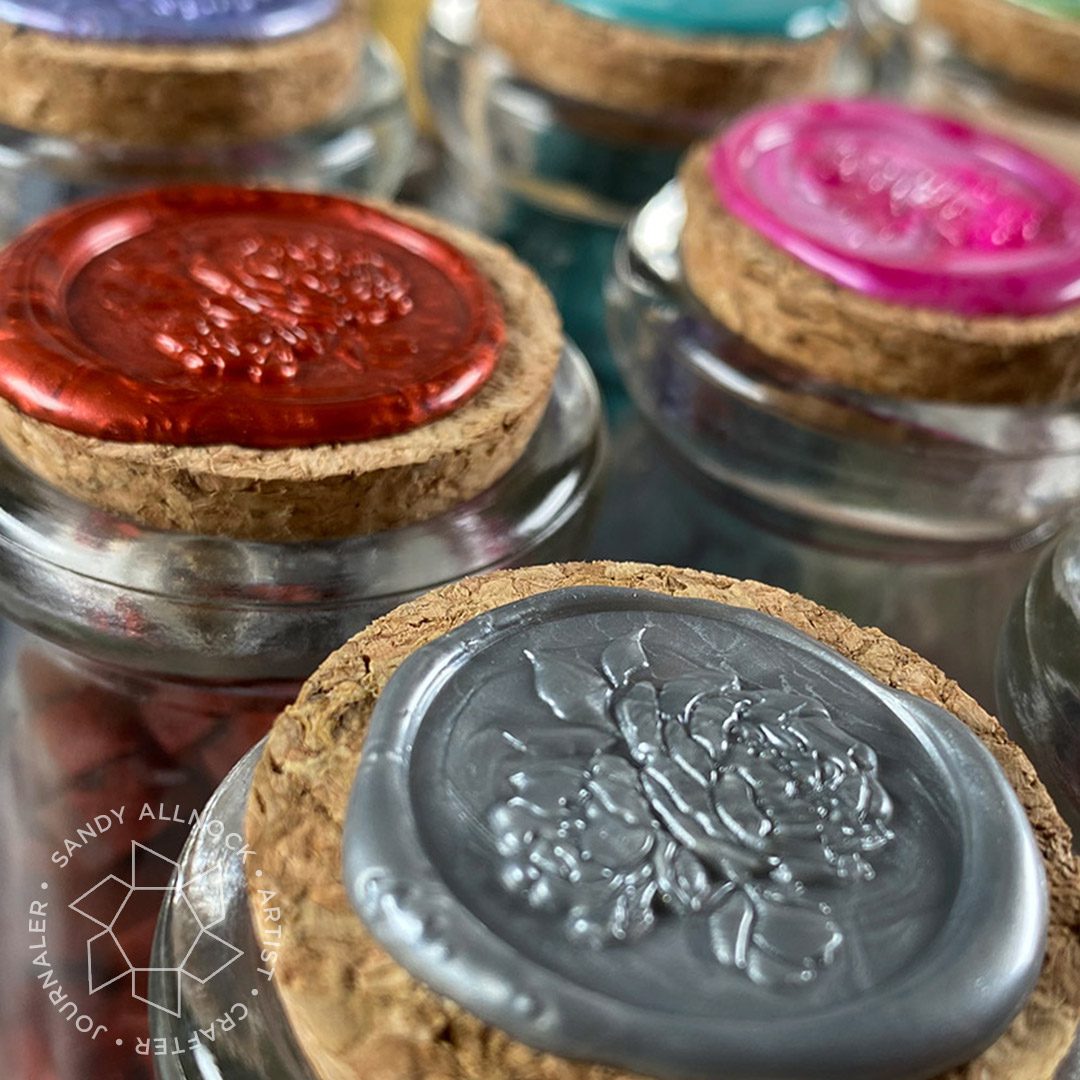
Located in Hong Kong – they’ve got excellent customer service, and they’re pricier than some others, primarily because of the Fed Ex shipping; if you don’t need a stamp made, you can order through Raleigh Paper. The coolest part of what I loved about their waxes? A shimmer of metallic flecks – like a micah powder has been mixed in! They’re pretty up close but hard to photograph.
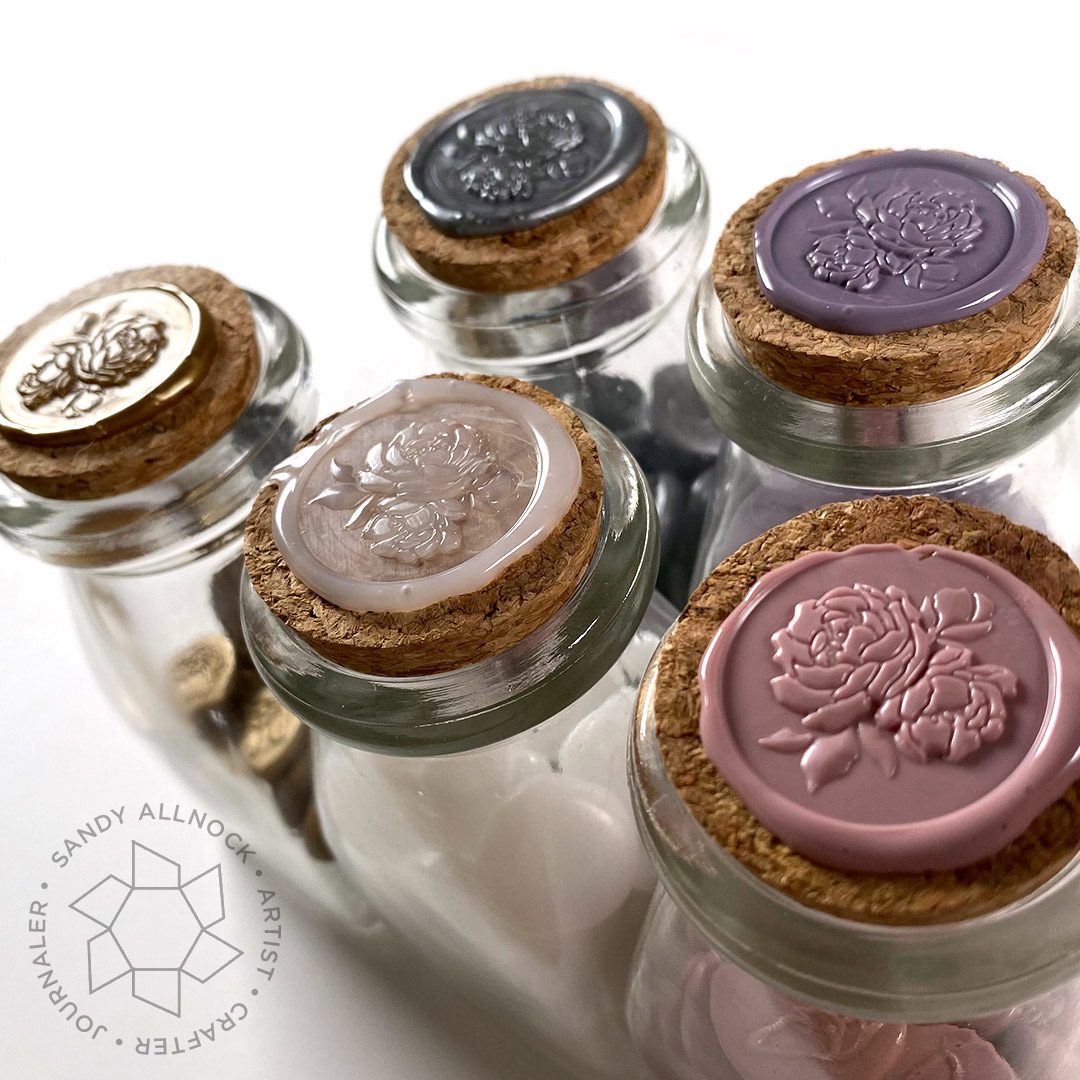
I ordered my custom Bespoke monogram stamp – you can pick fonts, 2 letters or 3, choose a border, customize the handle color….the pebbles came in a small bottle so my seal spilled over a little on the cork top. oopsie!
If you know me, you know I like desaturated colors – these really speak to me! My hope is to maybe match the color or theme of the artwork I’m sending out with the wax color. Maybe. No one else may notice but I’ll know. Not mentionoed in the video: Stamptitude sells the little round 3M stickybacks, but since I am clearly incapable of making a perfect round stamp….my sploogies would flip up. So making them ahead isn’t an option for me.
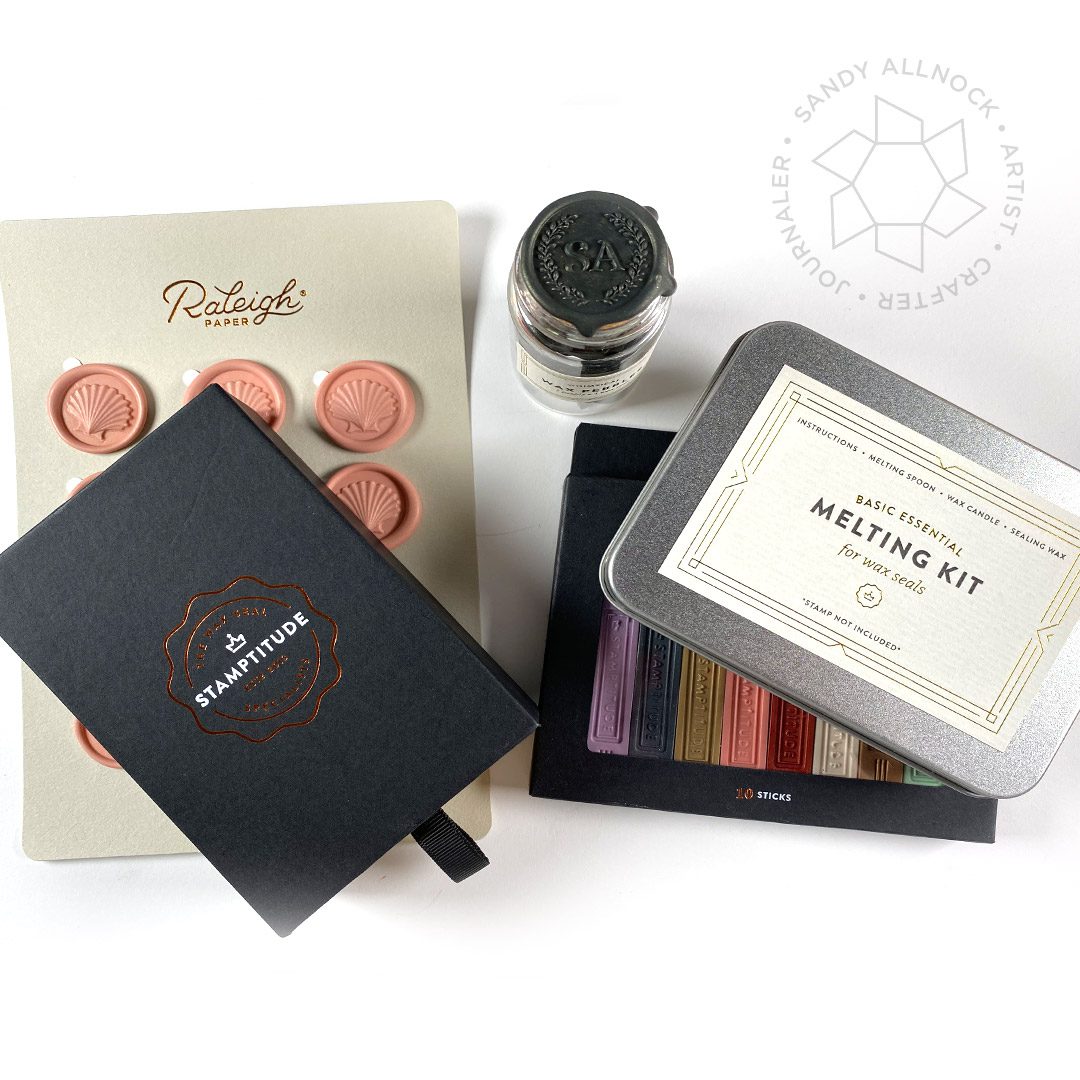
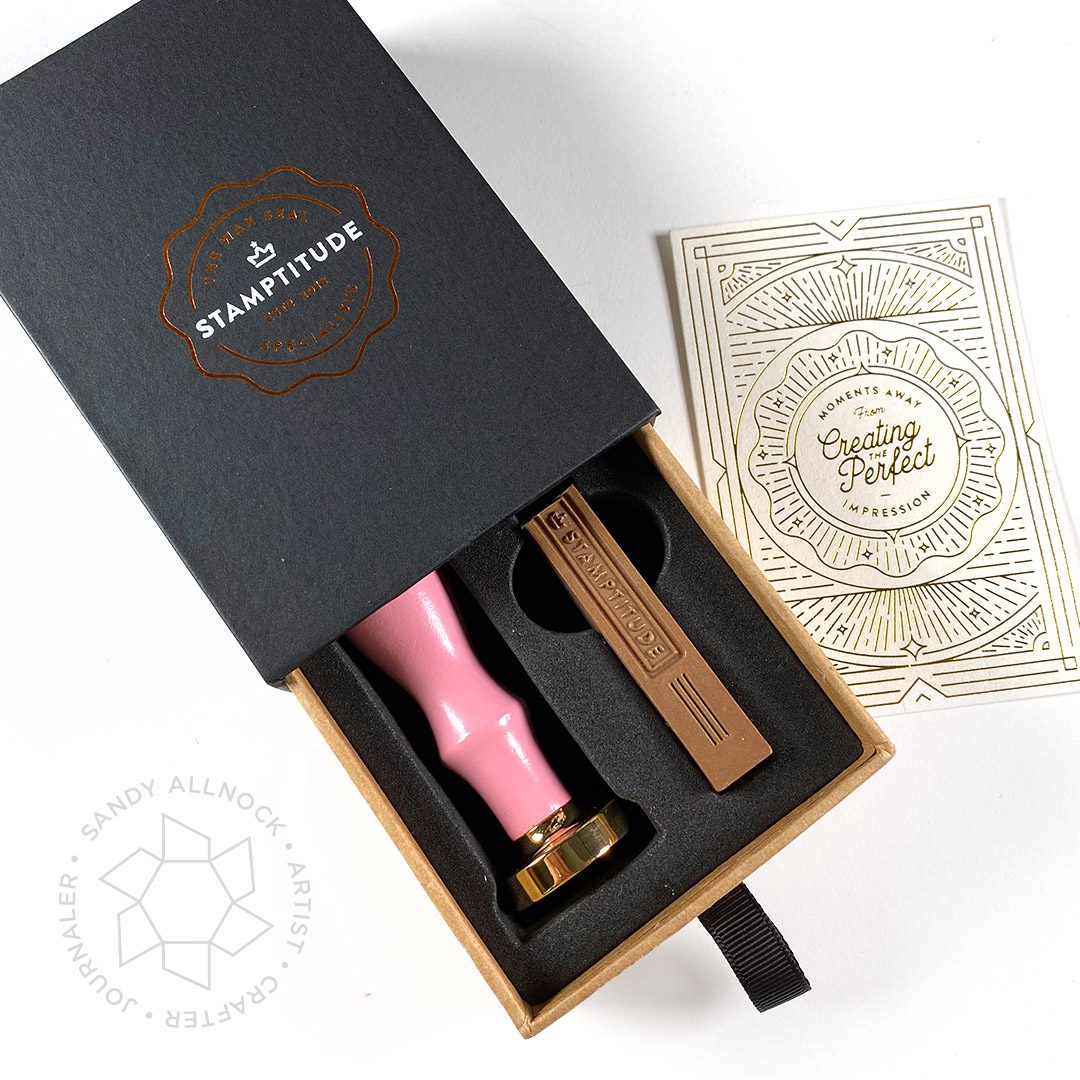
The Bespoke stamp comes in a really nice box, with a stick of wax and instruction card.
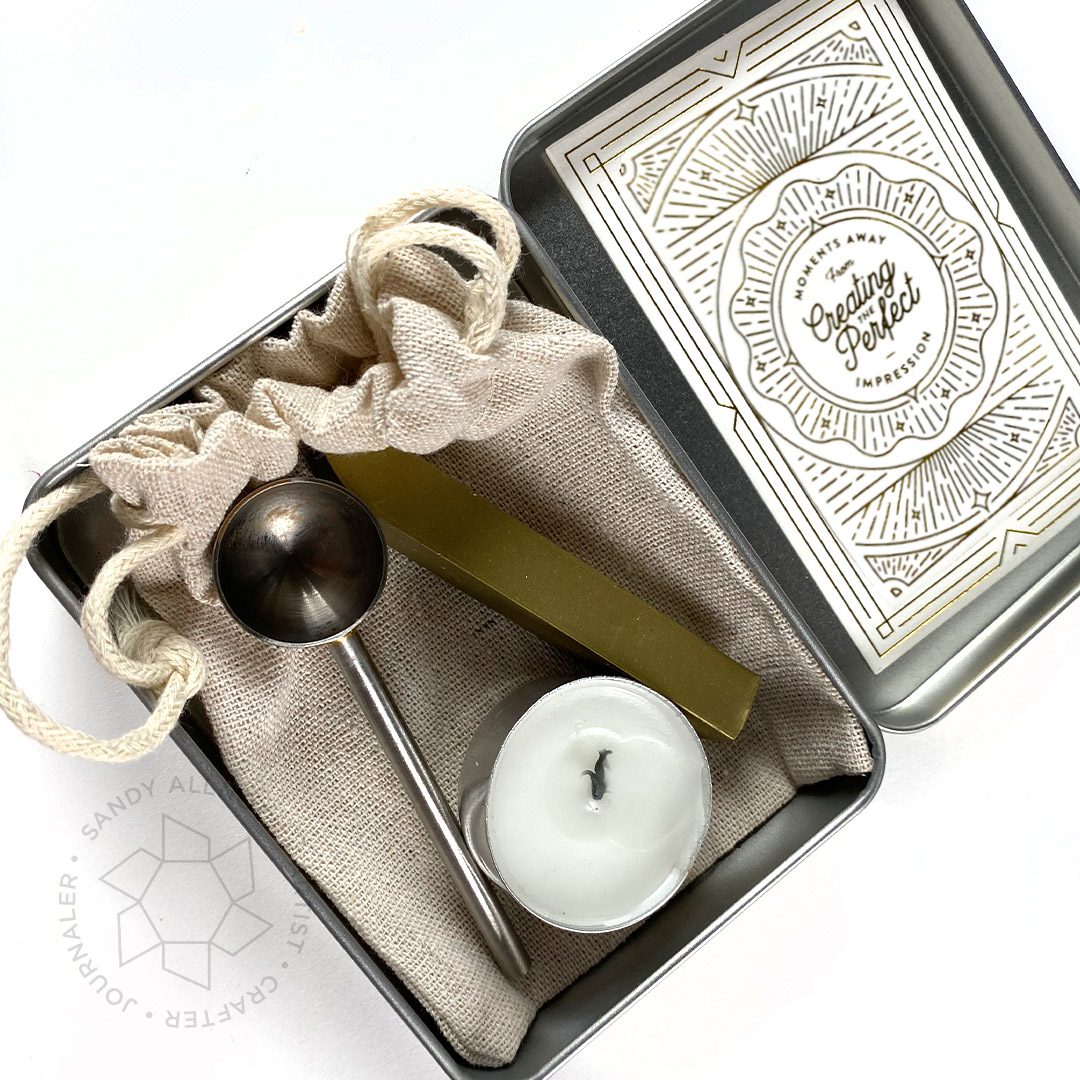
If giving a monogram stamp as a gift, the Melting Kit would be a nice companion – really nicely packaged.
Artisaire
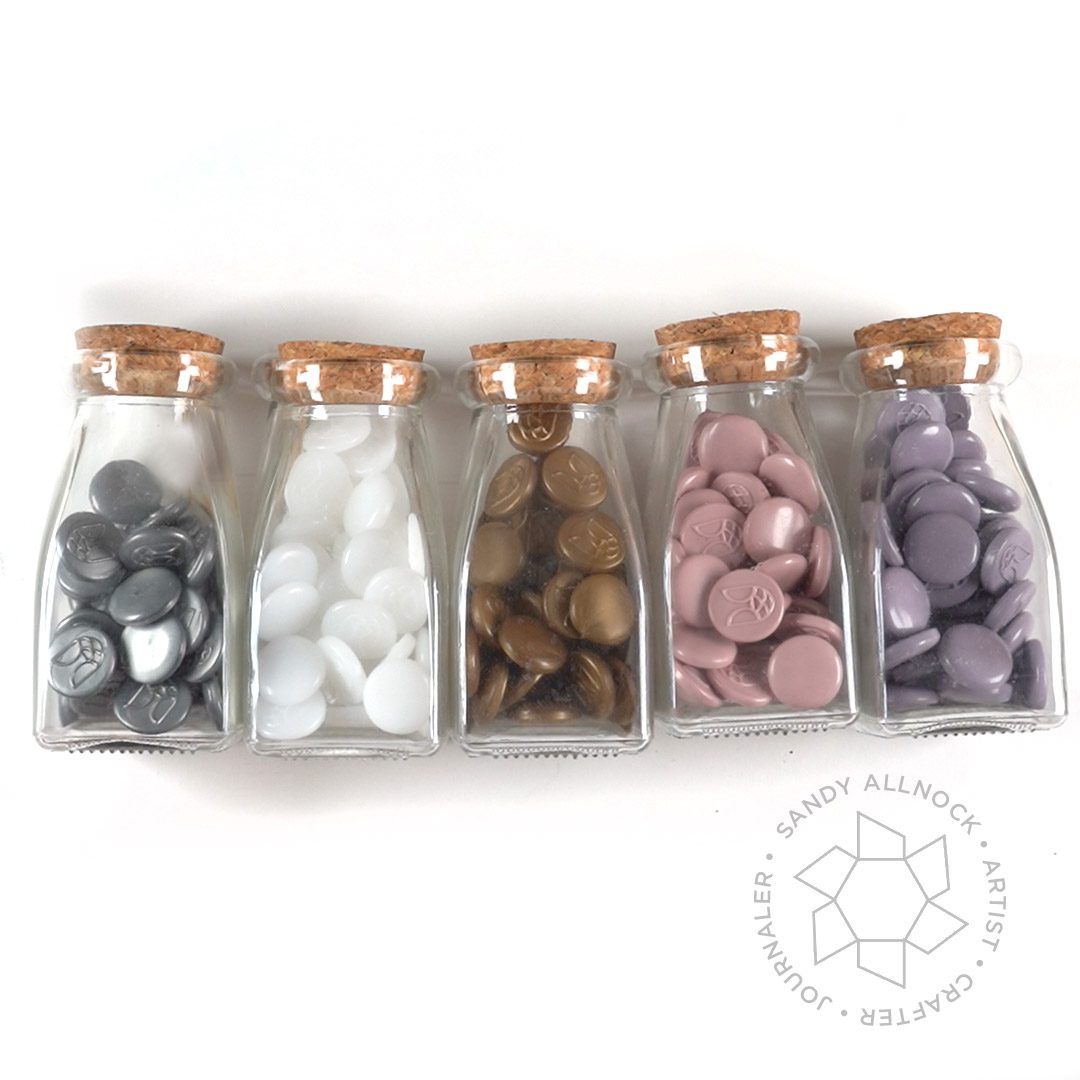
This is my second order – I really liked their waxes, they’re so glossy! If stamped well (which I only do on occasion as I learn!), the gloss carries over to the flat part of the design too. I uploaded my logo design with text and they created the logo stamp for me – again customizing the handle color etc.
These are the colors I have from Artisaire in wax beads – I do have a couple colors in gluesticks too. I bought the jars separately here.
Can anyone say UUUUGGGHHH? Man, my Purchasing Department (also me) went just a little bananas buying wax. I like to get some beginner supplies to compare to high end stuff, so I can advise you of what the differences are; once we know what makes a good supply different from a lower level one, we can make informed choices in our purchases. I kinda feel like a canary in the coal mine….but I do now have plenty of pretty wax colors now. Not the ones I want, but lots of pretty colors! Know that I haven’t found any on Amazon that are beyond what I’d call entry level/beginner/crafty supplies; I haven’t seen the good stuff there, but the ones you find there are also not so awful you can’t use them. We’re making cards, not high end works of art, so get what you can and enjoy playing with it!
Supplies
Some product may be provided by manufacturers for review and use. Compensated affiliate links are here at no cost to you. If you choose to shop using my EH (Ellen Hutson) links, please accept cookies on that site in order to retain the link to my blog, or that compensation does not happen for me. I appreciate your support of my work with your purchases! Full affiliate and product disclosure | My trusted partners in art