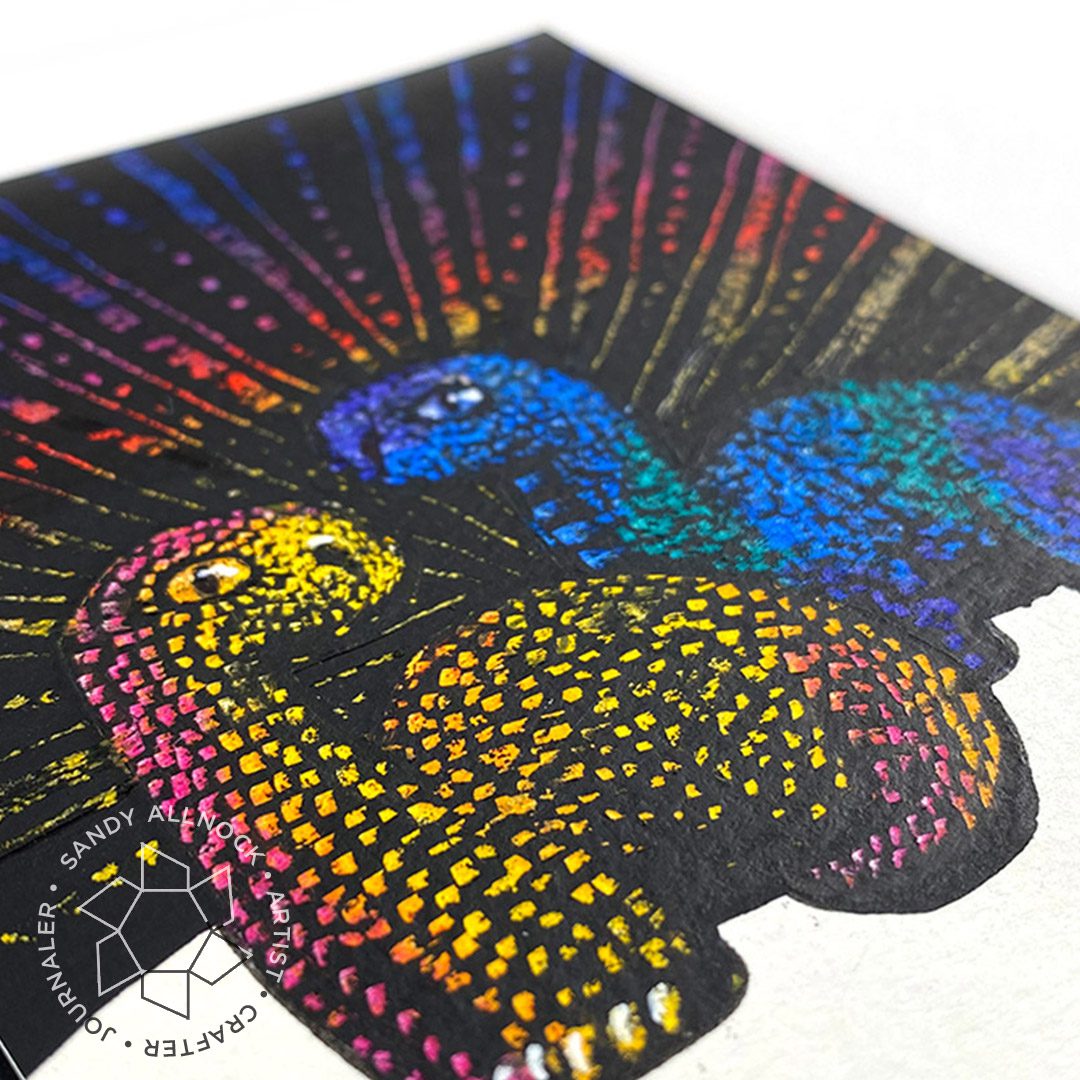
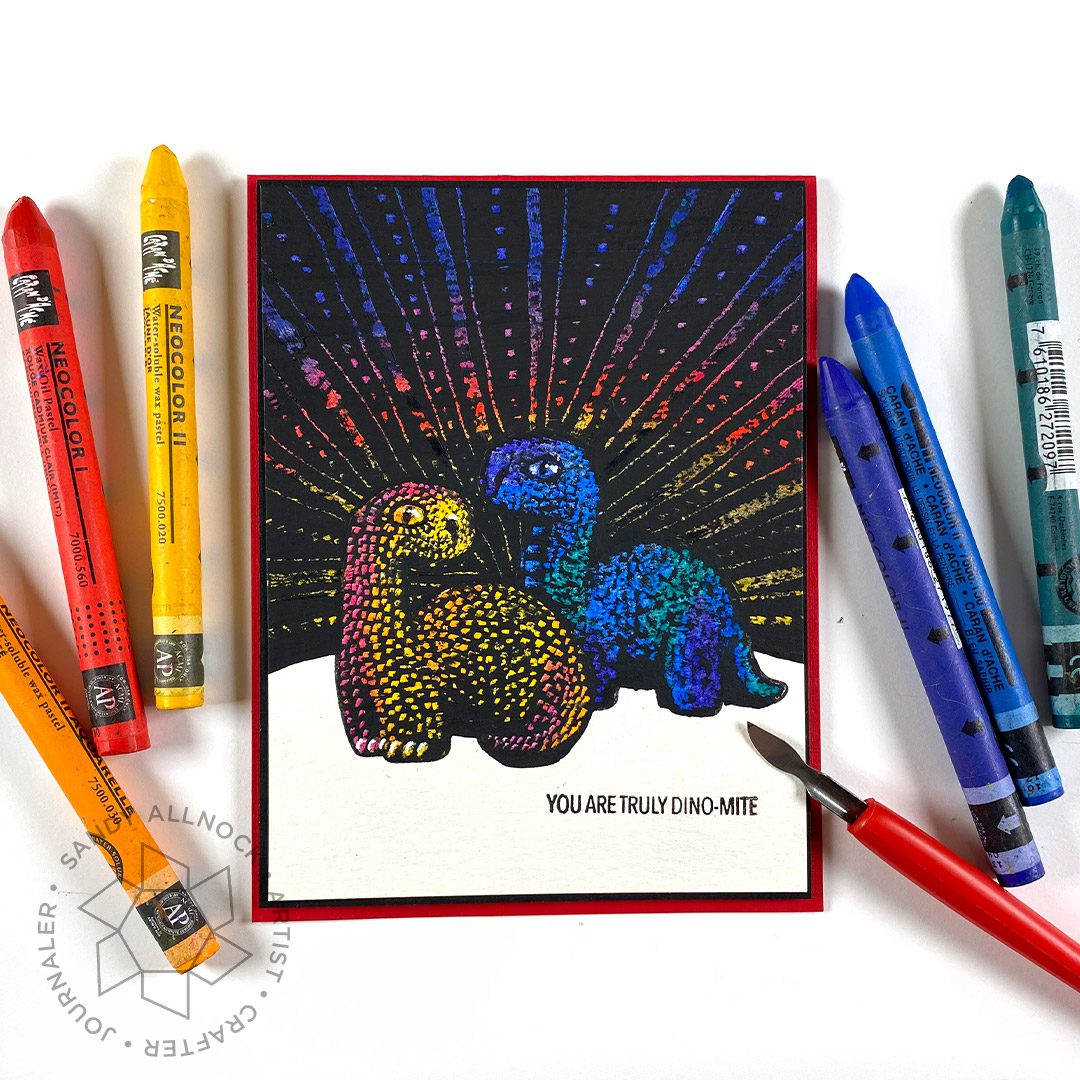
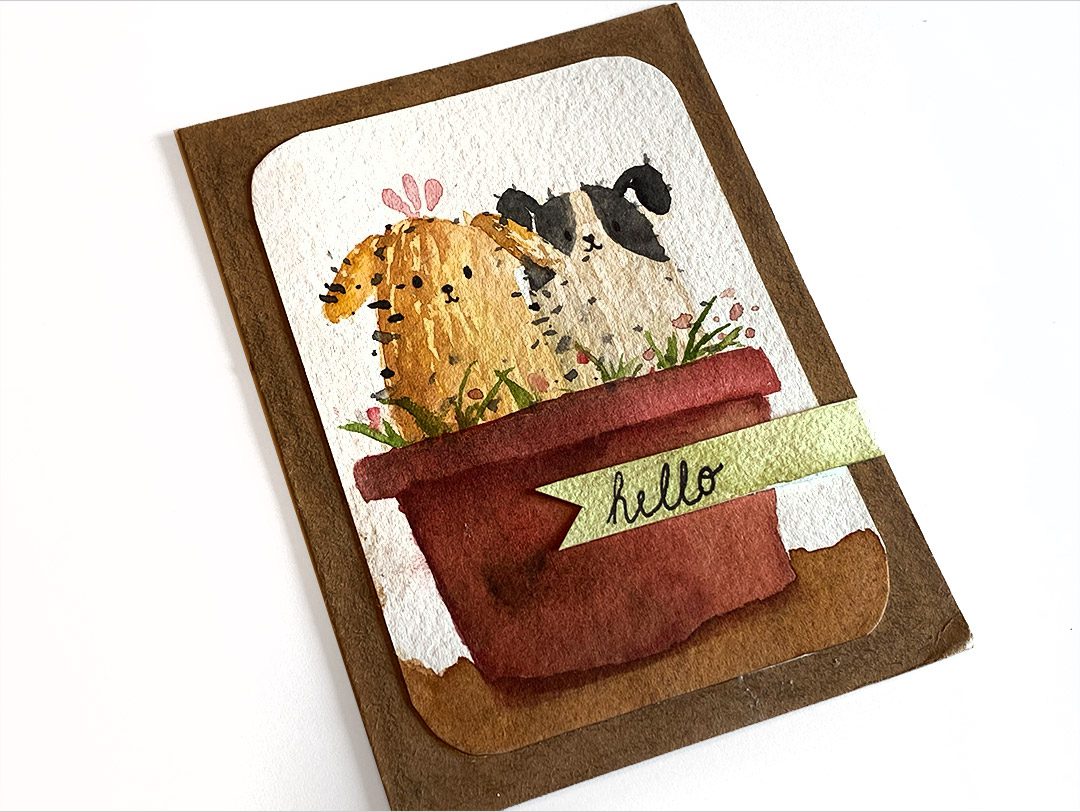
Hey there – it’s not often I feel like I have totally gone where NO one has blaxed a trail….but today I just might have! You might remember scratchboard art from your childhood, right? Well, I figured out how to have fun with it on a card!
Supplies for this project are linked at the end of this post. Compensated affiliate links may be used at no cost to you.
To try this, find a simple stamp – large images without a lot of lines drawn inside them. You’ll want all the room for color that you can get! Then gather up some supplies – set the kids up to do their own art while you make cards with this technique!
Paper. Something heavy, not much texture. Canson XL is my recommendation.
Paint and brushes – Apple Barrel is by far the best from my testing. (What do I do with all this other black acrylic now? lol)
Coloring medium – crayons work though they’re not very intense in color. The Neocolors are probably overkill (pricey) for this kind of project. But try Crayola maybe?
A dust brush or any kind of soft wide brush for keeping the scraped paint cleared off.
Scraping tools – Not sure I recommend these for long term use–the handles are cheap plastic and feel pretty awful for spending time drawing with! But they are cheap so there’s that. With kids I’ve had them use a light colored pencil, you could try a glass pen, or some other tool you have around the house that’ll scratch paint!
The tools have all kinds of “nibs” to play with. So get creative in what you find around the kitchen, garage, or office drawer!
Tips
Stamp the images in something like Versafine Onyx Black; other inks may work, it’s not like they need to be waterproof or anything.
Add the crayon or Neocolor or oil pastels, and paint over it in an even flat coat of the black paint. Let it fry at least a couple hours. DO NOT HEAT SET. Acrylic melts. Don’t ask how I found out.
Scrape your designs!
Add color too the background, paint, and scrape again!
If you don’t feel like drawing eyes – GOOGLIES! ha!! (I didnt glue them on but wanted to give you a grin!)
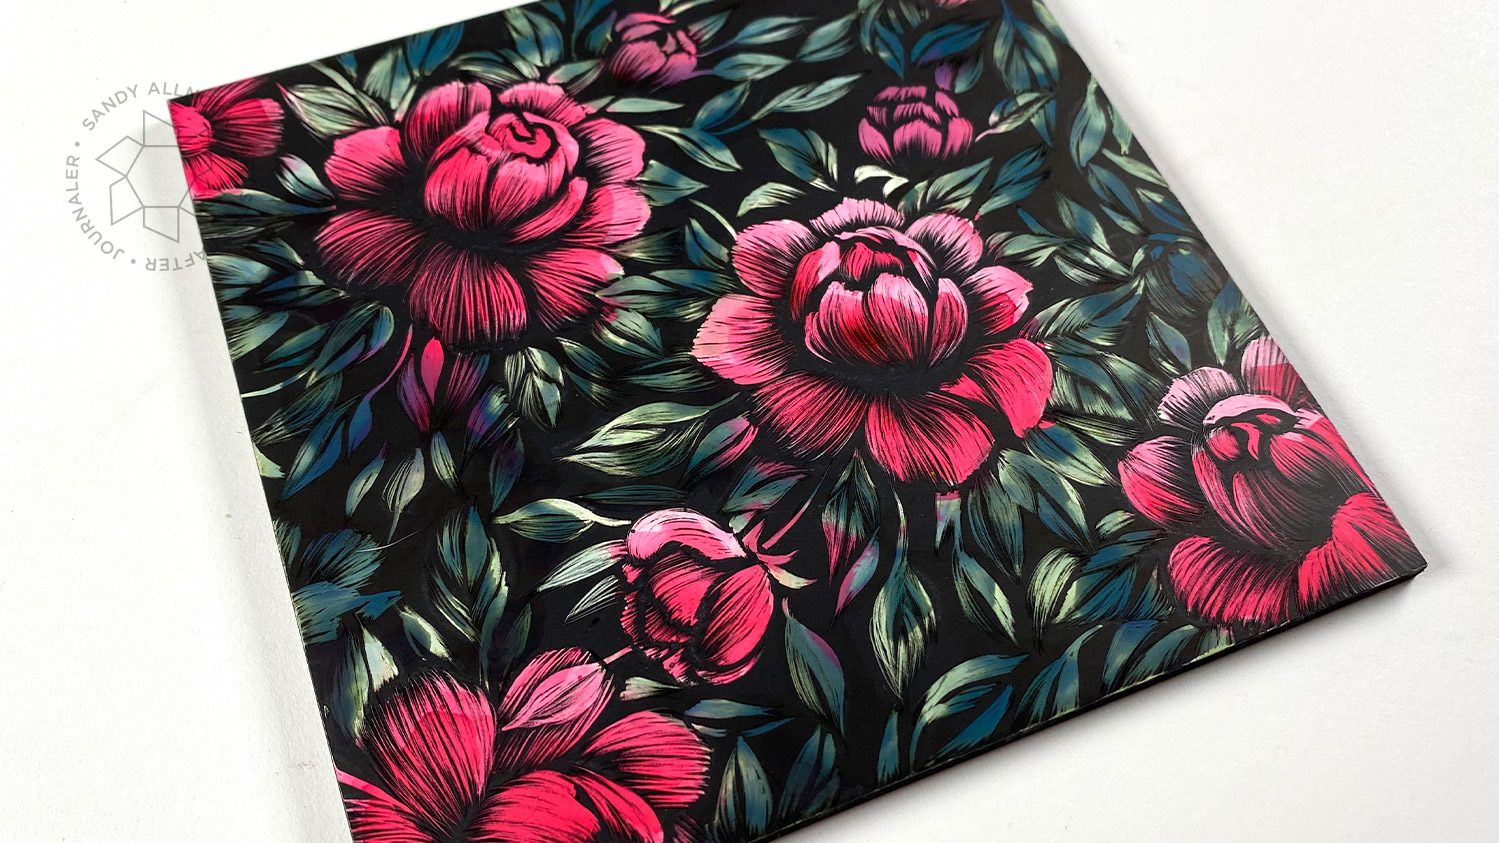
More stamped scratchboard
I’m in process on another piece, a bit fancier than this – so stay tuned! It’s here:
Supplies
Some product may be provided by manufacturers for review and use. Compensated affiliate links are here at no cost to you. If you choose to shop using my EH (Ellen Hutson) links, please accept cookies on that site in order to retain the link to my blog, or that compensation does not happen for me. I appreciate your support of my work with your purchases! Full affiliate and product disclosure | My trusted partners in art
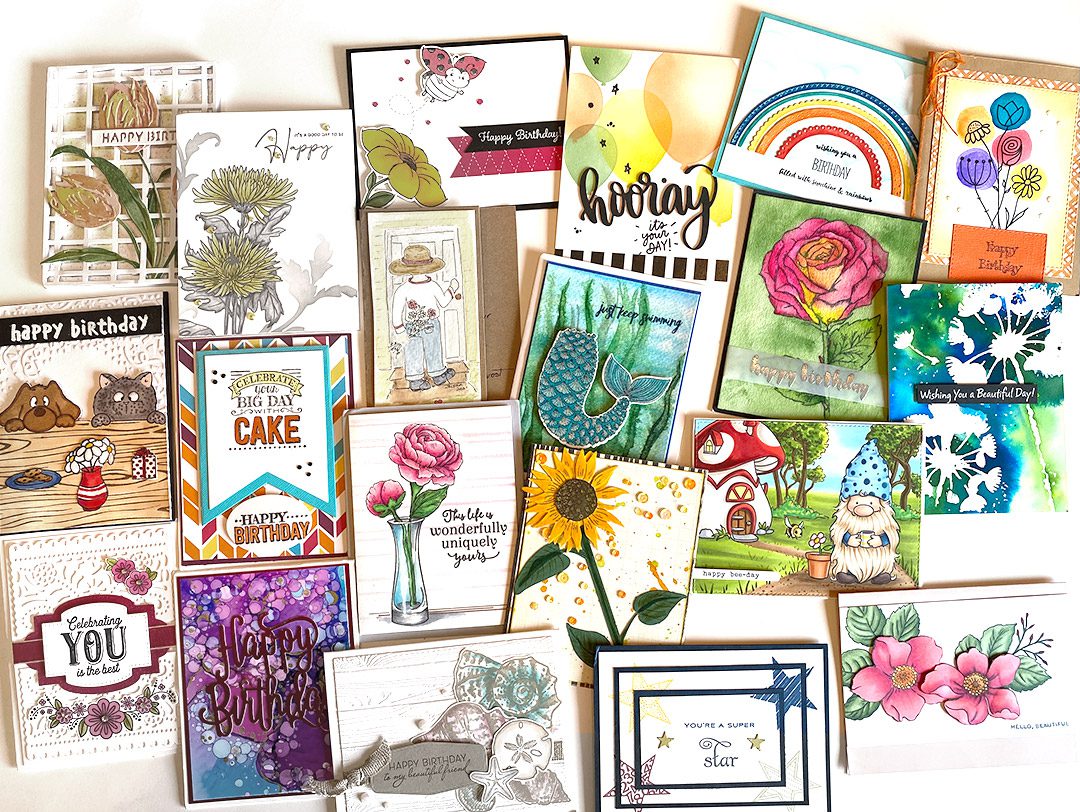
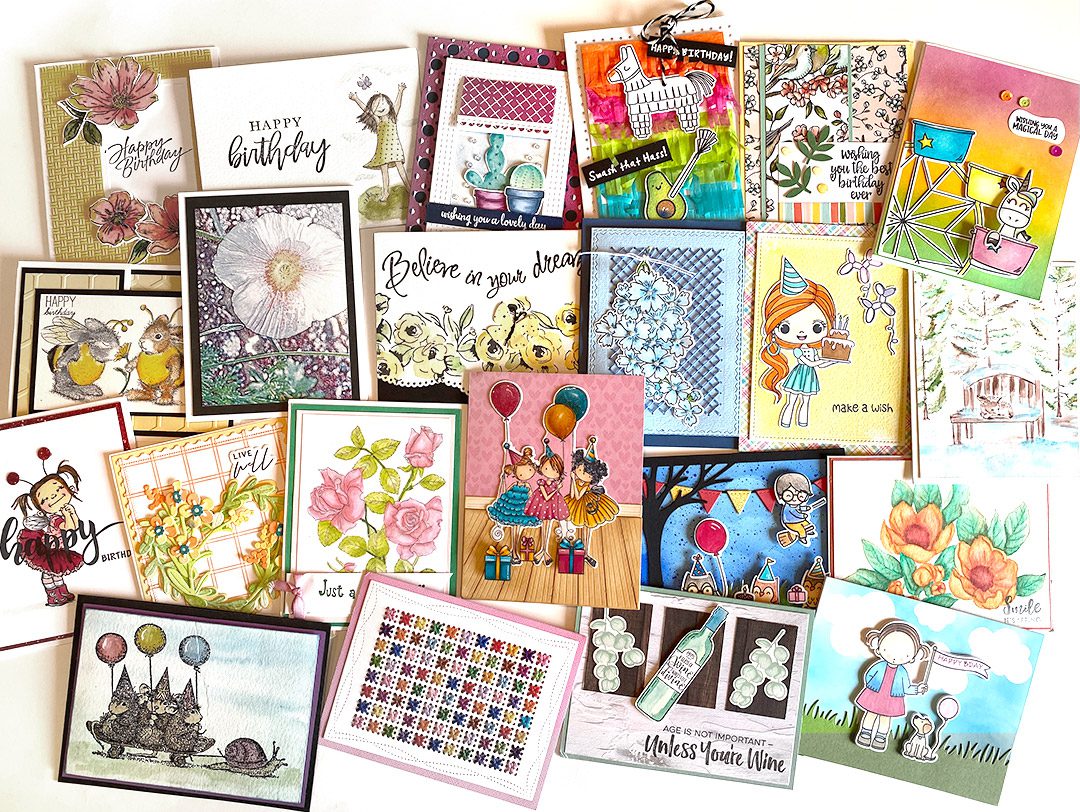
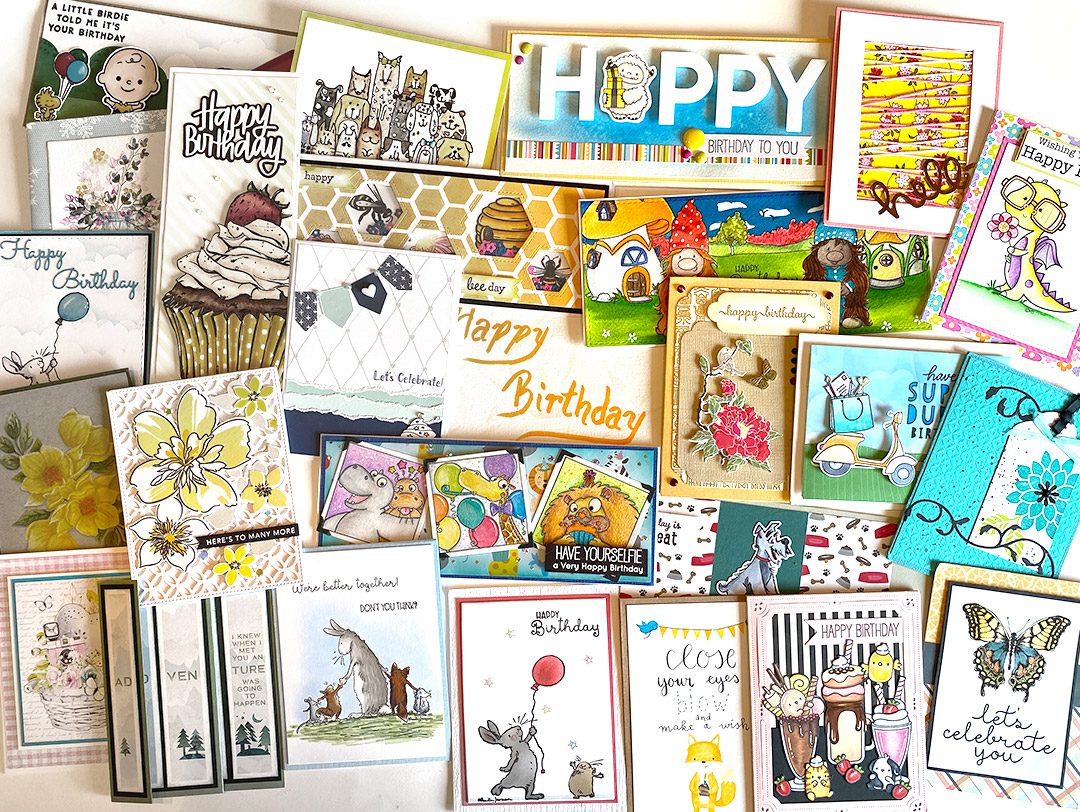
It really was astonishing to receive so many cards – THANK YOU ALL! See the video below or click HERE to watch on YouTube. Prepare yourself, it’s long. But worth it!
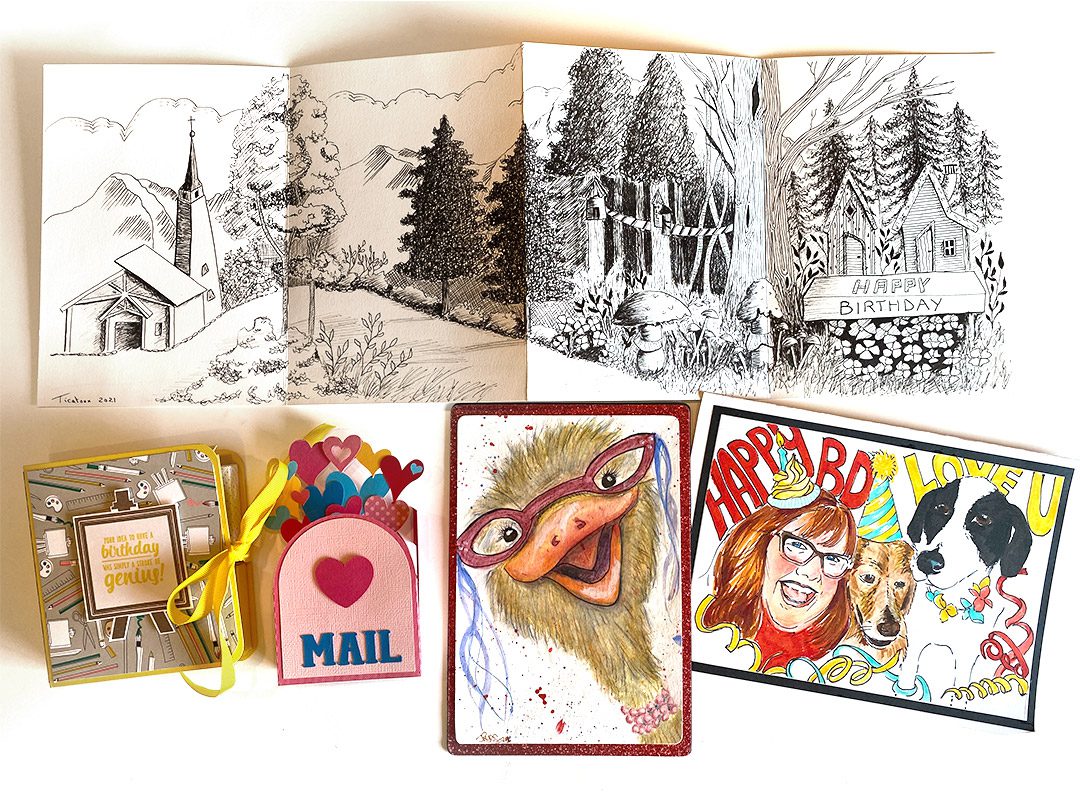
Some of the extra large cards….
A card that truly tickled me, made by a young crafter here in WA….I love customized cards!
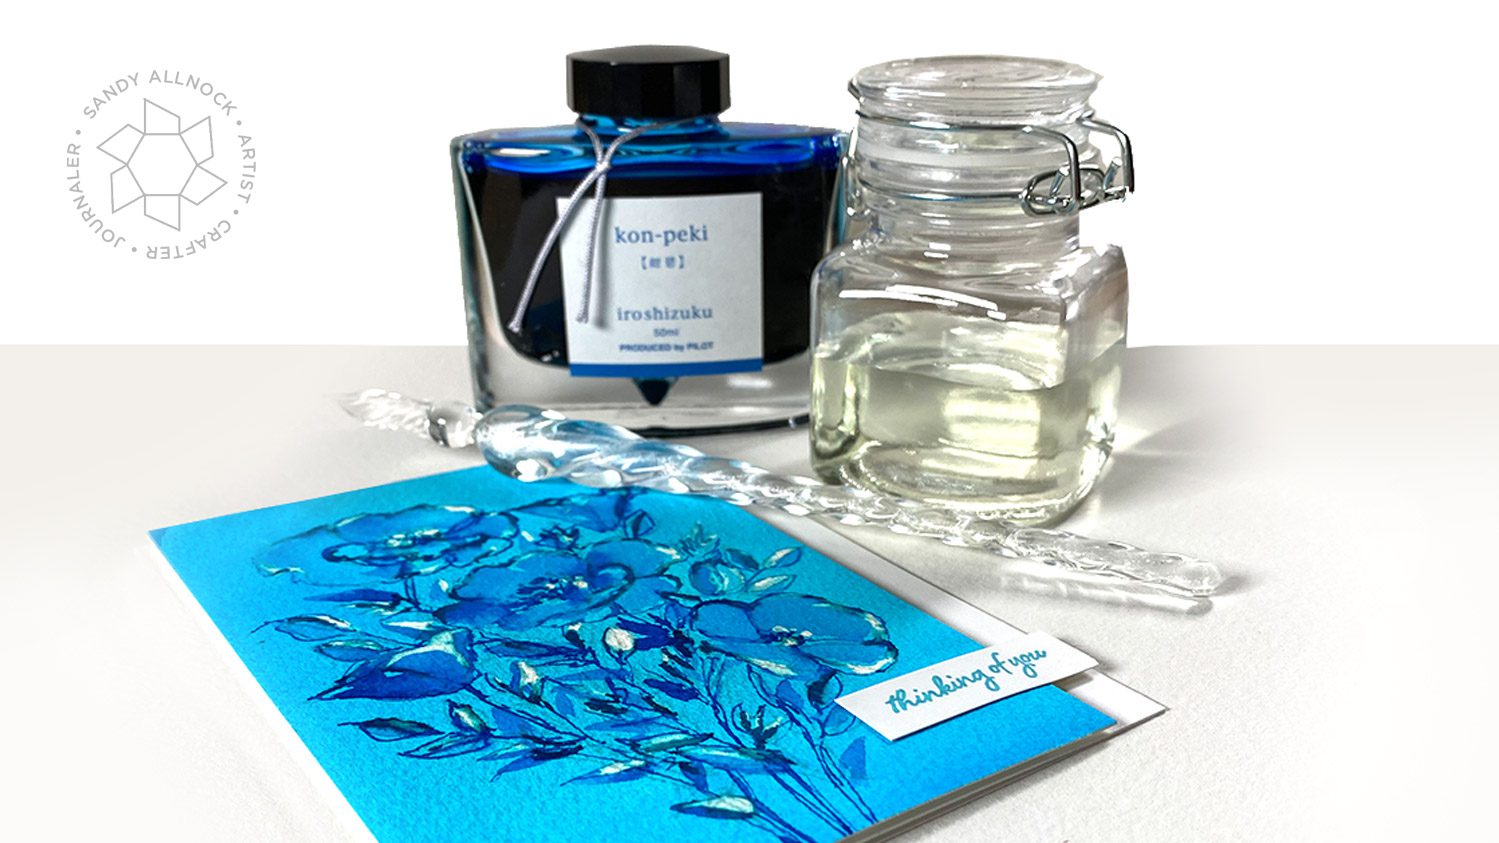
Every May I look forward to the blooming of the blue poppies at my local Rhododendron Garden….but sadly, they’ve canceled the art event already, many weeks early! Phoo. They are open though – so I may make a little pilgrimage mid-May to paint them myself even without an artist event like they hold every year. However – with my new turquoise blue ink….I can make something just as pretty!
Video
In today’s video, I nearly thought I ruined the card – but turns out that was just part of the process! Never let a piece of paper go til it teaches you something!
This kon-peki ink is sooooooo beautiful; I didn’t realize it’d be so turquoisey! It’s even hard to capture on either video or still photos. But one of my patrons will see this one in person and can testify to the fact that it’s a gorgeous color.
The finishing of the card included trimming the panel – removing that little drip of bleach on one side – and mounting it with dimensional adhesive onto a card base. Off center of course, because I’m on a non-centered kick lately!
Supplies
Some product may be provided by manufacturers for review and use. Compensated affiliate links are here at no cost to you. If you choose to shop using my EH (Ellen Hutson) links, please accept cookies on that site in order to retain the link to my blog, or that compensation does not happen for me. I appreciate your support of my work with your purchases! Full affiliate and product disclosure | My trusted partners in art
In all the good ways, of course. But she sent me down a rabbit hole with this new release (see it all HERE!). A rabbit hole decorated with very pretty patterns and colors!
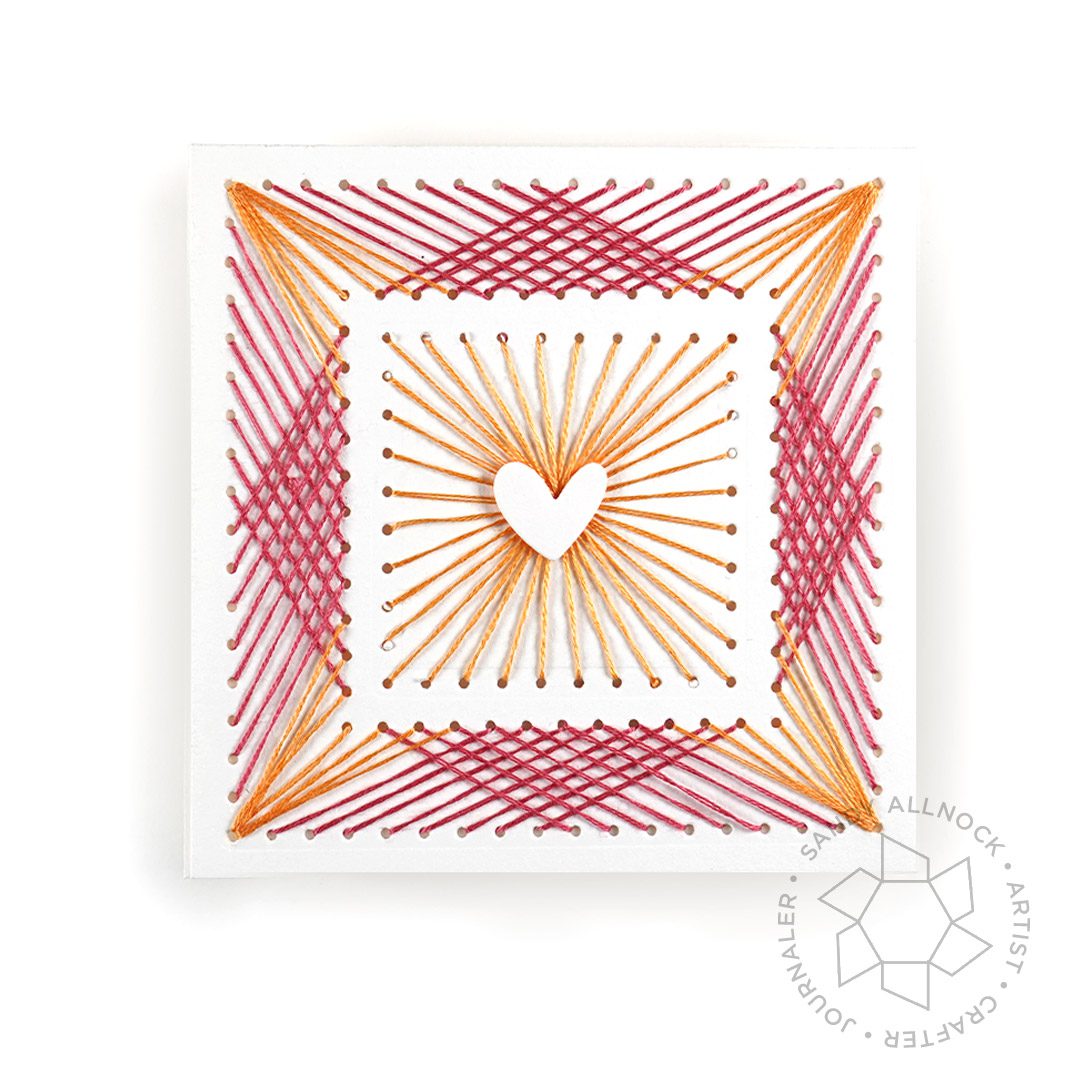
When Ellen Hutson sent this new release my way, she also sent some links to the team showing this thing called String Art that I didn’t know existed. I got lost down that bunny trail for many hours! Lots of people put nails into pieces of wood to create these artworks, but I’m kind of tickled we can do this with dies and paper – lots easier, and I’m pretty sure I could never nail a bunch of little nails in a line, evenly spaced! ha!
Supplies for this project are linked at the end of this post. Compensated affiliate links may be used at no cost to you.
Video
I’ll show you my first three little string art pieces…I think I’ll be spending more time trying these in the months to come. They’re really different than other things I create, and that gets me excited!
Essential Ovals for Stitching
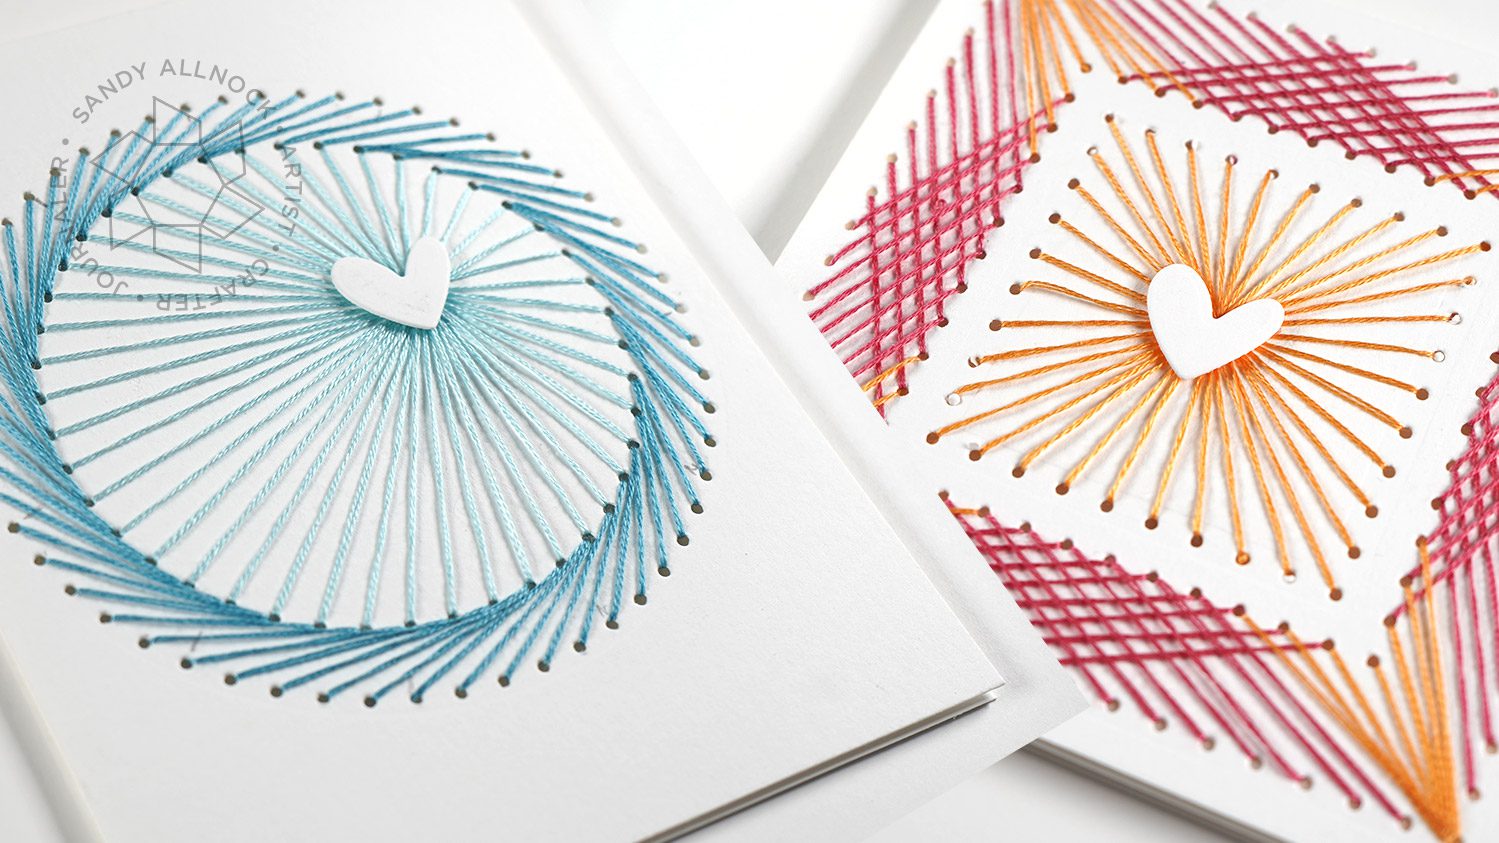
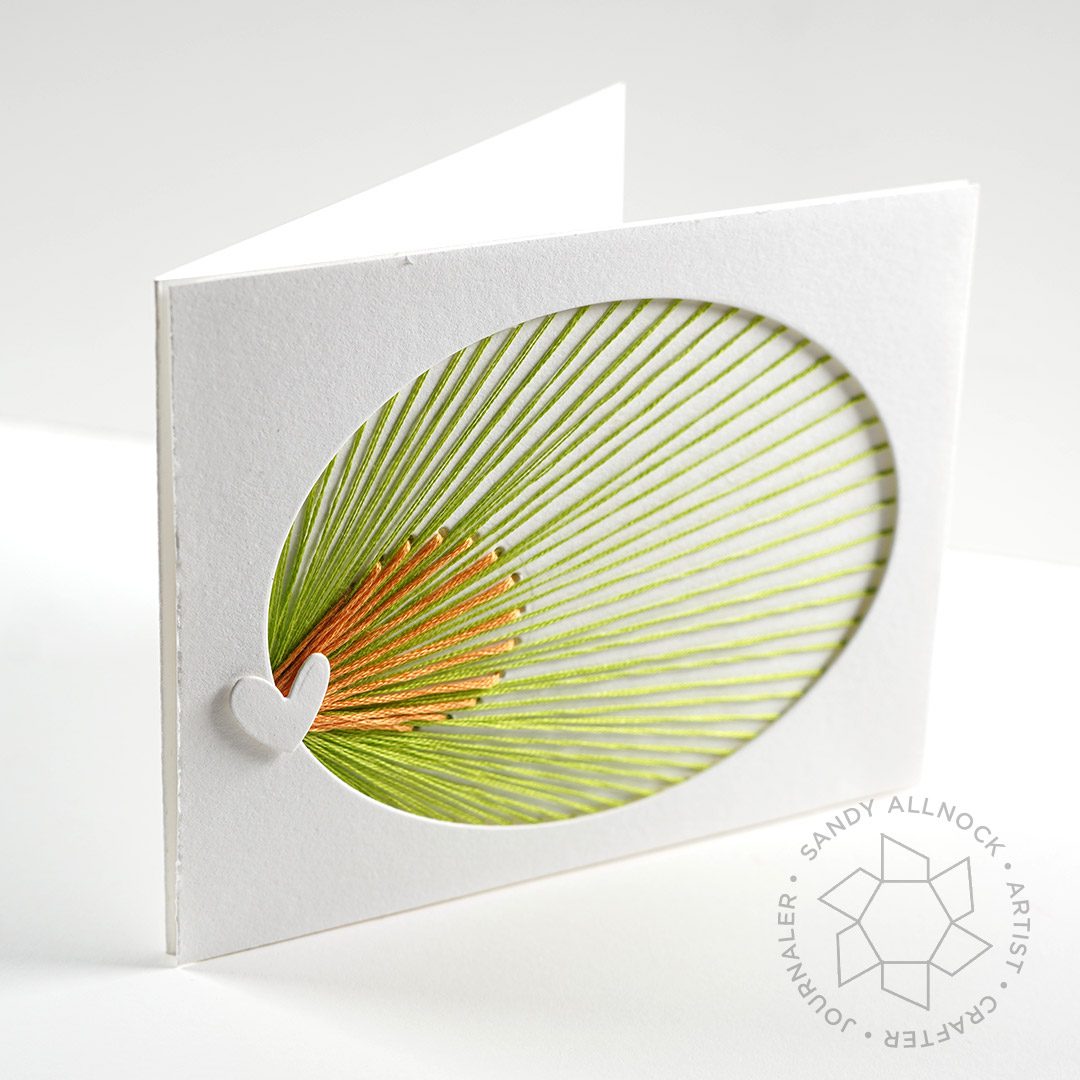
These dies with little stitching holes are good for more than just making decorative borders. Connect them with embroidery flosses – and you can make amazing little works of art!
With the ovals, I diecut an additional panel to pop up over the string art to “cover” the holes. So if you don’t like the look of them showing, this cleans them up.
Essential Circles for Stitching
I diecut two circles – one had 55 holes, the other 44. After several tries making the “wreath” around the outside edges, I learned I’d be more successful by stitching 11 semi-equidistant threads first. I marked off every 5th one so I could keep one end of those stitches even, then fudged the others.
Adding stitches between those 11 then allowed the “cheating” to happen but with the abiliity to maintain an approximately similar angle for the lines Then the center portion was simply stitched into the one hole punched under the heart.
Essential Squares for Stitching
This was my big step outside the box! I played around with creating a pattern in the outside border first – counting the number of stitch holes so I could start/stop in the middle and do the reverse number of stitches going the other direction.
The second color got added in the corners first – then I diecut another square in the center to make the panel for the heart. I could have just joined the bigger square – but the extra line of white – which now looks scalloped! – really added a lot to the design!
The hearts in all of these are from the
Hit That
The “Hit That” stamp set is a mini with a cute little pinata! I “broke” mine by stamping the back half with the front masked off, then the front with the back masked off. Then I could just draw in the busted middle. The candies are in the set – I just added more little hand drawn rubble. The lady is from the Cooking Lady set.
Guac On
For this little card, I stamped it using Catherine Pooler inks on watercolor paper, deliberately letting them be broken up. I didn’t have a brown though….so I layered blue over orange! The sun is made from the same stamp as the avocado pits, and a little swipe with a brush made the shadows on the ground and rays of the sun.
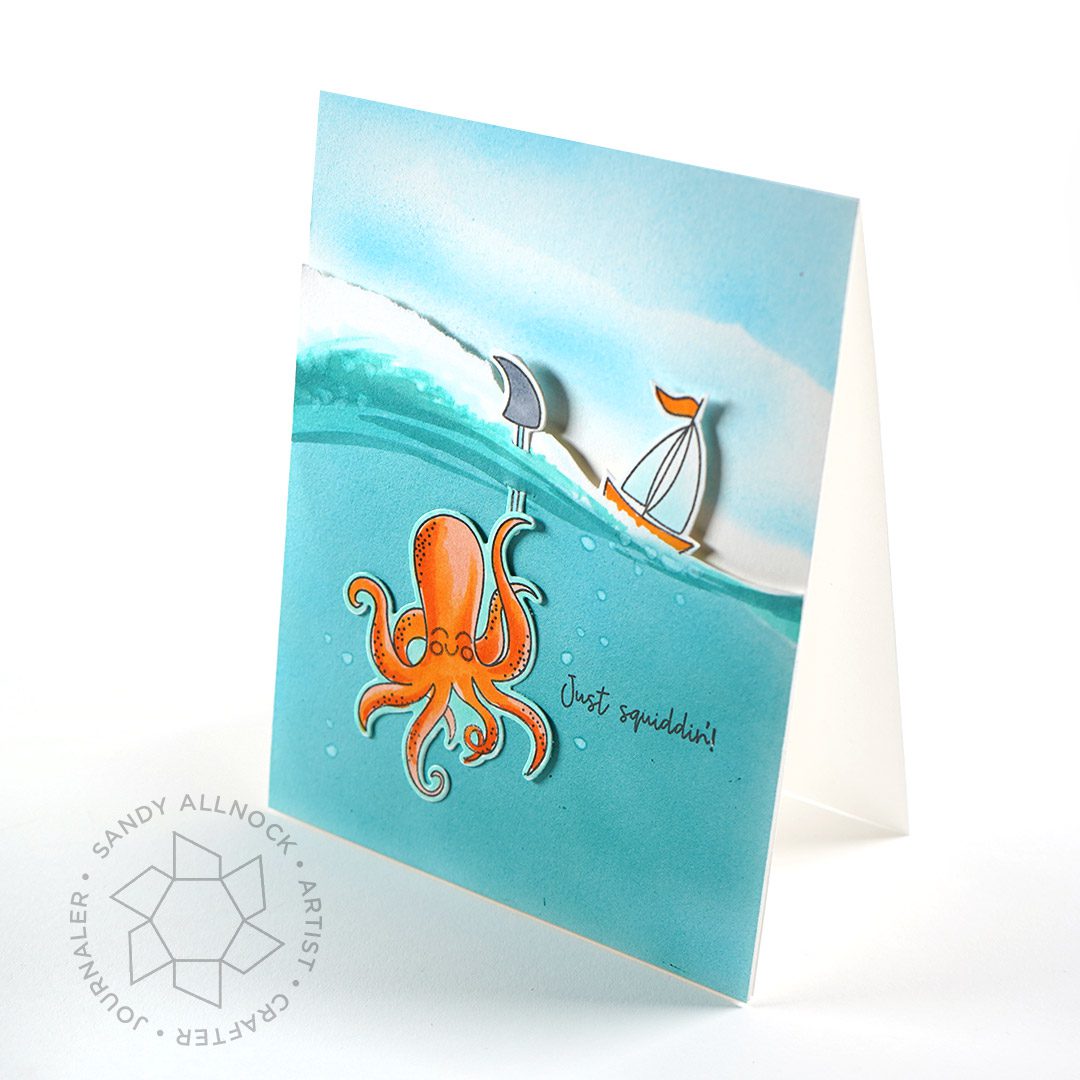
Just Squidding
Nutty card here! The squid and fin are diecut; the sailboat was stamped crooked on a full panel. Then I fussycut the right half of that piece around the boat, and then tore the paper on the left for the top of the wave. Then I airbrushed a pretty sky using some torn masking paper to create clouds; airbrushed the water, and added just a few swipes of marker to create the underside of the wave. The fin’s stick is stabbed through two slits cut in that front panel.
Guest Video on Ellen’s channel/blog
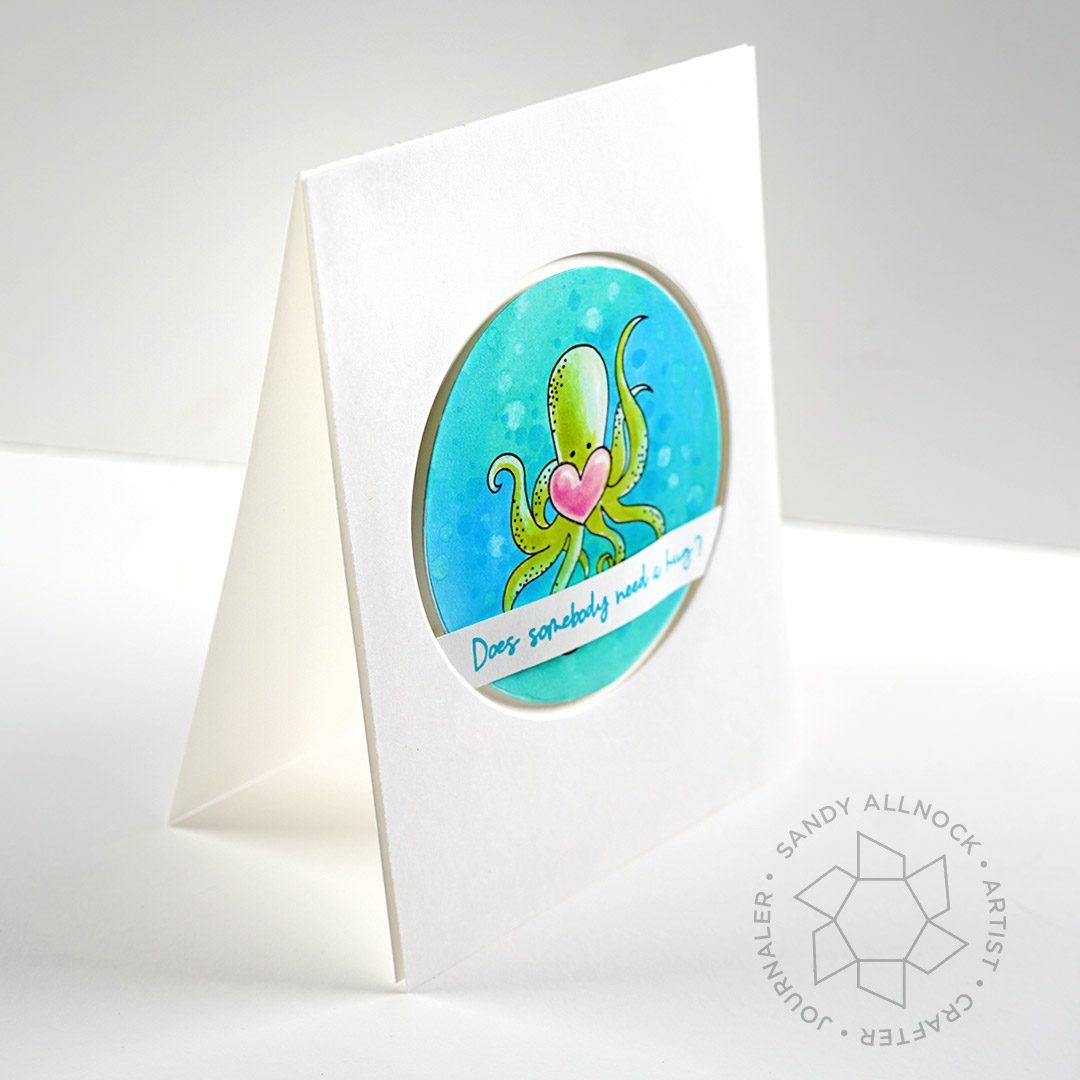
If you’re wishing I did some coloring for the release, never fear! I’ll just be doing that over at Ellen’s sites this time. Again with Squidward, but this time it’s his sweet sister? lol. Soft cheerful colors, a simple diecut to control the real estate for coloring…. BLOG – YOUTUBE
This is similar to my recent Lucky Cats technique where I cut out a frame die but left the rectangle frame off that card; this time it’s just a circular frame!
Supplies
Some product may be provided by manufacturers for review and use. Compensated affiliate links are here at no cost to you. If you choose to shop using my EH (Ellen Hutson) links, please accept cookies on that site in order to retain the link to my blog, or that compensation does not happen for me. I appreciate your support of my work with your purchases! Full affiliate and product disclosure | My trusted partners in art
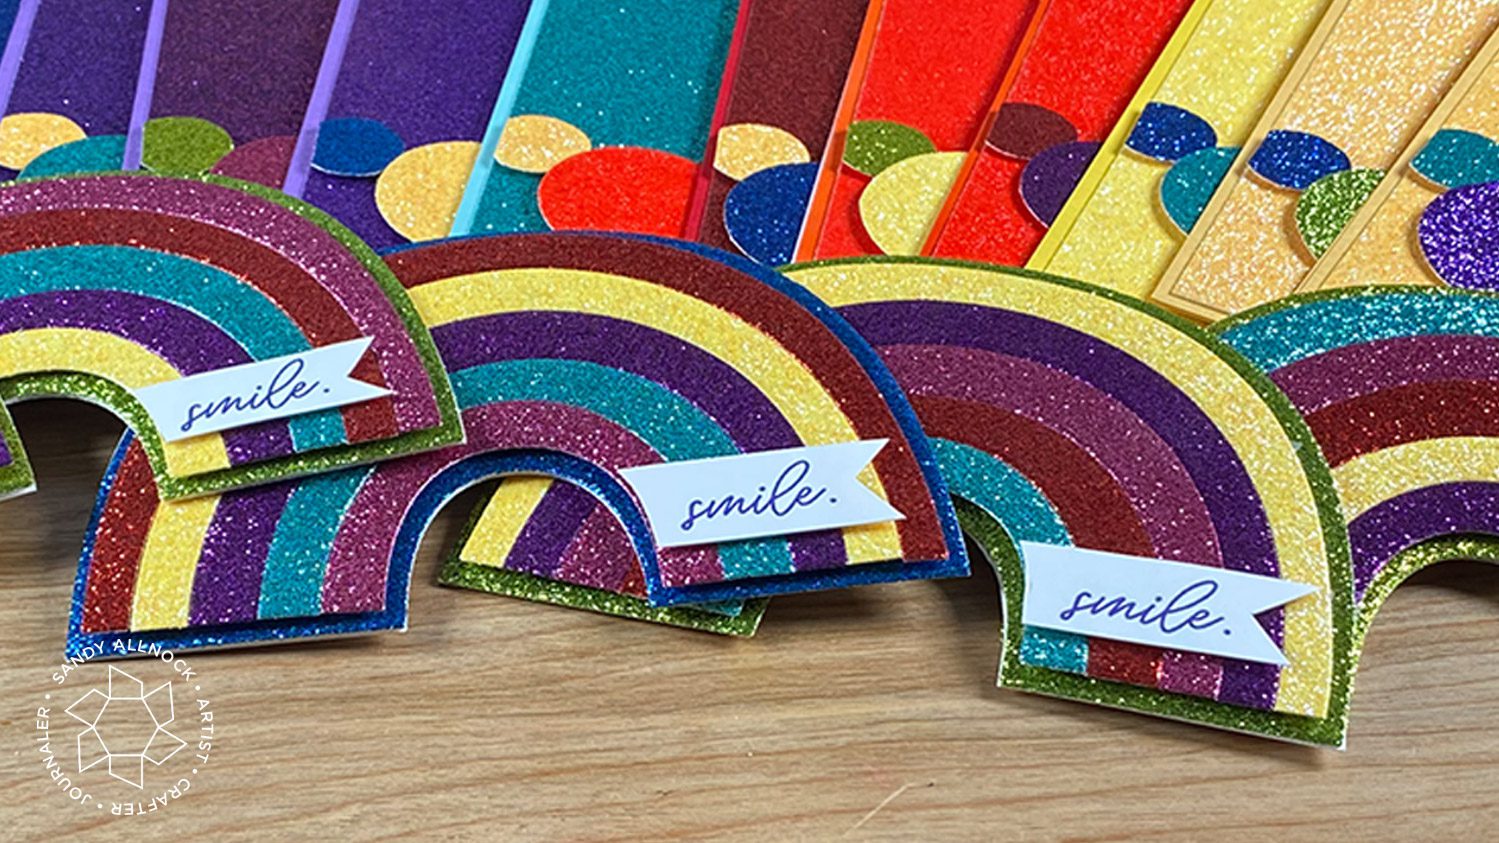
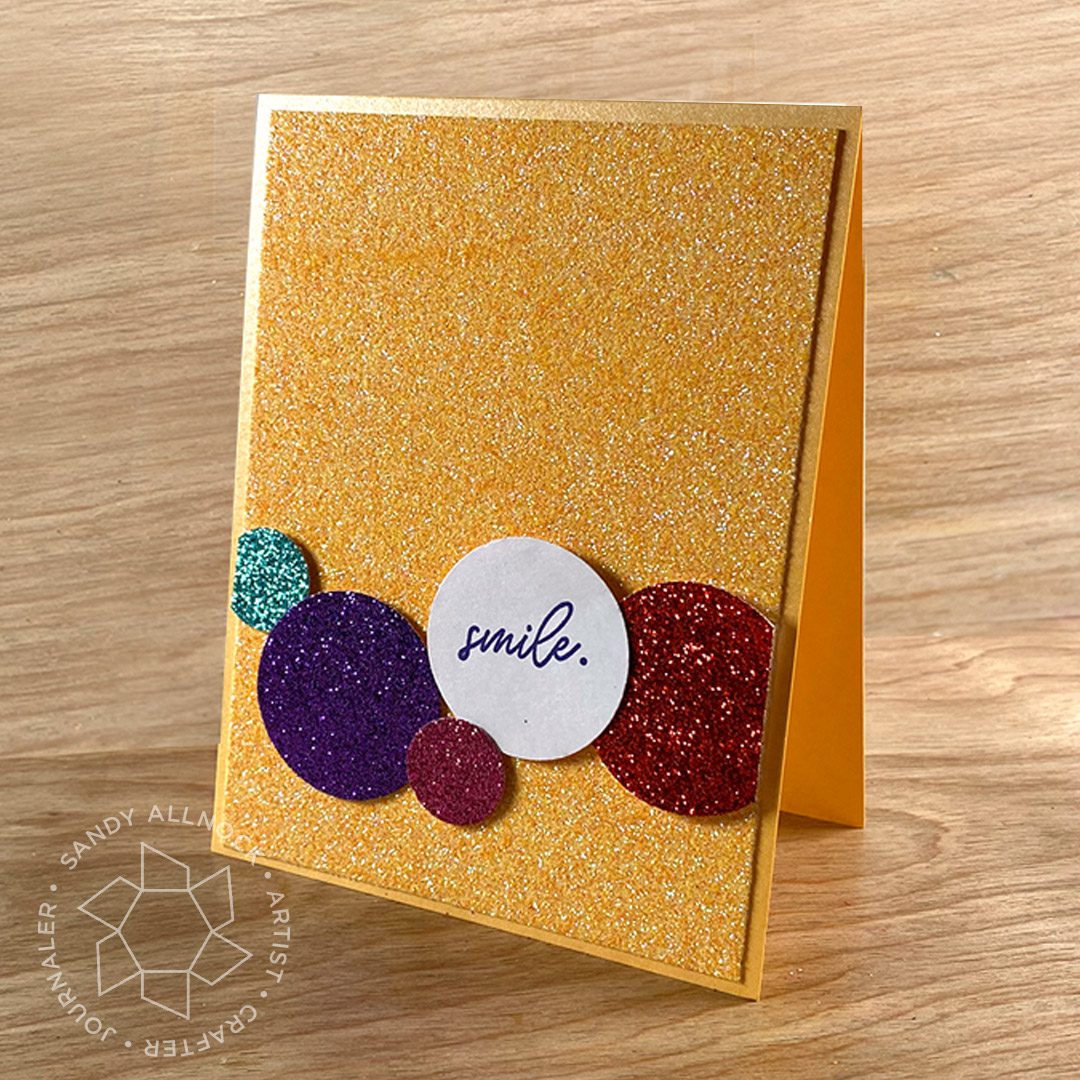
Happy rainbow sparkly day! I bought a 6×6 sparklypad from Memory Box that I was pondering for a while…and finally got ‘er done. Dies and punches, here we go!
Supplies for this project are linked at the end of this post. Compensated affiliate links may be used at no cost to you.
Video
No coloring is involved here, but lots of color – and sparkle that didn’t end up all over the studio!
This shaped rainbow card is so sweet – and part of me wishes I’d used the WHOLE pad on these. They’re more time consuming but still….the effect is so awesome.
These were super easy to mix-and-match to make – and will make anyone smile at their mailbox. Happy mail is the best!
Rainbow inspiration
Need more rainbowy cards? Check out the Rainbow Inspiration page for lots more videos, lots with rainbow coloring ideas!
Supplies
Some product may be provided by manufacturers for review and use. Compensated affiliate links are here at no cost to you. If you choose to shop using my EH (Ellen Hutson) links, please accept cookies on that site in order to retain the link to my blog, or that compensation does not happen for me. I appreciate your support of my work with your purchases! Full affiliate and product disclosure | My trusted partners in art
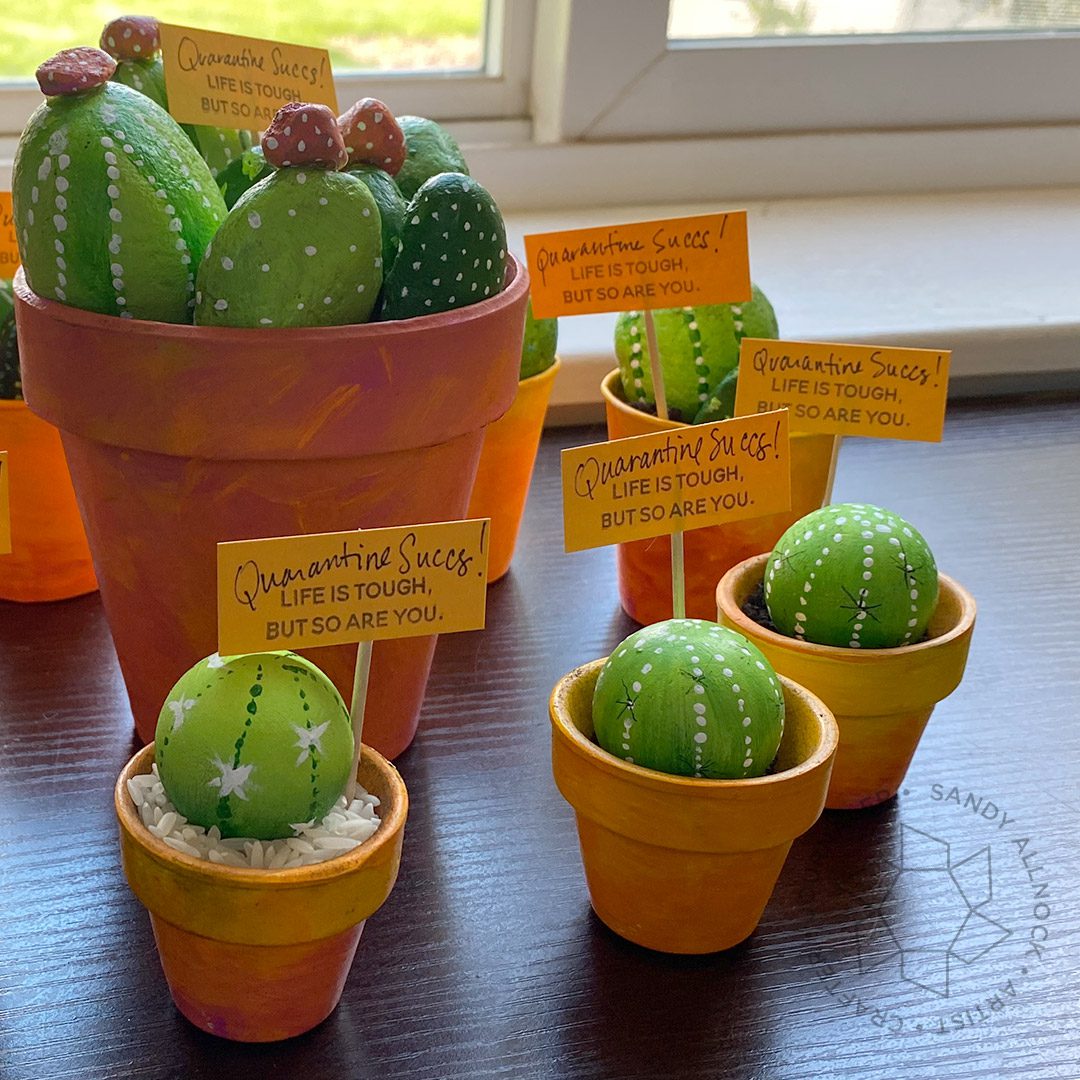
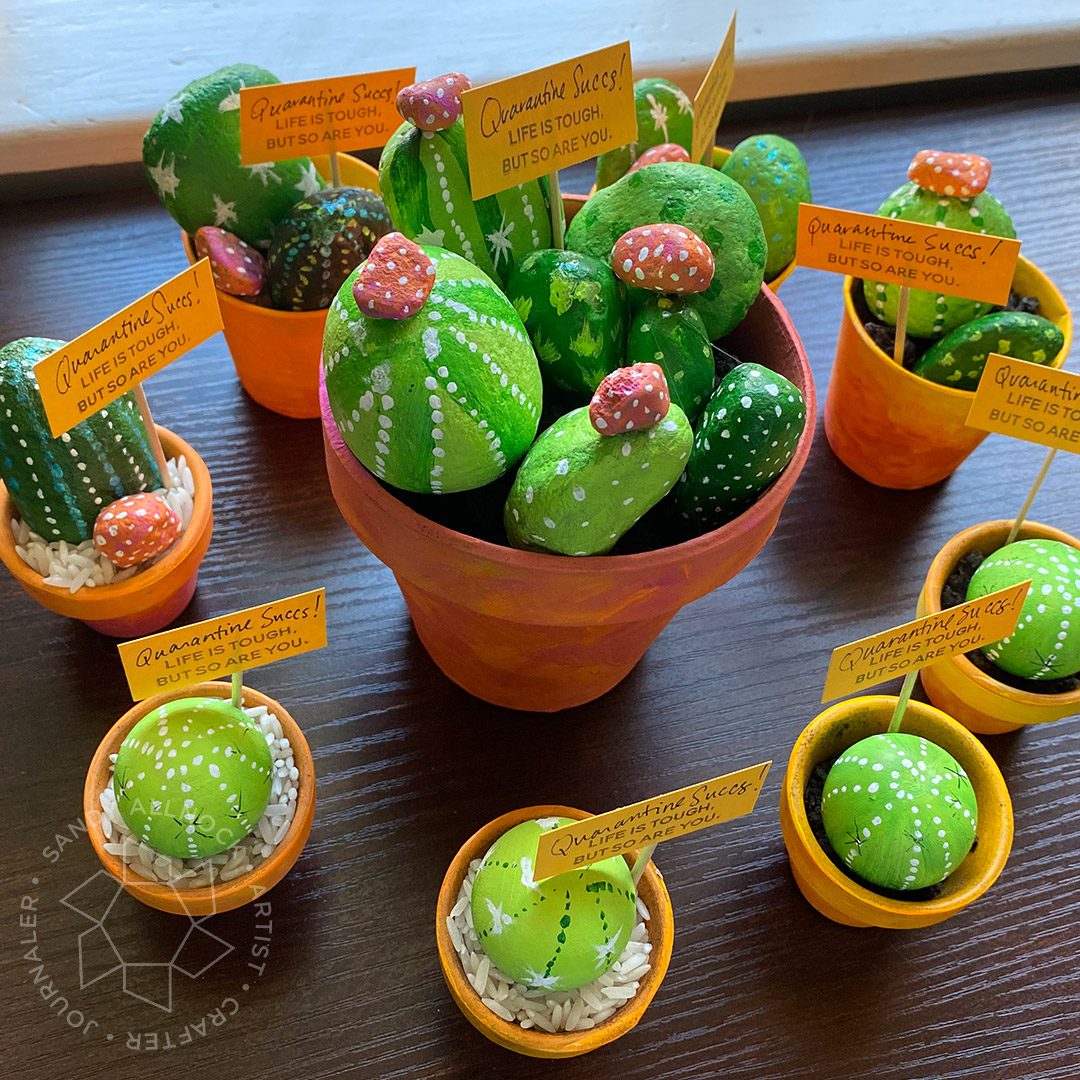
I think we may have reached “that” point in quarantine. I’m starting to goo for all kinds of crazy ideas! These came out so cute, and I’ll be delivering them to neighbors – just dropping it off on the porch without a note. Just to help spread some cheer! Fortunately it’s a week with no rain in the forecast so I think it’s safe to just leave them outside for folks.
This project was inspired by a bunch of little wooden balls in my closet stash…for decades, I’ve always wandered down the wood and papier-mâché aisles, picking up things that I think “someday” I’m going to paint and make something wonderful with them. Uhm, well, why not do it in a quarantine?
You may not have what’s in my stash – the little wood balls or pots – but I bet you have rocks! And dixie cups! And paint! See how I made them:
It’s so easy – paint a base coat of white if you wish, or do like I did and just dive in with color! (Most any acrylics should work fine.) Pick a few greens out of your paint stash. Create designs with white paint or pens.
After the rocks are painted, then prepare some containers. See what you have in the gardening shed! If only large ones, pick some bigggg rocks, LOL! You can paint even those plastic pots with acrylics, so wash them up and add color!
If you’re making these for quarantine gifts like I did, you may have a sentiment in your stamp collection that works for the part “B” of the little paper signs – it can be anything encouraging! You can handwrite “Quarantine succs!” by hand above the sentiment. Add toothpicks with tape – and dirt or rice to the containers! There are lots of adaptations I bet you’ll think of. Be sure to tag me on instagram with whatever you come up with, I would love to see!