The Essential Marker Stroke (brush nib water ripples)

The Essential Marker Stroke (brush nib water ripples)

Did you know there’s an Essential Marker Stroke ? The one above all others? It’s used in drawing — but also for those who color only and not draw, you’ll find this helps with blending too!

This stroke applies across alcohol markers and water-based markers – anything with a brush nib!

Left to right, below: Sketchmarker alcohol marker, Tombow marker, Sketchmarker Aqua marker, Olo marker, Copic marker, Faber Castell Aqua marker.


Tutorial: The Essential Marker Stroke

Get ready to write down your homework assignment. Yes, homework! 🙂

Watch the video below and scroll to the end to leave comments or questions — or click HERE to watch it on YouTube and leave comments over there. I read both dutifully!

Don’t do this!

By drawing with a marker as if it’s a bullet nib marker, there are blobs that end up at the start and end of inelegant lines – which will make your drawing look like dotted lines. Whether you’re making water ripples, grasses, or hair, that just won’t work. You may find this interfering with blending too – each stroke will create a blob of ink wherever it starts and ends, rather than making elegant blends.

The Essential Marker Stroke

Learning to create a brush stroke that has a thin beginning and end will make a huge difference in your art! Subjects like the water ripples shown have a natural flow when the shapes are gentle and elegant.

The stroke starts above the paper, then the marker moves down to touch it and press a little heavier as yuo go, then lift in the same way at the other end of the stroke. Think of it like a pendulum.

Your homework

Go take a sheet of paper and make 100 strokes; they won’t all be perfect, but by just doing it again and again, you’ll begin training your hand to “feel” when it’s right. 

A few marker classes to practice this stroke

If you need more than just making practice strokes on scrap paper, I’ve put together a few suggestions for you; I was recently reading a study about the way some people learn best by having a goal to meet, so your goal can be getting through a course!
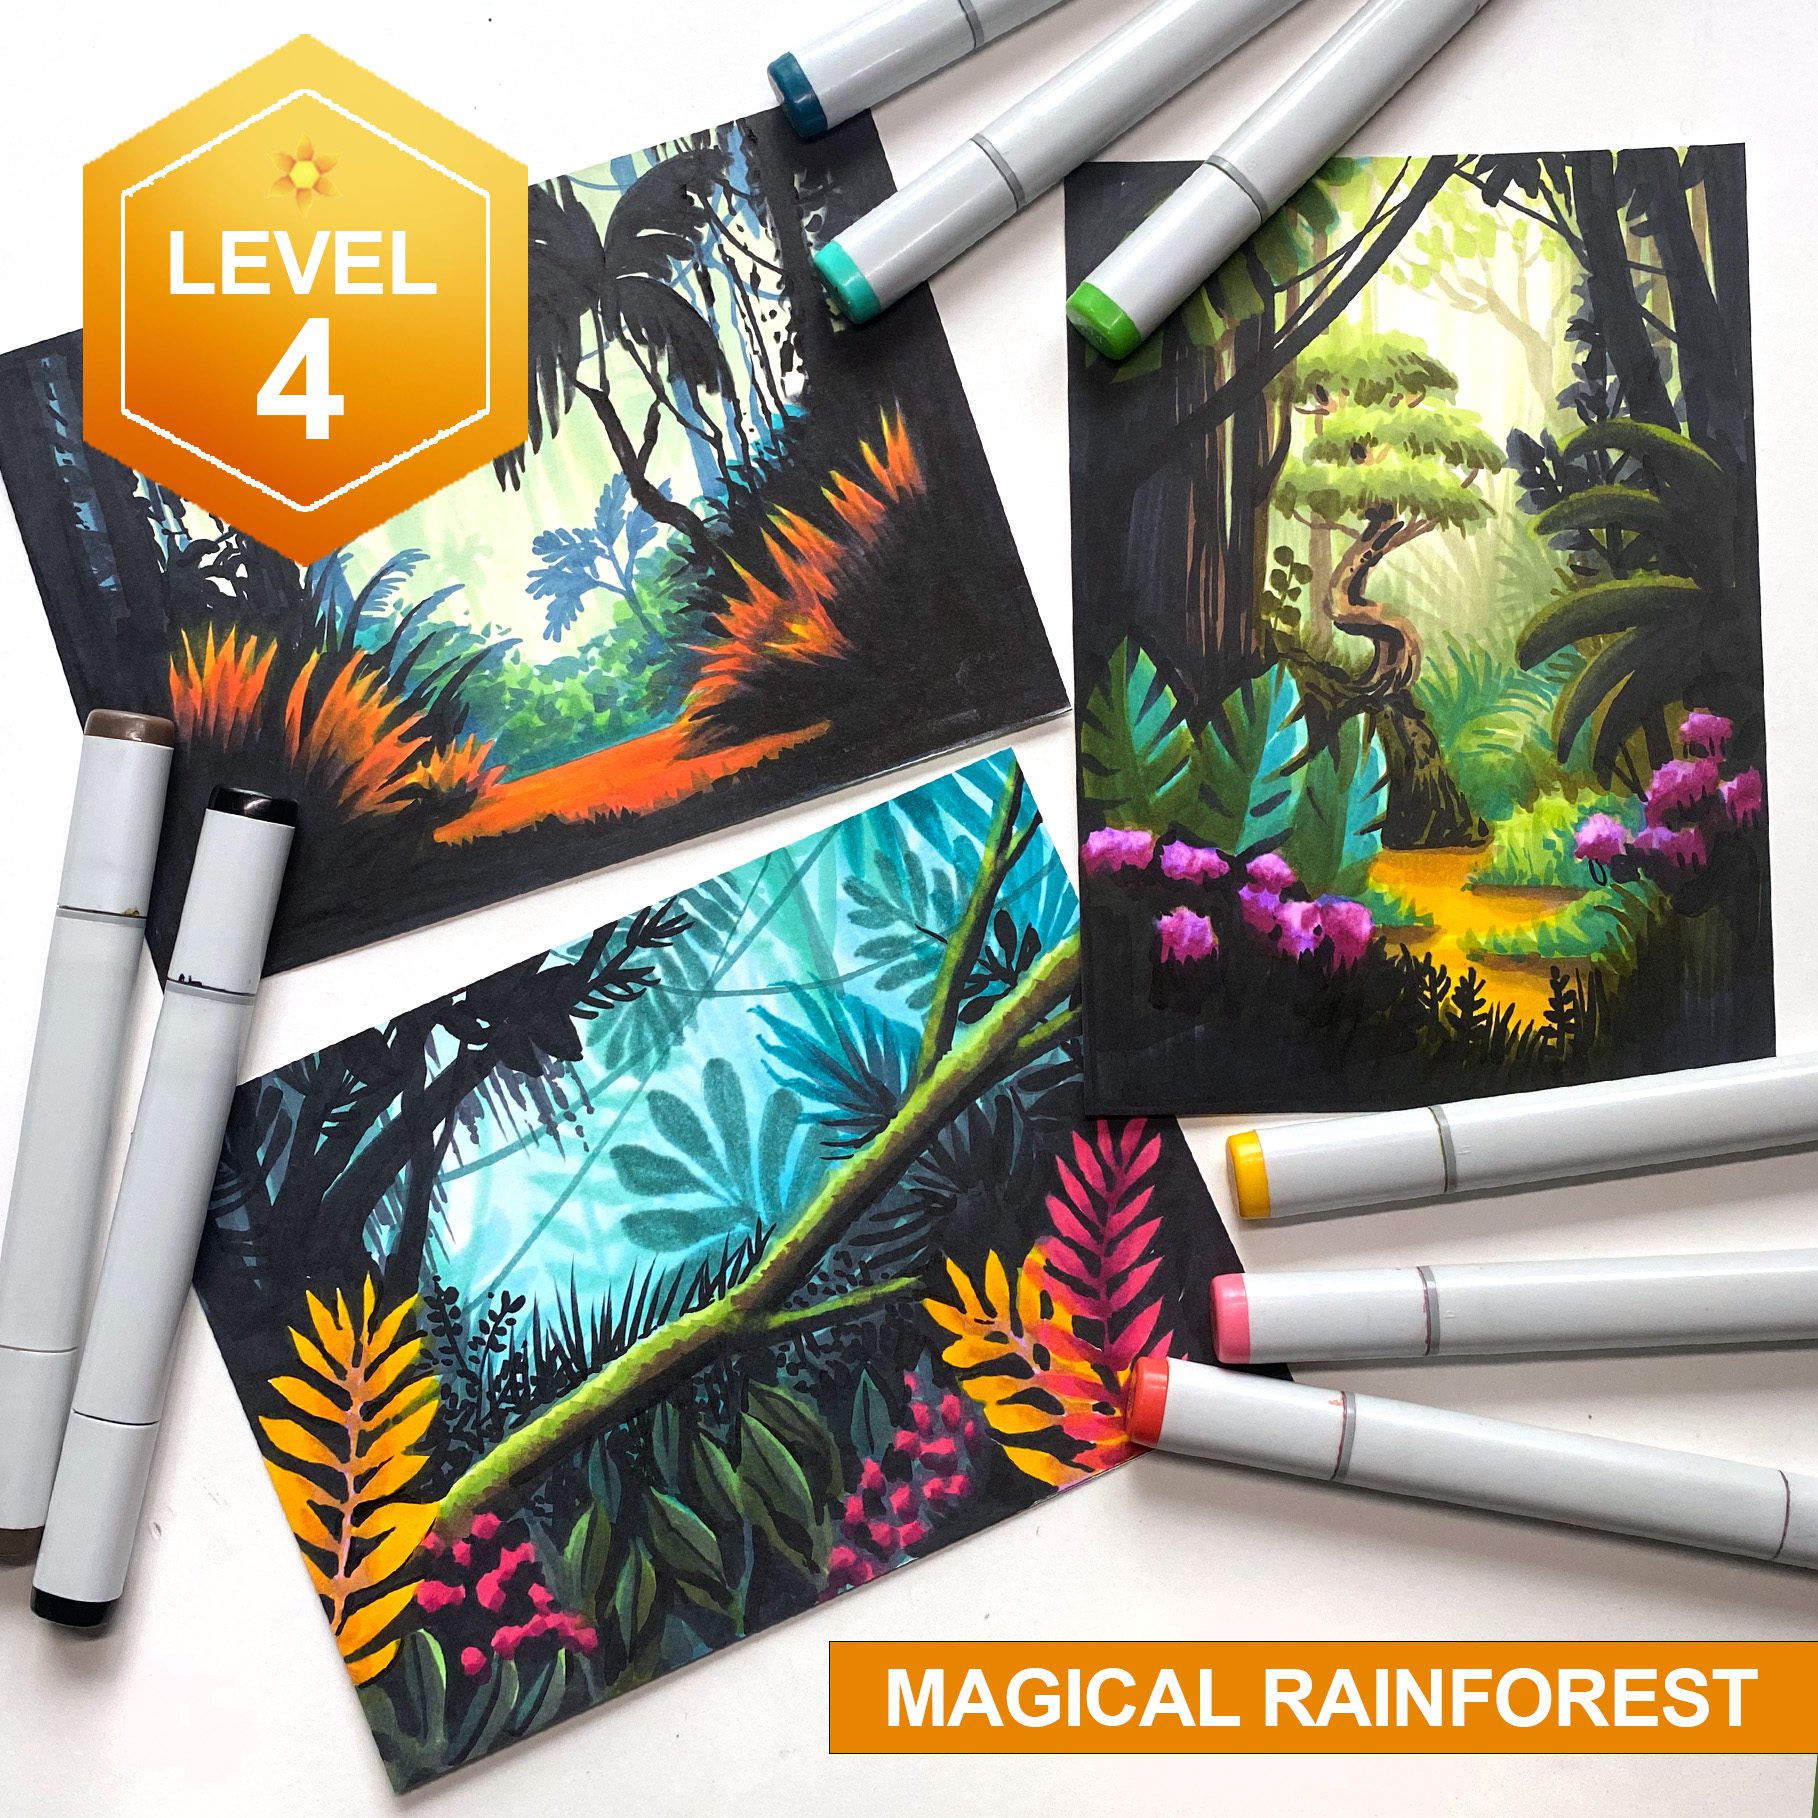
Magical Rainforest class will give you opportunities to practice this stroke – lots of grasses and leaves need that delicate touch.
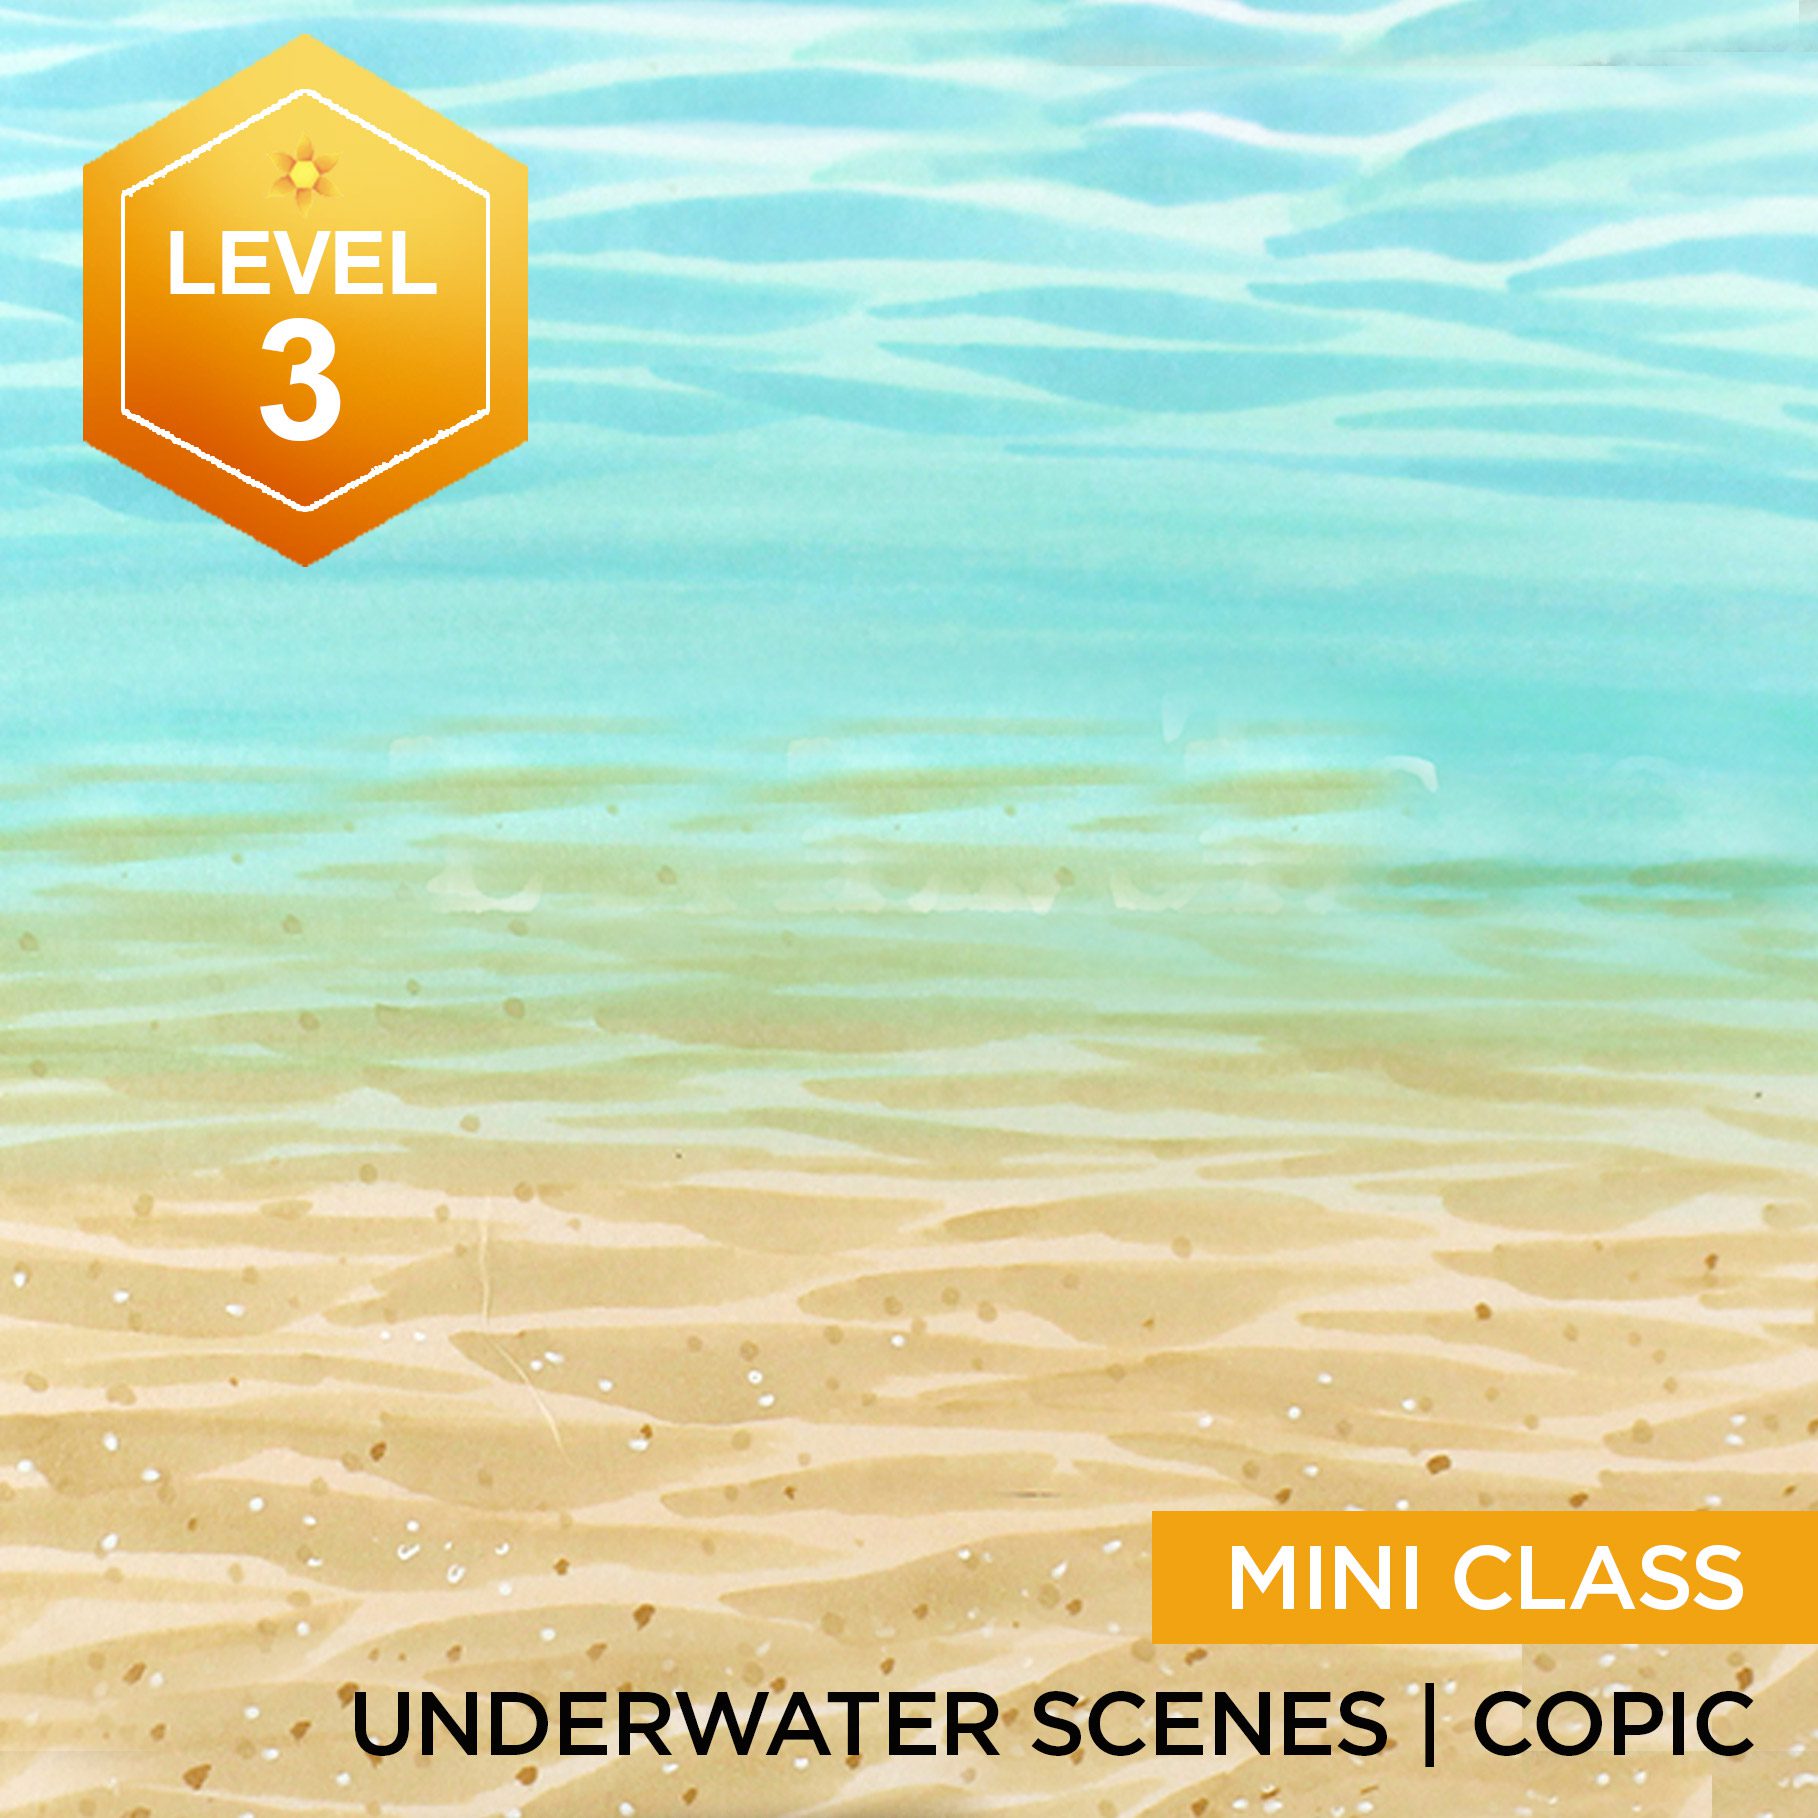
Underwater Scenes is a class for alcohol markers that generated today’s topic – see the water at the top and sand at the bottom? 

Travel Sketches class is for water-based markers with pen and ink – so. much. fun! Learn a skill that’ll help you document your summer travels this year!
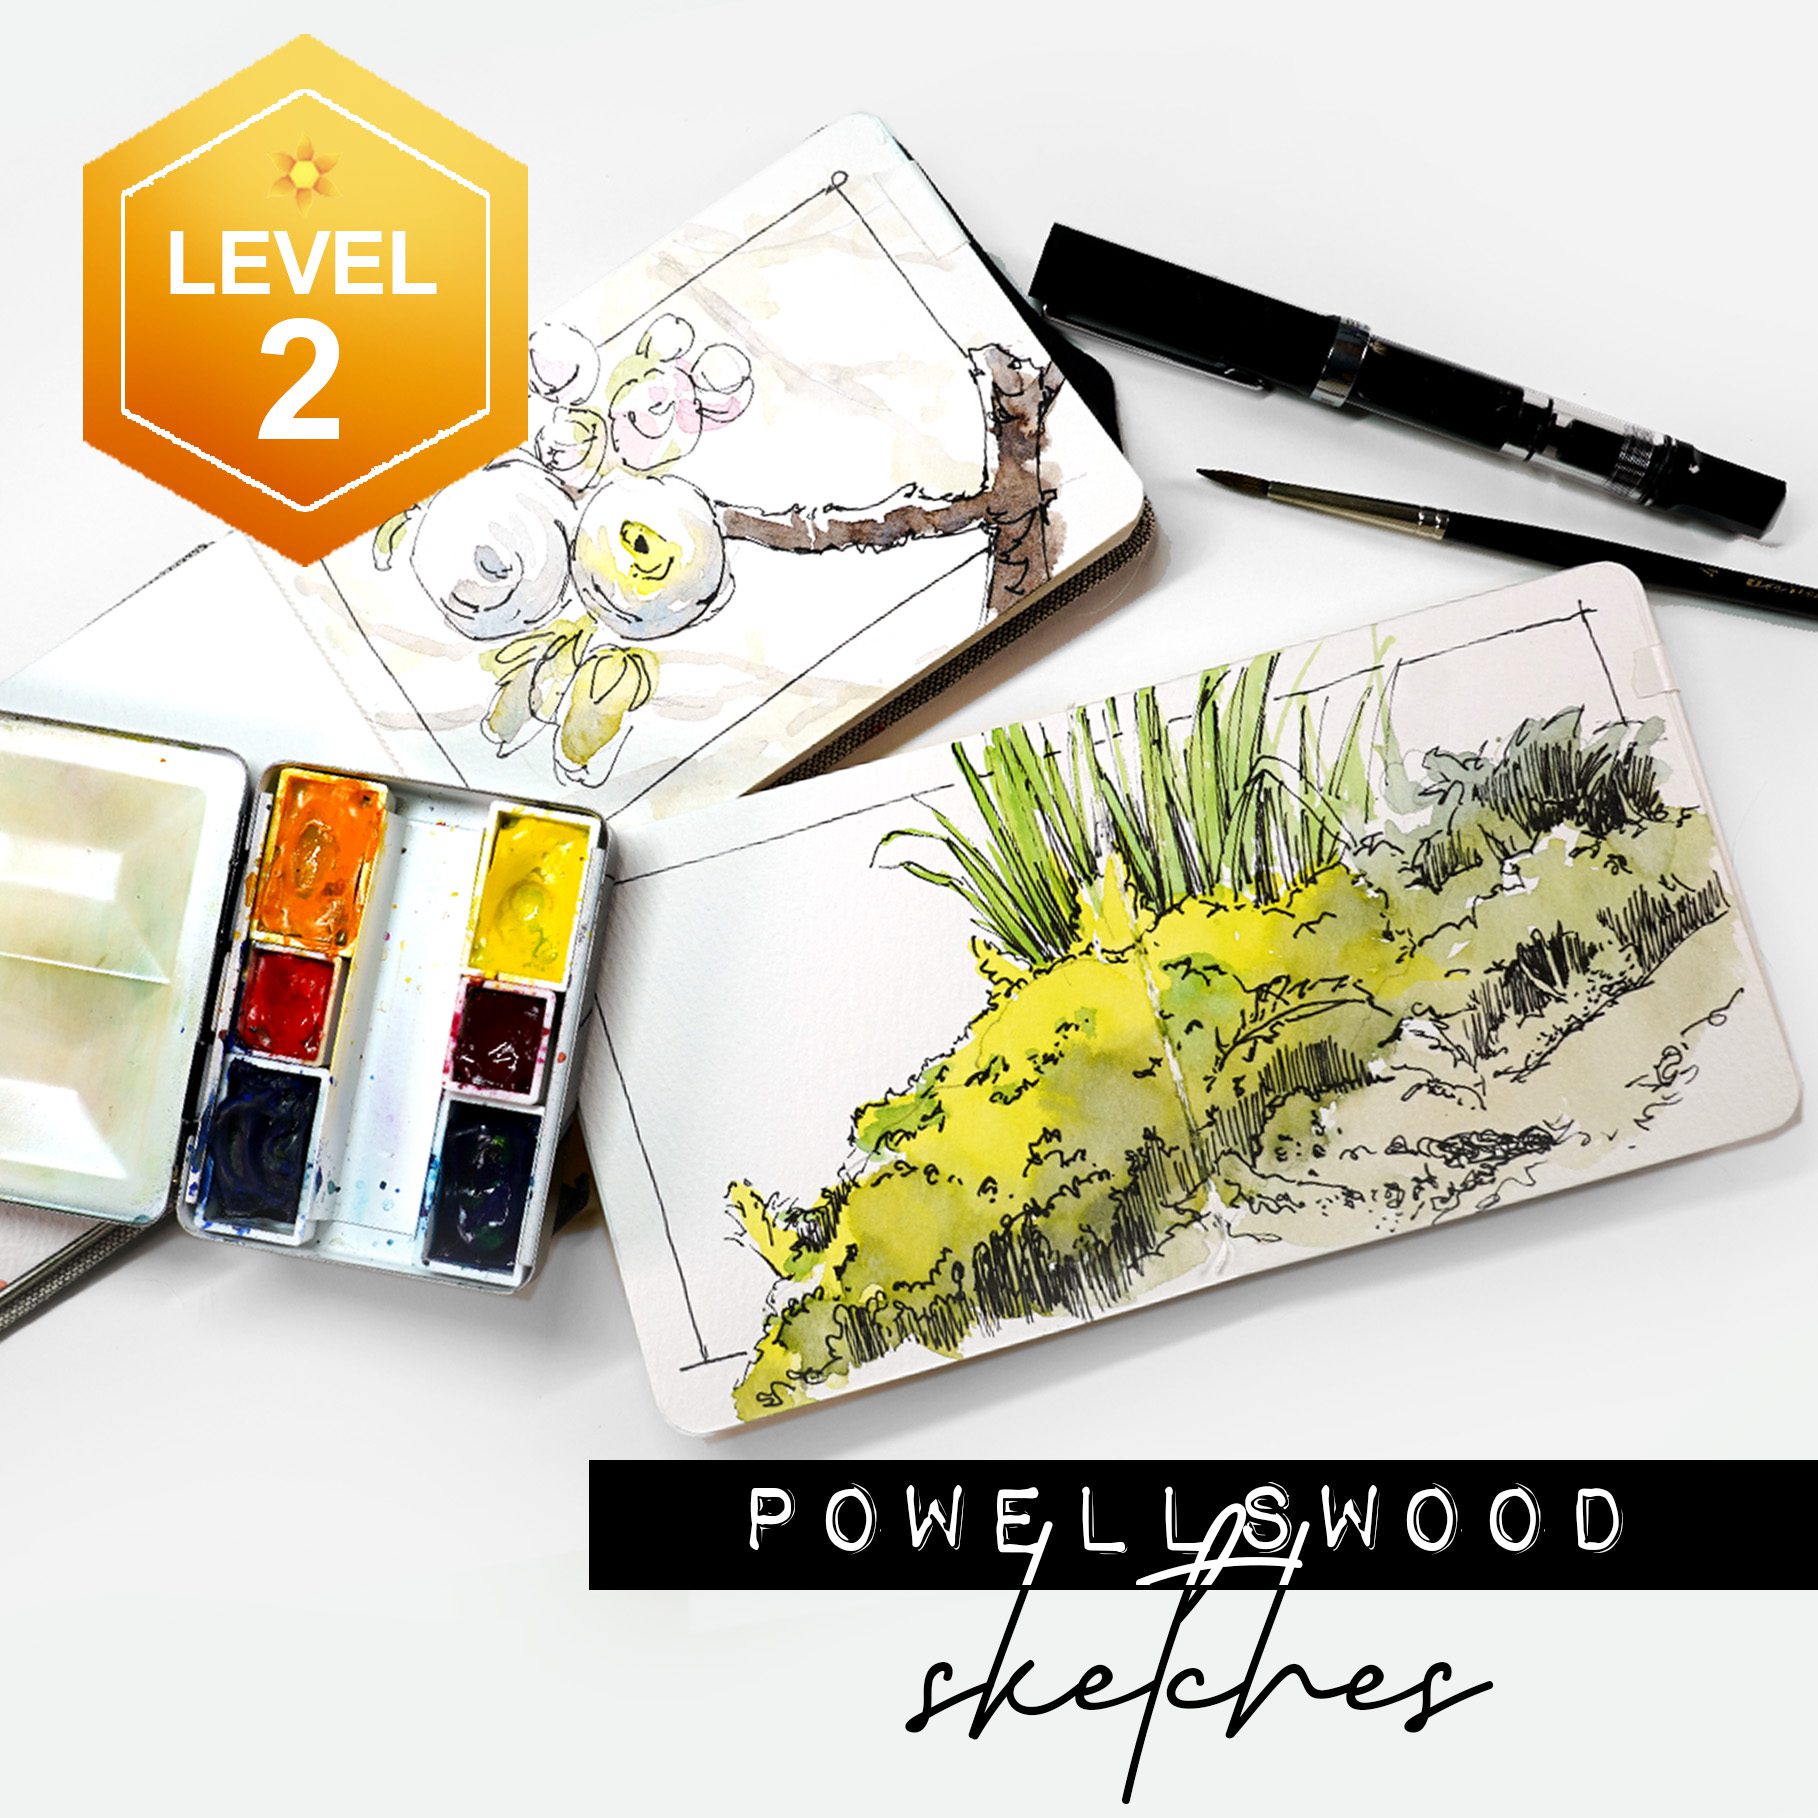
Powellswood Sketches can be created in watercolor or watercolor marker – then adds pen an ink drawing on top. Another wonderful way to celebrate summer!

Color & Line Class stars both alcohol markers AND water-based ones – and can be taken using either medium!
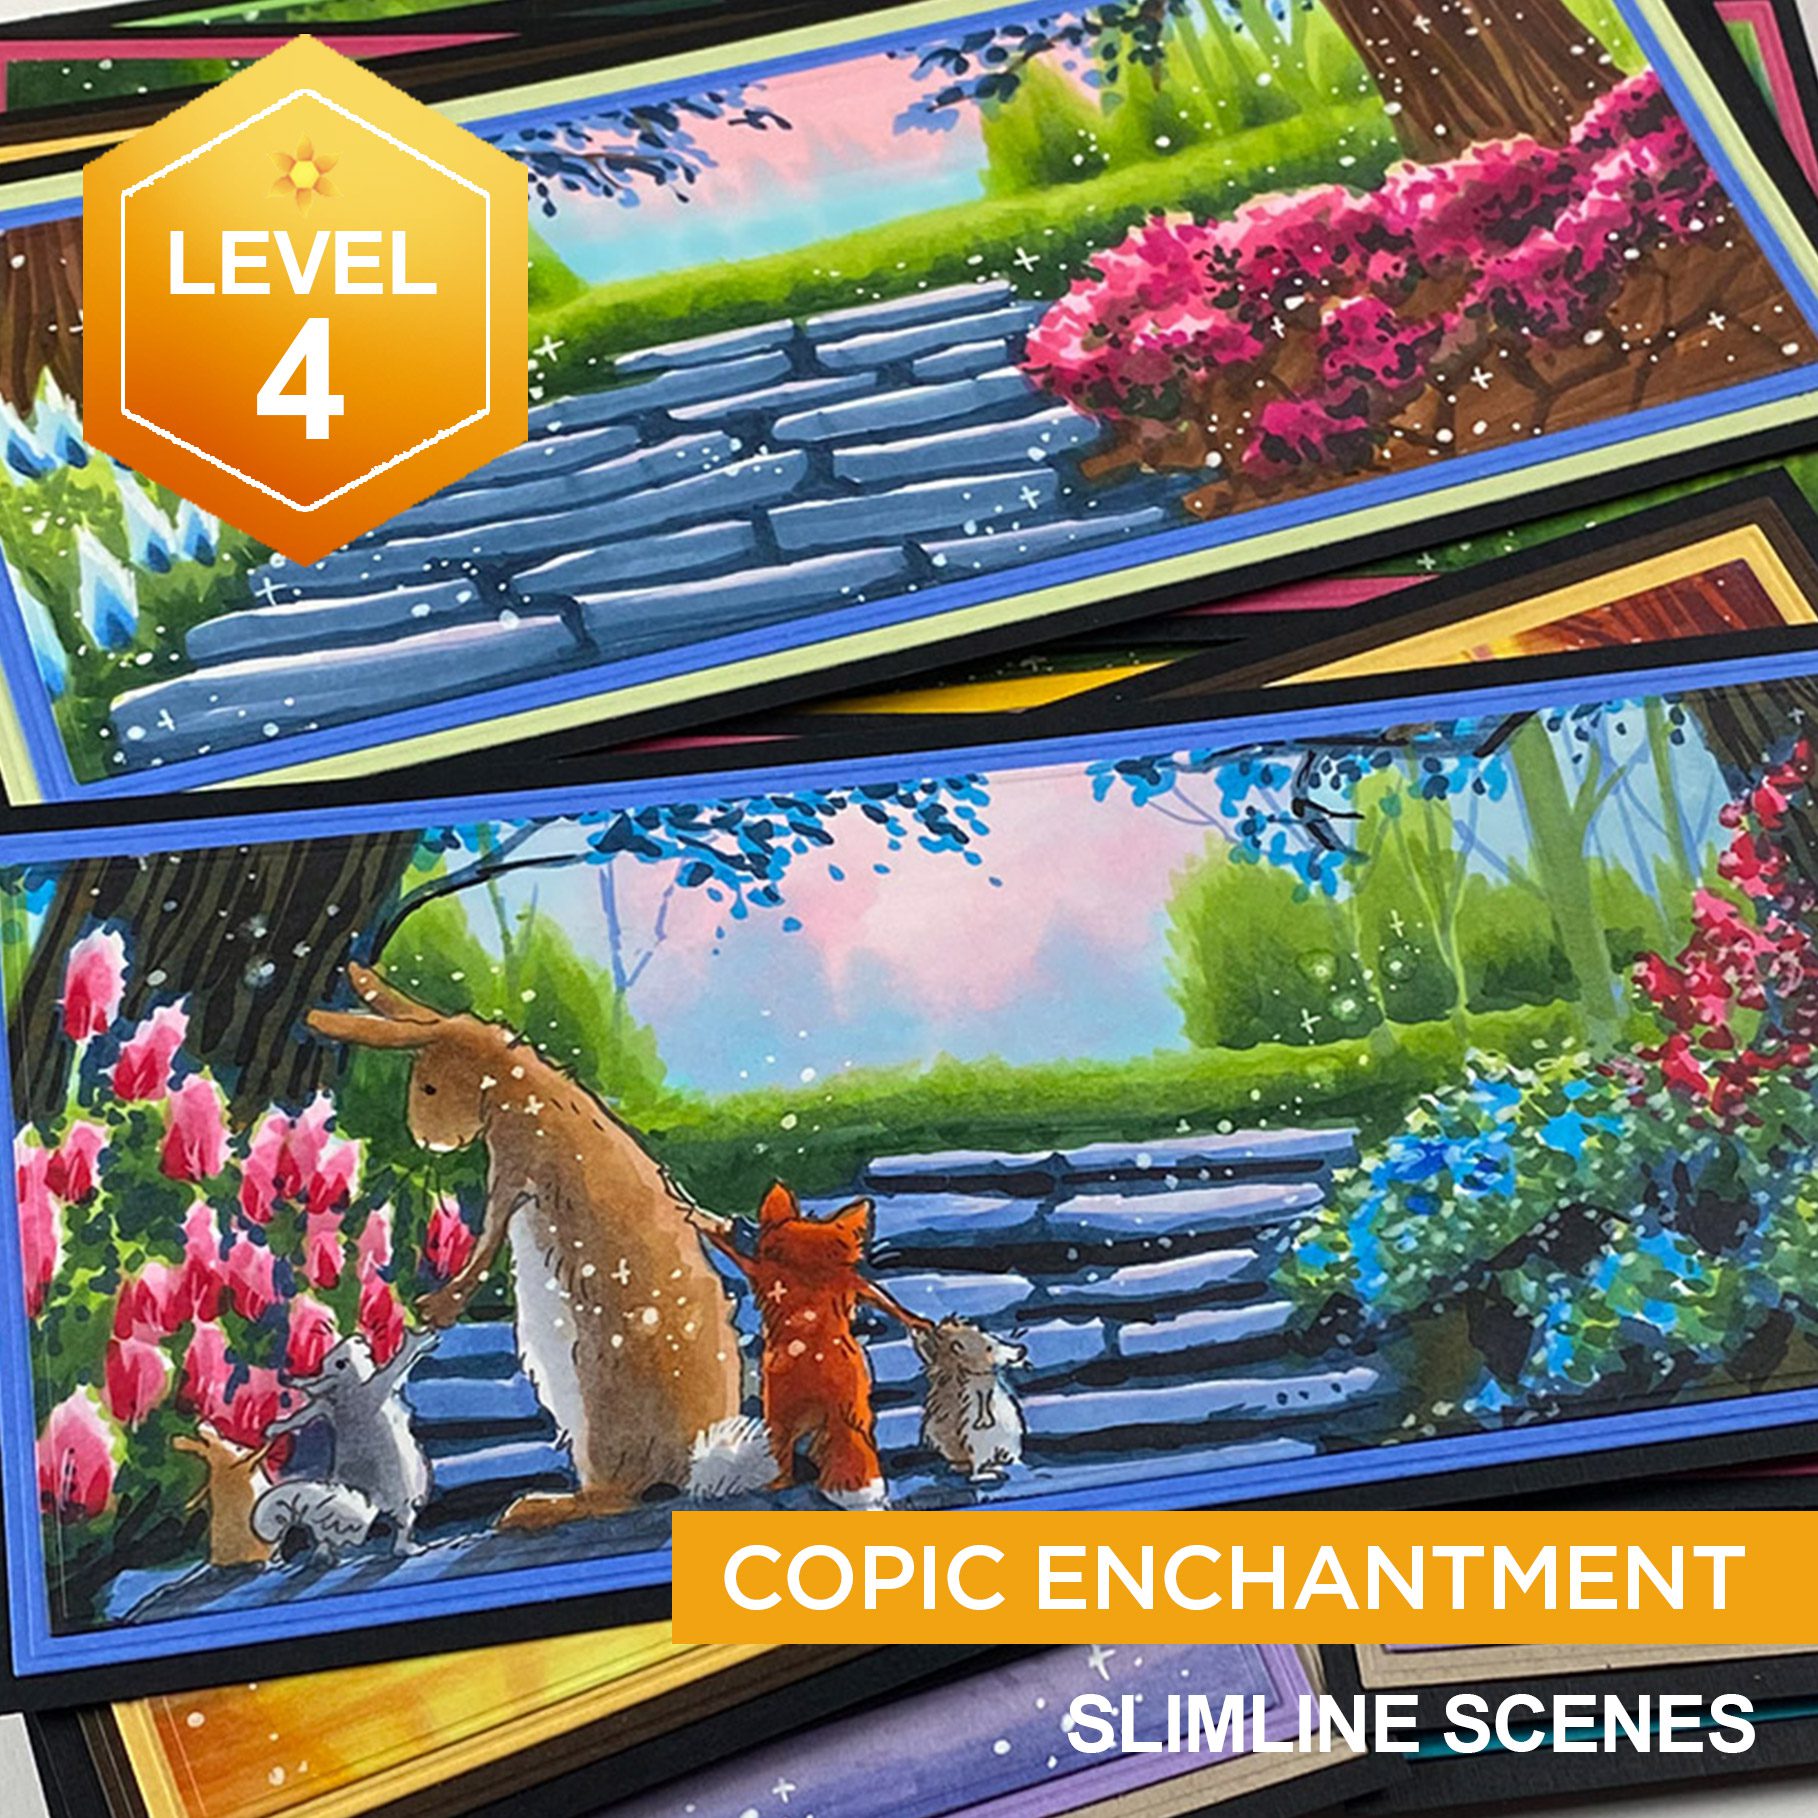
Copic Enchantment will definitely use the Essential Stroke throughout these luscious drawings!

Supplies

Some product may be provided by manufacturers for review and use. Compensated affiliate links are here at no cost to you. I appreciate your support of my work with your purchases! Full affiliate and product disclosure | My trusted partners in art

  1. Favorite alcohol markers (in order):
  2. Favorite water-based markers (in order):
  3. Papers
    1. Sketchbar Bristol pad
    2. Sketchbar Mixed Media pad
    3. Sketchbar Marker pad

Subscribe to receive blog posts by email:

Bringing animal images to life with color (tips for newbie artists) – CCC New Release

Bringing animal images to life with color (tips for newbie artists) – CCC New Release

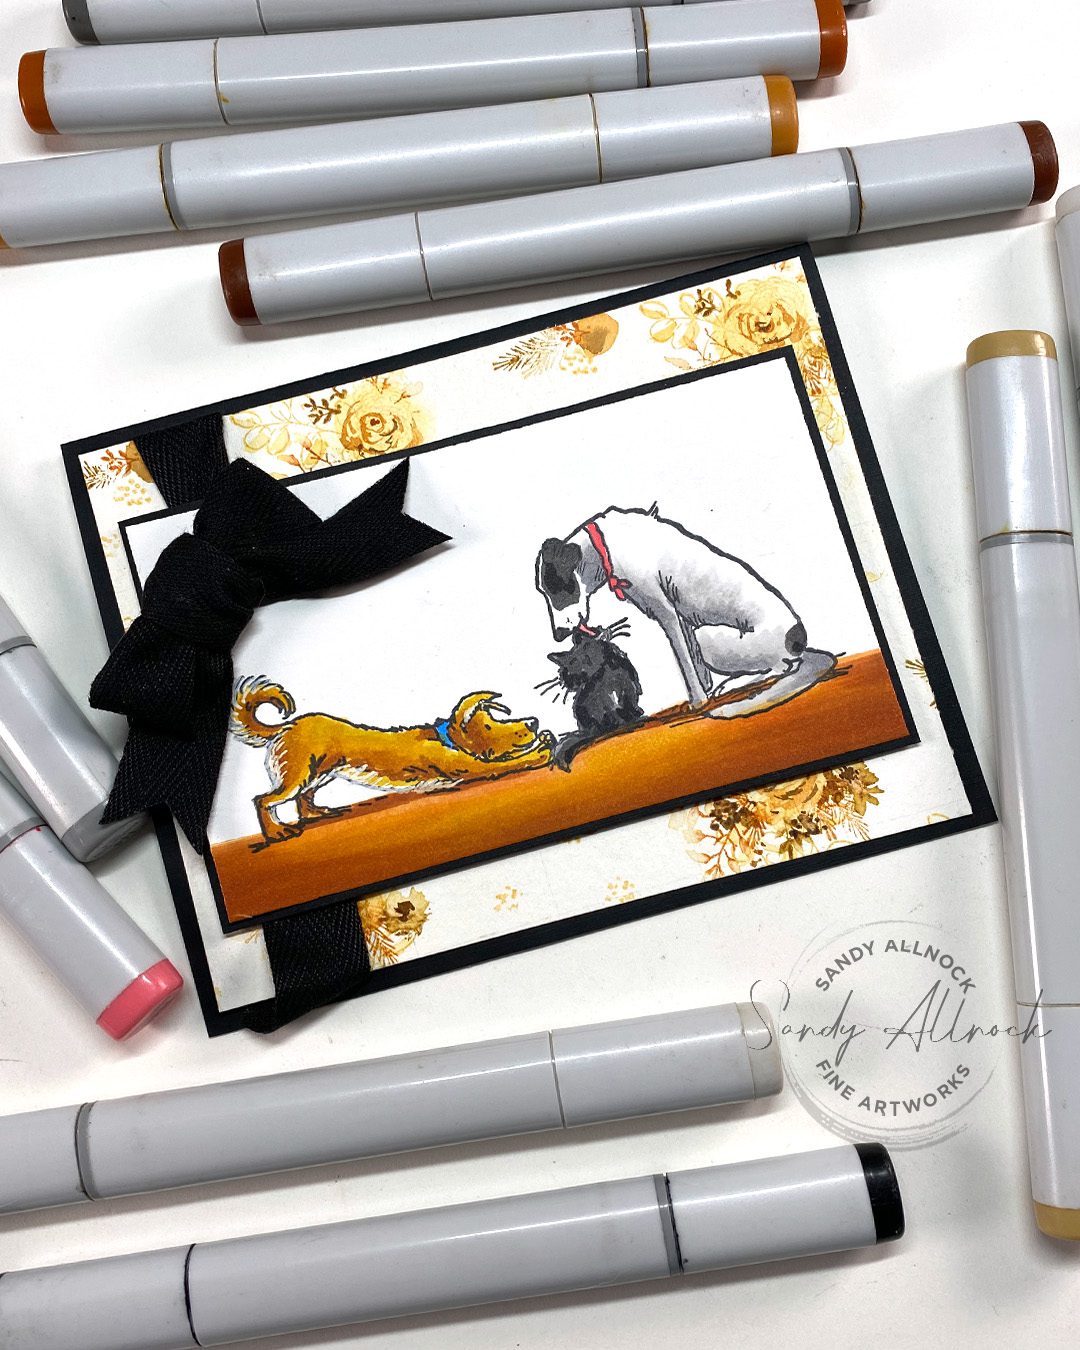
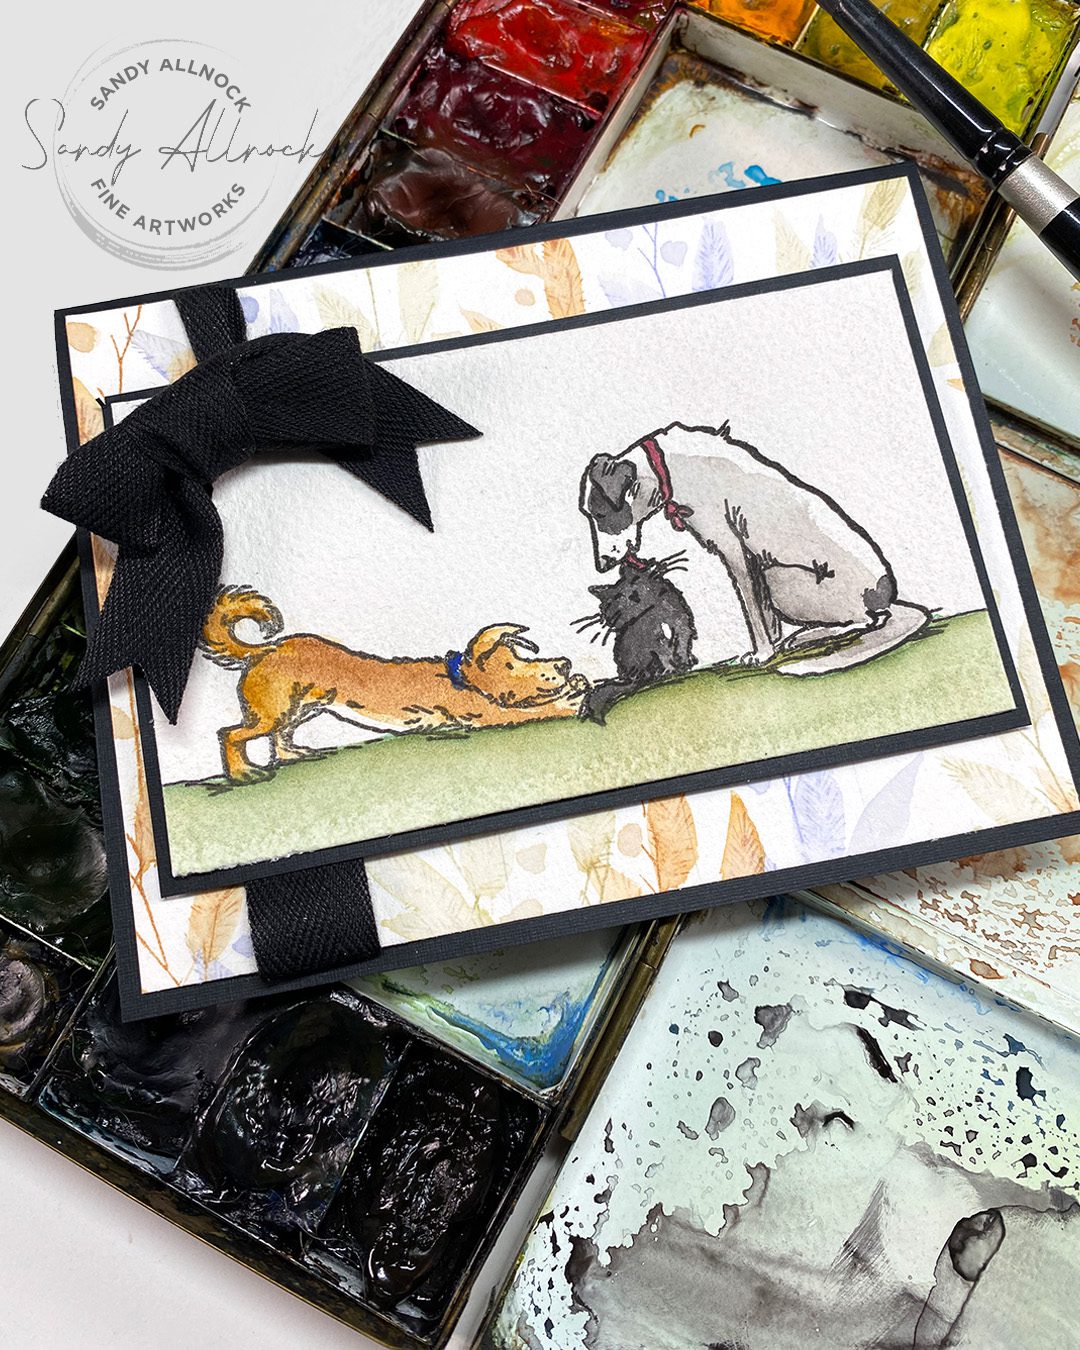
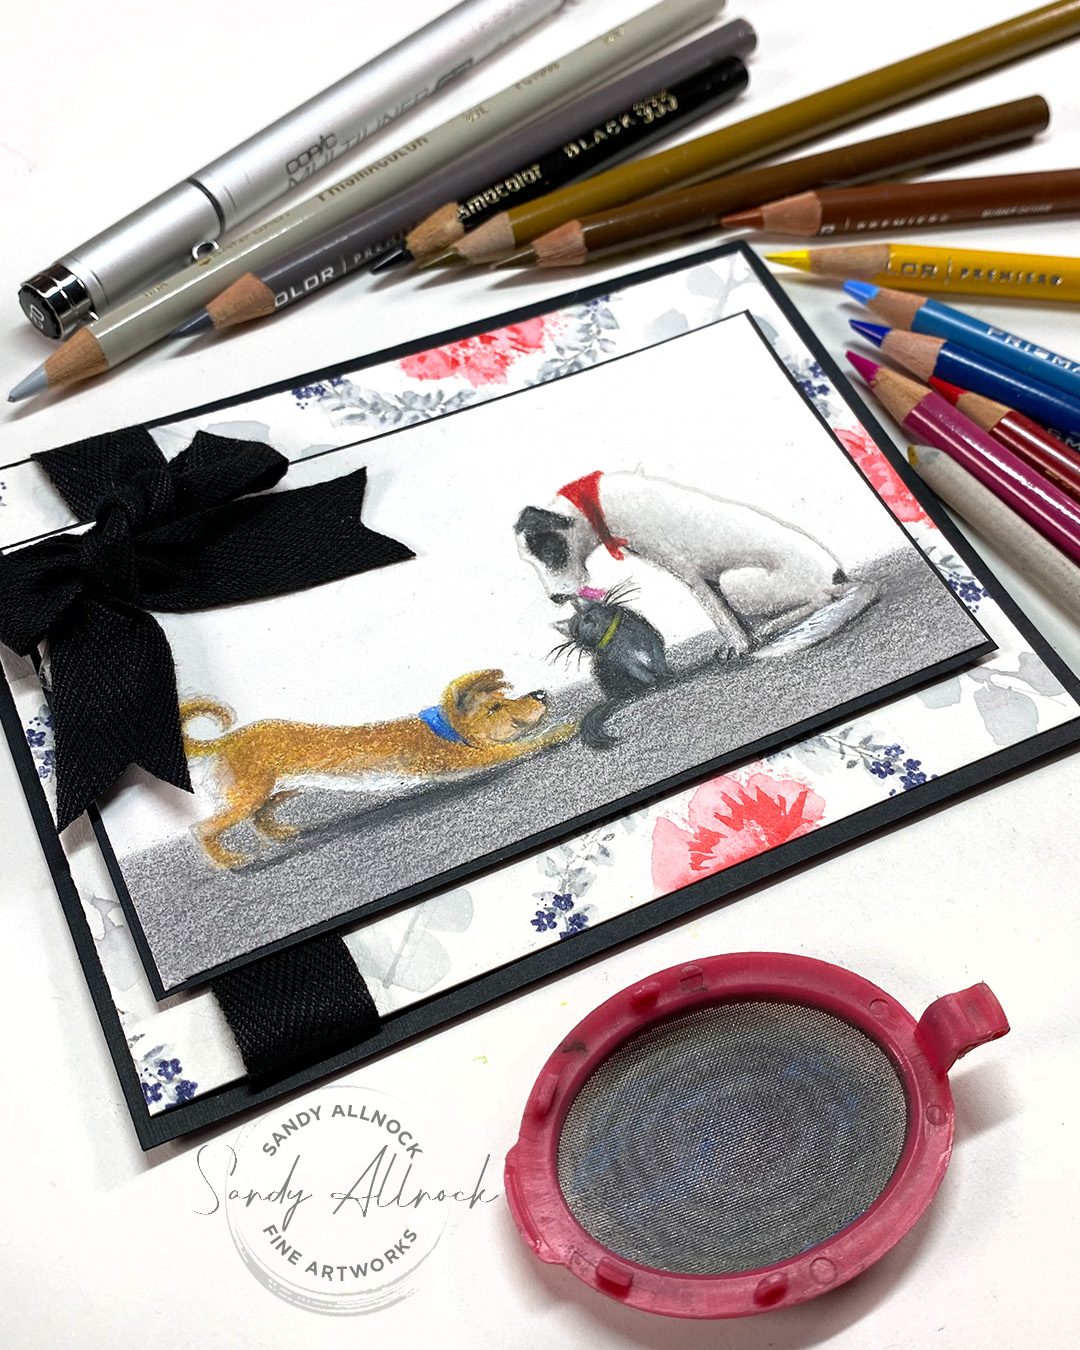
In a Facebook message. a new colorist asked me which medium is best for coloring animals like dogs and cats. (And of course, it depends!)

The new Anita Jeram designs from Colorado Craft Company were too perfect a chance to show the comparison. They are SO DANG CUTE. #justsaying

So in today’s hop, I’ll show you three ways to color the same stamps, and you can decide what YOUR priority is!

BLOG HOP PRIZE INFO IS LATER IN THIS POST

Tutorial: Advice for new artists – coloring mediums for dogs and cats

Watch the video below and scroll to the end to leave comments or questions — or click HERE to watch it on YouTube and leave comments over there. I read both dutifully!

Alcohol marker

Not high on my recommendation list for new colorists, because, well, they’re expensive, and it takes getting a few trios or pairs before much can be accomplished. By the time you spend on that, you might decide that maybe you didn’t really like the look or the process anyway. But if you’re totally attracted to the look and you have a budget? Go for it! I have a few free charts with suggested colors to start with here.

Then get yourself some Neenah cardstock and either stamps with a Copic friendly stamping ink or a multiliner (Copic friendly) pen, and get busy making art! Then there’s always a Copic Jumpstart class that might help out too. A hex chart is a help too!

Watercolor

Though it’s a favorite medium for me, it’s tough to learn if you’re trying for realism; loose splashy color is fine but once it comes to mixing, water management, etc, it can be rough going. Don’t go buying a gajillion tubes to get started though – folks who have palettes with 36 or 48 colors paint no better than someone with 6! Learn to mix from the start and you’ll save yourself hundreds of dollars in $10+ paint tubes. Daniel Smith has an excellent set of 6 essentials colors – 3 warm, 3 cool. Simple. In the Watercolor Jumpstart class you’ll learn some basics of mixing colors and make charts to show yourself  how to achieve colors without buying lots of tubes. (Later you may want particular colors for ease of painting or techniques – but don’t start out buying them all!) 

Also start with good paper. I know it feels counter intuitive and you want to save money. But honestly, it’ll make a difference in your practicing. Decent brushes for beginners are the Silver Brush Black Velvet line, try a round 4, round 8, round 12.

#1 recommendation: Colored Pencil

The new artist wanted to know about dogs and cats — and realism. So this is one of several reasons this is my best recommendation. The subtlety you can get, the fine points with a good sharpener (handheld or electric)  – much to be said about them!

Pencils are something we’ve all used since we were children, so holding a pencil requires no special training. You can get a lot of colors without spending a ton (I recommend Prismacolor – a good artist brand, and has the best neutral range for animals). Colored pencils are also adaptable – trying out blending solutions and powdered pigments can give you lots of options inexpensively to achieve a lot of effects.

The Colored Pencil Jumpstart class is another that teaches color theory at the start so you get a good footing. You’ll learn about solutions and stumps and powdering your pencils – lots of techniques that’ll send you off on a coloring adventure. Pick up a hex chart here.

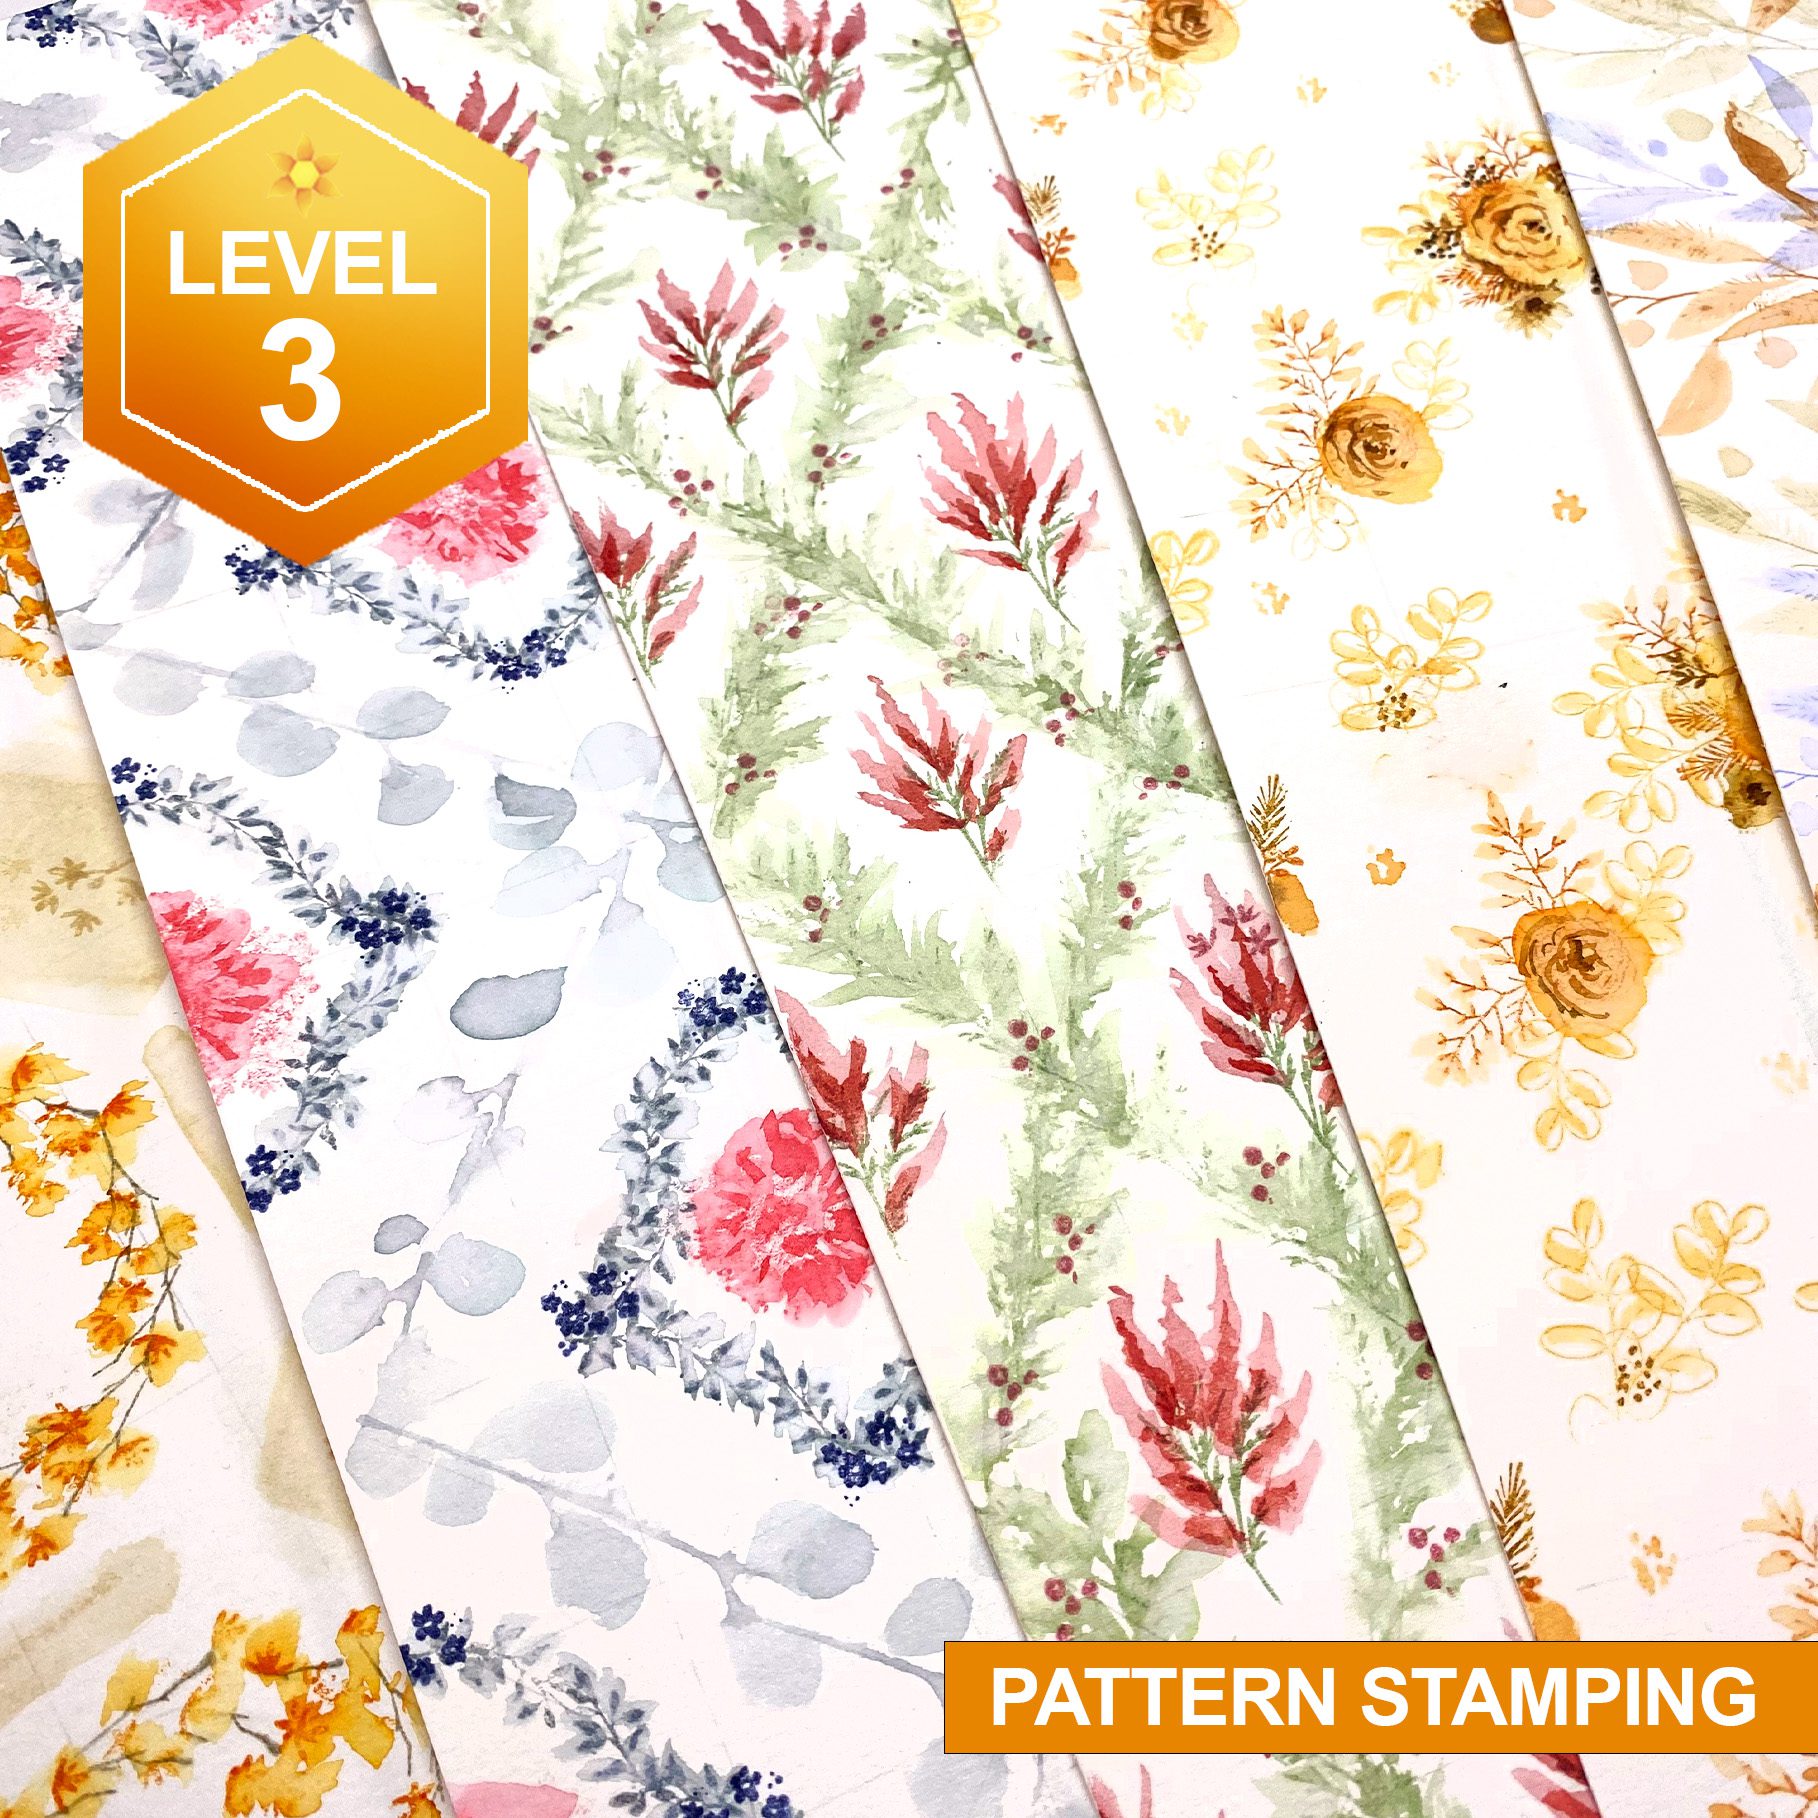
Pattern Stamping Class

The class I talked about that teaches how to make stamped patterned paper with Art Impressions Watercolor stamps…..it’s so much fun! Distress inks and stamping in the Pattern Stampinc Class. 

The rest of the CCC release!

I didn’t have time to fully develop cards, due to lots of unforeseen things coming at me this week (watch the Superpower or Thanks videos for more on all that. Remember that purchasing using my affiliate links also helps with the goal I’m working on, I appreciate your help in meeting it!)…..but I did find a little time to at least color up the images! Tap on any of them to enbiggen.

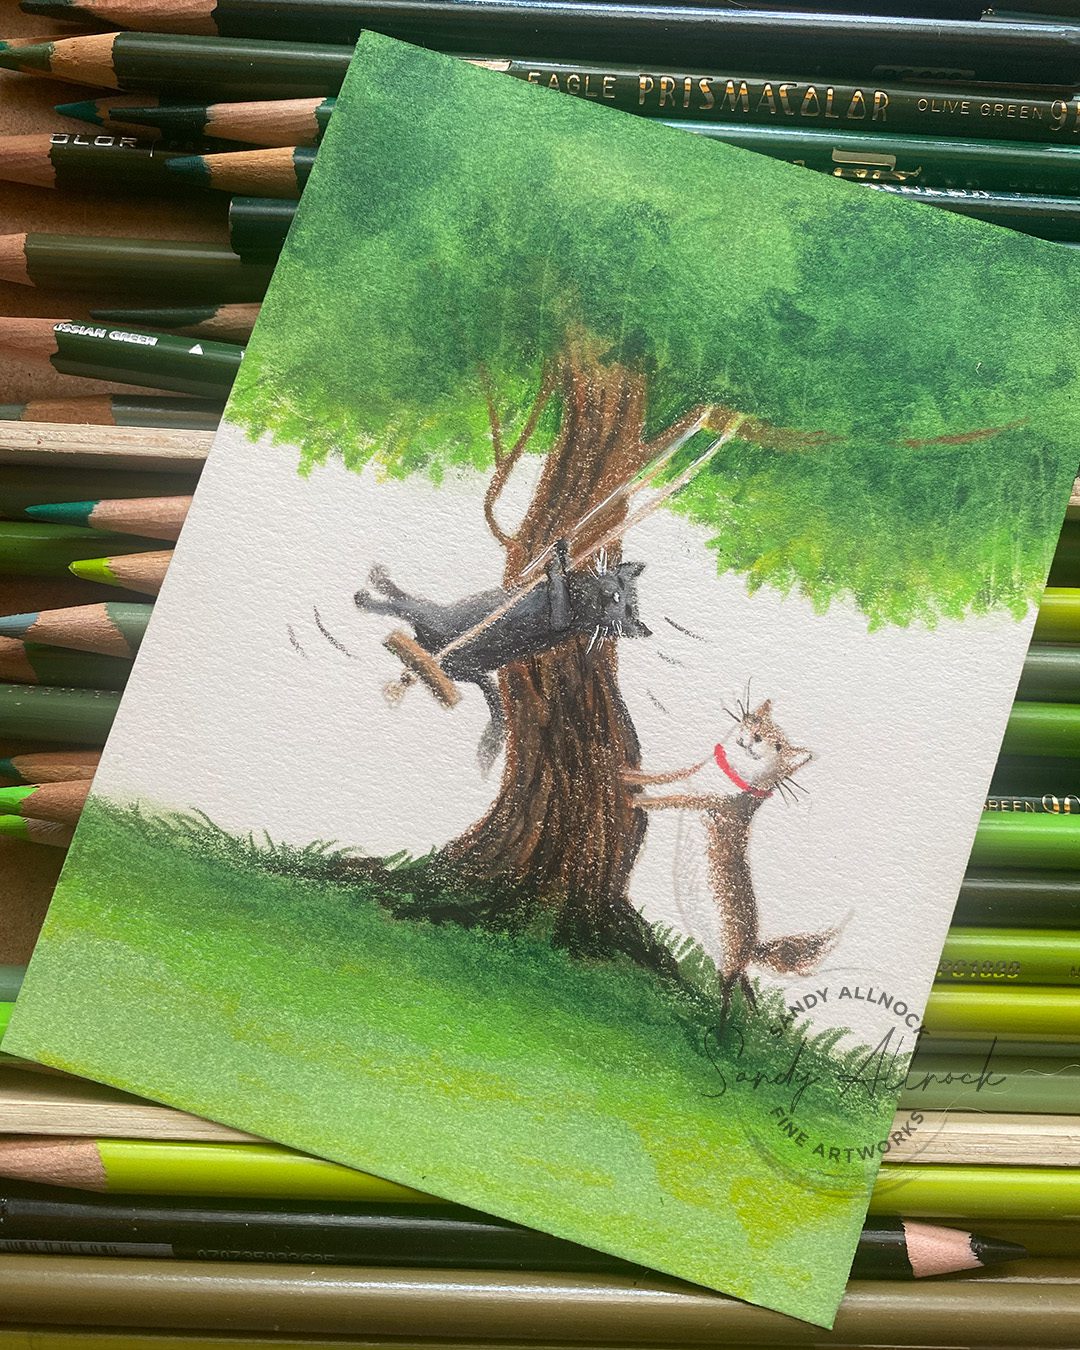
LIFT HIGHER

I expanded the tree, there’s just something about not “finishing” a scene that makes me crazy 🙂

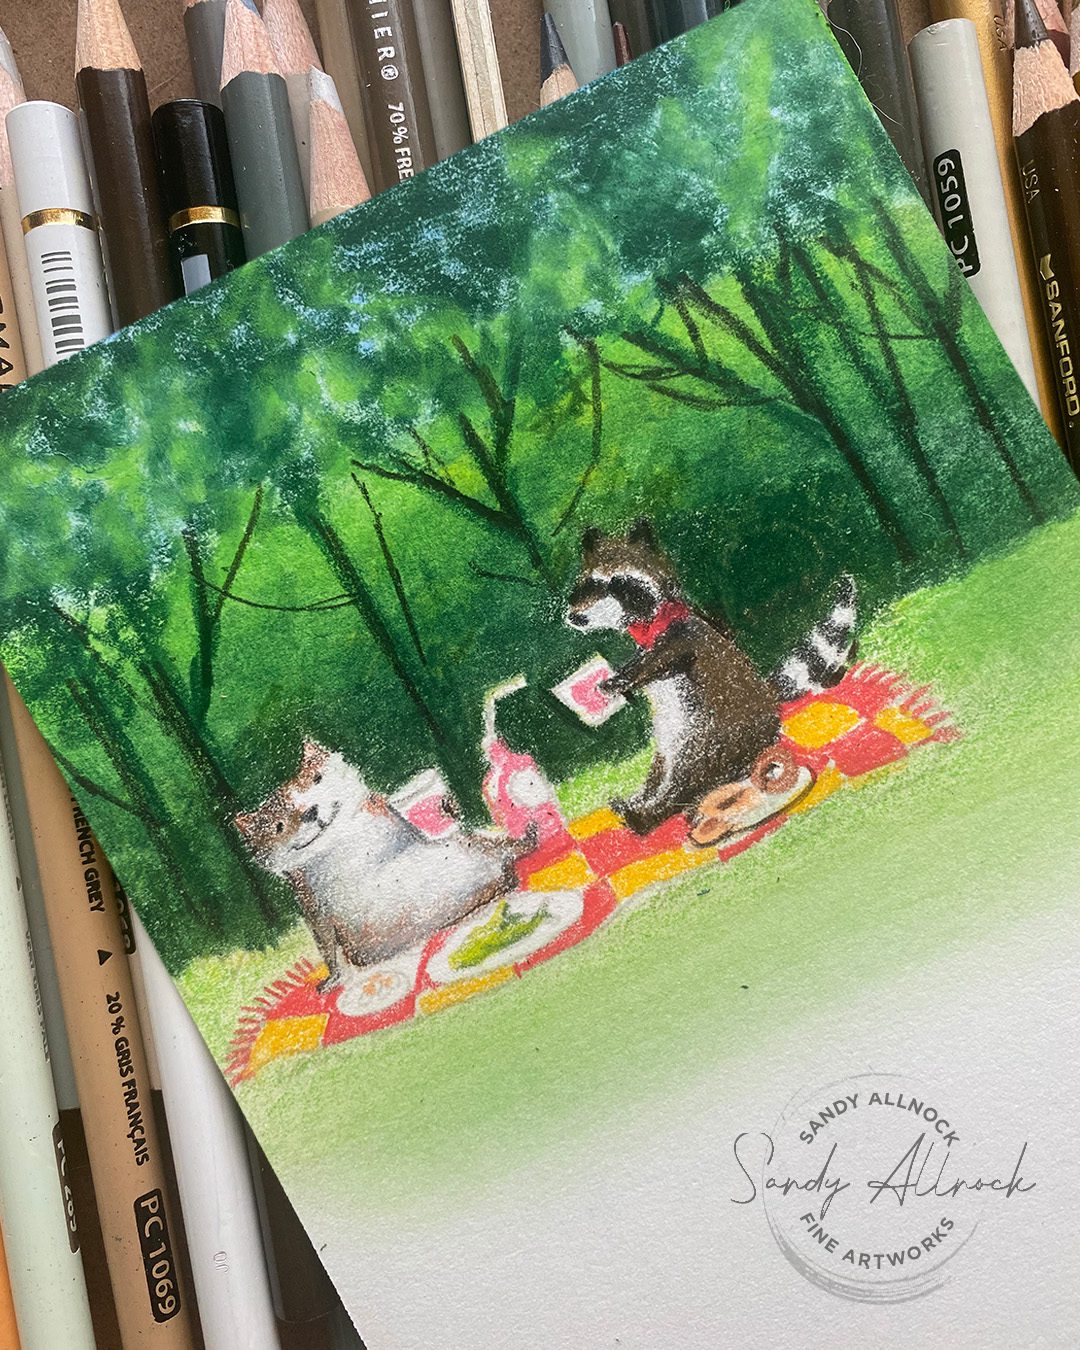
PICNIC CATS

Again, expanded the background. Also changed a cat into a raccoon, eliminated the picnic basket.

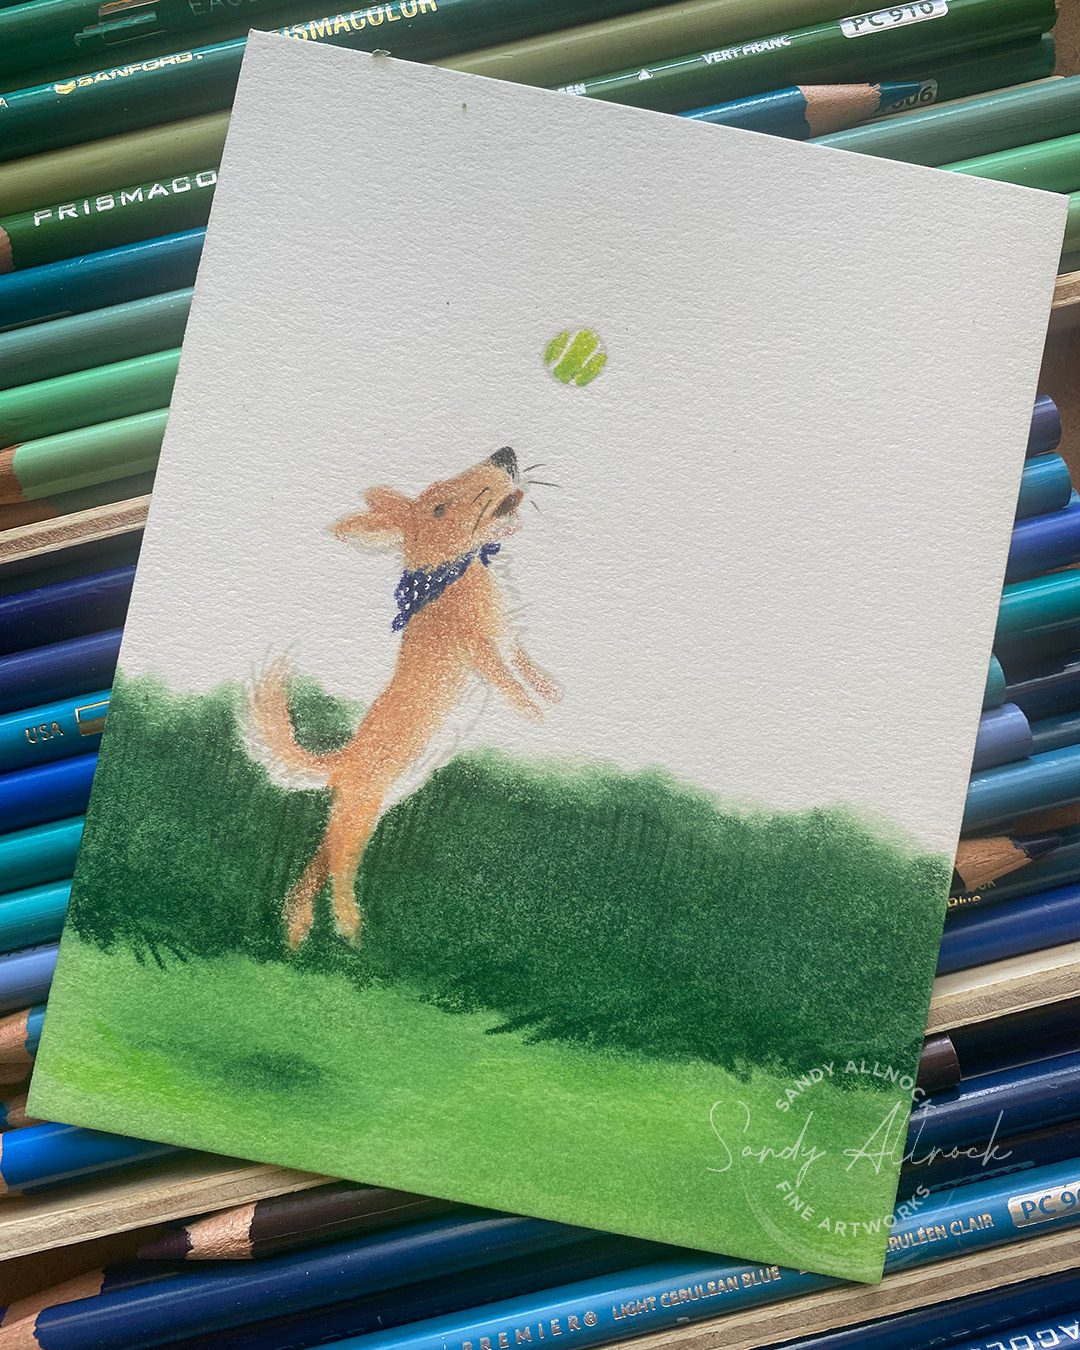
PLAY BALL

A simple scene – note that putting a shadow WAY under the dog’s feet makes him look like a real leap-er!

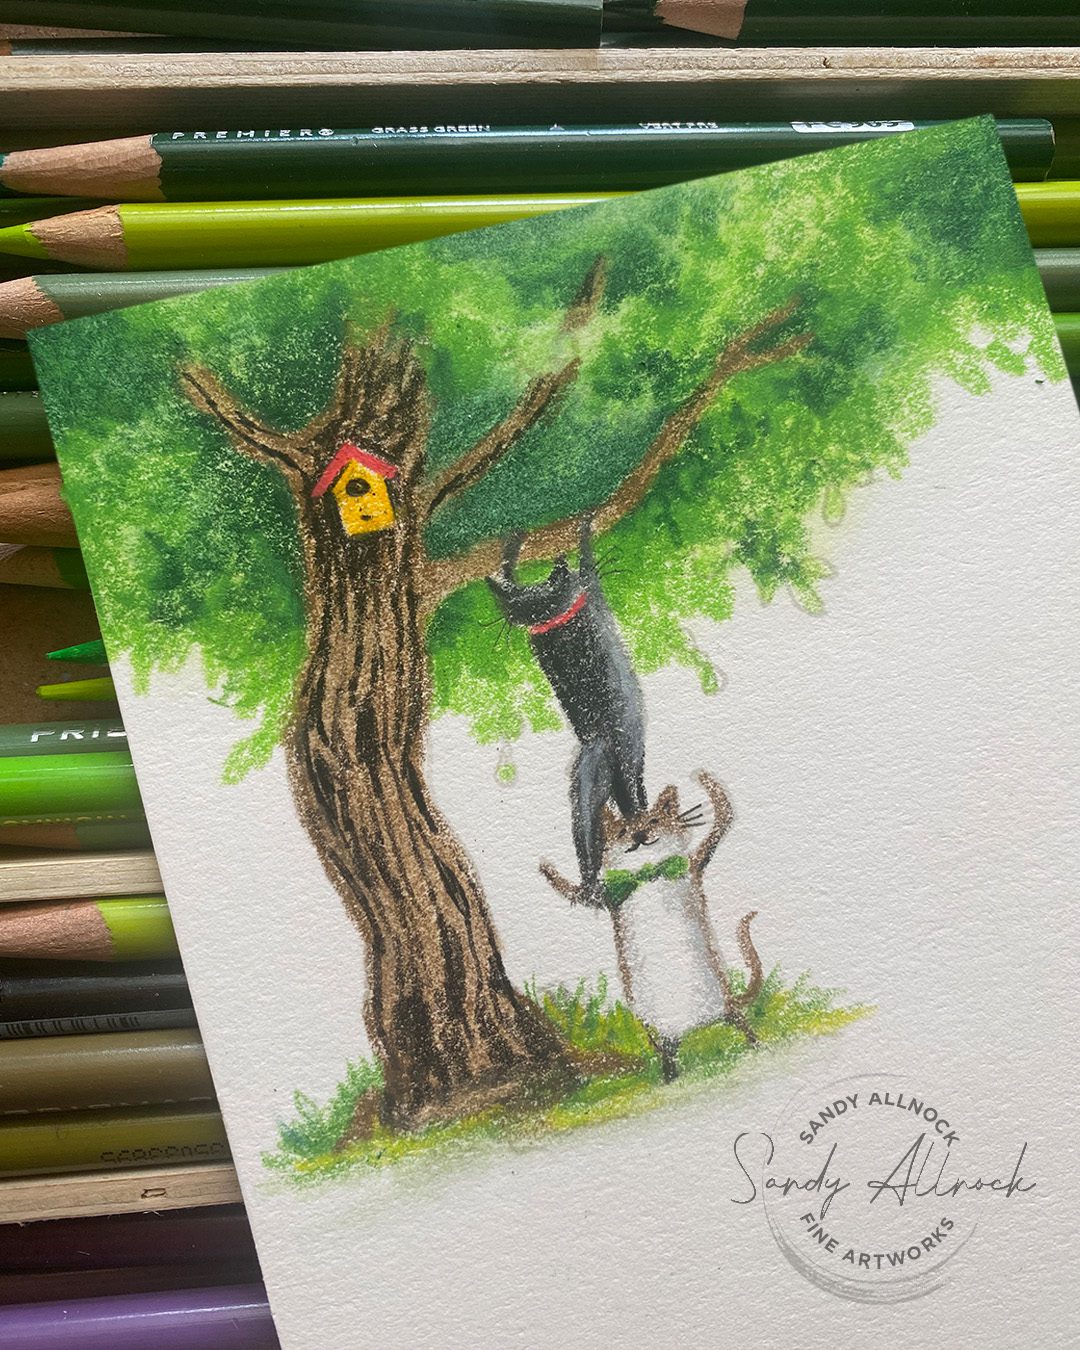
TEAM CATS

This tree NEEDED to be bigger, and darker, so the birdhouse took the stage. Imagine Pink Panther theme music!

WELL LOVED CATS

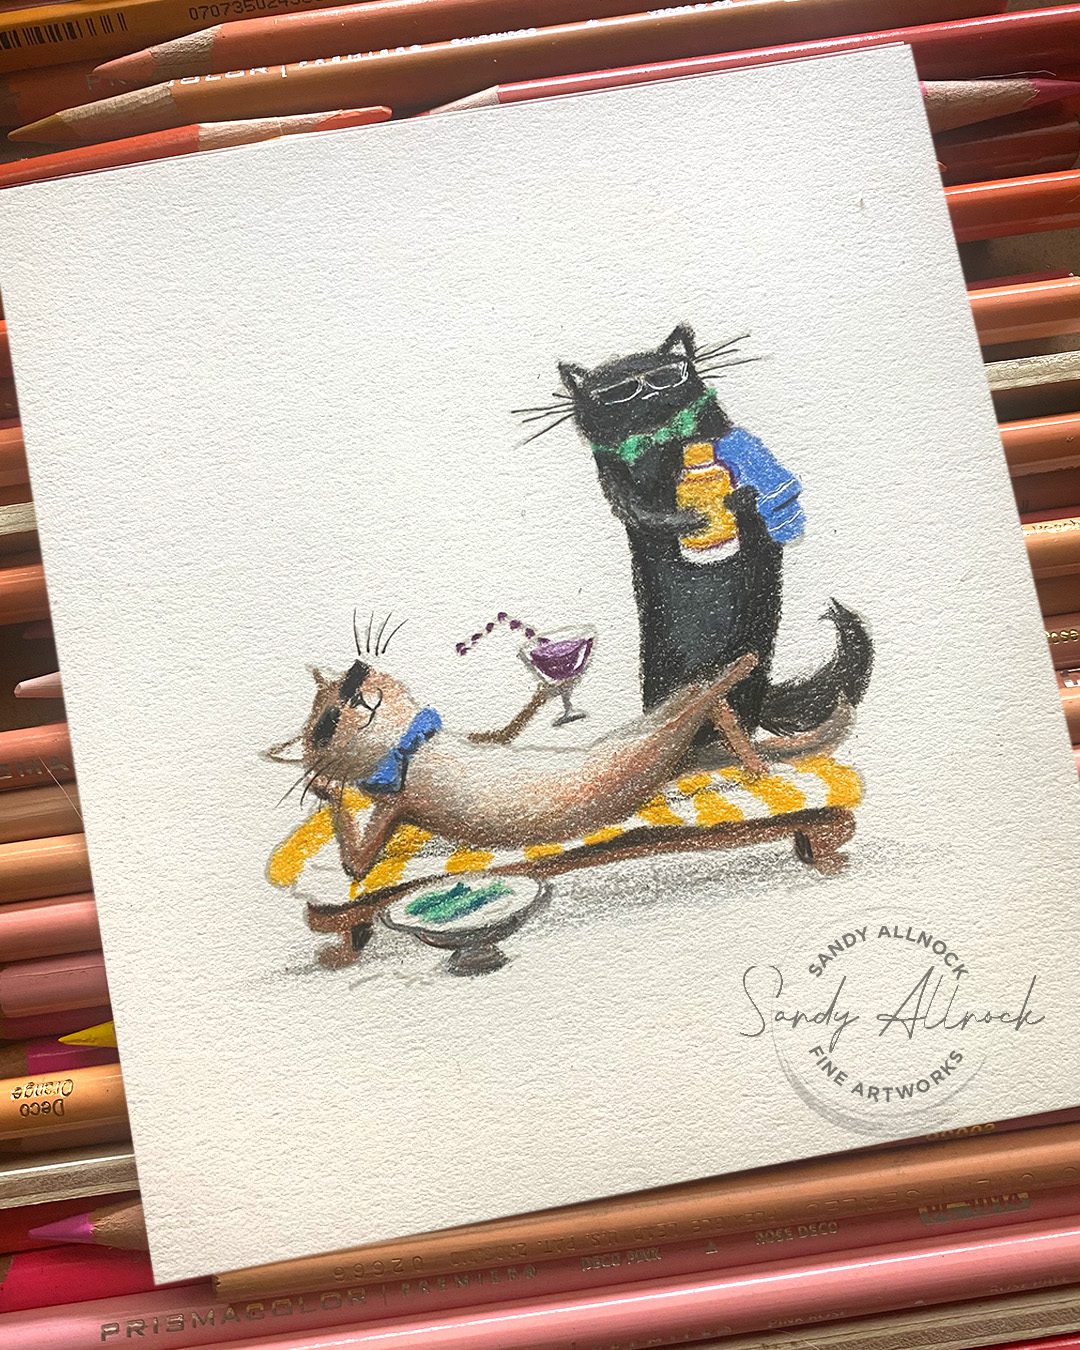
Here I pictured Tsuki and Punch out by the pool, chilling out! I may need to add a scene to this one before mailing it.

TINY BIRDS

These are the ittybittiest! What would be your sentiment recommendation for this card?

BEST IN ME DOG + STAY PAWSITIVE

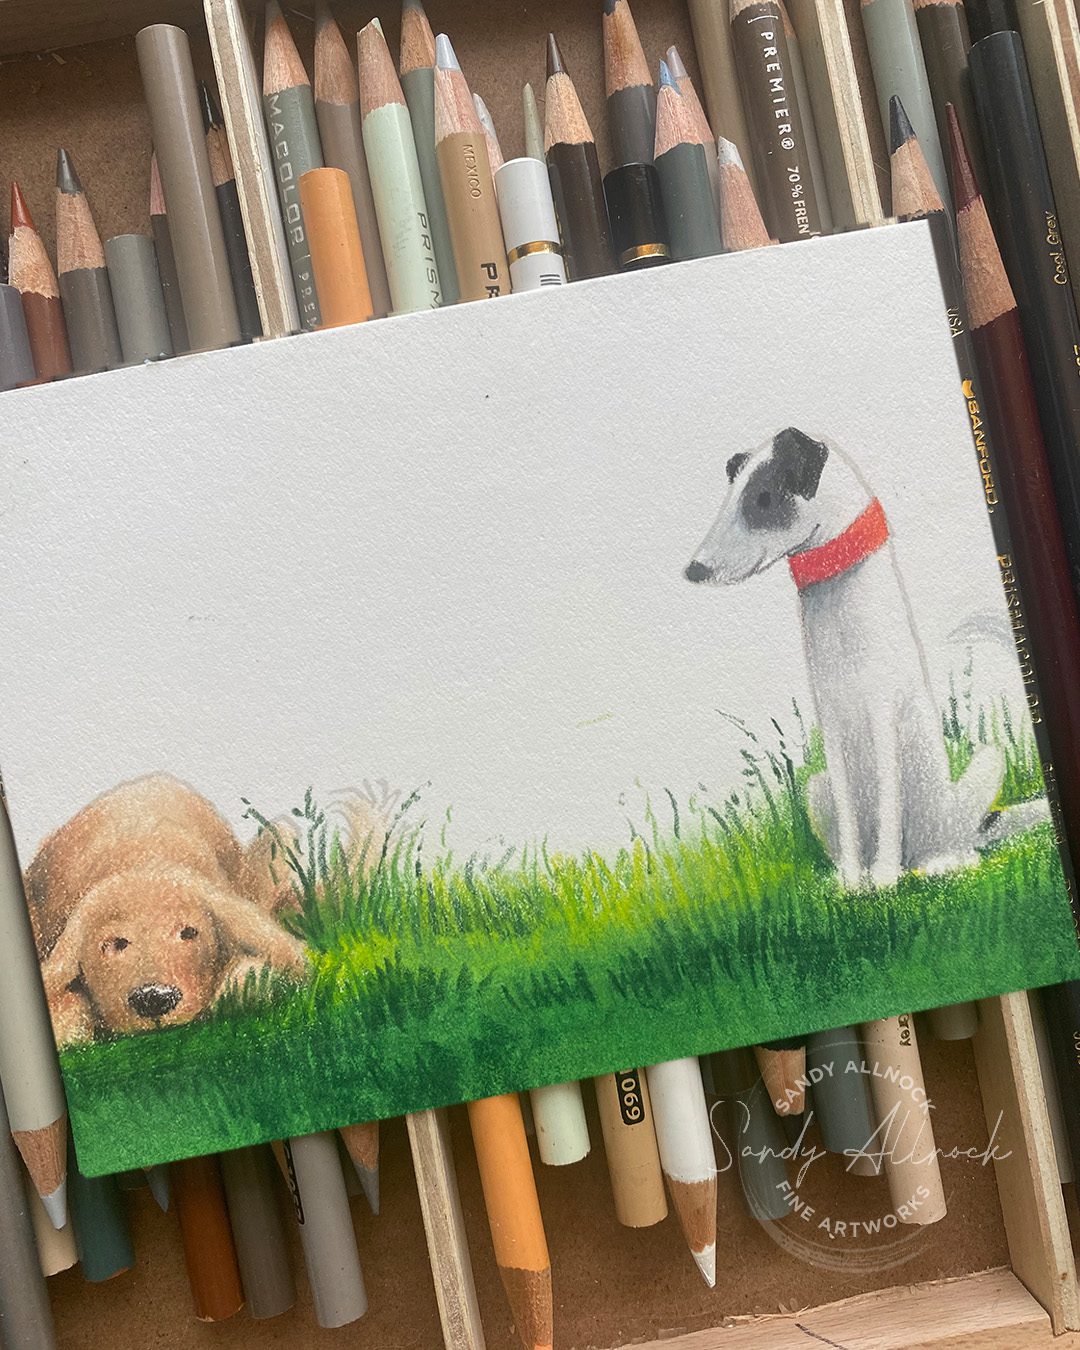
I combined two stamp sets, with the dogs stamped partway off the page.

You can imagine their conversation! They often are chasing and wrestling – then suddenly they’re both sitting very very still catching their breath, giving each other the stinkeye. It’s so hilarious!

Something to note on the grasses: I colored the mass of greens first, and the greens stopped a bit low—the grass in my back yard is in desperate need of mowing, so I added some tall and going-to-seed blades of grass to bring the level up higher. Which looks more like what my puppers are doing when out in the grass!

Shop the new CCC release

Bloghop!

Check out all the creations in the hop…..with 2 giveaways! The commenting for the contest will end July 12th at Midnight eastern time and will be announced July 14th on the CCC blog.

  1. One complete bundle or equal value gift card to one winner. The winner will be randomly drawn from orders placed that use a designer’s affiliate link.
  2. Giving away one stamp set on MY blog. CCC will randomly select the winners from the comments and will notify winner.
The bloghop list:

  1. Adrienne Kennedy CCC
  2. Amy Tsuruta
  3. Amy Young
  4. Daniel West
  5. Emily Midgett
  6. Jenn Shurkus
  7. Jennifer Kotas
  8. Jessica Frost-Ballas
  9. Kassi Hulet
  10. Kelly Griglione
  11. Kelly Taylor
  12. Nancy Sheads
  13. Sandy Allnock <— that’s me!
  14. IG:
  15. Adam Karle
  16. Jenn Gross
  17. Joe Sysavath
  18. Laura Inguz
  19. Mansi Bhatia

What would YOUR best recommendation be for a new colorist?

Think about someone brand new – needing to buy everything AND learn everything. Do you agree with me? Disagree? Why or why not? Leave me your feedback, I’d love to hear your answer!

Supplies

Some product may be provided by manufacturers for review and use. Compensated affiliate links are here at no cost to you. I appreciate your support of my work with your purchases! Full affiliate and product disclosure | My trusted partners in art

Subscribe to receive blog posts by email:

LATE NIGHT IN THE STUDIO: MerMay printable mermaid drawings

LATE NIGHT IN THE STUDIO: MerMay printable mermaid drawings

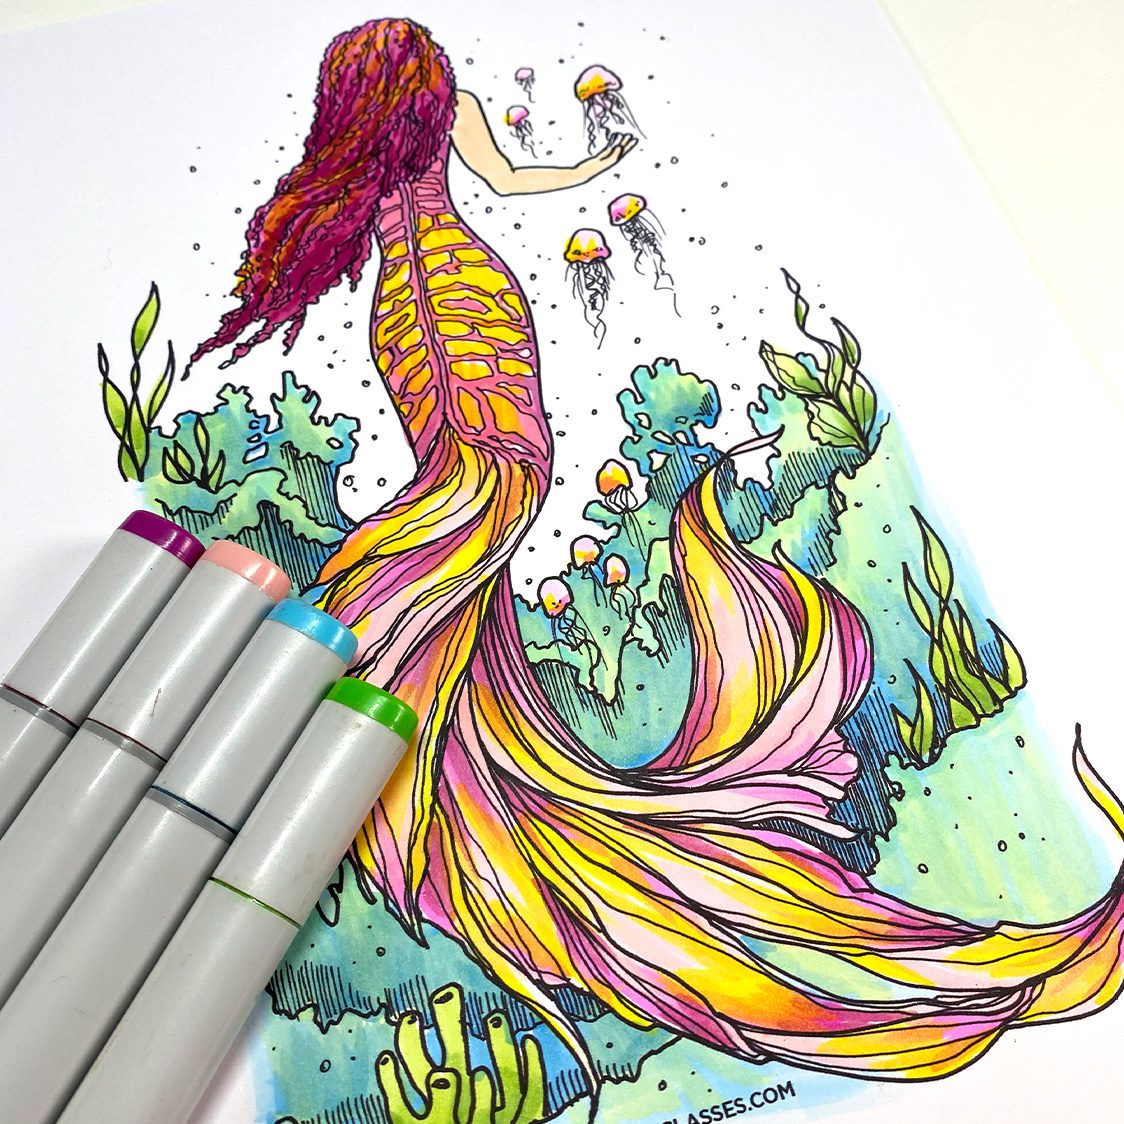
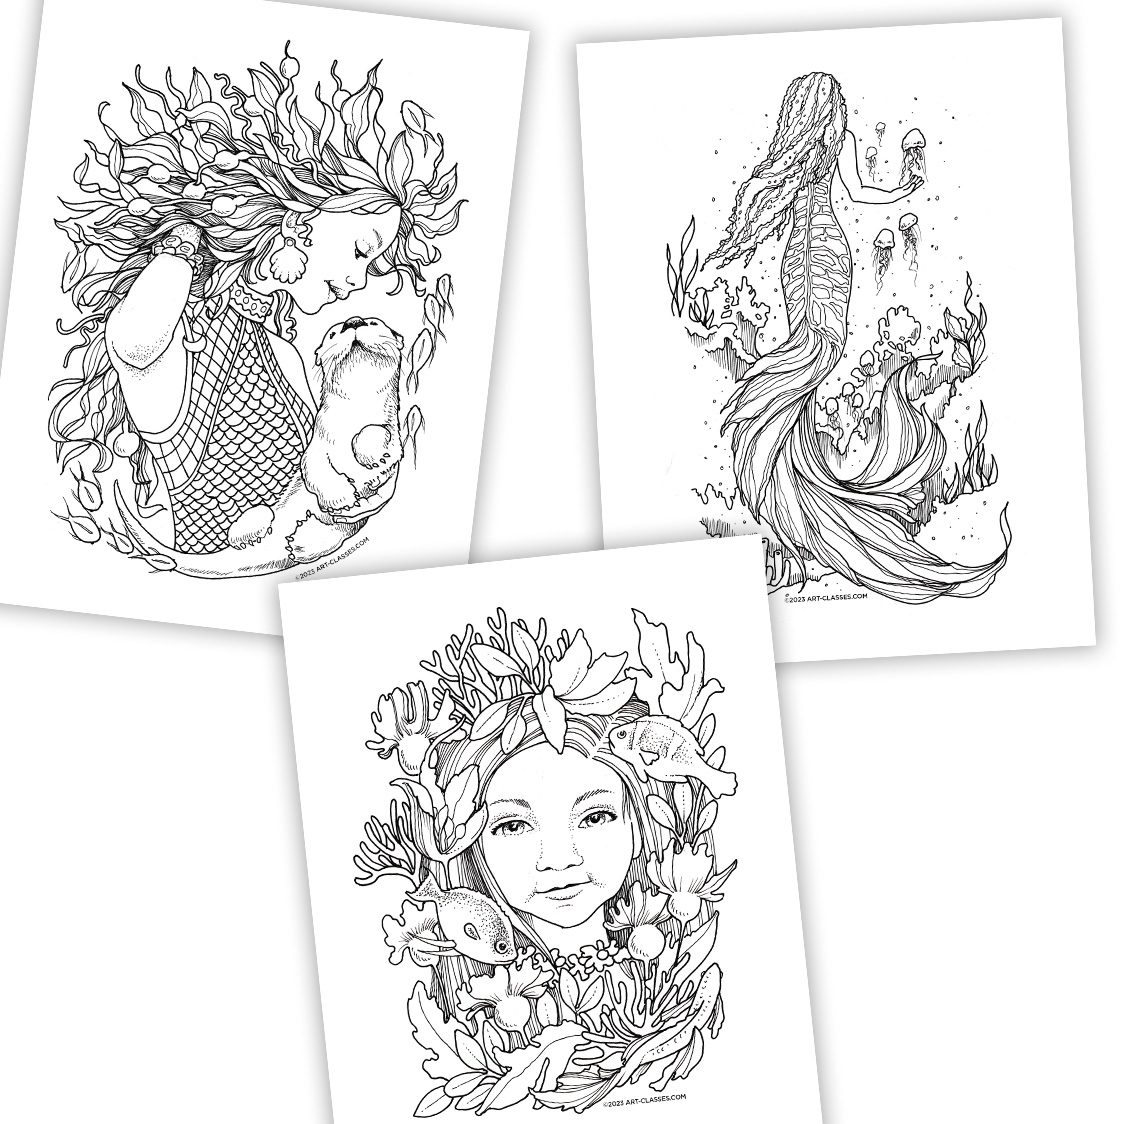
Happy MerMay! Let’s celebrate with some printable mermaid drawings, shall we? What’s MerMay you ask? Well, it’s mermaids…in May!

Today’s post is very short – video is too – because chaos reigns. LOL! More on that on Saturday if I get time to sneak in a video….gah!

Video: Mermay Printable Mermaid Drawings

Watch the video below and scroll to the end to leave comments or questions — or click HERE to watch it on YouTube and leave comments over there. I read both dutifully!

Mermaid Printables

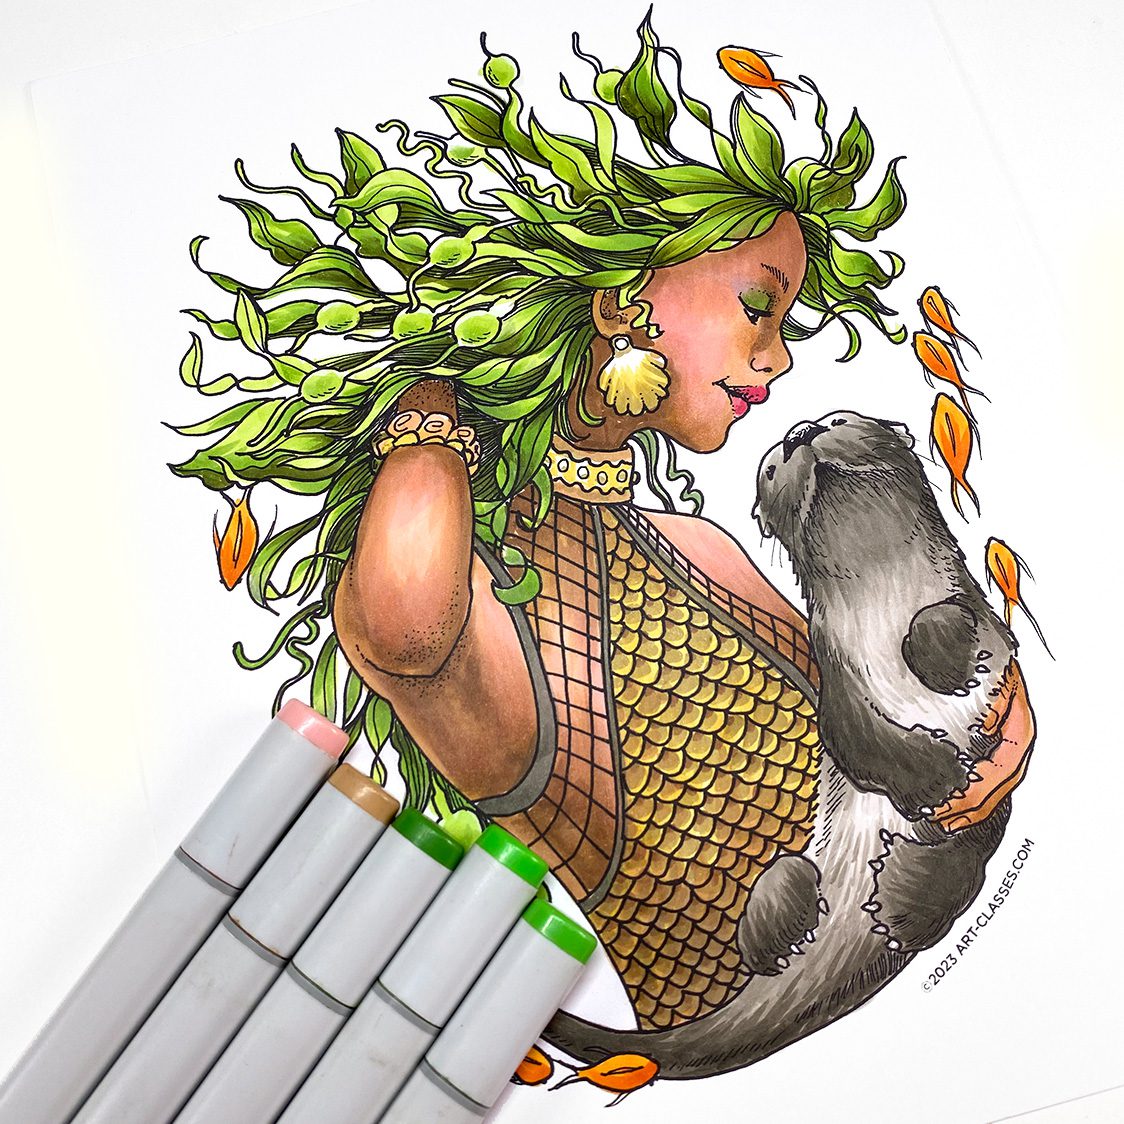
Grab your favorite and get busy coloring! Just print it out onto whatever paper is perfect for your medium, and go to town. You’ll get a full-page-sized jpg, as well as one in color so you can see how I tried it the first time. Can’t wait to see how you color these up!

TAP ON THE IMAGE TO GO SHOPPING

Coral Mermaid

Jellyfish Mermaid

Kelp Mermaid

Can’t decide which one?

Pick up all three images in the Mermaid Trio for a little discount….the only trouble now is deciding which to color first!

Mermaid Trio

Which is your favorite?

And would you like me to make more of these? I’ve got 1001 ideas…..lol. If these are popular I could make a couple more!

Supplies

Some product may be provided by manufacturers for review and use. Compensated affiliate links are here at no cost to you. I appreciate your support of my work with your purchases! Full affiliate and product disclosure | My trusted partners in art

Subscribe to receive blog posts by email:

Free Little Art Gallery (tiny works in watercolor + alcohol markers)

Free Little Art Gallery (tiny works in watercolor + alcohol markers)

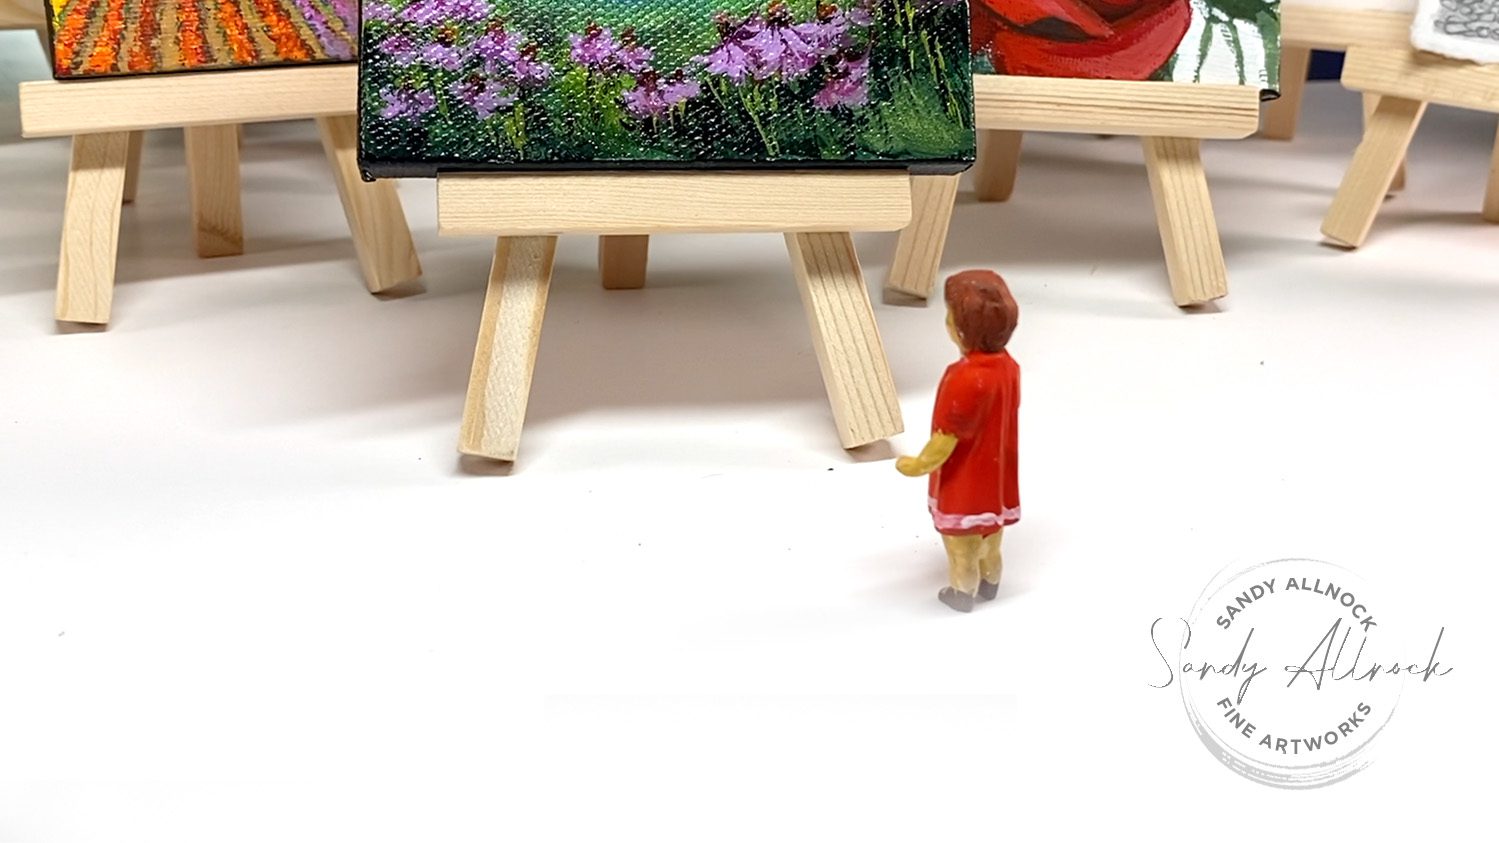
In my previous post and video, I shared a gouache painting on stretched canvas that I displayed in a Little Free Library; this time I’ll be creating a bunch in other mediums, and one will be selected for a Free Little Art Gallery! This one (below) is a “triple decker” with a private art gallery at the top (the public can only look), an art gallery in the middle (taken over by books), and a library on the ground floor. The drawer unit at the base is also full of books! Lots of donations.

If you can locate a Free Little Art Gallery near you, be sure to visit it! These generally just have art in them, no books, though there are libraries that also have art, so you’ll have to check what’s near you. Finding them is a little more work; check the site to find your region then look within that to locate a gallery.

Tutorial: Free Little Art Gallery (tiny works in watercolor + alcohol markers)

Any medium can be used for Little Art Gallery pieces. Just be aware they might be in a hot box for a while, or carried home in a downpour, or have little sweaty hands shoving it in their pocket. 🙂 Plan accordingly!

Watch the video below and scroll to the end to leave comments or questions — or click HERE to watch it on YouTube and leave comments over there. I read both dutifully!

Stamped art is just great!

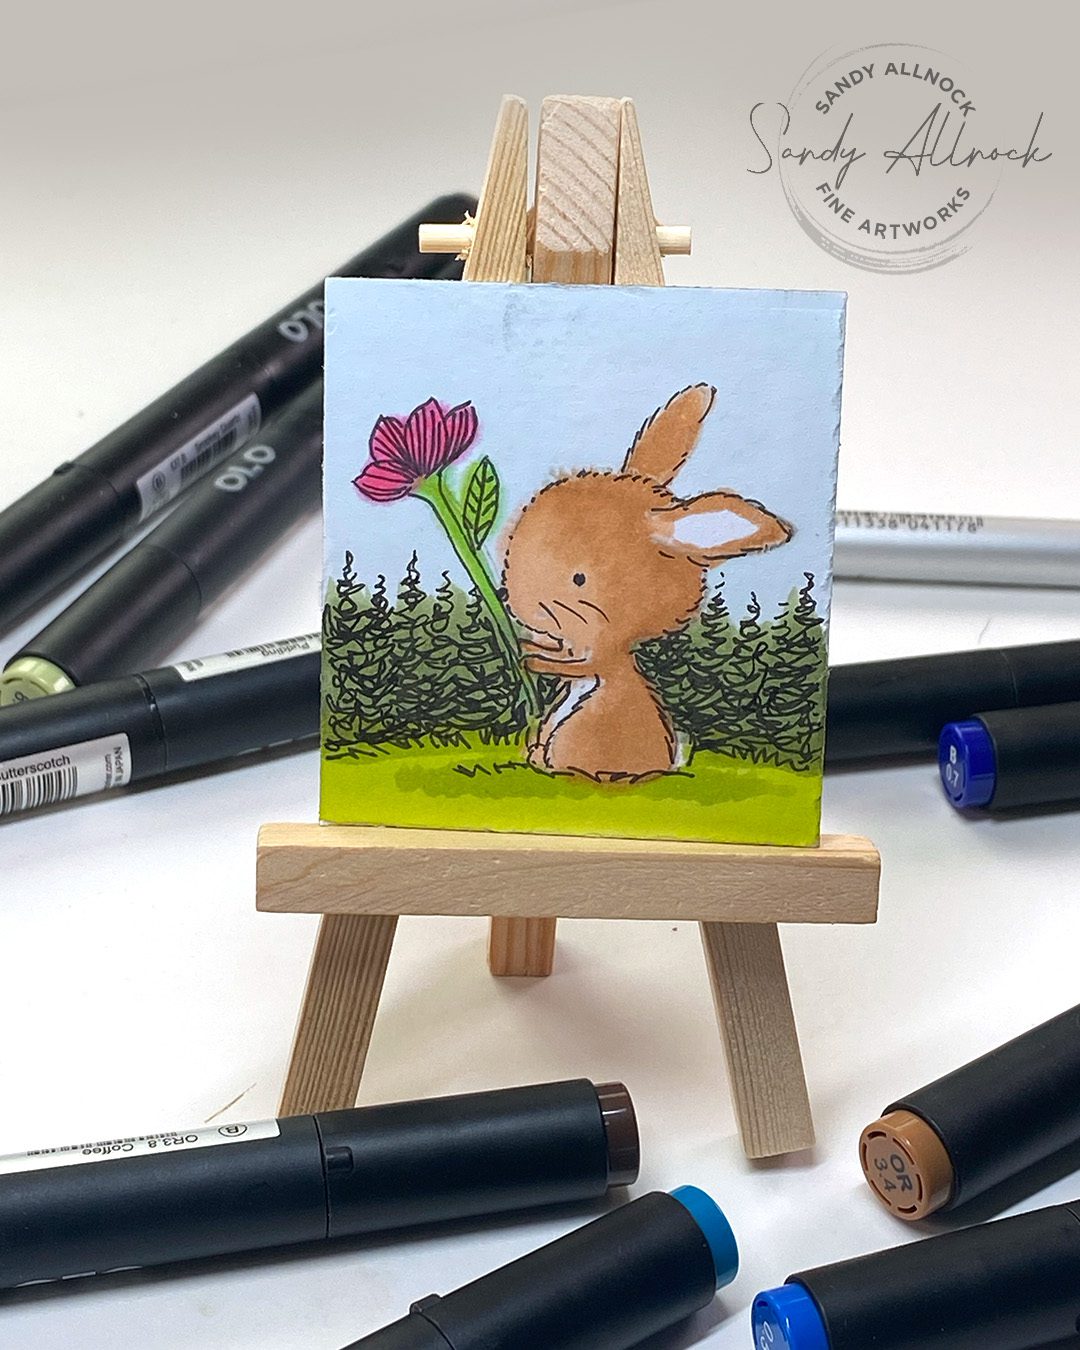
Whatever art you make – it’s just perfect for this! Give your little stamp a scene to go with it. Put it on a bookmark or a little heavy illustration board like I have (although this bleeds a little excessively as you can see!). Anything goes! This little bunny is by Purple Onion Designs. Bella Bunny 

Let a scene develop

Night scenes are pretty simple – lots of dark colors and a moon! Freckles the frog from Purple Onions is probably a little on the light side – but the darkened background makes him pop. Add line work on top, some reeds in the background, and stars!

Make it funny!

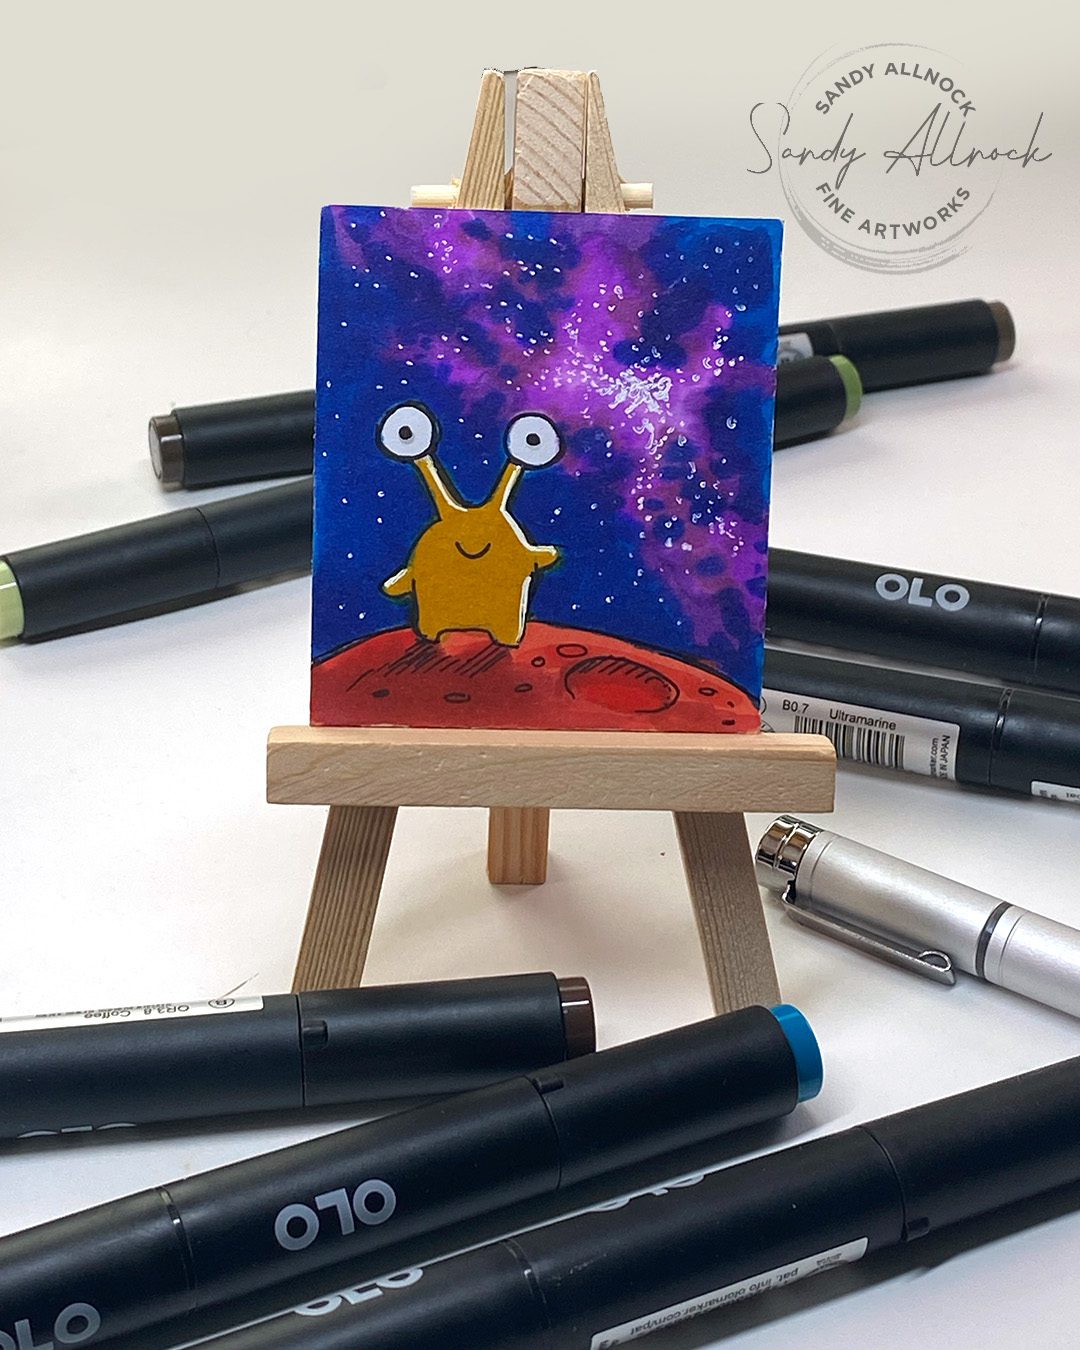
Give visitors to the art gallery a giggle! This little alien from Lawn Fawn is truly out in space – with a galaxy lighting up his world. You can add a sentiment, but — it’ll come across more as traditional “art” without it. Let the viewer imagine what that alien is saying!

Go classical

This little guy from Colorado Craft Company’s Paint the Town set has a deep rich background like portraits of the old masters – seemed appropriate for an artist critter!

Paint or doodle

Stamps aren’t necessary either – how about a quick loose watercolor or a fun doodle?

Deliver your art!

Since the public art gallery section was taken over by books, I opted to add mine to the lower level – where there are windows! I thought if a little kiddo came by and could only see through that, then they’d get a thrill from it. Although had there been art on the second floor, I’d have added mine on that level.

UPDATE!

Since I added the art to the gallery, it was taken home by someone – within 2 days! I added one of my pencil dinosaurs, and check out what happened (there are 2 pics so be sure to go to IG to see both). I’m so glad the piggie has something new to look at!

More tips

My previous post has a lot of written out tips for making art for these fun free locations; be sure to check it out and a landscape painting in a video!

Supplies

Some product may be provided by manufacturers for review and use. Compensated affiliate links are here at no cost to you. I appreciate your support of my work with your purchases! Full affiliate and product disclosure | My trusted partners in art

Subscribe to receive blog posts by email:

Inspired by the Superbloom: Poppy card sketches

Inspired by the Superbloom: Poppy card sketches

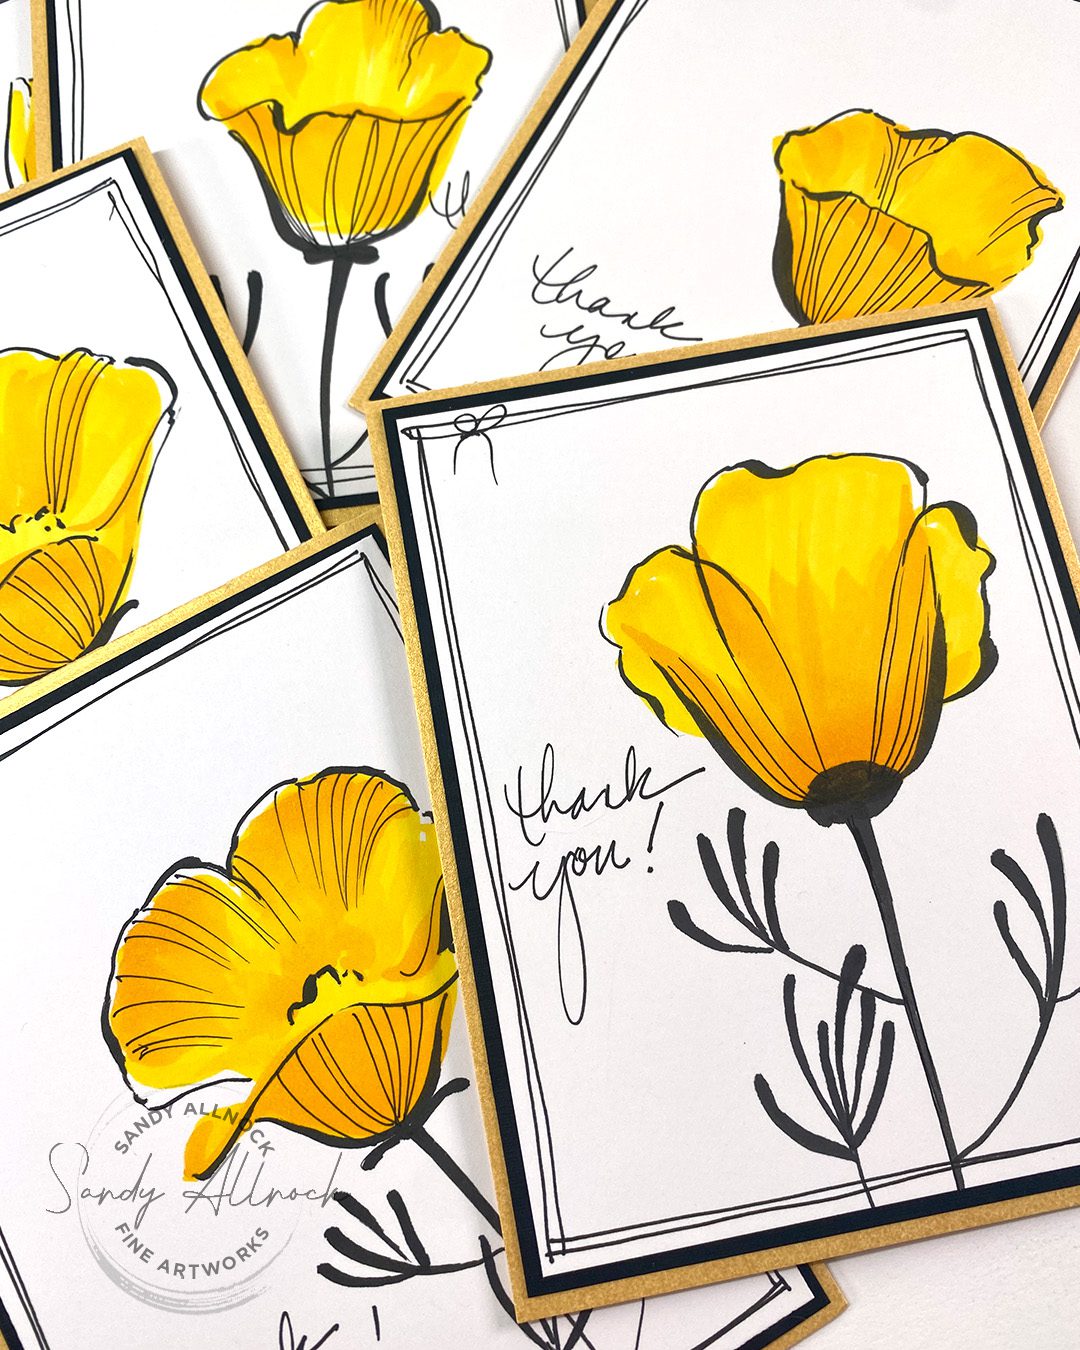
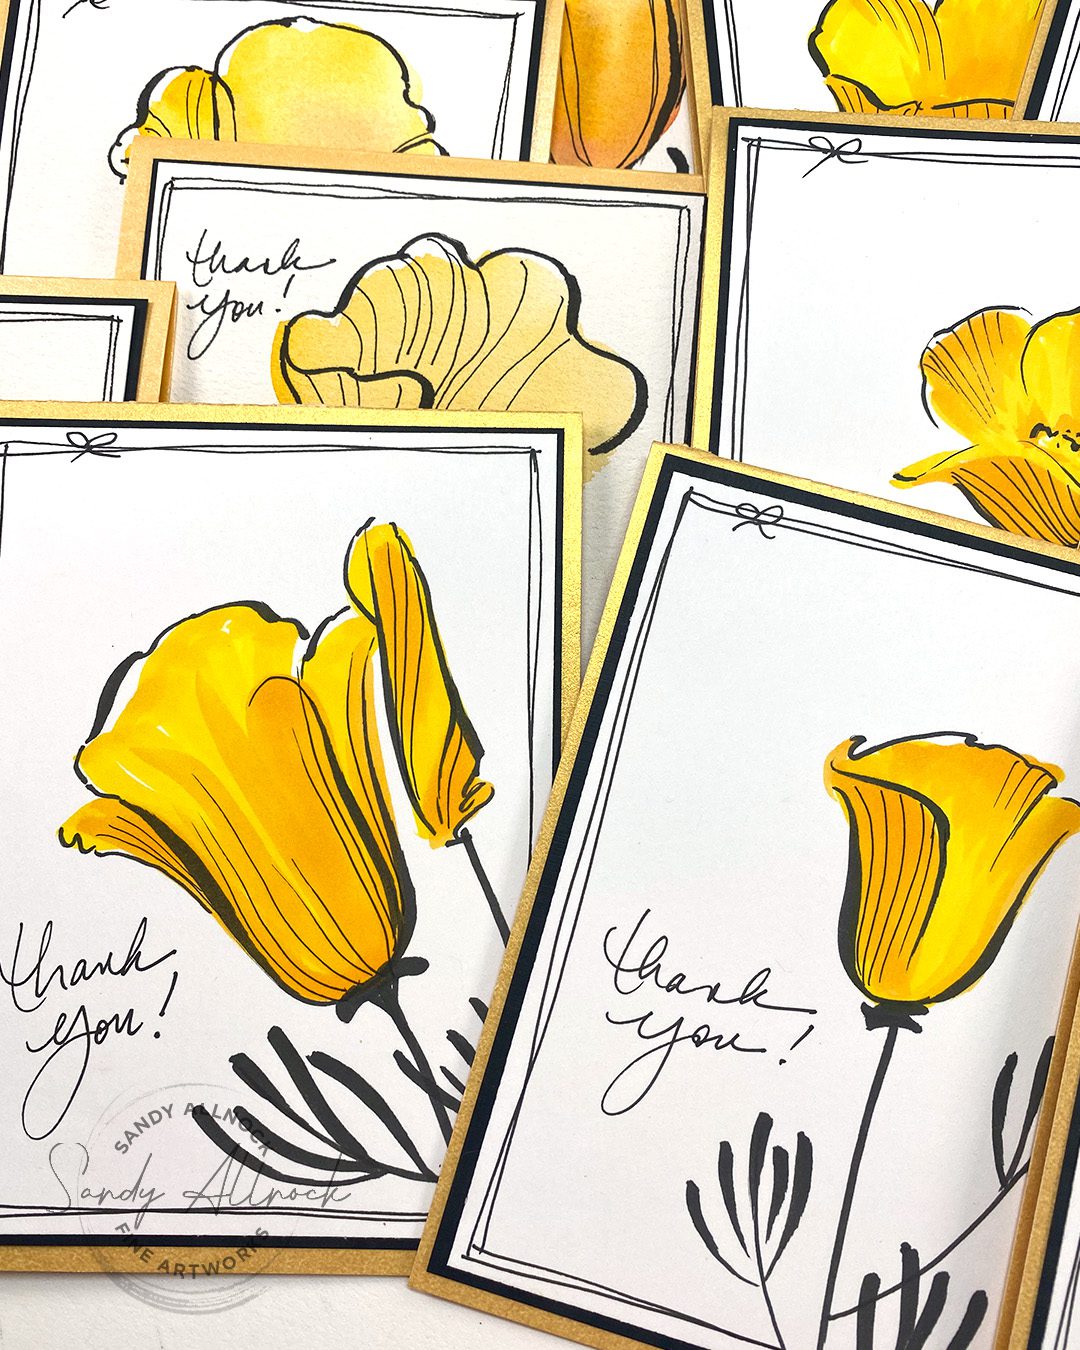
Today’s project comes from double inspiration….I needed to beef up the thank you cards in my stash, and I’ve been inspired by the California superbloom poppy photos I’ve been seeing! I thought some cheerful sketched yellow flowers would cheer up some mailboxes. 

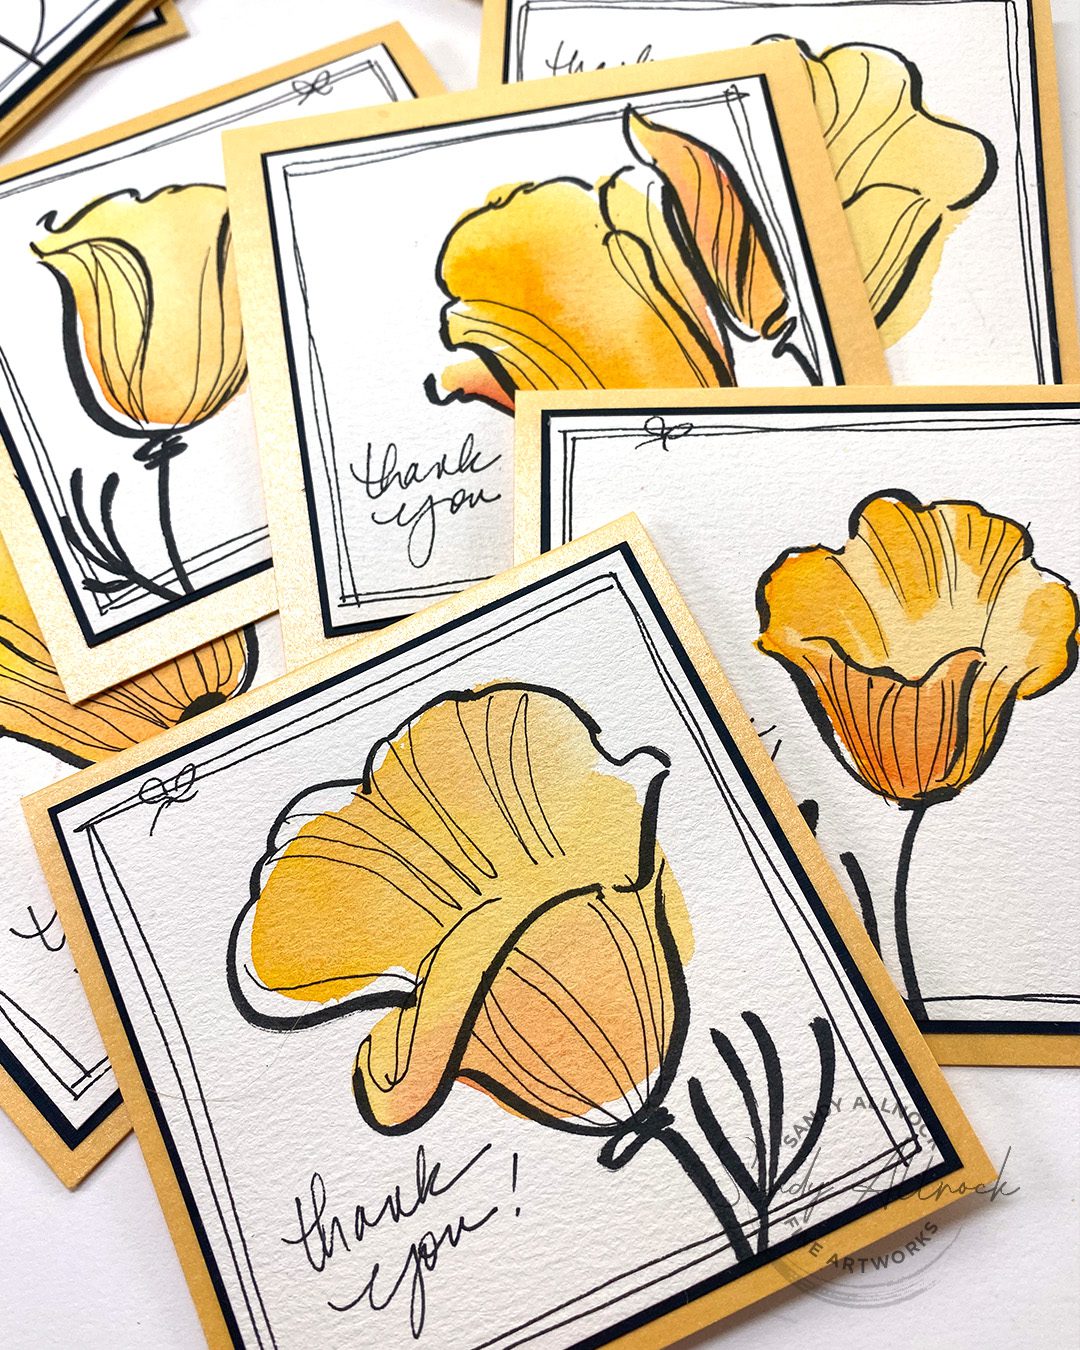
You can use alcohol markers, waterbased markers (though on better paper than I used!), watercolor, pencil – anything you can make a basic shape from. Then add some loose pen lines. It’ not hard at all!

Tutorial: Inspired by the Superbloom: poppy card sketches

The first section here uses Copic markers – but later water-based marker and watercolor. You could do this in pretty much any medium!

Watch the video below and scroll to the end to leave comments or questions — or click HERE to watch it on YouTube and leave comments over there. I read both dutifully!

Google for a photo

In markers, watercolors, or pencils, create the general loose shape that you see in a single poppy. Use two colors so you can add just a little shading; keep the colors close together (not much contrast) so you can not stress out over blending. You can see I didn’t!

Then ink them up!

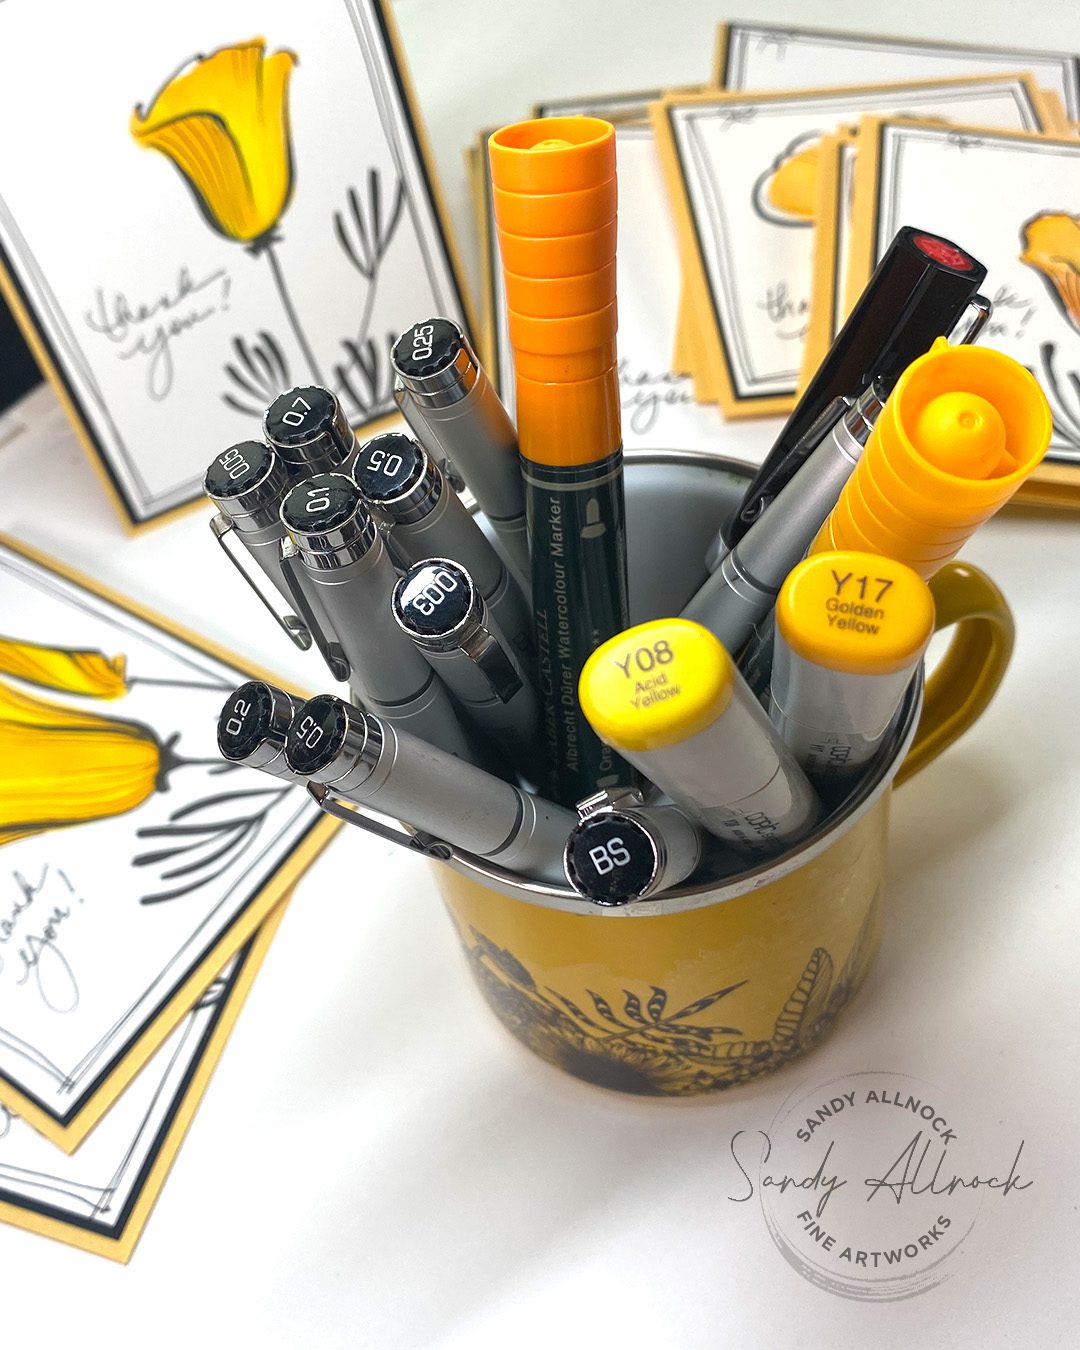
The small brush marker in my Copic Multliner SP set is available individually if you want to nab that one to try a varied line like I created. Practice with the pressure – the brush nib is very sensitive! Then use a small pen nib to add just a few flowing lines along the direction of the petals. The more “careful” you get with the details, the tighter the sketches will get…..keep it loose!

Water media

I wanted to use up the terrible watercolor block – it didn’t work with my fancy shmancy water-based markers, but they’d be great on other papers! (I’ve tested out some here.) The watercolor worked ok on the icky paper – but even the watercolor marker one that looked so bad at first came out nice on the card (below, center right).

Fine art sale til Mothers Day

I’ve been making mini paintings in gouache – so. much. fun. The poppies video is over on Patreon, but you can go see all the paintings in my shop!

Would you try these?

Which medium will you use – alcohol markers? Water-based? Watercolor? So many would work great!

Supplies

Some product may be provided by manufacturers for review and use. Compensated affiliate links are here at no cost to you. I appreciate your support of my work with your purchases! Full affiliate and product disclosure | My trusted partners in art

Subscribe to receive blog posts by email:

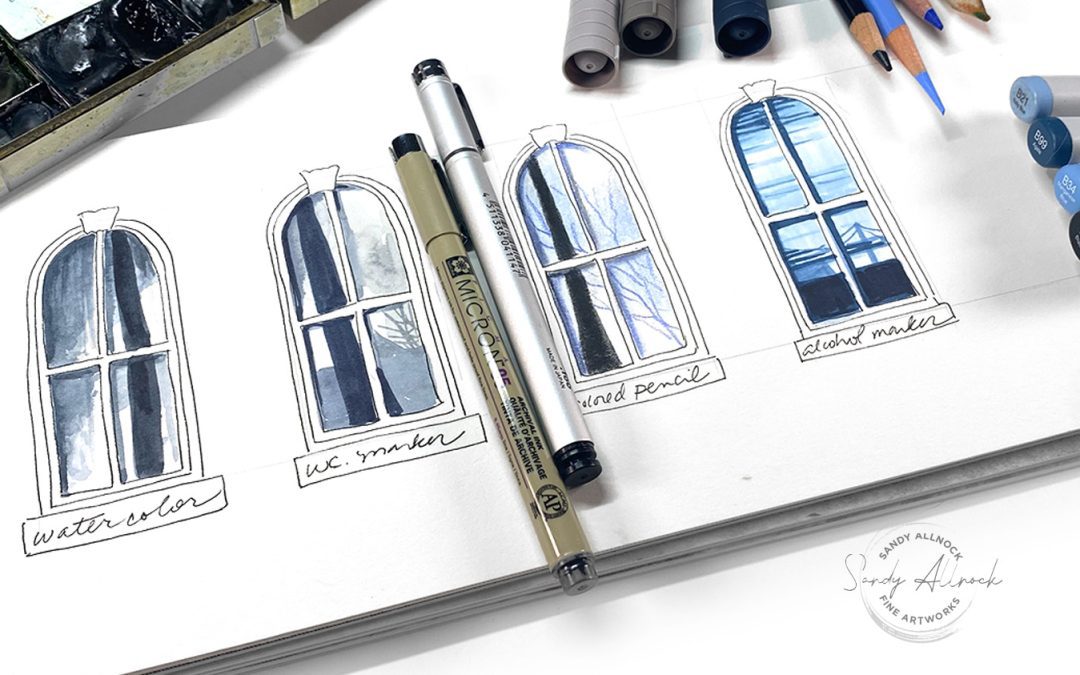
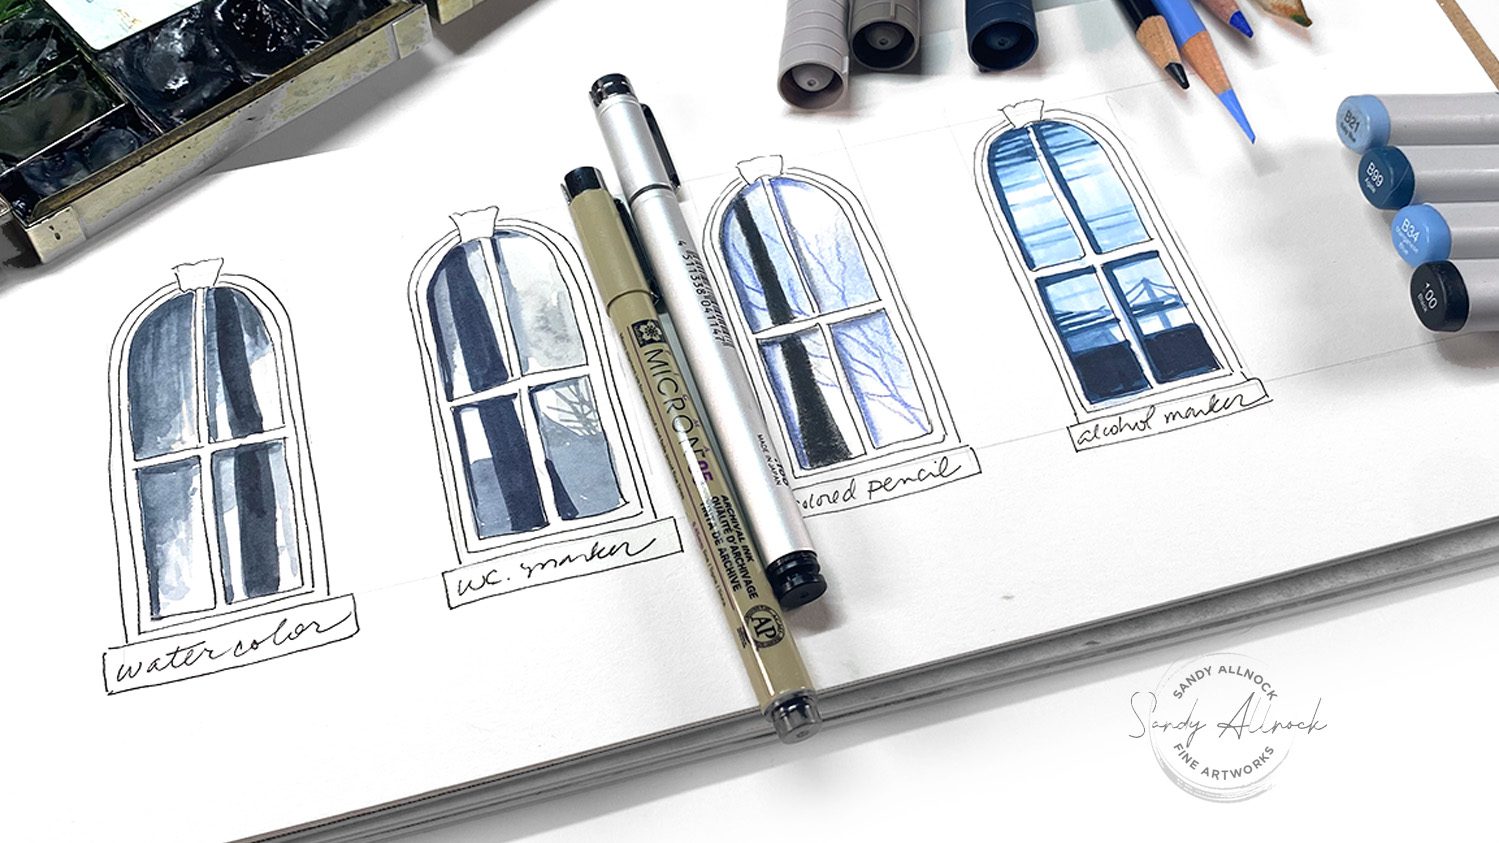
Draw and paint reflective windows – 4 mediums (and a freebie!)

Draw and paint reflective windows – 4 mediums (and a freebie!)

Have you ever tried to create reflective windows in your art? I struggled with that for a long time; I assumed it was one of those skills I’d only get one day as a REAL artist (do we ever reach that pinnacle!?). But years ago I stumbled onto an accidental discovery: I was making it far too hard on myself.

The real secret is the same as in just about all art: letting go. Forget what you THINK it should look like – find a reflection and see what it DOES look like! Sometimes it’s a blobby jumble. Only occasionally will it look like a real “thing” – although that is something that can simplify it for you IF the reference you are looking at is simple and has a clear, distinct image. Watch the video and read on for my reflections on reflections.

Tutorial: Draw and paint reflective windows – 4 mediums and a freebie!

In this video you’ll get a preview of the newest class – and a freebie to download and color up! There’s another class coming Saturday – stay tuned to the end to get a peek at that too!

Watch the video below and scroll to the end to leave comments or questions — or click HERE to watch it on YouTube and leave comments over there. I read both dutifully!

Different reflections in every window

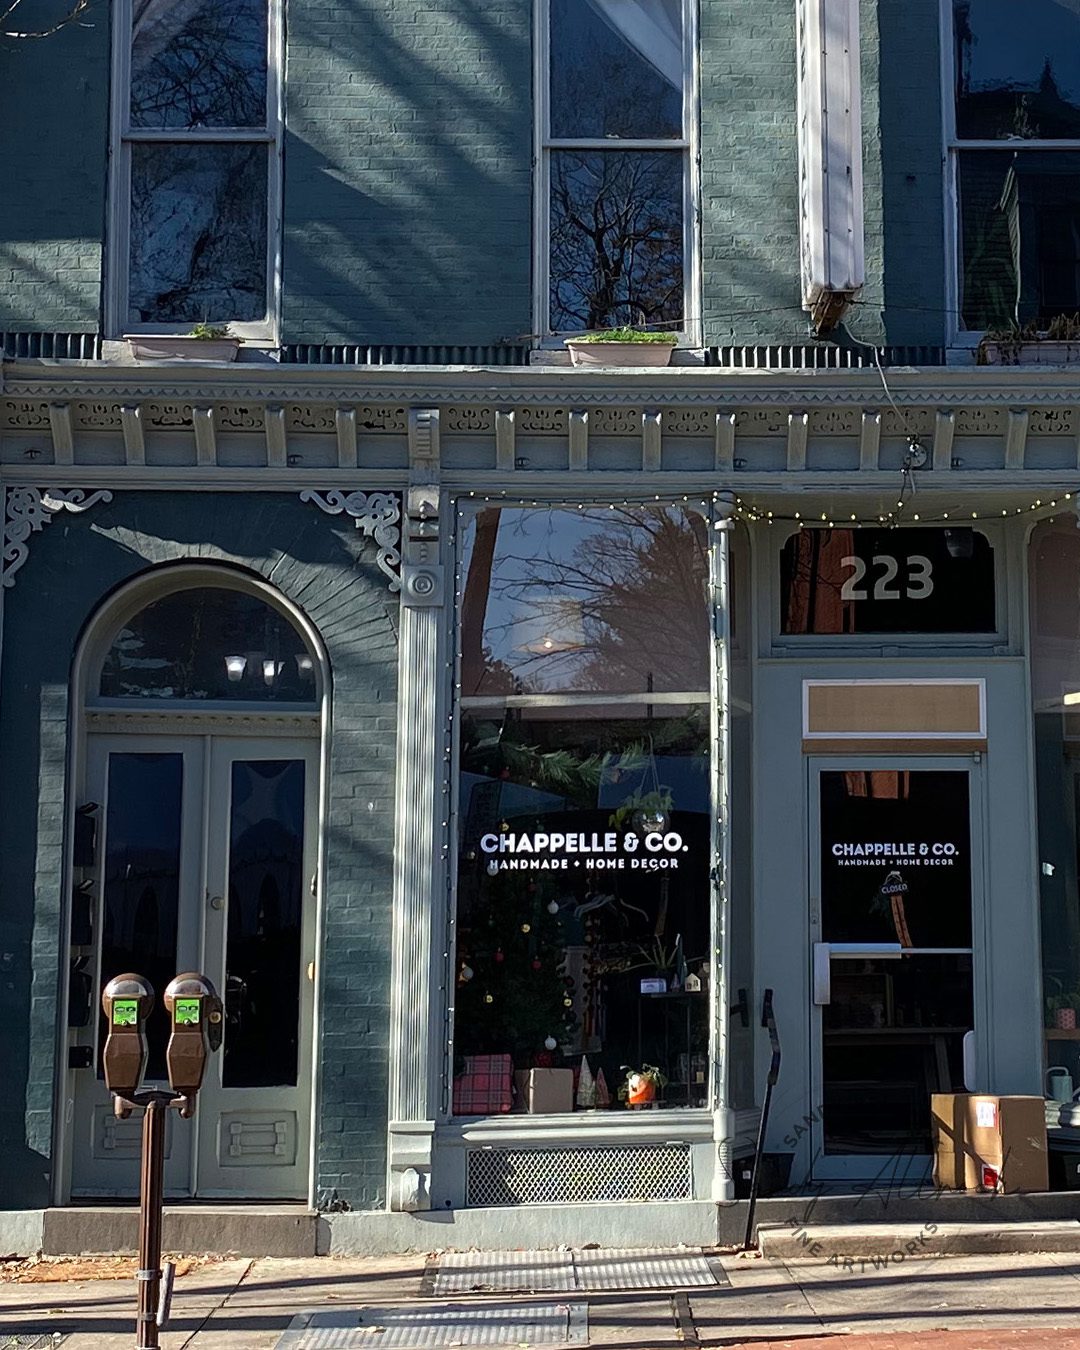
One of the freeing things to remember with reflections – they can change drastically from one window to the next. A tree trunk in the pane to the left of 223 is probably the same tree as the window above it – but they don’t align. What’s going on? There may be more technical explanations for this but – I have to suspect that the building is not *perfect.* If a window pane is not exactly in the same plane as another window, it’ll never reflect in the same way – it has a different “view” of the object being reflected, even if by a half a degree. There are also things like the type of glass, settling of the building – so many factors. Look at windows next time you’re out and see if you notice this.

Simple reflections

When collecting references for starter projects, look for simple shapes in the reflections. Here there are buildings and a street lamp (the lamp looks wonky but there ya go!) – and that’s a lot easier to render. Also notice though that there are areas of transparency where you see things INSIDE the window like a piece of furniture and blinds up at the top…. and cast shadows ON the window as well! When trying to take your own reference images, walk around and check different angles to see what that does to your view of the reflection.

Draw the shapes you see

The car is reflected in this window (along with some transparency into the shop) – and while I find cars very hard to render well, reflections of them are much easier. Squint at it to look at the SHAPES you see. When it’s all mushy tone-on-tone like this is, it doesn’t take much of a suggestion – can you create a roofline and window that’s believable? Is a street lamp’s reflection a matter of a light blob on one end with a line coming down from it? Look for the elements that are the essence of the shape and pay attention to that – and add layers of color that’ll blend everything so it has that suggestion of a presence.

Watercolor

In the class, watercolor is the medium – and that’s because I find the epic cast shadows much easier in watercolor. There’s no expectation students will include them though, because *scary* right? Anyway – the windows in watercolor can be mostly mush, then toss in a curtain opening and voilá you’ve got a realistic looking window!

Watercolor marker

The process for water based markers is very very similar to watercolor, just with a little application change. Put a tiny amount directly on the paper and move it around with a brush and water, but if your markers dont blend out nicely, you might want to keep light washes to mix from a palette.Then add curtain or blind openings with the full marker once everything is dry.

Copic marker + freebie

The Art Diner (“Sketch ‘n Eat”) is available for FREE! You can try out pencil and markers with this printable and see if the tiny detail is too much for you or if it’s doable. When you add this to your account you get both the version at the size I drew it as well as slightly shrunk down – the details get even smaller in that case. Tap here for the printable.

Market Street Sketches Class

The new class is available and OH how fun! It’s taught with Microns and watercolor, but if you want to give it a try with another medium rock on! . Tap here for the class.

Closing thoughts and question

text

Supplies

Some product may be provided by manufacturers for review and use. Compensated affiliate links are here at no cost to you. I appreciate your support of my work with your purchases! Full affiliate and product disclosure | My trusted partners in art

  1. Stonehenge sketchbook
  2. Pens:
    1. Copic Multiliner SP (Copic safe, for class get a .25 and .1)
    2. Micron Pens (Waterproof, for class get a .5 and .3) BLICK • AMZ
  3. Watercolor:
    1. Daniel Smith Watercolors:
    2. Payne’s Blue Gray
    3. Cobalt Blue
    4. Phthalo Blue Turquoise
  4. Watercolor marker:
    1. Faber Castell Albrecht Durer Watercolor Markers: Blick • AMZ
  5. Colored Pencil: Polychromos Pencils – Polychromos Hex Chart
  6. Alcohol marker: Copic Markers – Copic Hex Chart

Subscribe to receive blog posts by email: