
Did you know there’s an Essential Marker Stroke ? The one above all others? It’s used in drawing — but also for those who color only and not draw, you’ll find this helps with blending too!
This stroke applies across alcohol markers and water-based markers – anything with a brush nib!
Left to right, below: Sketchmarker alcohol marker, Tombow marker, Sketchmarker Aqua marker, Olo marker, Copic marker, Faber Castell Aqua marker.

Tutorial: The Essential Marker Stroke
Get ready to write down your homework assignment. Yes, homework! 🙂
Watch the video below and scroll to the end to leave comments or questions — or click HERE to watch it on YouTube and leave comments over there. I read both dutifully!

Don’t do this!
By drawing with a marker as if it’s a bullet nib marker, there are blobs that end up at the start and end of inelegant lines – which will make your drawing look like dotted lines. Whether you’re making water ripples, grasses, or hair, that just won’t work. You may find this interfering with blending too – each stroke will create a blob of ink wherever it starts and ends, rather than making elegant blends.

The Essential Marker Stroke
Learning to create a brush stroke that has a thin beginning and end will make a huge difference in your art! Subjects like the water ripples shown have a natural flow when the shapes are gentle and elegant.
The stroke starts above the paper, then the marker moves down to touch it and press a little heavier as yuo go, then lift in the same way at the other end of the stroke. Think of it like a pendulum.

Your homework
Go take a sheet of paper and make 100 strokes; they won’t all be perfect, but by just doing it again and again, you’ll begin training your hand to “feel” when it’s right.

A few marker classes to practice this stroke
If you need more than just making practice strokes on scrap paper, I’ve put together a few suggestions for you; I was recently reading a study about the way some people learn best by having a goal to meet, so your goal can be getting through a course!
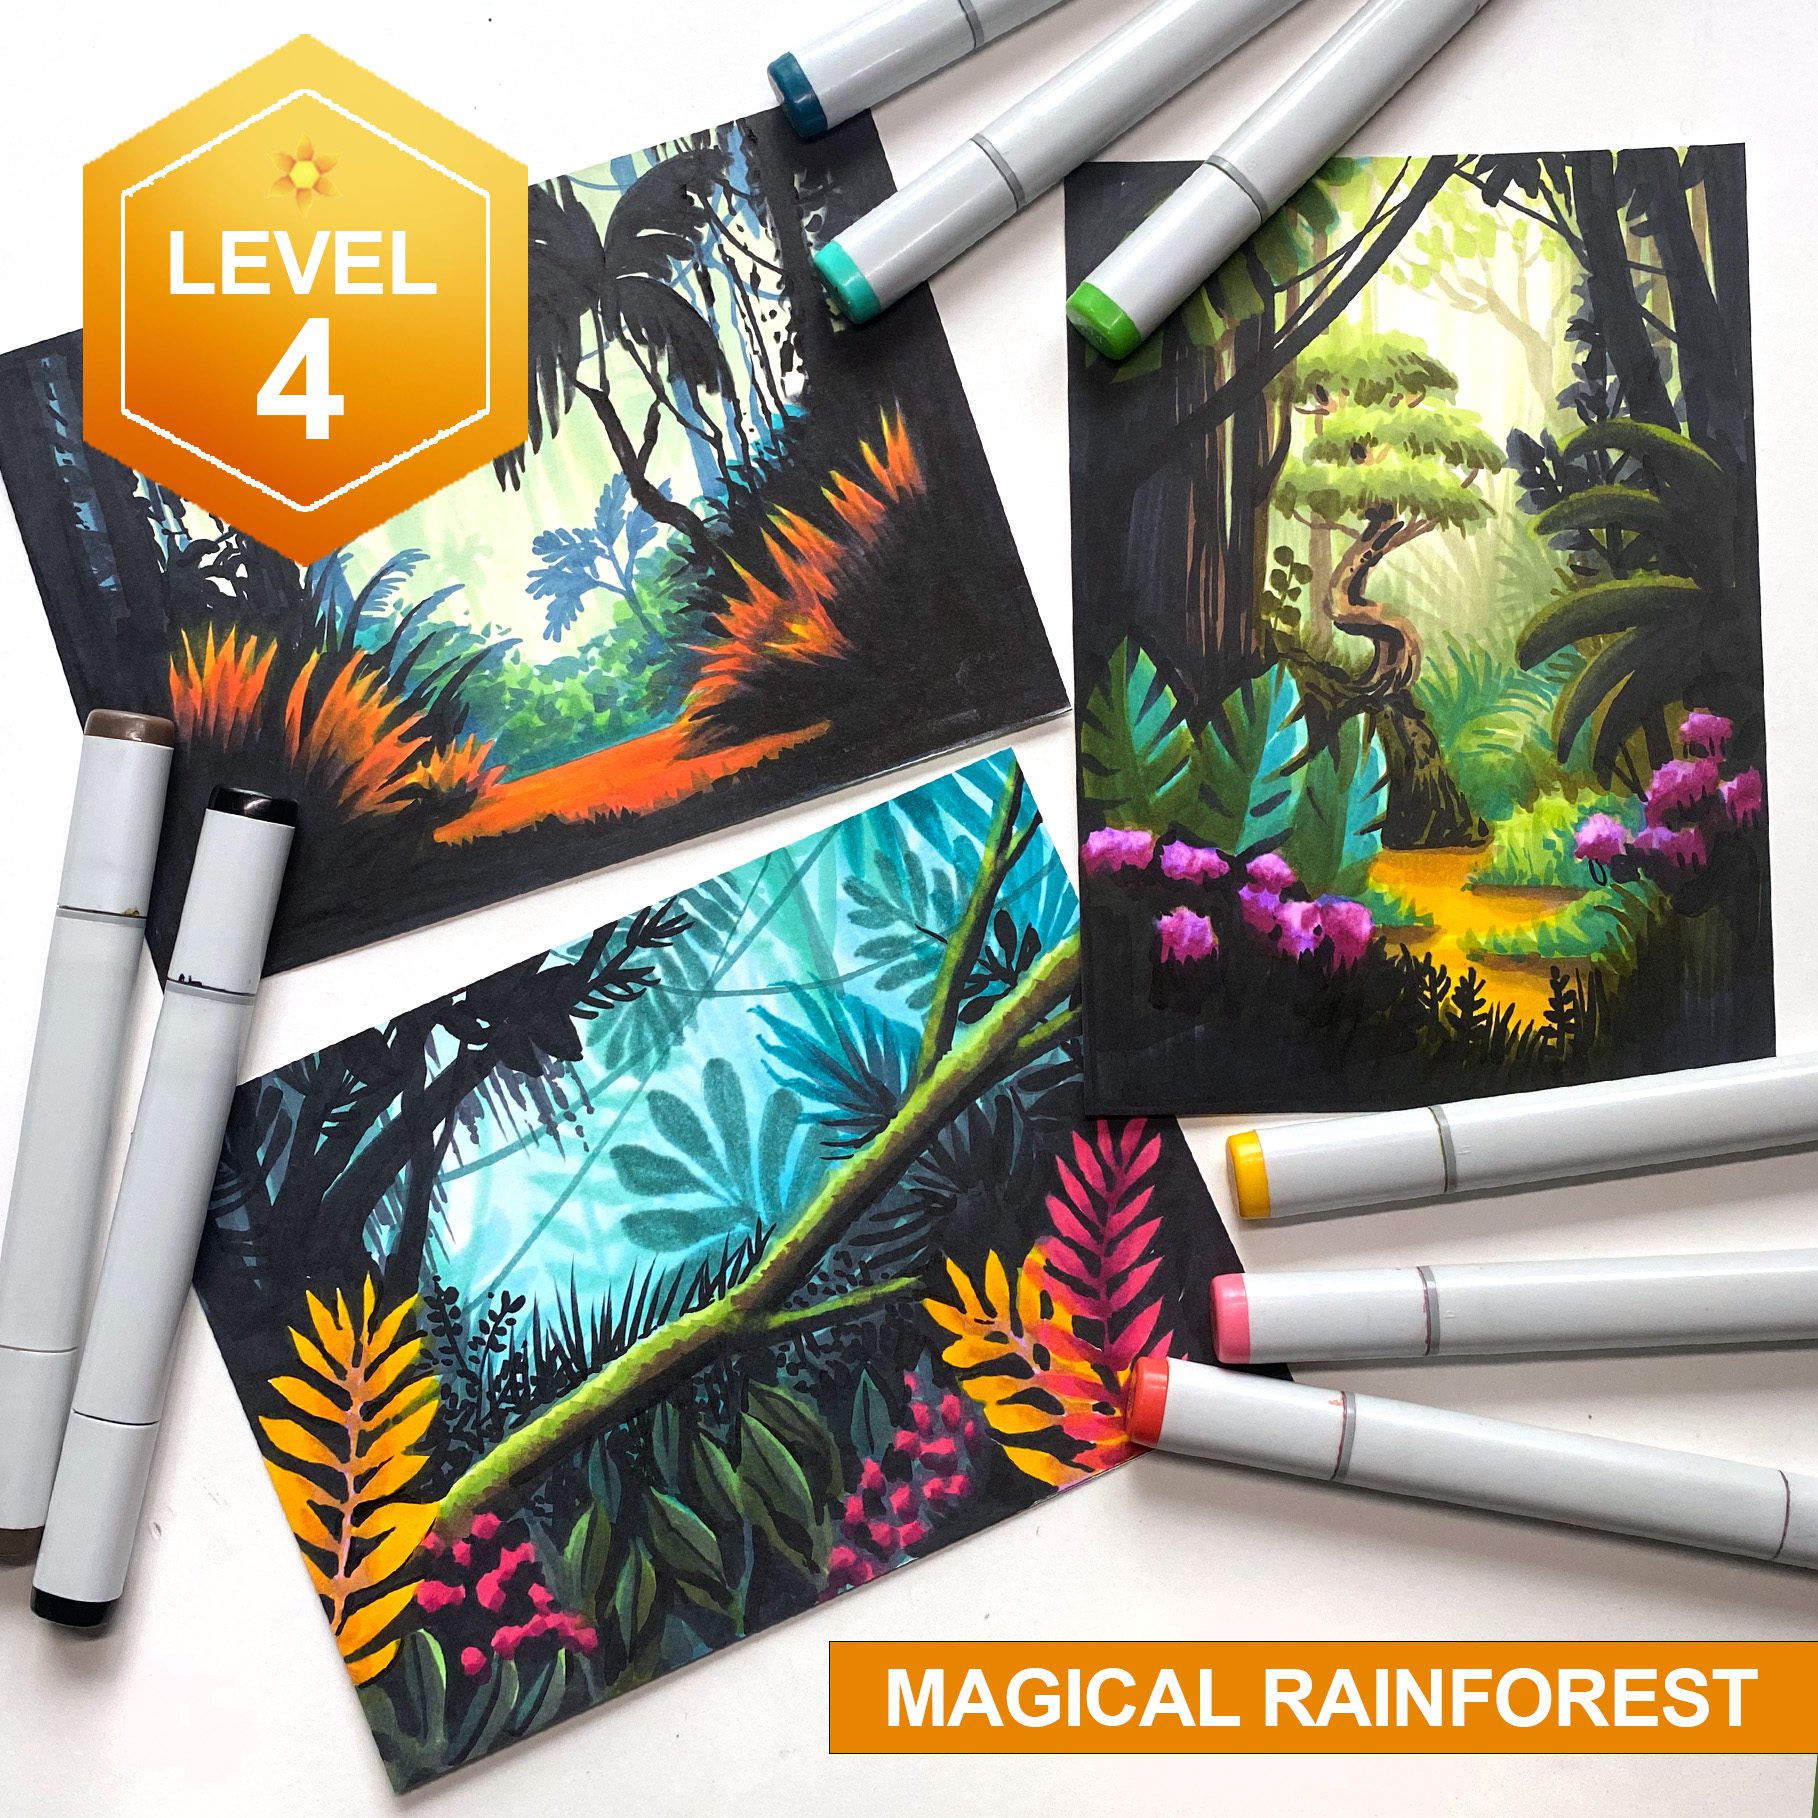
Magical Rainforest class will give you opportunities to practice this stroke – lots of grasses and leaves need that delicate touch.
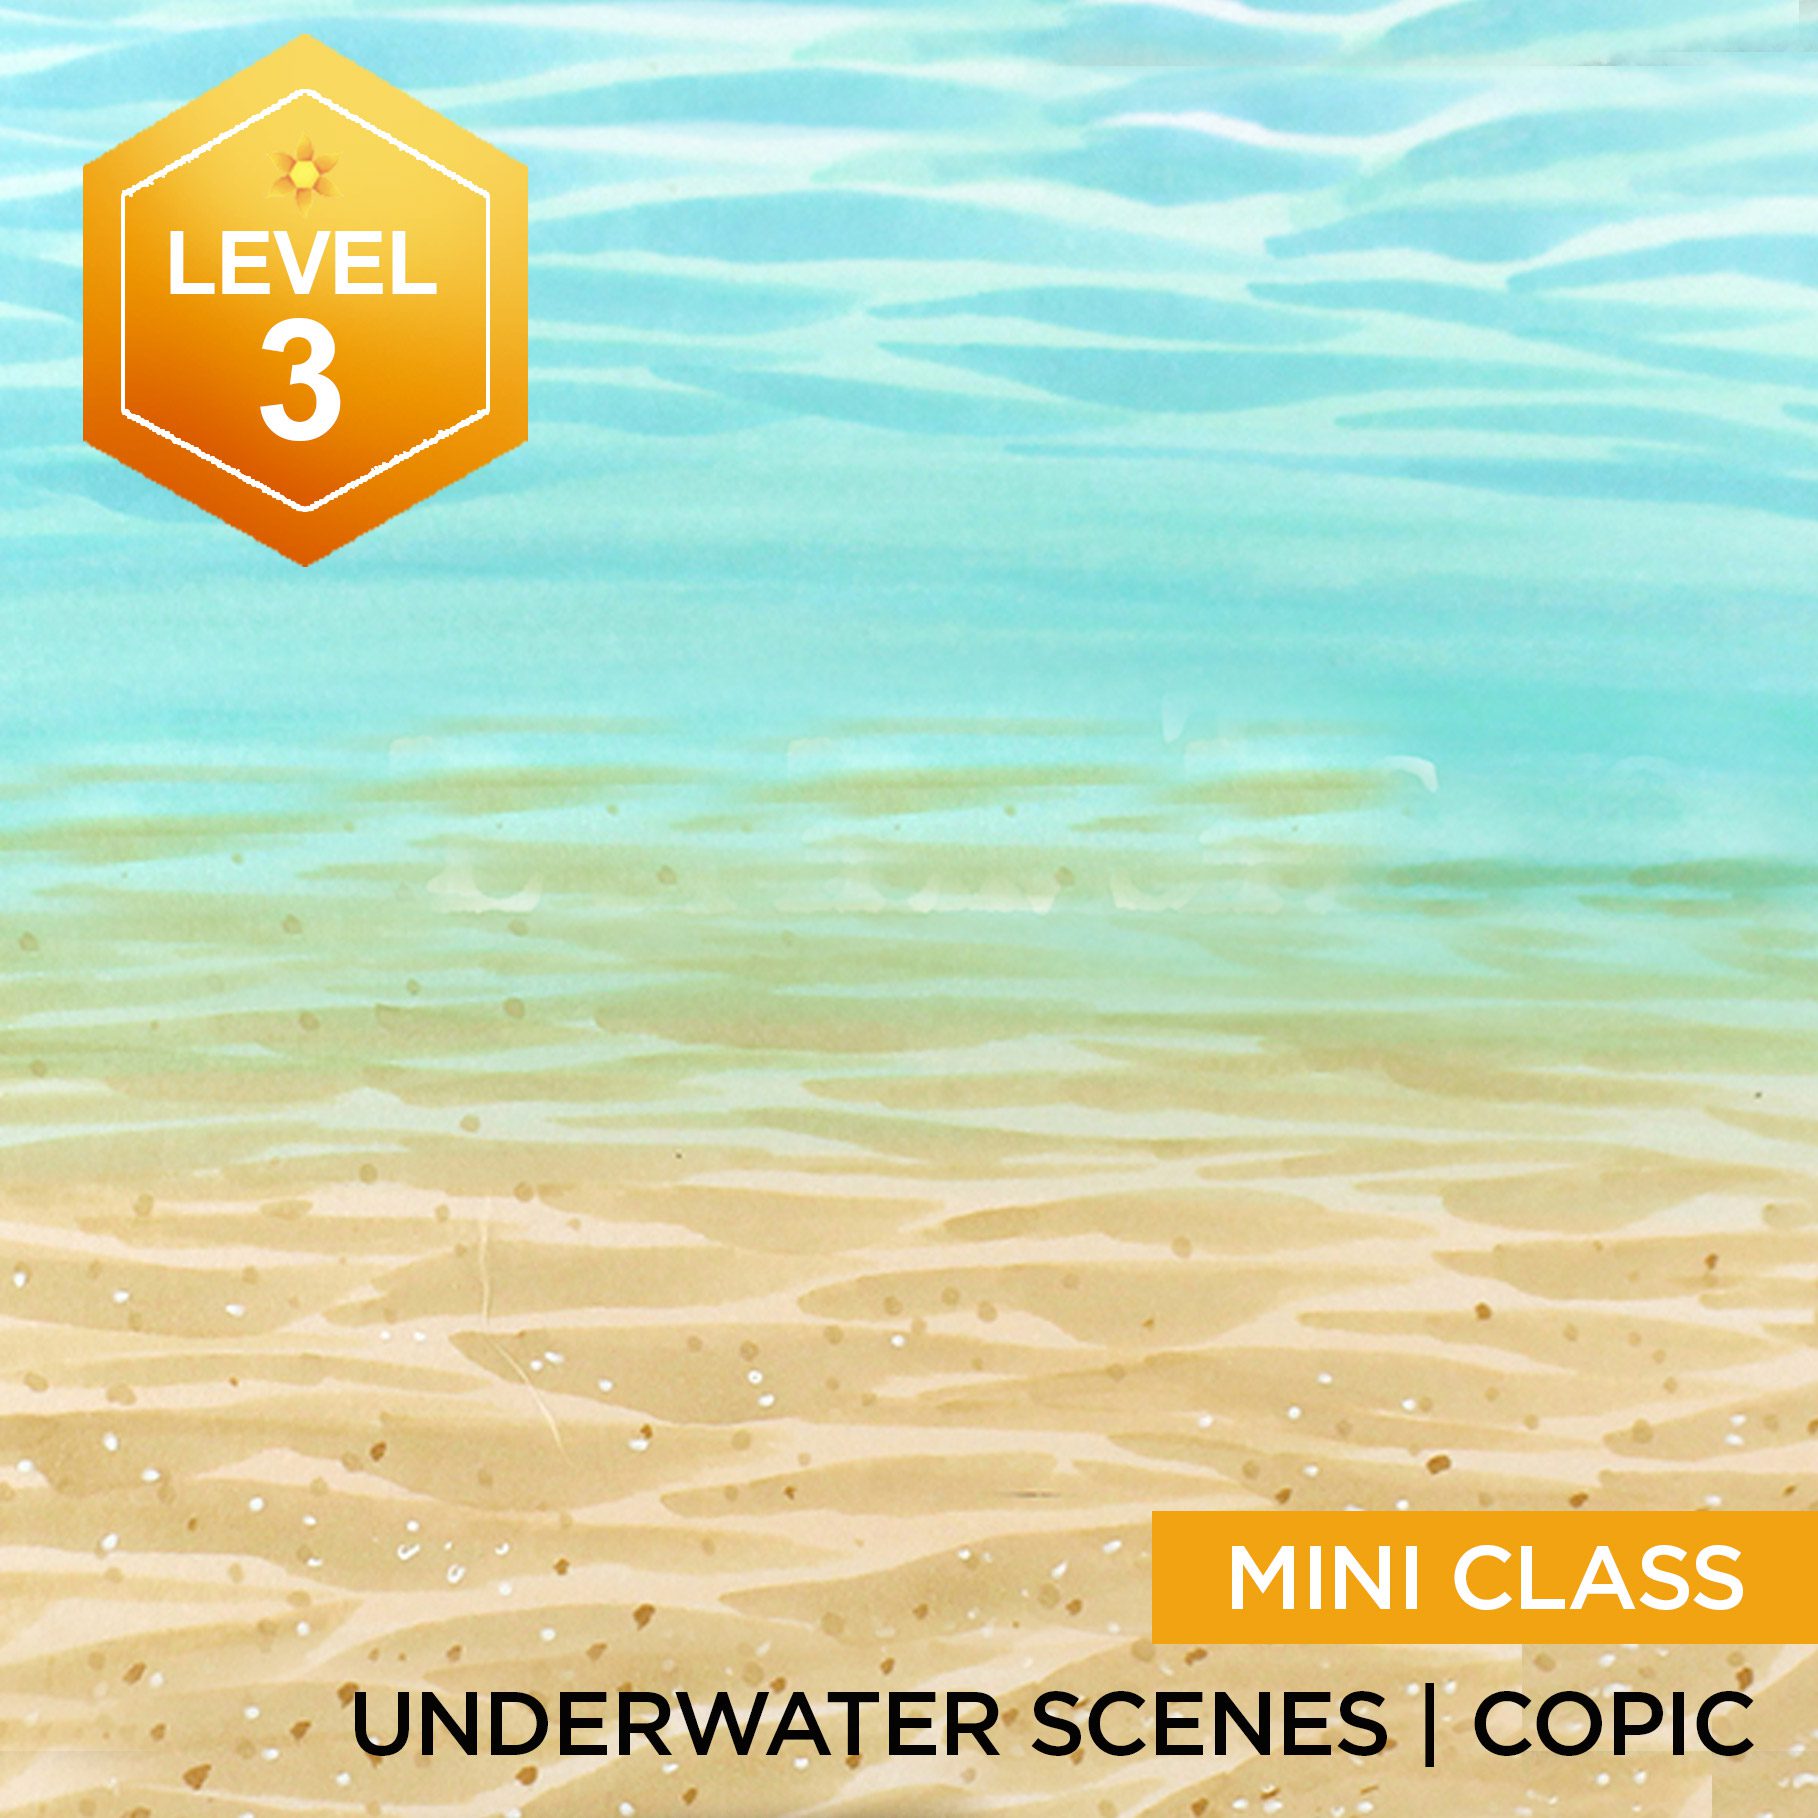
Underwater Scenes is a class for alcohol markers that generated today’s topic – see the water at the top and sand at the bottom?

Travel Sketches class is for water-based markers with pen and ink – so. much. fun! Learn a skill that’ll help you document your summer travels this year!
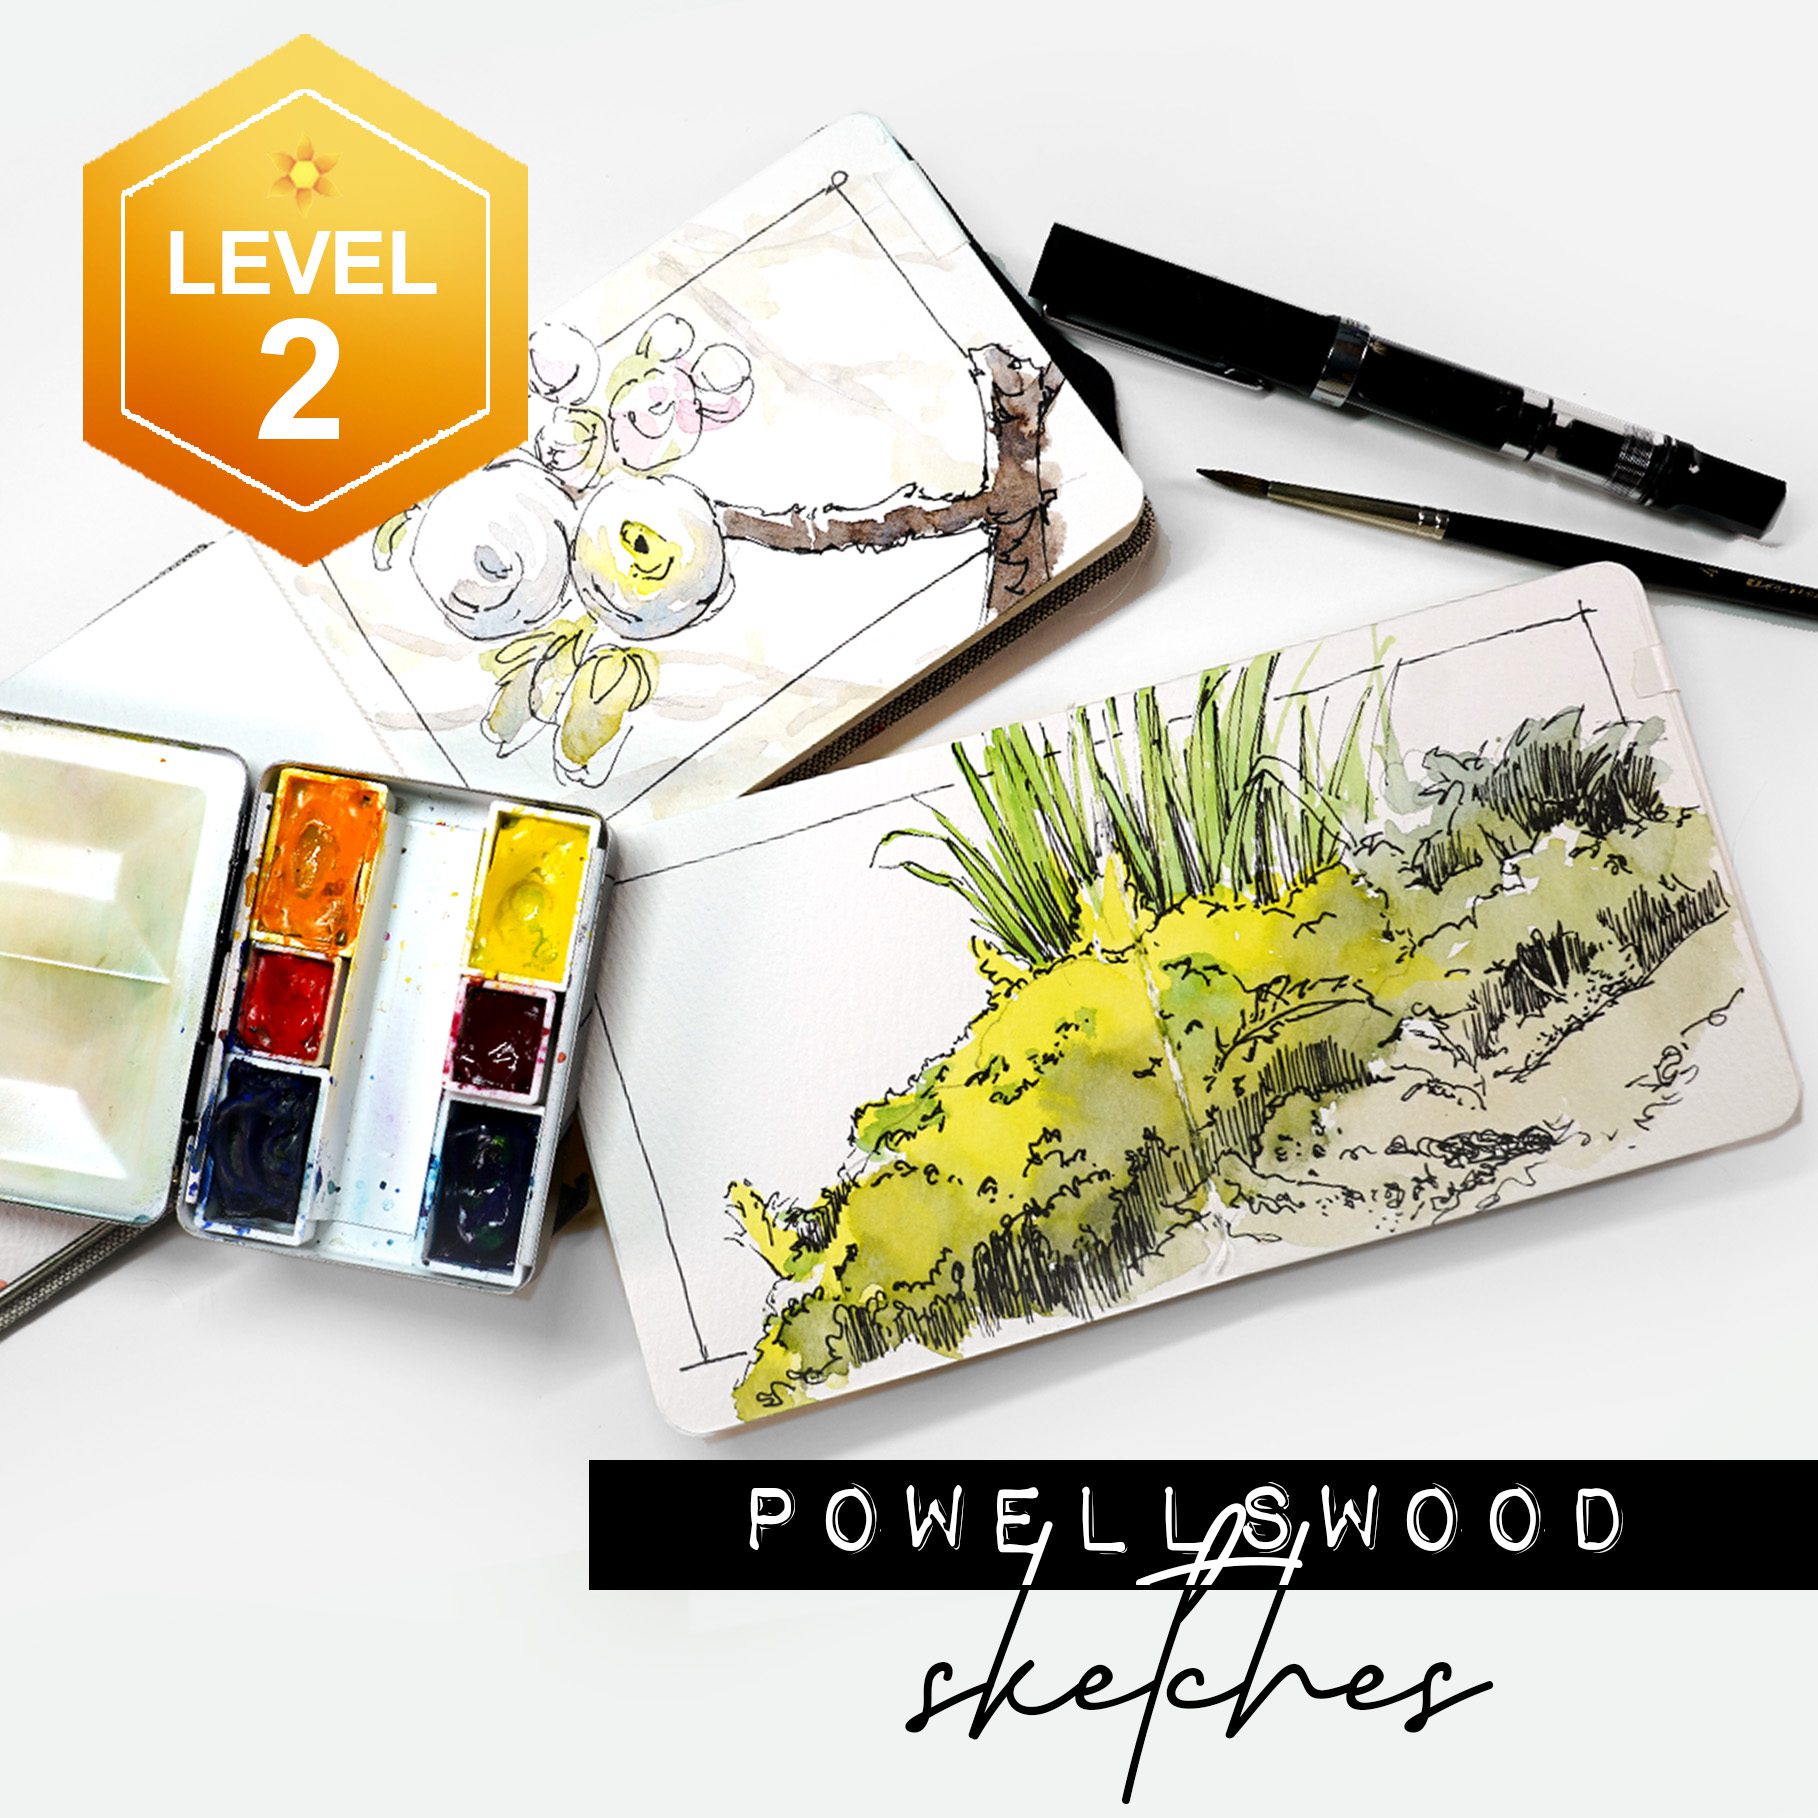
Powellswood Sketches can be created in watercolor or watercolor marker – then adds pen an ink drawing on top. Another wonderful way to celebrate summer!

Color & Line Class stars both alcohol markers AND water-based ones – and can be taken using either medium!
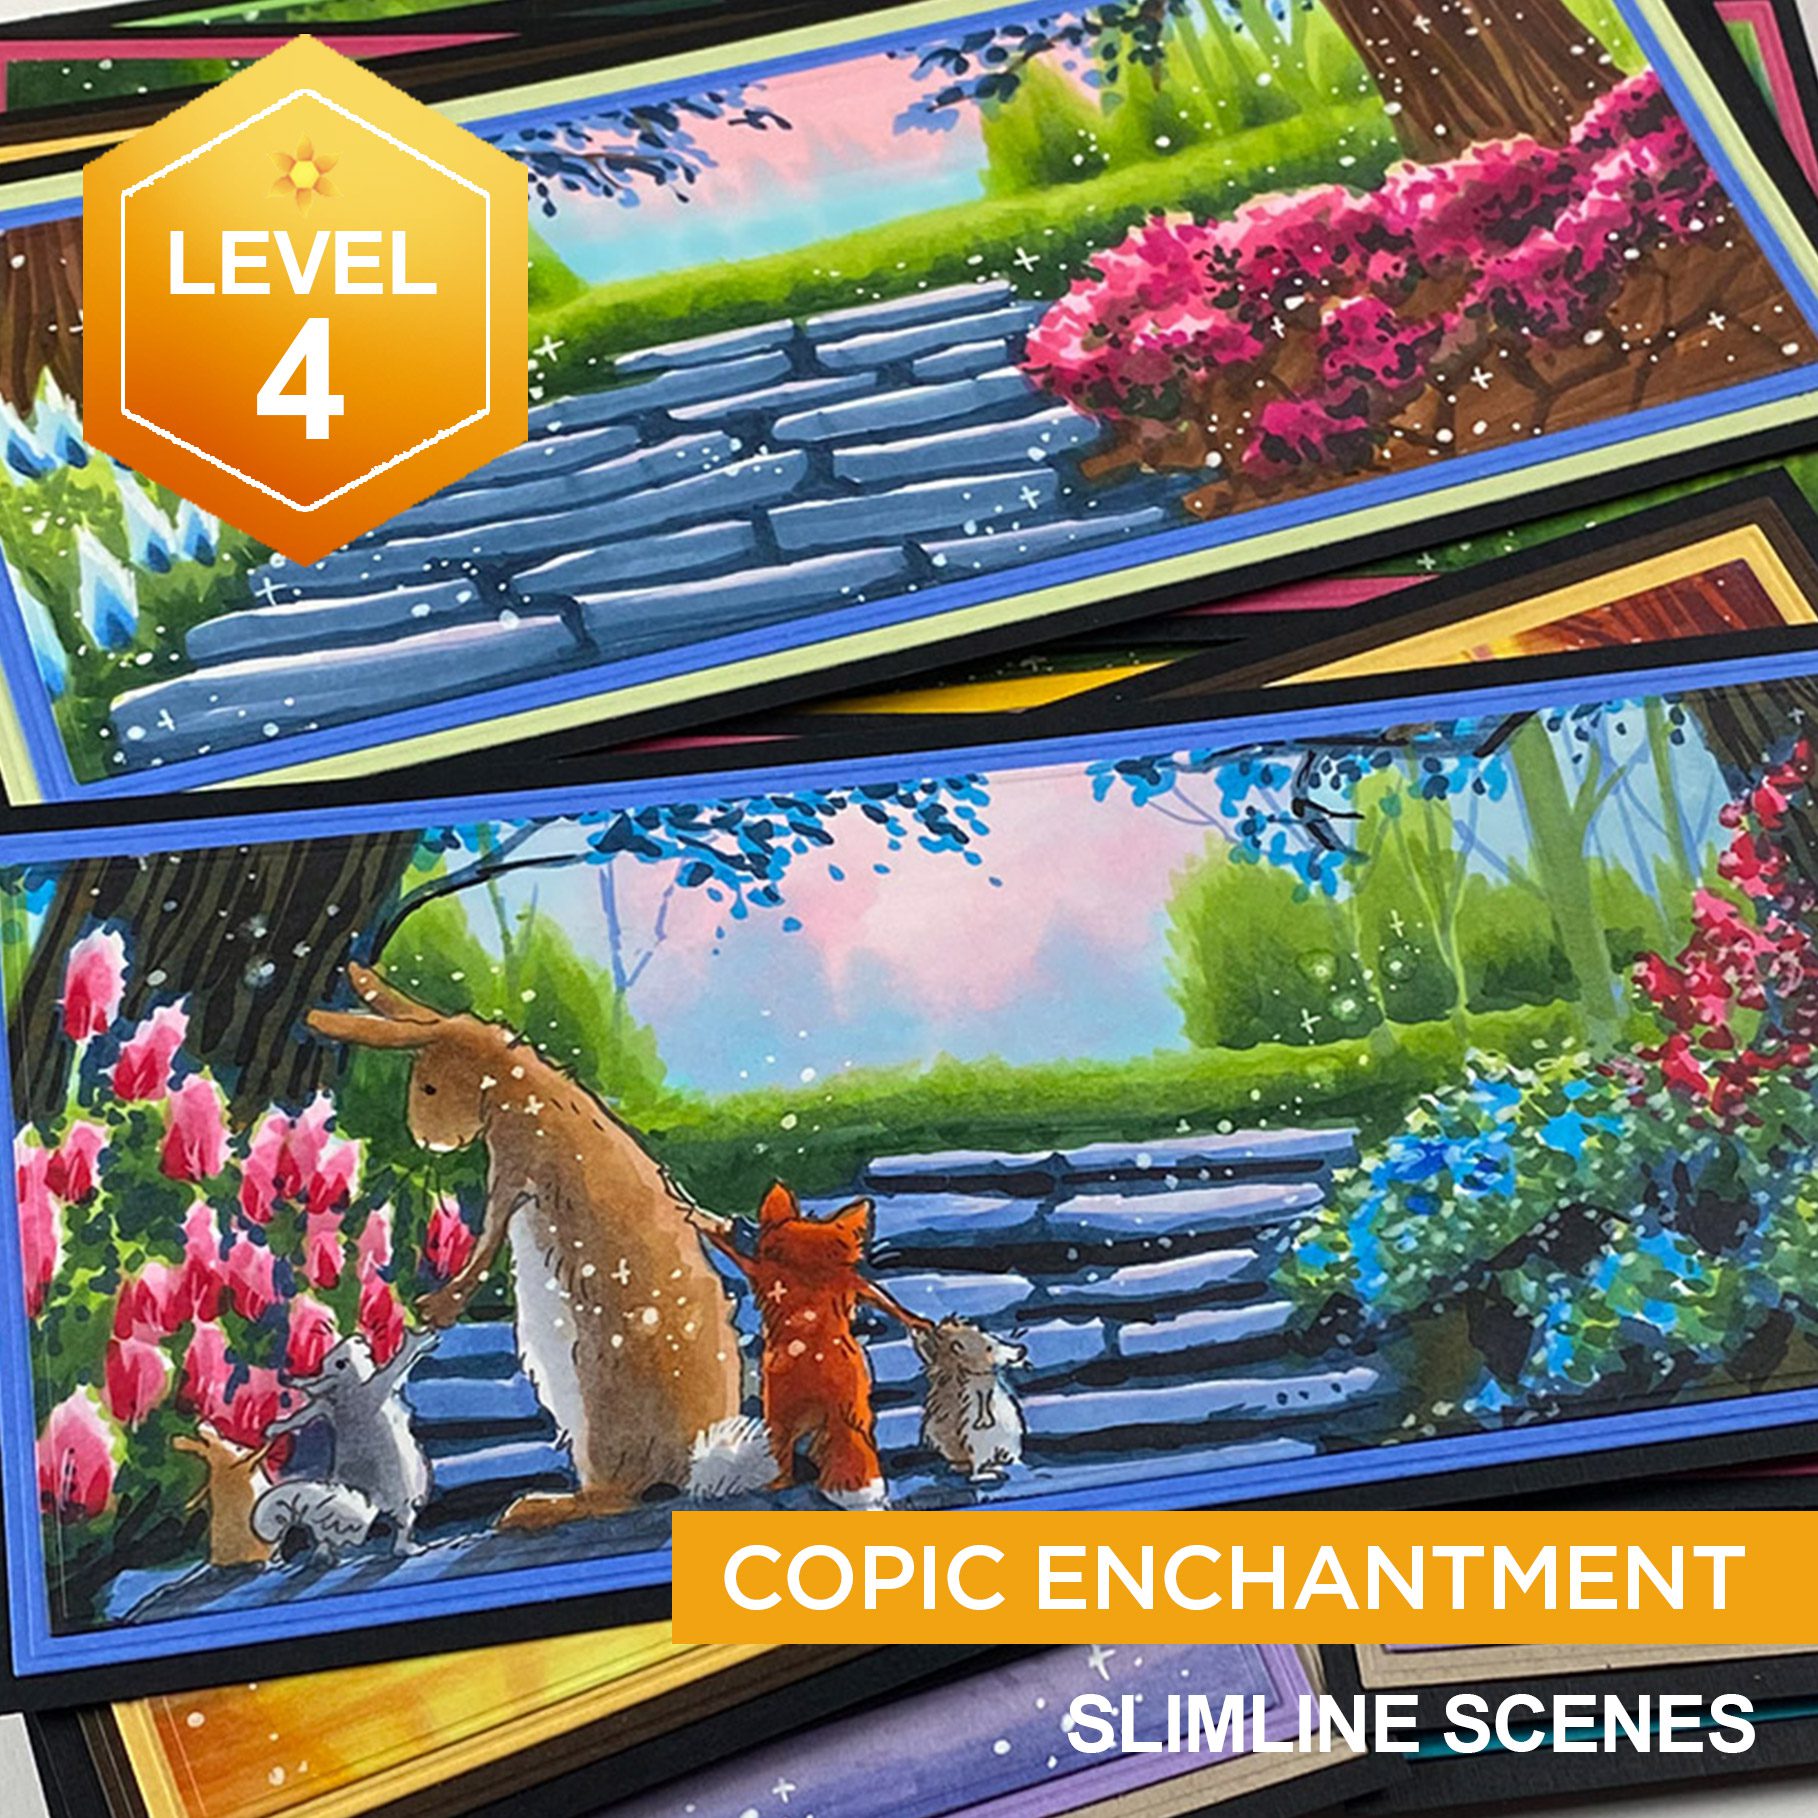
Copic Enchantment will definitely use the Essential Stroke throughout these luscious drawings!
Supplies
Some product may be provided by manufacturers for review and use. Compensated affiliate links are here at no cost to you. I appreciate your support of my work with your purchases! Full affiliate and product disclosure | My trusted partners in art
- Favorite alcohol markers (in order):
- Favorite water-based markers (in order):
- Faber Castell Albrecht Durer Watercolor Markers Blick • AMZ
- Sketchmarker Aqua
- Tombow Markers
- Papers





Fantastic video Sandy – and homework that I’m looking forward to doing!
Super helpful! Reminds me of first learning calligraphy – “pressure, no pressure, pressure” – the opposite of this brush stroke. I have never taken advantage of the Copic tips the way you showed, so learned a LOT from this video – thank you!!!
P.S. Trust your hairdresser – it looks fabulous!
Hi Sandy
Love this and plan to practice this cause I really need to get that stroke working for me. Thank you for the lesson X Aileen
The reason I was first attracted to Copic markers was because the nib acted just like a brush. Pressure determined how the mark would look. When I taught painting, I always started with brush strokes – C, S and comma strokes. It helps you understand what the brush can do. Same with markers. Great leasson!