I have had a dream video I’ve wanted to make for a while…and hopefully I can pull it off for my 100k celebration on YouTube:
I want to create something across the community to encourage EVERYONE to celebrate their own achievements as artists, and to take their next step!
AND I NEED YOUR HELP!
To do that I need YOUR help! I need you to 1) write your artistic milestone on a couple pieces of cardstock, and 2) hold them up in a video clip or a couple stills, then 3) send them to me! Watch the video below or click HERE for a bit more info.
What kind of milestone am I talking about? It can be small or large. It might really just mean something to you – an “Aha!” moment that opened up your thinking as a creative person. Any medium. Any point in the creative process. You don’t have to show the creation, but you can if you wish! And your milestonoe needn’t be something you learned from me…I just want to celebrate your growth!
Here are a few ideas:
can color a turtle so it looks like it’s round!
finished watercolor class and framed one of my paintings!
can now tell the difference between warm and cool colors!
can paint clouds!
joined a design team!
wrote a guest blog for a company!
sold enough cards to pay for my daughter’s ballet lessons!
What is YOUR milestone? Are you willing to share it so others can celebrate with you – and be encouraged by you?
If so, fill out the form at the end of this post so your submission ends up in the right part of my inbox, and upload your video file or up to three still pics. Be sure to wait for it to upload (you’ll see a confirmation message.) If your file is too big, you’ll get a message about that. And if you can’t get it to work, then just send the form with a message to that effect and we’ll deal with it by email. If your file came through fine, you won’t hear back – but if something goofed up, I’ll email you.
What’s in it for you?
In the final video, I’ll link to the site-of-choice for each artist (it can sort of be a hop!) —your blog, Instagram, etsy, YouTube, or whatever site your art is on. (I reserve the right to not link to non-family-friendly sites.) You don’t have to be linked if you don’t wish.
You’ll also be entered into a drawing for stamps, dies, and art supplies! I have a growing prize box that I’ll divvy into flat rate envelopes and announce winners in the big video. Good luck!
Bonus video this week
If it takes a minute to upload your files, click HERE to be entertained while it does – and go see my Snowman card over on Ellen Hutson’s site. (It’ll open up a new window for you, so come back here to be sure your submission went in!
Call for Milestones is closed now. Thank you to all who participated!
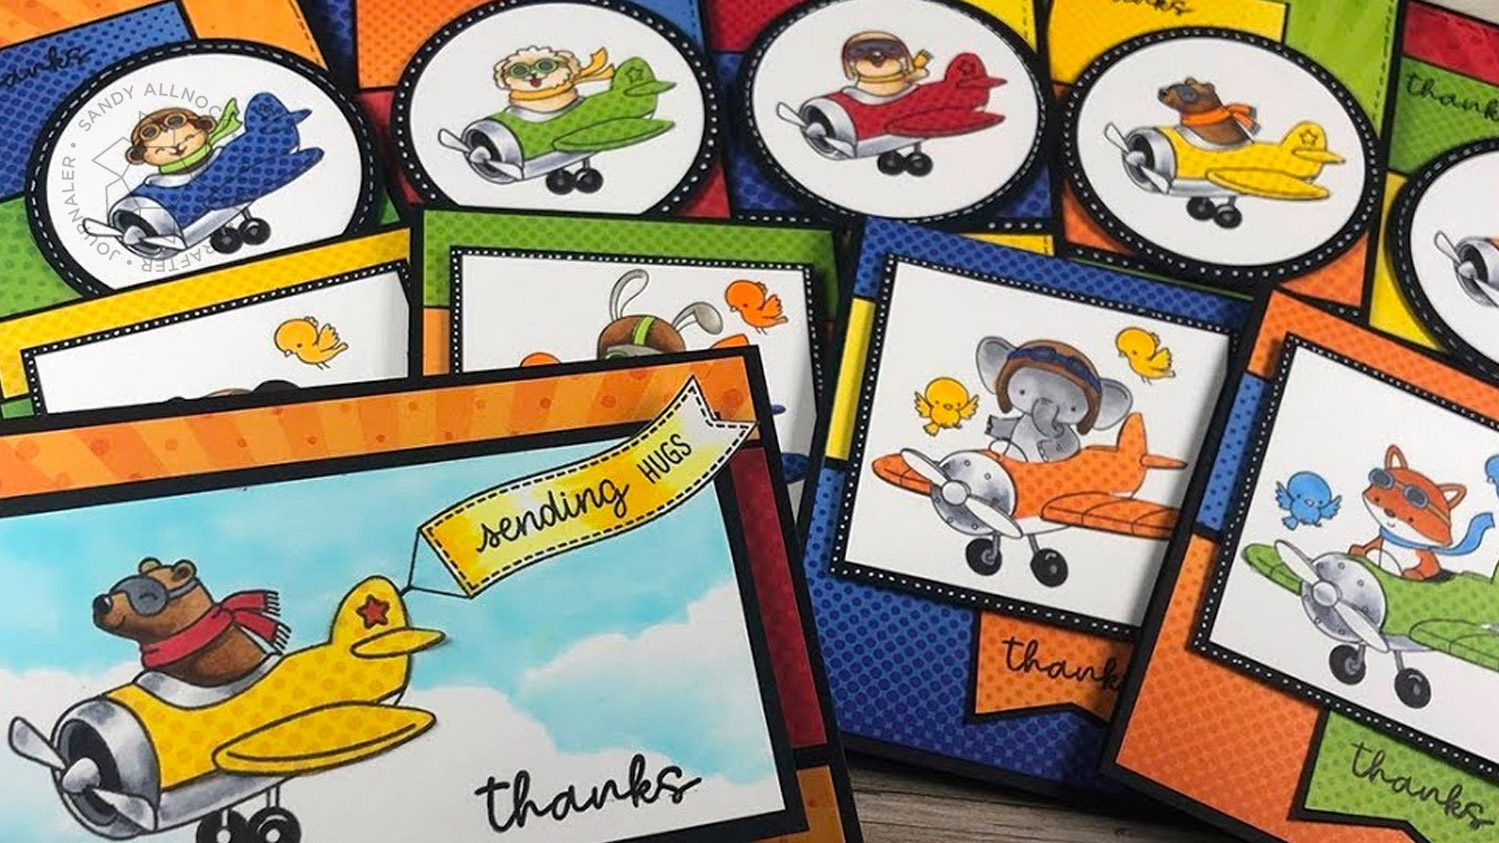
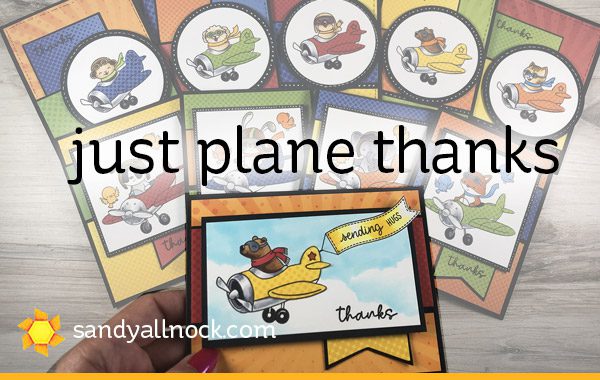
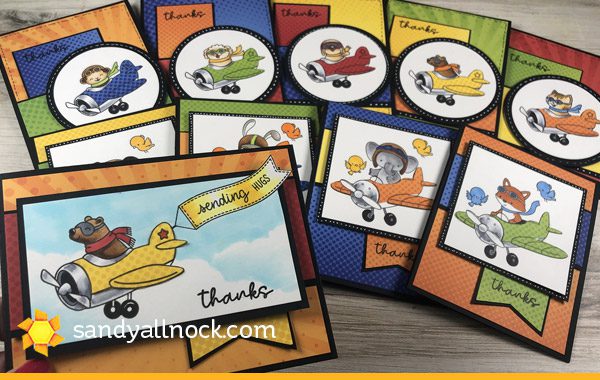
The card theme I send the most of is either thank you or thinking of you (general) types – because I send a TON of cards to my awesome Patrons. I recently sent out about 140, so I completely depleted my thank you stash, so I’m building it back up again for the next big card writing session!
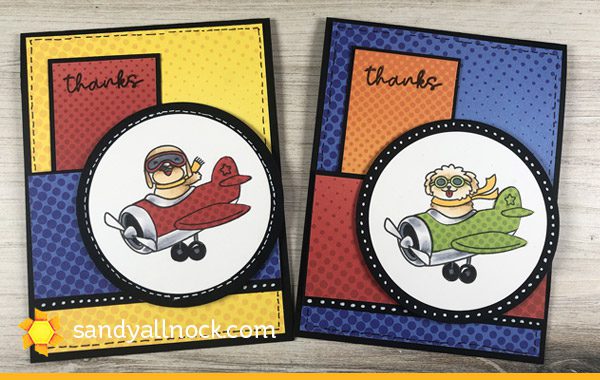
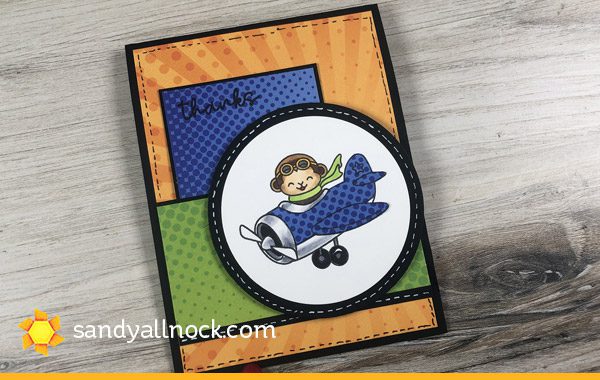
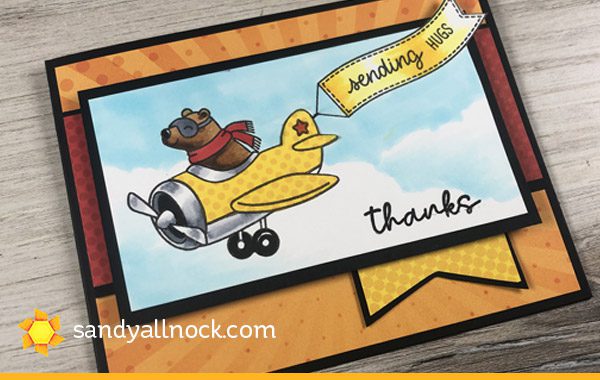
I bought one airplane stamp set. Then saw another I loved. And bought it without realizing I had another one. LOL. I’m sure that I’m the only one it’s happened to! But – please don’t take it to mean that ANY stamp company is copying another. Generally they all are in production for MONTHS before anyone sees what they’re up to. Unless they’re Chinese counterfeiters, it takes reputable companies a LONG time to develop and produce their stamp sets. But given the number of airplane stamp sets from even more companies like Neat & Tangled and Hero Arts….there’s definitely a love in the air for flying vehicles! In today’s video I’ll show you the two I got and what I like about each, and you can pick what means most to you if you need an airplane set.
Some product may be provided by manufacturers for review and use. Compensated affiliate links are here at no cost to you. If you choose to shop using my EH (Ellen Hutson) links, please accept cookies on that site in order to retain the link to my blog, or that compensation does not happen for me. I appreciate your support of my work with your purchases! Full affiliate and product disclosure | My trusted partners in art
Watch the video below or click HERE to see it in HD on YouTube.
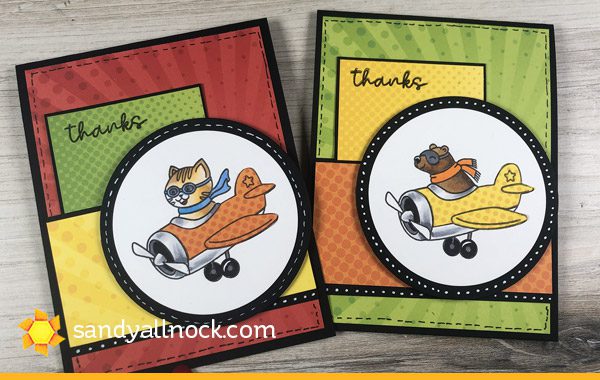
Sketches at Mojo Monday are among my go-to’s that I used to use for my cards…I picked Sketch 511 for this set of cards.
From the Sunny Studios sets, I used the sketch a little more traditionally, only altering the orientation of the rectangle in the top half of the card. The sentiment on these is from the Hello Bluebird set.
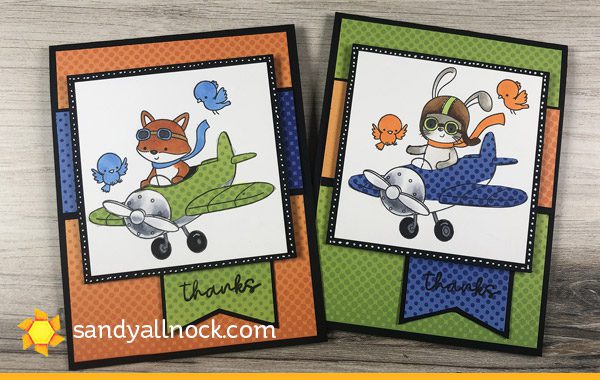
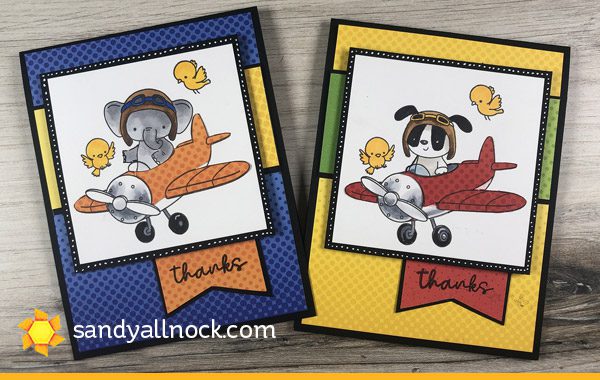
With the Hello Bluebird set, I made the main image a square, and flipped the design so the image was more at the top. The rectangle became a banner, which was a great place to put the sentiment.
This uses the Sunny Studios set too – and I kept elements of the sketch like the dangling banner in my adaptation, and a horizontal panel. I did eliminate the white pen work here too. I had to do some fancy knife work to cut around the flying banner, but you can also just adhere the banner on with glue instead.
Supplies
Some product may be provided by manufacturers for review and use. Compensated affiliate links are here at no cost to you. If you choose to shop using my EH (Ellen Hutson) links, please accept cookies on that site in order to retain the link to my blog, or that compensation does not happen for me. I appreciate your support of my work with your purchases! Full affiliate and product disclosure | My trusted partners in art
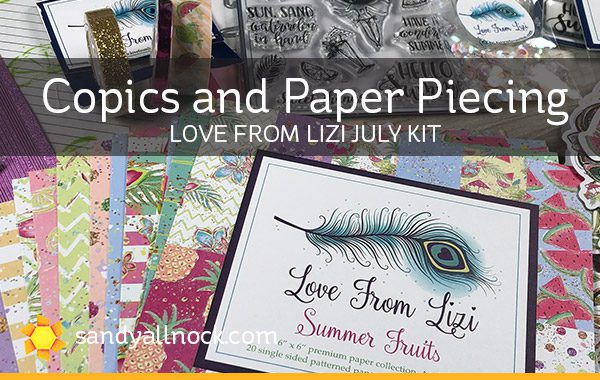
And now…for something completely different! (cue the Monty Python music!) I’m not normally a kit gal. Or a patterned paper gal. Or a sketch gal. Or…well, all I usually do is color. Ha! But my dear friend Kristie is on the design team for Love from Lizi, and asked every so shyly if I’d consider using a Lizi kit sometime. It’s hard to say no to someone as sweet as Kristie!
Lizi sent me the July kit – and if you want to see every item in it in detail (each paper, etc), go watch Kristie’s unboxing video. Mine has a fast overview of the kit, then jumps into my crazy cards!
Some product may be provided by manufacturers for review and use. Compensated affiliate links are here at no cost to you. If you choose to shop using my EH (Ellen Hutson) links, please accept cookies on that site in order to retain the link to my blog, or that compensation does not happen for me. I appreciate your support of my work with your purchases! Full affiliate and product disclosure | My trusted partners in art
Watch the video below or click HERE to see it in HD on YouTube.
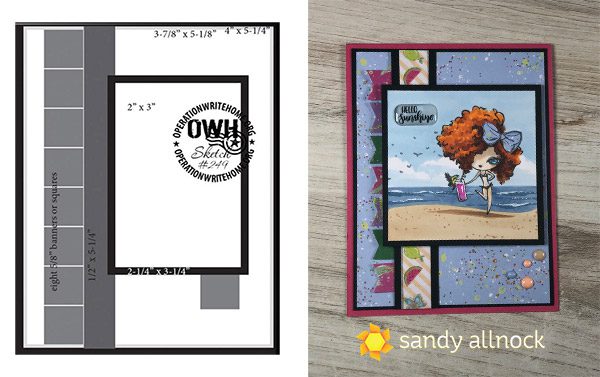
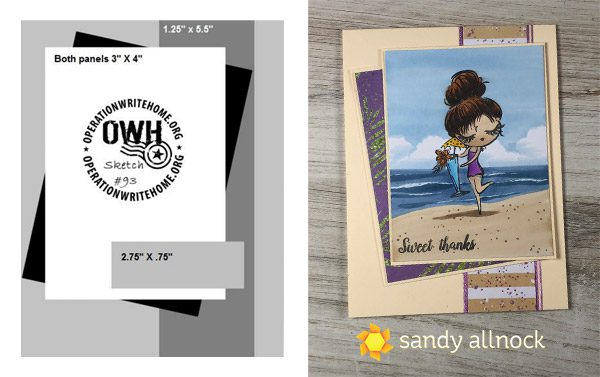
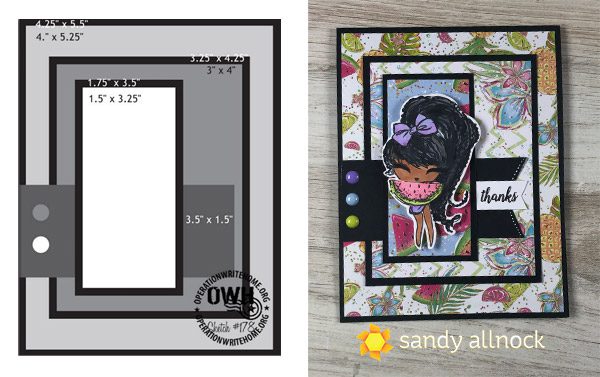
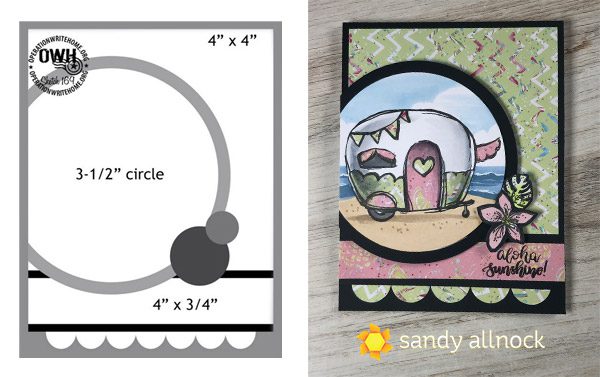
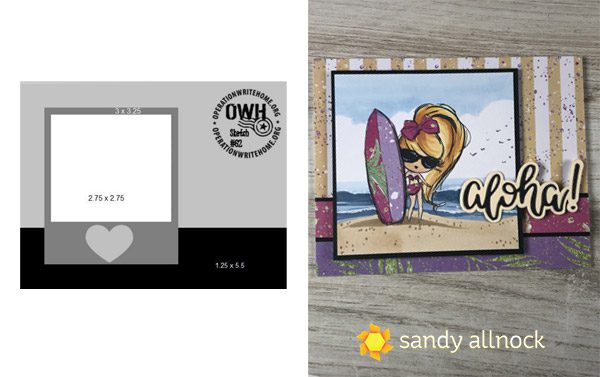
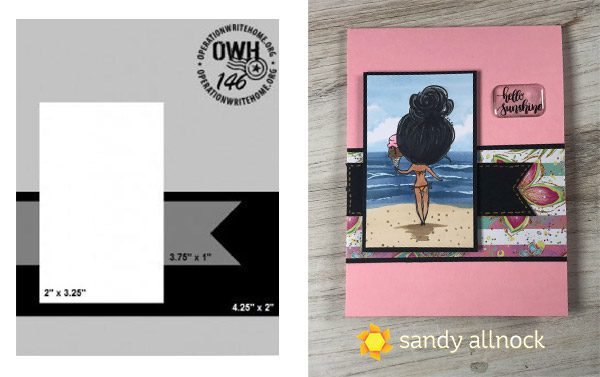
As I said I’ve rarely used patterned paper now for years – but in figuring out “how” to use them, I always liked sketches back in the day. Which reminded me that I hadn’t told folks that I moved the OWH sketches over here to my blog when the website went belly up. (I don’t want to pay hundreds of dollars to keep up the site now that the org is long closed, so figured this would be easier.) So you can see all the sketches in a giant PDF over on this page:
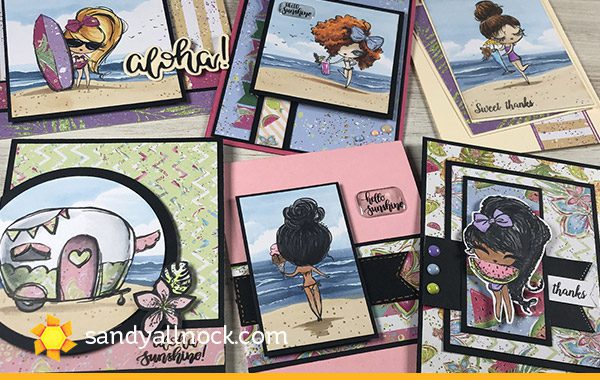
It felt like being back in OWH days to make cards with sketches and paper again like these – kind of a refreshing little crafty vacation!
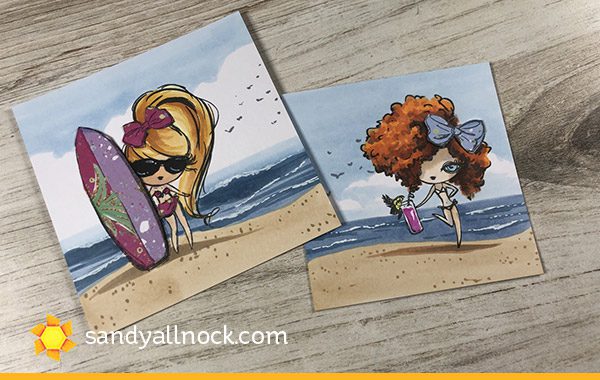
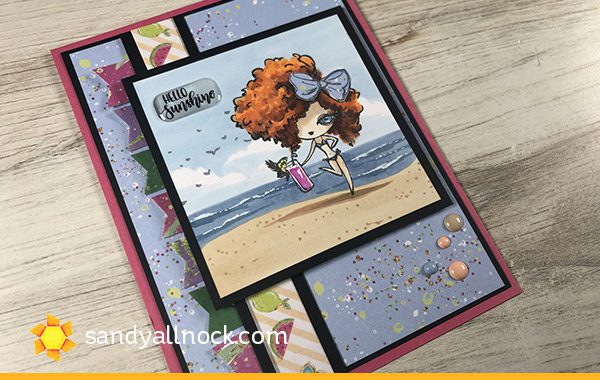
The images were all colored with the same basic scene – sand at the bottom (E31 and maybe E33 or E35 for darks), water (B45 and B97 with white pen) and sky (B41 to be a duller color to match the papers).
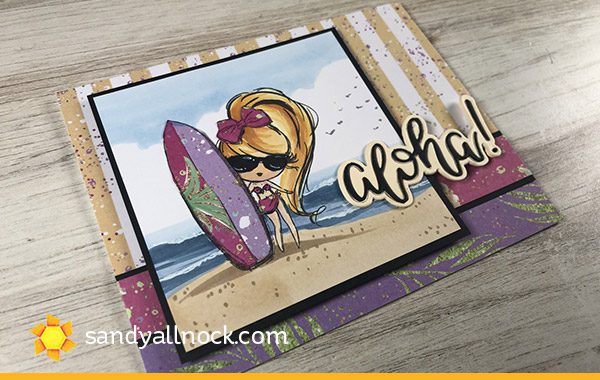
Curly girl…..her bow is pieced from the same paper as I used in the background, and the little “banner” in the bottom right was replaced with a loose collection of epoxy dots. The image panel is larger than was on the sketch, too.
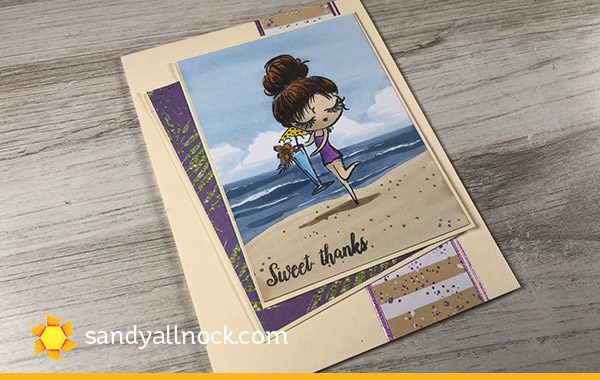
The camera ate my coloring footage – lol – but I stamped her drink FIRST then stamped her, masking out that umbrella with a sticky note. I flipped the angle on the kittywompus panel, and I actually layered the patterned paper AND image with the same color as the card base. The purple strips match her little swimsuit, and are an easy addition since they’re peel off stickers.
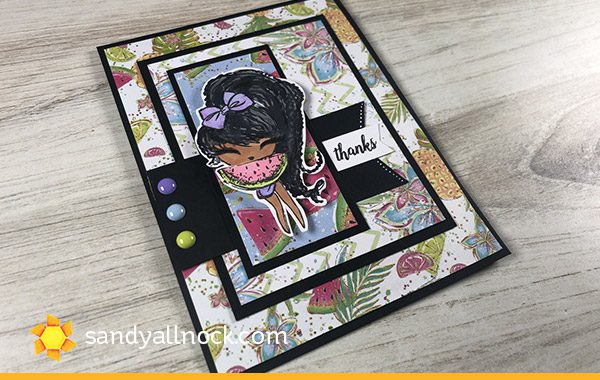
I debated whether this gal needed the long tall panel beneath her – but the patterned paper in the mid panel was SO busy I needed to pick something with less contrast between its colors so she’d pop out. Otherwise she got lost in all that little detail in the patterns.
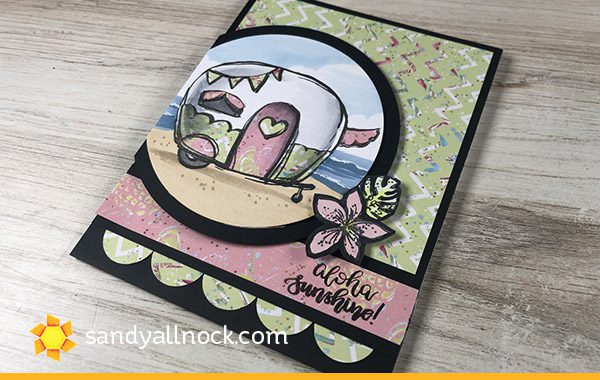
I adhered the patterned papers to the stamped image BEFORE coloring it with the greys – which makes it look like it’s all dimensional. You did know you can color right over patterned paper, right? Whee! The little flower and leaf had white outlines when I had cut them out, but I decided they needed heavy black outlines to coordinate with the strength of contrast in the rest of the card. And that little scalloped border is actually five punched circles of patterned paper!
I did paper piecing on her bow, swimsuit, and surfboard….I added a strip across the middle because I wanted to use the last scrap of pink paper, but since I didn’t have a single long strip, there’s just one part sticking out of the left and one from the right – no one but you knows about my little cheat, so don’t tell anyone!
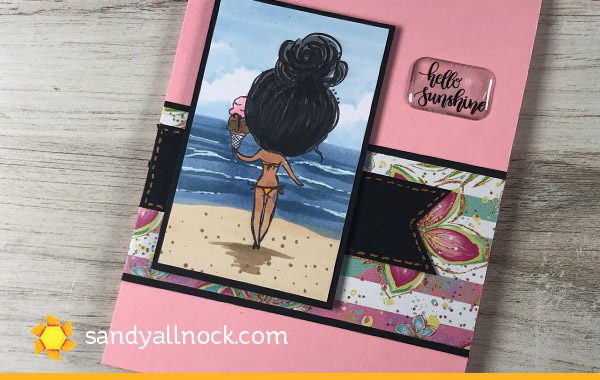
Last but not least – this one had footage that disappeared entirely. Yeah, gremlins haunted me after returning from my trip! I picked a simpler sketch so I could use this pretty pink cardstock from the kit.
Supplies
Some product may be provided by manufacturers for review and use. Compensated affiliate links are here at no cost to you. If you choose to shop using my EH (Ellen Hutson) links, please accept cookies on that site in order to retain the link to my blog, or that compensation does not happen for me. I appreciate your support of my work with your purchases! Full affiliate and product disclosure | My trusted partners in art
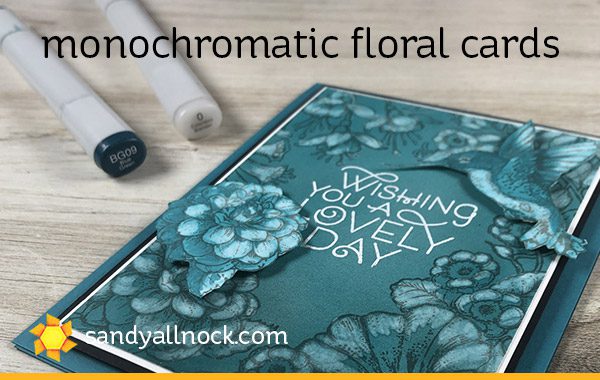
I love love love realistic flowers! I got out my airbrush – and some watercolor! – for three monochromatic cards….one color plus black and white.I elaborated a little on details I didn’t describe much in the voiceover . . . scroll below to see more info.
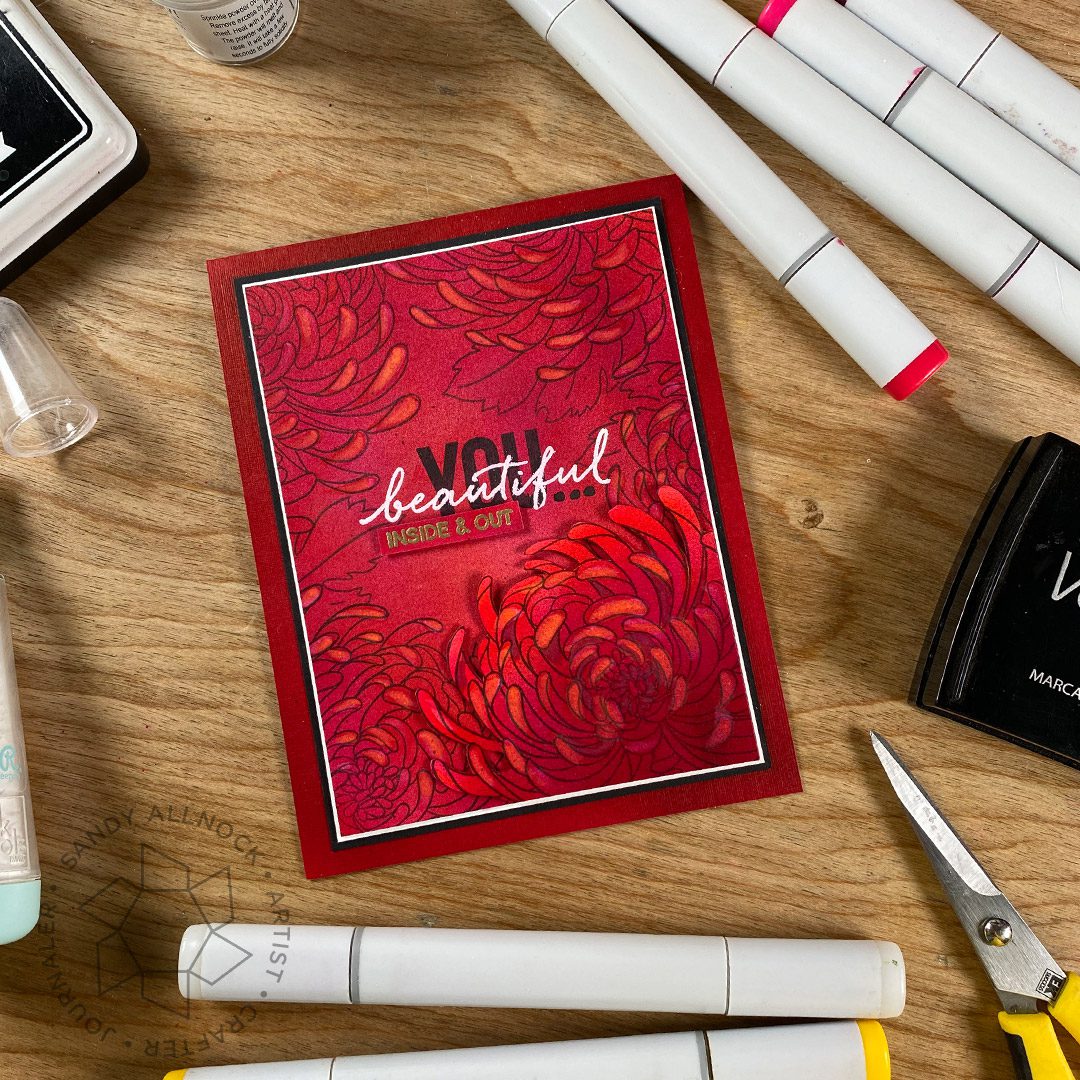
2021 NOTE: These stamps in the video are no longer available but you can use any of your flower stamps to make something similar. I made the red one below with Mondo Chrysanthemum, and you can see a quick video of it on Instagram or Facebook today, April 29 2021.
Video
Watch the video below or click HERE to see it in HD on YouTube.
If you’re interested in the basics of Copic Airbrush (what to buy and what it does), see THIS POST.
As seen in the video:
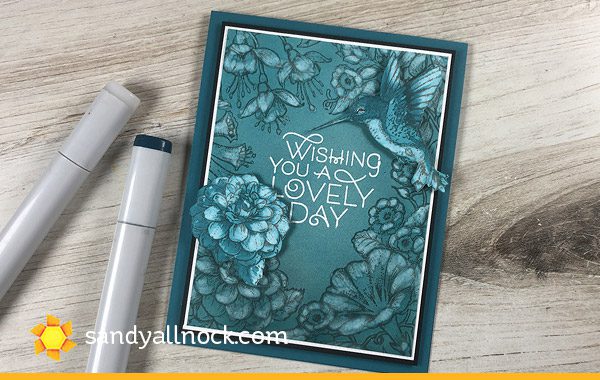
Stamp flowers around the border, and some embellishment flowers and birds too.
Airbrush (or ink) background and flower and hummingbird. I used the Craft Assistant (the black metal plate – super easy to clean!), and Copic Airbrush Kit, ABS-3 with BG09.
Use Colorless blender to remove ink from highlight areas. Or get out a white pencil to add highglights. If needed add a little darker color too – but I don’t think doing that here improved things. Ha.
Adhere panel to layers as desired, and pop with Foam Tape
Trim flower and bird out, then adhere with more foam tape.
Follow the same procedure as the last card but with addition of a color like a green in some areas.
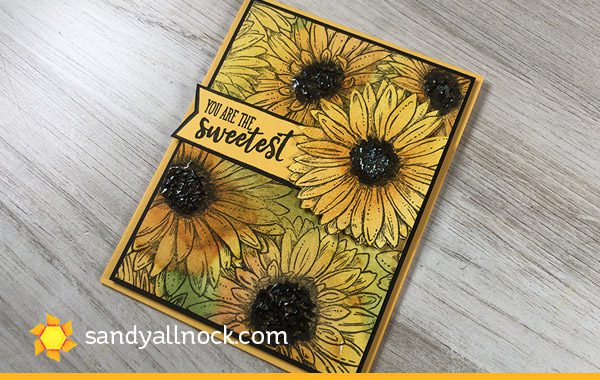
Watercolor cards with backgrounds like this are so fun – just splooge on Nickel Azo, New Gamboge and Aussie Red Gold with a little Sap Green. When dry darken centers with Neutral Tint. Stamp again and do the same for one flower, that will be trimmed out and popped with dimensional adhesive. For the centers, I added Glossy Accentsand (gasp) Glitter!
Supplies
Some product may be provided by manufacturers for review and use. Compensated affiliate links are here at no cost to you. If you choose to shop using my EH (Ellen Hutson) links, please accept cookies on that site in order to retain the link to my blog, or that compensation does not happen for me. I appreciate your support of my work with your purchases! Full affiliate and product disclosure | My trusted partners in art
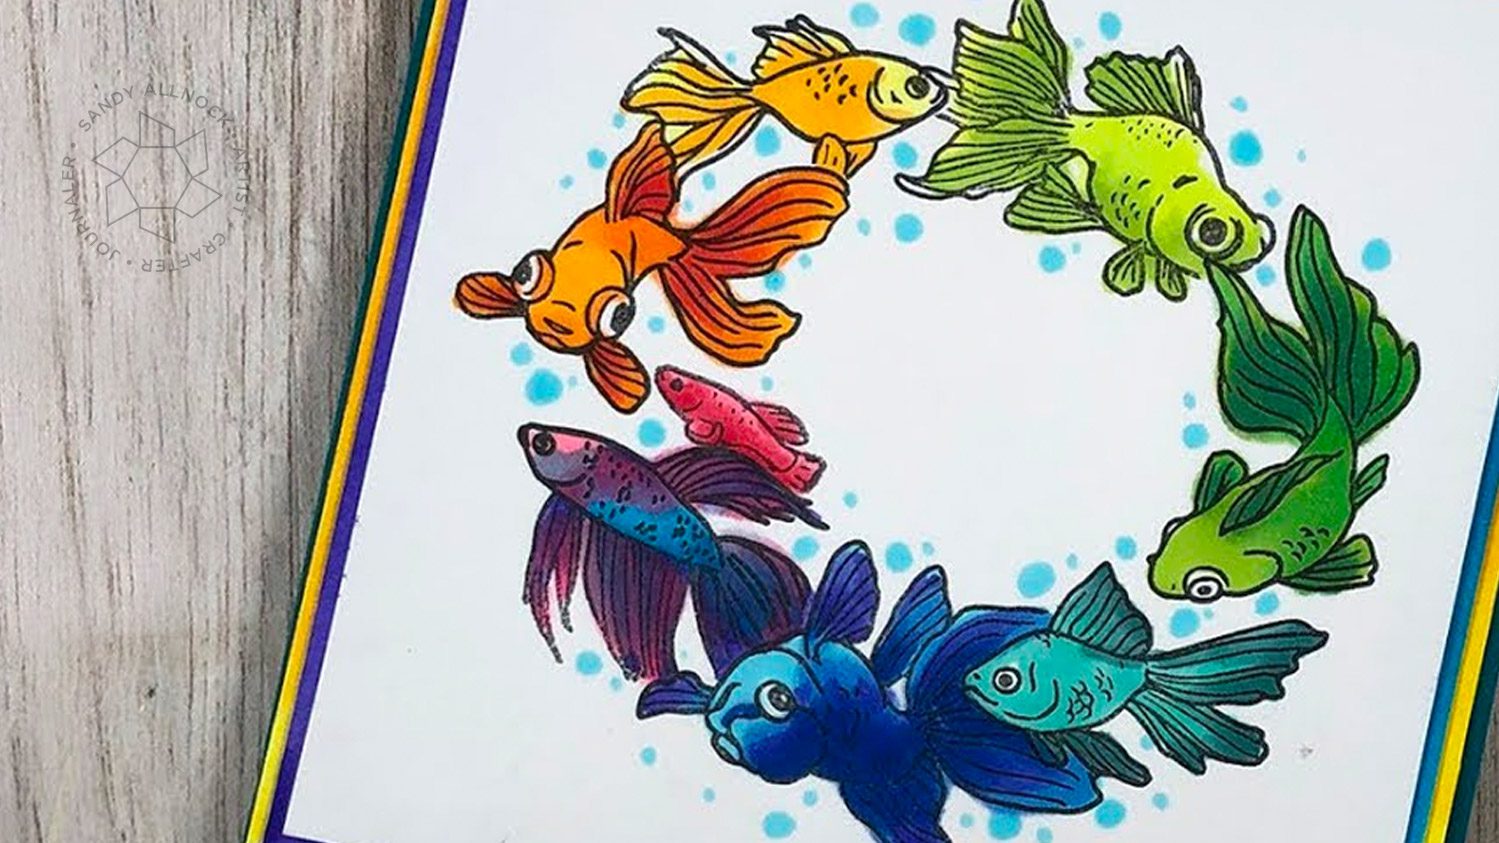
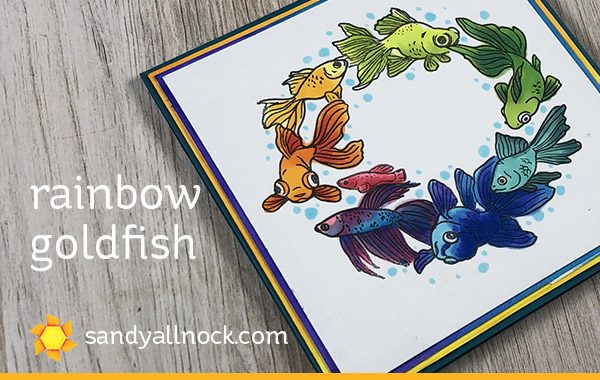
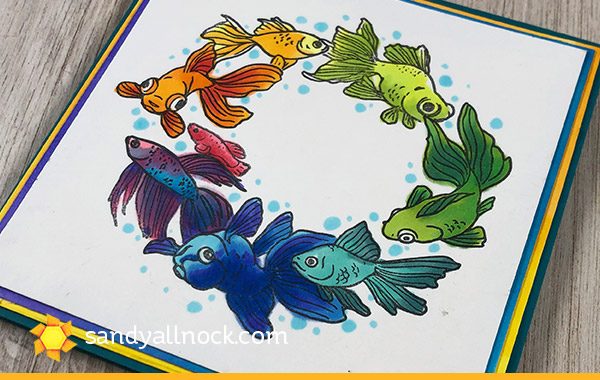
These little Pet Goldfish hopped into my cart a while back, as I was planning the Underwater Scenes classes (now in pencil and watercolor as well as copic!) – but they sat there because, well, they’re domesticated and those scenes are in the wild! ha. I know, I could put goldfish in the sea but….I worried about them getting acclimated to being outdoors again! #yesimweird So instead – they’re just swimming in a circle. Some upside down. Some might not even BE goldfish. I’ll let you decide!
Supplies for this project are linked at the end of this post. Compensated affiliate links may be used at no cost to you.
For the colors I just picked a rainbow’s worth. If you’ve taken Copic Jumpstart just pull out whatever colors you used on that color wheel and match it up! (You can do this card with watercolors or pencils too!)
Not into fish? Try something with a circular rainbow of flowers. Or tropical birds. Or anything at all!
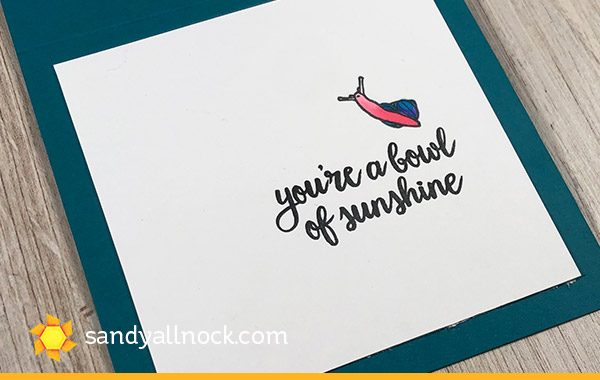
I put a little treat inside the card too – a snail crawling up the side of the goldfish bowl!
Supplies
Some product may be provided by manufacturers for review and use. Compensated affiliate links are here at no cost to you. If you choose to shop using my EH (Ellen Hutson) links, please accept cookies on that site in order to retain the link to my blog, or that compensation does not happen for me. I appreciate your support of my work with your purchases! Full affiliate and product disclosure | My trusted partners in art
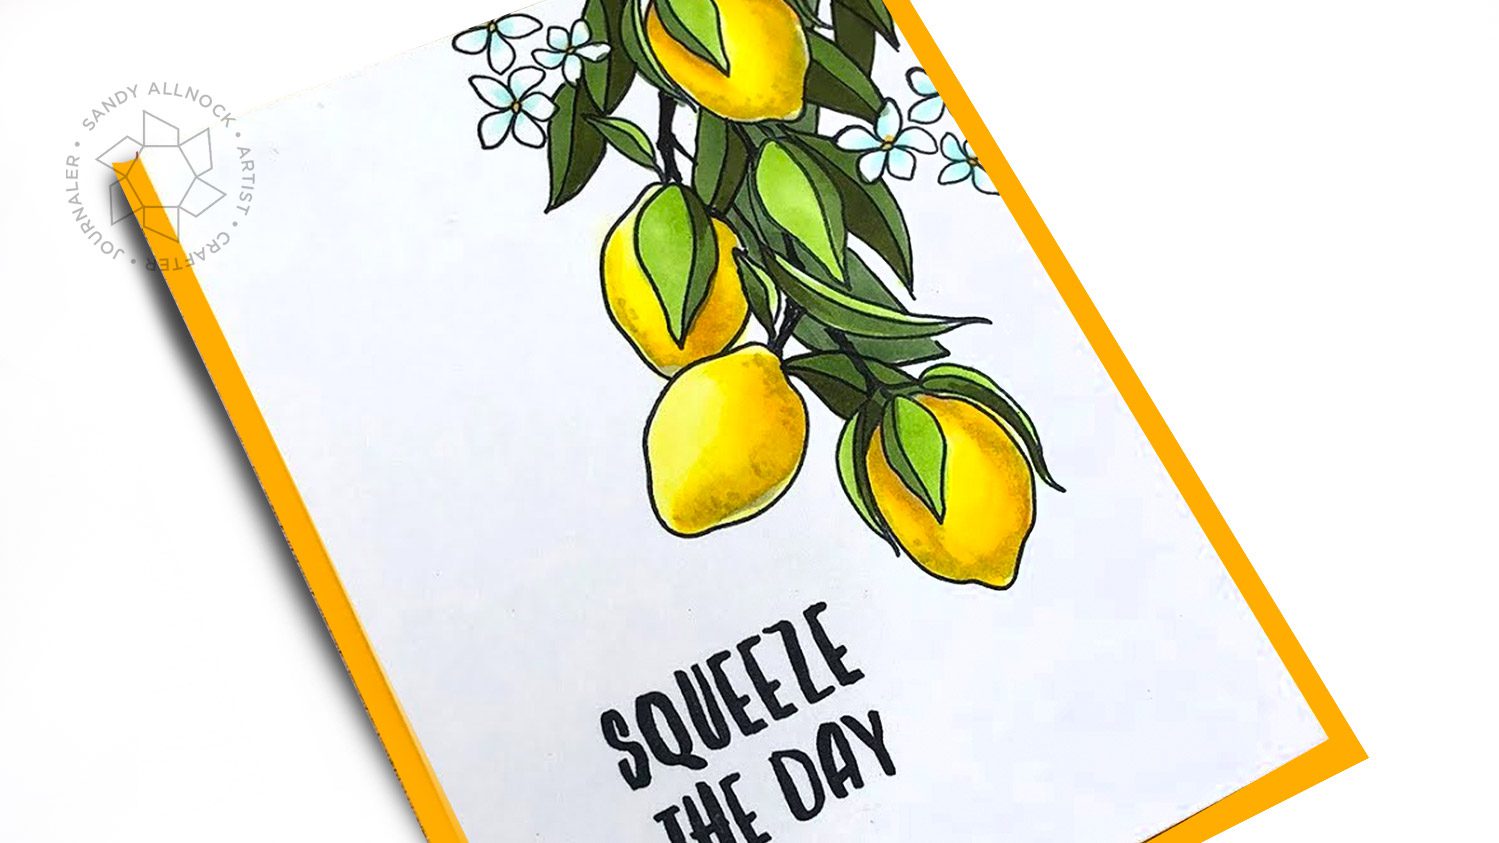
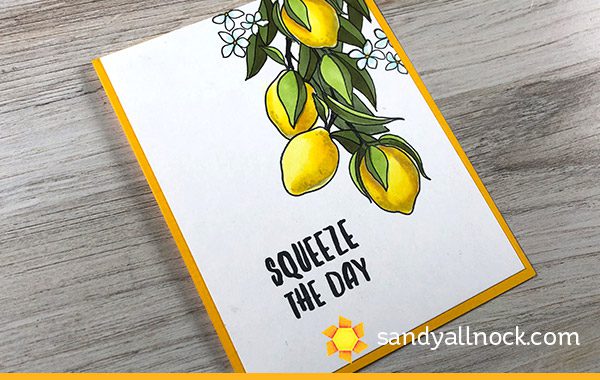
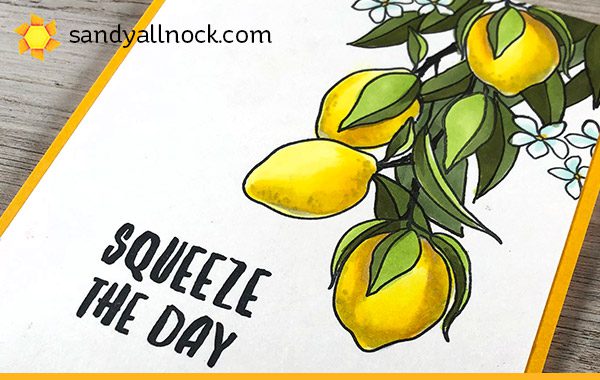
It’s time for a new release from Ellen Hutson – and the stamp set I decided to use for the video is Squeeze The Day! I created a little cascade of lemons so it looks like the branch of a lemon tree; change it to greens and it can be a lime tree!
Supplies for this project are linked at the end of this post. Compensated affiliate links may be used at no cost to you.
Some of the leaves are stamped – the rest drawn in. But if the pen work scares you, then instead draw them with markers, and do the pen work after the coloring is all done.
Colors I used for my lemon tree…
The dots of BV00 really add to the lemon skin texture!
Supplies
Some product may be provided by manufacturers for review and use. Compensated affiliate links are here at no cost to you. If you choose to shop using my EH (Ellen Hutson) links, please accept cookies on that site in order to retain the link to my blog, or that compensation does not happen for me. I appreciate your support of my work with your purchases! Full affiliate and product disclosure | My trusted partners in art