Copic Acrea Paint Markers – for stampers

Copic Acrea Paint Markers – for stampers

I’m back with more on these Copic Acrea Paint Markers! I wanted to test out how they’ll work atop the various mediums we use, and selected some images that are already done (they’re from some of my classes) to try it out.
Testing: Copic Acrea Paint Markers – are these for stampers?

Watch the video below and scroll to the end to leave comments or questions — or click HERE to watch it on YouTube and leave comments over there. I read both dutifully!

SUPPLIES

Some product may be provided by manufacturers for review and use. Compensated affiliate links are here at no cost to you. I appreciate your support of my work with your purchases! Full affiliate and product disclosure | My trusted partners in art

COPIC ACREA PAINT PENS

  1. Copic Acrea Paint Markers (Essentials and Deep are shown in video)

COLORED PENCIL WITH PENGUIN

  1. Winter Wonderland Class
  2. Sunny Studio Roly Poly Penguins stamps 
  3. Faber Castell Polychromos Colored Pencils
    BLICK   
    AMZ 
    JACKSONS 
  4. PhMartins Bleed Proof White 

WATERCOLOR WITH BEAR

  1. Galactic Watercolor Class
  2. MFT Polar Pals stamps
  3. Daniel Smith Watercolor
  4. Winsor & Newton Zinc White Gouache 37ml 

ALCOHOL MARKER WITH DOGS

  1. Holiday Interiors Class
  2. Colorado Craft Company Best in Me stamps 
  3. Copic markers 
  4. Memento Tuxedo Black ink 

Colored Pencil

This background is from the Winter Wonderland class – since I had it done in a sketchbook I just added the penguin! Which of course means now I could use this one for a card if I run short this Christmas, yay!
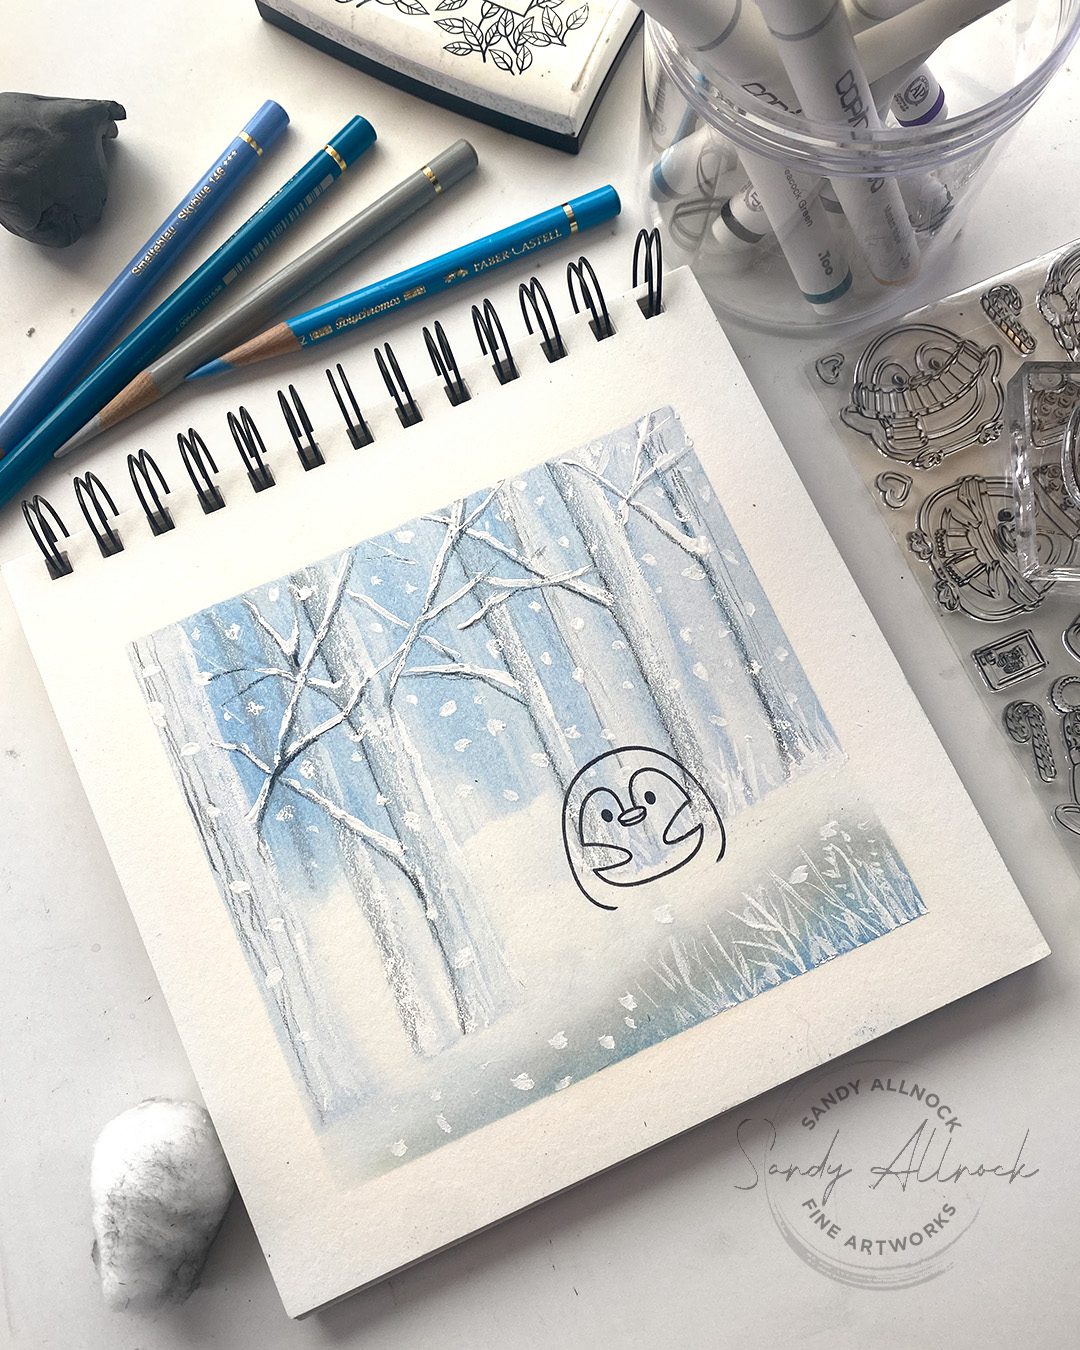
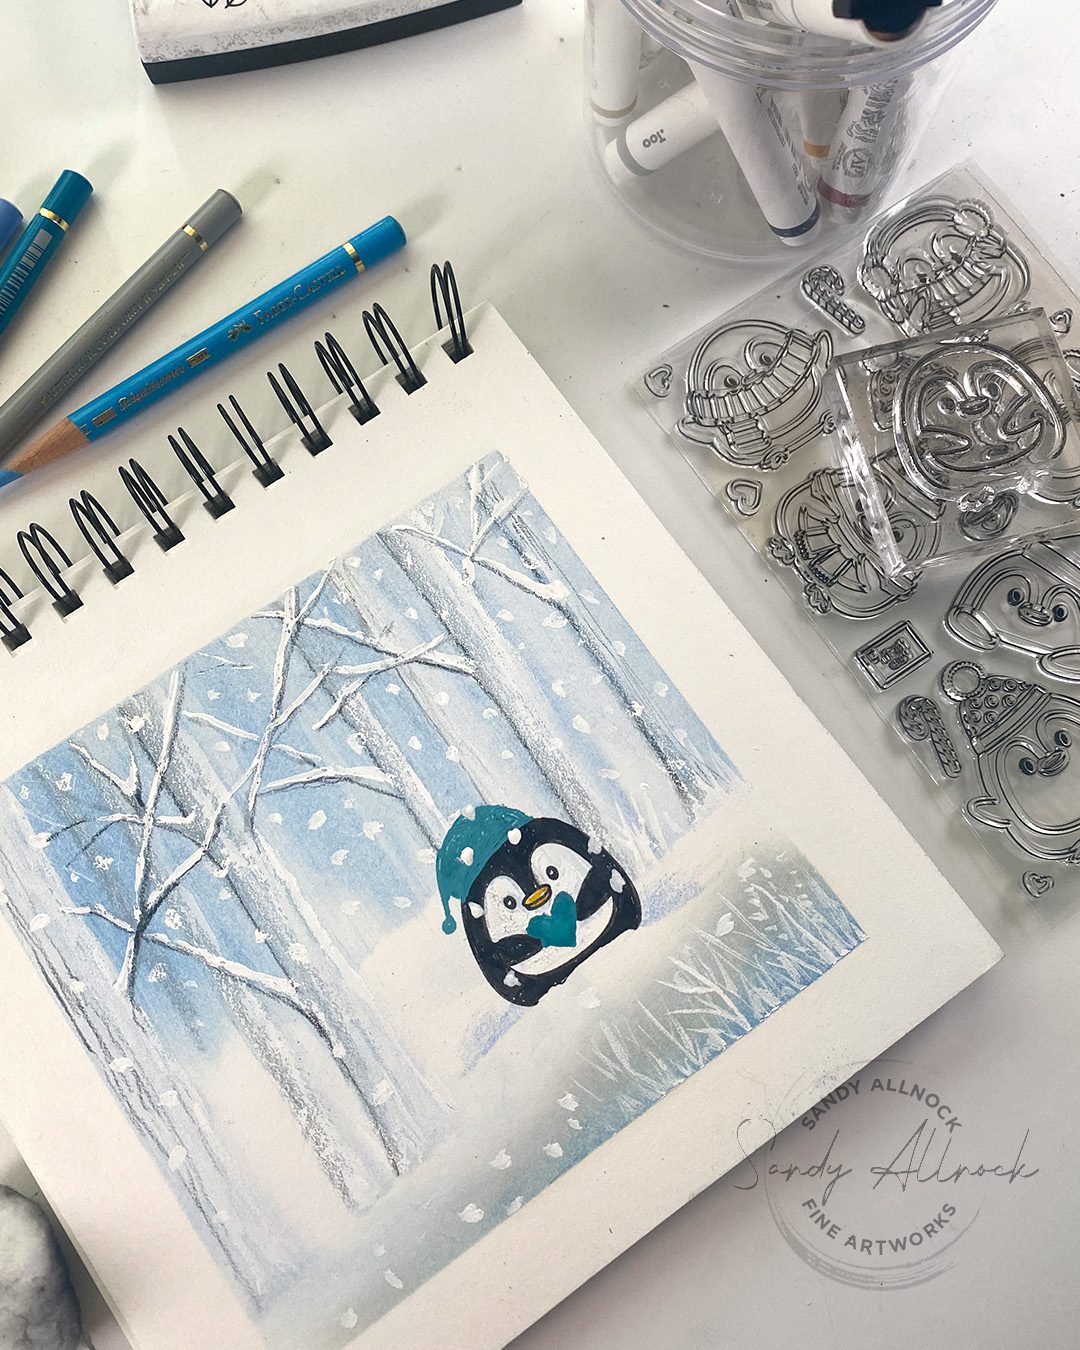
WINTER WONDERLAND CLASS

Watercolor

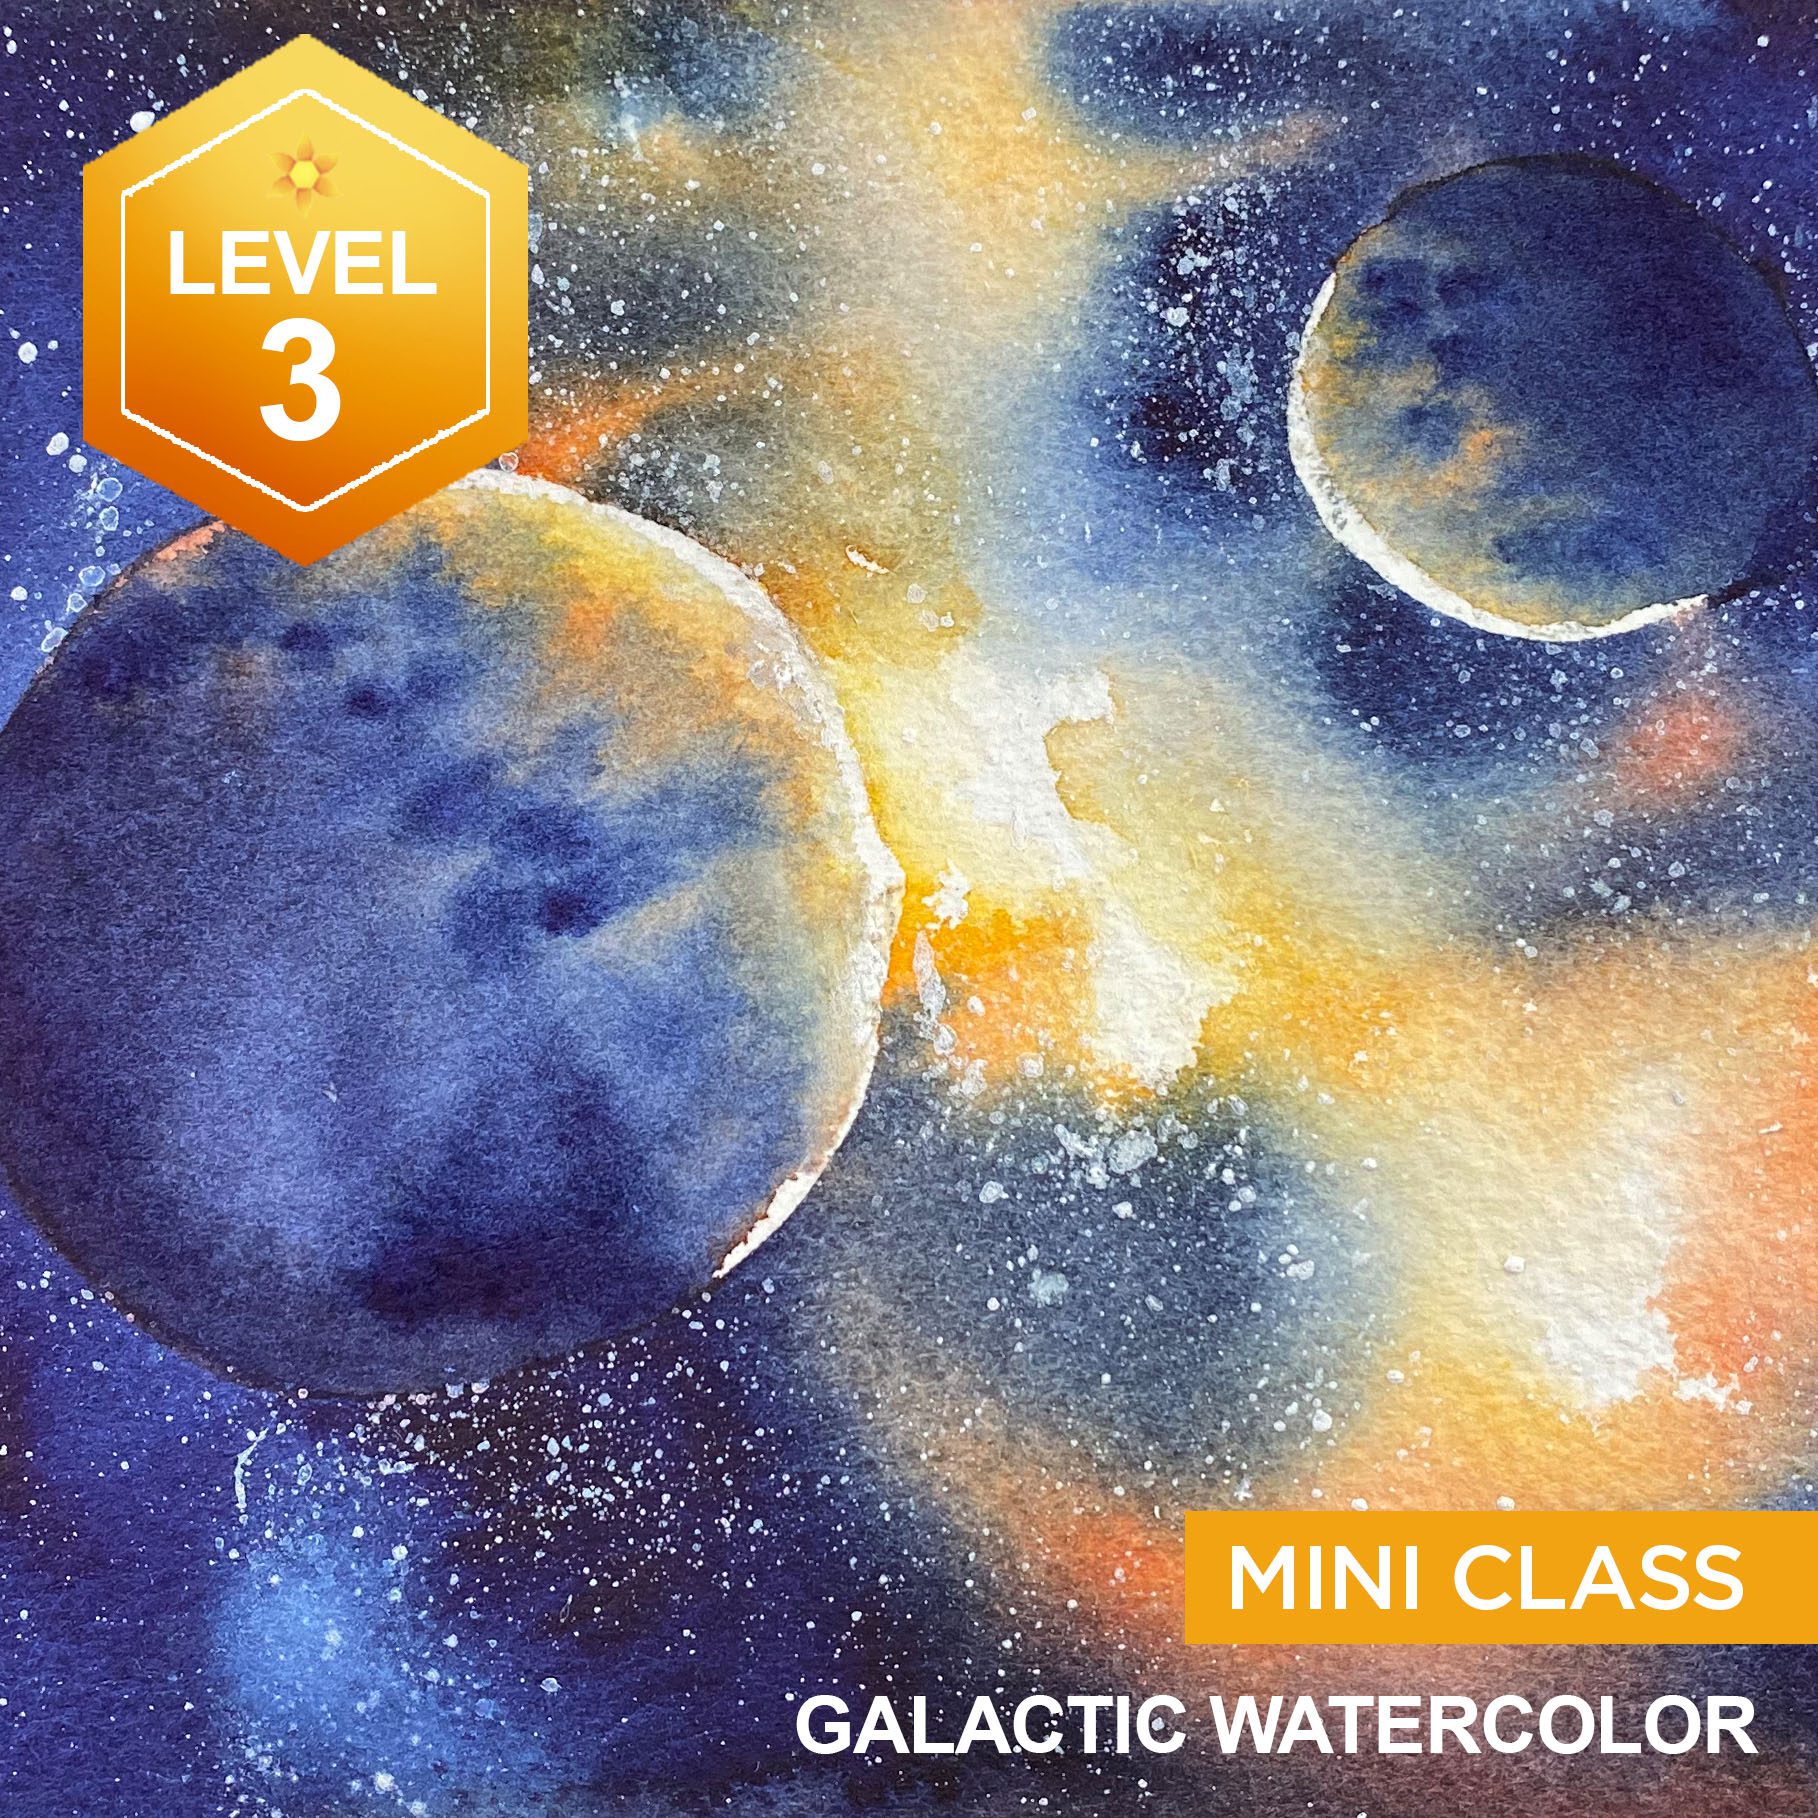
For some reason I wanted to paint some more galaxies….I have an idea for a holiday gift but got to get back into practice. So I created the background in a similar technique to those in this class. With my favorite all time bear stamp!
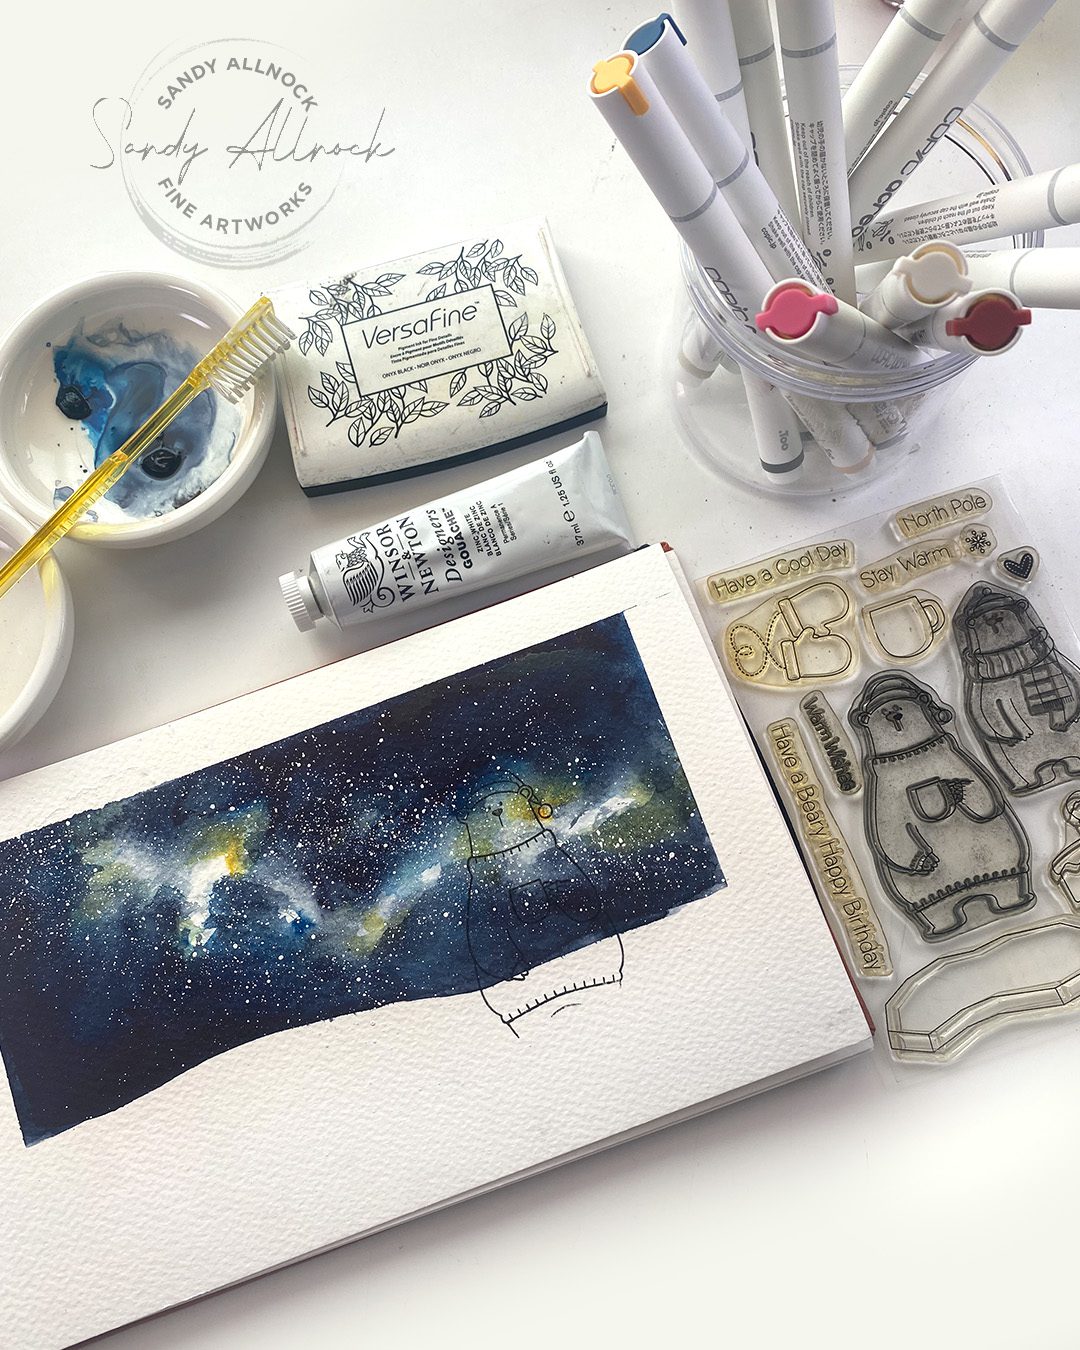
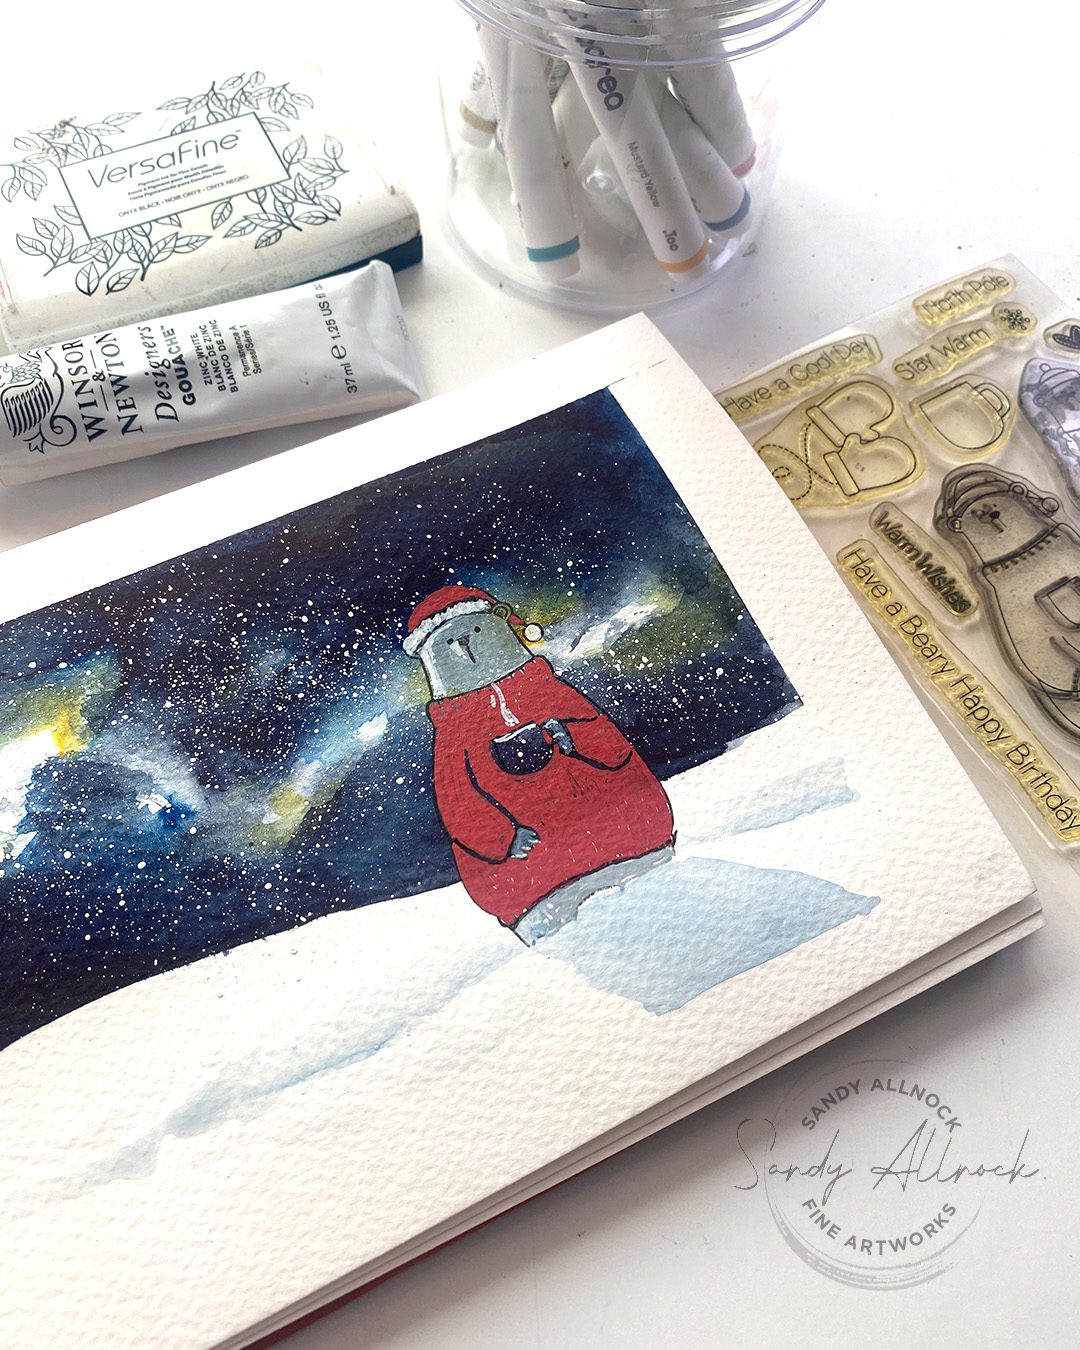
GALACTIC WATERCOLOR CLASS

Subscribe to receive blog posts by email:

Alcohol Marker

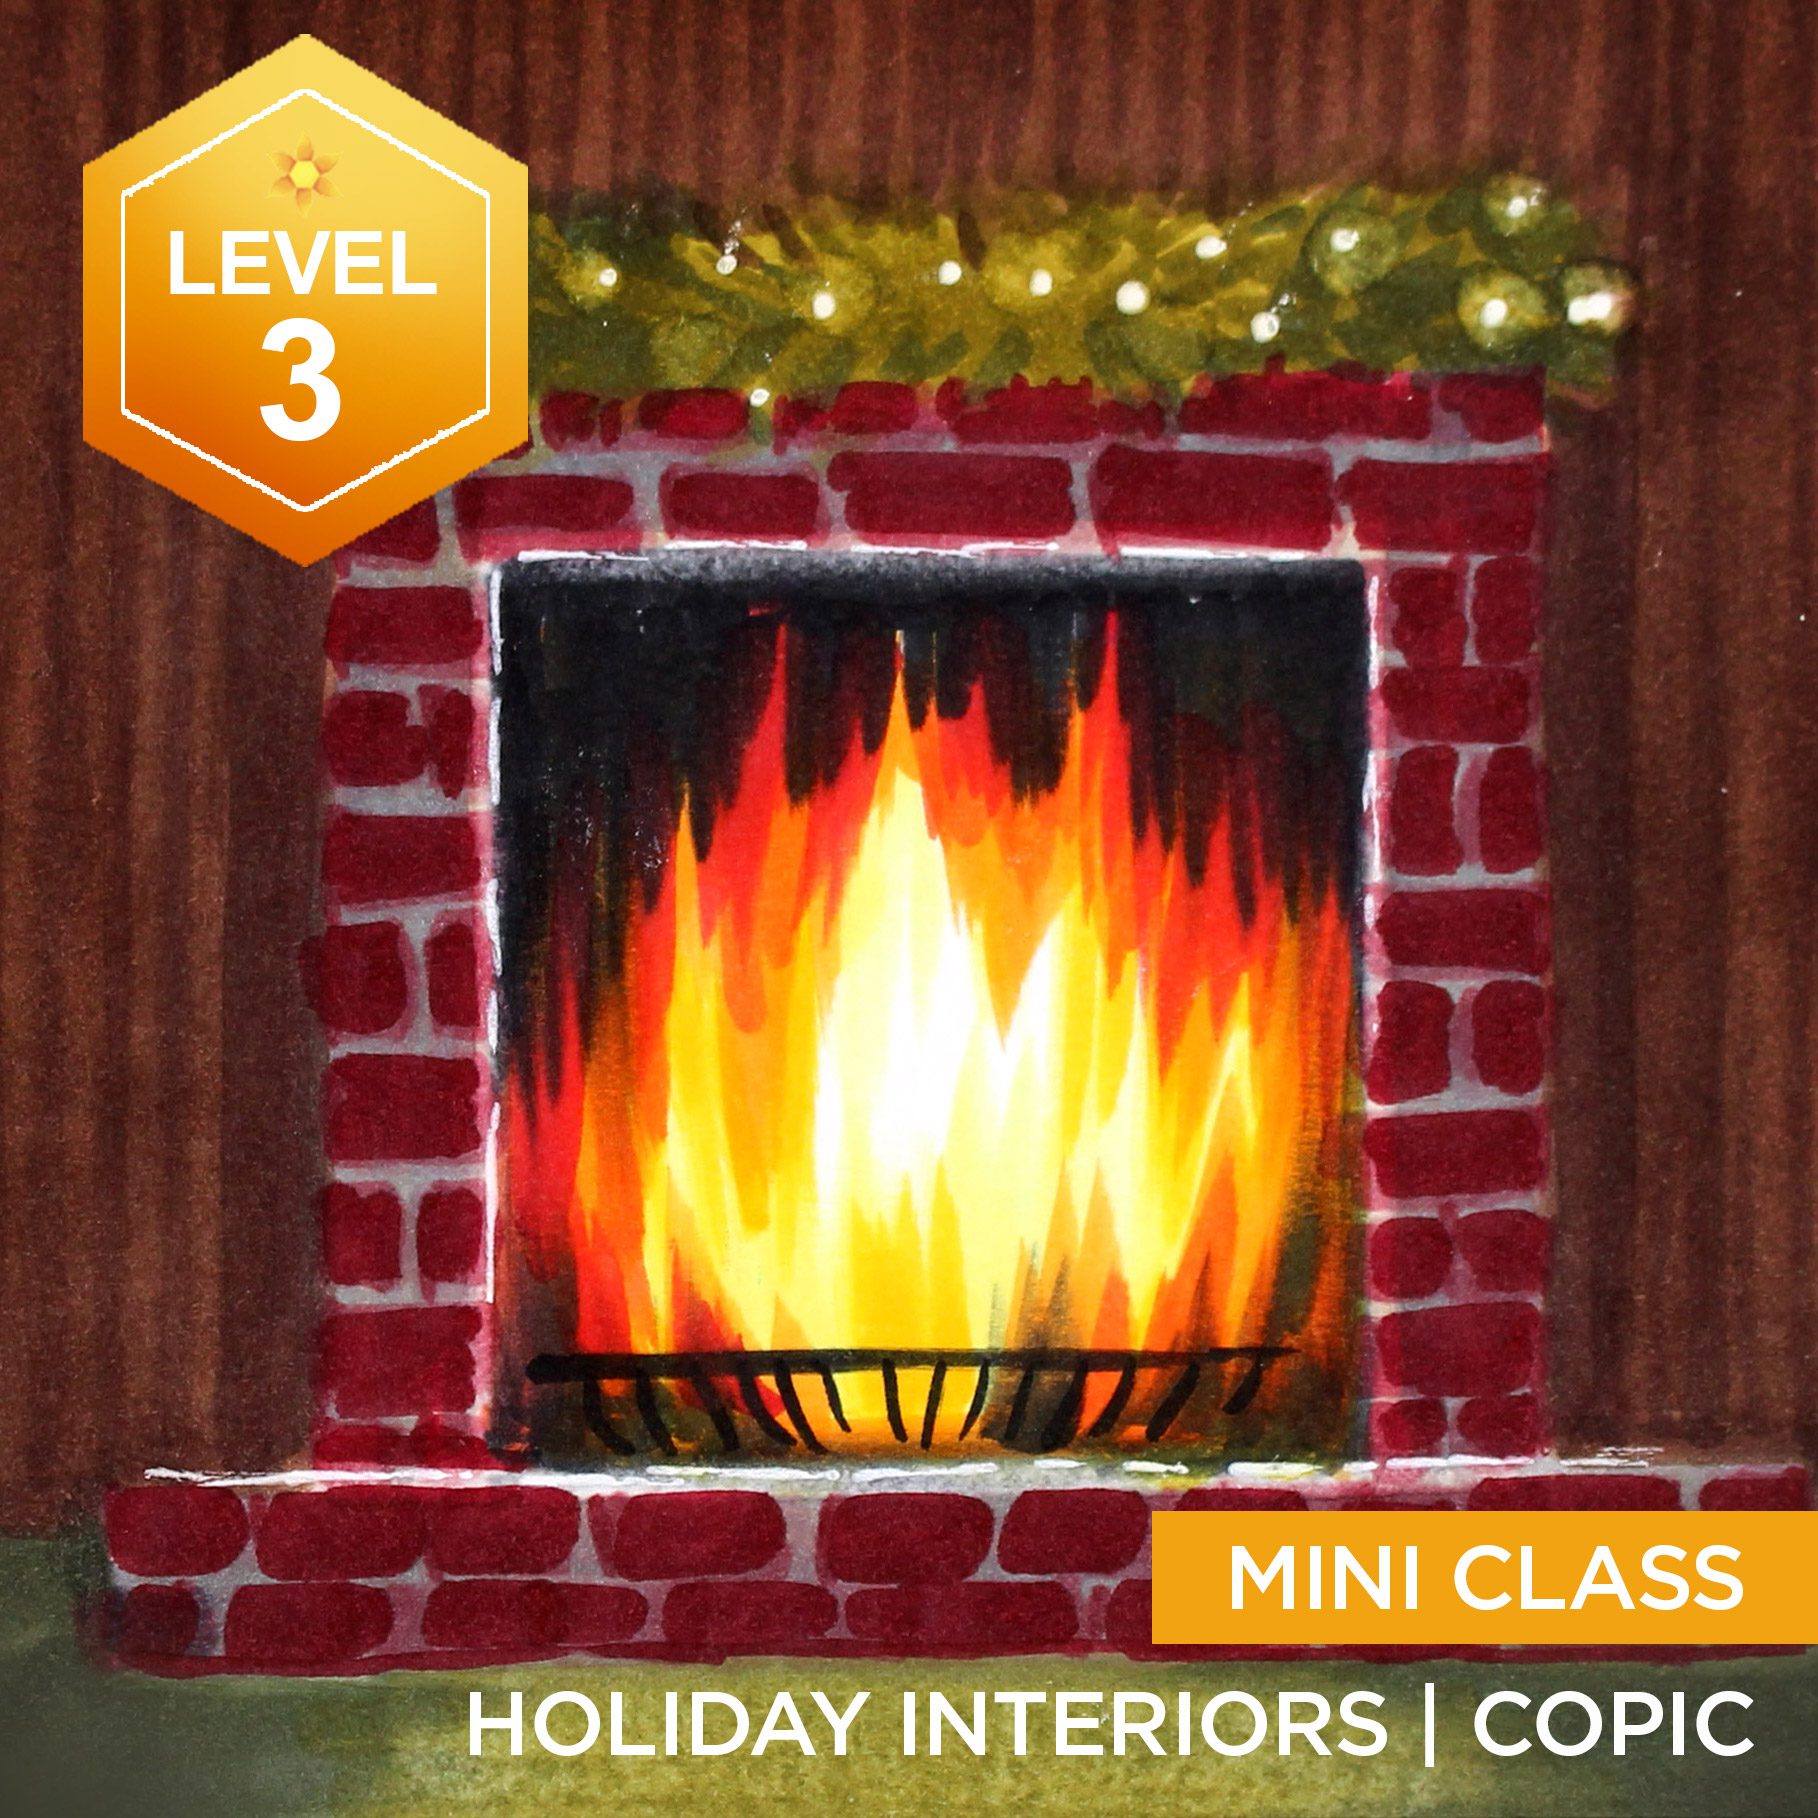
I think these work best over Copic, just because it’s a nice flat paper without much drag or absorption ilke the Stonehenge paper and watercolor paper have.
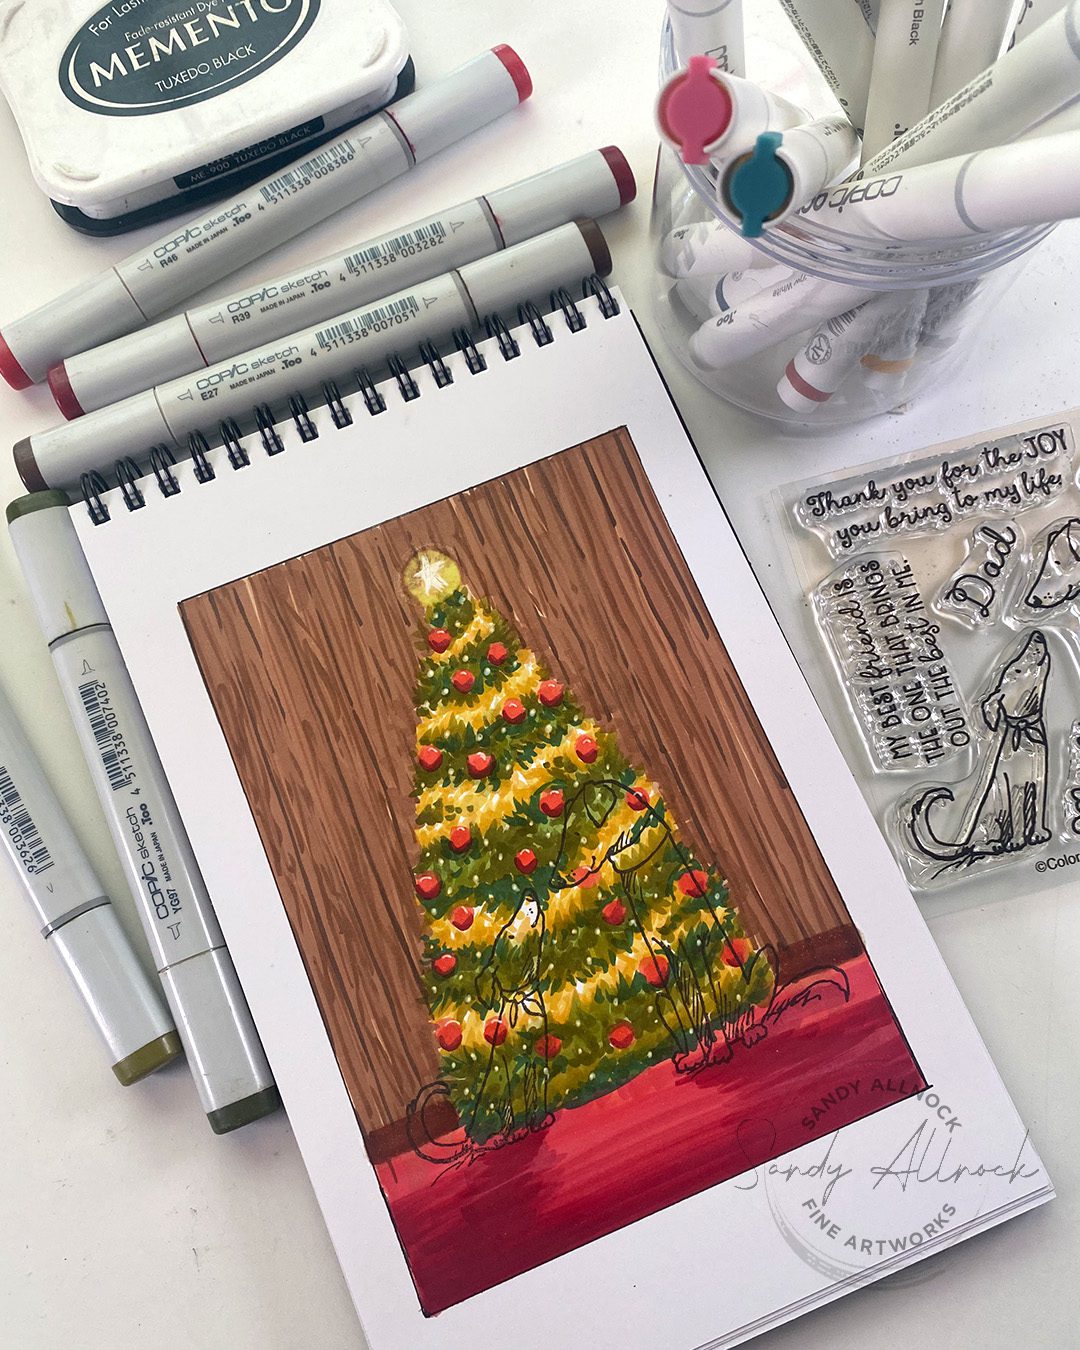
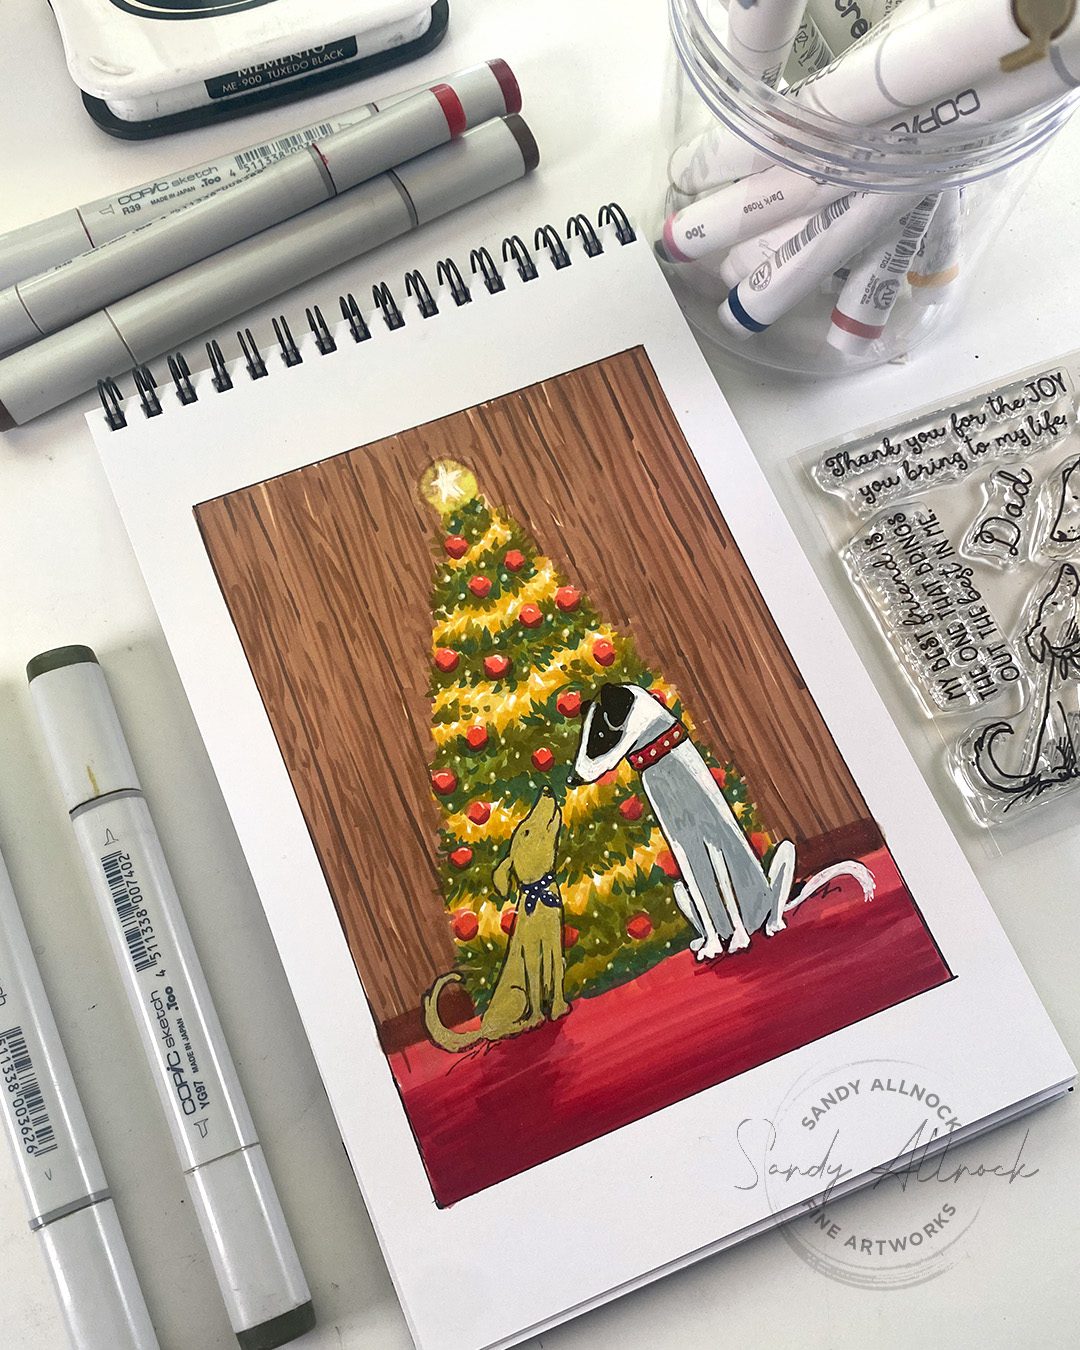
HOLIDAY INTERIORS CLASS

My take on these pens

I don’t know that I’ll invest in the other sets to get some more colors; however for those who feel a stamped image IS needed for a card, I think these are helpful. A few notes:

  1. These will definitely work to stamp on top of your class homework
  2. Practice getting better than me at getting a smoother coat of paint out of the pens. I can still see my stripey marker lines and it bugs me!
  3. Don’t feel like you “need” a realistic stamped image on a realistic scene. If the Christmas tree is believeable, the stamped characters can just sit in front of it. Think of all those animated characters who walk around in a human world – somehow people just make something believable about it in their brains.
  4. Be prepared to shake these pens often. Even when it seems like it’s flowing, it’ll stop occasionally. I kept pressing down to get the nib to release more, but shaking seems to work better.
  5. I checked these pieces a week later to see if color seeped through after time settling – and everything is still the same color as the day I used them.

So that’s my assessment….I think they’re going to end up in my gift guide coming out in a week. If  you want the Essentials set, the one with black, white, silver, gold, grey, and brown – you might nab it this week. No clue what they have in stock. 

Attention Doodlers

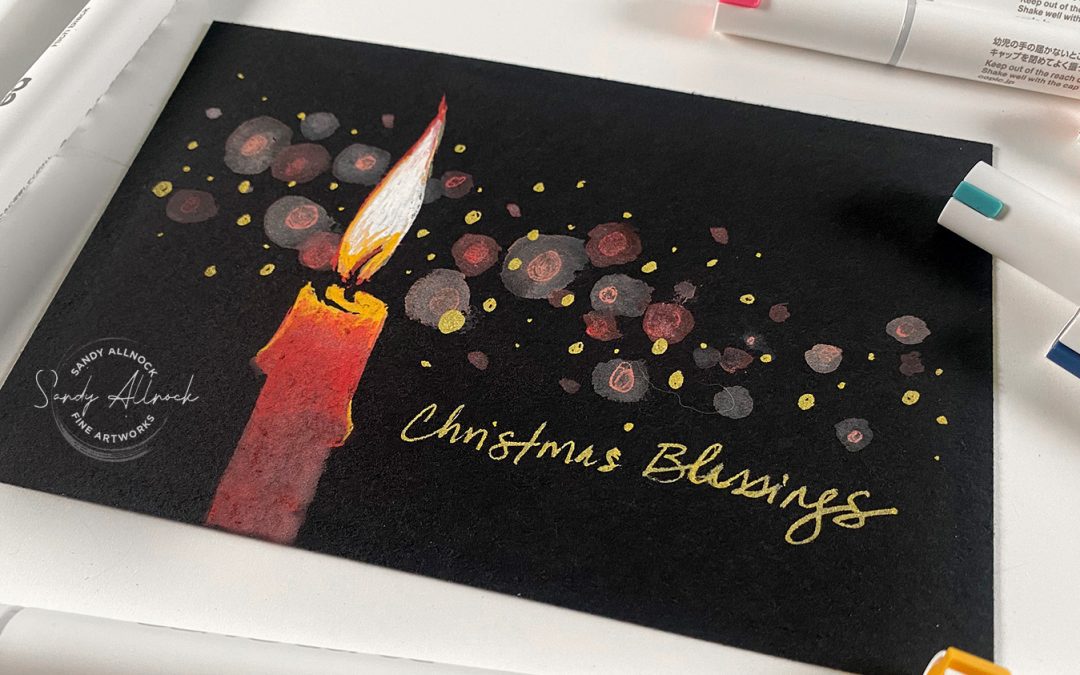
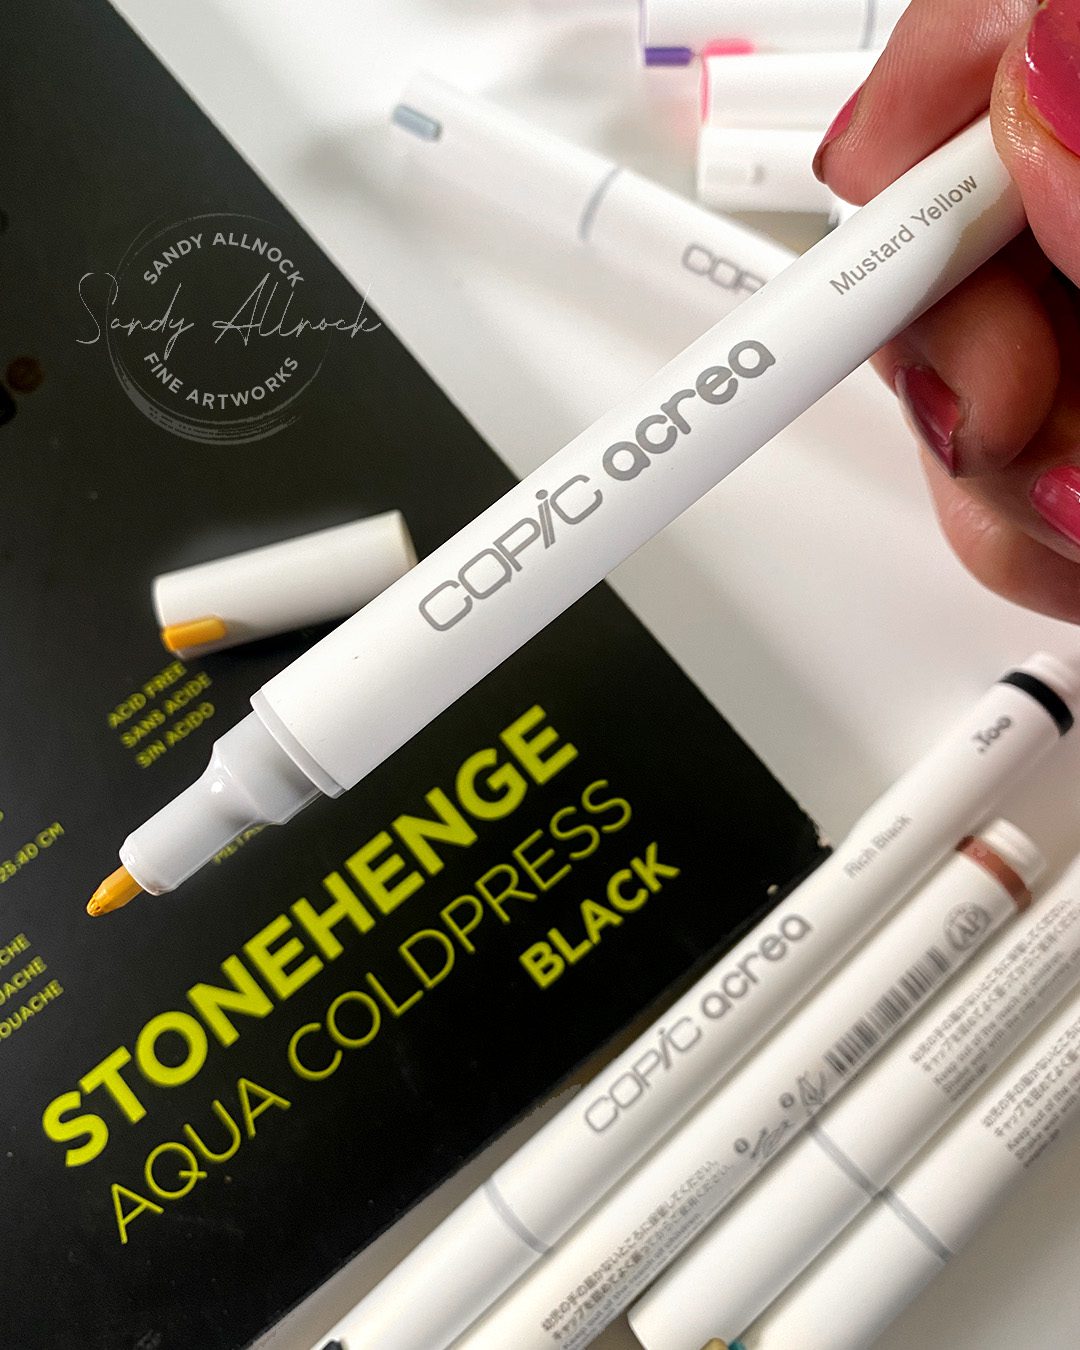
And if you’re a doodler, the best use I see myself employing these pens for is doodling on black. I’m going to add them to the Whimsical Patterns class. They’re much better than the colored pens that have been recommended in the past for the course.
Copic Acrea Paint Markers – first look

Copic Acrea Paint Markers – first look

I was running out of watercolor paper, and “just” ordering the one thing I need always feels sad. So I hitched up my britches and treated myself to these new Copic Acrea Paint Markers. I specifically want to say paint markers because I keep hearing folks call them pigment markers and asking how they compare to the Staedtler Pigment Markers I used a little bit ago – and that comparison and a few more are ahead.

Tutorial: Copic Acrea Paint Markers – first look

Watch the video below and scroll to the end to leave comments or questions — or click HERE to watch it on YouTube and leave comments over there. I read both dutifully!

SUPPLIES

Some product may be provided by manufacturers for review and use. Compensated affiliate links are here at no cost to you. I appreciate your support of my work with your purchases! Full affiliate and product disclosure | My trusted partners in art

Black and white original drawing:

    1. TWSBI Eco fountain pen medium nib 
    2. Hahnemule Hand lettering pads
    3. Platinum Carbon Fountain Pen Ink

Color drawing, printed in a tint:

    1. Legion Stonehenge Drawing Paper, 9×12 pad
    2. Derwent Lightfast Colored Pencils (12pencil set used here)
    3. Dahle Dual-hole sharpener

Swatching

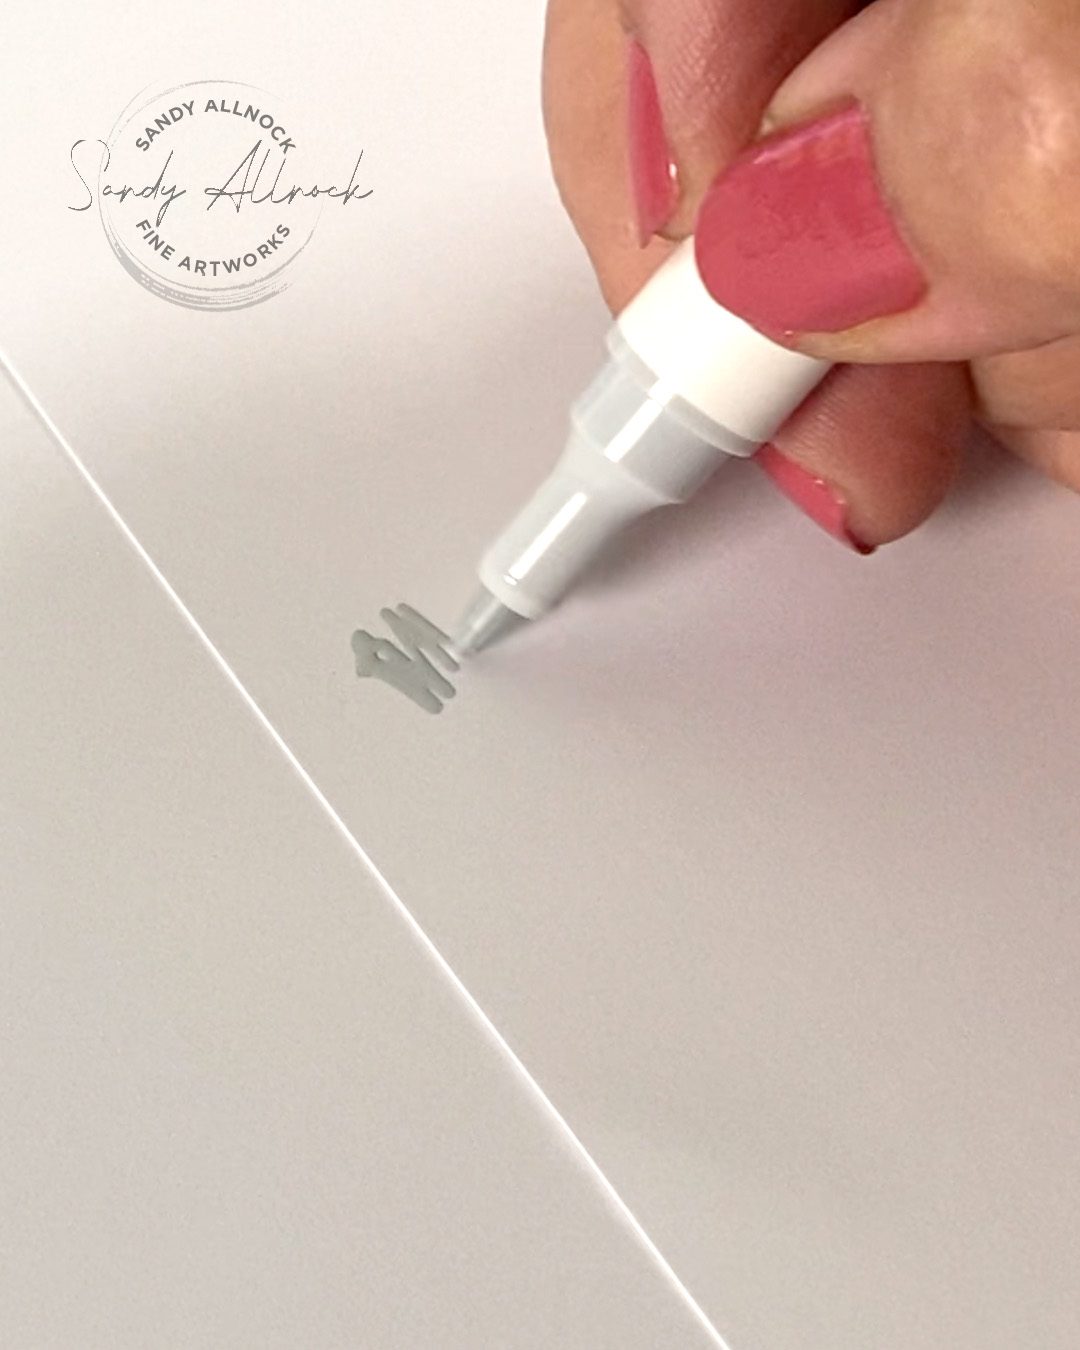
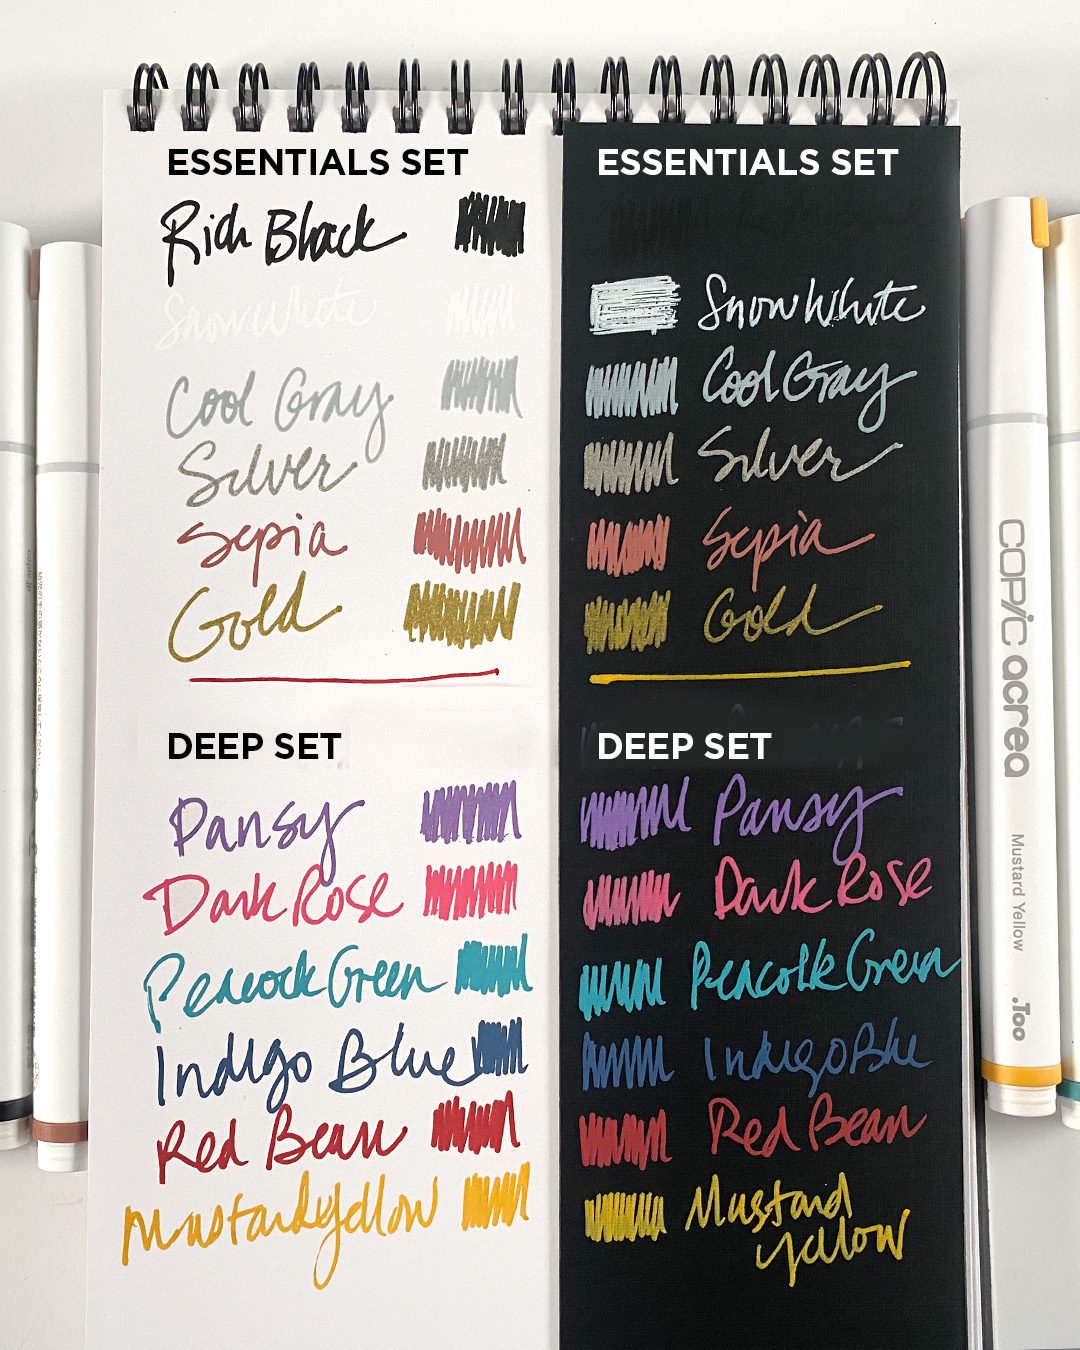
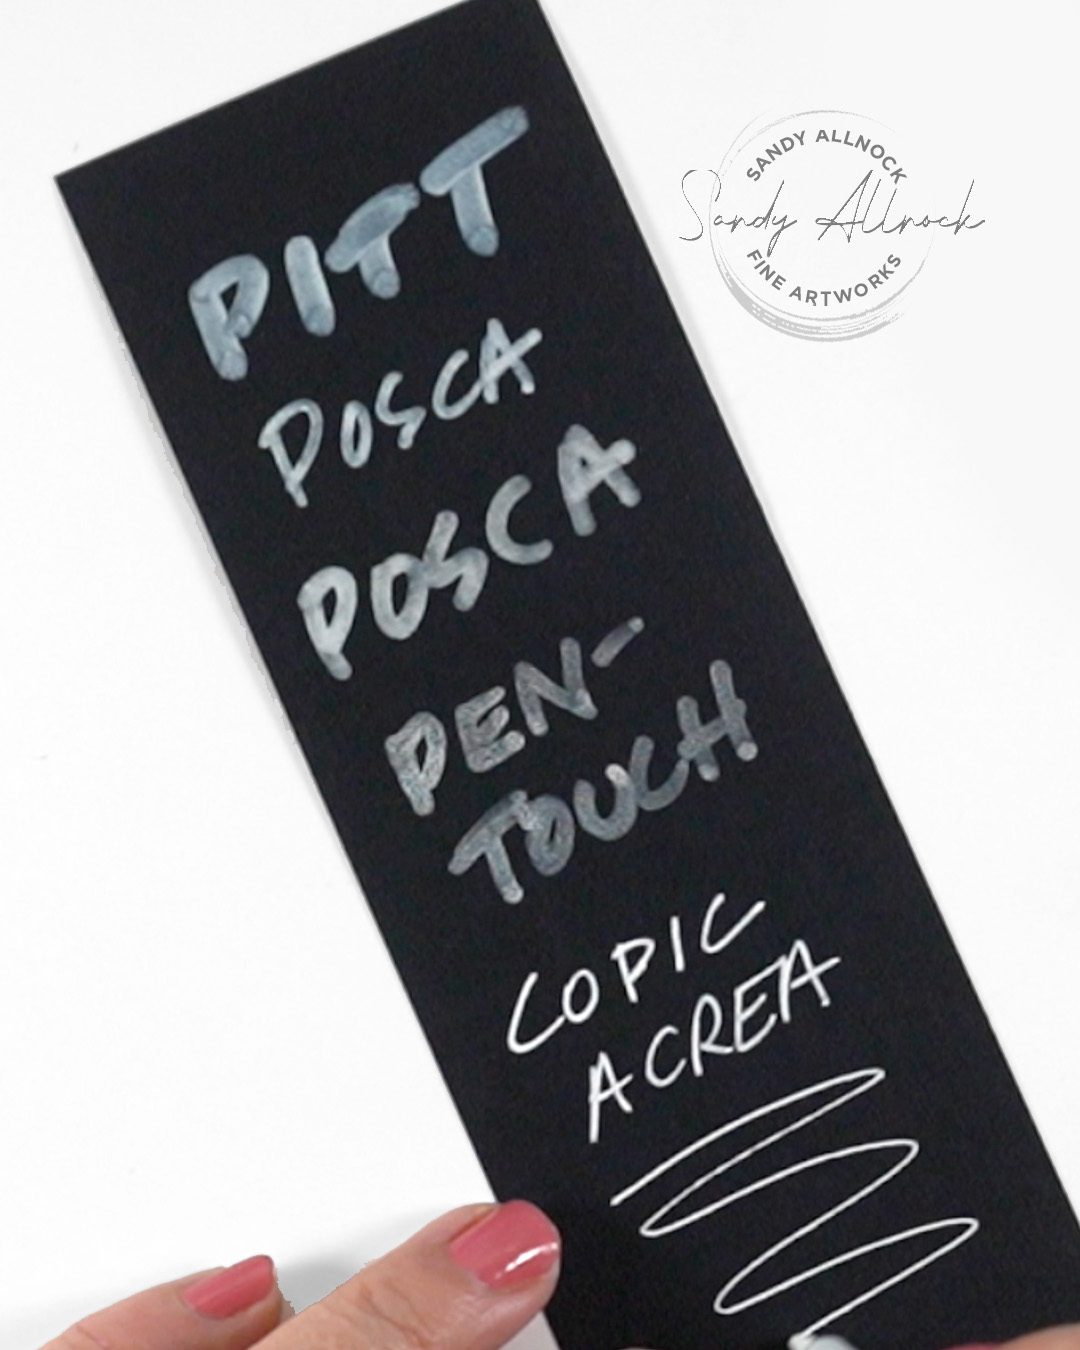
I started with swatching the colors – at first I’d begun playing with them on white paper as I took the wrappers off (these come with those supertight plastic wraps on them like Zig Clean Color markers do…..paino in the draino!) But as I shook them and pressed on nibs to get color to come out – I saw these are most definitely paint pens, not pigment pens like some followers had assured me.

Which led me to swatch on both white (marker paper) and black (cardstock).

One test these mostly passed…

Against other paint pens in my stash, these are very bright – and very thin lines. Which leads me to think I’ll be doing more doodling with these pens than creating any imagery.

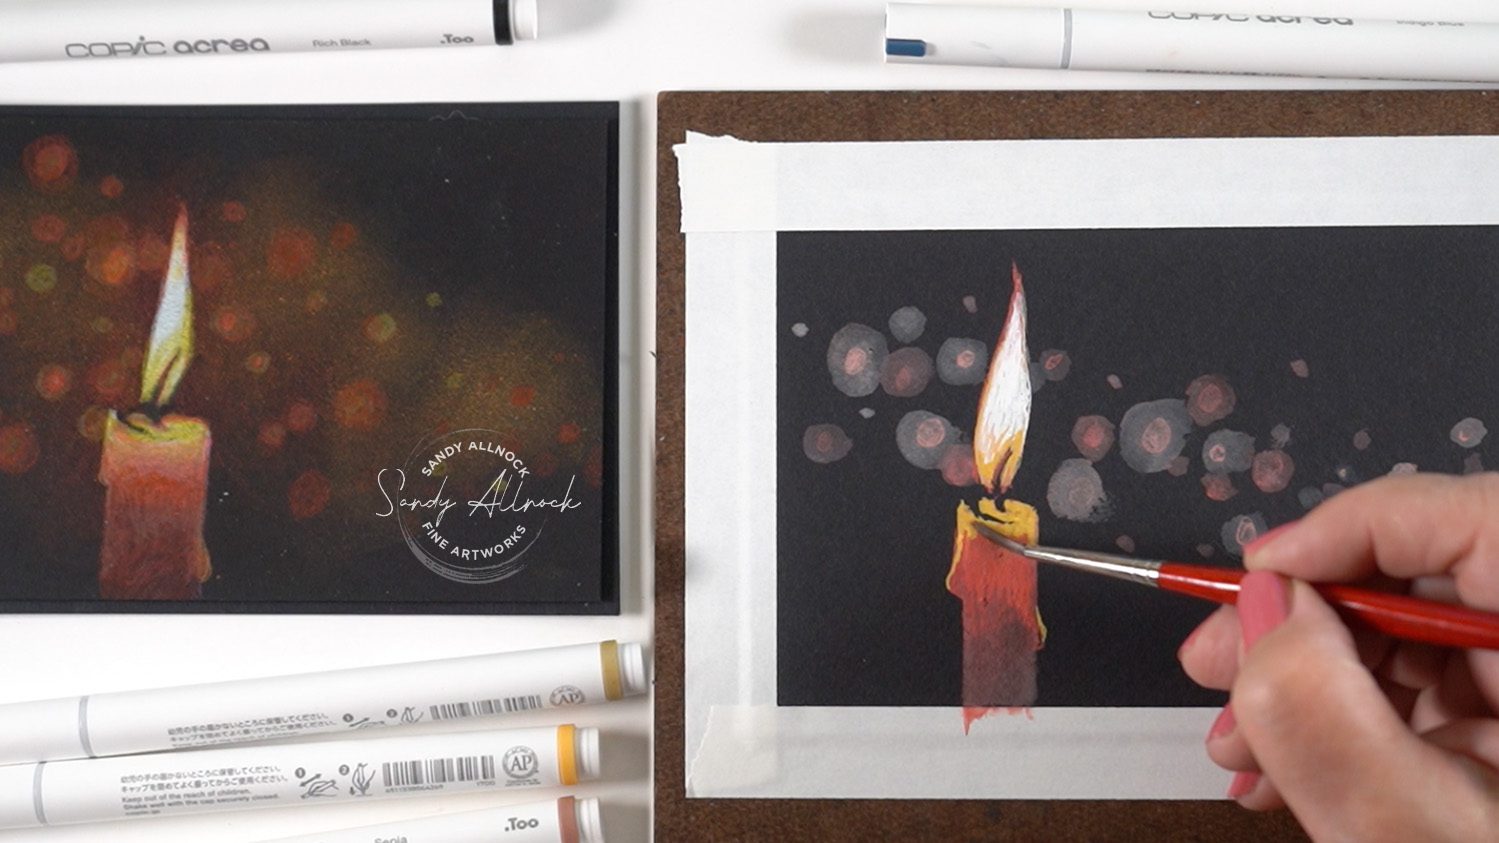
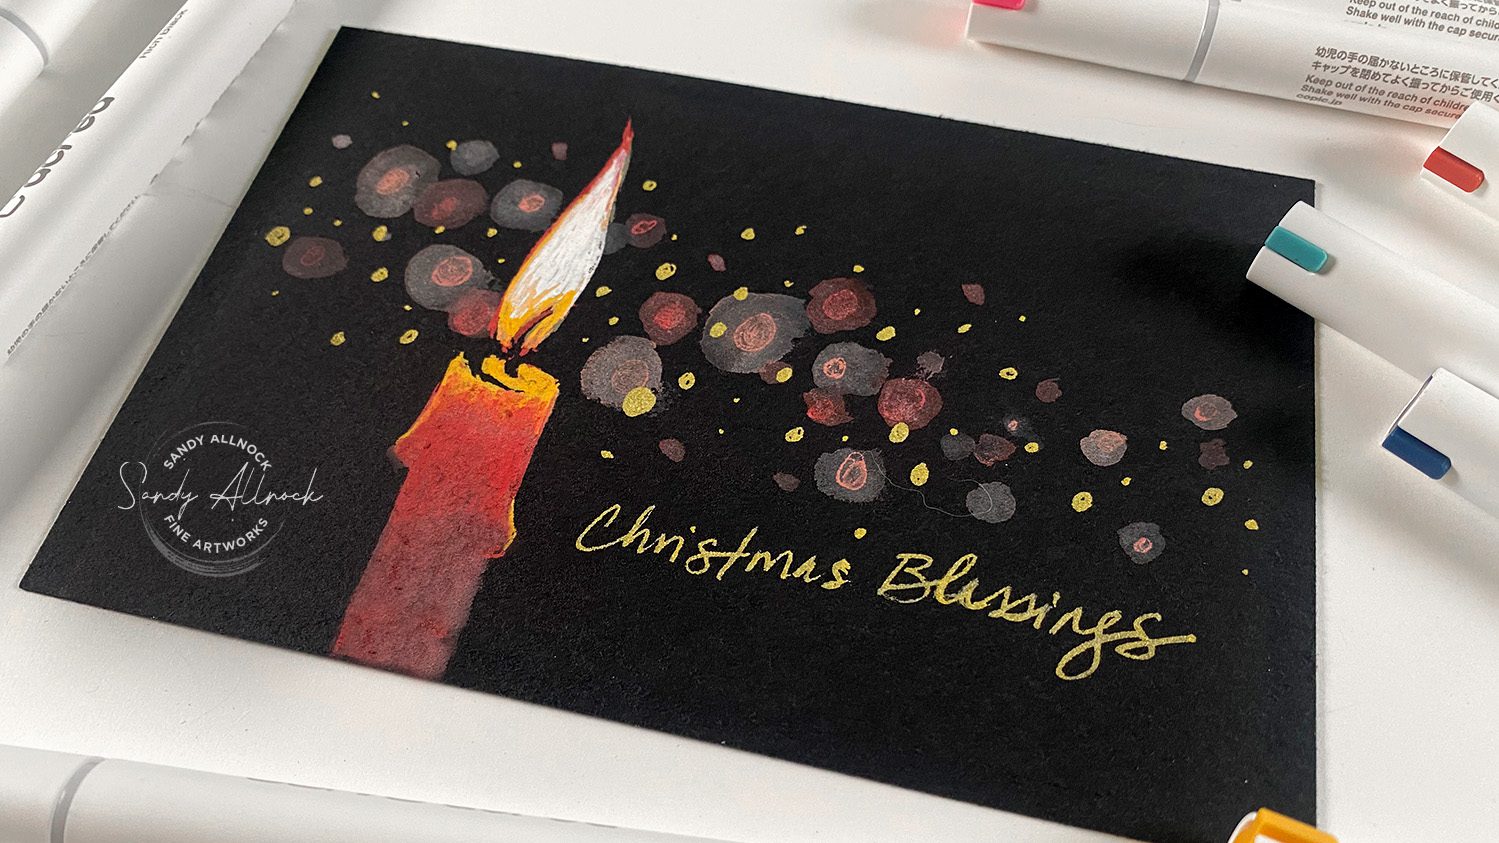
Test project: a Christmas postcard

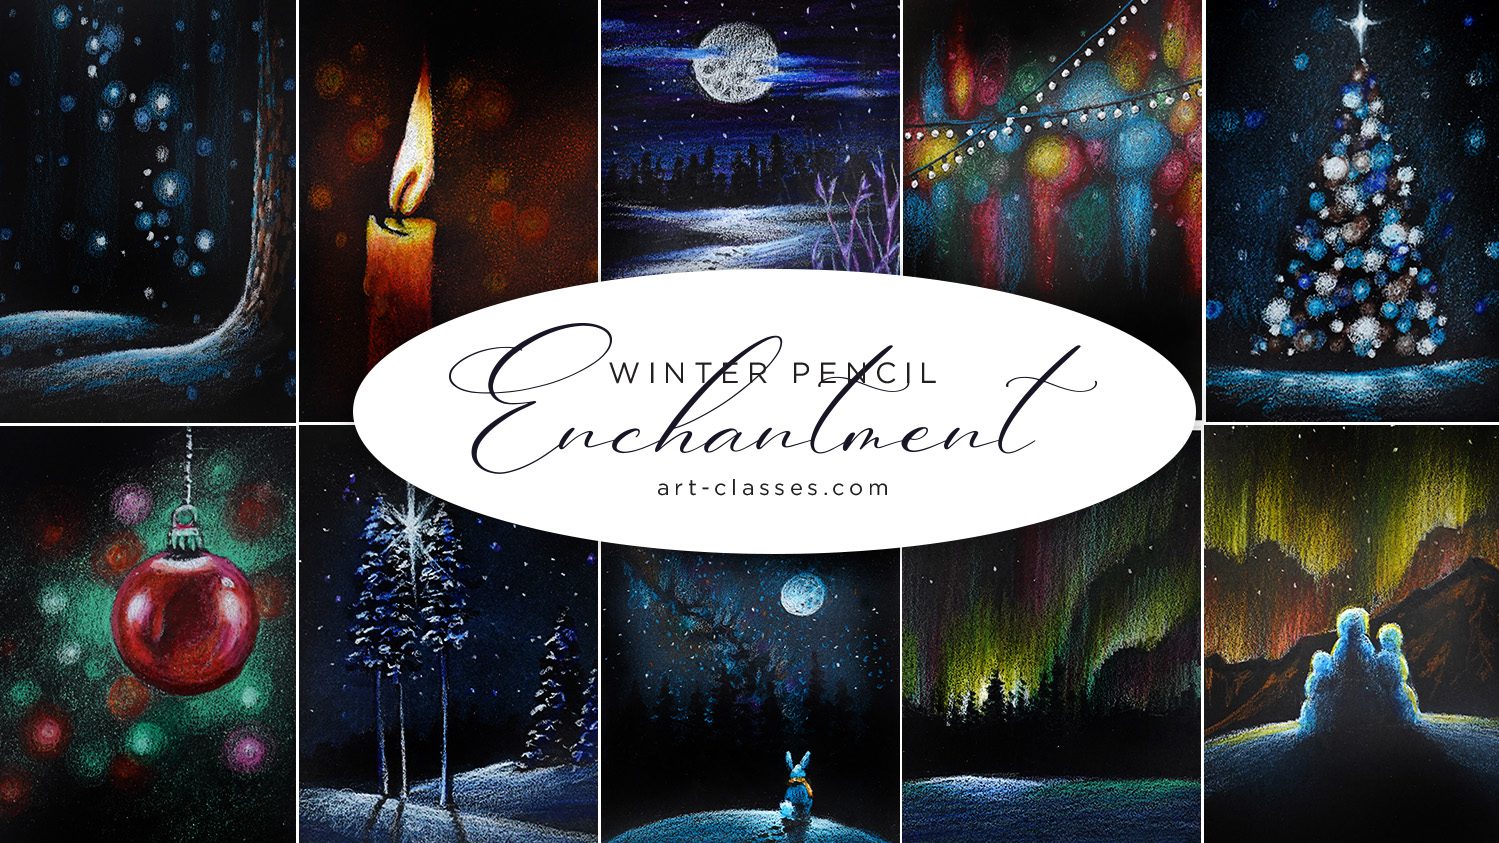
I decided on recreating a project from a pencil class – it had a soft background to explore the use of these pens with water, and a foreground element that I thought would be nice in strong flat colors. Sadly, I never did get these pens to make clean flat areas of paint 🙁 They always had the pen lines showing in them so I ended up painting them to smooth it out better. The Winter Pencil Enchantment class will show you quicker ways to create any of these elements. (And that’s not just me talkin’. I’ve gotten more direct feedback from students than usual on that one, and it’s giving people lots of joy.)

A limited success

If I didn’t have the pencil version right next to me, and didn’t know how much easier it was in pencil – I would be very happy with this! But in the holiday season I end up with limited time to dawdle, and this one wasn’t as easy. 

But in my next video, let’s look at what it’ll take to get these to work with stamps – in several mediums!


Subscribe to receive blog posts by email:

Winter Pencil Enchantment

At first I thought I’d be working my way through the scenes in this class using the Acrea…but homey got no time for that, so I’ll be back to me and my pencils on the sofa! I’m very excited so many of you are enjoying this course too. Way way way fun. And I’m almost done making my holiday cards!

Myrtle Falls (Custom brush pen test part 2)

Myrtle Falls (Custom brush pen test part 2)

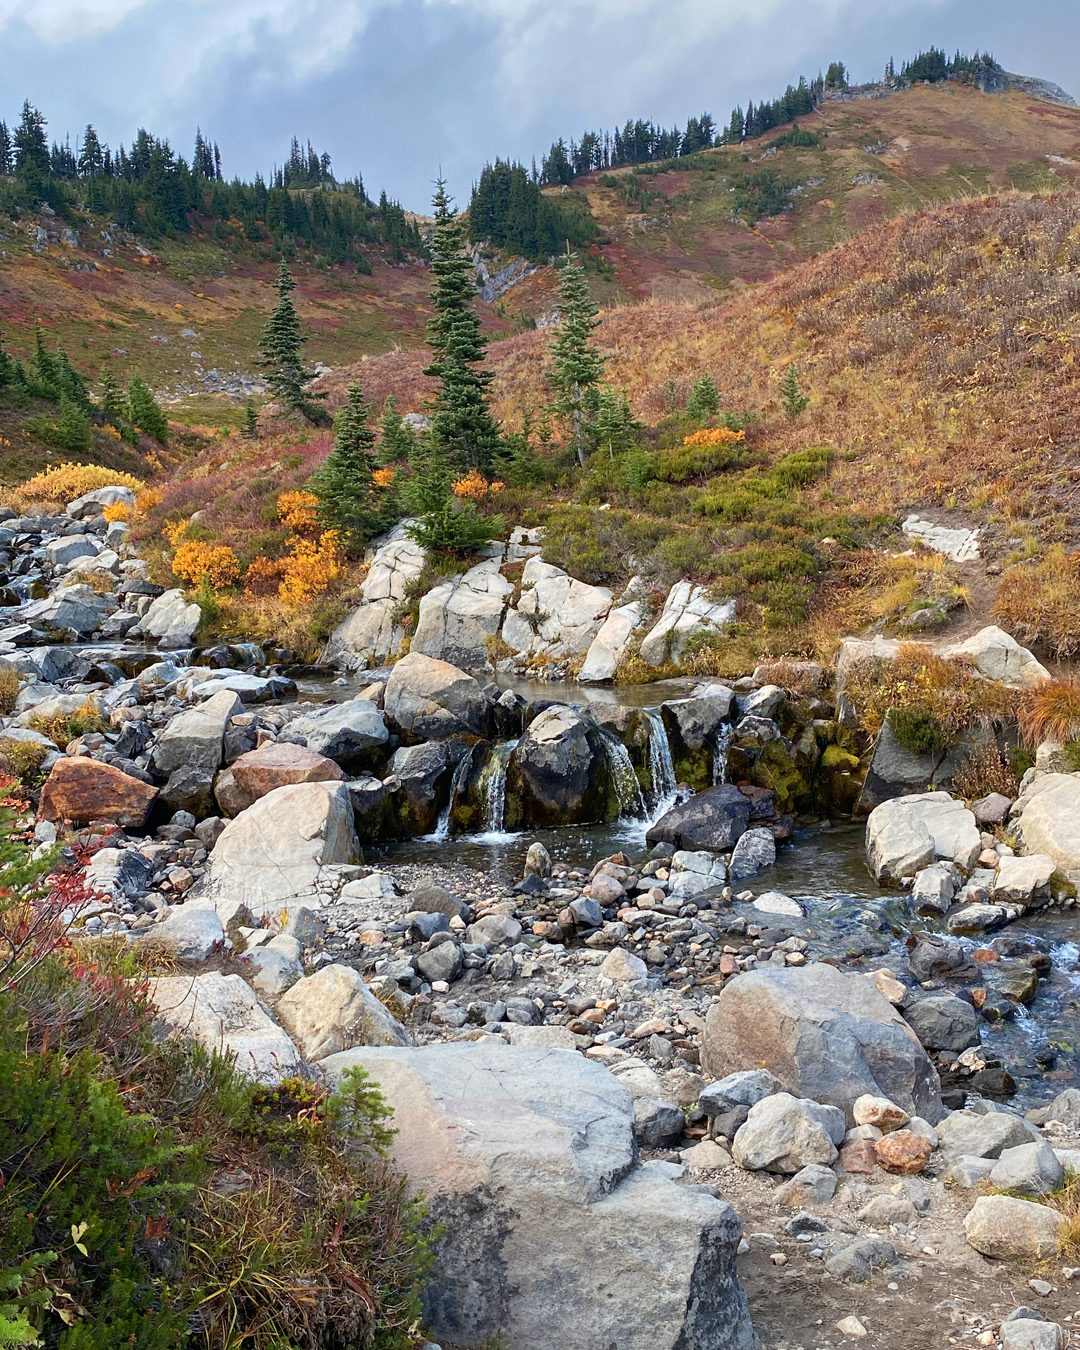
The colors on an iphone don’t do a beautiful fall scene justice, especially on a cloudy cloudy day….but what was so memorable for me this past Monday about my adventure up to Mount Rainier, it was my cousin’s visit! I haven’t seen her since she was a little girl, and now she’s a grownup 21 year old, traveling on her own and being all kinds of amazing!

On our trip she taught me about the science of the adaptations trees make as you get higher and higher up….and I taught her the differences in the branch formations, which she’d never noticed – and they’re something I see as an artist. A great back and forth for both of us!

After my last video and realizing I hadn’t mentioned some important things about these pens (read the last post to find out more), I also decided to try something that the folks in chat during the Premiere were asking about these brush pens – can you use watercolor in them? Let’s give it a try!

Tutorial: Myrtle Falls (Custom brush pen test part 2)

Watch the video below and scroll to the end to leave comments or questions — or click HERE to watch it on YouTube and leave comments over there. I read both dutifully!

SUPPLIES

Some product may be provided by manufacturers for review and use. Compensated affiliate links are here at no cost to you. I appreciate your support of my work with your purchases! Full affiliate and product disclosure | My trusted partners in art

Sketchbook

  1. Hahnemule ZigZag Sketchbook:
    BLICK 
    AMZ 
    JACKSONS 

Pens

  1. Nuobesty Empty Brush Pens (3)
  2. TWSBI Eco fountain pen medium nib

Inks/watercolor

  1. Platinum Carbon Black Ink
  2. Jacques Herbin Amethyst de L’Oural ink  
  3. Platinum Forest Black Ink 
  4. Daniel Smith Moonglow:
    BLICK 
    AMZ 
    JACKSONS 
  5. PhMartins Liquid Watercolor, Blue Aqua
     BLICK 
    AMZ 

The brush pens

These are fairly generic pen bodies – an inexpensive acrylic – but feel more like a fountain pen than any aqua brush pen. The nib is of course brush-like, and is more in the style of a Zig clean color brush point than, say, a felt type marker nib.

I don’t know at all how long these will last, will they dry out, etc; if you end up finding out, do let me know if yours dry out, and what was in them! The caps aren’t super-fancy or anything and it’s possible they’ll leak air in; I’ll be checking these periodically to see how it goes.

Ink vs watercolor

This was another lesson for me in the difference between ink and watercolor; watercolors are meant to be more transparent in use, which would be why it was hard to get a “thick” mixture of the Moonglow that would have enough flow to be sucked up into a pen like this. Inks seem to work better. Just be sure to get the brush–and the plastic it fits into– covered by the liquid so that whatever science magic of air and moisture happens, it’ll keep pulling liquid into the pen.

Subscribe to receive blog posts by email:

Cleaning these pens

I couldn’t work out taking them apart without possibly damaging the piston by taking THAT end out; I know you can do that with fancy pens, I just didn’t trust these to go back together since they’re not solidly built! So I just went to the art sink and under running water, pulled in clean water, expelled colored water for about 5 minutes til it was mostly clear, then refilled with similar colors in each pen.

What was  your last national park adventure?

And have you sketched it yet? What are you waiting for?

What is a Pigment Brush Pen? 3 Styles of art to try

What is a Pigment Brush Pen? 3 Styles of art to try

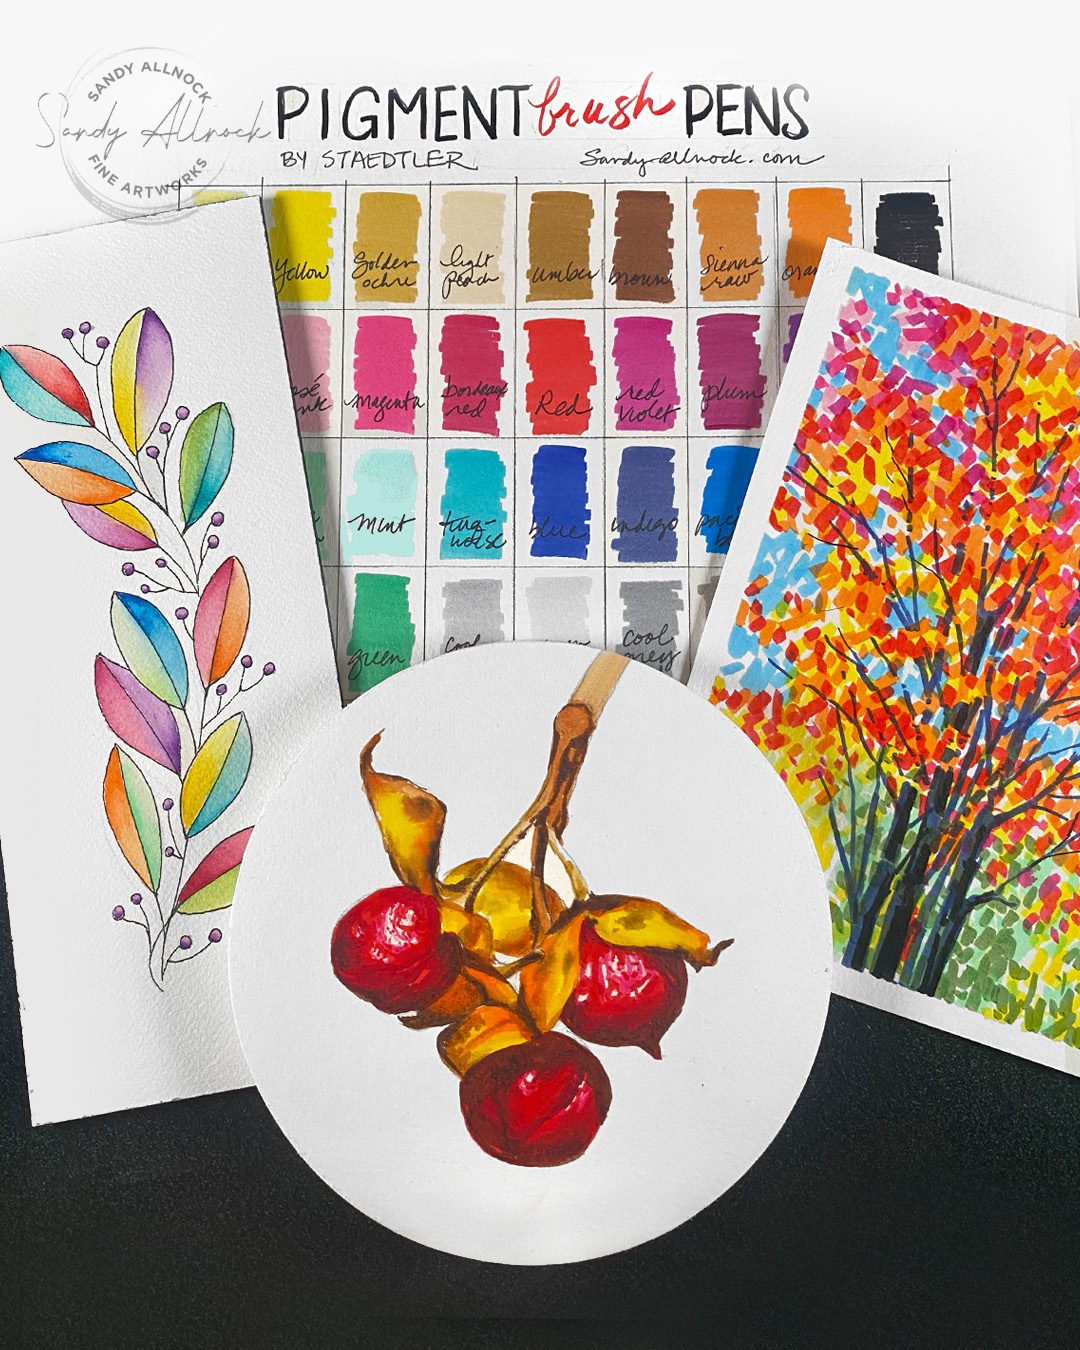
New pens, who dat? A few months ago I did a freelance project for Staedtler, the maker of these pens, creating a tutorial that could be used at an event. It would be using the 12 pen set – lots of fun, bright colors.

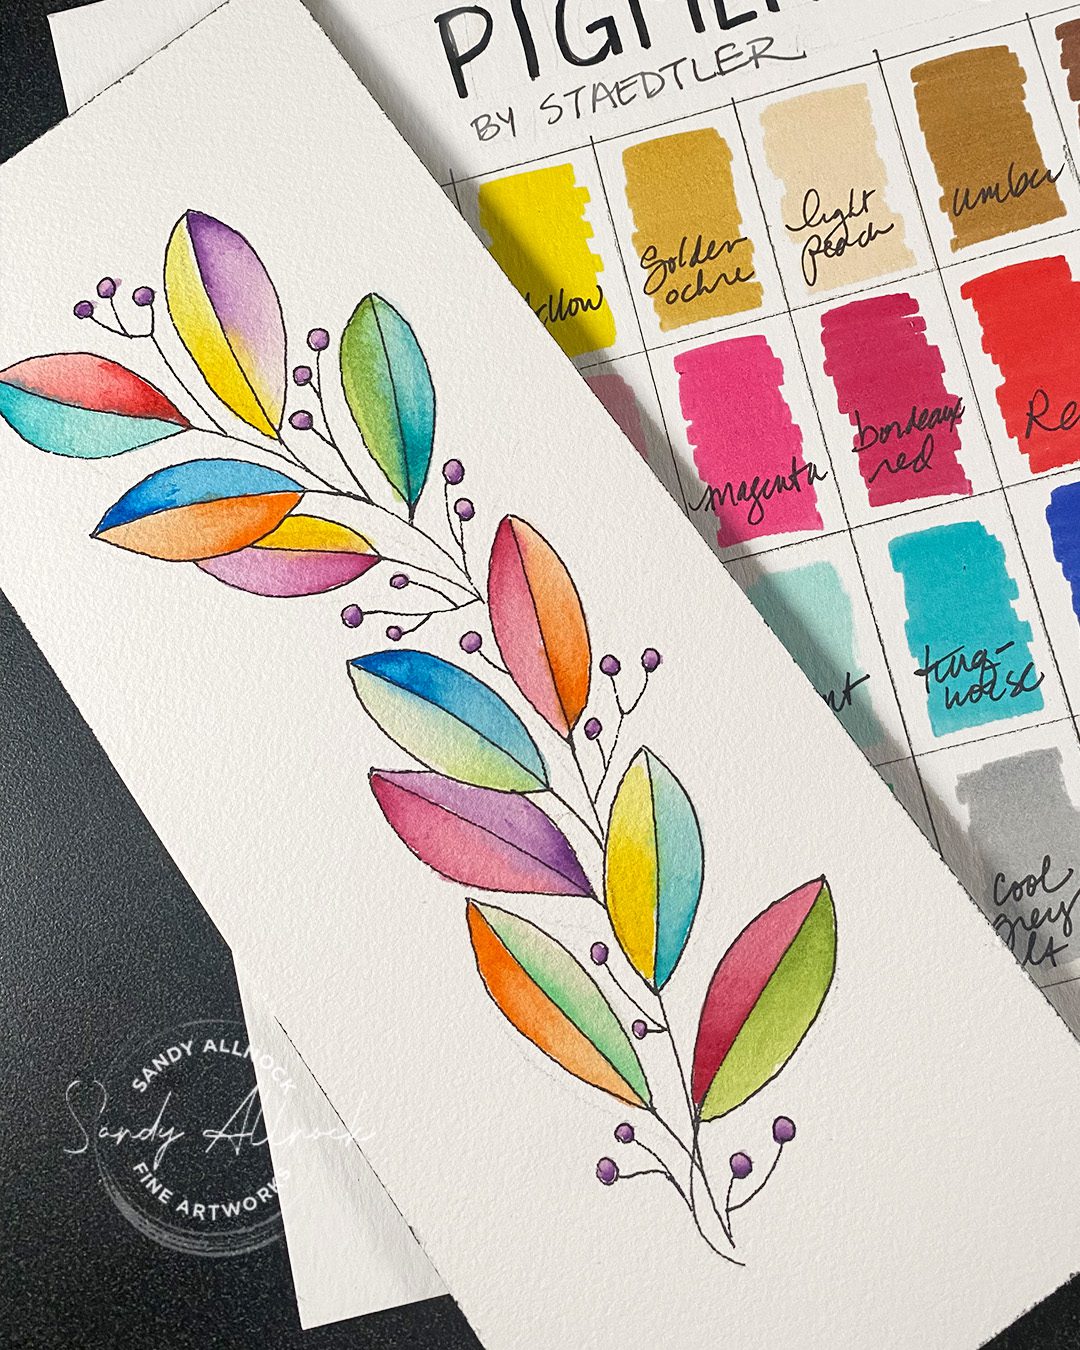
As we talked a little further, I said I’d like to make a video with them, and they offered to send the full 36 colors….so you get to see alllll the colors in today’s projects and video!

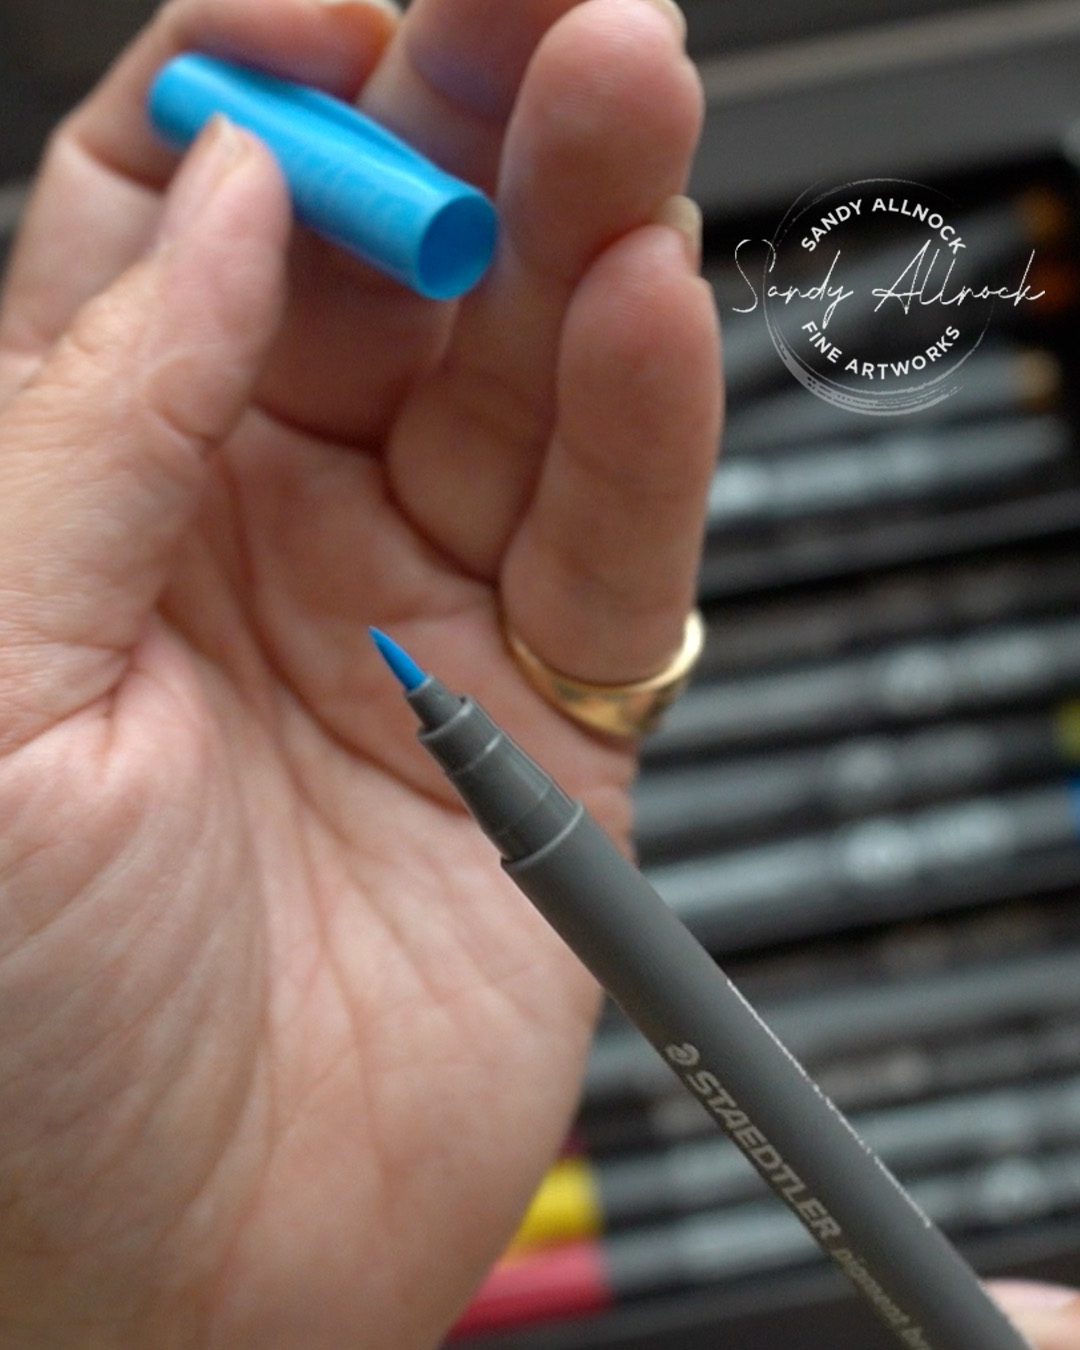
The Staedtler Pigment Arts Pens are a brush pen; the nib is a short one, with about a medium-to-stiff type of nib. You might think it’s just like any brush marker, and it looks that way on first blush.

But I played around with them, realizing they dry quickly – and that got my brain thinking about all the things they could do that normal water-based markers could NOT do. 

It’s always good finding out what properties your art supplies have so you’ll be able to strategically choose which medium and pen  is perfect for what you want to create!

Tutorial: 3 Styles of art with Pigment Brush Pens

Watch the video below and scroll to the end to leave comments or questions — or click HERE to watch it on YouTube and leave comments over there. I read both dutifully!

SUPPLIES

Some product may be provided by manufacturers for review and use. Compensated affiliate links are here at no cost to you. I appreciate your support of my work with your purchases! Full affiliate and product disclosure | My trusted partners in art

Pens

  • Staedtler Pigment Pens
    1. (36) BLICK  AMZ Staedtler 
    2. (ALL) BLICK

Water – blending::

Impressionist:

Realism:

  • Magnani round cold press paper BLICK  AMZ

The colors

The range for these colors is pretty nice – they don’t get REALLY dark, a few are really light, but most are nice bright midtones. These come in various sets of 12s up to 36s – and other formats of pen too.

I used the Pigment Pens (36 set)  (BLICK  or AMZ ) but to see all the different sets, click here.

Water blending

Playing with these pens and water with a brush or aquabrush – that’ll show you quickly how fast the pigment pen ink dries – and I found that some colors dry quickly and others a little more slowly. Test yours out – both if you get these pens, but also with other water-based markers.

PICK UP THE BRANCH PRINTABLE HERE.

Loose Branch Printable

This is available as a printable download –  though it’s really easy to draw, too. To watercolor it, try a laser printer; some of them can print on watercolor paper and you can use light watercolor with it – don’t get too splashy and sloppy, but under control you might be able to add paint. Otherwise try markers, colored pencils – have fun with it!

Impressionist

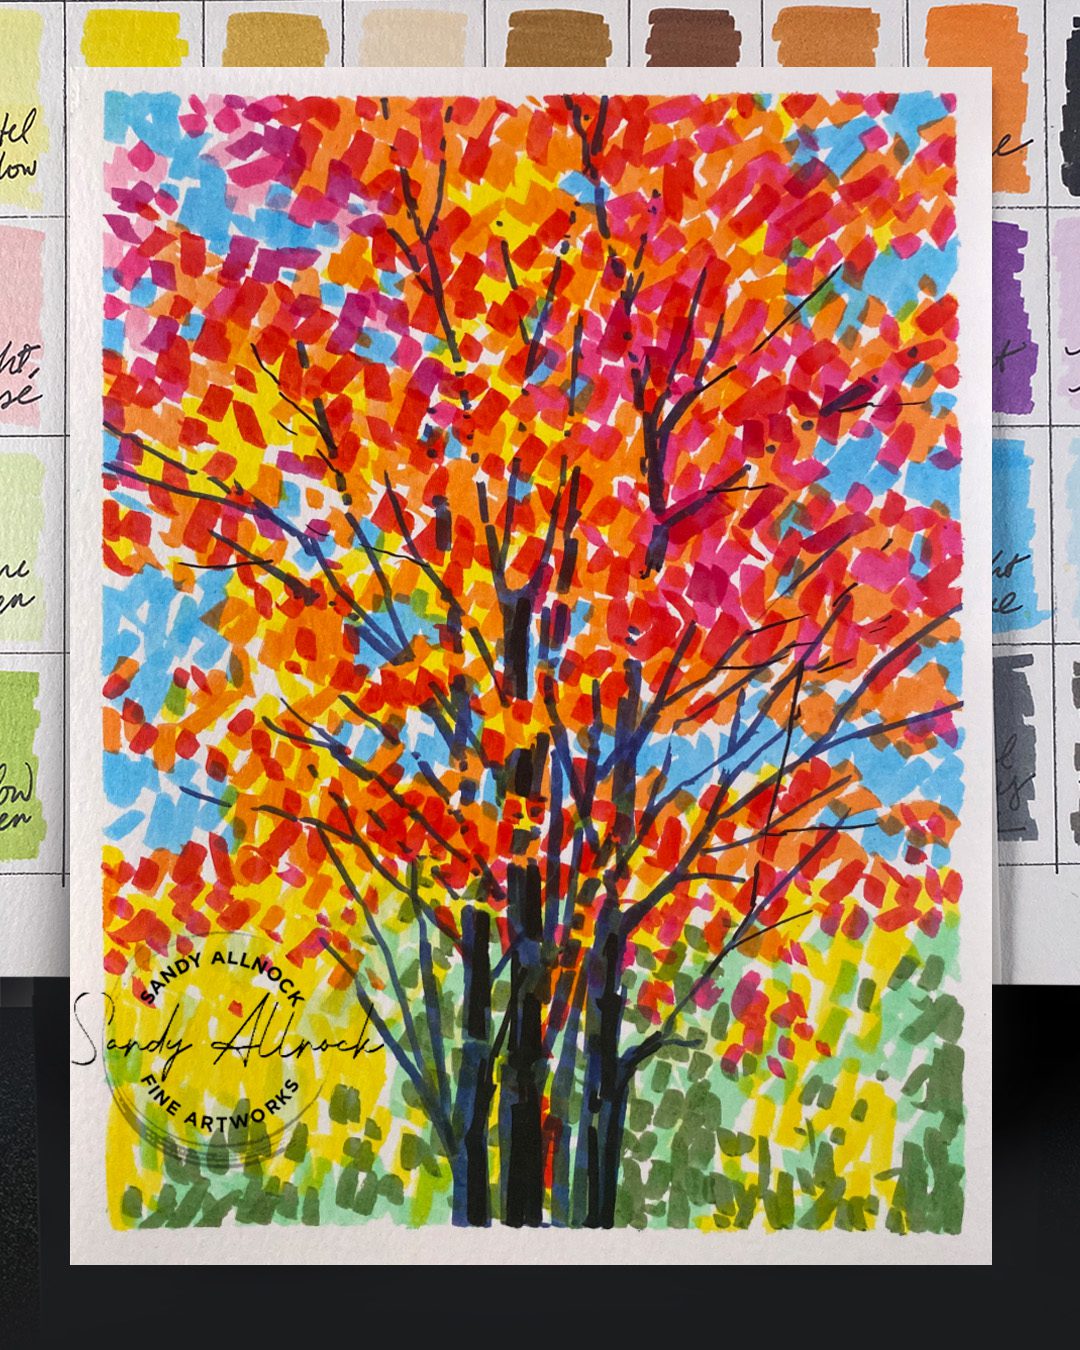
Given the permanence of the colors, I decided this medium might be just perfect for blobs of color to create a pointillist or impressionist project! Be aware the colors are still transparent, at least the lighter colors (the dark blues and purples did cover what’s under them)…..too many overlapping blobs could create some mud. But fall trees are perfect for analogous colors.

Subscribe to receive blog posts by email:

Realism

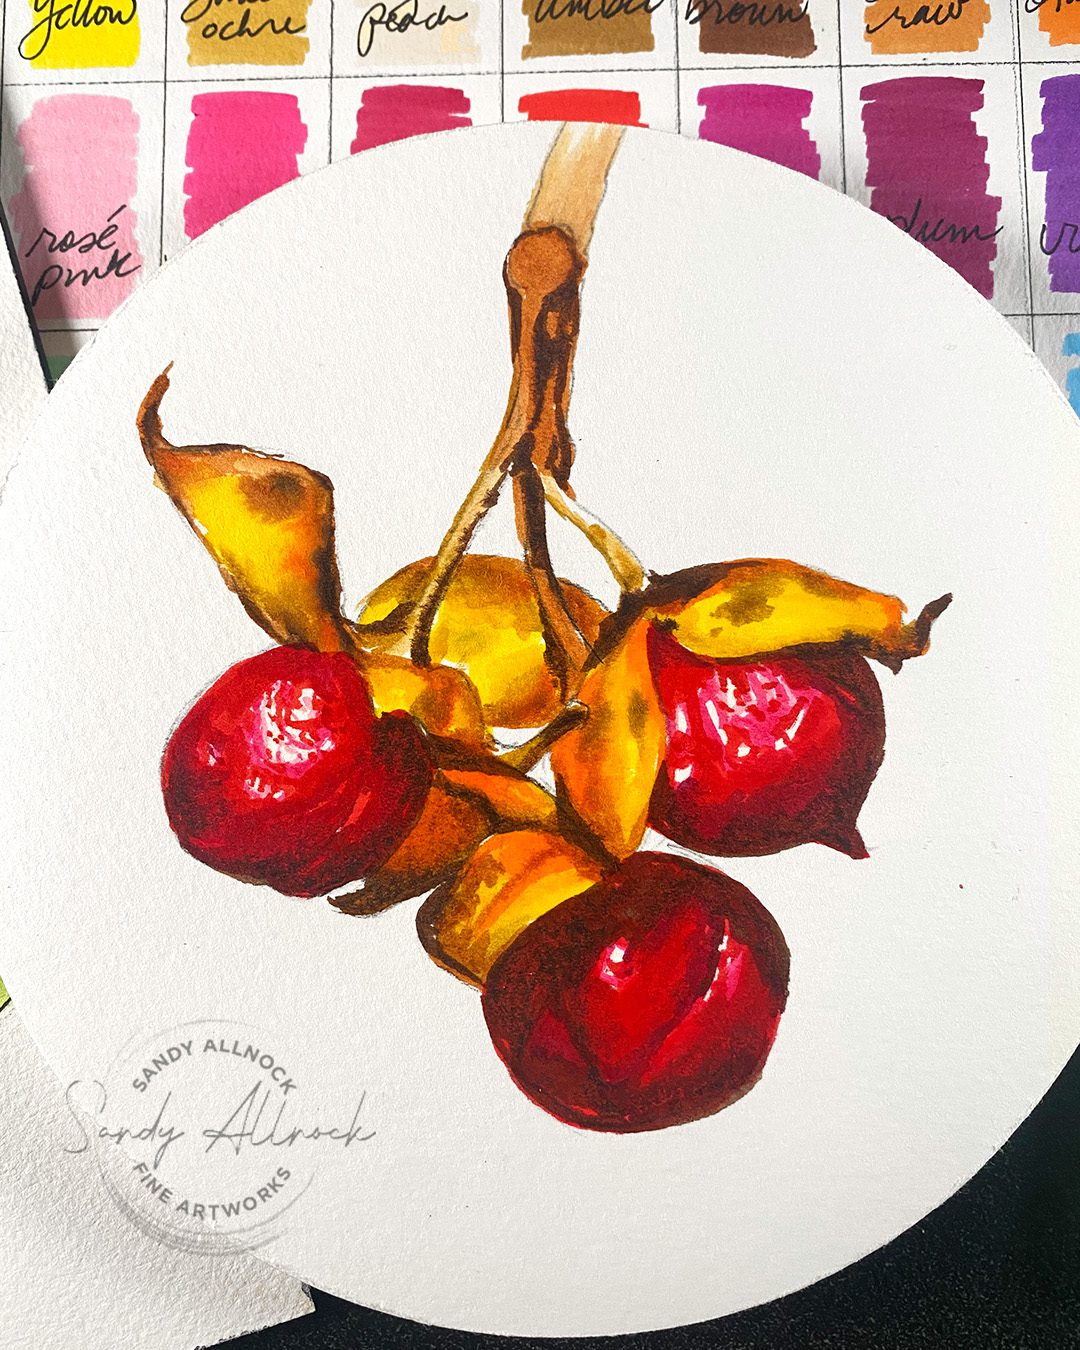
Using the markers in a dense fashion on watercolor paper left the surface….damp? primed? I’m not completely sure. it wasn’t wet enough to move with water, I do know that. But it was so easy to make a strongly pigmented drawing with these pens! Yum. Color theory for the shading win!

Livestream ahead!

You can go “rsvp” on YouTube – if you have notifications on, it should send one about a half hour ahead. (It’ll also show you what time it’ll be in your time zone.) Leave comments with questions you might have – or drop them here on this post. And wish me luck, I’m terrible at streaming for some reason, ha! Supplies are listed in the doobliedoo on that video.

DREAM BIG DREAMS FOR YOUR ART.

DREAM BIG DREAMS FOR YOUR ART.

I’ve had a thought about my art lately that’s been nagging at me, and I thought I’d drop it in  your head too—and see if it’s just me, or if it helps you to: we need to dream big dreams for our art. Small thinking is getting us nowhere.

Tutorial: Dream BIG dreams for your art

Watch the video below and scroll to the end to leave comments or questions — or click HERE to watch it on YouTube and leave comments over there. I read both dutifully!

Dream BIG dreams

I’ve realized recently that I’ve lost my BIG dreams of my youth. I had so much I wanted to accomplish artistically! But I had those dreams while I was doing life – working a job, volunteering, doing regular stuff. I saved those “big” ideas for one day when I’d be able to finally be a full time artist. 

But once that transition happened….I sort of lost it all. I didn’t know how hard it would be to cobble together an income, and how much of my time would get eaten up by minutia. (You know, that stuff that brings in the bacon!) 

Perhaps I “trained” myself to just make a lot of quick projects because I spent so many years in crafting where a few hours on anything was more than enough. And I never returned to those huge ideas I had when I was young. I wish they were at the tip of my mind and inspiring to get “back” to, but I’m a different person now—and I’ll be looking for my own big dreams for the artist I am now.

Don’t settle.

Don’t settle for what small dreams are right in front of you. And beware of all that “life” stuff that’s going to try to get in the way. The small stuff is always trying to get attention…maybe simply because it’s small stuff! See if you can find the big stuff out in the distance waiting for you.

Look out over the horizon: what’s out there? What might you need to get there? Training? Resources? Time? What baby step can you take right away that will move you even a few feet closer?

A little about this piece

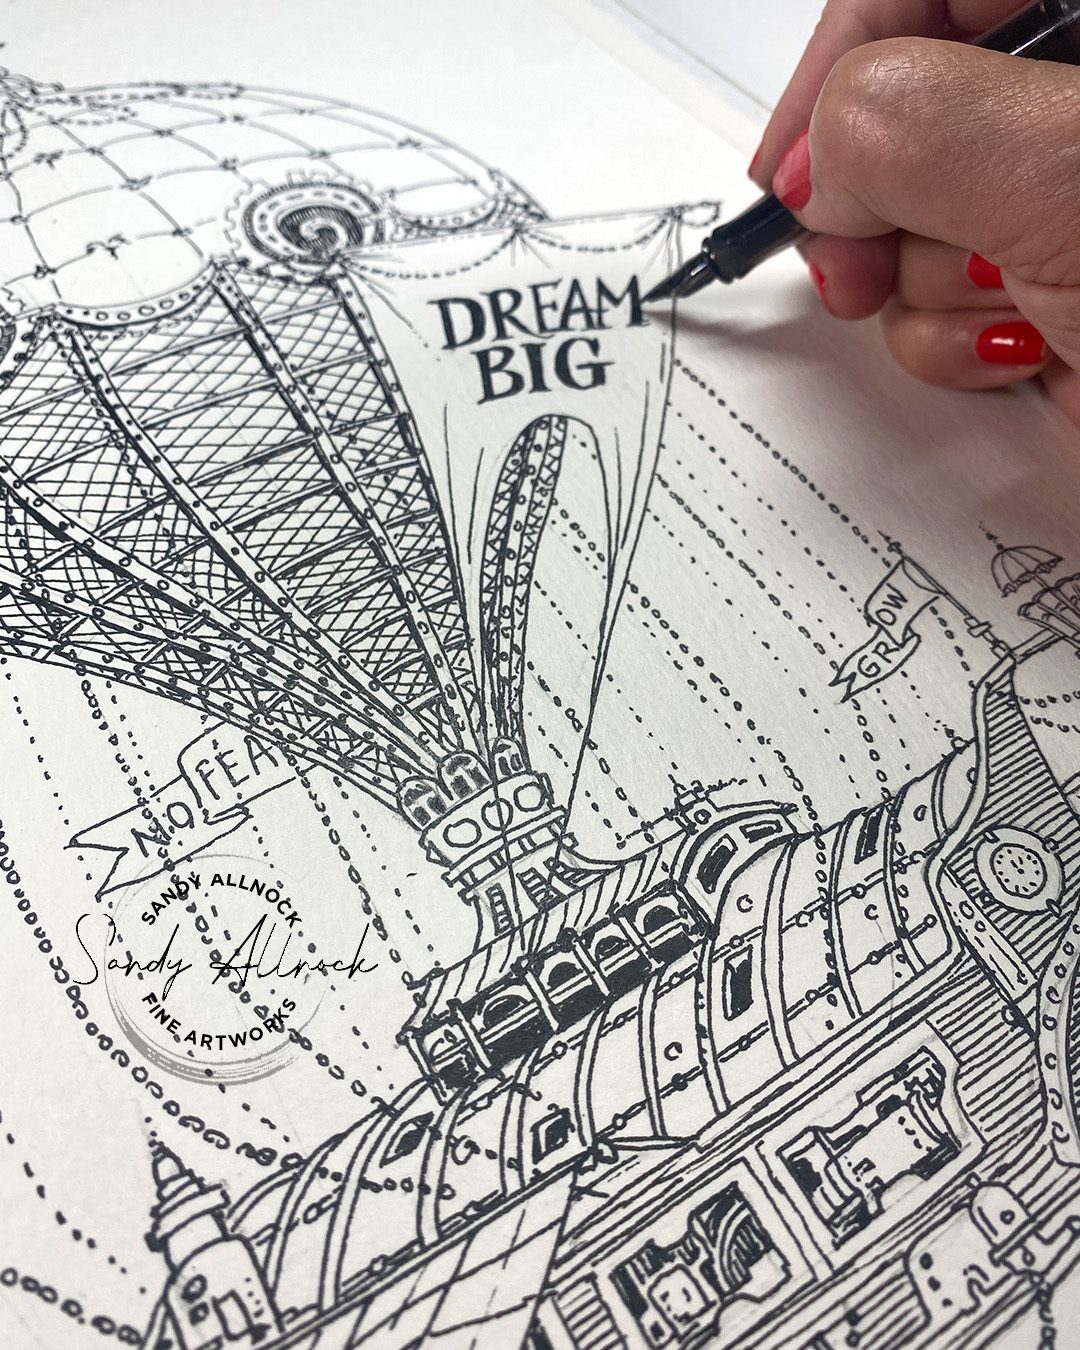
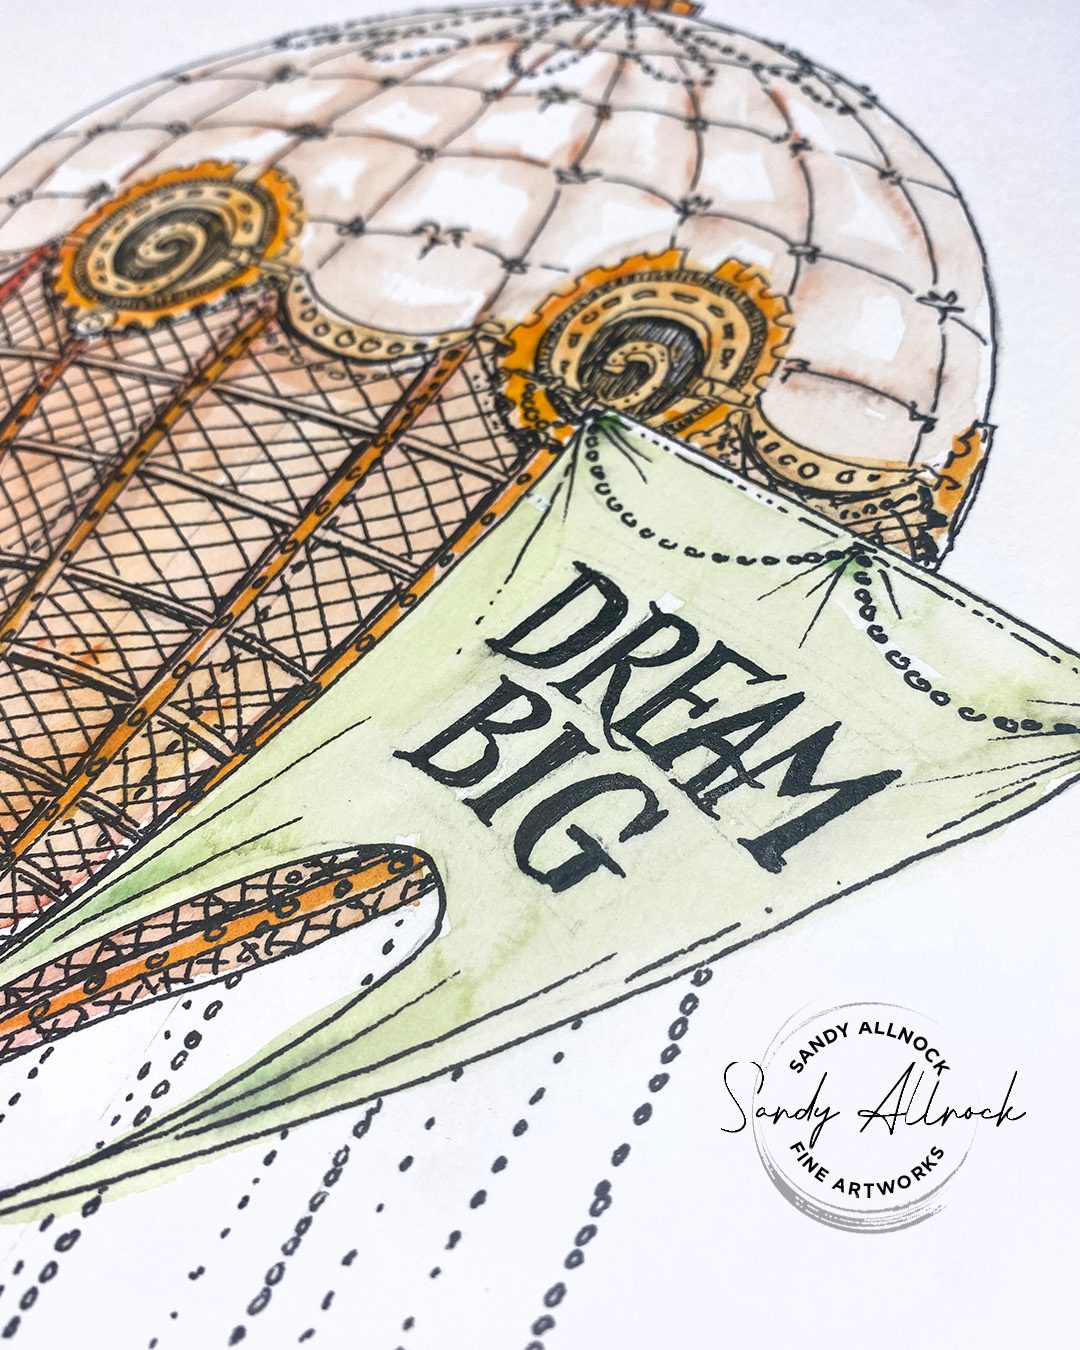
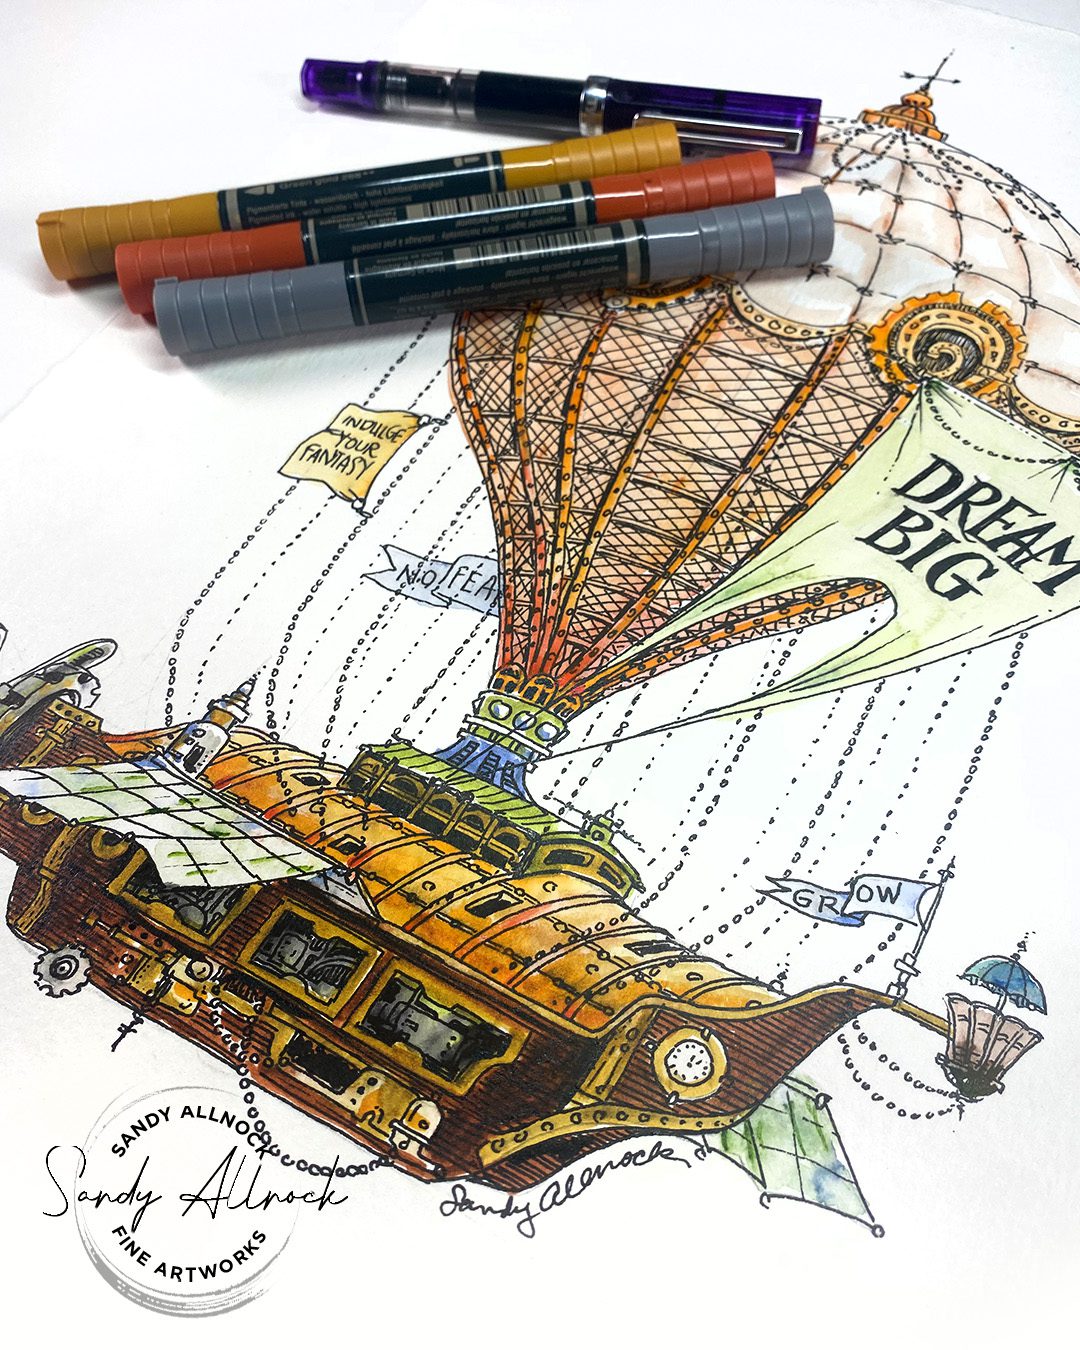
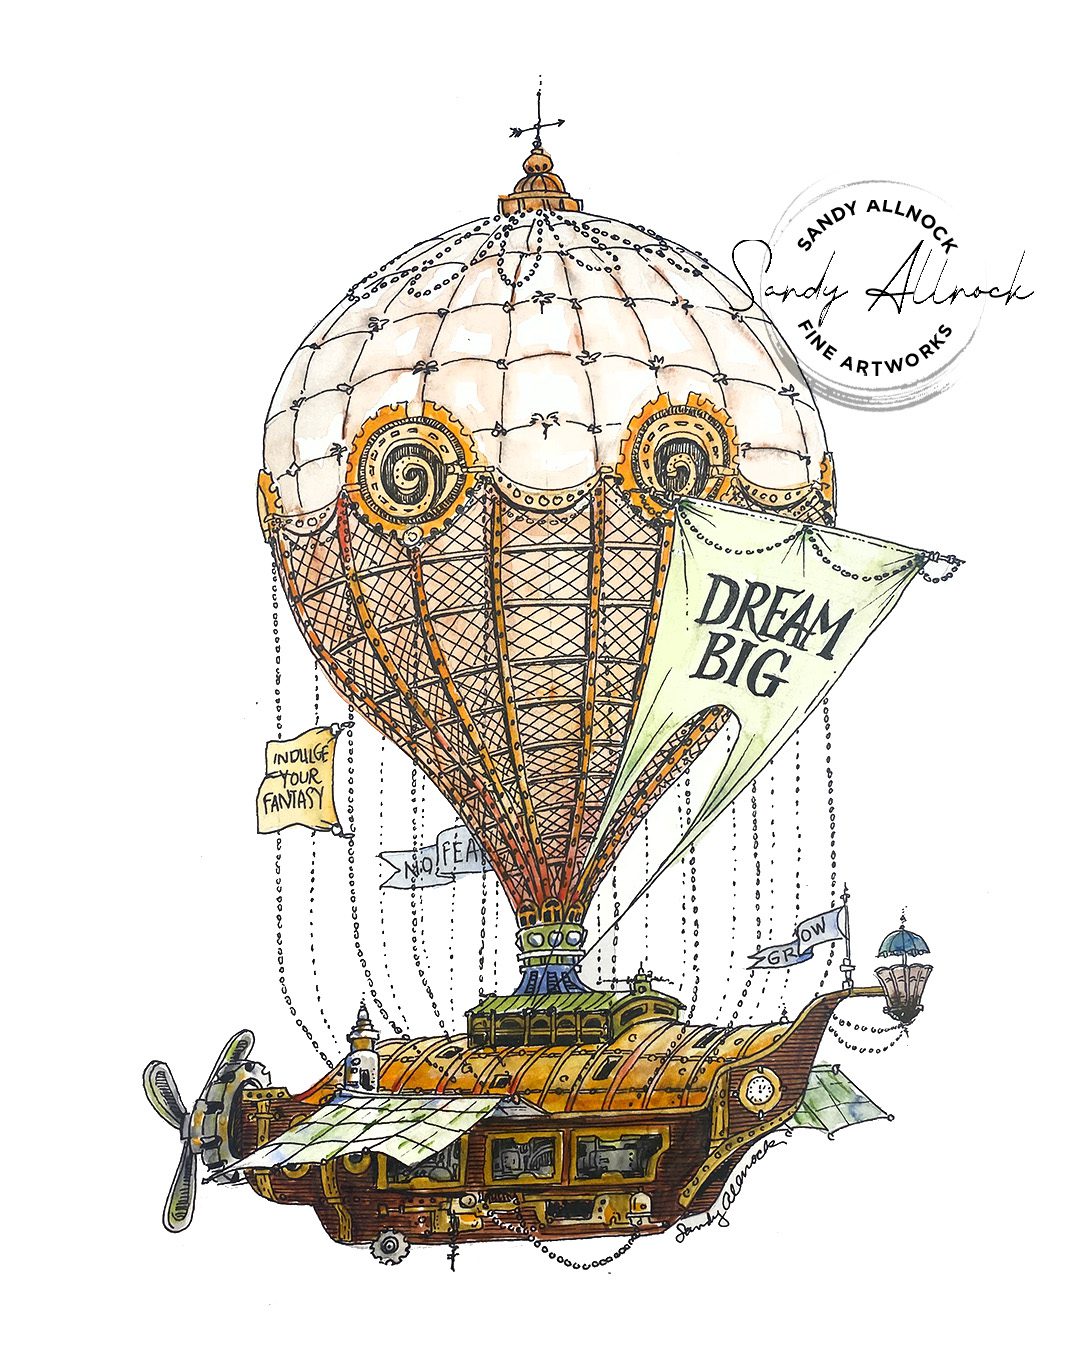
This imaginary hot air balloon sports its own sail (lots of my big dreams happened when I was sailing on SF Bay) and wings….a crow’s nest with an umbrella to keep foul weather at bay while I watch out for those big ideas on the horizon. A weather vane is atop the balloon to keep me headed in the right direction. Signage reminds me to indulge in my fantasy – no practicality, just look for big ideas which won’t always make ssnse!

It’s created on terrible Strathmore 400 Cold press – it turns out terrible for watercolor, and even fought the Faber Castell Watercolor Markers (some of the permanent ink even lifted up when using the marker on it! gah!) so I’m glad I opted to make it a primarily pen and ink piece. And am glad I only had one sheet of this stuff in the studio.

Dream Big Hot Air Balloon

Created to inspire artists to dream BIG dreams for their art! Print it out and hang it up as is, or add some color. Use it for art projects like cards or journal pages, or frame and display!

 $5.00

What’s your BIG dream?

Don’t worry if you don’t know it yet — some people try to make one up just to say they have a dream, and I think we’re safer if we just stay on the lookout and let it reveal itself. But if you’ve got one, lay it on me!

Supplies

Some product may be provided by manufacturers for review and use. Compensated affiliate links are here at no cost to you. I appreciate your support of my work with your purchases! Full affiliate and product disclosure | My trusted partners in art

Subscribe to receive blog posts by email:

Sketching with water soluble ink

Sketching with water soluble ink

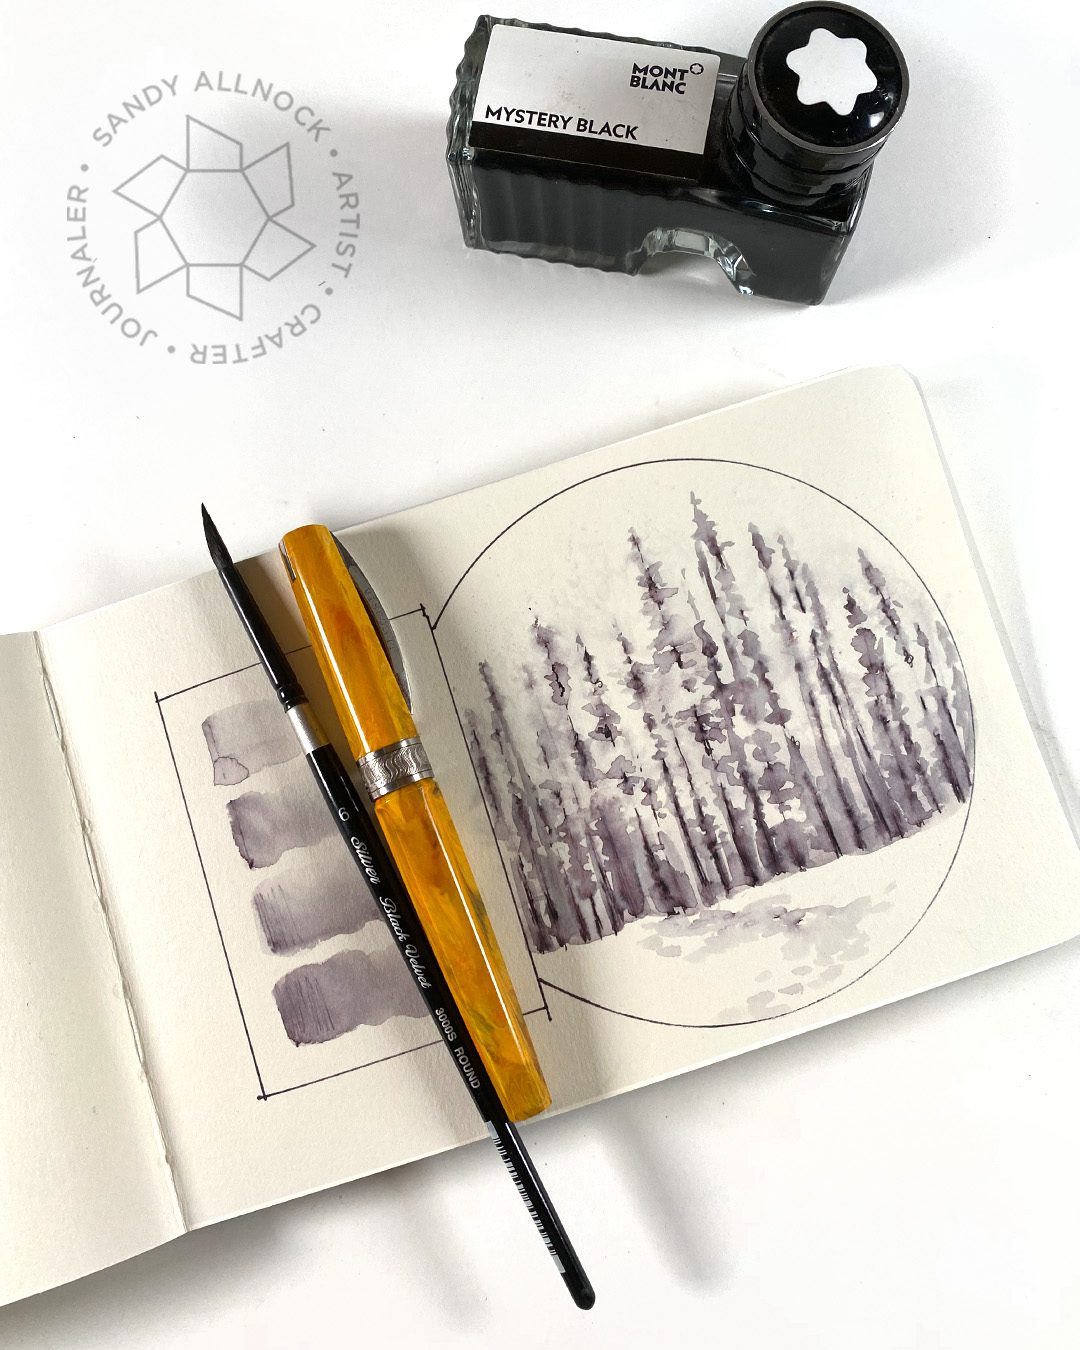
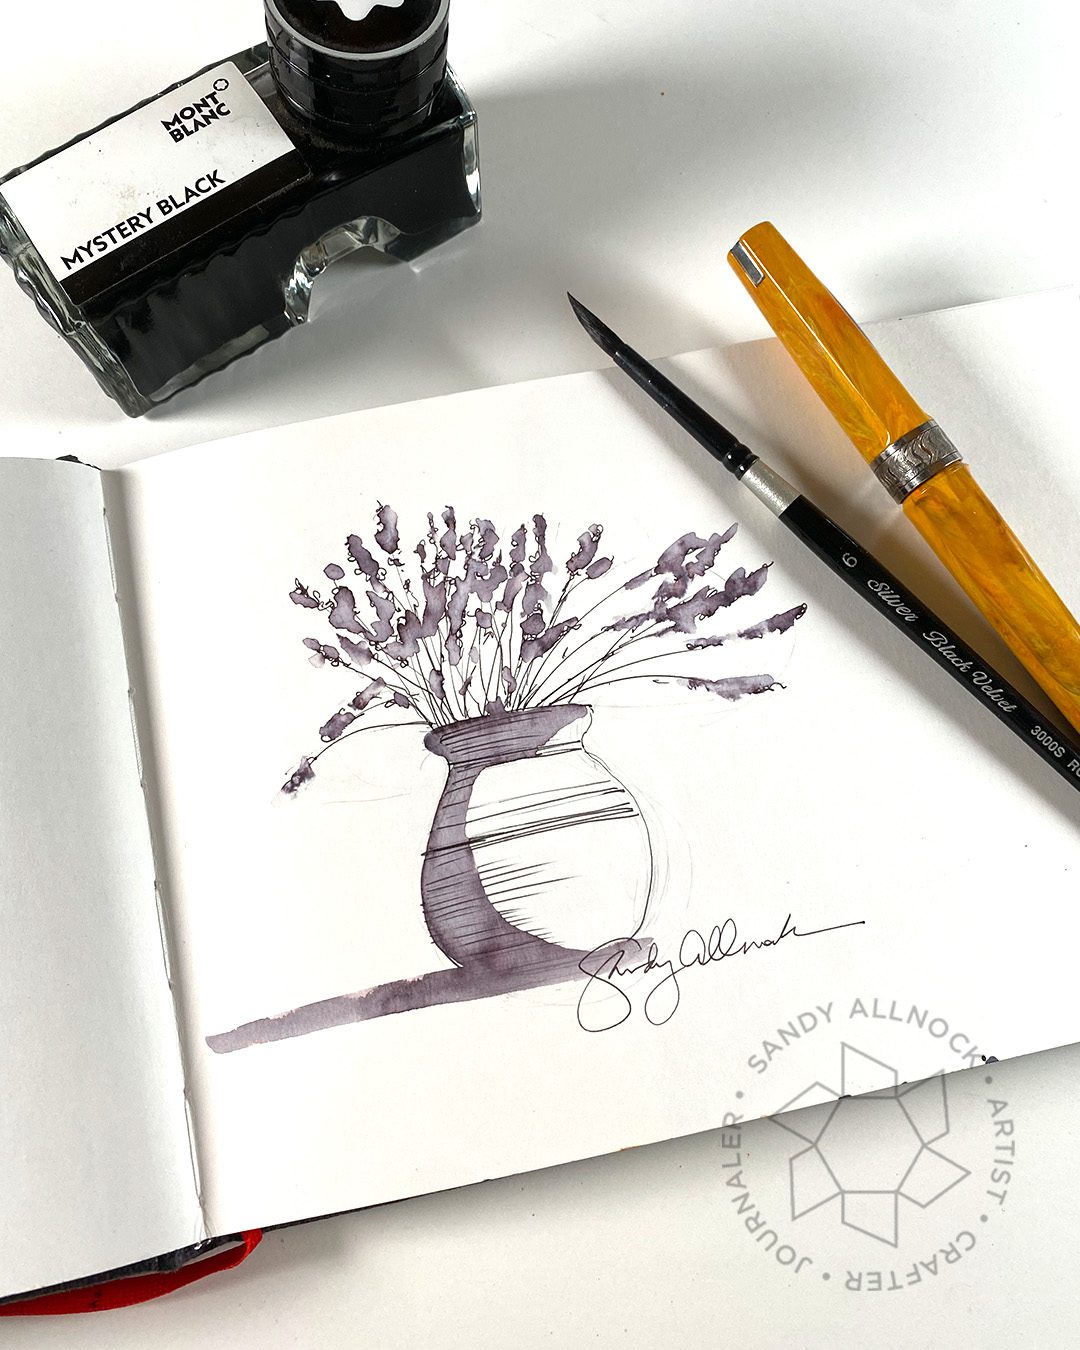
Water soluble ink can make sketching easier – learn to sketch a winter forest and vase of lavender in the video!

Studio cleaning and storage-swapping

But first….some BIG NEWS! (that few may care about, ha!)

I cleaned the STUDIO!!! A deep clean wasn’t done in here since 2021 and it was so needed. My huge counter was intended for staging projects. But it was buried in stacks of supplies, partly done projects, wanna-do projects, and so much more. The new tools I got this year didn’t have a “place” so they all sat on the counter….so…..

A year ago I added a drafting table to the studio, and reorganized in its wake. (a little footage coming next week!) I had some of my art supplies in the next room, but I found those just never got touched. Too far away! Things I rarely use like dies and sequins and glitter are now in the other room. New stuff can now fit in drawers!

I’m super excited for what this’ll mean for having several projects underway at once. Now I can lay them out without stuff falling over and keep on juggling everything! (Vienna steals pencils when things fall down, eeep!)

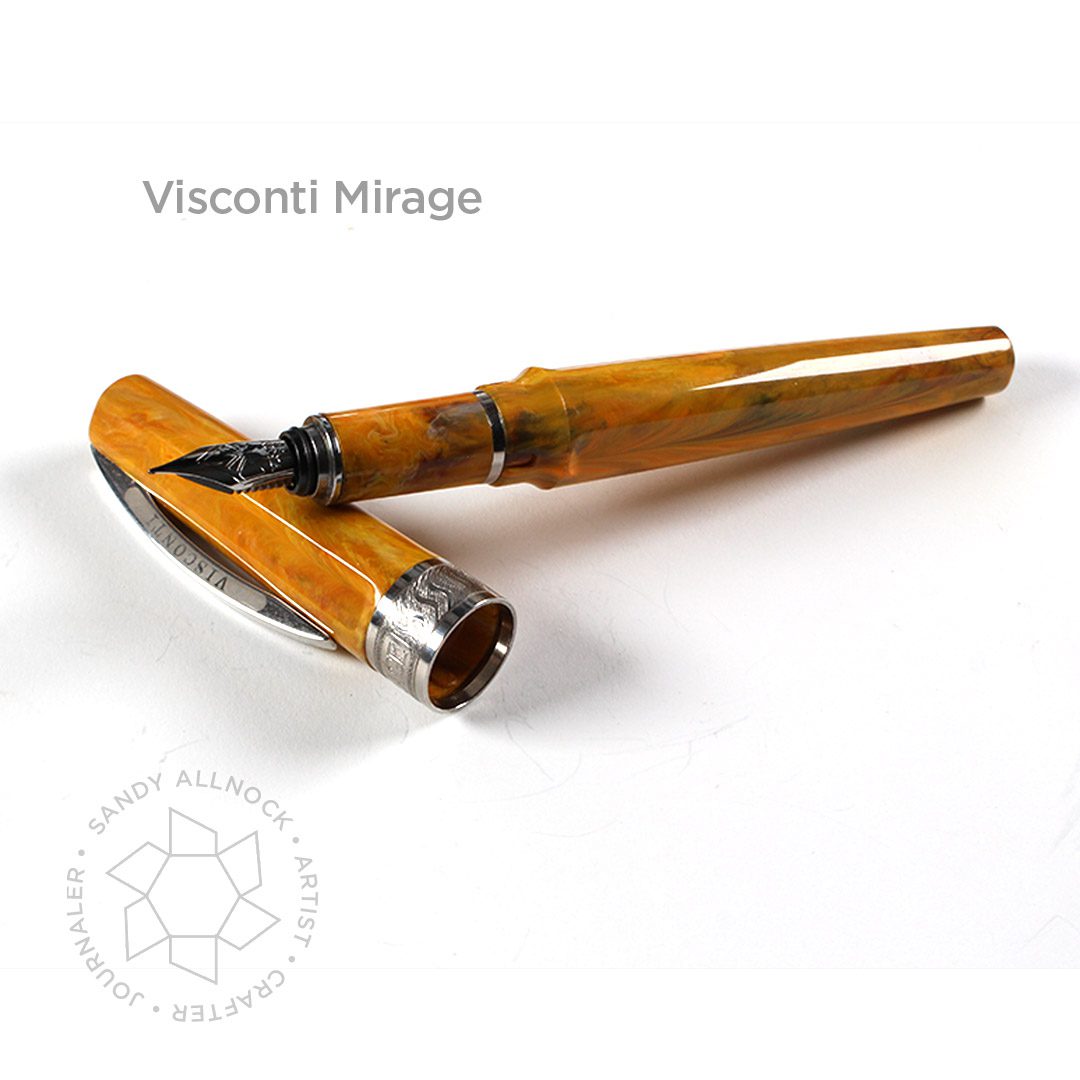
PLUS I found a bunch of STUFF! Things I’d been looking for. Watercolor dot cards. Brushes and other materials I was going to test. Inks that got hidden behind other things. Papers, papers, papers. I uncovered my pen storage box – and found my Visconti Mirage pen inside!! The box had been so buried I practically forgot it. But no more! And my dremel project is now back in sight – it lights up, so watch out for that in the month ahead, I think it would be a great valentines project. Can’t wait to get going on it!

Okay enough of all that now. Let’s get to some water soluble ink sketching!


Tutorial: Techniques for Sketching with water soluble ink

Since my Mirage needed to come out of hiding – and get itself all washed and new ink put inside after sitting there for over a year! – it’s time to do a little sketching. These are easy so I hope you’ll consider trying one!

Watch the video below and scroll to the end to leave comments or questions — or click HERE to watch it on YouTube and leave comments over there. I read both dutifully!

Related links

  1. Another Mont Blanc ink video, wicked cool technique with bleach
  2. Stamped Watercolor classes
  3. Stamped Watercolor YT playlist

Test water soluble inks and papers

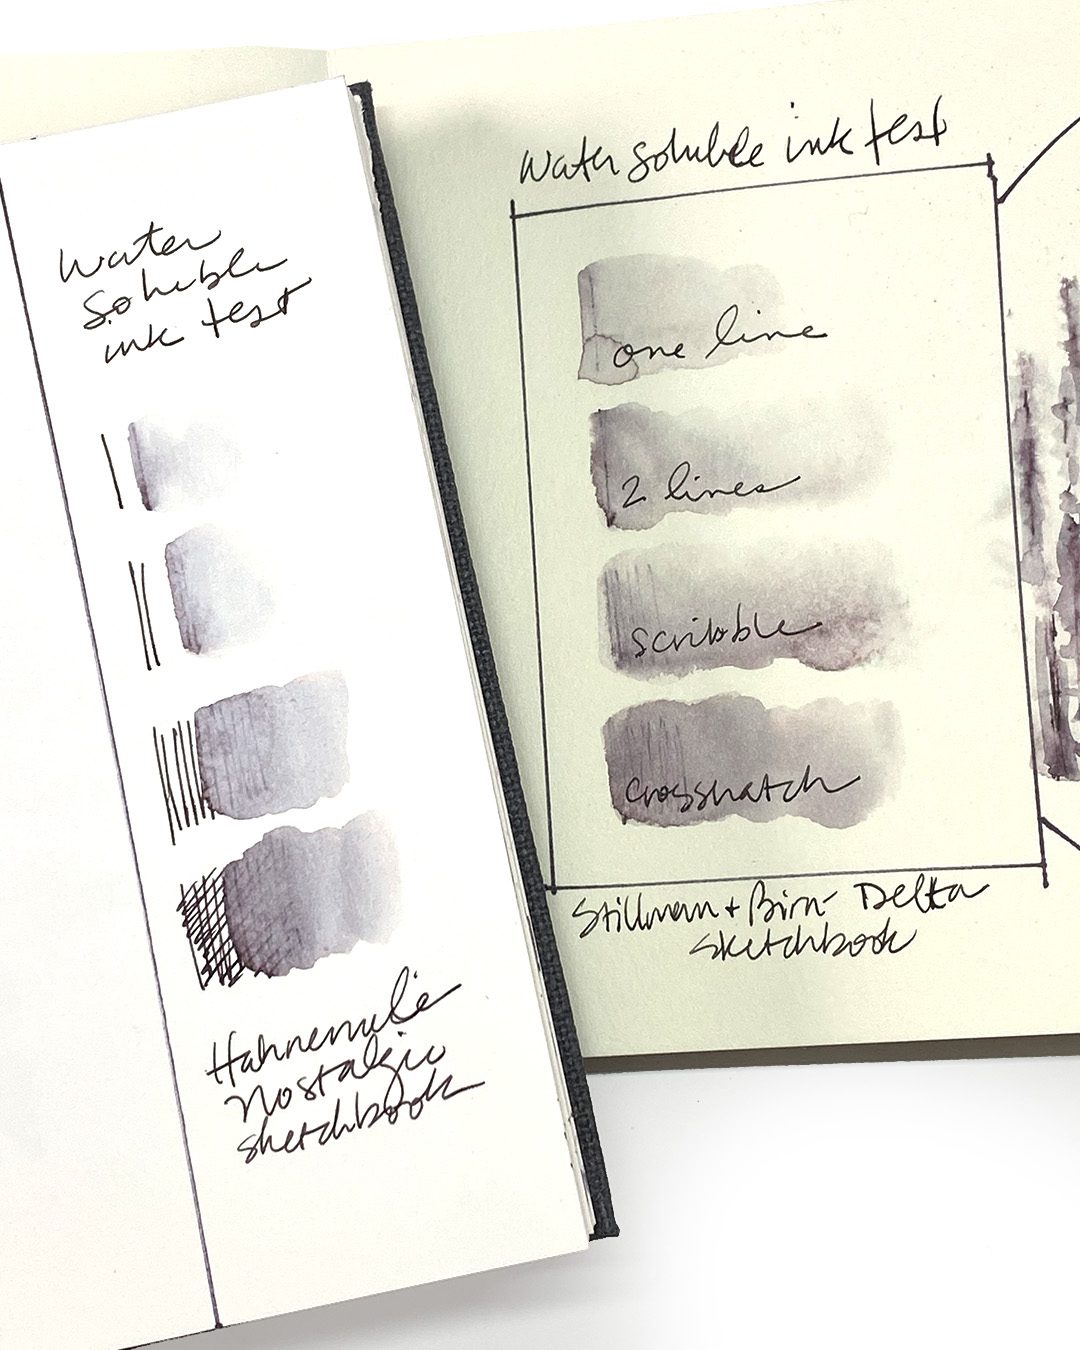
You might have some inks that are water soluble and not even know it! Get some paper and do a couple tests like I did. Try one line first, so you know if you just do a single outline, how much black/grey ink wash will come from it. Will you need to do two strokes? Or if you scribble over an area, will the lines disappear on that paper or not? Make sure you’re testing on papers you might like to use. I’m going to be making some postcards this week to mail out to chilly friends, so I need to test the ones I’ve got. (I found them, yay!)

Winter forest in water soluble ink

Since most of my country is under a deep freeze right now I thought maybe some folks would sketch some frosty-covered trees out the window! Spritzing is an easy technique, and sometimes comes out with no need to do the second inking pass – just the spray may be enough. Try out a couple papers and see what works for whatever pens you have.

Vase of Flowers (Lavender) in water soluble ink

The vase is another simple idea – you can make a simple rounded vase. It doesn’t need to be fancy – and if you’ve got some AI floral stamps, then make some stems to watercolor! (Yes your watercolor markers count as water soluble INK!)

Have you done a year-end cleaning yet?

It’s always my favorite deep-clean, because I’m already in the new-year-new-me mindset. And finding things that I wanted to use and haven’t yet, well, that’s just downright inspiring!

Supplies

Some product may be provided by manufacturers for review and use. Compensated affiliate links are here at no cost to you. I appreciate your support of my work with your purchases! Full affiliate and product disclosure | My trusted partners in art

Subscribe to receive blog posts by email: