Rest in peace, Punch. Hope you found Ciara to go snuggle with, I know she’s been missing you.
It’s obviously been quite the week and I forgot to post the winner of the CCC stamp from last weekend, but her info was sent in to CCC for the prize – it was Didi Irwin.
Gratitude Junk Journal Class is about ready to start!
Hey friends! Hope you’re doing well on this Tuesday in the middle of summer!
I’ve been doing a few new things of late on social media, and while I know some of you aren’t on Instagram, I thought you might like to know what you’re missing.
I do know some folks who’ve created IG accounts just to go view things – no posting or anything, and with a name that wouldn’t be recognizable so no one will find them. (ha!)
I’ve been looking for a while for something to shake up what I’m doing; biz has gotten stagnant, YouTube seems to be dying for creators like me (all these years later and views just stay at the same number)….but one place that does seem to be reacting and growing for me now is Instagram. But growth in numbers isn’t my goal – finding more people who I can help by inspiring their artistic ventures is what I want!
I’m doing lots of experimenting with types of content on Instagram, and since you come to my blog for tutorials, I wanted to be sure you don’t miss out on content that you might like.
What’s a tiny tutorial?
My YT tutorials are “big” ones – longer video, voiceovers, the teaching of concepts, mediums, and techniques. The “tiny” version of those: a single “little” idea that may have an outsized impact on your art! I look at questions I’ve received in emails and comments, noting the pain points of other artists – then try to answer them.
Go see all the tiny tutorials here(they’re collected in a “highlight” yellow icon at the top of my page), and click on the one you’d like to view. I add the ones from my main IG page as well as those on my fine art page; I’m trying to make them on Thursdays and Saturdays. My inner graphic designer loves these assignments, heehee!
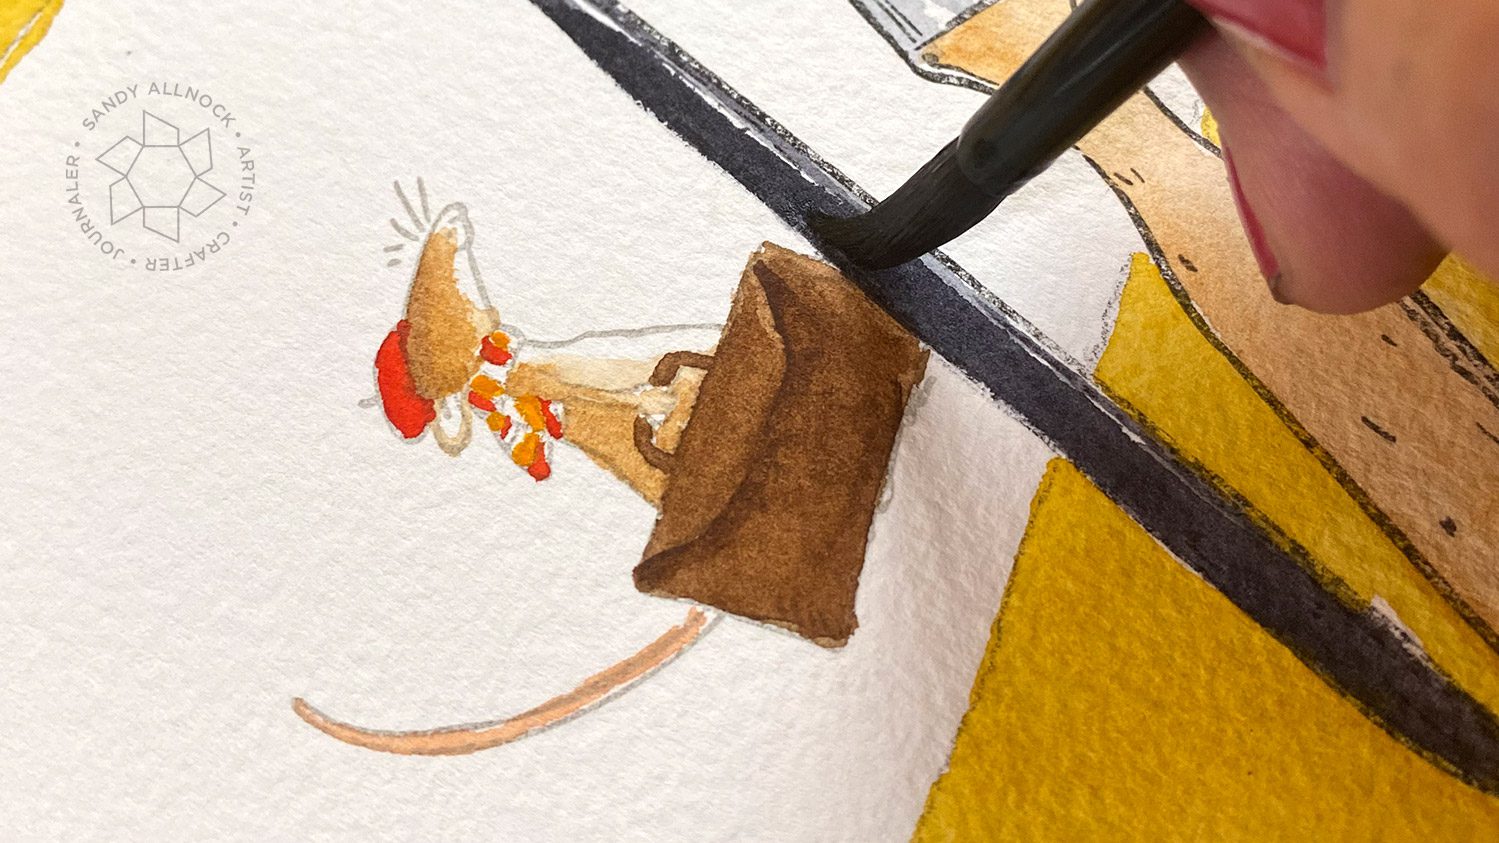
I’m a little late at getting to the new Colorado Craft Company release….but maybe the wait was worth it? While this isn’t a graphical tutorial like those above, I did take some pics along the way while working on this 5″ x 7″ watercolor card….this would work for Copics or others too. I’m using the new Color My World set from Colorado Craft Company along with The Artist.
Stamp brushes, masking as needed, and stamp image to be the painting in a lighter ink.
Paint or color the table.
Paint or color the image. Consider lighter colors than the “real” brushes and background.
Add shadows under the “real” brushes, going over the “paper” beneath them.
Add a shadow under the “paper” too, since it’s “real.”
My purple shadow bugged me so I added another layer of yellow background to soften it.
Add layers and sentiment to finish!
Supplies
Some product may be provided by manufacturers for review and use. Compensated affiliate links are here at no cost to you. If you choose to shop using my EH (Ellen Hutson) links, please accept cookies on that site in order to retain the link to my blog, or that compensation does not happen for me. I appreciate your support of my work with your purchases! Full affiliate and product disclosure | My trusted partners in art
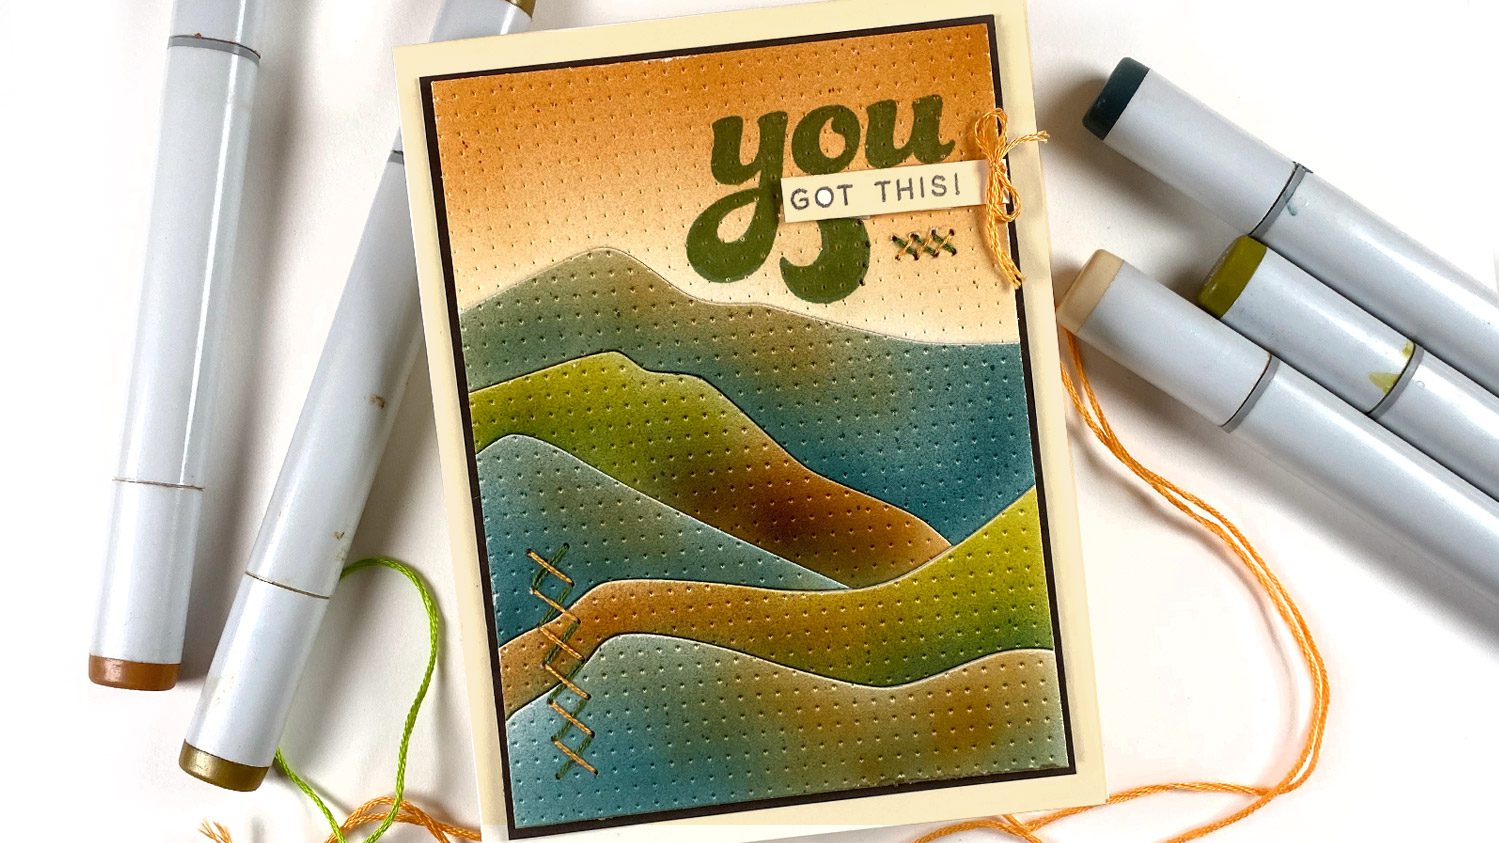
Are you stuck for an idea for making a card for Dad? I’ve got a couple tips to turn your design idea into a masculine card over on Ellen Hutson’s blog!
Here’s the supplies for this card – though I gotta warn you, the abstract scenes dies are out already! Only a week! Go add yourself to the “notify me” list.
First – I’ve added some new affiliate partners to my Partners page! I list all the companies I partner with for art supplies, so you can for one know who my peeps are – but also, if you plan to shop there anyway, it’d help me keep up my work if you were to click on one of these links first. Shop at will, and the site credits your purchases toward my affiliate account. It doesn’t cost you a thing – you still get your sales or coupons too – but it really helps around here! (and a tidbit not many know: the most recent affiliate link clicked before submitting your order is the one that gets the “credit.” TIP: If I’m visiting a bloghop, I use that knowledge to choose my favorite card along the way and go click on their link to reward them for inspiring me!
And…a YT short!
I’ve been creating a lot more short-form videos lately….it kinda takes me back to my last job where I periodically got to work on brainstorming and storyboarding video! If you like this kind of thing – there’s a lot more of it over on Instagram; I’m not flooding my YT account with these (even debating whether they’re worth having at all?) but Instagram is doing a great job highlighting these tiny videos that tell a little story! Sometimes though I’m taking one of them and popping it over on YT, just adding different music – especially when it comes with a few notes in the doobliedoo so I can reach my YT subscribers who don’t follow me anywhere else.
I recently received a new stand to try out for my DSLR camera – and while i had my doubts at first – it worked out great! BIG thanks to Aaron and Arkon for supplying it for me – and for providing me with a coupon code so YOU can get 20% off your order in their store! (I do receive a small commission too, at no cost to you)
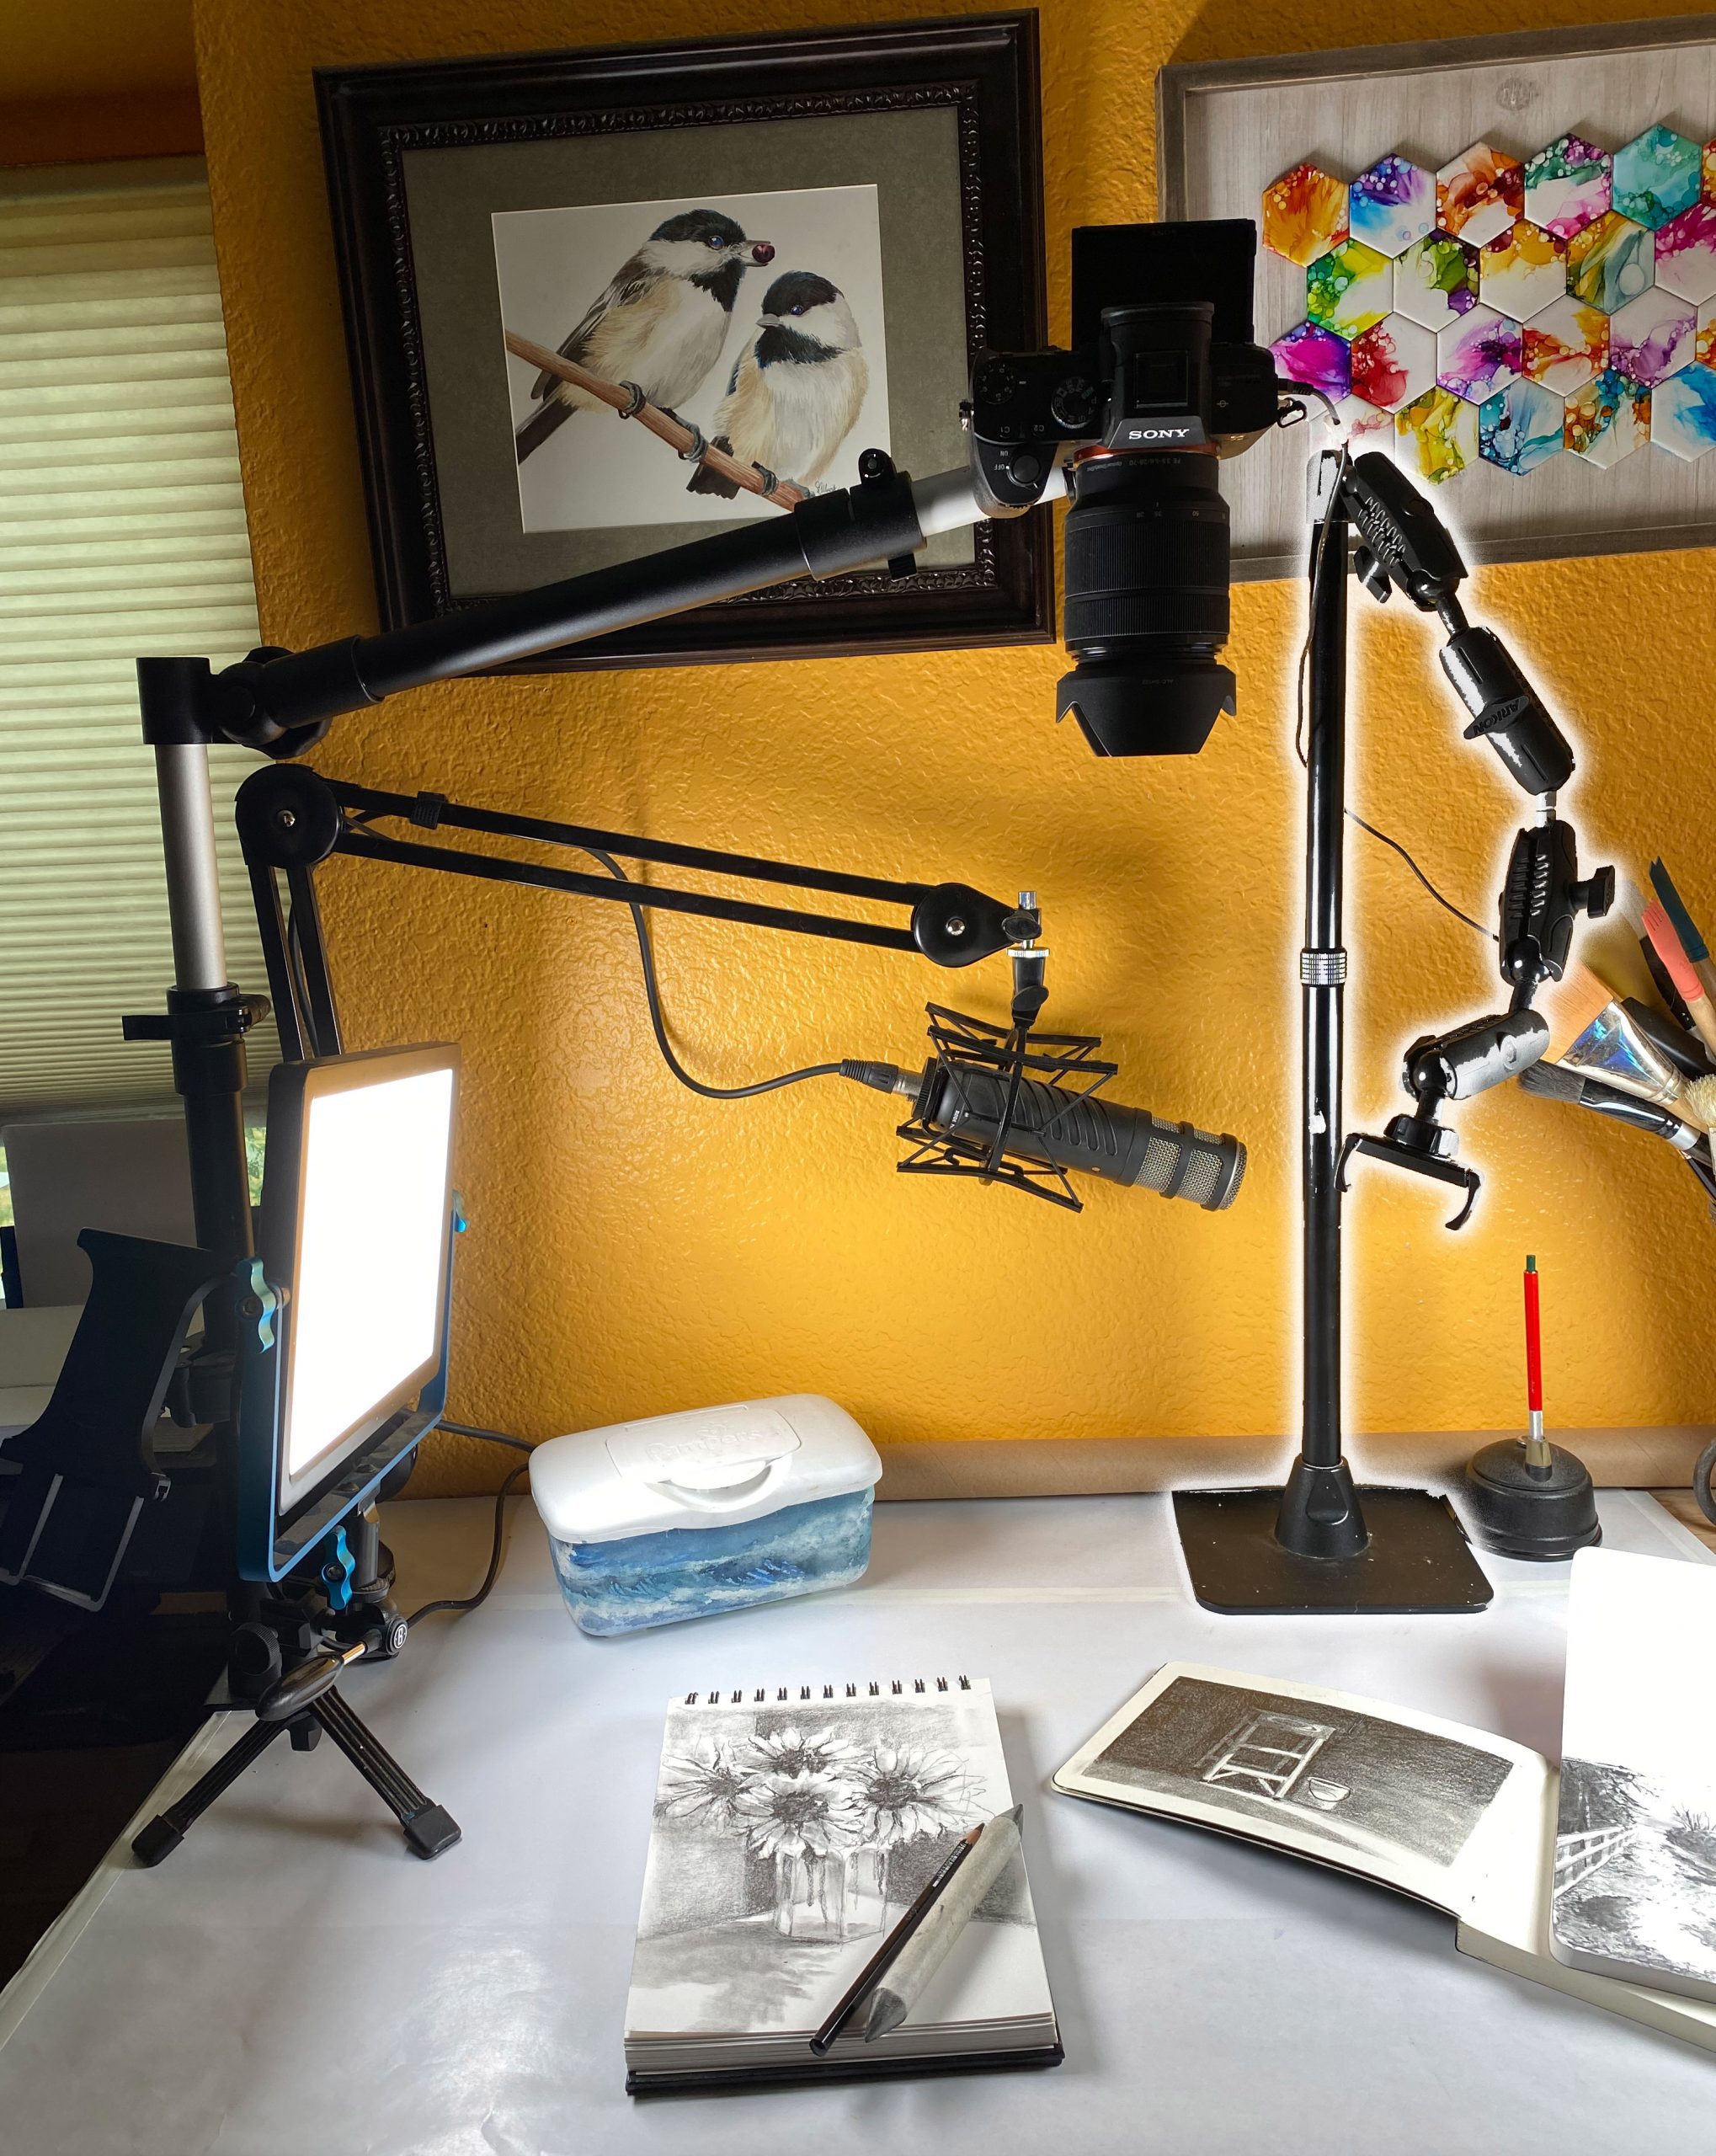
My studio is a unique one – I combined 2 bedrooms to make one big room, and installled built-in kitchen counters and cabinets for storage. I didn’t have a clue what I was doing when building or setting up; it was my first customization ever! But I left myself room to customize and grow going forward, and periodically I change things up like I did a few weeks ago.
Arkon sent me the DSLR stand, and I wasn’t sure how it would work. I even emailed Aaron to ask advice, I could get the clamp onto the side of the counter just to the left of me, but in addition to that being in my way, I needed one more “elbow” to get the angle to what I desired. I realized I could move the workspace — and even though that would be a ton of work to relocate everything (and you know what that means with art supplies….cleaning, redoing storage, and DUST BUNNIES!), I decided to do it. And it worked out great!
Video
In the video I show you the setup I now have and why it works for me. Your space is different and will need different tweaks, but maybe there’s an idea in here that might help you! Watch the video below or click HERE to view it on YouTube.
New DSLR stand
Arkon came out with this DSLR stand recently – and since it’s 2021, you may discover it’ll take a while to get one, manufacturers worldwide are having trouble finding things! But – while I was a skeptic, given that my room doesn’t accomodate clamp stands too well, I was proven 100% wrong. This stand has so many adjustable features that it worked great. It’s super stable – no shaking, like I had experienced sometimes before. And it’s on that stand so my other one can move around with my needs to shoot other things.
Weighted Base Pro Stand
This Pro Stand is what I’ve used for years; it comes in a clamp model too but I hadn’t been able to use clamps too easily because they could only clamp to the side of the counter right beside me. Instead I weighted it down with a bunch of heavy things – you only need to do that with a DSLR, it’s fine with a phone – and that made it kind of a permanent fixture on my workspace. Now it’s free to roam around as I make reels and shorts on my phone!
Mic system
I stepped up my game last year with a new Rode ProCaster Mic with boom stand, and have been happy with it. Well happy when I used it! I went through a few months last year not realizing a button needed to be clicked, and couldn’t figure out why my audio sounded goofy – but once I turned my brain on and fixed it, everything’s been great! The Sound Board made a much bigger difference than I ever expected it could – it gives it that “radio” sound.
Lighting
The Dracast LED lights I bought a few years back were a life saver. I used to use 2 dome lights that sat ON the desk – holy cow, soooo big! And without stands they were unwieldy and a mess. I called B&H to get advice – sent pics, talked through my needs, and they recommended a few things. The 2 Dracast ones turned out to be just what I wanted – limited footprint on Tripod stands (which ended up needingnPins to connect them), adjustable in both light and where they’re aimed, and they don’t heat up the studio.
Supplies
Some product may be provided by manufacturers for review and use. Compensated affiliate links are here at no cost to you. If you choose to shop using my EH (Ellen Hutson) links, please accept cookies on that site in order to retain the link to my blog, or that compensation does not happen for me. I appreciate your support of my work with your purchases! Full affiliate and product disclosure | My trusted partners in art
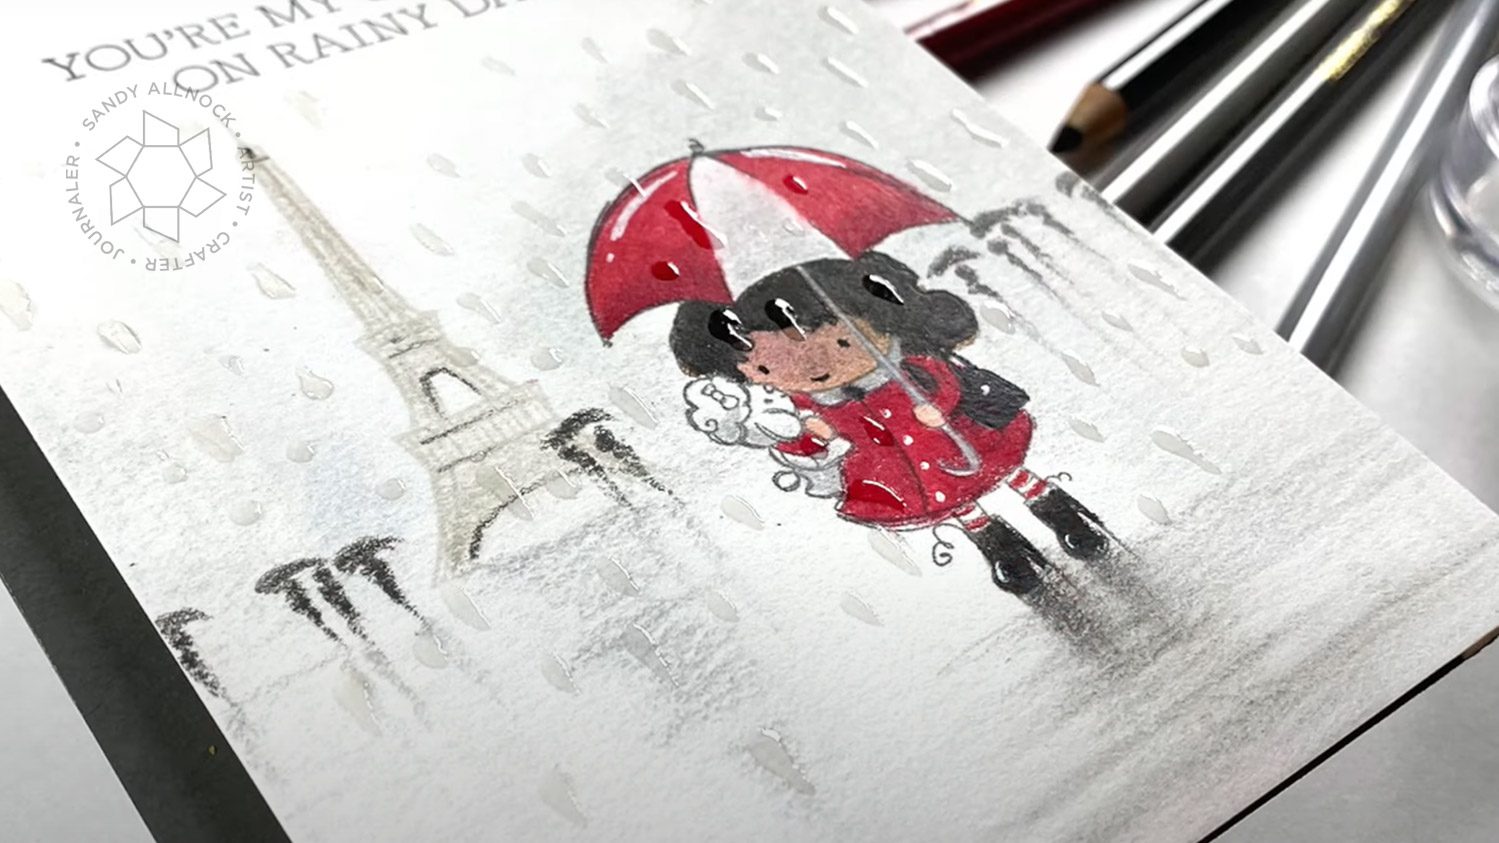
I colored up a beautiful scene in Paris over on MFT – I’ve been collecting my old posts from there since they get archived.
I traveled to Paris years ago and have wanted to return ever since. It’s such a beautiful and romantic place! The instant I saw Rainy Day Friends, I knew exactly what I wanted to do: relive a rainy day I spent in that city!
The card design was kept simple. I trimmed the panel to 4” x 5 1/2” and added it to a card base with dimensional adhesive. I love the off-center look!
Supplies
Some product may be provided by manufacturers for review and use. Compensated affiliate links are here at no cost to you. If you choose to shop using my EH (Ellen Hutson) links, please accept cookies on that site in order to retain the link to my blog, or that compensation does not happen for me. I appreciate your support of my work with your purchases! Full affiliate and product disclosure | My trusted partners in art