
I don’t always make a whole video that’s a redo of a previous one – but the tutorial with 14 backgrounds left a lot of folks confused about how I created this page:
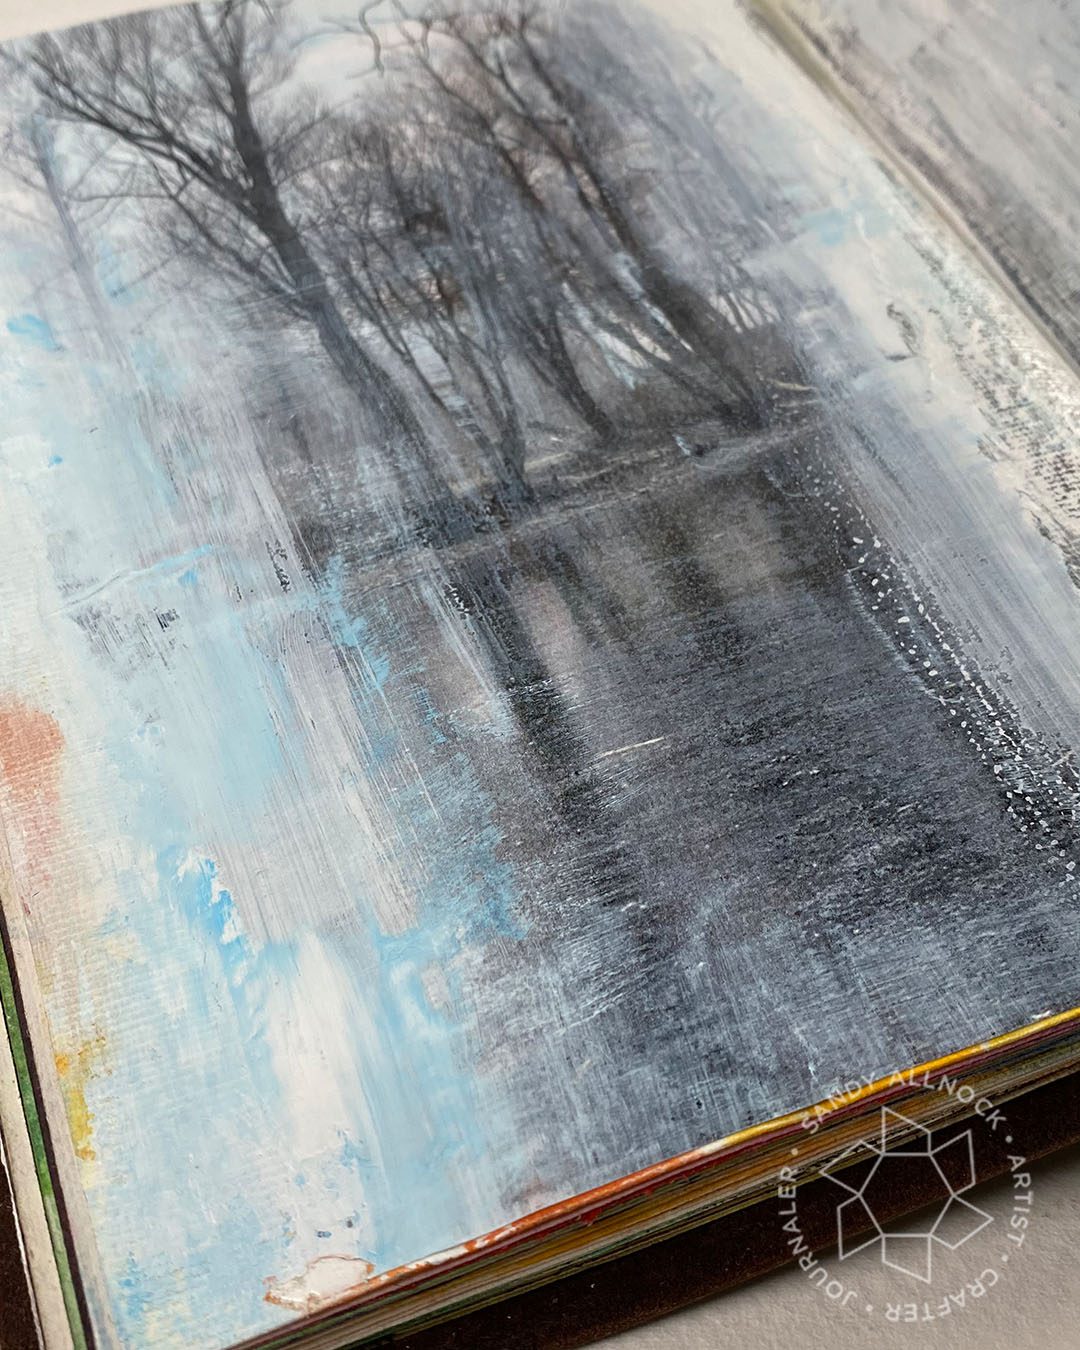
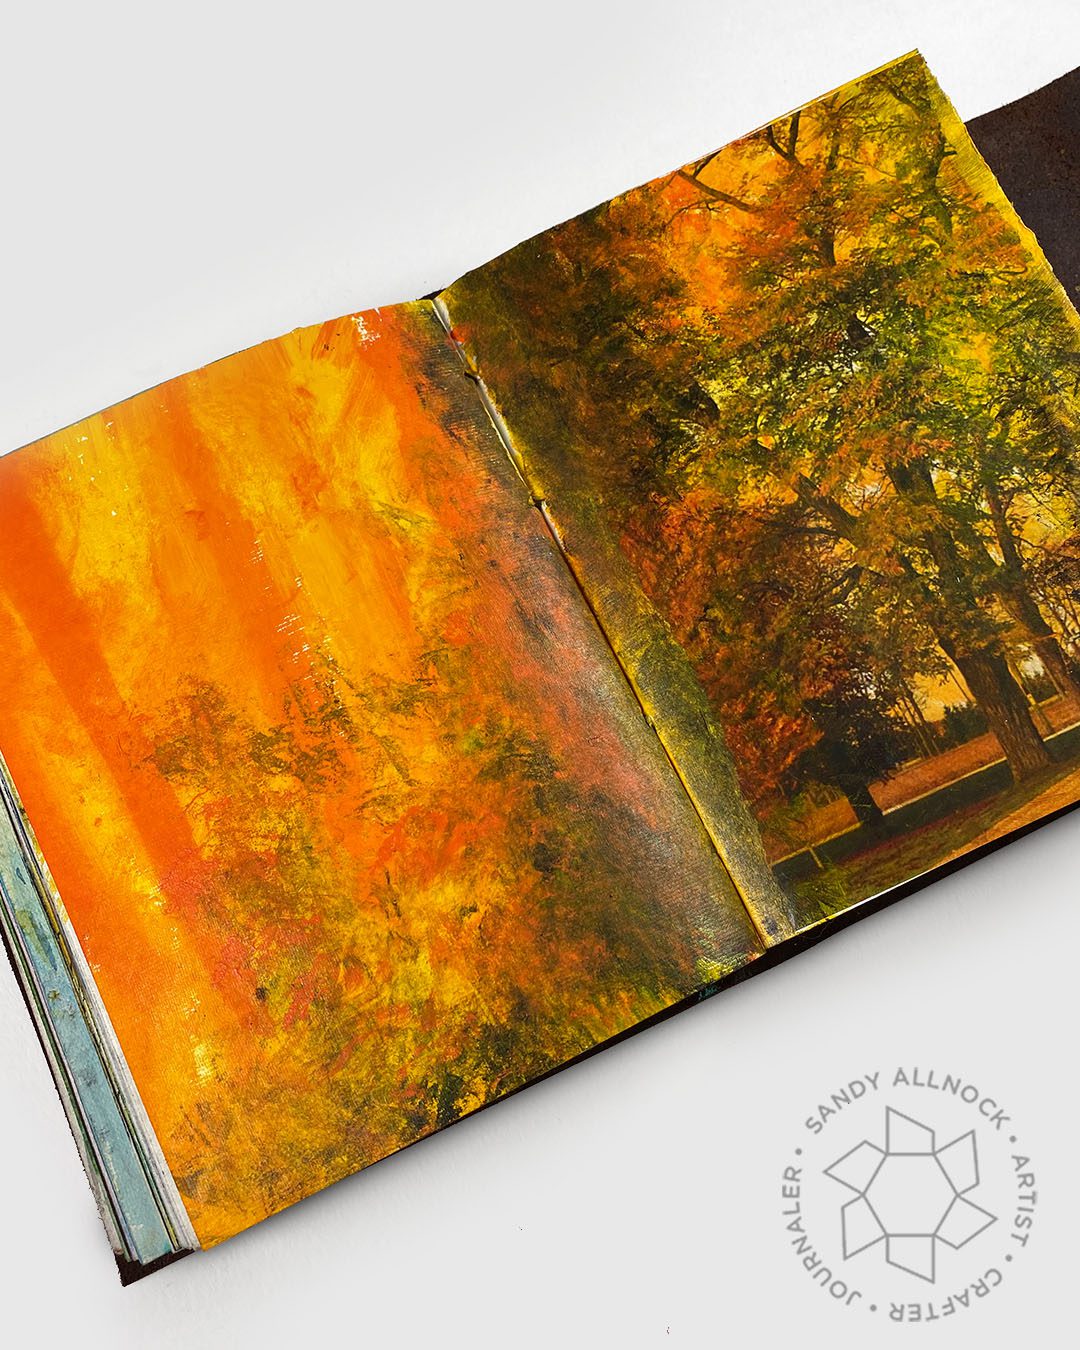
While I am not putting the same photo in my journal again, I’ve got another photo to show you, and maybe that’ll make it clear! (If you missed the earlier tutorial, check that out right here.)
Gratitude Junk Journal Class is now open for registration! Gratitude Junk Journal Class registration starts today (I’m teaching one lesson):
Early Bird Special: Good thru October 31, 2021 – Get 20% off with code JOY2021 at checkout. SIGN UP
Early, EARLY Bird Special. Sign up before October 17, 2021 and receive the Gratitude Junk Journal 2017 class FREE!!
CONGRATULATIONS to Angela Caldwell who random.org selected to win a free seat in the Gratitude Junk Journal class! Email me and I’ll get you hooked up with Tiare for the class registration 🙂
Class Discounts
- Art-Classes classes Sale: All winter/holiday classes have been added to the sale page!
- NEW COPIC CLASS Winter Copic Enchantment!
Video
Watch the video below or click here to watch on YT.
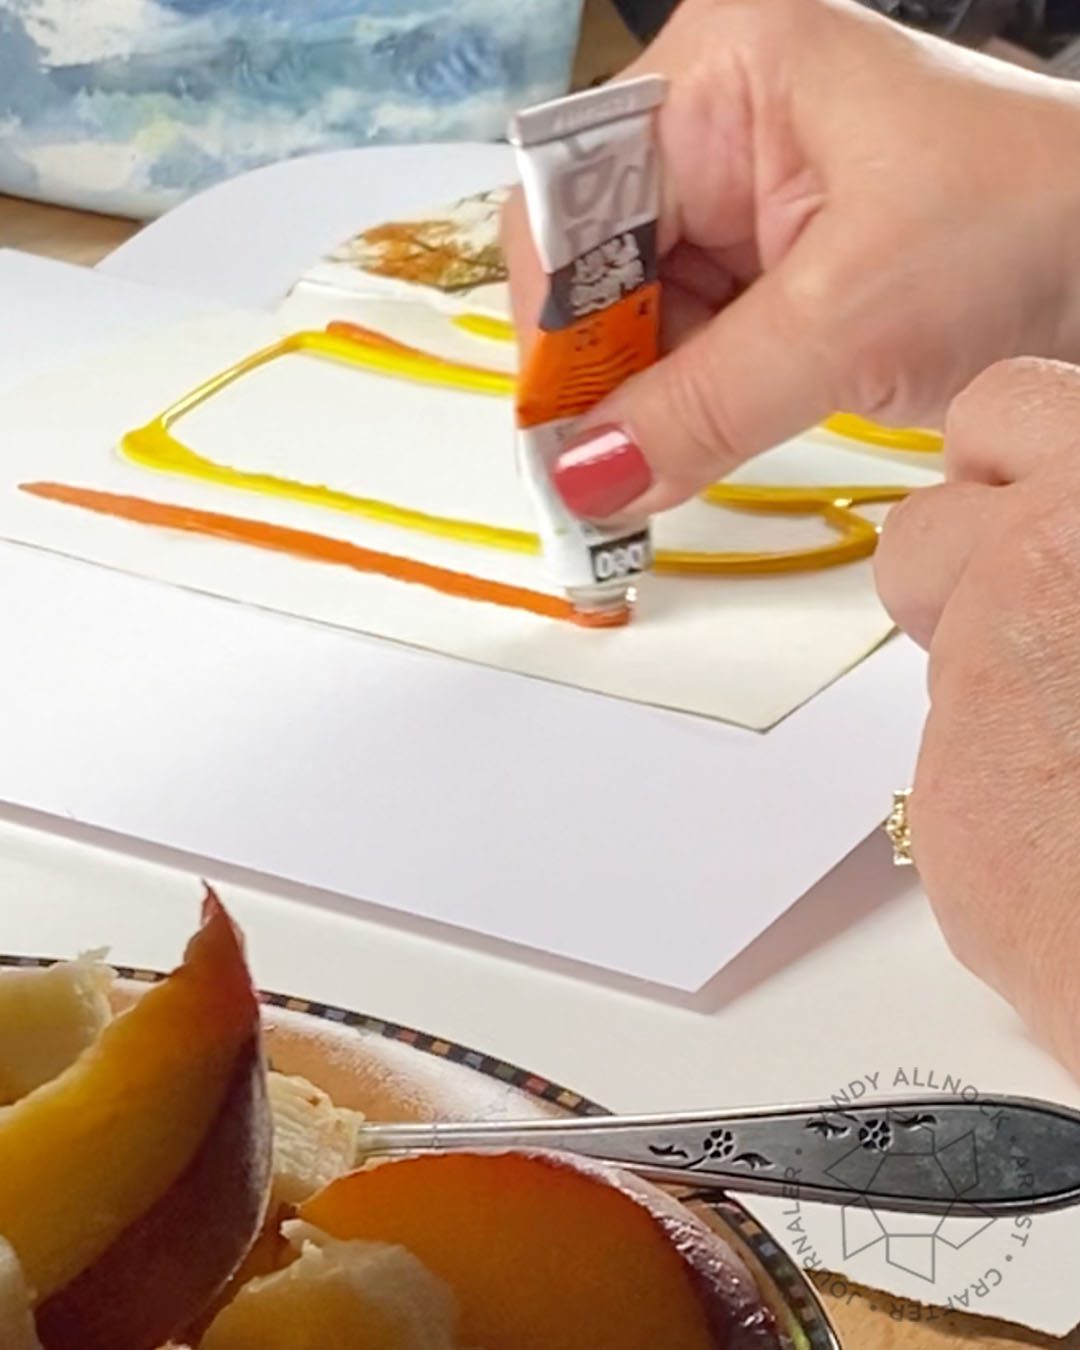
The process I used
- Find a photo and print it; note that I used a photo printed at FedEx which prints a shiny-surface photo; if you have a matte-surface photo, the toner may be activated by the paint; for instance newspaper photos would smoosh, but magazine photos would be easy to use.
- Trim the photo as desired. I wanted mine to stretch vertically across the page, so cut it to the 7″ height of my page. Tear edges if desired – a soft edge gives it a more natural flow (no big flat edge) for the transition to paints.
- Adhere the photo using generous adhesive; if painting over the photo the paper will get wet, so the more secure it is, the better. I used ATG tape.
- Stop for a snack. Nice big bowl of fresh fruit!
- Add first paint splooges directly onto the paper. Move it with either a brush or baby wipe.
- Apply paint over the photo – if it gets too thick a baby wipe will remove some color while still wet.
- Use the wipe or other tool to add texture, and other layers of paint as desired.
- Once dry, doodle and draw on it or proceed with other art journaling techniques!
Supplies
Some product may be provided by manufacturers for review and use. Compensated affiliate links are here at no cost to you. If you choose to shop using my EH (Ellen Hutson) links, please accept cookies on that site in order to retain the link to my blog, or that compensation does not happen for me. I appreciate your support of my work with your purchases! Full affiliate and product disclosure | My trusted partners in art
- Any journal!
- Any acrylics!
- Baby wipes!





Wow Sandy, this is gorgeous
Love watching you do this kind of work – and being in love with Fall, I love the photo you chose. And I REALLY love how you turned it into a work of art. You mentioned doing some doodling – hope we get to see that process also! Thanks for starting my week off with warm, fun colors!