Happppy weekend! Hope you all had a great week filled with fun things, and a creative weekend ahead! It’s been a BLAST here at Simon Says Create – just go to Instagram and search for the hashtag #simonsayscreate to see a gajillion pics everyone has uploaded. (If you’re on a smart device you can search….you can’t on the web, but you can view my pics HERE.) The day was such a blast….classes in the morning with Jennifer McGuire and Shari Carroll (and on Shari’s birthday too!), then Tim Holtz all afternoon, and in the evening was my class with Stephanie Klauck (Simon Says) and Kelly Marie Alvarez (Lawn Fawn). Everyone had such an awesome time, and I hope they’re all ready to roll again today! I got to hang out with the “cool kids” til the wee hours last night, so I’m just a *tidge* tuckered this morning. But psyched nonetheless – because tonight I get to go to the LSS here in Columbus for an OWH Meet & Greet! Woohoo!
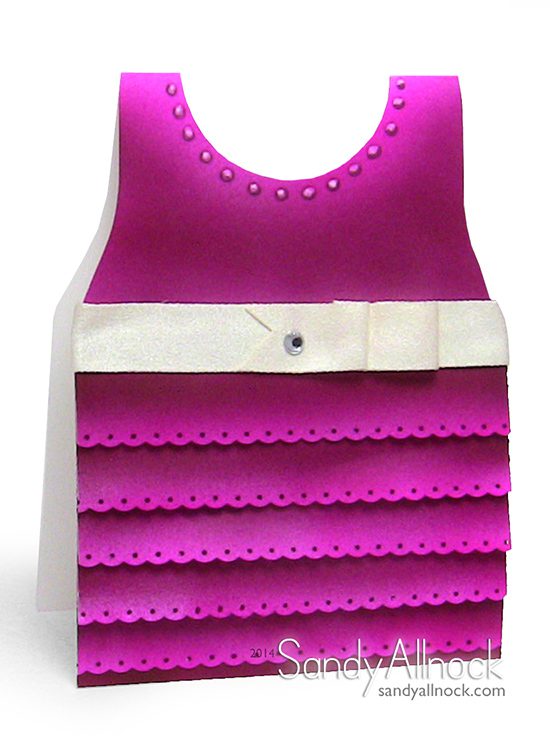
Today I thought I’d share a crazy meshing of two cards made at my two classes at Impress last week….in the morning I taught Airbrush 101…in the afternoon was my Little Black Dress class. While putting away all the leftover kit bits and making cards out of part of it all….I decided to airbrush the panels for a dimensional ruffle dress card!
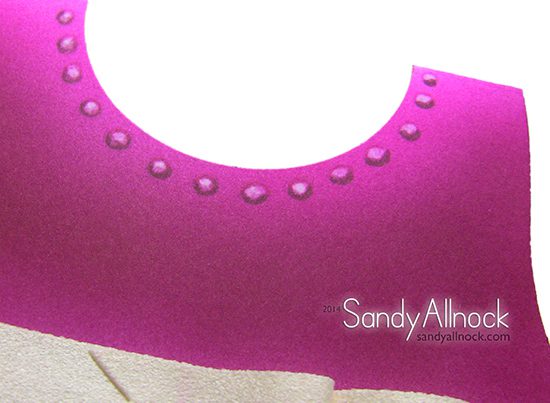
The necline is made not with gems, but with marker! I made a “c” shape with the darker color, and then the gem with the 0 marker.
So to my students who heard me brainstorming the idea – there you have it. An airbrushed dress card! 🙂
If you’d like the tutorial originally posted to make this card, click HERE for the full post with video and PDF of the template!
First, a disclaimer: I don’t know *everything* there is to know about Copic Airbrush – but I’m sharing what I have learned thus far. Which is better than nothing – I’ve found little on the web with enough detail to help me make my own decisions about what to buy. So at least this is a start!
Watch this from a few years ago and then read on for lots more updated, written info below.
FAQ
Is the Copic airbrush system still available?
At the time of this writing, yes, but I’ve heard rumors through 2020 that it could be discontinued.
Does Copic airbrush use more ink than just coloring?
No. It actually uses less! You get control (after lots of practice) to create light or heavily-saturated backgrounds, but the ink all sits on TOP of the paper, not sinking in as it normally will with marker strokes. So more area can be covered with less ink. That said, once you START airbrushing, you’ll be airbrushing everything, so there’s that.
Does the designation of ABS1, ABS2, and ABS3 for the airbrush kits indicate the order of expensiveness/extensiveness of the kits?
Not so. The ABS3 is my strongest recommendation, but which you choose depends on what you’ll be doing. I personally chose to go the compressor route right away. I knew I liked the look of airbrush enough that I didn’t want to feel like I had to “save” the air in a can – I wanted to be able to play freely. Also – those cans are disposable, which just clutters the landfills. With the cost of a compressor, it makes little sense to buy cans except for specific uses.
Light-use airbrushers can do fine with the ABS2 that just uses an air can, while more invested folks will want to consider a compressor – by the time you purchase a few cans of air, you could already own a compressor (between $60-$75US).
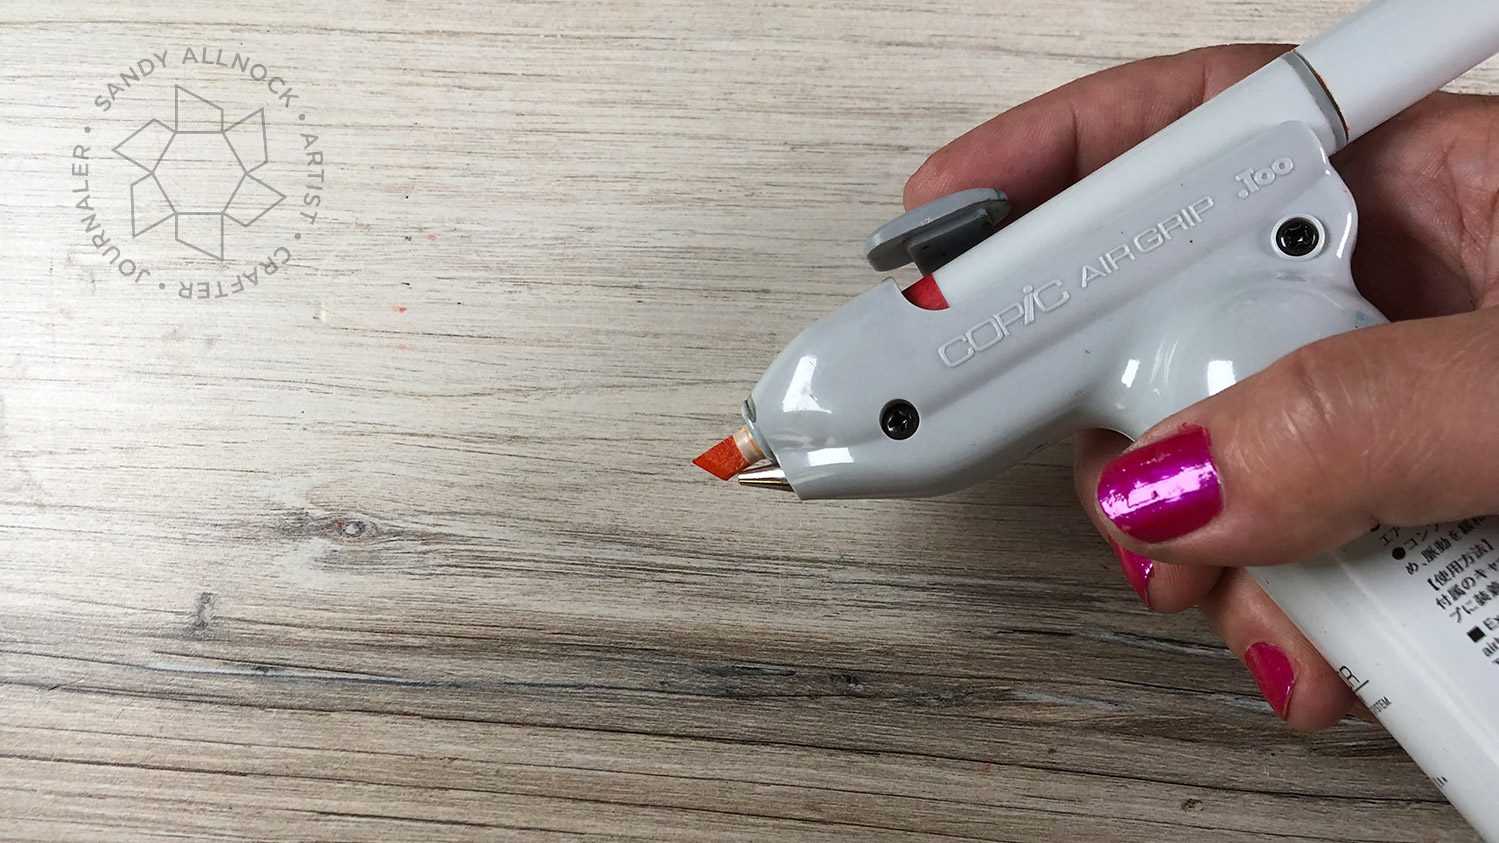
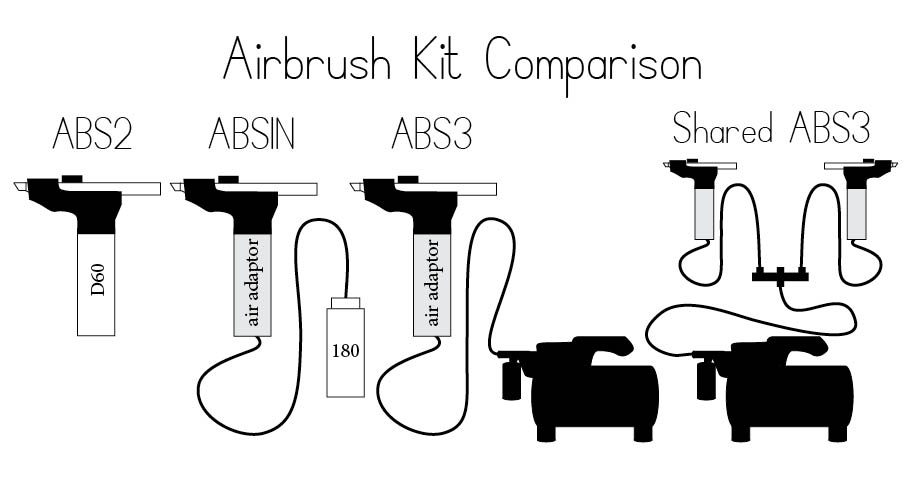
ABS2 – The least intricate kit. It comes with the Air Grip (the thing you put the marker in) and the can of D60 air. That air lasts 4-5 minutes- some places it says 7-8 minutes, but I mentioned 4-5 to be on the really conservative side. In either case, it’s not a lot of airtime. I’d recommend this for folks who just want to do a little spritz here and there. Replacement costs for the cans are $12-15 depending on where you get them.
ABS1N –The middle of the road kit. It comes with the Air Grip, can of air called the 180 that contains 30-45 minutes of air, plus an air adaptor, hose, and foam piece to hold the air can. More airtime here, and the replacement cans run around $20.
ABS3 – This kit goes with the compressor. That’s what I have. It’s got the Air Grip and air adaptor, and if you get the Copic compressor it comes with the one hose you need. Best thing – once you have a compressor, your air is now free!
Is it easy/logical to step up from one kit to another?
To step up from one kit to the next, you should know a few things.
If you start with the ABS2, the only part you have in your possession that you’d need for the others is the Air Grip. If you want to move to the ABS1N, you need a bunch of new stuff: air adaptor, hose, air can 180, foam holder. If you want to go to the compressor system, get the air adaptor and compressor with the hose and you’re done.
If you start with the ABS1N, stepping up to the compressor is easy. Just get the compressor with the hose! You have everything else in the ABS1N kit.
The hose that goes with the compressor runs around $30ish – and you need that specific hose. The Copic compressor DOES include the hose, so know that if you get their official one, you get the hose with it.
How hard is it to set up?
Pretty easy! The ABS2 just needs the Air Can 180 to attach to the grip. ABS1N with the separate air can, just pop the grip onto the adaptor, then the hose to the can. ABS3 – same hookup, just goes to the compressor instead.
Can I share a compressor?
If you have two people who want to airbrush at the same time, you can get a splitter – that doesn’t diminish the air enough to be a problem. But usually taking turns with one air grip is easier, unless you’re doing this for classes, when you’ll want multiple folks airbrushing at once.
Supplies
Some product may be provided by manufacturers for review and use. Compensated affiliate links are here at no cost to you. If you choose to shop using my EH (Ellen Hutson) links, please accept cookies on that site in order to retain the link to my blog, or that compensation does not happen for me. I appreciate your support of my work with your purchases! Full affiliate and product disclosure | My trusted partners in art
Hello everyone! I have a superspecial card for you today…I’ve waited for weeks to share it, and have been chomping at the bit!
It’s somewhat the result of a dream I had; I’d been thinking about what I wanted to do with the Lawn Fawn dinosaurs for a Simon Says Stamp video, and in my dream, I was walking among dinosaurs with an incredible reddish sky overhead. Very very cool image, so I thought I’d try it with airbrush. This card was surprisingly only my 2nd attempt at it … Instagram followers might remember the peek at the first card – cool, but not as cool as this! In the first portion of the video, you’ll see the airbrush, and the wonderment I had when I peeled off all the masking to see that it actually worked. Yes, it surprised me that I hadn’t wasted all that effort!