Copic Acrea Paint Markers – first look

Copic Acrea Paint Markers – first look

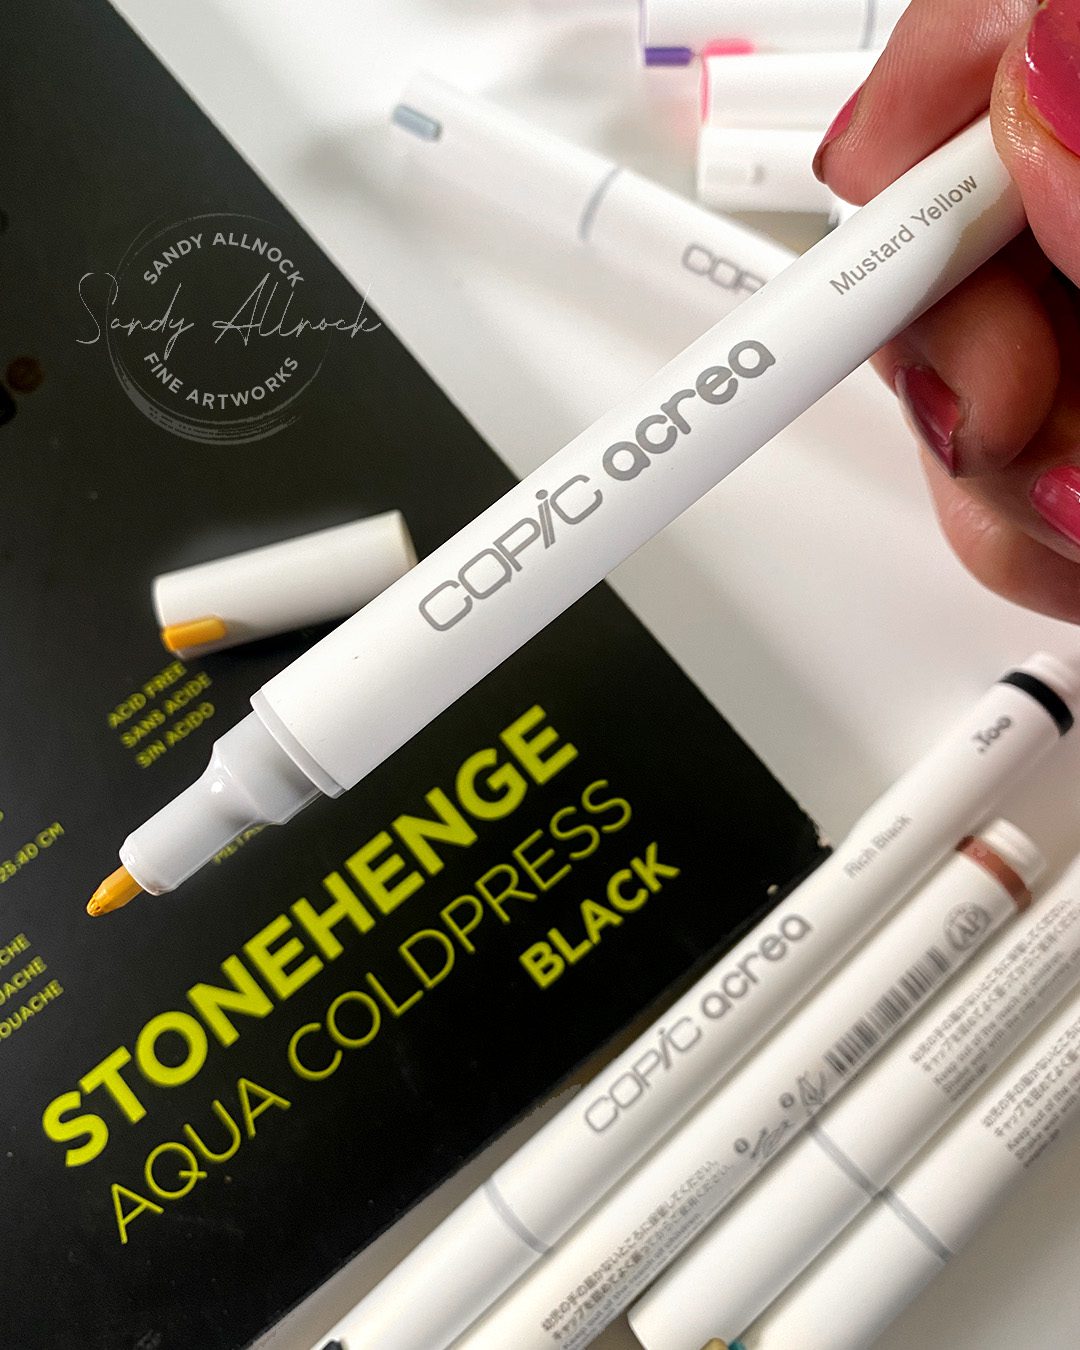
I was running out of watercolor paper, and “just” ordering the one thing I need always feels sad. So I hitched up my britches and treated myself to these new Copic Acrea Paint Markers. I specifically want to say paint markers because I keep hearing folks call them pigment markers and asking how they compare to the Staedtler Pigment Markers I used a little bit ago – and that comparison and a few more are ahead.
Tutorial: Copic Acrea Paint Markers – first look

Watch the video below and scroll to the end to leave comments or questions — or click HERE to watch it on YouTube and leave comments over there. I read both dutifully!

SUPPLIES

Some product may be provided by manufacturers for review and use. Compensated affiliate links are here at no cost to you. I appreciate your support of my work with your purchases! Full affiliate and product disclosure | My trusted partners in art

Black and white original drawing:

    1. TWSBI Eco fountain pen medium nib 
    2. Hahnemule Hand lettering pads
    3. Platinum Carbon Fountain Pen Ink

Color drawing, printed in a tint:

    1. Legion Stonehenge Drawing Paper, 9×12 pad
    2. Derwent Lightfast Colored Pencils (12pencil set used here)
    3. Dahle Dual-hole sharpener

Swatching

I started with swatching the colors – at first I’d begun playing with them on white paper as I took the wrappers off (these come with those supertight plastic wraps on them like Zig Clean Color markers do…..paino in the draino!) But as I shook them and pressed on nibs to get color to come out – I saw these are most definitely paint pens, not pigment pens like some followers had assured me.
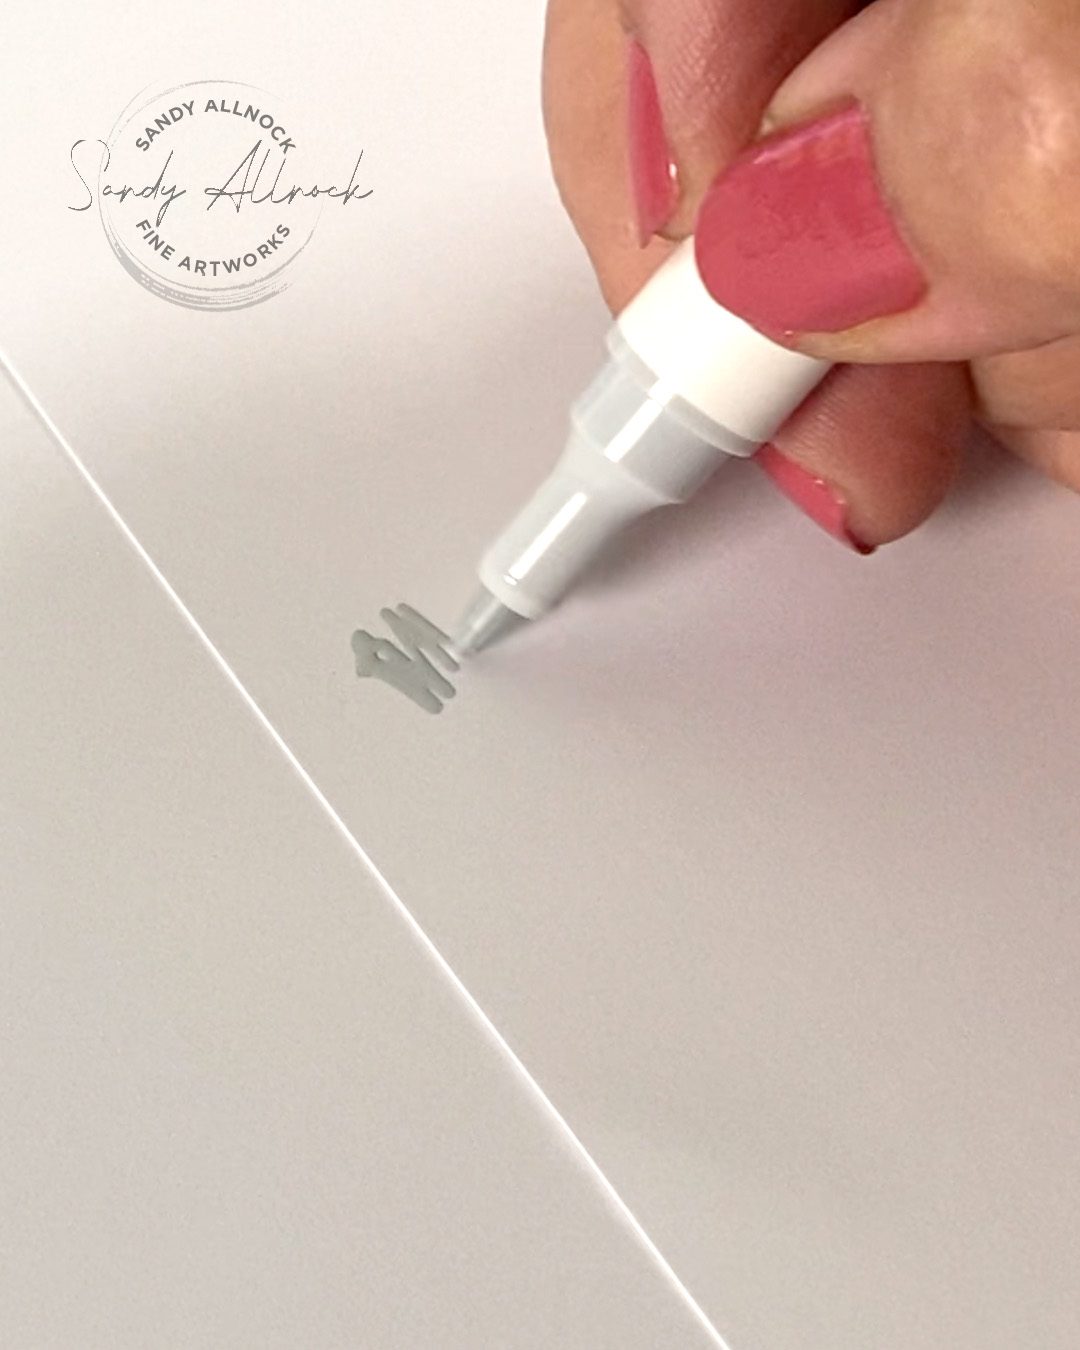
Which led me to swatch on both white (marker paper) and black (cardstock).
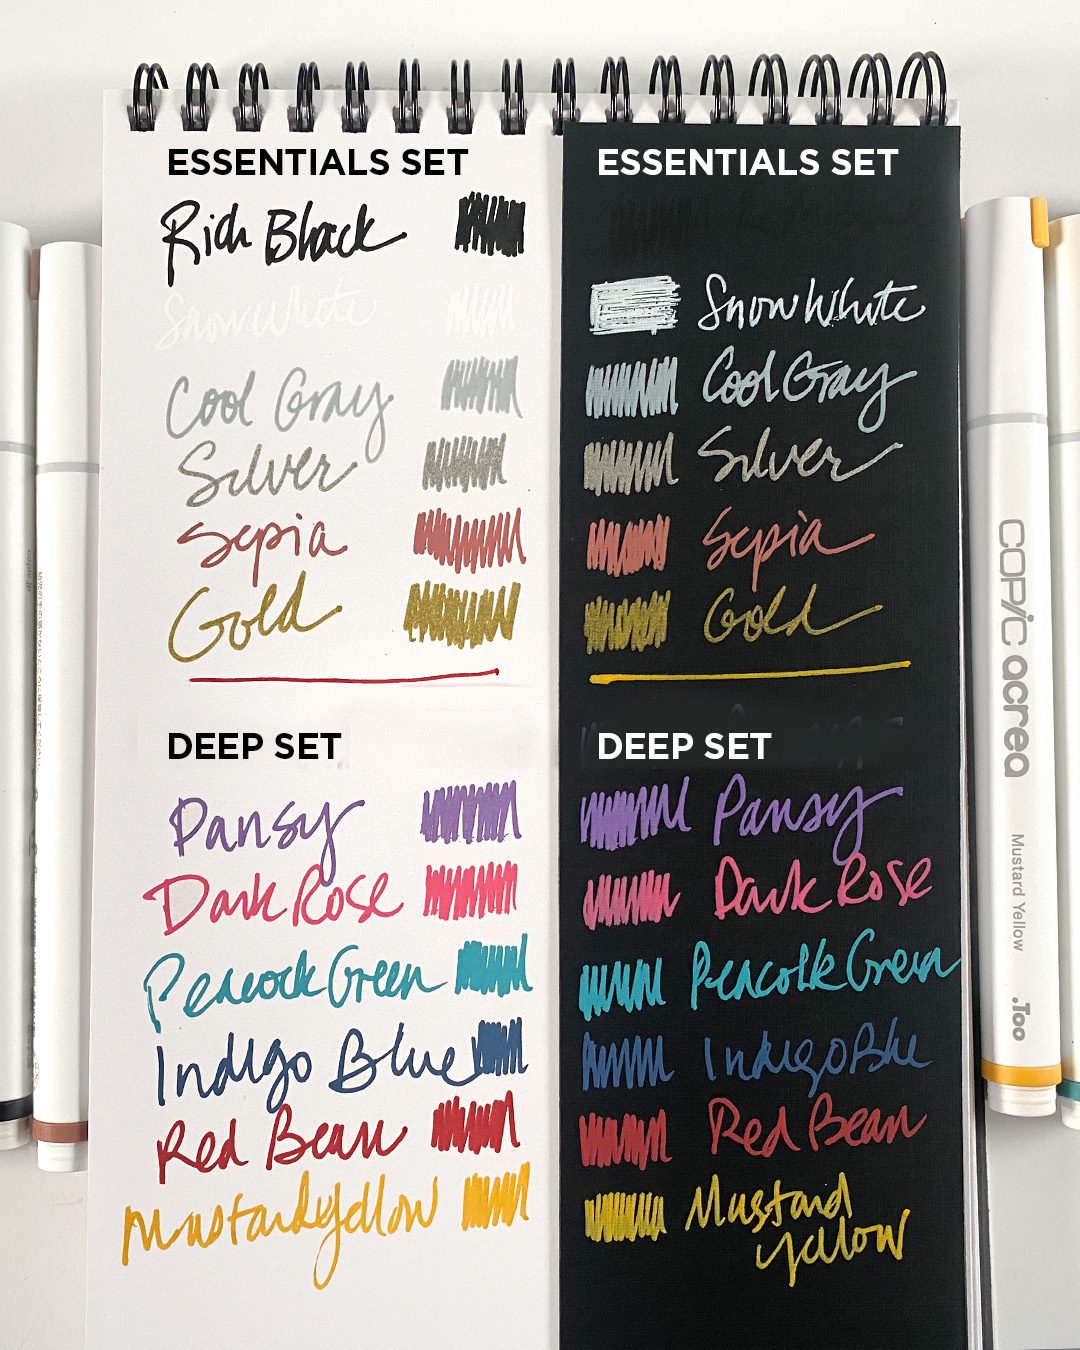
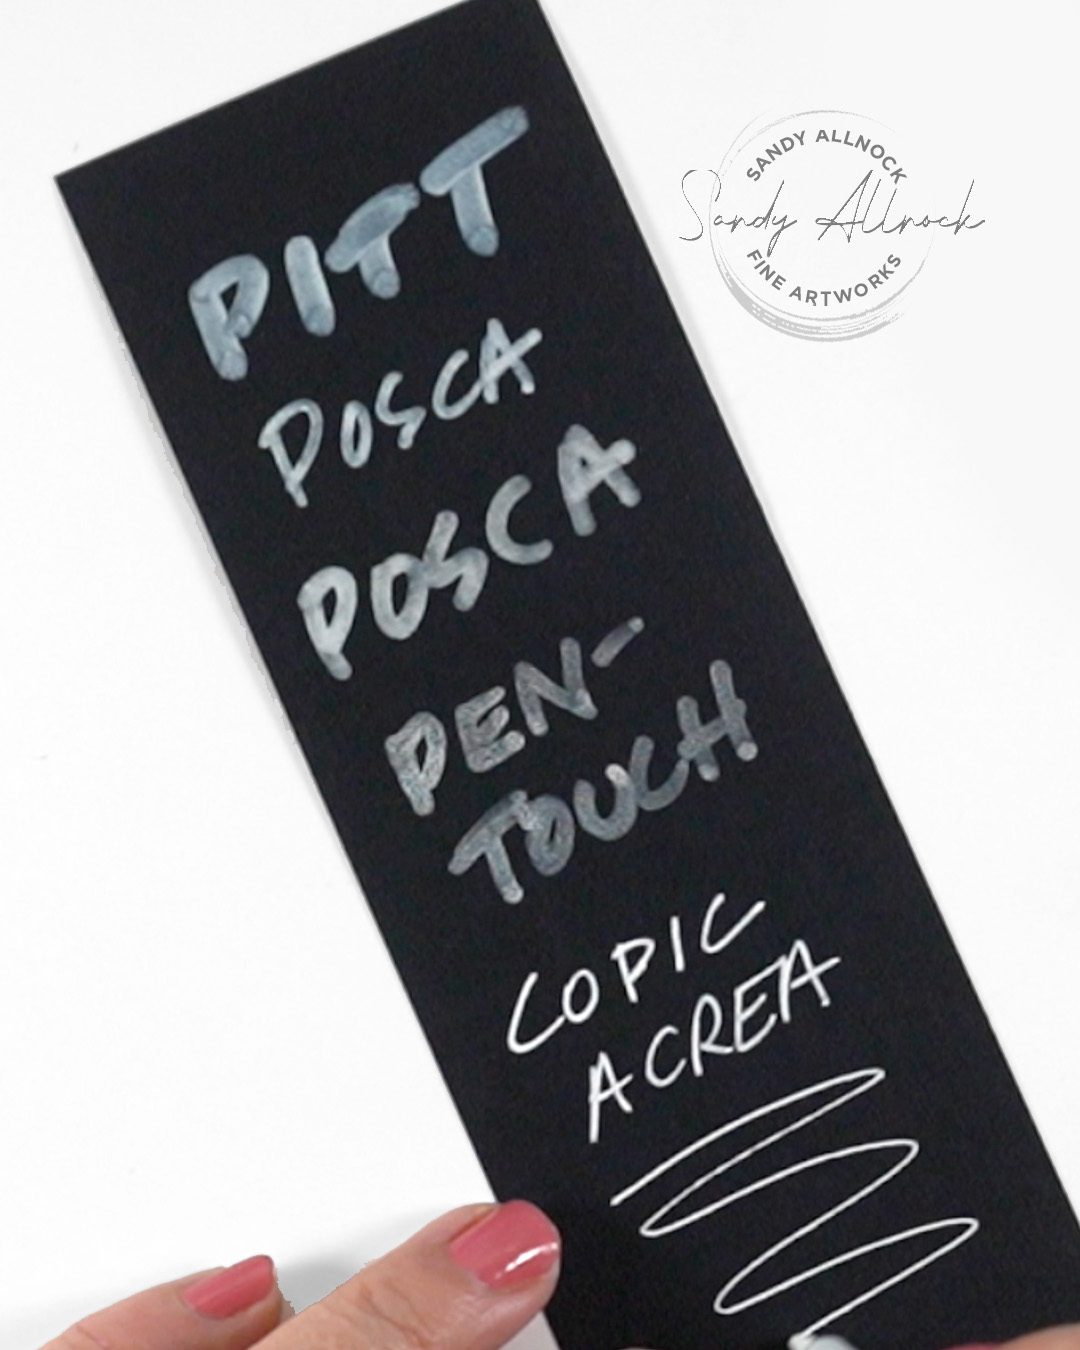
One test these mostly passed…

Against other paint pens in my stash, these are very bright – and very thin lines. Which leads me to think I’ll be doing more doodling with these pens than creating any imagery.
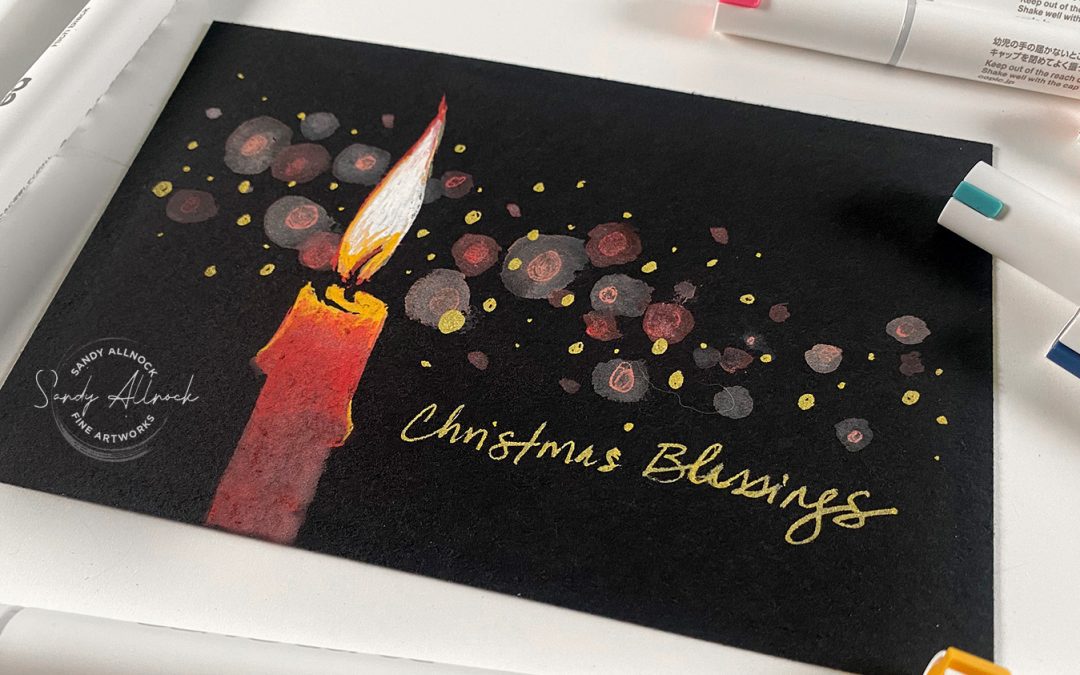
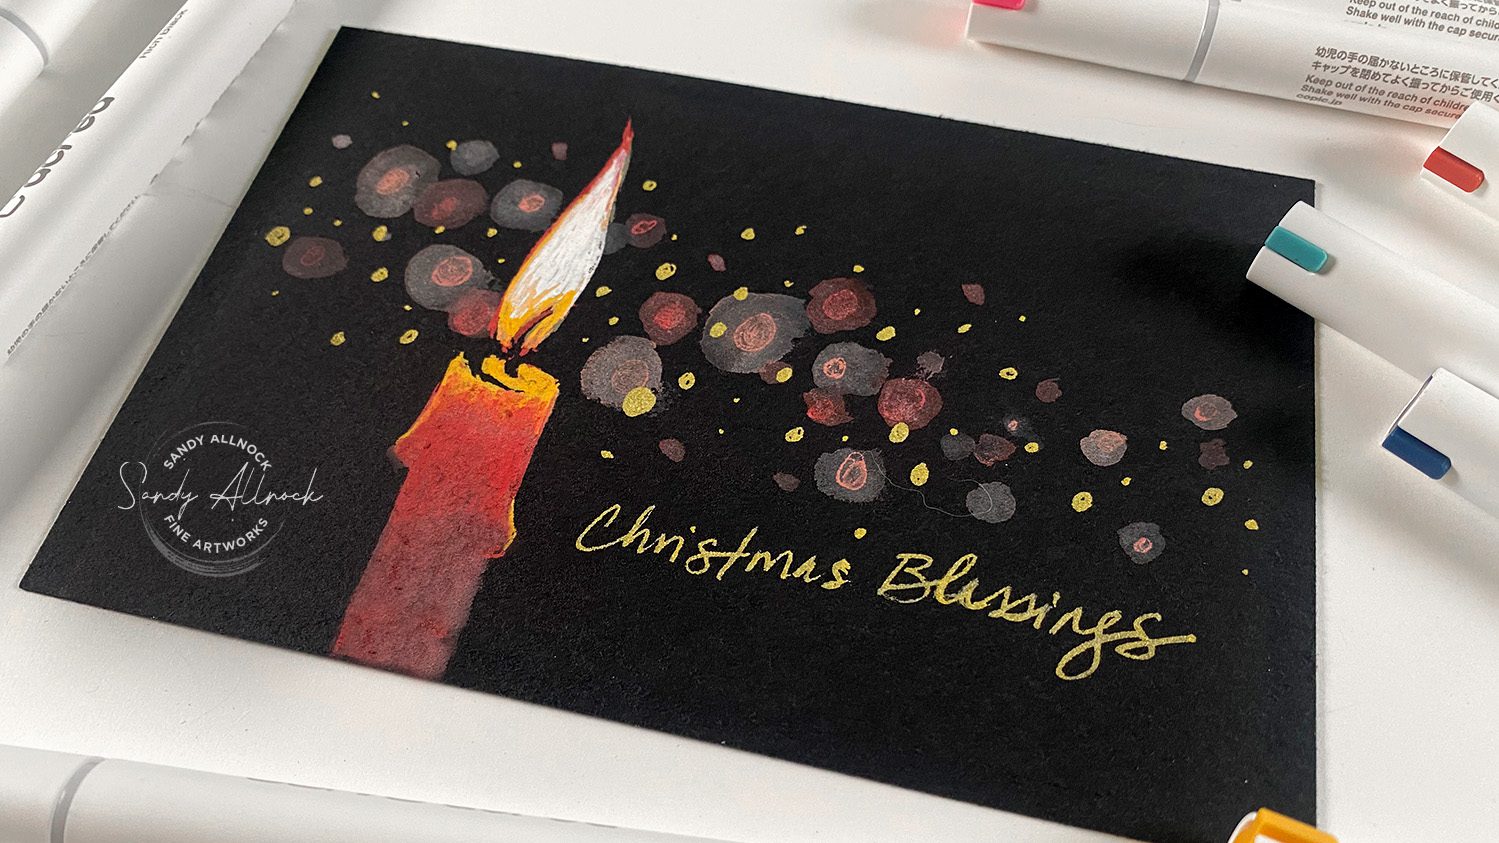
Test project: a Christmas postcard

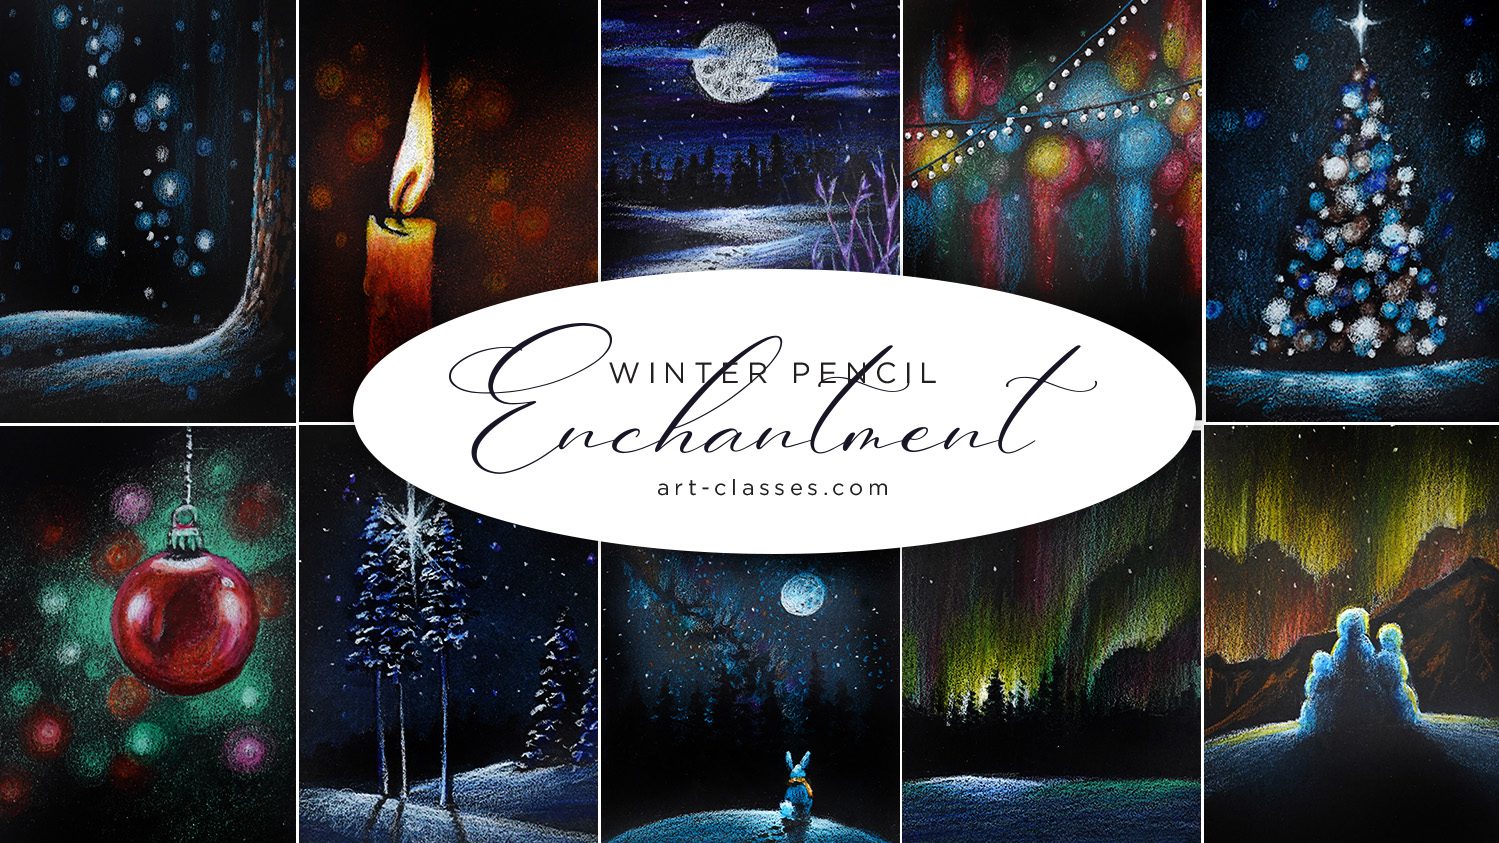
I decided on recreating a project from a pencil class – it had a soft background to explore the use of these pens with water, and a foreground element that I thought would be nice in strong flat colors. Sadly, I never did get these pens to make clean flat areas of paint 🙁 They always had the pen lines showing in them so I ended up painting them to smooth it out better. The Winter Pencil Enchantment class will show you quicker ways to create any of these elements. (And that’s not just me talkin’. I’ve gotten more direct feedback from students than usual on that one, and it’s giving people lots of joy.)
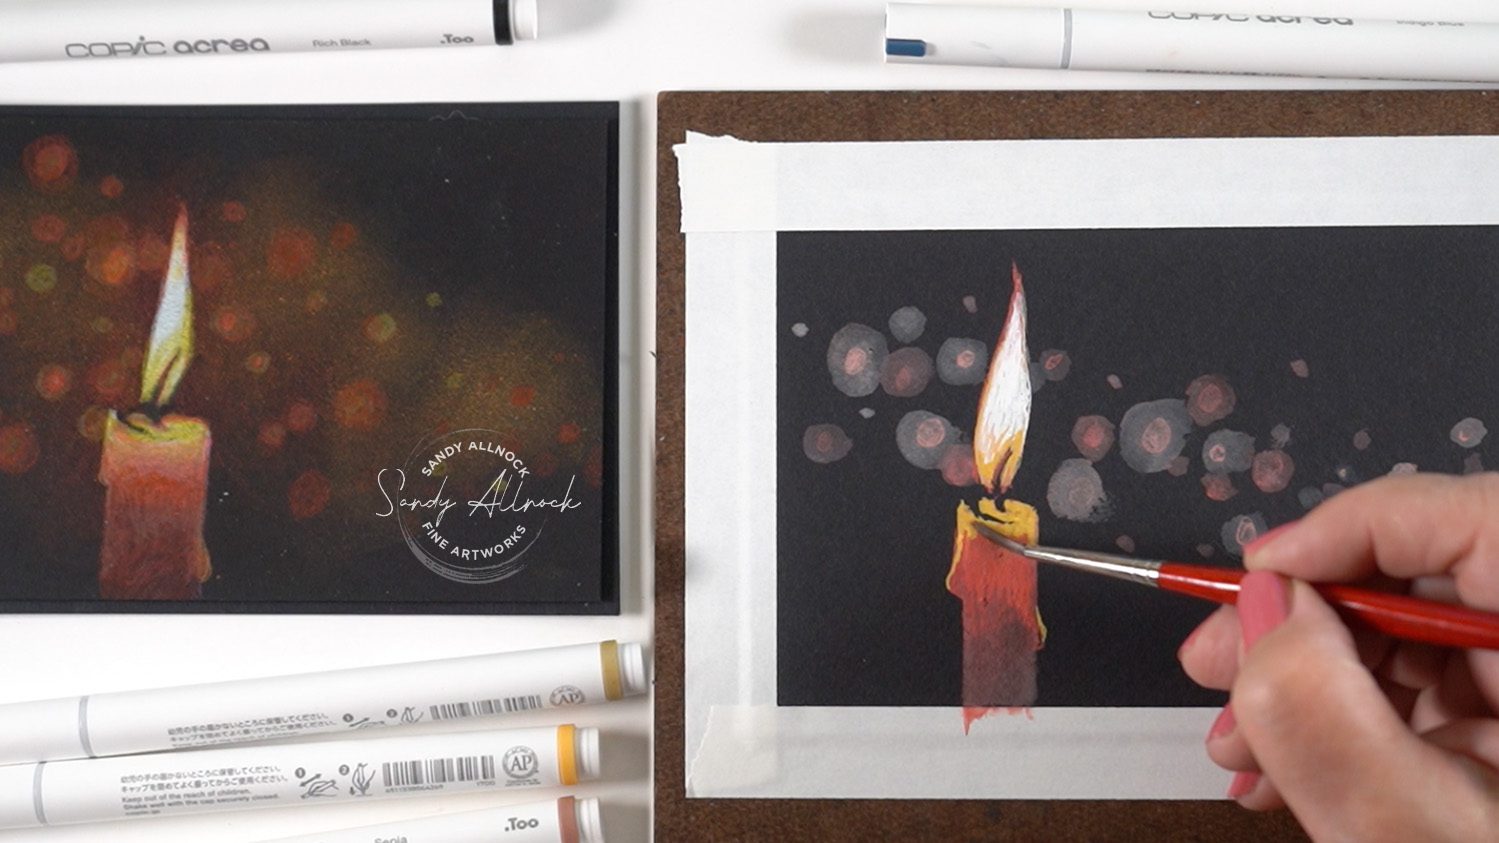
A limited success

If I didn’t have the pencil version right next to me, and didn’t know how much easier it was in pencil – I would be very happy with this! But in the holiday season I end up with limited time to dawdle, and this one wasn’t as easy. 

But in my next video, let’s look at what it’ll take to get these to work with stamps – in several mediums!
 

Subscribe to receive blog posts by email:

Winter Pencil Enchantment

At first I thought I’d be working my way through the scenes in this class using the Acrea…but homey got no time for that, so I’ll be back to me and my pencils on the sofa! I’m very excited so many of you are enjoying this course too. Way way way fun. And I’m almost done making my holiday cards!
Inktense pencil techniques (Parrot, realtime)

Inktense pencil techniques (Parrot, realtime)

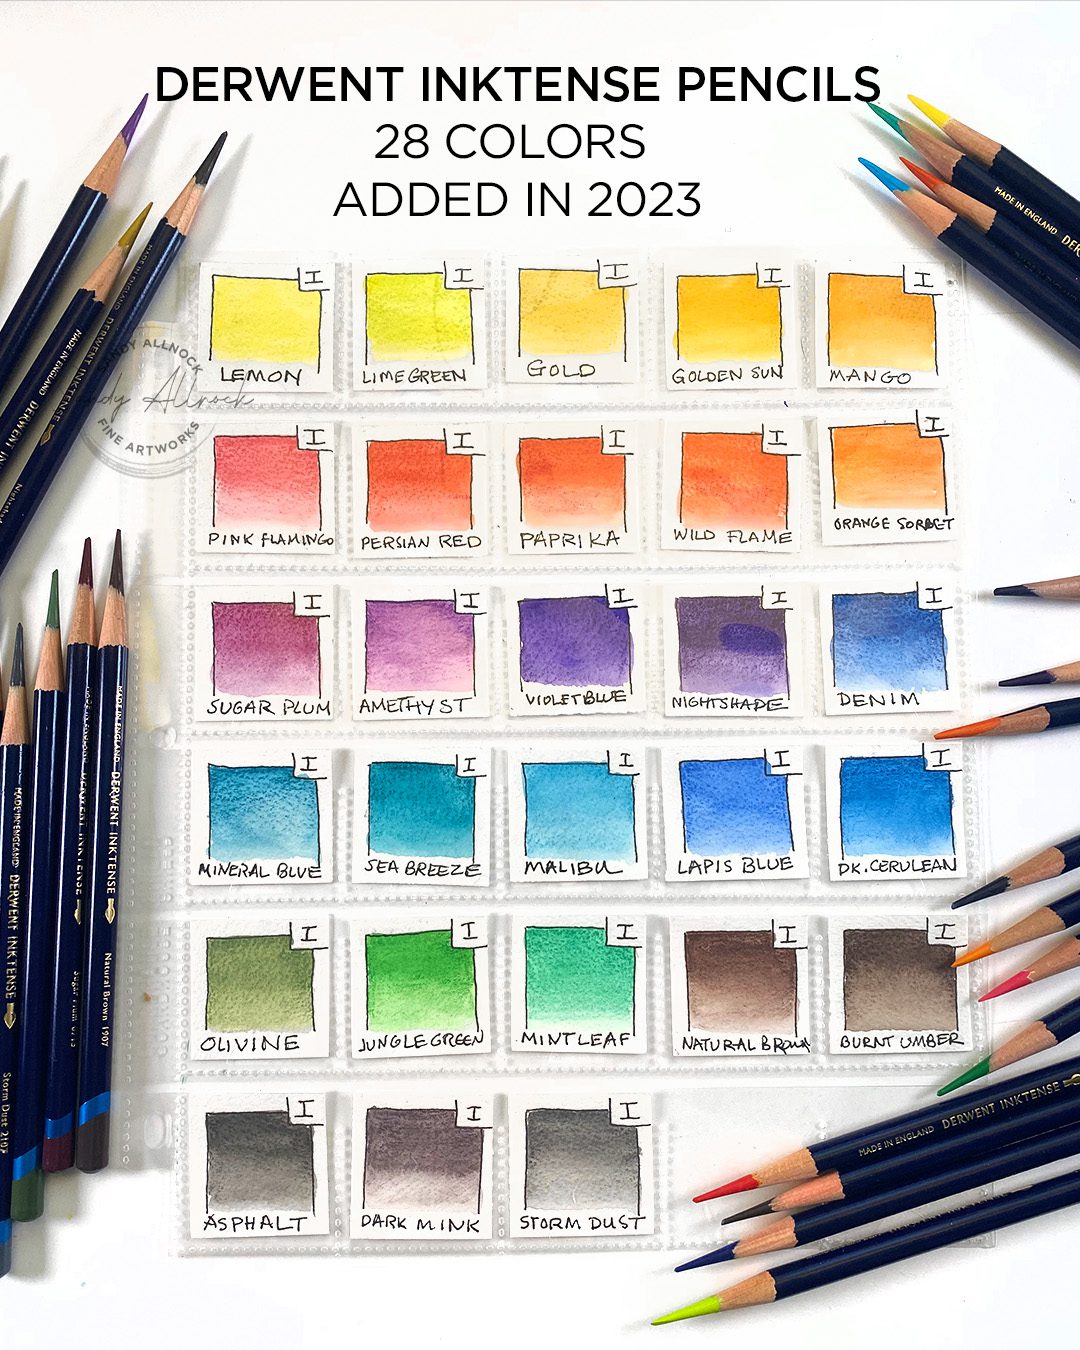
Part 2 of my experiments with these new 28 colors…well, new to me. LOL.  I don’t know that anyone “needs” any colors specifically except well that Malibu is so pretty. And should be Maliblue, right?

I do keep swatches of colors – mostly for use in classes so I can show colors used in a particular project. I indicate what brand in a box in the corner so I can get them back into the right pages in my book 🙂

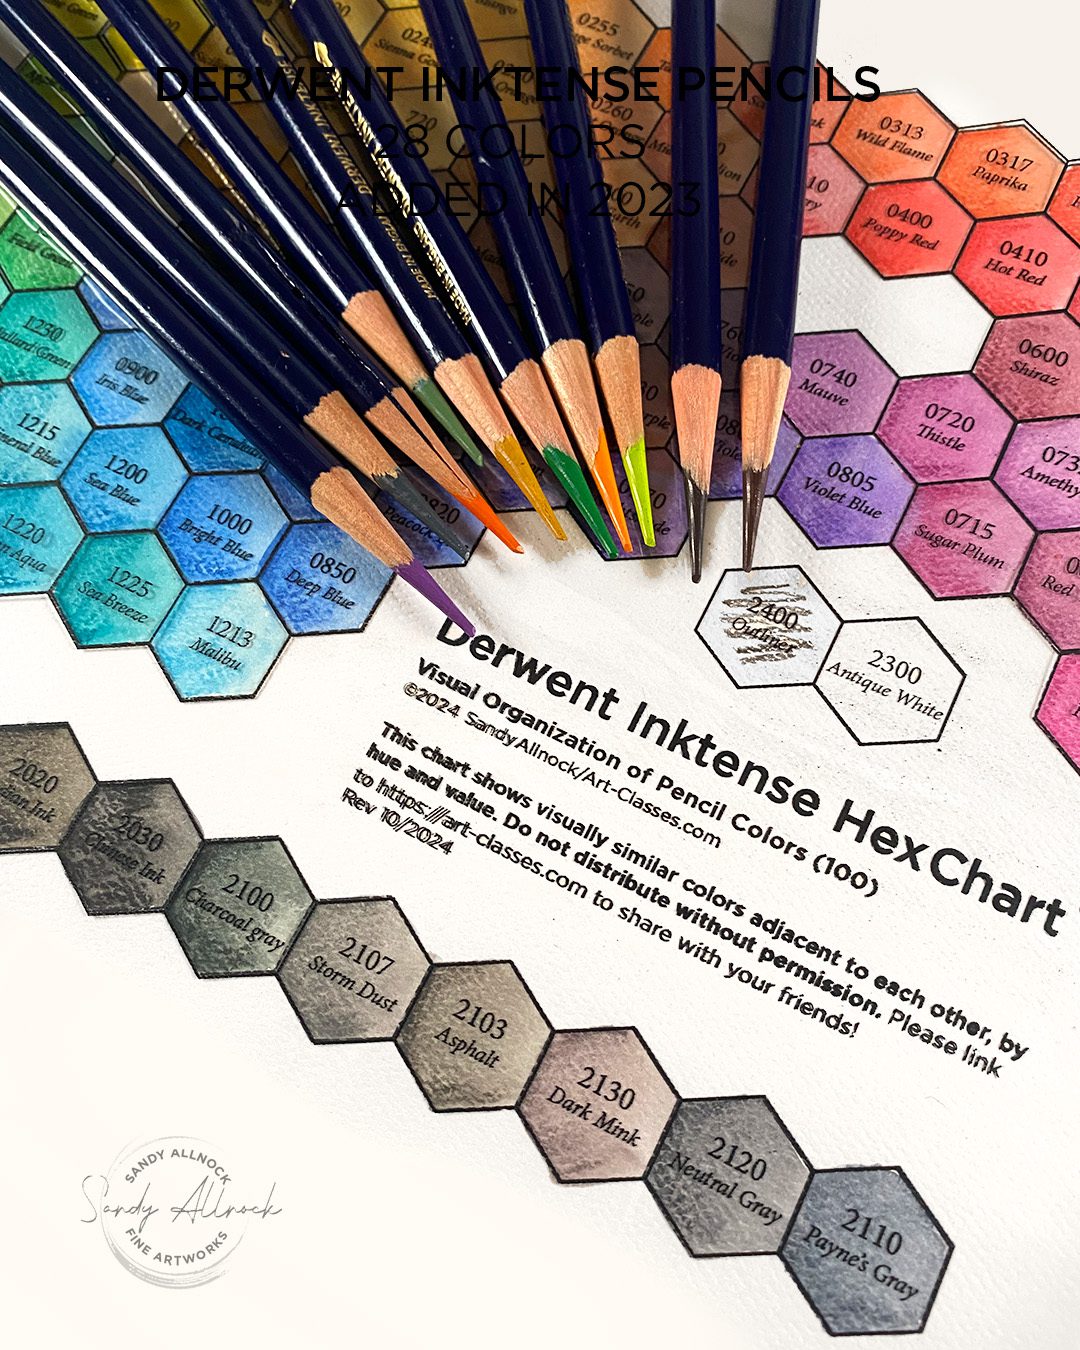
The hex chart has been updated from a 72 to a 100 chart! If you only have the 72 and don’t need the bigger one, just email me after purchasing and I’ll send you the 72 as well. If you already purchased, just re-downlaod from your account to get the full 100.

Tutorial: Inktense pencil techniques (Parrot, realtime)

Watch the video below and scroll to the end to leave comments or questions — or click HERE to watch it on YouTube and leave comments over there. I read both dutifully!

SUPPLIES

Some product may be provided by manufacturers for review and use. Compensated affiliate links are here at no cost to you. I appreciate your support of my work with your purchases! Full affiliate and product disclosure | My trusted partners in art

Underpainting:

  1. Derwent Inktense pencils
    BLICK
    AMZ
    JACKSONS
    CULT PENS in the UK (full set of 28)
  2. Arches Cold press 9×12 pad
    BLICK
    AMZ
    JACKSONS

For powdered pigment

  1. Tea strainer
  2. Inking


Parrot reference

By Irina Blok over on Unsplash…I loved not only the leaning-in curiosity, but the depth of field, and the dark-to-light in the background that, as discussed in the video, makes the figure POP.

Parrot painting

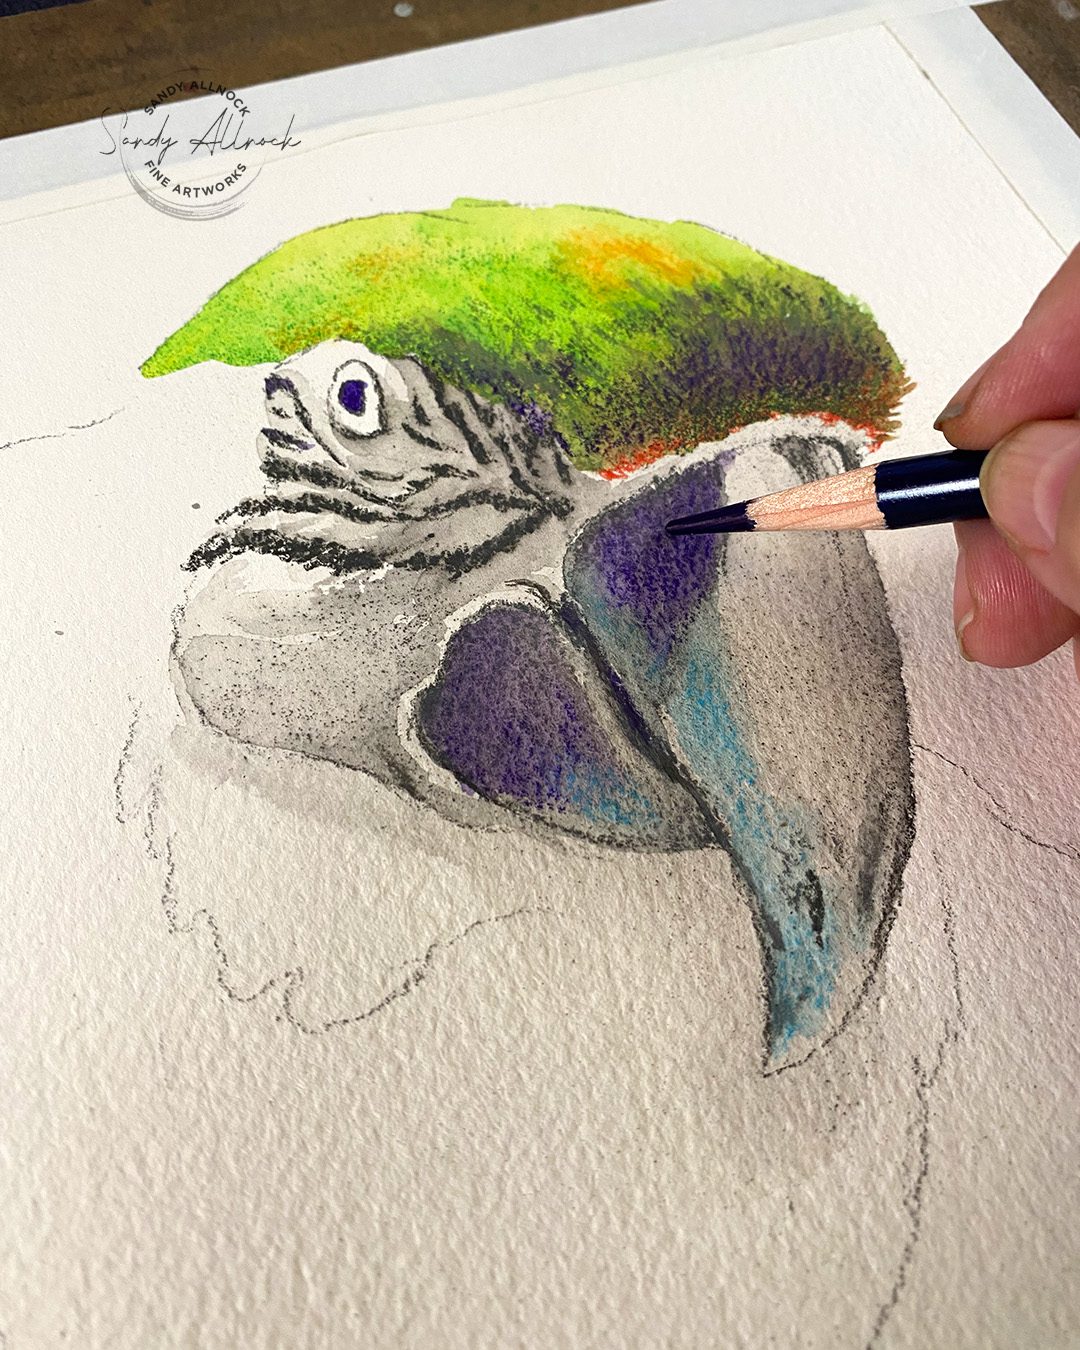
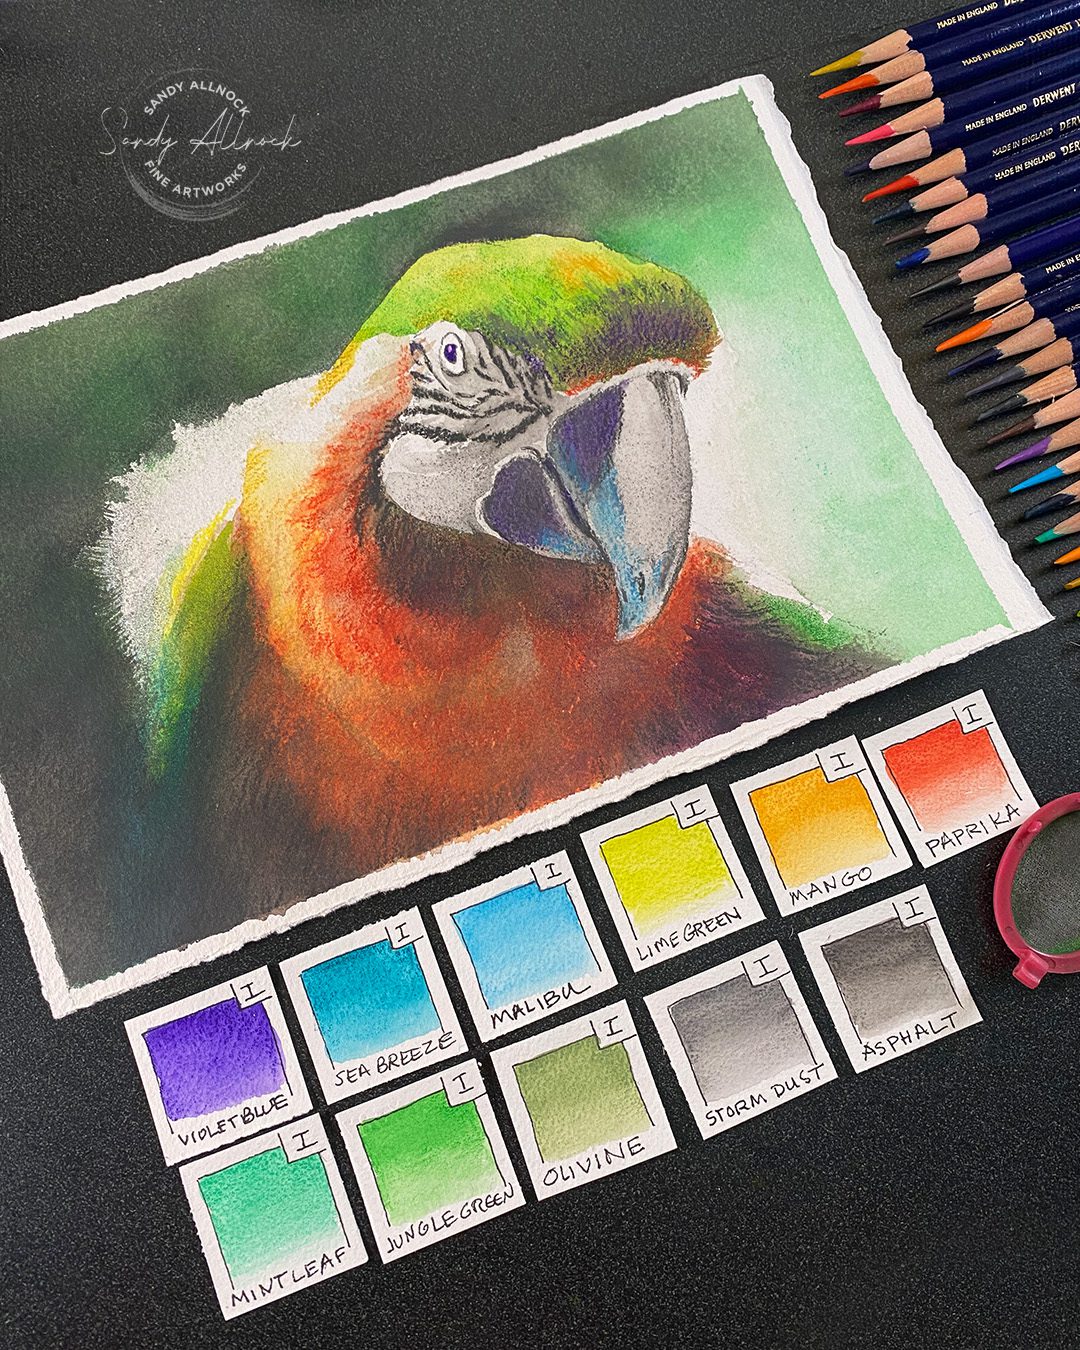
It’s always a challenge thinnking of pencils as making a painting, but I think this one might be the most painting-like of my pencil works? I didn’t apply the pencil direct to the paper terribly often!

Colors used

My swatches, showing the way…


Subscribe to receive blog posts by email:

Use your Inktense pencils

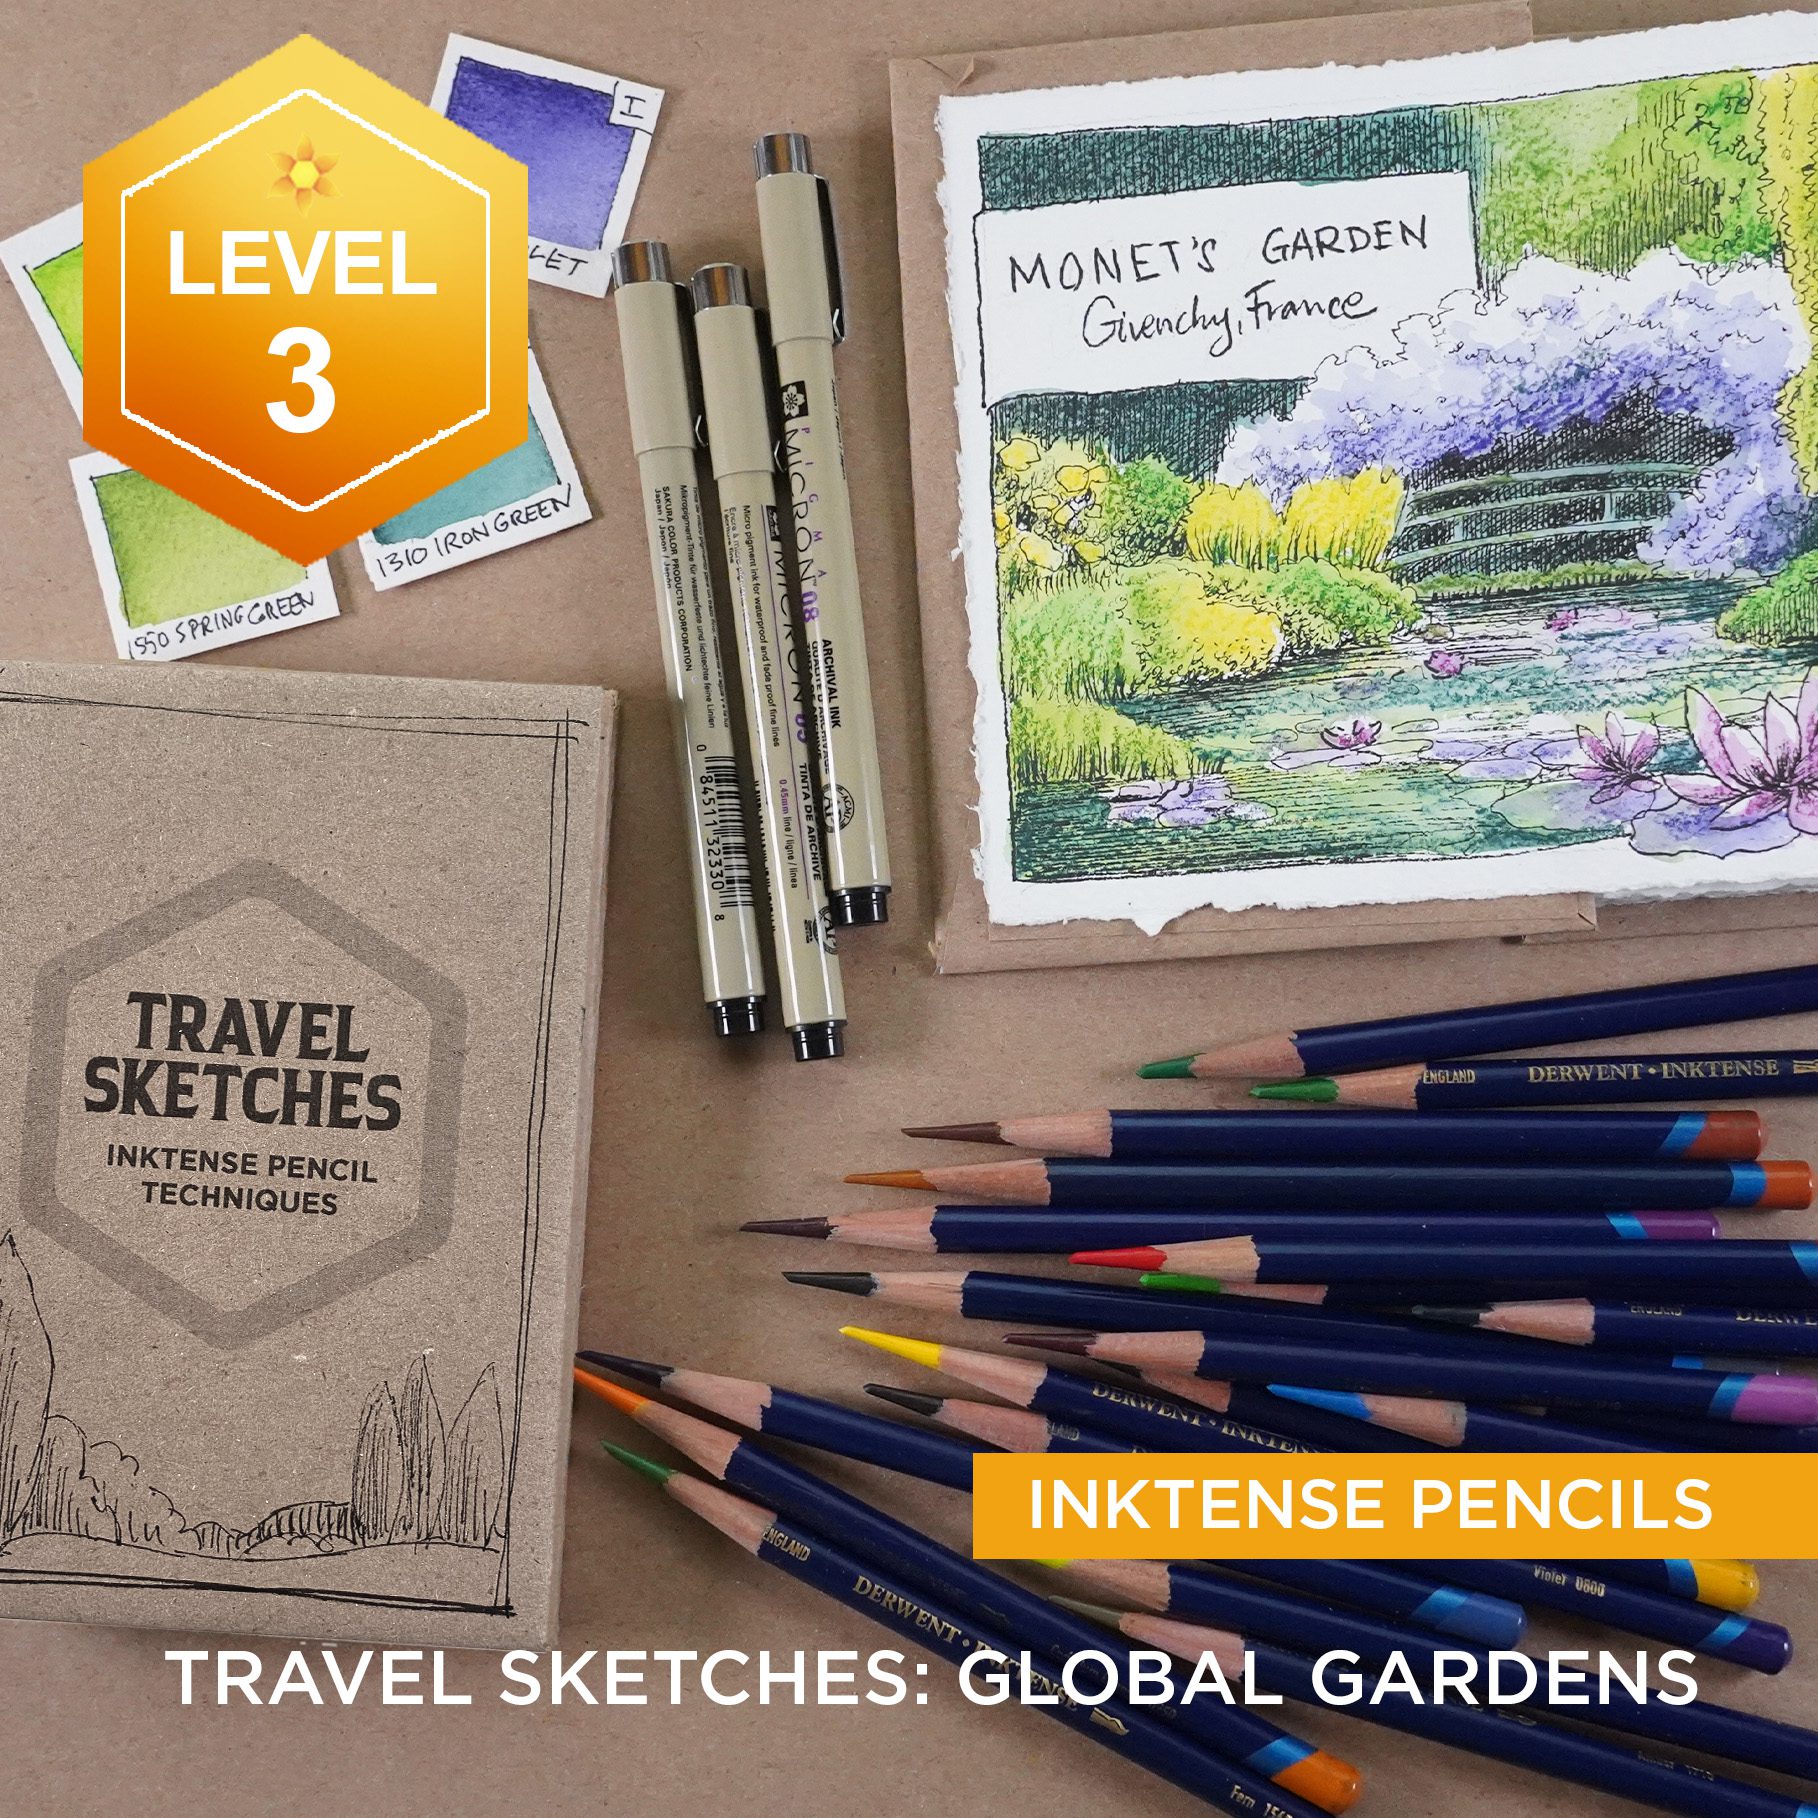
I’ve got a class specifically demonstrated in Inktense pencils – the first 72 colors, though there’s nothing stopping you from breaking out new colors too! Beautiful gardens from all over the world – you’ll learn to draw plants in pen and ink, adding lovely color….a great project for a cold and dreary winter ahead!

How to draw a robot (wash and ink)

How to draw a robot (wash and ink)

I finally have the 28 new colors in my hot little hands! Last year when I heard they had new ones, I couldn’t find anywhere in the US to buy all 28 easily; sure I could pick ’em out pencil by pencil, but I figured it would eventually happen. Uh, NOPE! I googled and eventually found a coupon code I could use at Cult Pens, which got the price down, even with overseas shipping. So now they’re here! 

I do keep swatches of colors – mostly for use in classes so I can show colors used in a particular project. I indicate what brand in a box in the corner so I can get them back into the right pages in my book 🙂

The hex chart has been updated from a 72 to a 100 chart! If you only have the 72 and don’t need the bigger one, just email me after purchasing and I’ll send you the 72 as well. If you already purchased, just re-downlaod from your account to get the full 100.

Tutorial: How to Draw a Robot

Watch the video below and scroll to the end to leave comments or questions — or click HERE to watch it on YouTube and leave comments over there. I read both dutifully!

SUPPLIES

Some product may be provided by manufacturers for review and use. Compensated affiliate links are here at no cost to you. I appreciate your support of my work with your purchases! Full affiliate and product disclosure | My trusted partners in art

Underpainting:

  1. Derwent Inktense pencils
    BLICK 
    AMZ 
    JACKSONS 
    CULT PENS in the UK (full set of 28) 
  2. Arches Cold press 9×12 pad
    BLICK 
    AMZ 
    JACKSONS 

For powdered pigment

  1. Tea strainer =
  2. Nail file 

Inking

TWSBI Eco fountain pen, medium nib

Draw a robot the easy way

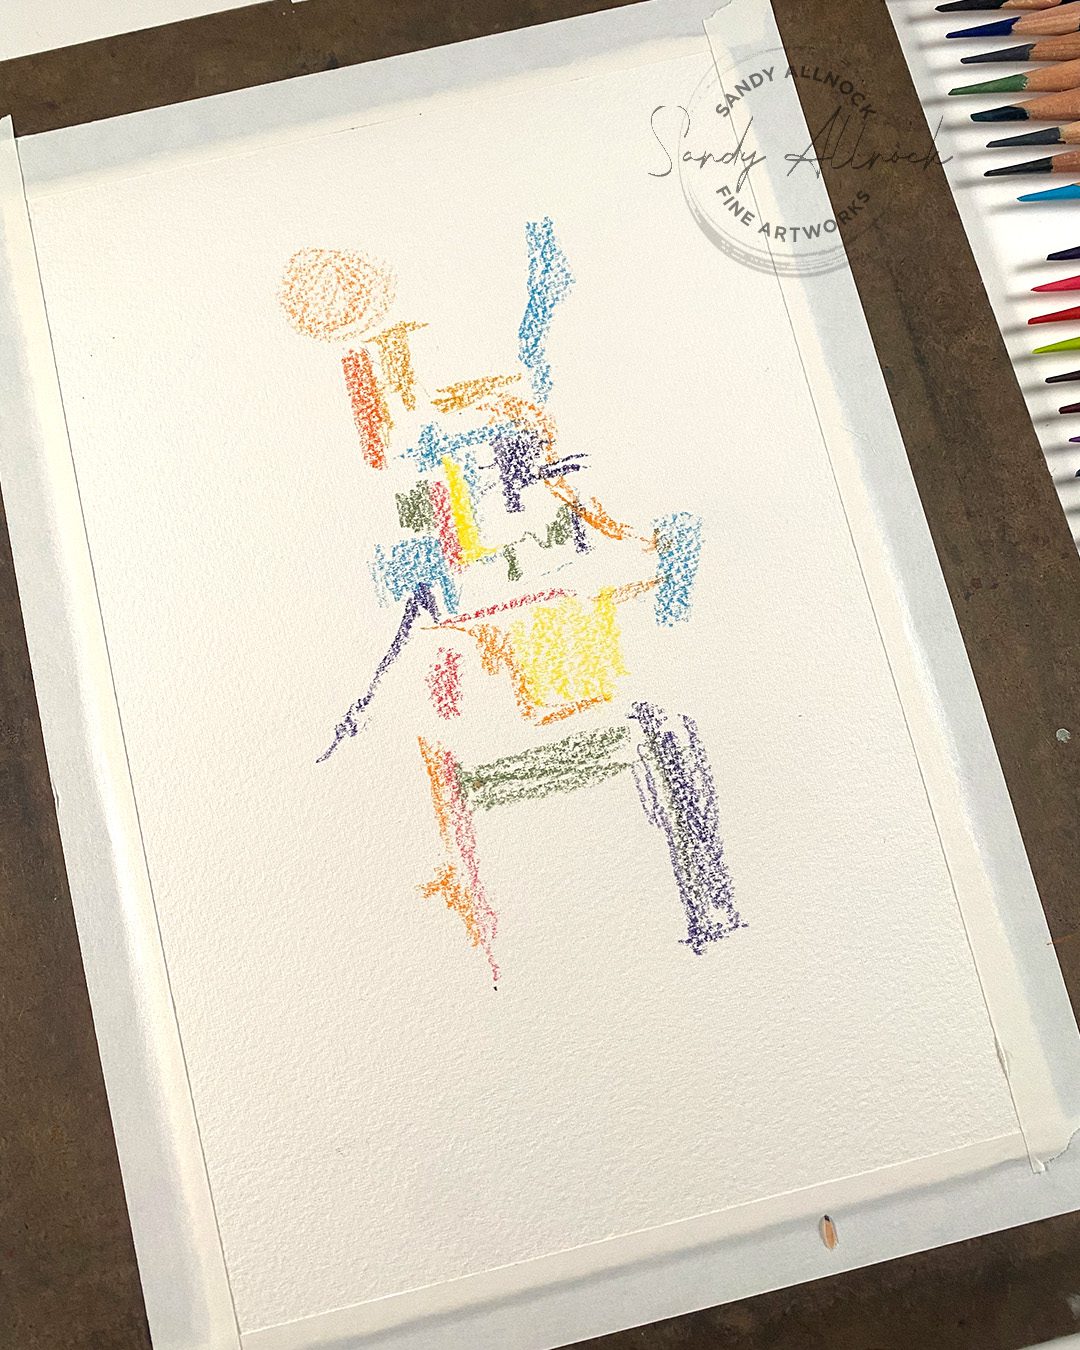
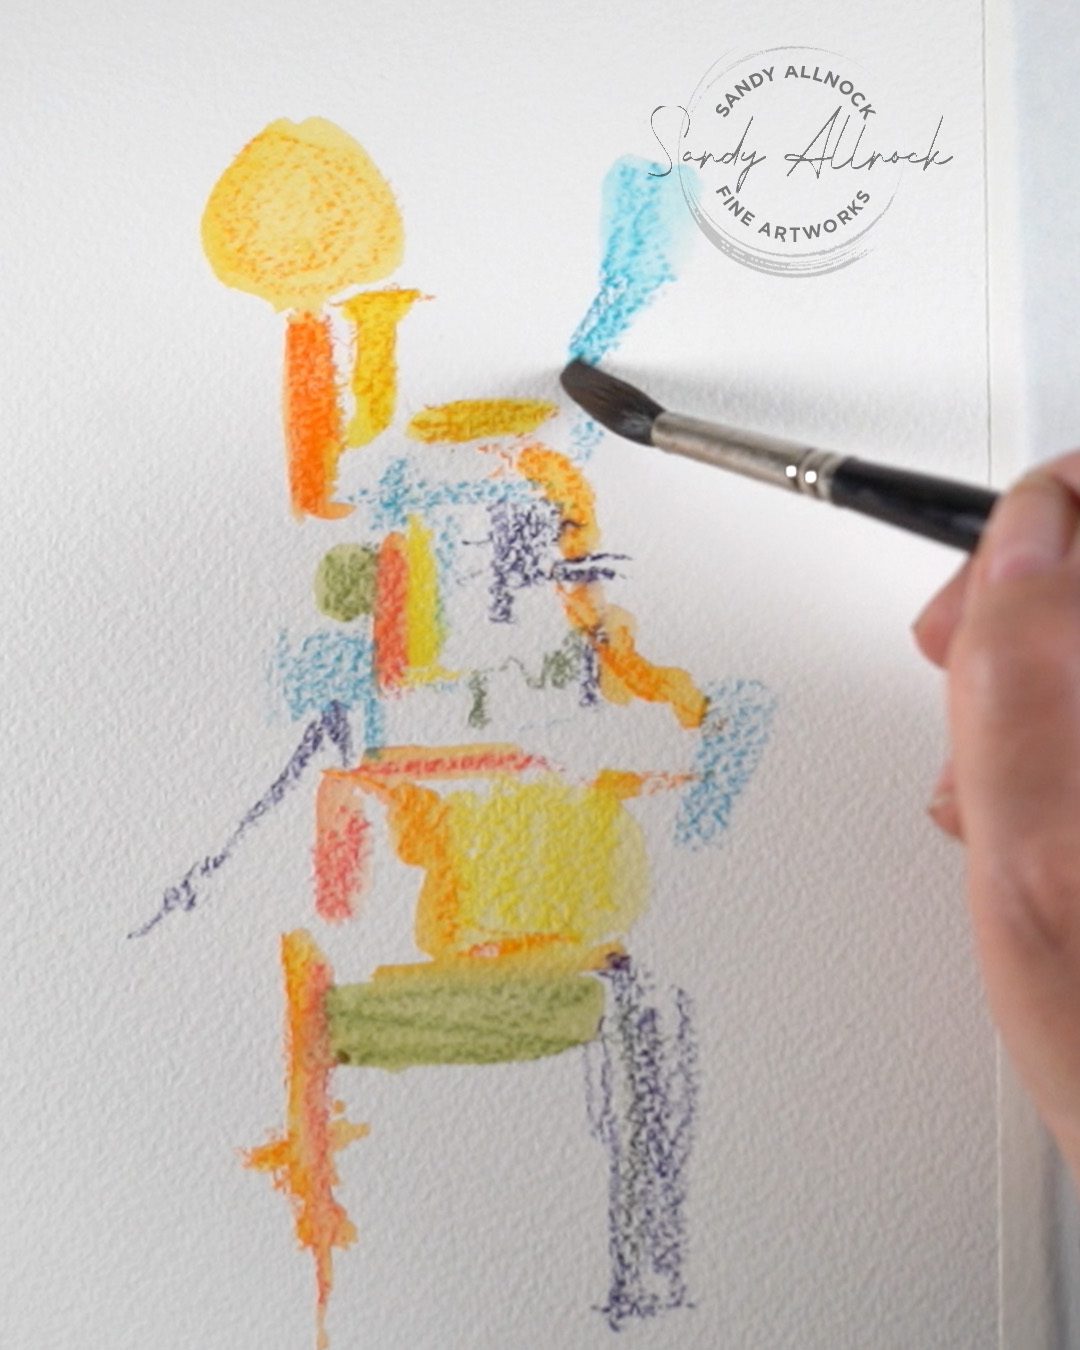
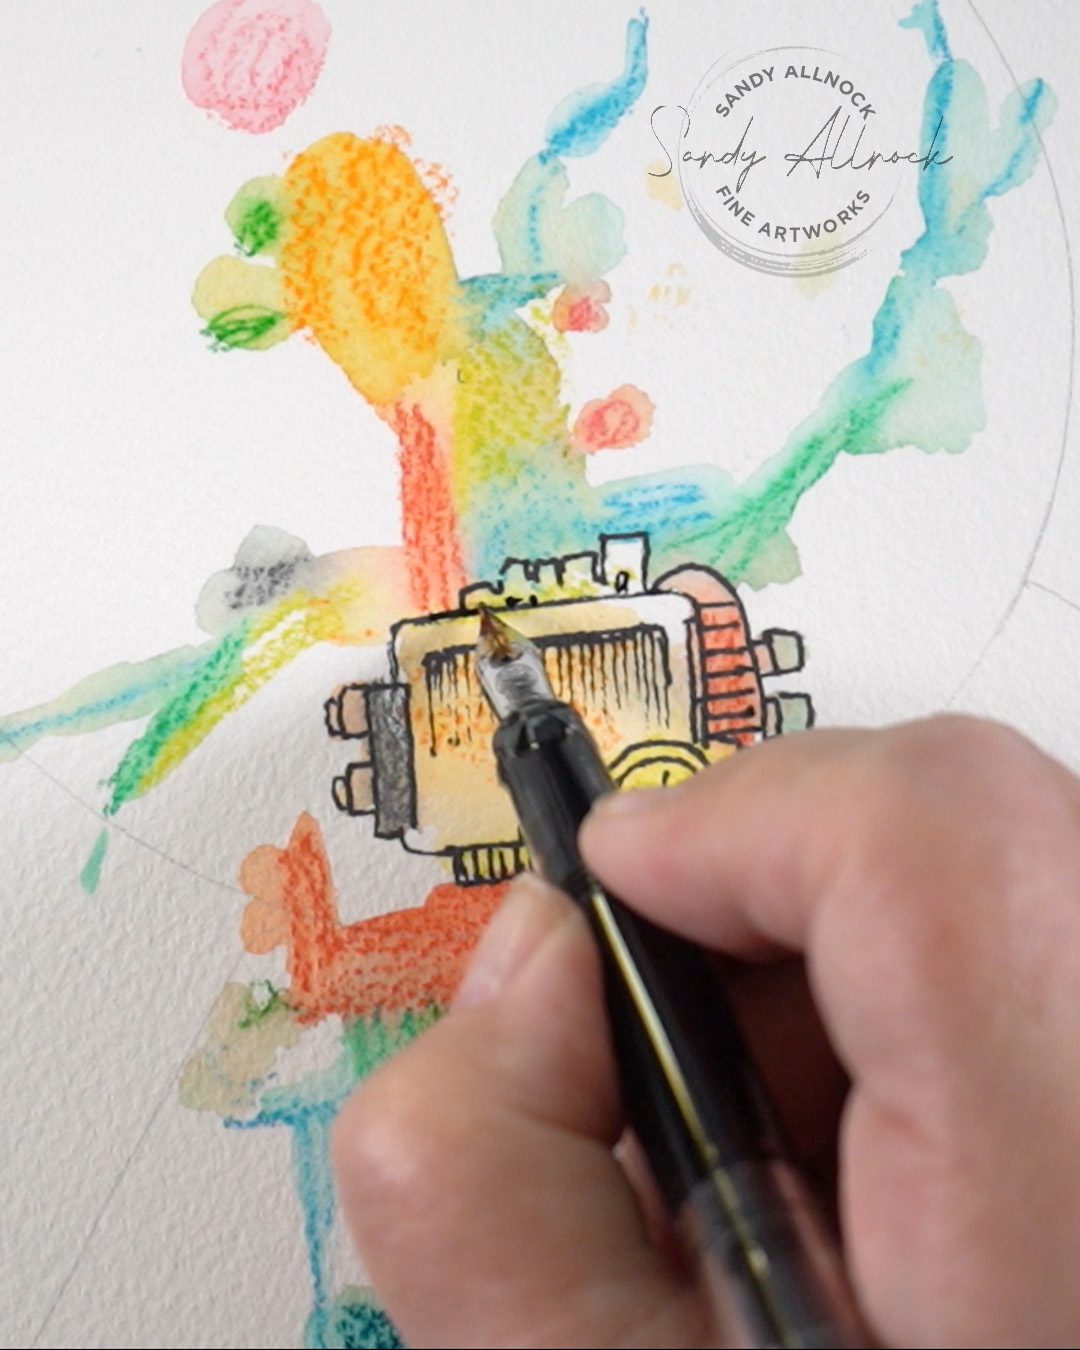
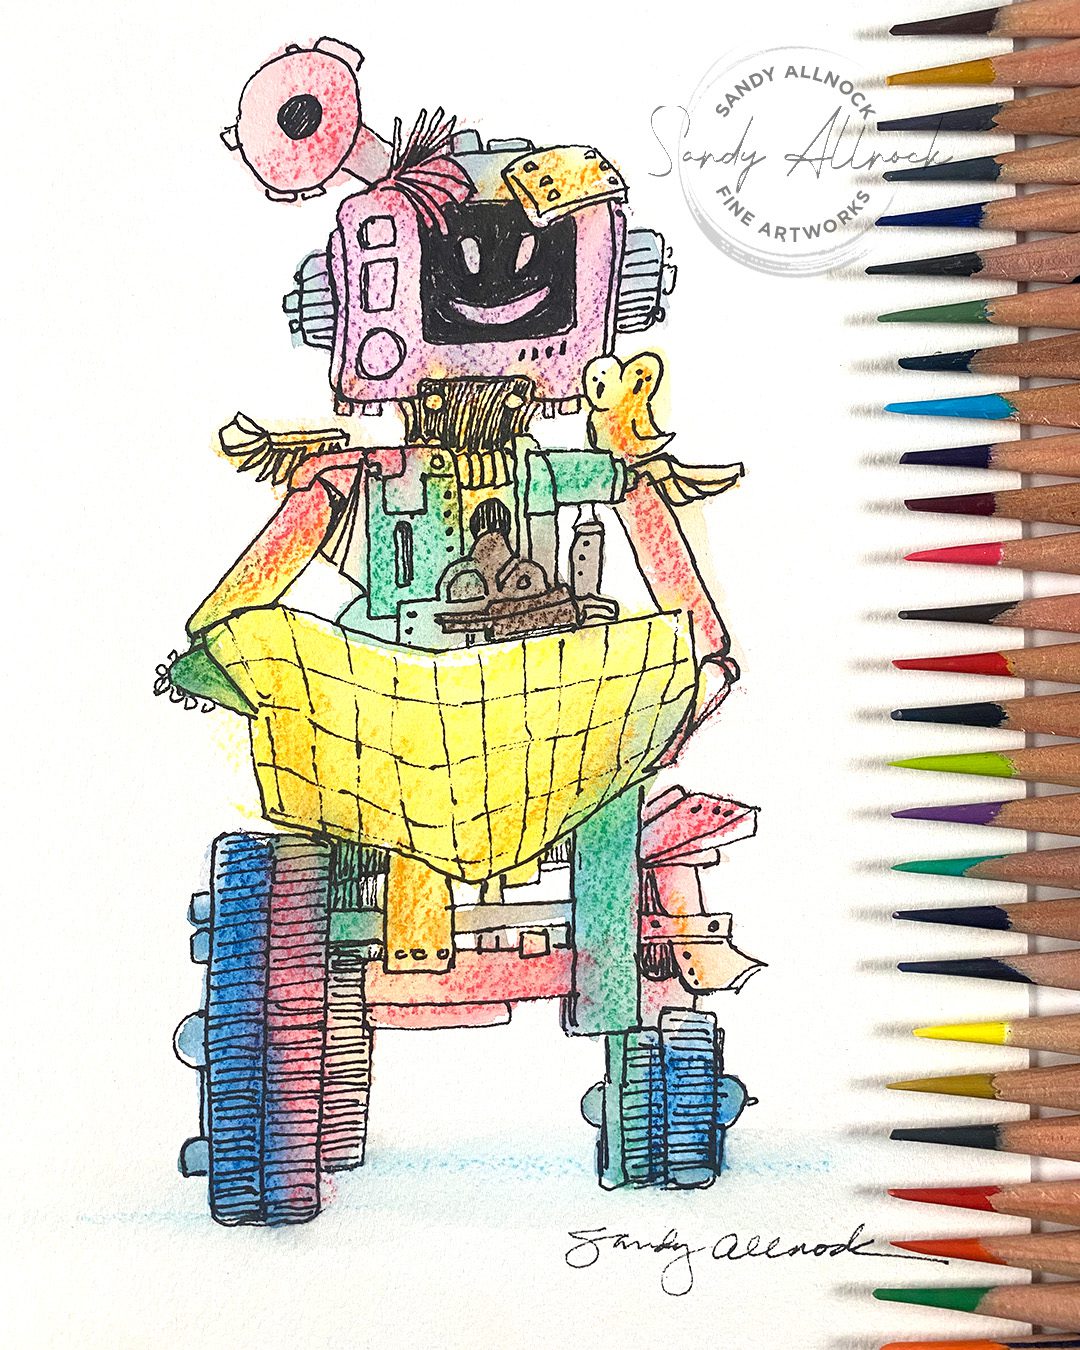
Create blobs of color on the paper – stack them in a way to give yourself legs or wheels, body sections, and as many arms, legs or tentacles desired! 

If using watercolor pencils, then add water generously. To keep colors from running into each other, dry in between.

Or use watercolors to do the same thing. Or marker blobs. Anything at all!

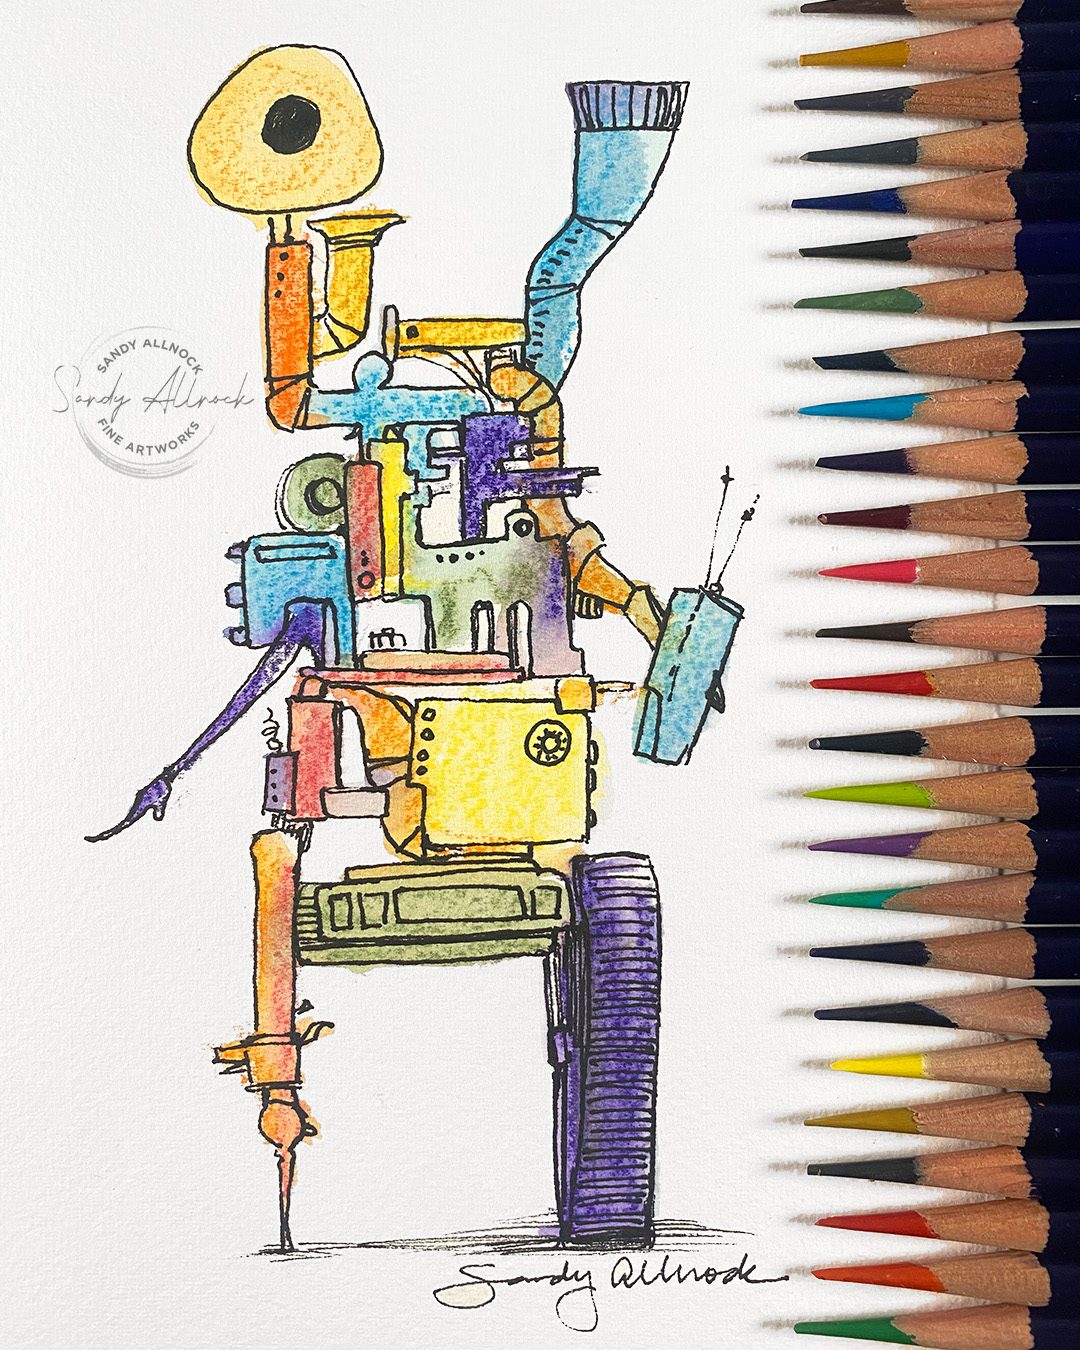
Then use the shapes created to design your robot – break shapes up, add lots of nuts and bolts, gears, buttons…get as crazy as you want!

Tap on a picture to make it larger: 

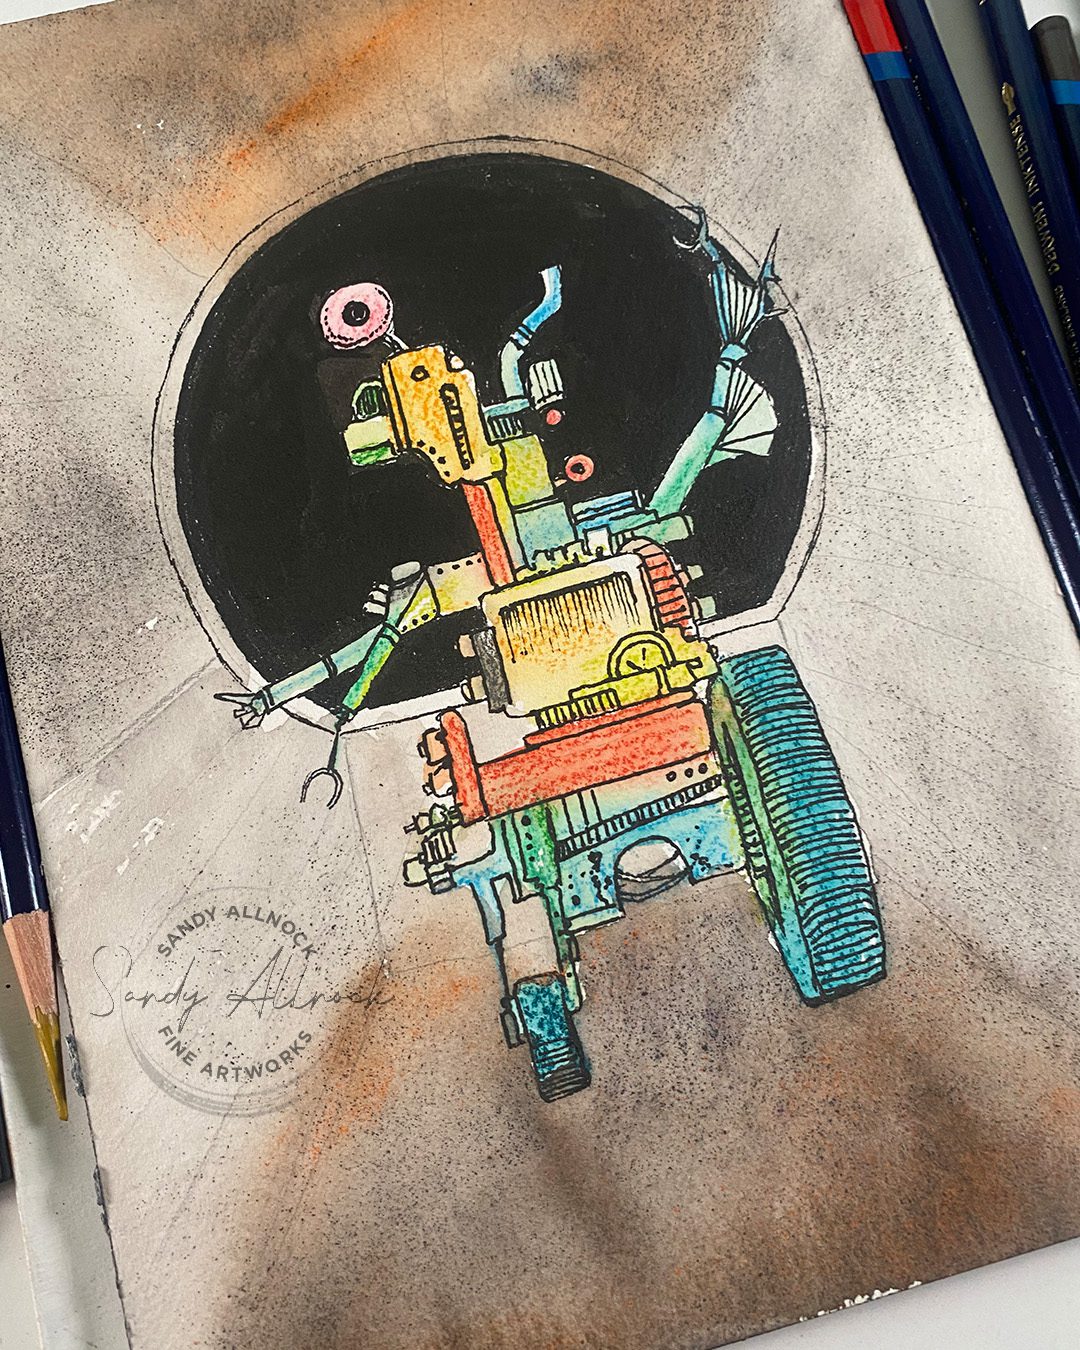
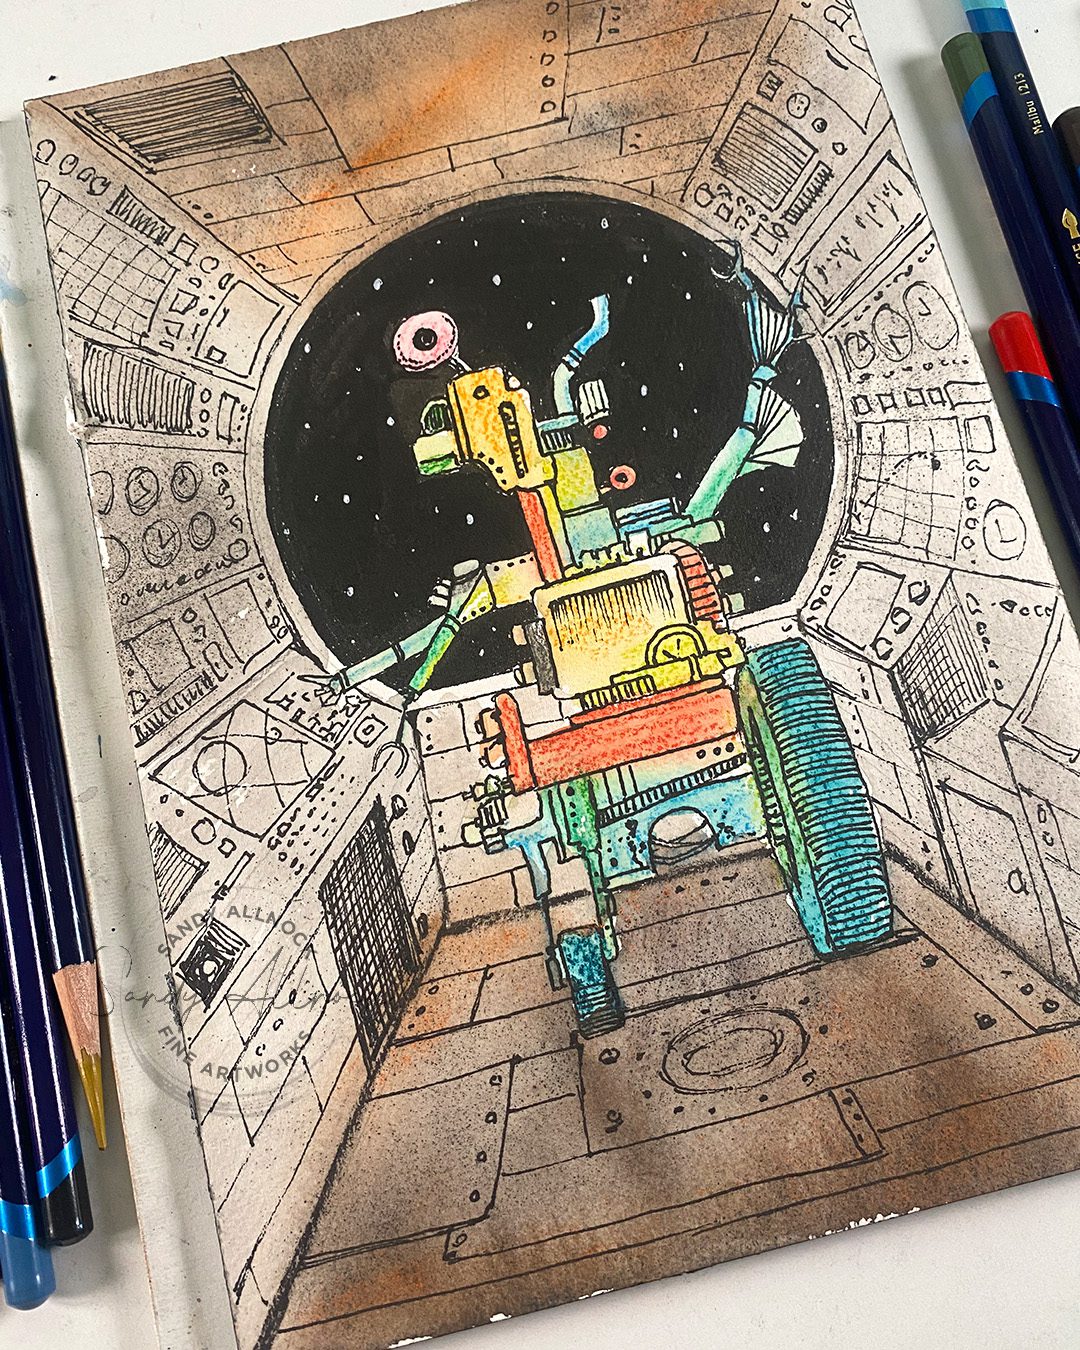
Draw a robot the hard way

Follow the same process as above for the robot. Remember, he’s facing the dials, most likely, so you can think about what you’d add to the BACK of him. Does he have a backpack on?

To create the scene, draw a circle in the middle of the page, and lines radiating out from the middle. 

Use powdered pigment with watercolor pencils – or traditional watercolor – to the scene.

With ink, follow the lines generally to keep buttons aligned with the perspective of the picture. Have fun imagining what pressing all those buttons would do!

Tap on a picture to make it larger:


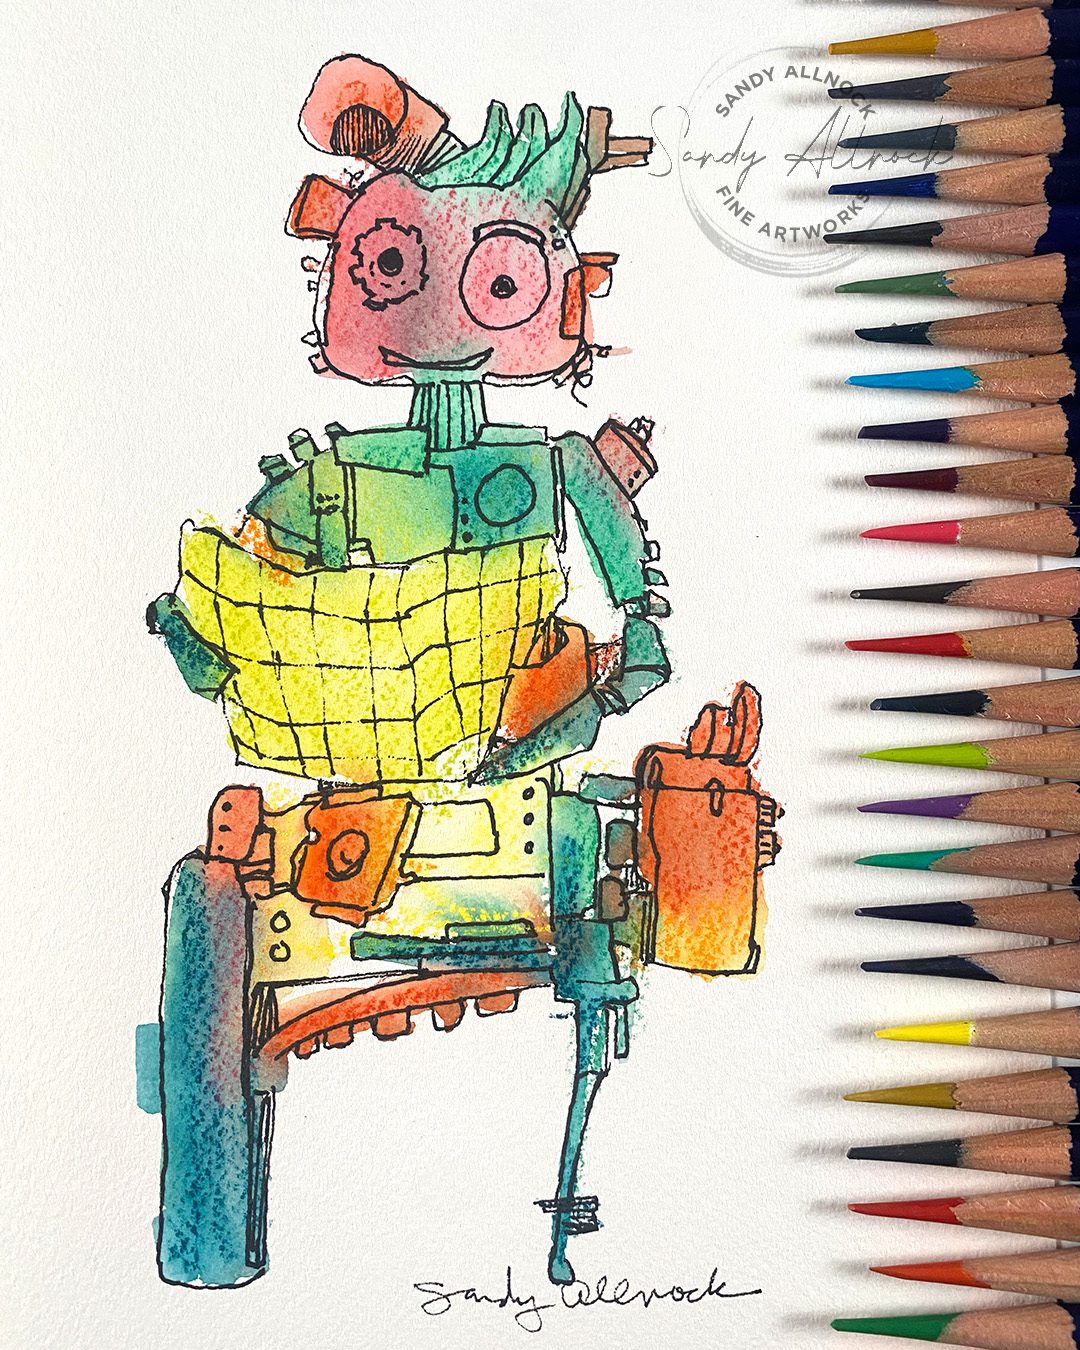
Make more robots!

These two are also “navigator” robots, but the kind you can hire to take on a car trip. They can look at a traditional map and get you to grandma’s house for Thanksgiving!

Subscribe to receive blog posts by email:

Use your Inktense pencils

I’ve got a class specifically demonstrated in Inktense pencils – the first 72 colors, though there’s nothing stopping you from breaking out new colors too! Beautiful gardens from all over the world – you’ll learn to draw plants in pen and ink, adding lovely color….a great project for a cold and dreary winter ahead!

Coming up Saturday

I’ll be doing a rare-ish realtime video – painting this parrot! The reference photo is on the left, so tap on it to make it larger/download to create your sketch, then come create with me. My painting is an eighth sheet – about 7 x 10 inches.

Warm & Cozy Bonfire Art (OLO markers)

Warm & Cozy Bonfire Art (OLO markers)

This is part 2 of my last Warm & Cozy post – and fleshes out the idea I originally had when drawing this young lady gathering firewood….I saw her in my mind’s eye at night, bringing firewood to throw on a bonfire. 

Tutorial: Warm & Cozy Art (OLO markers)

Watch the video below and scroll to the end to leave comments or questions — or click HERE to watch it on YouTube and leave comments over there. I read both dutifully!

Are these the colors in my curated OLO set?

There aren’t enough darks in my own set of Olo Markers – but if you have some blacks and greys, my set will work perfectly with those additions! Any reds and yellows can accomplish a drawing like this – but I didn’t include those neutrals in my set when I selected them. 

SUPPLIES

Some product may be provided by manufacturers for review and use. Compensated affiliate links are here at no cost to you. I appreciate your support of my work with your purchases! Full affiliate and product disclosure | My trusted partners in art

MARKERS AND PENS USED

OLO markers – my set of curated colors plus some greys and blacks 

Copic Multiliner SP Brush BLICK  AMZ  JACKSONS

PAPER

Neenah Solar White 

COURSE 

Warm & Cozy Wishes class Class includes the 2 images ($10 value)

PRINTABLES to purchase without class

Warm & Cozy Owl 

Warm & Cozy Firewood 

Drawing fire

A few years ago I had a revelation – I realized I had been drawing fire completely backwards my whole life! I had created the interior hot portion of a flame in reds and transitioned to oranges and yellows then whites as I worked my way out. That must be something done in children’s books to have convinced me that’s what fire looks like. (Can you look through your collections of kids books? Is my theory right?)

I do know that continued through my crafting life – we almost all colored it backwards. Red in the middle and lighter as it got to the edges. 

But in reality, most of the flame is white, and in a bonfire like this, some of the flames bounce around in licks of yellows, oranges, and sometimes edges of oranges and reds before it goes black in the background.

Red firelight at night

When I’ve got a unique lighting situation I want to render, I start with research – I did look around while at my sister’s house around her fire pit at the way everyone was lit. Or not lit. 

But “remembering” what I saw wasn’t enough. I got onto the googles to see if I could find the “right” kind of lighting I was imagining, something that indicated the feeling of the heat in the winter time. Several were absolutely RED! And I mean red for half the face, and everything else went black into silhouette. 

I decided to just use a mix of reds and oranges to make that happen, with more of the darks on the side of the fire that’s further away from the heat, leaving a bit more seen by the viewer. 

Dark trees in the background

I wanted to create a simple background, just indications of something behind where she’s walking from. I decided on the same kinds of trees in the new class but with more dark in them. That led to trying out the RGs (red grays) in the OLO marker line. They’re a little redder than the warm greys. I liked having those darks around the fire to help define the curled edges and shapes with negative drawing. But something seemed not quite right.

Red gravel in the foreground

The ground around the fire definitely needed to be red – lighter near the fire, darker as it stretched out, and more desaturated too. This was a quick sketch (the 12 or so minutes plus a few marker-switching moments) so I didn’t get into massive detail, but did get out that Copic SP Brush Marker to make some ground squiggles to indicate rocks. 

A wee bit more red

The trees, well, they looked too close to the fire! I considered blacking them out entirely, but still liked having something going on back there – so added the dark red instead. It pushed them back a bit, and since I’mjust making up the girl’s bonfire story anyway, I’m going to imagine buckets of water and lots of friends to help if anything catches fire. Ha! All that red really did make the fire just completely light UP!

Girl with firewood

In class, we’ll color her up small for a card, and create a similar but simpler background behind her. And she gets a toasty warm cabin to walk into!

Subscribe to receive blog posts by email:

Warm & Cozy Wishes class

You can read the backstory on how the class came about here.

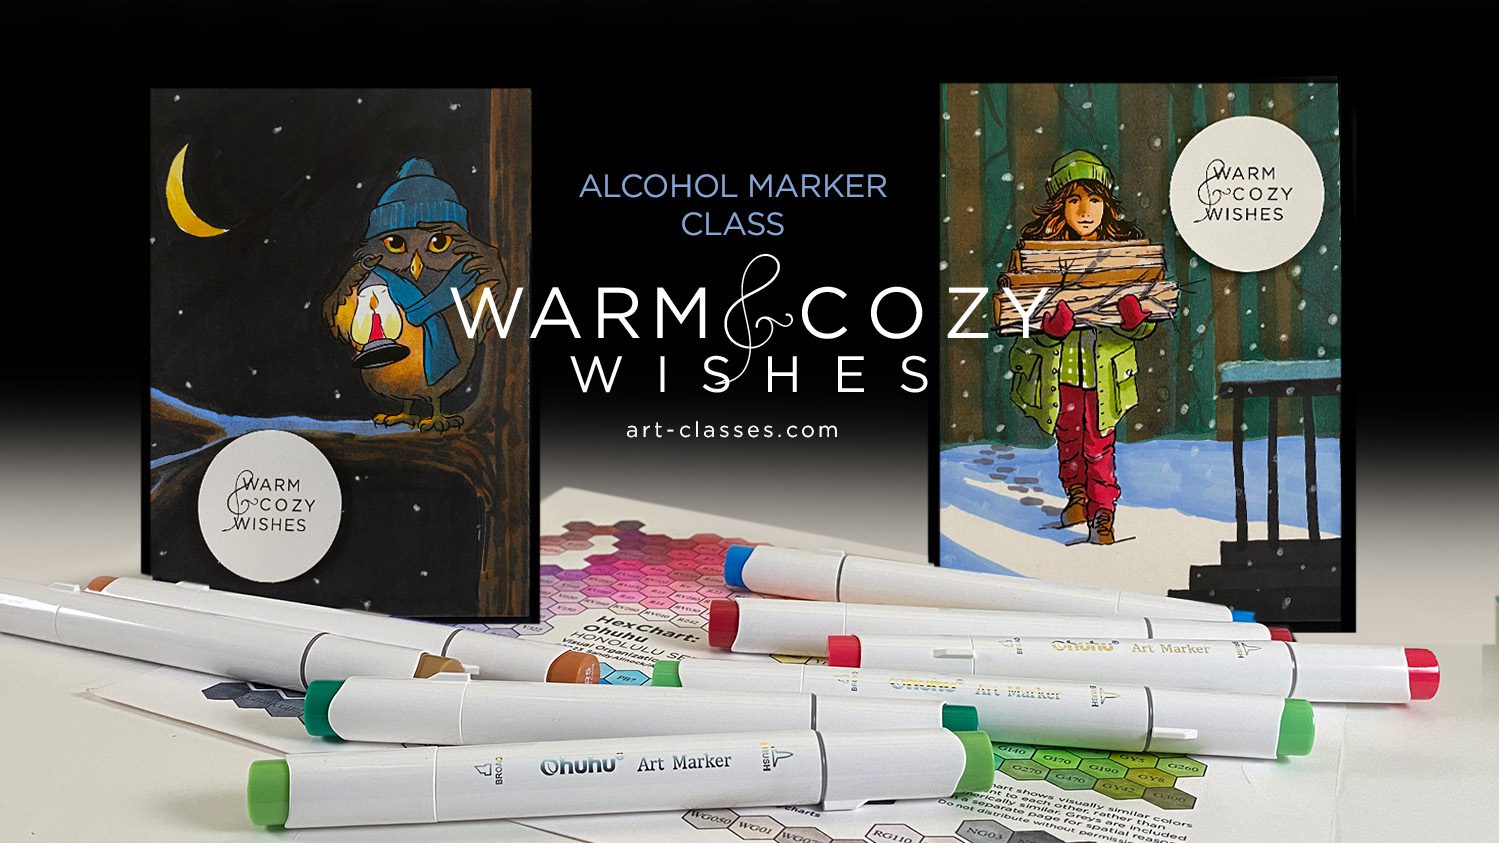
The new Warm & Cozy Wishes class teaches:

  1. coloring both of these drawings large size, real time
  2. coloring them small with scenes that only require the ability to draw rectangles

What else you get:

  1. The two printable images are free inside the class, as their separate jpgs to be sized as desired, but also in PDF format at size
  2. An hour of realtime video taught in the Ohuhu markers, with a little treasure–color numbers are on the screen.
  3. Sentiments for inside and outside to print out, trim, and finish the cards.


Glad that’s out of my head now!

Do you ever get an idea that just HAS to be put on paper before you can rest? Yep, that’s this bonfire. For now just a quick sketch worked to get it out of my system. Who knows if it’ll be back or not!

Warm & Cozy Art (Ohuhu 48 marker set)

Warm & Cozy Art (Ohuhu 48 marker set)

Sometimes while I’m working on my art, things come up that change the plan – and this is one of them. I had started off just working on ideas for the inktober prompt today, which happens to be “Camp.” I got out a Copic SP Multiliner brush pen and some marker paper – a fun surface and pen to create a large drawing with big and varied lines….and got started.

Partway through the process of the first drawing, an idea for a second came up. I almost abandoned the first to chase the second, but decided no, stick with it, there’s time for another once I get this done. (Anyone else suffer from this!?!?) And, well, watch the video and hear how that went!

Tutorial: Warm & Cozy Art (Ohuhu 48 marker set)

Watch the video below and scroll to the end to leave comments or questions — or click HERE to watch it on YouTube and leave comments over there. I read both dutifully!

Pair that with having received a surprise Ohuhu package forwarded from a fellow artist – she’s a pencil person but somehow had been sent a pack of markers. She doesn’t like them….but she thought of me. She didn’t know I’d had the full set and gave it away since I didn’t really like them. But I’m SO thankful she had me in mind (who doesn’t like having friends like that??)  – and decided if the Ohuhu were making their way back to me again, maybe I should do something with them. 

SUPPLIES

Some product may be provided by manufacturers for review and use. Compensated affiliate links are here at no cost to you. I appreciate your support of my work with your purchases! Full affiliate and product disclosure | My trusted partners in art

MARKERS AND PENS USED:

    Ohuhu Markers, 48 set 

    Copic Multiliner SP BLICK    AMZ   

    Copic Multiliner SP Brush BLICK  AMZ  JACKSONS

    COURSE 

    Warm & Cozy Wishes class Class includes the 2 images ($10 value)

    PRINTABLES to purchase without class

    Warm & Cozy Owl 

    Warm & Cozy Firewood 

    The owl

    I loved this little guy – a simple image with fun parts to color – eyes, scarf, lighting around the lantern. I even had a backstory in my head for his wing positioning! I could “see” this in a night scene, and knew I would create that even if just for myself later….

    Girl with firewood

    This drawing is the second one – that came into my brain while the first was being created by my hands, and oh does it get hard to draw while that happens! But once I colored up the owl, I dove in on this one and colored HER too. But again, she was going to need a night scene, that’s how I “saw” her in my head.

    Subscribe to receive blog posts by email:

    And then….ArtBot intervened!

    While working on the second drawing, my little AI ArtBot (now gone) had a conversation with a potential student. 

    Artist: I’ve taken Alcohol Marker Jumpstart and want to sign up for some scene classes in Level 3. Are there Level 2 classes that will help me get my skills to that level?

    ArtBot: When you are learning, it’s best to build your skills step by step. Classes here are assigned a level, so after finishing level one, try a level 2 course. You can read more about them here. https://art-classes.com/alcohol-marker-classes-2/

    Artist: I know that. I’ve looked. Those don’t seem to be growing my skills to make scenes. Do you have other recommendations?

    ArtBot: Please rephrase the question to provide more information regarding your inquiry so I better understand what you require.


    It went on like that for some time, and I had to email the student and have a sane conversation! Gosh did AI prove itself TERRIBLE at answering art questions! (It has since been deleted from the site; it was at times an interesting or hilarious diversion, but was more of an annoyance than anything!)


    But ArtBot gave us a new class!

    The short experiment with a chatbot DID was show me some questions people have that are not well explained on the website. And that I need to find more quick or friendly ways to invite those questions – more on that as I work on it this week.

    And that student’s question got me to LOOK at the level 2 classes and realize that she was correct. There’s no logical get-you-from-starting-coloring-to-making-scenes track. 

    That’s now solved, at least partly!

    The new Warm & Cozy Wishes class teaches:

    1. coloring both of these drawings large size, real time
    2. coloring them small with scenes that only require the ability to draw rectangles

    What else you get:

    1. The two printable images are free inside the class, as their separate jpgs to be sized as desired, but also in PDF format at size
    2. An hour of realtime video taught in the Ohuhu markers, with a little treasure–color numbers are on the screen.
    3. Sentiments for inside and outside to print out, trim, and finish the cards.


    So thank you, ArtBot.

    I didn’t like you much. I don’t like AI around art. You got a bunch of questions about art DEAD wrong all week, even with great answers to SOME questions.

    But you did teach me a little something that I hadn’t learned without you, so I’m still grateful for our short time together.

    But bye, Felicia.