ART MAGIC: make your drawing outlines DISAPPEAR

ART MAGIC: make your drawing outlines DISAPPEAR

When an artist draws, it’s natural to start with outlining the subject – we find the shapes, curves, relationships to each other, and block in that shape. But what happens to that intial line? Does it stick around in the final drawing?

Sometimes that line is helpful to the finished work, no doubt about that. But other times – that line is a safety net. If we’re not sure of the values of the object or what’s behind it, the line will separate the two for us. But when did you last SEE a line around an object in front of you?

Most of the time that demarkation is implied. Our brains “see” a division when we view a 10% value in an object and 50% value behind it. We may think we see a line – but we’re just seeing a value variance.

BREAKING NEWS! I’m not able to do my usual volunteering on the Day of Service this year. So I’m doing the next best thing: Hosting a sale and FUNDRAISER for lower and middle income victims of the California fires. Please shop generously so we can help lots of people!
TAP TO SHOP 


Let’s look at what it takes to make those outlines go away. Maybe not completely, but to hide them so the viewer sees the objects in our art as shapes in front of and behind each other.


Tutorial: ART MAGIC: make your drawing outlines DISAPPEAR

Watch the video below and scroll to the end to leave comments or questions — or click HERE to watch it on YouTube and leave comments over there. I read both dutifully!

SUPPLIES

Some product may be provided by manufacturers for review and use. Compensated affiliate links are here at no cost to you. I appreciate your support of my work with your purchases! Full affiliate and product disclosure | My trusted partners in art

PYROGRAPHY

  1. Pyrography set (no longer available) 
  2. Walnut Hollow Basswood Country Round

PENCILS

  1. Caran d’Ache Grafwood pencils 9B BLICK |  AMZ |  JACKSONS 
  2. Polychromos Colored Pencils BLICK |  AMZ |  JACKSONS

Pyrography

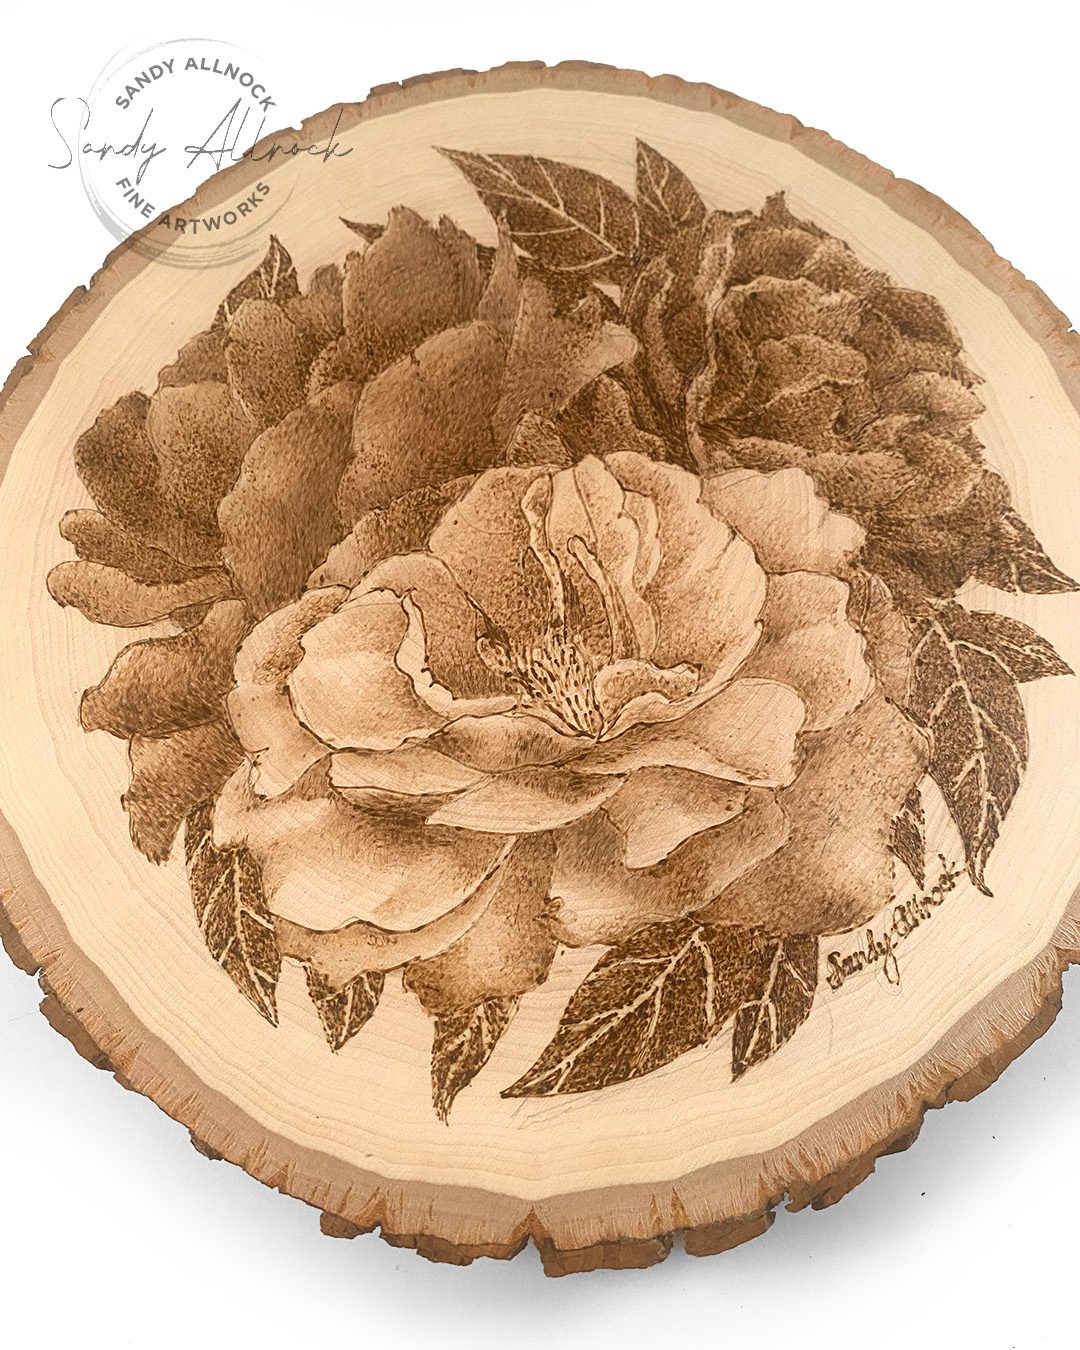
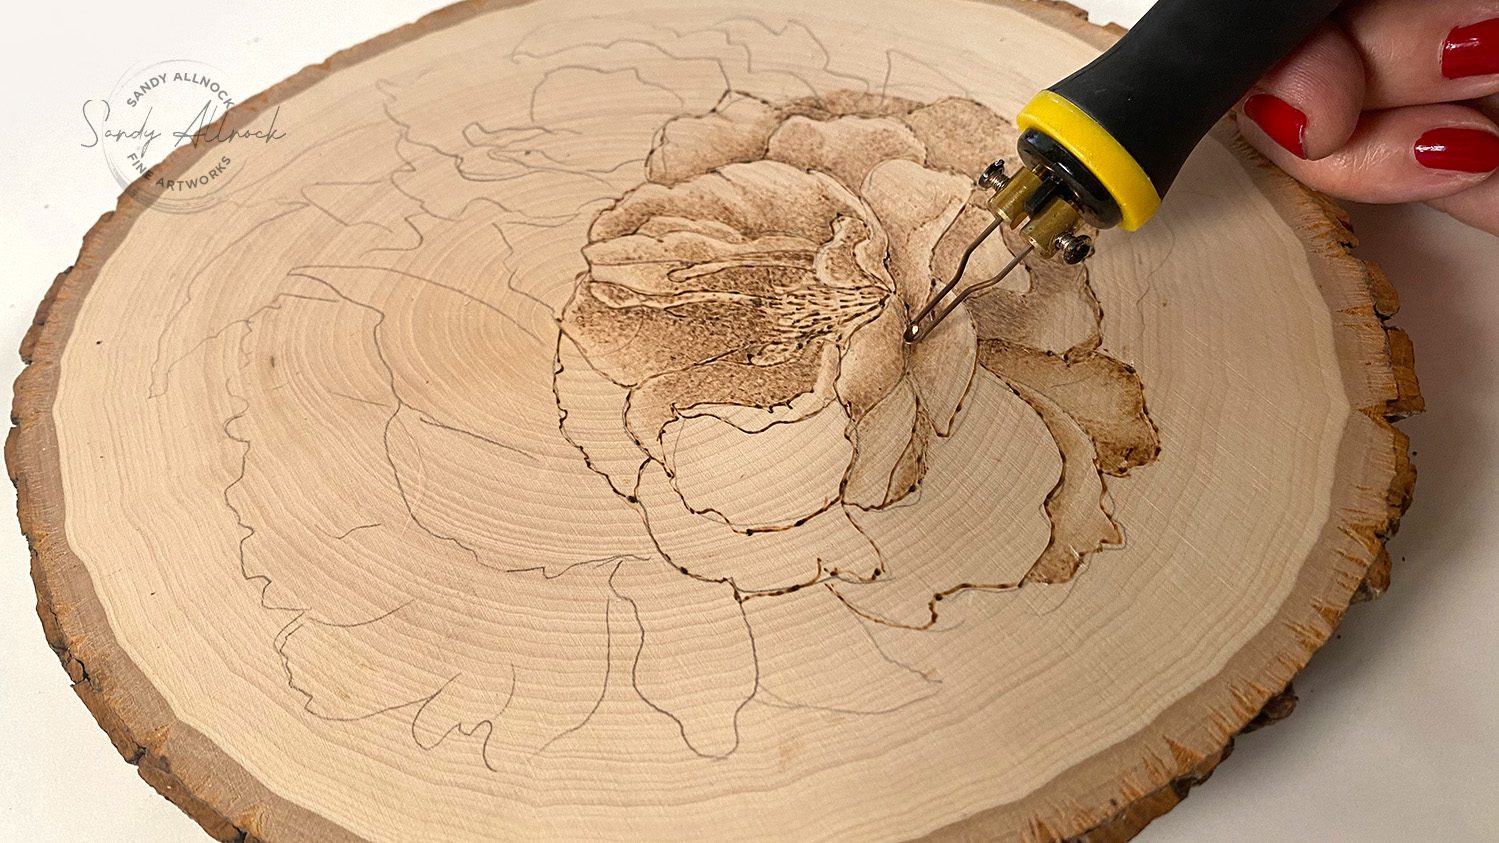
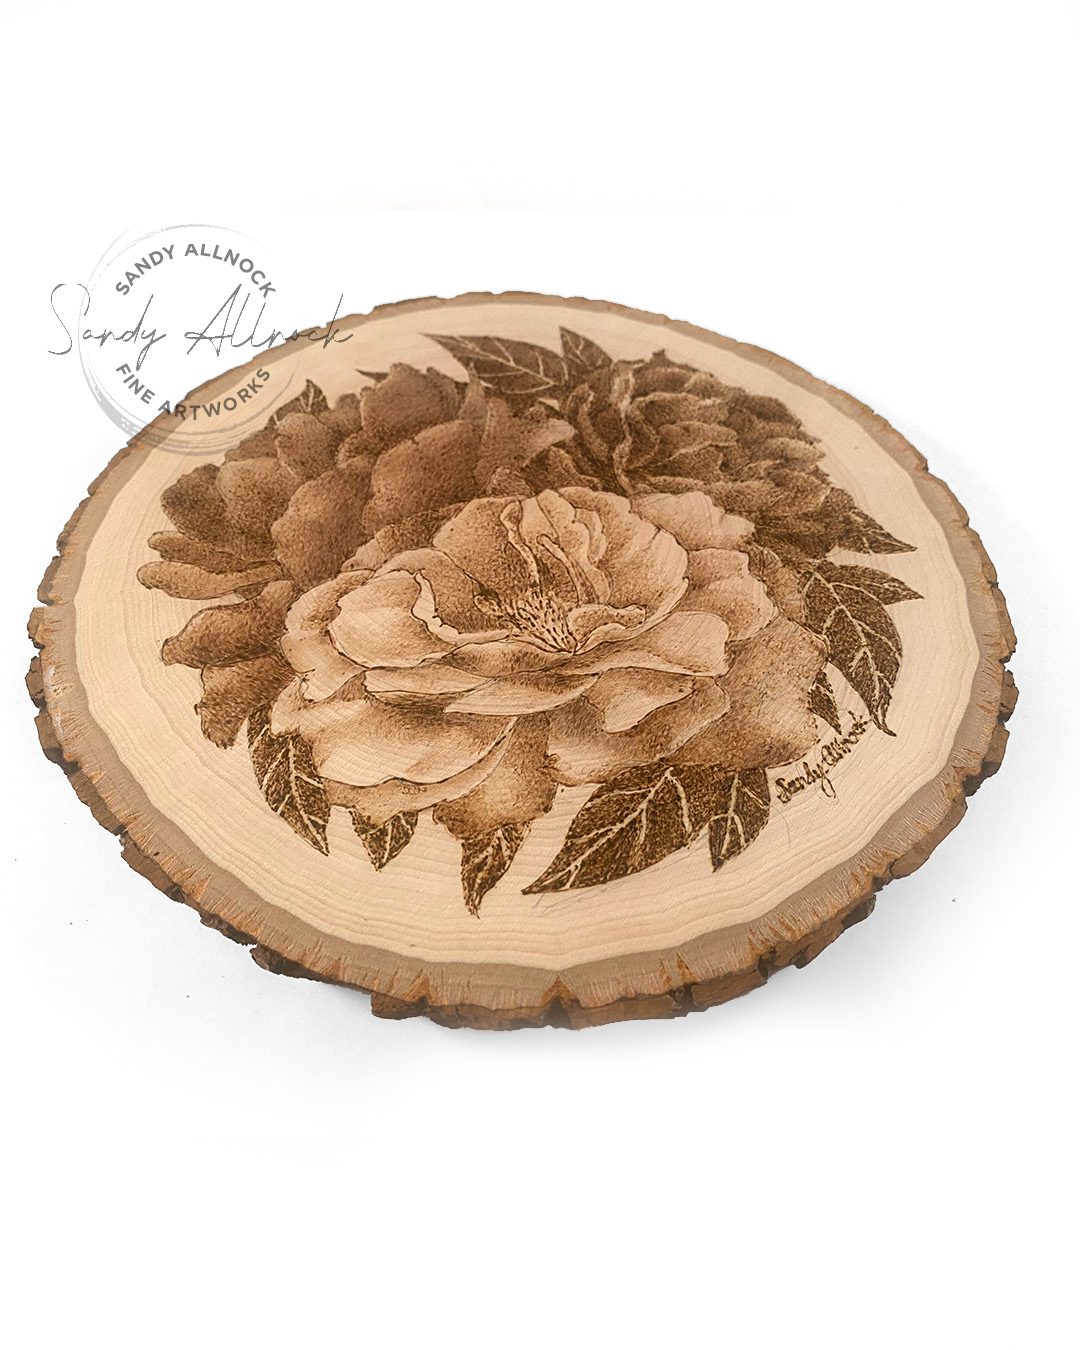
This piece took a few days of painstaking work – it’s a very slow medium with this kind of blending. It’s possible I’m doing it all wrong, but I still love my results 🙂

My goal was to “hide” the outlines and give these flowers a realistic soft look. The way to achieve that disappearance of lines is to add values on one side and the other of the line where one of the two will be as dark as the line itself. Unfortunately in pyrography, I don’t know of any way to lighten anything that got too dark (though I’ve been known to carve up a divot for a particularly bad spot!)
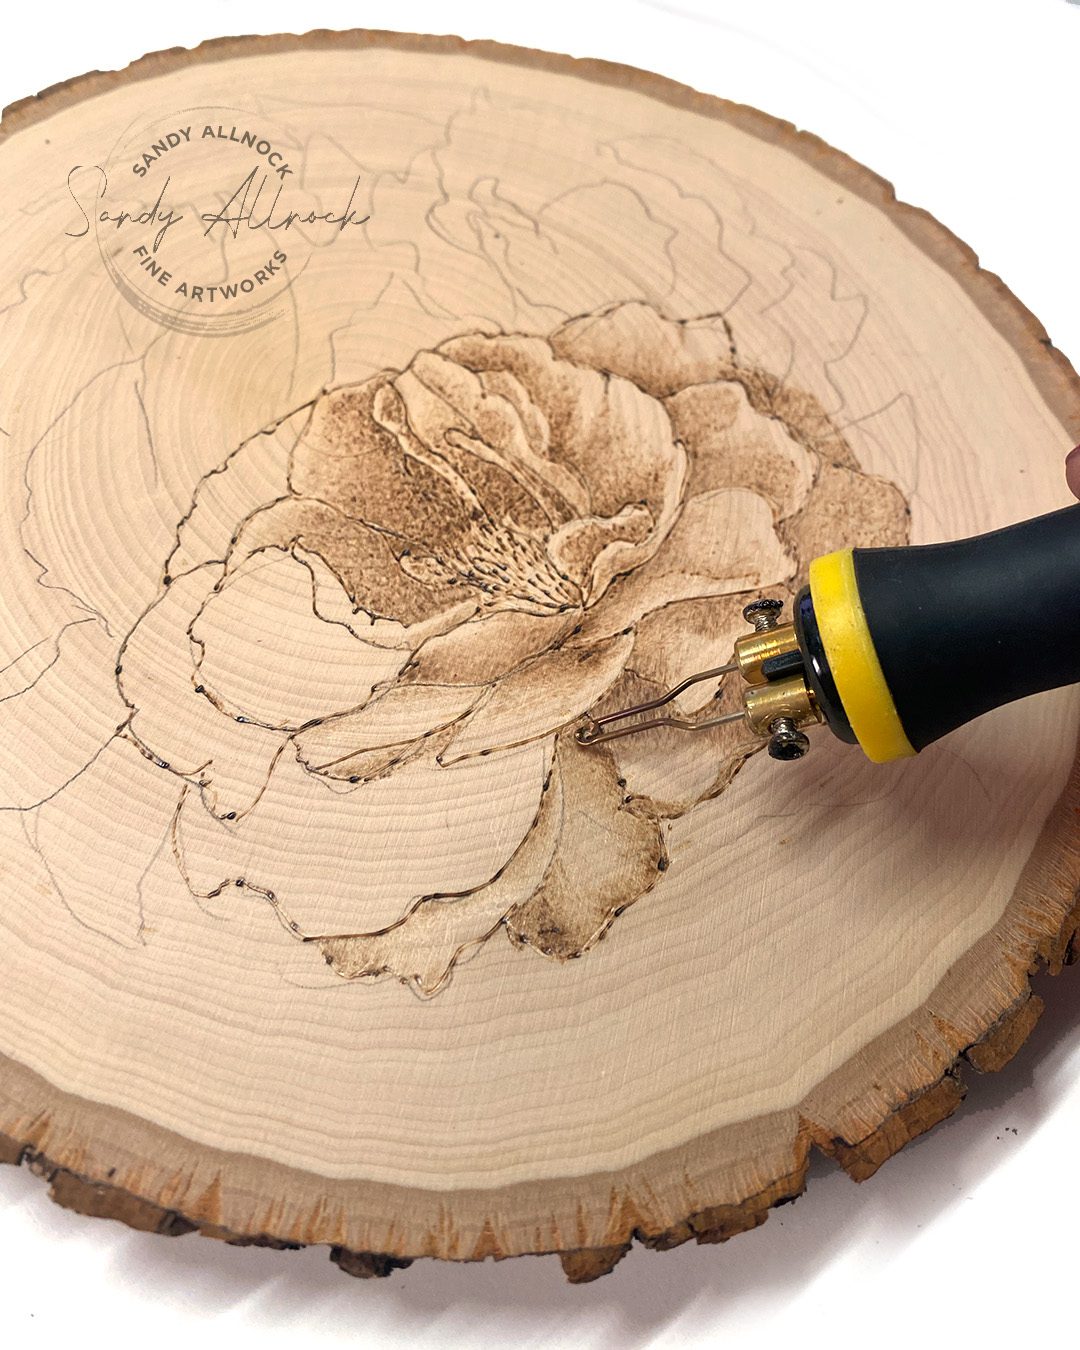
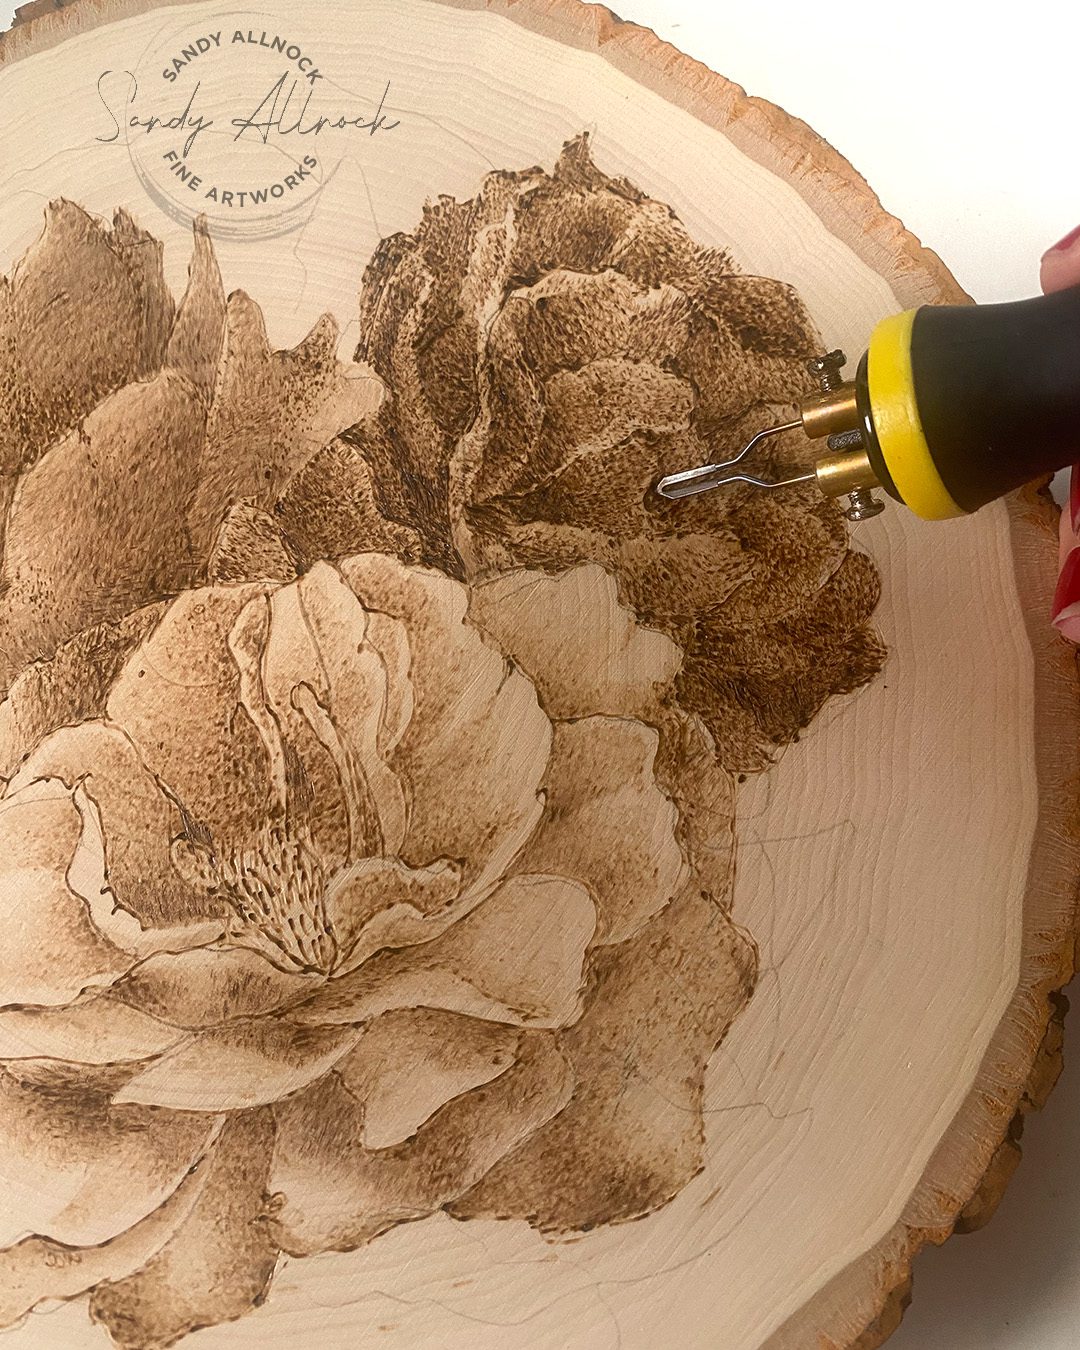
Finishing detail

The uneven gaps around the flowers bugged me – not that I wanted a perfect circle, just not THAT much room in just a few areas! So adding the leaves truly finished it off for me. And my signature nearly finished ME off. Gah! I need to learn better control 🙂
Subscribe to receive blog posts by email:

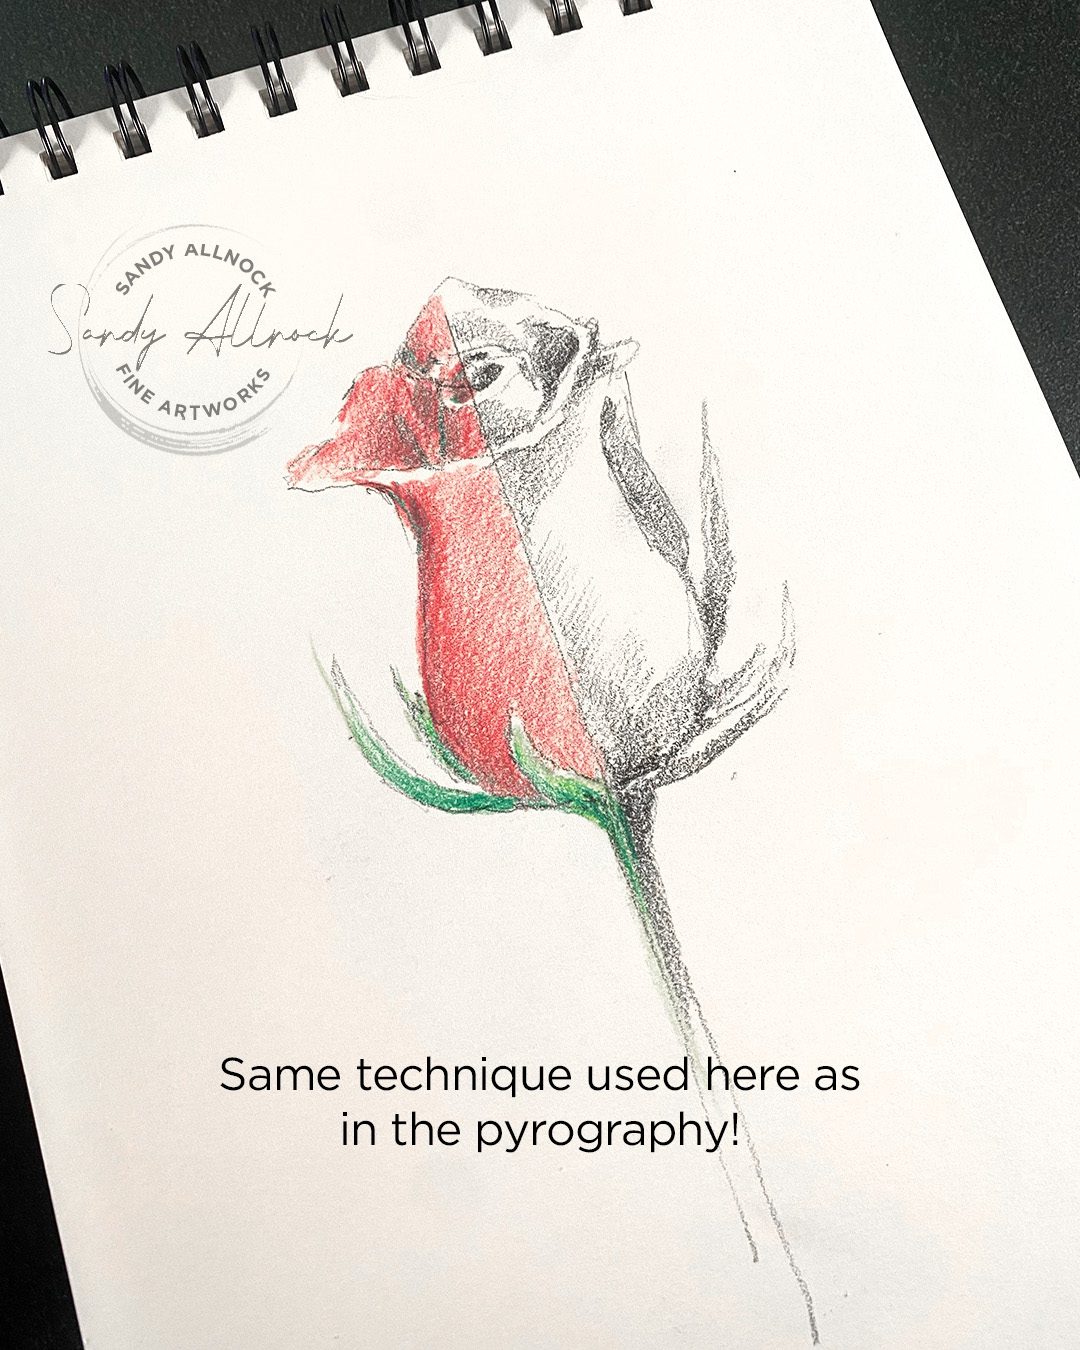
Same technique, different mediums

Creating values to match outlines is easier in other mediums – a broken, varied pencil line can allow some areas to fade out almost completely while others lead the darkness to the edge of the shape.

Again,just work toward matching values on one side or the other to the value of the line; then the shape is merely the edge of the shadowshape, and no longer looks like a line. 
How to make daily drawing MORE EXCITING – ft OLO marker storage tower

How to make daily drawing MORE EXCITING – ft OLO marker storage tower

Has your sketching time become a chore? Do you dread that “oh now I need to figure out what to draw!” moment? I hope I’ll have a little fun to inspire you to make that daily drawing time a lot more impactful for you!

Looking around your home/studio to find “something to draw” can lead you to the same objects again and again, especially if you follow my advice to draw from real life, every day for at least a few minutes.

Yes even if you “can’t” draw. That’s when it’s even MORE helpful! Get yourself a sketchbook and a pencil, promise yourself you won’t show that sketchbook to another living soul, preserving your dignity. Then draw daily!

I know I have too many cups, glasses, and bowls in my sketchbooks. Lots of fruit, cookies. Yes I have a food problem but that’s for a different blog post! But I like drawing those things. So how do we take those same objects we’re drawn to over and over – and make them more FUN!?

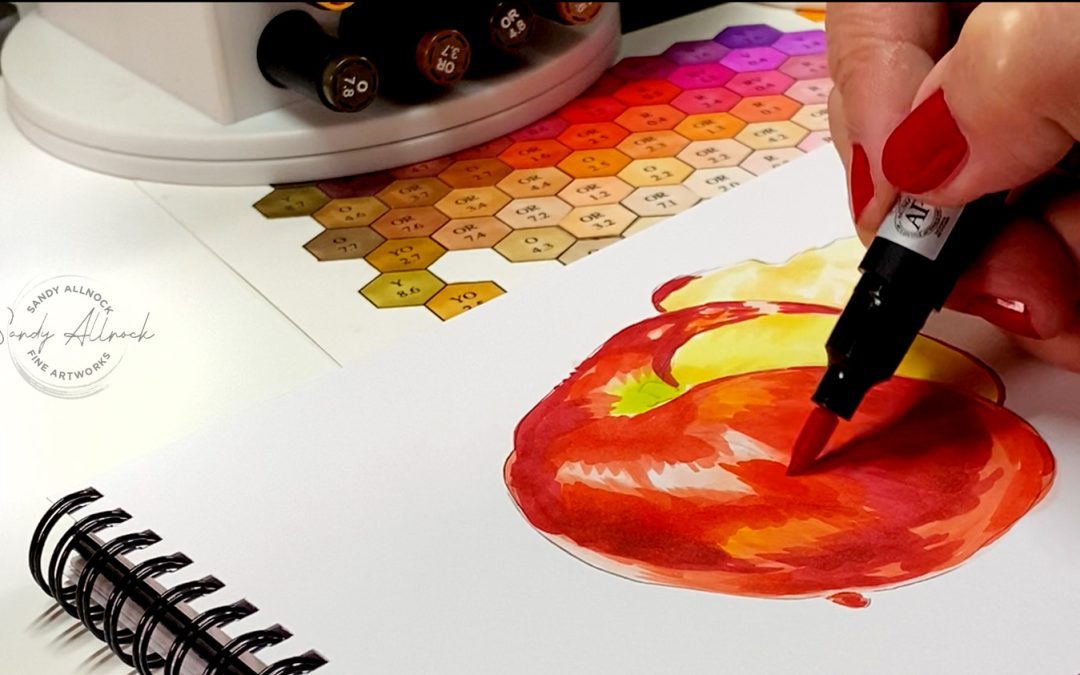
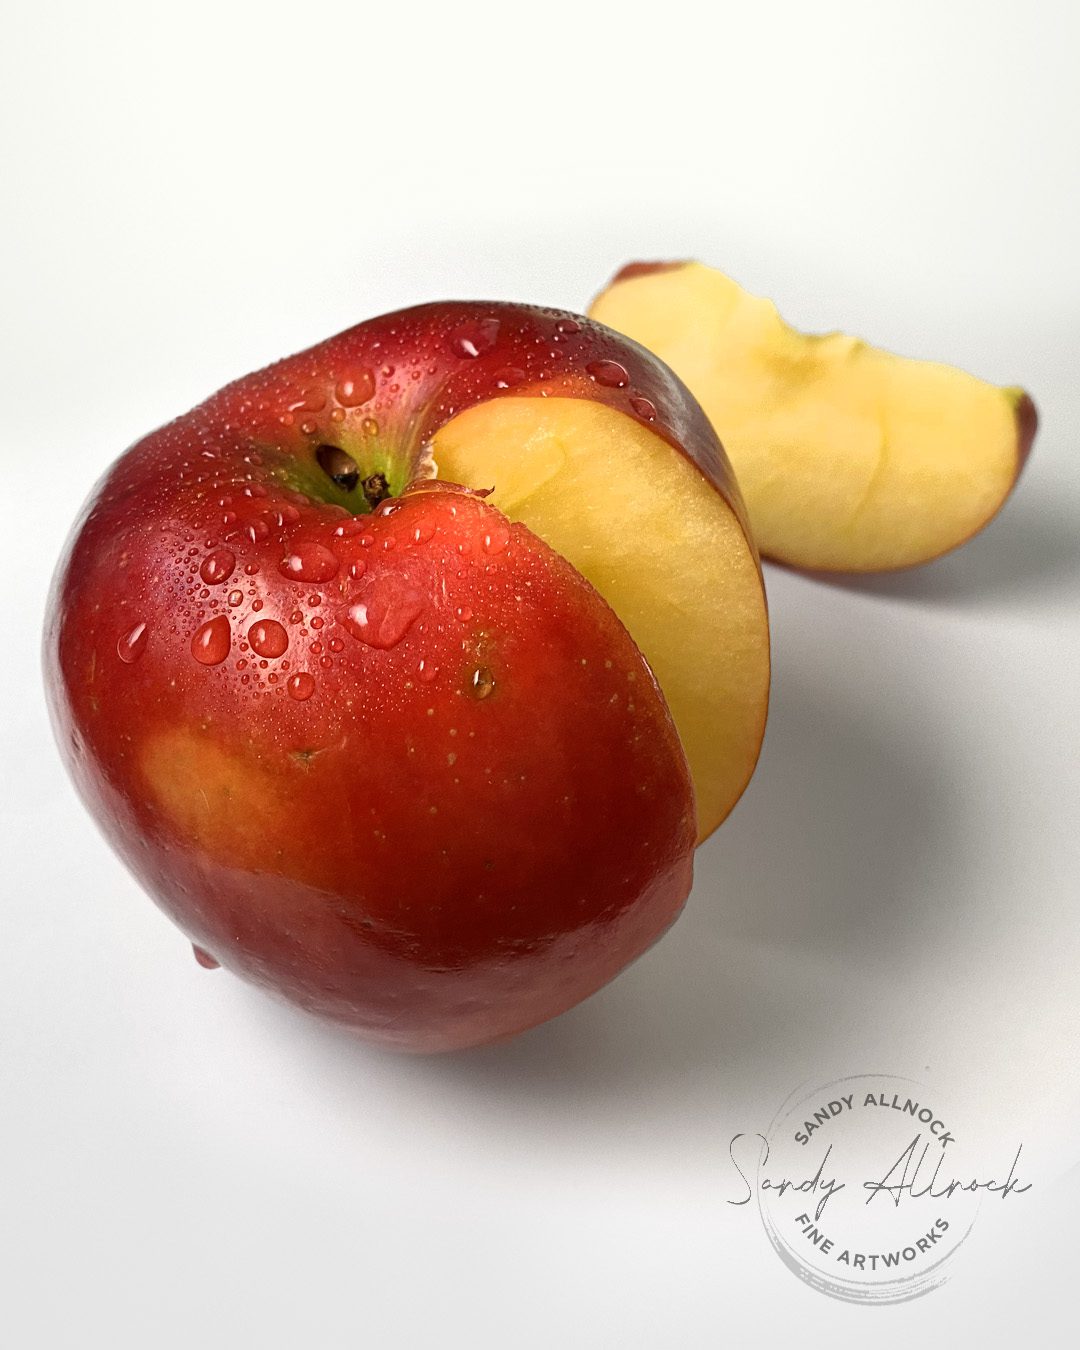
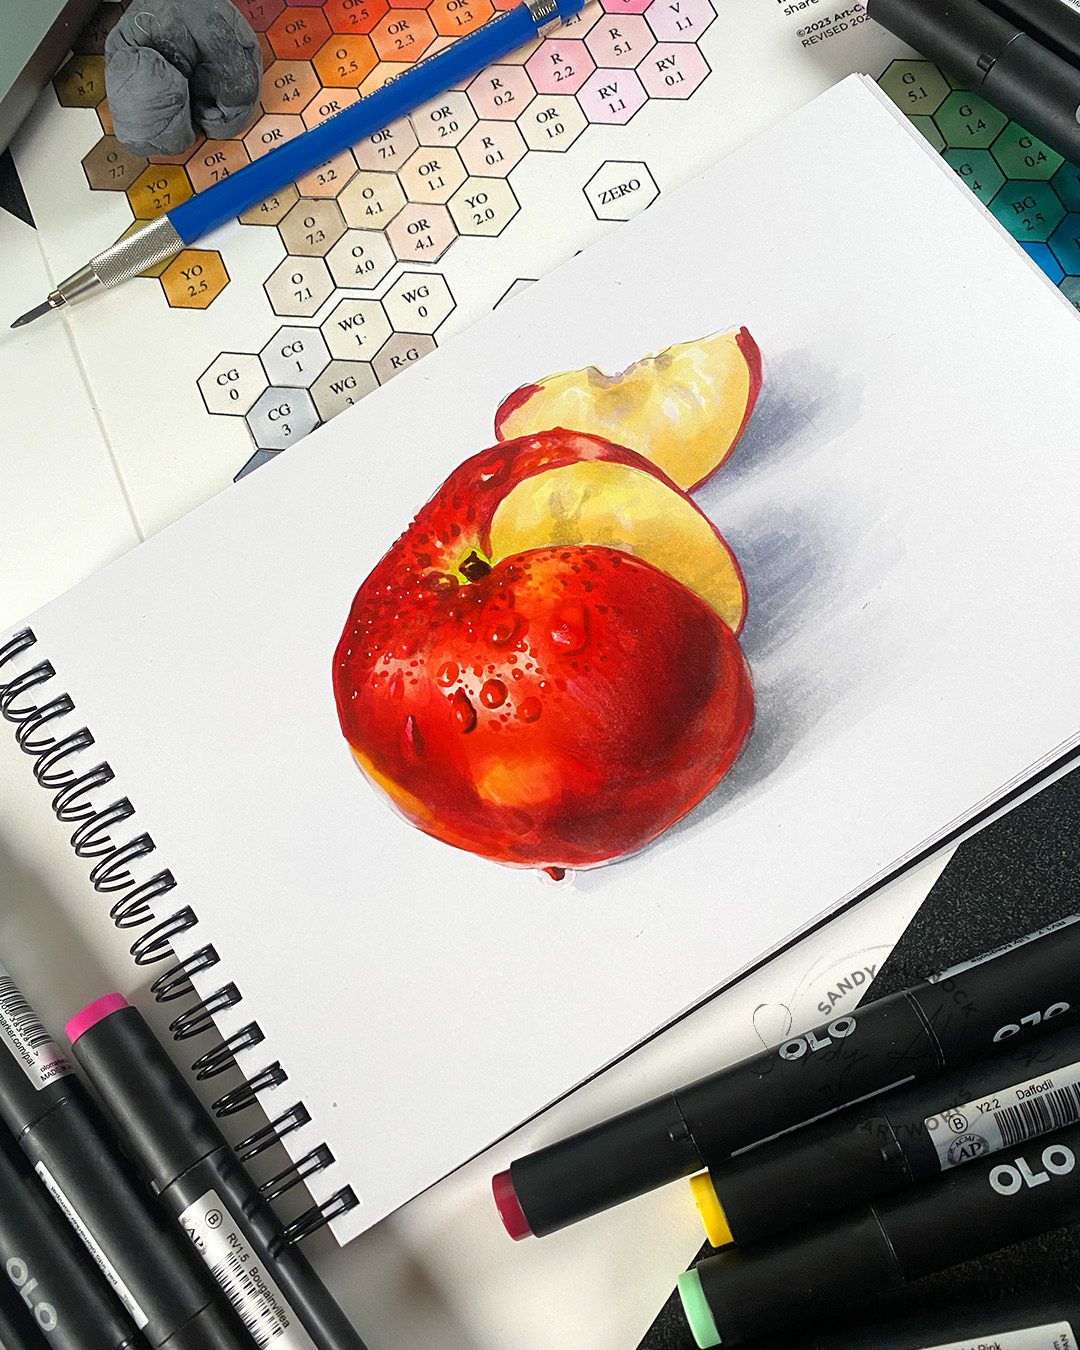
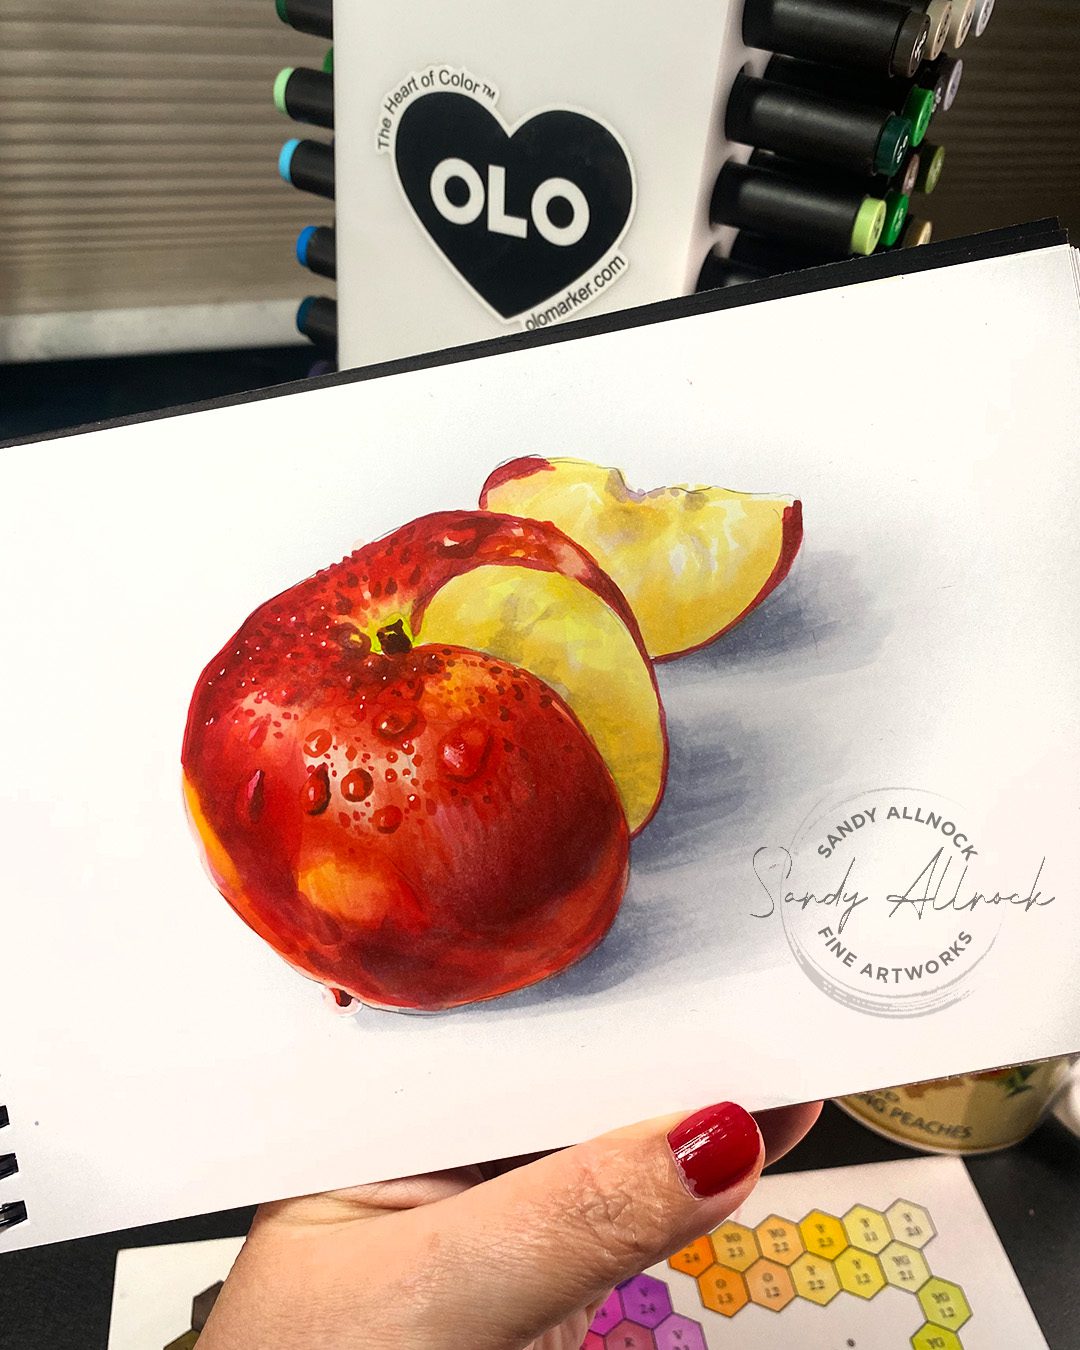
A few months back I posted a reel of this daily sketch of an apple that falls into the make-it-more-exciting camp….and it got a surprising amount of attention! A closeup, lots of water drops. So I hadd put “apple” on my to-do list for a video. Today’s the day!

Tutorial: How to make daily drawing MORE EXCITING

Watch the video below and scroll to the end to leave comments or questions — or click HERE to watch it on YouTube and leave comments over there. I read both dutifully!

SUPPLIES

Some product may be provided by manufacturers for review and use. Compensated affiliate links are here at no cost to you. I appreciate your support of my work with your purchases! Full affiliate and product disclosure | My trusted partners in art

The OLO tower (on sale Jan 13-19)

This sweet spinning tower holds 64 pens – which for me is 128 colors! Most folks don’t own the full set, since the company is fairly new, so the 64 is likely adequate for most people.

My marker set has 24 colors – and I have them paired with their refills on side 2, so i’m keeping them in a separate cup so I remember which ones are mine. I also put 3 grey markers and the blacks in that cup, as well as the rando brown that ended up with the long handle on the back end (I don’t find that handle particularly helpful.)

I arranged the tower in roughly rainbowish order; each pen has a color from the same family on the other side of it, then all the reds are near each other, all the blues, purples, etc. This makes it so easy to find the color I need. And this tower spins easily!

The sale on the OLO tower will be from January 13 -19, 2025
• 10% discount on the tower.
• If you purchase a set of 128 colors (half brush or half chisel), the OLO Tower will be included for free.

My apple photo

Feel free to use my apple photo to create a sketch – better yet, cut into your own apple to draw from life!

Subscribe to receive blog posts by email:

To make drawing time more exciting and fun

Think outside the box a little; so many of the humdrum objects around us don’t seem “fun” enough to spend our valuable time and supplies on….but we can make them more fun!

  1. Food: partially prepare it! Cut it, slice it, dice it, spritz it with water. I’ve even steamed broccoli for dinner and done a quick sketch while eating.
  2. Containers: put something IN the container…not just a liquid or expected plant. But what about your hedgehog? Fill it full of jellybeans? Spill the liquid or beans from a tipped cup!
  3. Light it up: Find a spot, or several spots, in your home/studio where the light is good and strong; see if creating strong highlights and shadows with light makes it more clear where values change.
  4. Mix and match: find 2 objects that normally wouldn’t have anything to do with each other and position them together. A pencil eraser balanced on a golf ball. Anything that’ll make you smile while sketching!

Get out of your own head

So many times we think we know what an object looks like. Haven’t we been writing with a pen forEVER and should know what it looks like? Don’t we drink out of a coffee mug daily?

Surprise yourself by really LOOKING at the subject. Note what the designer of the mug did with the handle…does it get skinnier in one part or another? Just how was that pen clip constructed? 

Be prepared to admit you were wrong about knowing what that object looked like – and find more things to be wrong about. The feeling of conquering something you didn’t even know you needed to learn is kind of amazing!

My daily sketches

It’s free to visit or subscribe – just pop over to my fine art site and see what’s cookin! There’s nothing fancy to read in the posts you receive by email, just a little tidbit of inspiration.

My weekly sketches

On my Patreon I share a sketch a week for those at the $10+ levels, with some descriotion that may be in a book I hope to write someday. For $5 subscribers it’s a weekly sketch but not much text. And for $1 a month folks, once a month they receive one of the sketch pages to enjoy.

Q&A (leaving crafting, Honey scandal, Meta craziness)

Q&A (leaving crafting, Honey scandal, Meta craziness)

I’ve got a little question and answer session today, don’t worry it’s not terribly long!

First I’ll answer a question that came in over the transom from Lakshmi…. “Are you still glad you quit crafting?”
Second – what’s the Honey scandal and how does it affect artists??
Third – what on earth is up with Meta???

Also yes I need to trim my bangs.

If you prefer reading to my silly vlogging (which includes rollerskating so stick around for the end!), the approximate text is in this post; I didn’t want to ramble so I tried writing it down, some bits got chopped and others reworded, but the gist is here.

Tutorial: As for your Qs

Watch the video below and scroll to the end to leave comments or questions — or click HERE to watch it on YouTube and leave comments over there. I read both dutifully!

“Are you still glad you quit crafting?”

Well Lakshmi, first off, I haven’t quit crafting. But a few years back I swapped my focus; I used to do about 98% cardmaking and crafts, and 2% sharing the art I really was passionate about. I had slowly tried to swap those percentages, and when it hit the tipping point and now I pushed to 98% of my passions — because you get no rewards in this day and age for being halfsies. I struggle enough with being all over the place with mediums! I do still privately make cards and send out hundreds a year to patrons, to students – so though you dont see much on my youtube or social media, it doesn’t mean I’ve quit. But that brings me to a question that’s behind Lakshmi’s: Was it worth it to make the change? And I would have to say yes, but for some reasons that you might not expect. Lets count down the top 5 benefits i found: 5. It’s far less expensive and less complex to create now. I can grab a piece of paper and a medium and just go to town. I don’t have to figure out what stamps, which paper and ink to go with them, will it fit on a card? No more constraints – and I’m not going broke on stamps. 4. I create what I want when I want. I had been going into a mental health crisis over trying to keep up with what everyone demanded of me. I wasn’t creating things *I* wanted to make. I had lost my desire to make art at all. ANd now? theres not enough hours in the day to create all I want to. 3. There’s no more panic when I head into my studio. I had become exhausted with the monthly mad rush of product releases from dozens of stamp companies. Everyone had flowers, bears, foxes, and unicorns, and they were all looking the same. You might remember I had to put a halt to being on distribution lists because I felt guilty when I didn’t like products,but that I was expected to use them and say they were the best just like every other influencer. It was better when I got off those insane lists, and people started trusting my recommendations as honest more after I was purchasing my own supplies. But still, I don’t miss that monthly rat race one iota. 2. A more mixed community is developing.I once only had cardmakers who only wanted to talk about supplies and tools. If I didn’t show a new release or have a giveaway, not many people cared about what i was doing. The change in focus meant I lost some folks in the cardmaker camp, but now – most everyone’s more interested in the artmaking process and the USING of tools, not just collecting them in rainbow colors because they’re new and so and so said they had to have them. We’re all different types of artists but we’re finding more of what we have in common. And I love that. 1. I’m really growing as an artist. While I did a lot of drawing scenes “around” stamps, it wasn’t just pick-up-a-pencil-and-go drawing. It wasn’t challenging me. And I do best when I’m pushed and learning! Im in a weekly life drawing group and rocking it. i’m even drafting a drawing book with my patrons, and that’s giving me more clarity about what I want to teach and how, than I expected. Link below if you want to see what that’s all about. While I’m sad for the lost friendships of ppl who left when I made the shift, I’m mostly heartbroken for what they’re missing. I’ve seen enough of you who’ve started to learn, to grow – and have put down the stamps long enough to realise you can make paintings and drawings on your own! That is INSANELY more satisfying than just handing people a step by step shopping list and tutorial to replicate me exactly. Now I get to watch yall soar like birds taking flight out of a nest you thought you were stuck in forever. And THAT is what I call satisfying work. So Lakshmi, I’m glad I did make that transition, as hard as it was. There was loss, but I’ve come to where I think the gains are only growing.

The Honey scandal

Now lets get to the scam…. affiliate links are as much a mess as I had screamed into the abyss yearrrrrs ago. the short gist – Affiliate or commision sales are when an artist posts a link with a code embedded in it, and when you shop, the retailer pays a commission for referring the sale. I’d watched those commisions TANK back in the late teens before I had made the transition,so it wasn’t just losing the stamp sales that caused the drop. What’s been happening is a giant scam. There are these apps/browser add ons or extensions, and they tell you it’ll find the best coupon code price for you when you’re ready to hit the CHECKOUT button. But it turns out there’s shenanigans. Typically “last click” before checkout gets the commission. So you fill your cart from various recommendations, and whichever is the LAST link you clicked before hitting the checkout gets credit for the whole sale. And the Honey app, along w similar ones out there, figured out how to scam everyone. Right when you tell the app to go find a coupon, they secretly change the affiliate code and put in their own/ So rather than getting my normal commissions,my income fell to about 10% of what I once had made each month. And its not like yall stopped shopping! These browser extensions also don’t always give you the best price either – the store can tell it which code NOT to show you. So all around it’s a scam. A guy on the megalag channel did his own private investigatoin and details how this is done in the video link below. And go uninstall those browser apps because really, in addition to not wanting to get scammed or to enable them to steal from other artists – you do NOT want to volunteer ALL YOUR ONLINE SHOPPING INFO to any company do you? Yes theres a compnany behind these apps, its not just a little function on your browser. Google for coupons yourself.

Subscribe to receive blog posts by email:

Meta’s terrible meltdown

And then….we have Zuckerberg promising to make instagram and facebook even worse than they are right now. I mean, getting rid of the fact checkers is getting more attention but honestly they were pretty useless the way they were implemented anyway….but the things they’re now going to allow in discourse on Meta platforms are atrocious. The new list of permitted terms referring to women, disabled children, immigrants, other races, anyone you don’t like and want to demean – all kinds of classes of people can now be called names usingh words our mamas taught us not to utter because they are SLURS! I mean to call disabled kids the R word again!??? I gotta peace out of that mess.

So I’ll be mostly leaving Meta. My stance right now is that I’ll post 2x a week on fb and ig on the days I have a video going live.But I’m no longer going to do my daily creative posts, reels, or teaching there. Just not feeding that beast. I’ll share those in other places, I will continue my daily sketches subscriptions, and posting even more regularly on Artventure, and some other platforms I’ve been experimenting with.

The Artventure alternative!

But honestly do head over to my community at Artventure. Get the app on your phone, plop it on your home screen so you remember to visit. I’ll be doing more teaching there, experimenting with live demos, and on January 25th our first open studio zoom of the year will experiment with easygoing critiques of student homework if youd like to submit a piece for that or a question i can answer, I may tackle one on wc brushes. And one of my local art buddies is going to bring one of her oil painitings in progress to get some feedback on it; she and I do that all the time in person but she said she’d happily be a guinea pig at open studio since she loves my critiques.

Artventure is free to join, and it’s got no ads, no algorithm, art from all kinds of artists in the community, all levels, all mediums. It’s kinda like social media used to be, but better.

Hope to see y’all there – and then back here on Monday morning because there’s something special going on with Olo markers next week, so we’ll talk about that then.

Transparent flower (Pigment Brush Pens part 2 – technique)

Transparent flower (Pigment Brush Pens part 2 – technique)

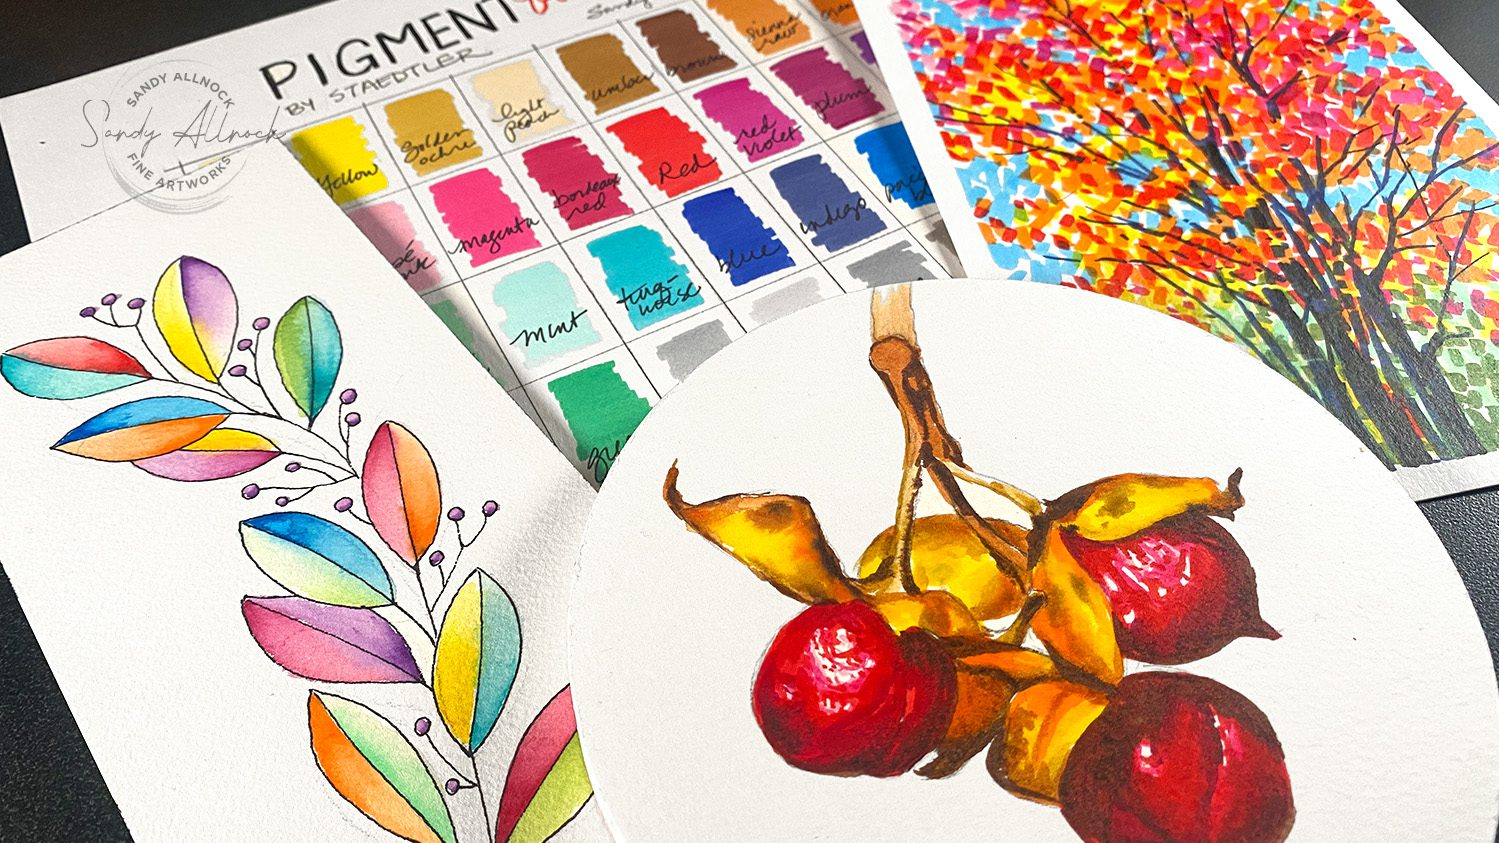
I now bring you part 2 in this series of revisiting the Staedtler Pigment Brush Pens that I brought to your attention a few months ago! They’re a water-based pen that becomes permanent when dry – so we can use that feature of its properties to create some gorgeous layering to create very simple, pretty flowers. Staedtler sent me a package with the full line of the 60 colors, so I’m putting them to good use!


Tutorial: Transparent Flowers

Watch the video below and scroll to the end to leave comments or questions — or click HERE to watch it on YouTube and leave comments over there. I read both dutifully!

SUPPLIES

Some product may be provided by manufacturers for review and use. Compensated affiliate links are here at no cost to you. I appreciate your support of my work with your purchases! Full affiliate and product disclosure | My trusted partners in art

MARKERS

  1. Staedtler Mars Pigment Arts Pen 36 BLICK |  AMZ |  JACKSONS
  2. Staedtler Mars Pigment Arts Pen 24 BLICK | JACKSONS 
  3. Staedtler Mars Pigment Arts Pen 12 flesh AMZ  | JACKSONS
  4. Staedtler Mars Pigment Arts Black pigment liner pens set BLICK |  AMZ |  JACKSONS

PAPER

  1. Sennelier handmade watercolor sketchbook 

NOTE: There’s a huge giveaway on my last post of these markers, so be sure to TAP HERE TO ENTER TO WIN!

Plenty of water, little pigment

Create paper-thin looking petals by placing a nice amount of water on the paper, then letting the color just zoom into the wet puddle by touching it just barely to the edge.

Color will flow out into the whole petal – so when you start, use less than you think you need until you see how it dries. Too much color and the transparency might look more like mud instead.

Let them dry

After finishing the first petal and leaf, let the paper completely dry so you can freely paint other petals without worry. The Staedtler Pigment Brush Pens will dry entirely and any water painted on top won’t disturb them at all!

NOTE: If you use their Multi Ink liquid blender, that WILL lift the color underneath. 

ANOTHER NOTE: If you use a different type of water-based marker that isn’t permanent when dry, be very careful and don’t smooch the brush around ANY more than necessary. Lifting the underlying petals will wreck the effect of the layered transparency.

Make the flowers different

Create layered shapes and flower sizes that feel different – tilt one to the left and one to the right at slightly different angles off of 90 degrees so it won’t look overly planned. That’ll help the flowers look like they’re growing naturally. 

Try adding more petals to one of them so it’ll have the look of tilting more toward the viewer – forward-most petals will get a little shorter than the earlier ones painted in.

Subscribe to receive blog posts by email:

Vary the value, but just barely

Value is the difference betwen light and dark; don’t get too crazy with value, but the more each petal has its own light and transparency, the more interesting it will be to look at!

Do these markers bleed through? (Pigment Brush Pens part 1- paper tests)

Do these markers bleed through? (Pigment Brush Pens part 1- paper tests)

A few months ago I showed you some Staedtler Pigment Brush pens – water-based markers that become permanent once dry. You might  remember this one:

I was tickled to find out that while I was working on a freelance design project for one of Staedtler’s satellite offices, HQ saw it and was impressed. So much so they wanted to send me a pack of promo goodies! 

It was so nice to hear their appreciation of my work; and though I didn’t know what would be in this promo pack, I looked forward to it. Just before Christmas a BIG box arrived, and I put it under the tree – so I’d have something to open on Christmas morning. Not only did I find the full line of 60 marker colors in it – they also included a 24-pack and a 12 pack of portrait colors – so read on for the giveaway later in this post!

Tutorial: Do these markers bleed through? (paper tests)

Watch the video below and scroll to the end to leave comments or questions — or click HERE to watch it on YouTube and leave comments over there. I read both dutifully!

SUPPLIES

Some product may be provided by manufacturers for review and use. Compensated affiliate links are here at no cost to you. I appreciate your support of my work with your purchases! Full affiliate and product disclosure | My trusted partners in art

MARKERS

  1. Staedtler Mars Pigment Arts Pen 36 BLICK |  AMZ |  JACKSONS
  2. Staedtler Mars Pigment Arts Pen 24 BLICK | JACKSONS 
  3. Staedtler Mars Pigment Arts Pen 12 flesh AMZ  | JACKSONS
  4. Staedtler Mars Pigment Arts Black pigment liner pens set BLICK |  AMZ |  JACKSONS
  5. Staedtler MultiInk Blending Liquid 

PAPERS

  1. Canson XL watercolor pad 9×12 BLICK |  AMZ  JACKSONS 
  2. Copic Sketchbook 9×12 BLICK |  AMZ 
  3. Coco Wyo coloring book (cheap paper)
  4. Kanoko Egusa Symphony of Cute animals
  5. Johanna Basford Rooms of Wonder 

Student grade watercolor paper

For years I’ve recommended student grade watercolor papers for water-based markers. There’s just something about how they “cling” to anything with too much cotton in them, so something a little slipperier is warranted to help the color move more easily. 

I didn’t fuss over streaks – because I chose a subject that I could use the marker lines to my advantage. Always think about that when choosing a subject for a medium – or your medium for a subject. Some things are just better for one or the other.

In this case the veins were calling me….my neighbor thought I was crazy when I asked if I could take a photo of her houseplant, and proceeded to move it closer to the window and cleared a shelf for myself. HA! I knew I could also capture the thin stems of the plant, and tiny leaves. These markers have a nice small brush for that kind of detail.

There was zero bleed through on the back, which would be pretty obvious if you know this paper – it’s pretty thick!

Marker paper

While marker paper tends to be more slippery, it also isn’t made to have any flow; it’s not soft enough OR hard enough! (It would be FABULOUS for lettering with these pens though!) 

To simulate a blend, there’s a few possibilities:

-create a line of a dark color, and next to it a line of a midtone, then a line of a light, and let the viewer’s eye “mix” it for them. You’d be surpised how well a graphic approach like that comes across to a person looking at your art!

-use blending liquid to smooth out areas – even just the larger ones that are large enough to wield a brush in them.

-pull out the colored pencils after it’s dry! Colored pencils love working on top of any flood of color, since the white speckles typically left behind are pre-covered by the marker ink, so blending is easier.

And after all the application of color, it’s pretty awesome this doesn’t bleed through. 

Cheap coloring book paper

While the cheap paper Amazon prints on can work fine with colored pencils and alcohol markers (though marker bleeds like mad, so choose books printed on only one side)……the streakiness is pretty much off the charts! I couldn’t get the blending liquid to work at all on it. 

Nicer coloring book paper

There’s much more possibility with a higher end paper. Streakiness is still present if the spaces are large, but much more controllable. Wide open areas is where it’s mostly in danger of showing marker lines.

Kanoko Egusa’s style is one I love, primarily because it has both small details and open enough areas to have fun coloring. Might not be best for this particular marker though.

As I said before though, with practiced lines it’s possible to make the lines on a large space like the face look like muscle. Blending liquid had some efficacy so try it out – but as always be sure you test in your own coloring book to see how different mediums will perform. 

Nicer coloring book paper, smaller designs

If you’re a Johanna Basford fan, her work is really suited for these pens! Lots of tiny areas that you can cover quickly and easily with the pigment brush markers, and the fine details can be easily handled with the fine marker tip.

No bleeding through means you won’t lose any of the back sides of any pages! 

Giveaway!

Staedtler sent me extra markers, and I’m thrilled to be able to get them out to some lucky folks to try out! And I’d like to target each of them to someone who will actually use them, so do me a favor and check off all three items on this list, okay? I’d hate to pay all that shipping cost to send out a pack you won’t touch! 

To qualify to WIN, do all three:

  1. Leave a comment – and tell me which of the two sets of markers would work for you! Even though the “portrait” set is called portrait, it’d be fabulous for animals too!
  2. Sign up for my e-newsletter below; it’s free! It comes out every Saturday and I let you know what’s posted that week, so you won’t miss out on any creativity. Or the winner announcement next weekend!
  3. Subscribe to my YouTube channel! I mean cmon. Seriously. It’s free, too, right?

I’ll be picking winners on Friday night and will include the winners’ names in the newsletter. Go tell a friend or two about the giveaway, you probably know someone who likes using markers!

Subscribe to receive blog posts by email: