
In the past week I finally finished getting everything shot, voiced, written, and uploaded – WHEEE! – for the new Colored Pencil Hex Art class. Sometimes *I* learn lessons myself that aren’t related to the class…and this one did just that.
I was muddling along with the few blending stumps (also called stomps!) that were clean. I have DOZENS but they were all in bad need of repair, so I thought, “Hey, I can defer that, no biggie!”
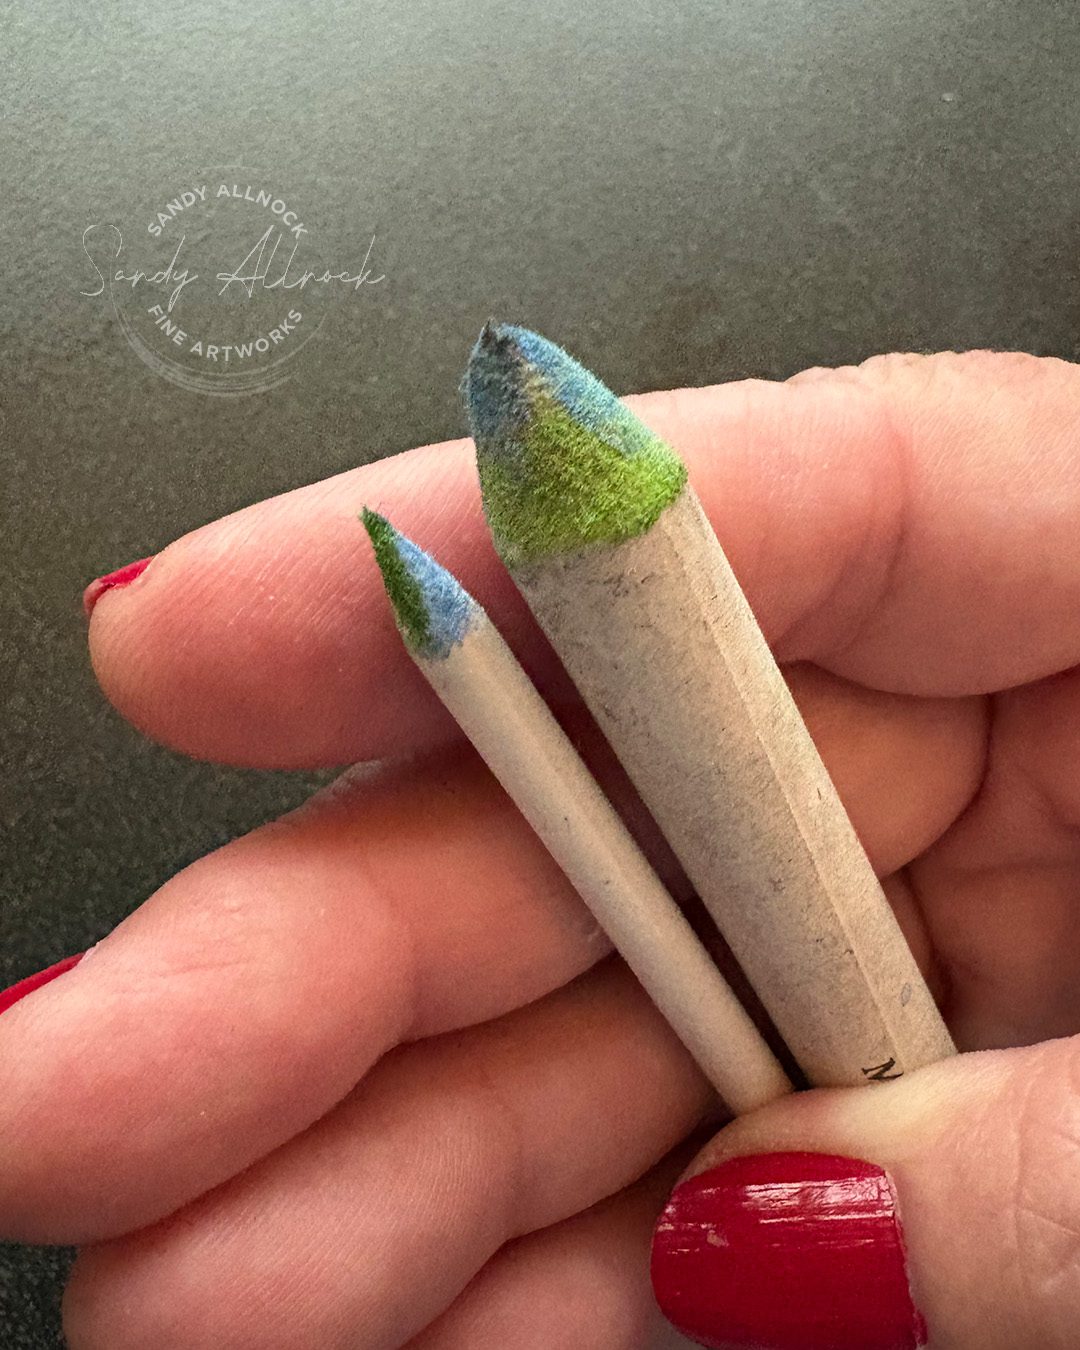
But when the grey rocks in one of the lessons went green because I thought the mess on the end was all grey and not green….well, that was my sign.
(No it wasn’t this one but I forgot to get a pic of it, so this fuzzy little bugger will stand in its place!)
Tutorial: Deferred art supply maintenance: GAHHHHHHH
Watch the video below and scroll to the end to leave comments or questions — or click HERE to watch it on YouTube and leave comments over there. I read both dutifully!
SUPPLIES
Some product may be provided by manufacturers for review and use. Compensated affiliate links are here at no cost to you. I appreciate your support of my work with your purchases! Full affiliate and product disclosure | My trusted partners in art

Pencils & sharpener
- Faber Castell Polychromos Colored Pencils BLICK AMZ JACKSONS
- Afmat Long Point Pencil Sharpener USB rechargeable
Paper
Blending stumps and tools
- Richeson Blending Stumps BLICK AMZ JACKSONS
- Xacto Sur Grip Utility Knife
- Gamblin Gamsol Blending solution BLICK AMZ
- Jars for solvents
The point…and the paper rubble
If you’re doing more small drawing with the stump/stomp then you’ll want the tip sharper. If you use it more for blending wide areas using the side, then sand it down and make it soft like in the first photo in this post.
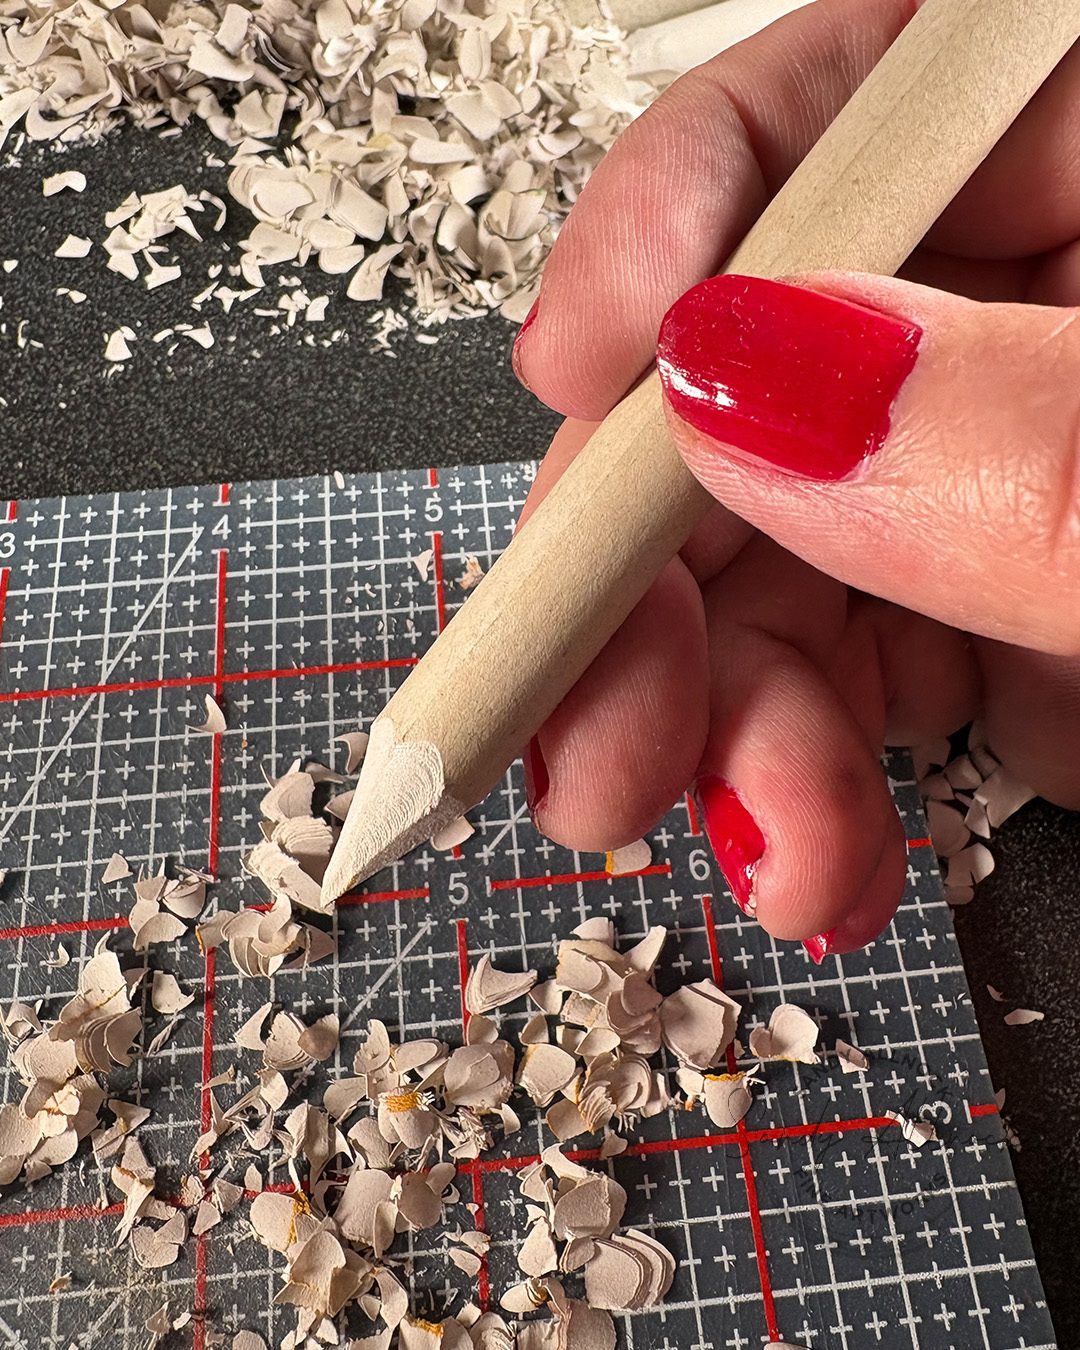
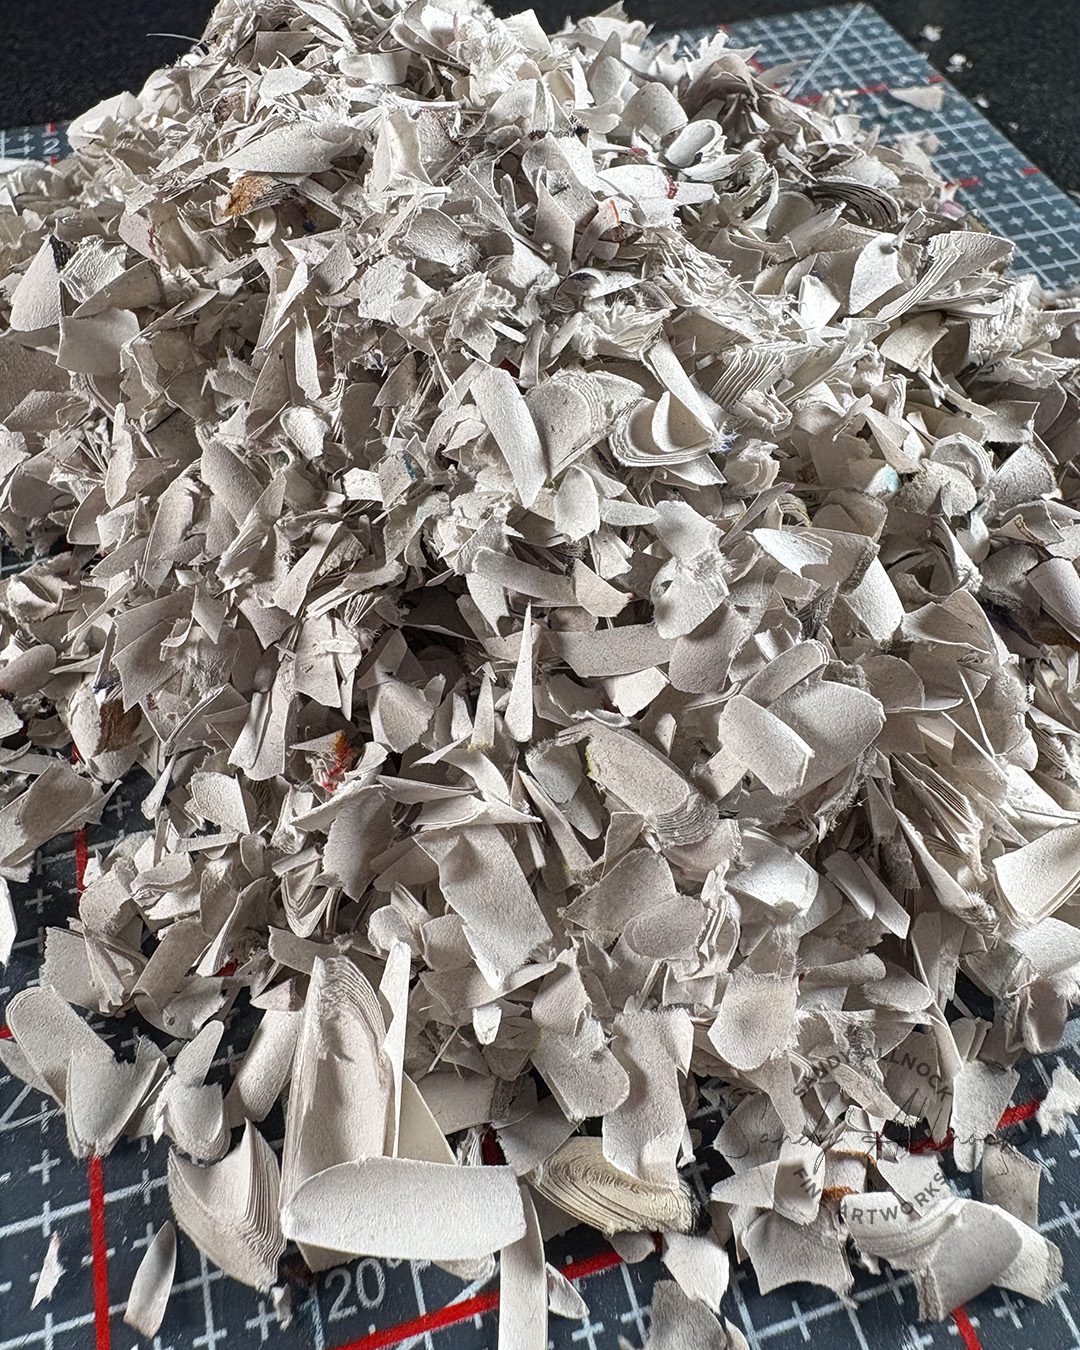
But be prepared for rubble galore if you wait and do a ton of them at the same time!
Usually I have my detail scissors at hand and cut the tip to the shape I need right at that moment, but in this case I used the knife for everything, then if I need them softer for a project, I can file the size I need at that time.
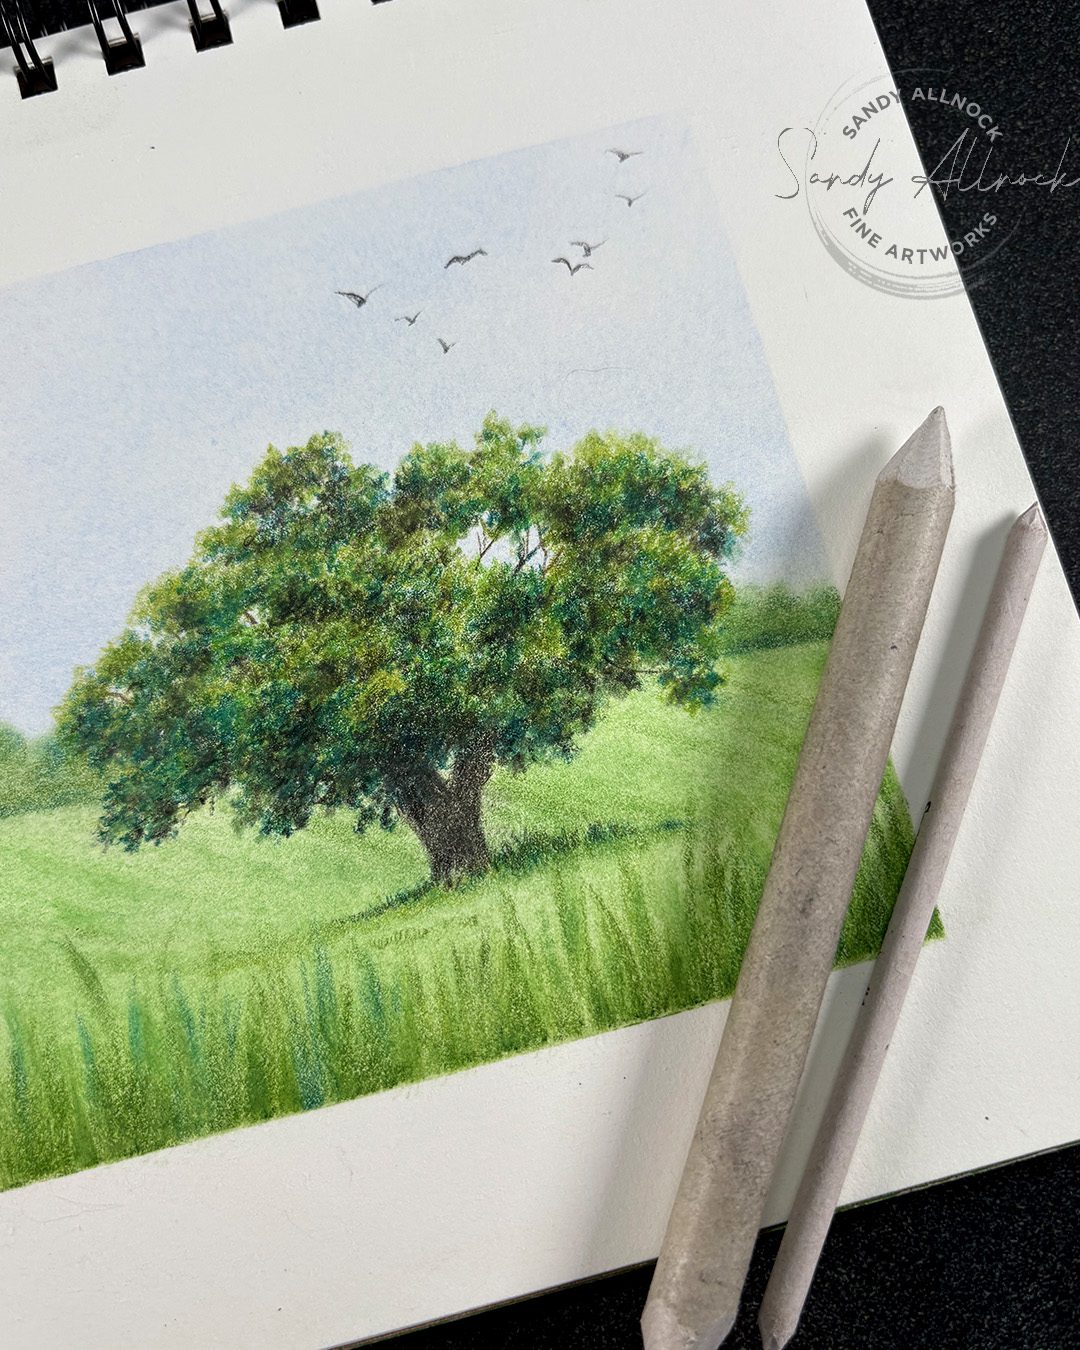
Half and half
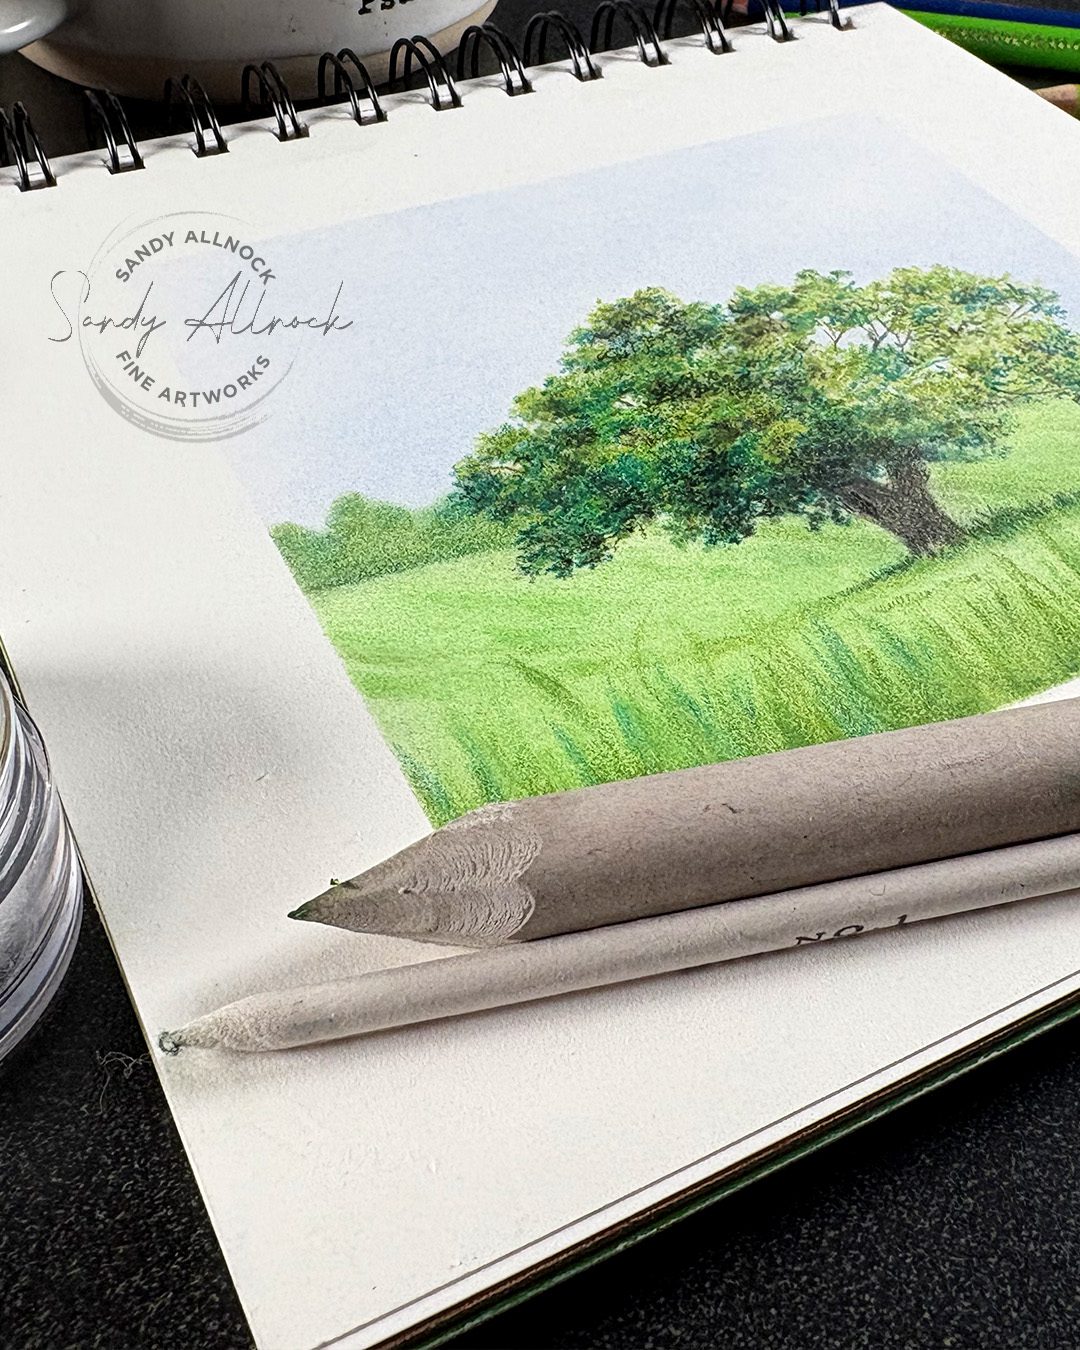
The tree is half blended with gamsol, half isn’t done yet. So you can see what a nice job it’ll do! The background – grasses, distant trees, and sky – is all blended with various dry blending techniques including cotton balls and qtips as well as a stomp.
Subscribe to receive blog posts by email:
Variety in your colored pencil drawing
Having a lot of techniques at your fingertips can really help you to include great variety in whatever art you make with pencils – and I gathered a ton of them together in the new class. This tree is one of them, it’s approximately in the middle of the hex art page; with all of those drawings they were very small, and many times I found myself thinking, “I want to draw this photo reference again, larger so I can get into the details!”
As I do so, I’ll add them to the lessons in class. Not as video, but to show students what it can look like when created in a larger setting.
Colored Pencil Hex Art Class
Dive in and learn how to use different pencil techniques to advance your art skills! You’ll learn 42 techniques, taught in a systematic way so the ideas build upon each other. The finished product is a beautiful piece of Hex Art suitable for framing and displaying in the studio!






I definitely only do maintenance when I have to. I have only ever called them ‘stumps’ but I think ‘stomps’ sounds really cool!
Class sounds amazing but I’m not ready for Level 4 yet!