I hope you got a chance to enjoy the bloghop this weekend!
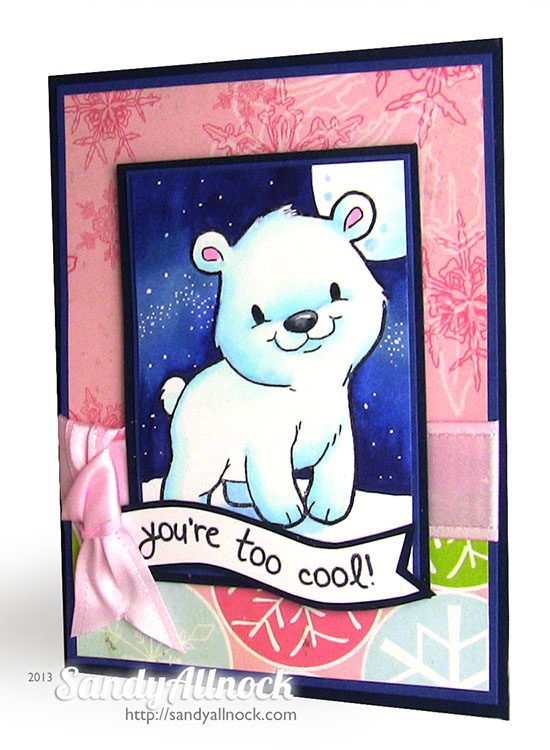
My card this morning uses my first test-colored image that I showed on the bloghop; I usually color one before shooting the video, and I figured since we kept our posts simple (and that meant not embedding the video!), I’d make another card with my lil whoot…and share the video for those who missed it!
I used the same papers, same colors…but this time he’s simply against a circular moon – and I made it a Christmas card this time.
Supplies
Some product may be provided by manufacturers for review and use. Compensated affiliate links are here at no cost to you. If you choose to shop using my EH (Ellen Hutson) links, please accept cookies on that site in order to retain the link to my blog, or that compensation does not happen for me. I appreciate your support of my work with your purchases! Full affiliate and product disclosure | My trusted partners in art
Beanie Whoot: (no longer available), Art Impressions
I don’t always dress the part for a video…but this time…why not?
Lots of you wanted me to show you how to color white with Copics, so here you go – using both blues and greys:
Here are the pics of the sweet little polar bears from the Some Odd Girl set called Winter Friends. (No longer available).
The patterned papers used here are ancient, I believe; I hardly own any Christmas paper right now except one pad that I’ve been using – and nothing worked for these polar bears. So I went to the garage sale “stash” that I’ve been saving up and collecting from friends – and I shopped for something that’d work! These happy pinks and blues went really well with the little bears.
It’s really not as hard as you might think to learn how to color white with Copics – it just takes a light touch. Keep your colorless blender marker handy too, in case you need to feather something out that doesn’t bleed well into the white paper.I hope you liked the tutorial…and now you know how to color white with Copics! If so give a lil shout out in the comments to my awesome patrons! They’re inspiring me to do some fun stuff 🙂 And they’re also lucky enough to have gotten my color study on some Copics to use on those Winter Friends penguins. You could join them and get some inside scoop too!
Supplies
Some product may be provided by manufacturers for review and use. Compensated affiliate links are here at no cost to you. If you choose to shop using my EH (Ellen Hutson) links, please accept cookies on that site in order to retain the link to my blog, or that compensation does not happen for me. I appreciate your support of my work with your purchases! Full affiliate and product disclosure | My trusted partners in art
I’m so excited to be part of the Sparkle Creations Bloghop today! I can’t even believe it’s been three years…it seems like Sparkle just opened! She’s one of my stamping friends, and was at my house this past weekend….we had planned to film part of the video while she was there and spaced it – so we had to handle that from iphone to iphone. What did we ever do before all this technology!
My card has a very special destination…watch the video to find out more.
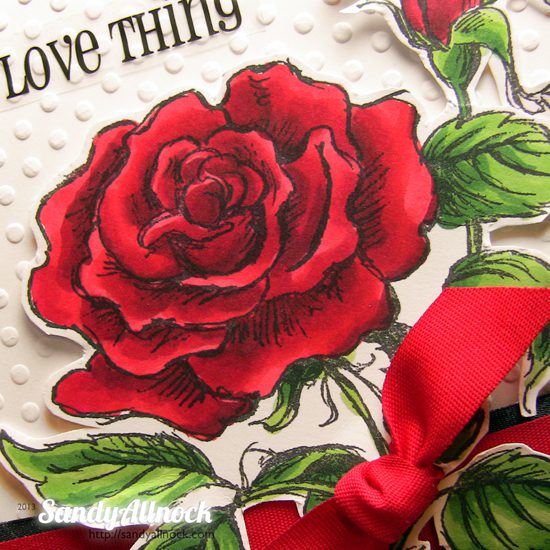
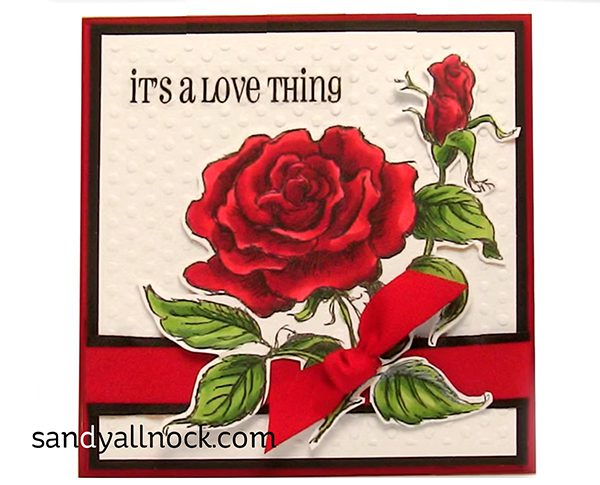
Here’s the tutorial on coloring this red red rose…and a second video is over on May Arts, embedded below!
Video 1
Video 2
I’m part of the May Arts DT so I completed the card over on their channel:
Supplies
Some product may be provided by manufacturers for review and use. Compensated affiliate links are here at no cost to you. If you choose to shop using my EH (Ellen Hutson) links, please accept cookies on that site in order to retain the link to my blog, or that compensation does not happen for me. I appreciate your support of my work with your purchases! Full affiliate and product disclosure | My trusted partners in art
Happppppppy Saturday! I’m writing this blogpost at ohdarkthirty before heading to bed…gonna take me some Ibuprofen and knock off for the night. What a day…what a week! I saw Julie Ebersole post this little guy, and I totally resonate with the feeling:
Many thanks to those who came to the new little show yesterday; it’s an experiment in separating myself into the “me” Sandy and the “OWH” Sandy—OWH Sandy does OWHtv, and “ME” is…well just me as a crafter 🙂 I’m seeing more of the need to do some things as myself, as I’d love to eventually redirect my career, so I’m taking little baby steps toward that. And I appreciate your gracious indulgence of me as I figure out what all that looks like! Next one will be sometime around Christmas, probably on a Saturday.
For OWHers – you aren’t missing any OWHy news that’s necessary if you don’t do my “other” things….we did get to listen to a voicemail from a hero on the new show, because that one’s not recorded for posterity; he left enough personal info that I can’t be playing it on OWHtv 🙁 So you might miss out on stuff like that, but again – it’s not crucial announcements or anything. OWHtv will remain on YouTube and remain free, so no worries.
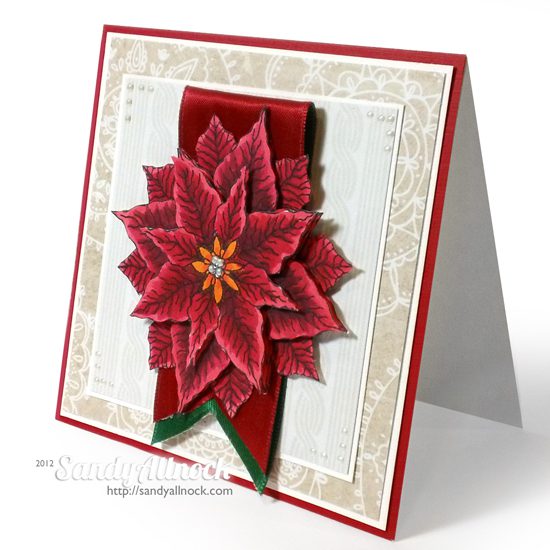
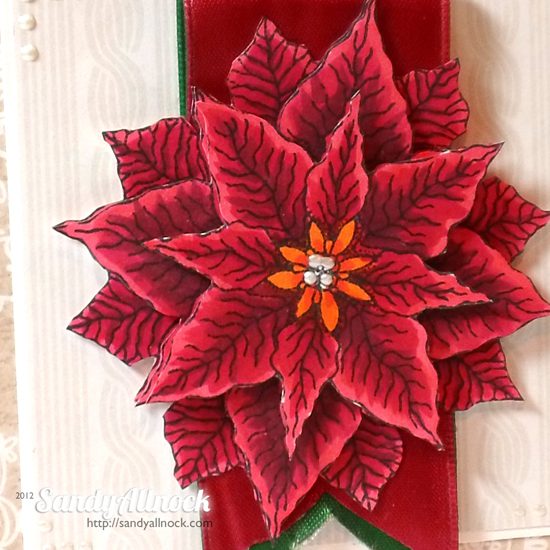
Alrighty, all that aside. On to my card! I’ve got a poinsettia from Holly Berry House to share today – I just love how their stamps layer so beautifully! They have a couple sizes of this flower on their site. This one has three layers all popped….and of course I can do that on my own cards, since I’m paying postage and praying they don’t get crushed 🙂 ha. Though this one has big chunky layers, so I’m not worried about it much. I stopped at three, even though I wanted to get in and do those top layers too!
Papers are by SEI….I’m working my way through my stash of Christmas papers! I have a plan for a project to get rid of the last of it – I am NOT carrying over paper til next year. Did you know….they make NEW paper every year! Who’d a thunk it! I’m a gonna get new stuff in 2013!
Copic colors: R89 R37 R29 R24 YR16….Ribbon is by May Arts! Shock, eh 🙂 Looking at the closeup I realize I forgot to do the outside edges of the pieces with black 🙁 Boohiss! Oh well.
YT project progress: only 6 more tutorials to shoot. Then the mad editing begins….hoping to take a little cleaning break to tidy the house a bit tomorrow, and go get my Christmas tree and put up a few decorations. But I’m debating making myself wait on Christmas decorating til the video editing is done – that might give me incentive to finish and not procrastinate! Do you ever have to play games with yourself to keep on track??
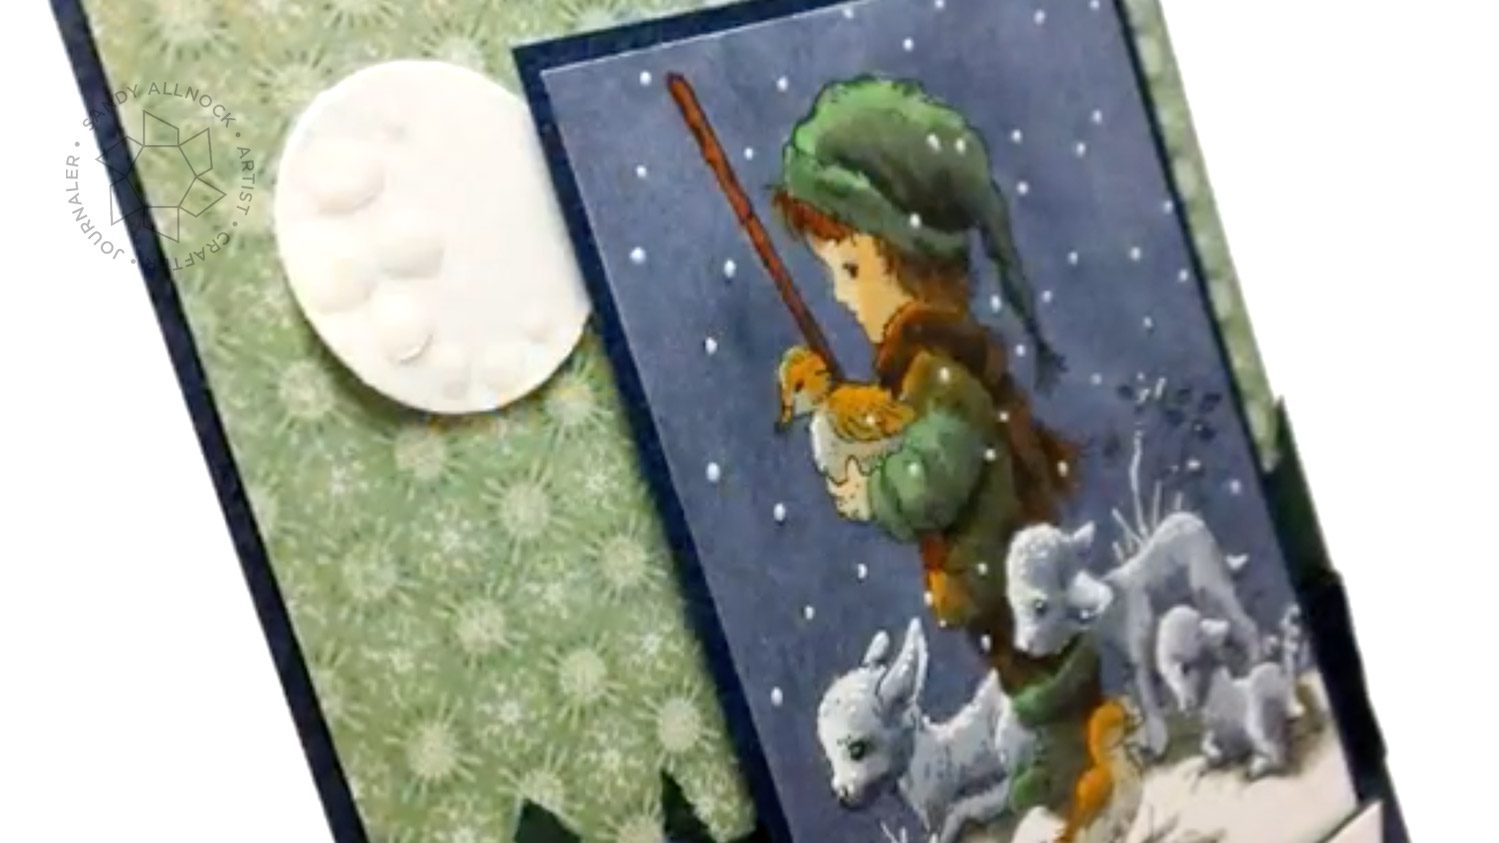
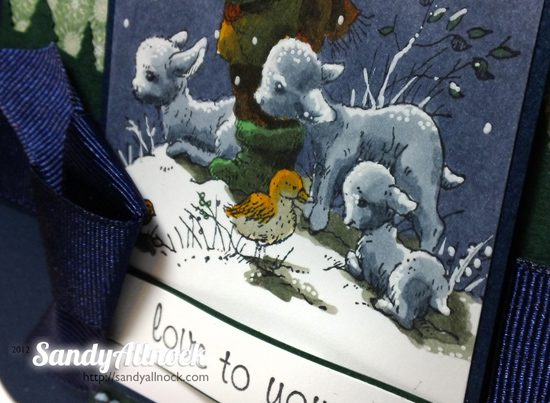
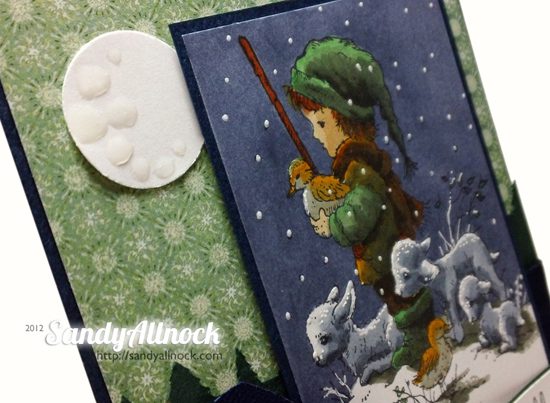
Today I’m so pleased to bring you one of my favorite copic tutorial videos yet This video shows how I colored this Giordano Studio Christmas Lambs stamp from Johanna Sheen to look like a night scene, coloring a Copic night sky as well as making the images look like they’re bathed in moonlight.
Video
Enjoy the video below, or click HERE to watch in HD on YouTube!
The key was making it a night scene. Daytime just wasn’t working – the lambs just kept ‘disappearing’! Copics: E39 YR24 YG45 E53 W9 W6 W4 C6 C4 C00. And the Copic night sky really made the lambs pop against that dark color!
Paper is by Memory Box – the lovely Yuletide 6×6…I punched the EK Success tree border, and a scallop to hang below the image (with bling to dress it up!). The final touch on the card design was adding the moon; I added just a few drops of Glossy Accents. All the shopping links are in the pictures below, so have fun!
Supplies
Some product may be provided by manufacturers for review and use. Compensated affiliate links are here at no cost to you. If you choose to shop using my EH (Ellen Hutson) links, please accept cookies on that site in order to retain the link to my blog, or that compensation does not happen for me. I appreciate your support of my work with your purchases! Full affiliate and product disclosure | My trusted partners in art