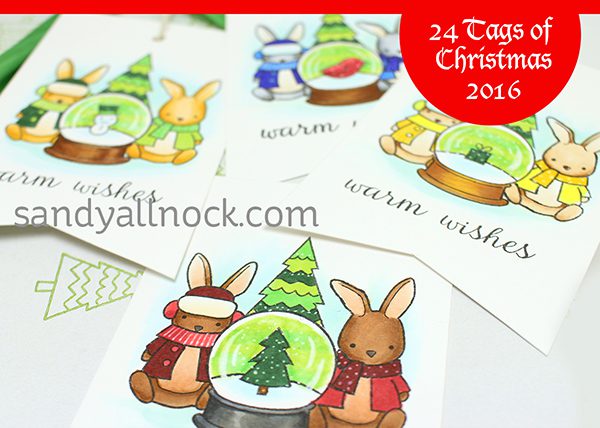
Welcome to 24 Tags of Christmas week!! I get so excited to focus on special things from time to time….I’ve done a series of tags each year for – oh my – now it’s three years. That’s definitely a tradition, right?
The first tags are fairly simple, in some ways. I’ve stamped the Bunny Wishes images onto Neenah cardstock, using masking to first stamp the snow globe, then bunnies and tree. I hand-stamped the little images into the globe which had the center cut out of the hillside, and colored the globes to appear see-through to the trees behind. 🙂 Grab some Copics and a white pen…let’s go!
Video
Watch the video below or click HERE to see it in HD on YouTube.
To create the banners at the bottom of each tag, I snipped into the center of the tags, then joined the corners with that center point. Easy peasy!
Giveaway
Tradition is to give away the 24 tags…I’ll pick 24 winners from blog posts and YT comments, so leave a comment on this post (and one on each post all week!) and maybe you’ll win! Woohoo!
Supplies
Some product may be provided by manufacturers for review and use. Compensated affiliate links are here at no cost to you. If you choose to shop using my EH (Ellen Hutson) links, please accept cookies on that site in order to retain the link to my blog, or that compensation does not happen for me. I appreciate your support of my work with your purchases! Full affiliate and product disclosure | My trusted partners in art
I have a thing for hedgies. Sort of. I mean, I’m not someone who follows hedgehogs on Instagram or anything. But there’s something about coloring little hedgie stamps that….well, it just makes me wanna buy all the hedgies.
Supplies for this project are linked at the end of this post. Compensated affiliate links may be used at no cost to you.
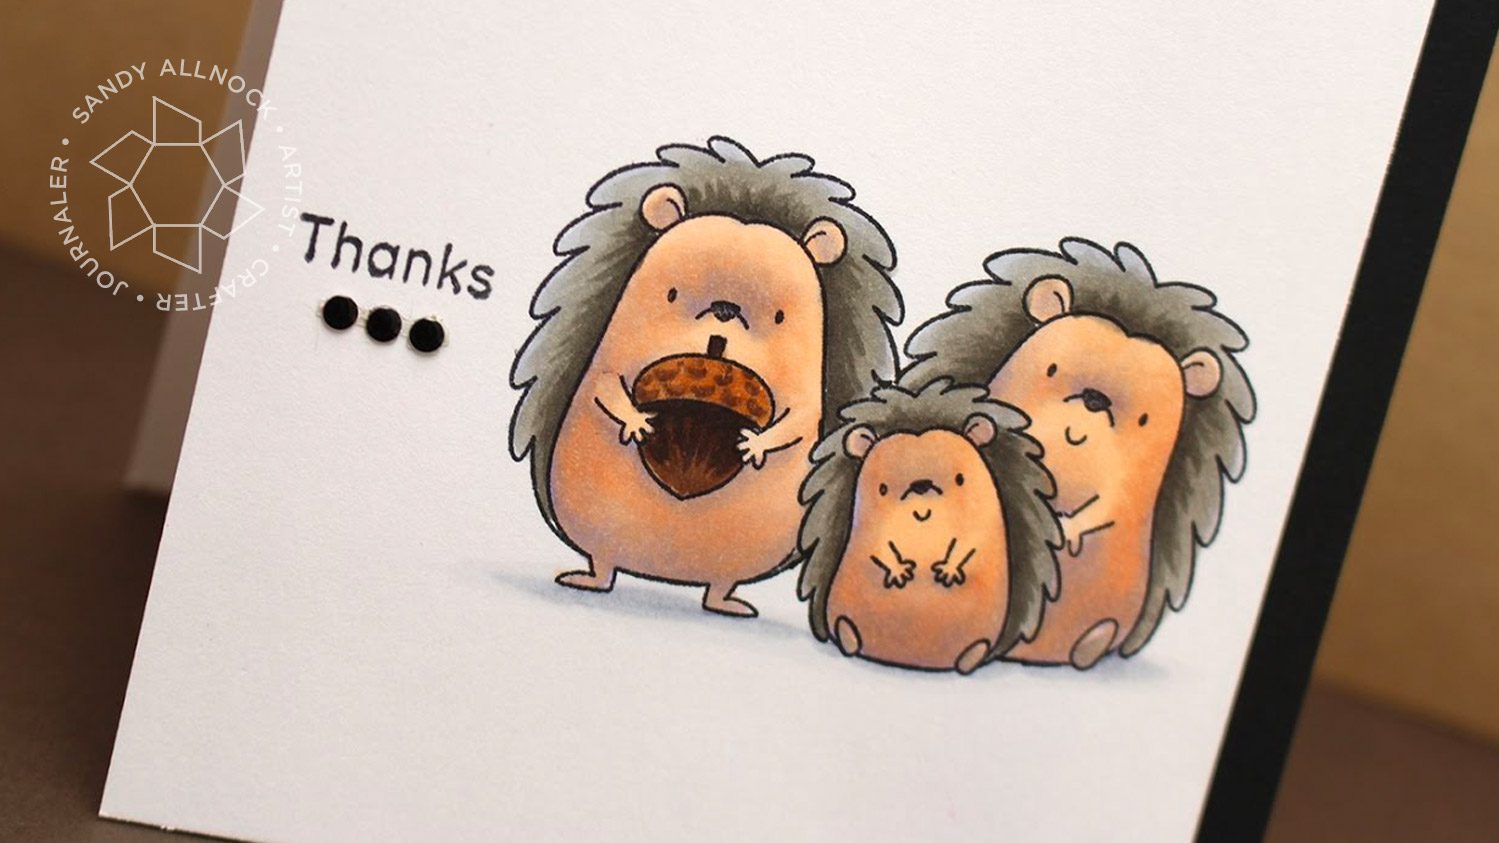
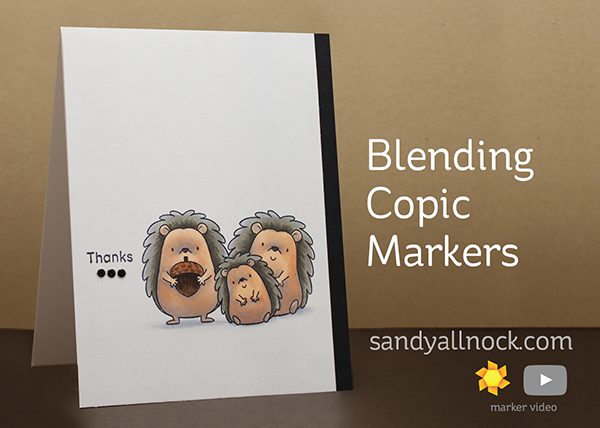
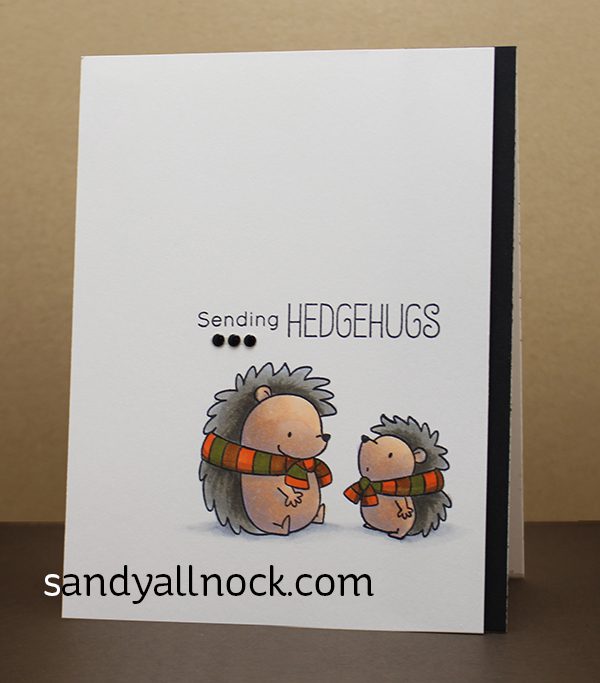
In today’s video, I’ve colored up three of the hedgies in the MFT stamp set. Note that there are a bunch of critters in the set – two of them have scarves so they can be used for Christmas; one holding an acorn for fall; and others holding nothing so they can be used year-round!
For my card designs, I kept them simple; popped the 4″ x 5.5″ panels after attaching a strip of black scrap to the card base. Just that little bit of popping up a panel adds so much! A little bling bling, and it’s all done and ready for the mail!
Alternate stamps
This stamp set is no longer being made but here’s a few you might like instead:
Some product may be provided by manufacturers for review and use. Compensated affiliate links are here at no cost to you. If you choose to shop using my EH (Ellen Hutson) links, please accept cookies on that site in order to retain the link to my blog, or that compensation does not happen for me. I appreciate your support of my work with your purchases! Full affiliate and product disclosure | My trusted partners in art
My Favorite Things: Happy Hedgehogs (no longer available)
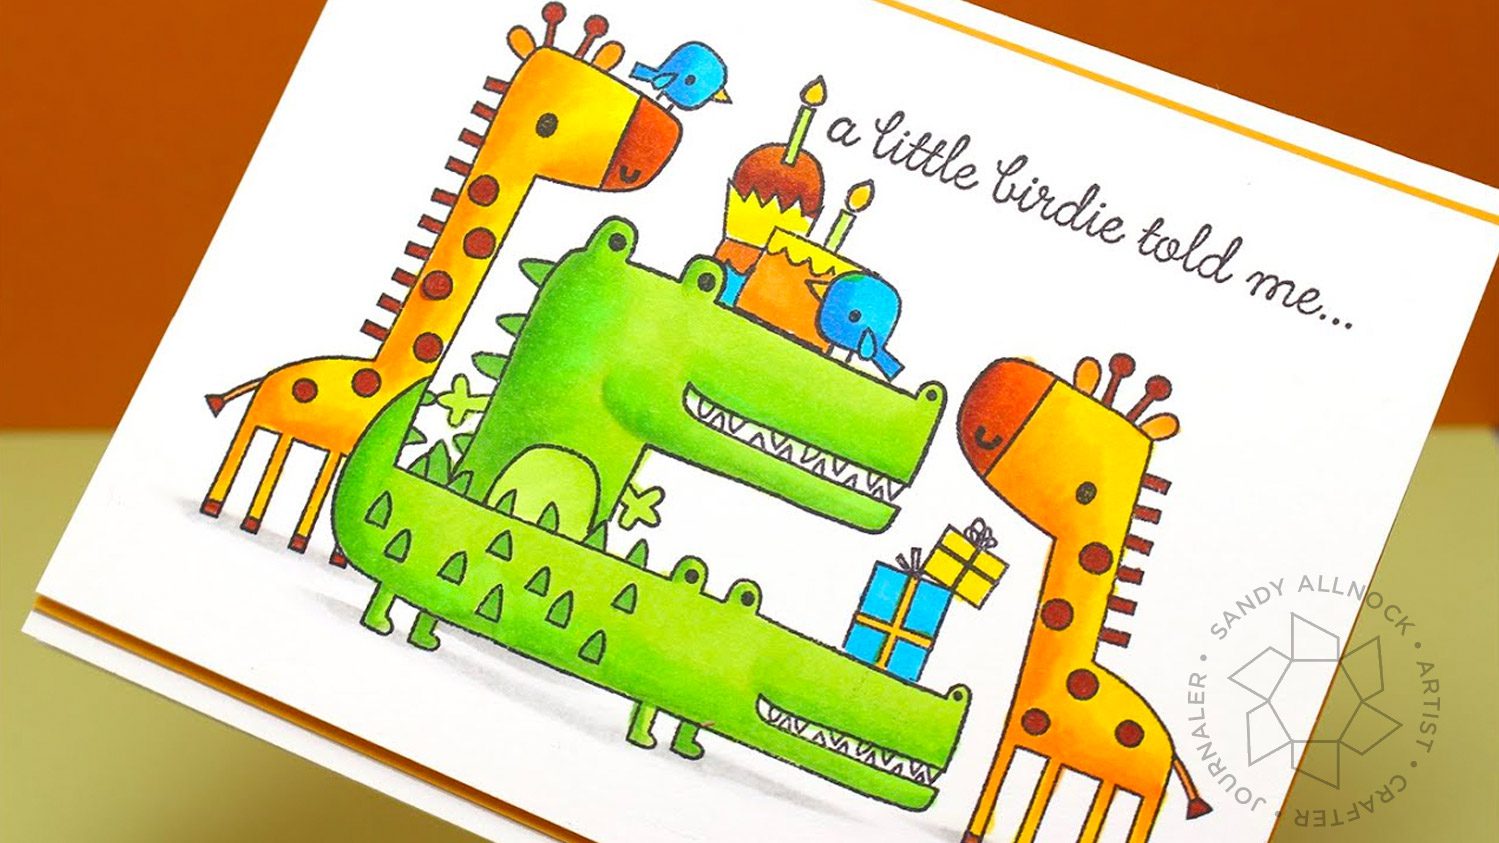
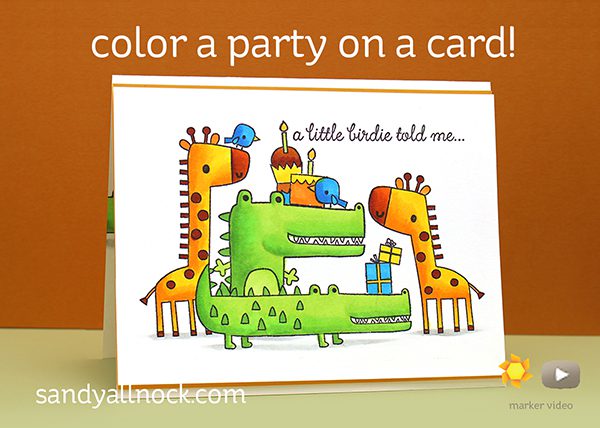
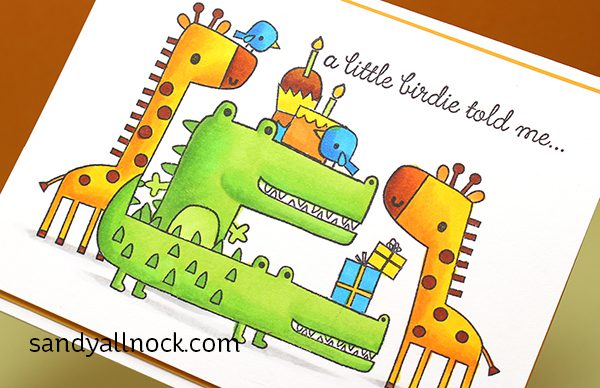
When I saw these cute two stamp sets, I knew I had to introduce all the critters to each other. And they are having a total party!
Reverse Confetti makes some darling little stamps – Lift Me Up and Later Alligator were destined to be friends, don’t you think? I just had to pick them up in my last RC order. And had to color them all together so they could have a party!
I especially love that the oranges and greens are so far apart on the color wheel that they make the card look very colorful with just that tiny pop of blue!
I layered some yellow paper on my card base, then popped the colored panel on top with foam tape.
Giraffe Fun Fact
The knobs on top of a giraffe’s head – ossicones – are fuzzy on females. And “bald” (not fuzzy) on males. Who’d have known!? Crazy. But here are some more fun facts if you want to feed your brain today!
Supplies
Some product may be provided by manufacturers for review and use. Compensated affiliate links are here at no cost to you. If you choose to shop using my EH (Ellen Hutson) links, please accept cookies on that site in order to retain the link to my blog, or that compensation does not happen for me. I appreciate your support of my work with your purchases! Full affiliate and product disclosure | My trusted partners in art
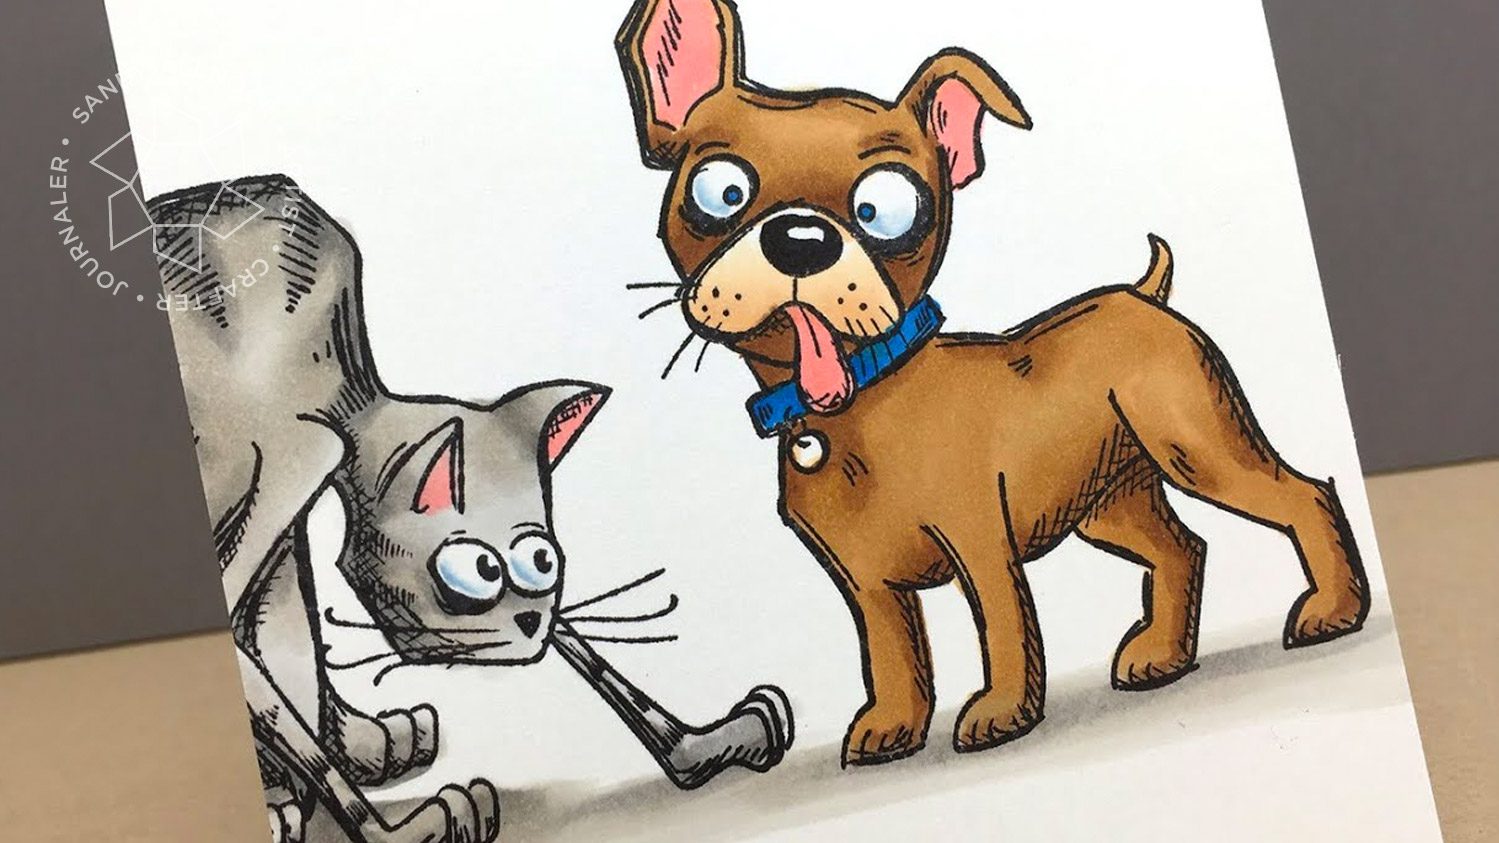
I haven’t done a video like this before – focusing on showing just how much you can get out of a small number of pens!
Video
In today’s video I used just one blending group of browns – E5s. E50, E51, E53, E55, E57, and E59. It’s amazing how many shades you can get just using one group of colors – just different amounts of each hue. Cats are all in the T (Toner) colors.
Here’s the whole group of cards – check out all the browns!
Supplies
Some product may be provided by manufacturers for review and use. Compensated affiliate links are here at no cost to you. If you choose to shop using my EH (Ellen Hutson) links, please accept cookies on that site in order to retain the link to my blog, or that compensation does not happen for me. I appreciate your support of my work with your purchases! Full affiliate and product disclosure | My trusted partners in art
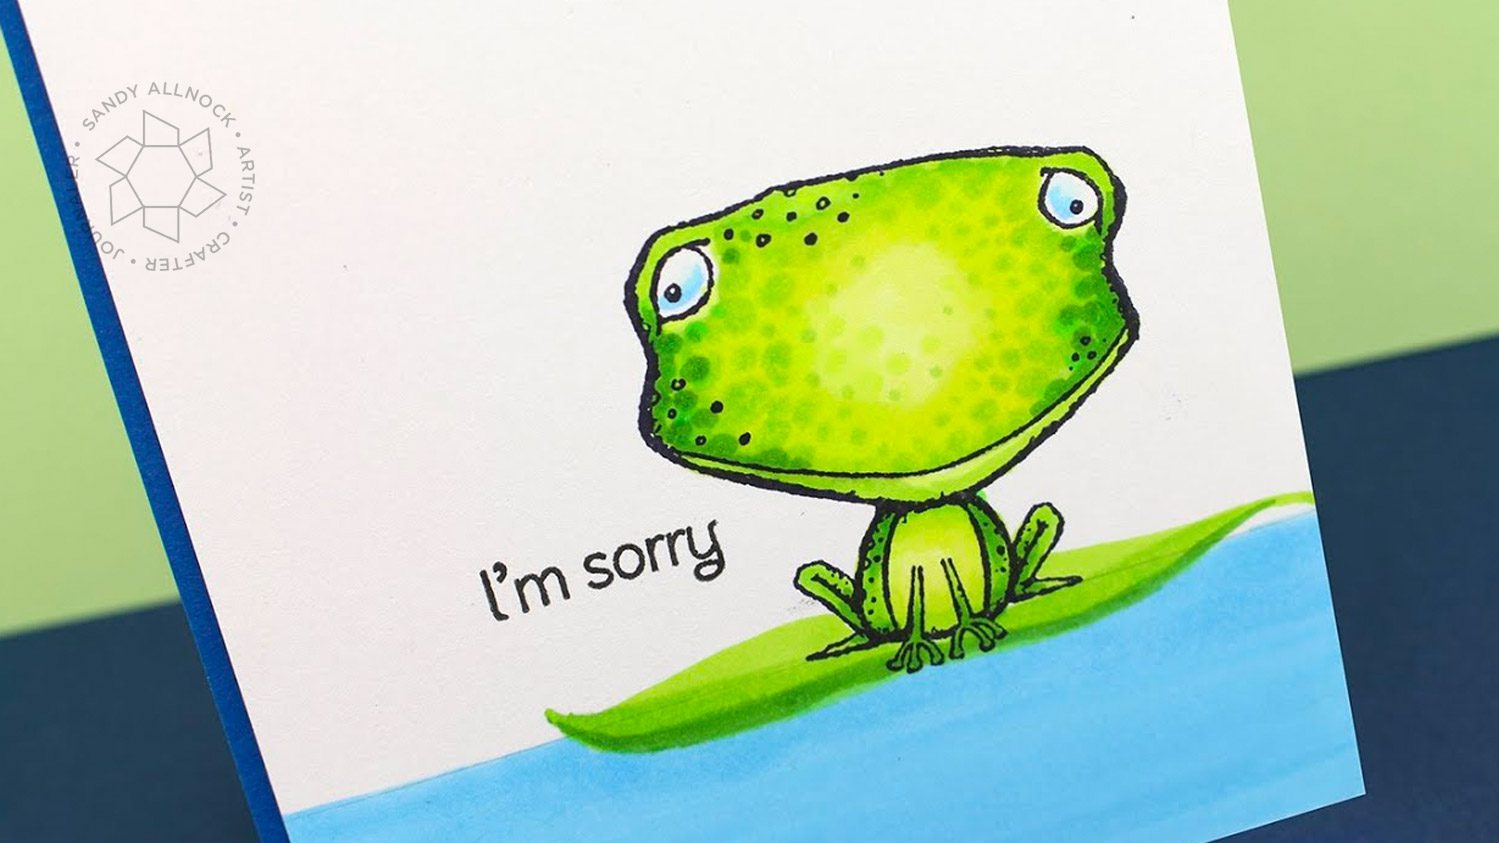
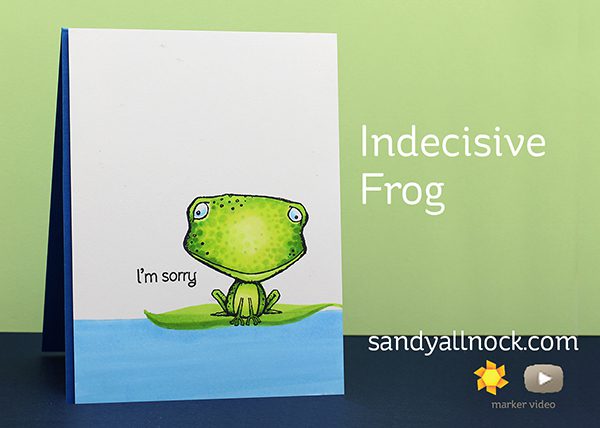
Sometimes….well often….okay once in a while….and other times more than once in a while…I struggle with comitting. LOL.
Occasionally I shoot a video and think, maybe I should redo this. Perhaps I need to find something in here that is a teachable moment. Then….I realize, THIS is the teachable moment.
Video
Watch the video below or click HERE to see it in HD on YouTube.
Yep. Indecisive coloring. Doesn’t mean it’s not cute, it just means…well….it takes some time.
And just so ya know, Purple Onion Designs stamps can be bought as unmounted ones – if you need to know how to mount them, I created a quick tip for that recently. Watch it below or click HERE.
Supplies
Some product may be provided by manufacturers for review and use. Compensated affiliate links are here at no cost to you. If you choose to shop using my EH (Ellen Hutson) links, please accept cookies on that site in order to retain the link to my blog, or that compensation does not happen for me. I appreciate your support of my work with your purchases! Full affiliate and product disclosure | My trusted partners in art
I have tons of people to thank for this post – all of my Facebook followers who shared pics with me, my friend Sheila for letting me borrow the insert I share in the video, Copic for providing the new case so I could show it to you – and TJ&Things for providing an ink insert and bin to review. (The Copic case and Various Ink insert and bin are the only items provided to me. This video is not sponsored, nor was it requested by anyone – except my followers!)
Copic Storage
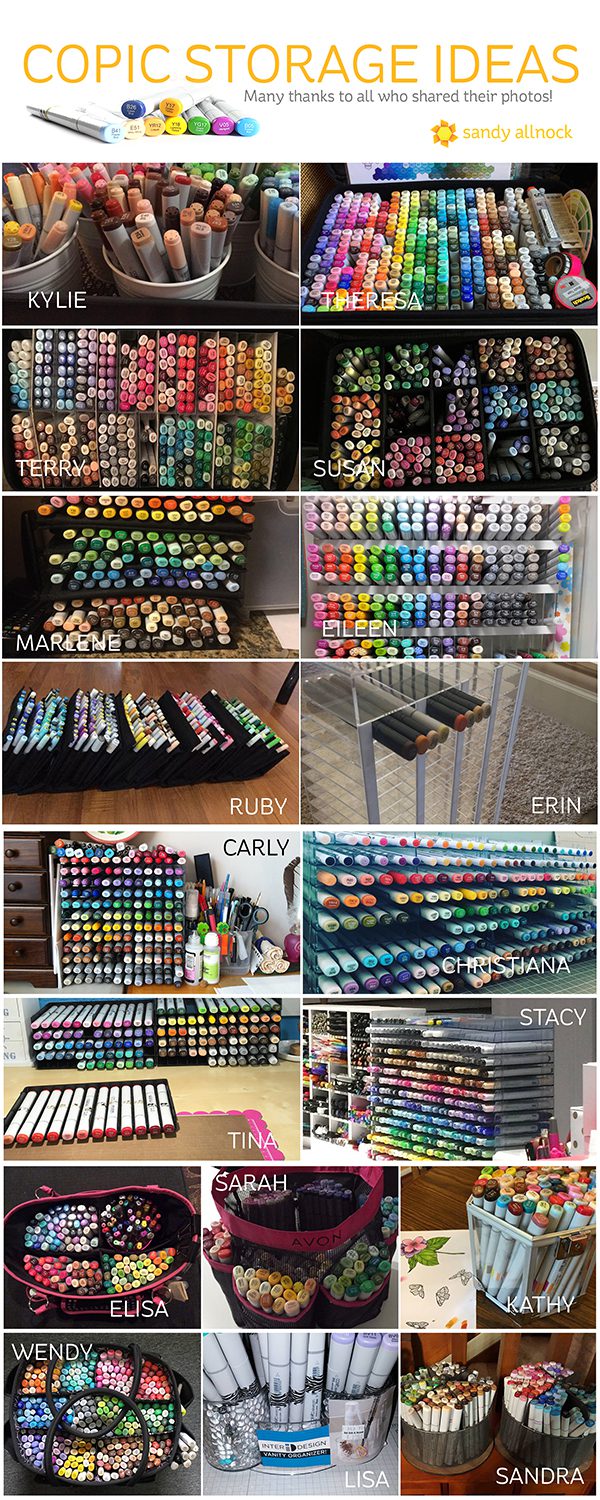
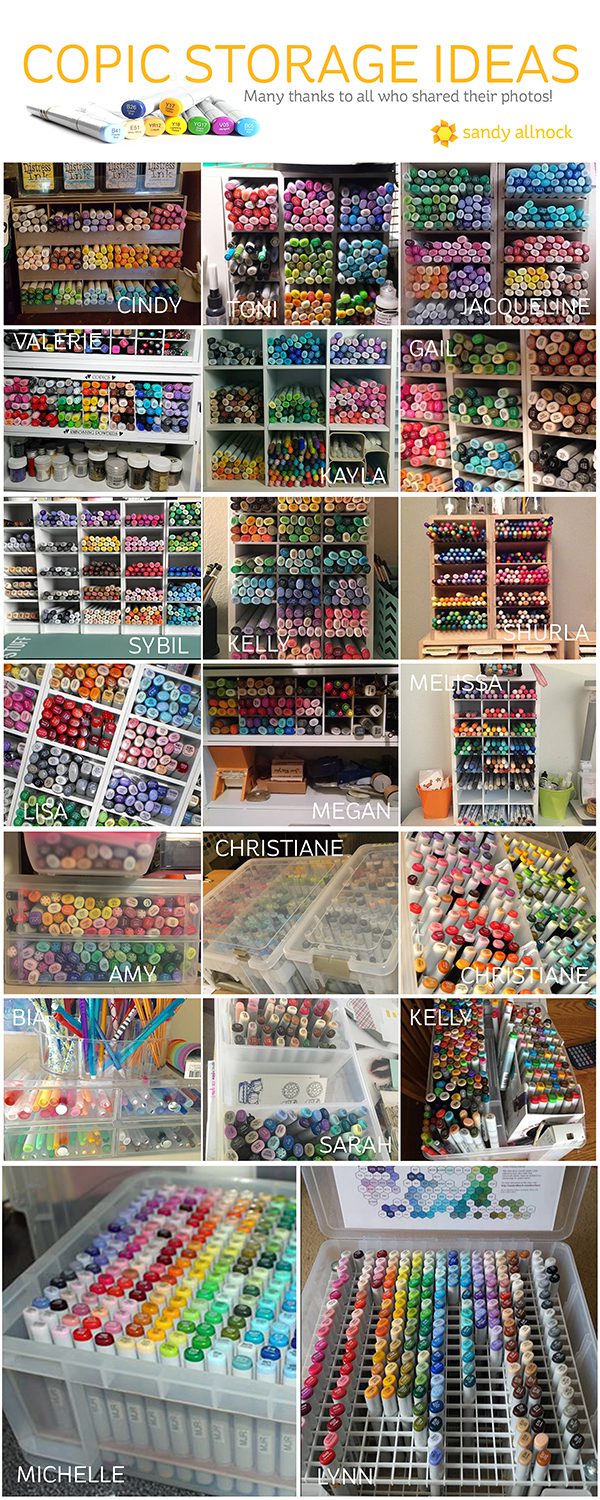
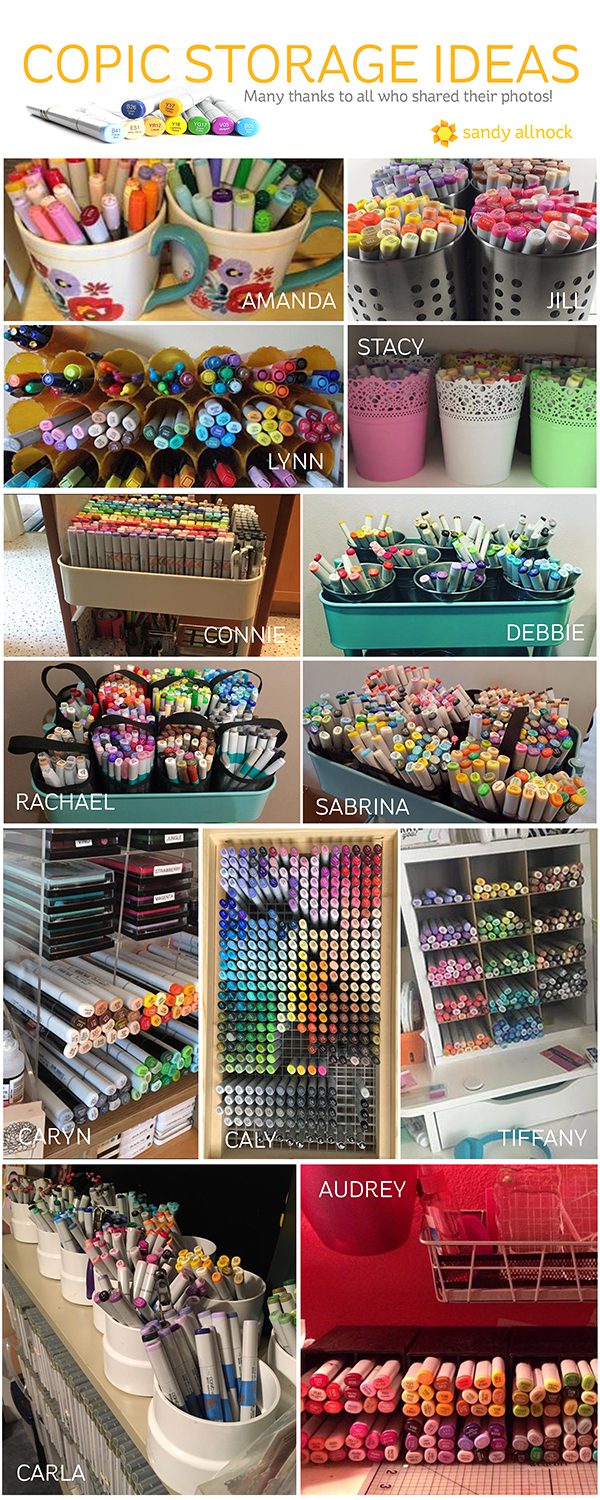
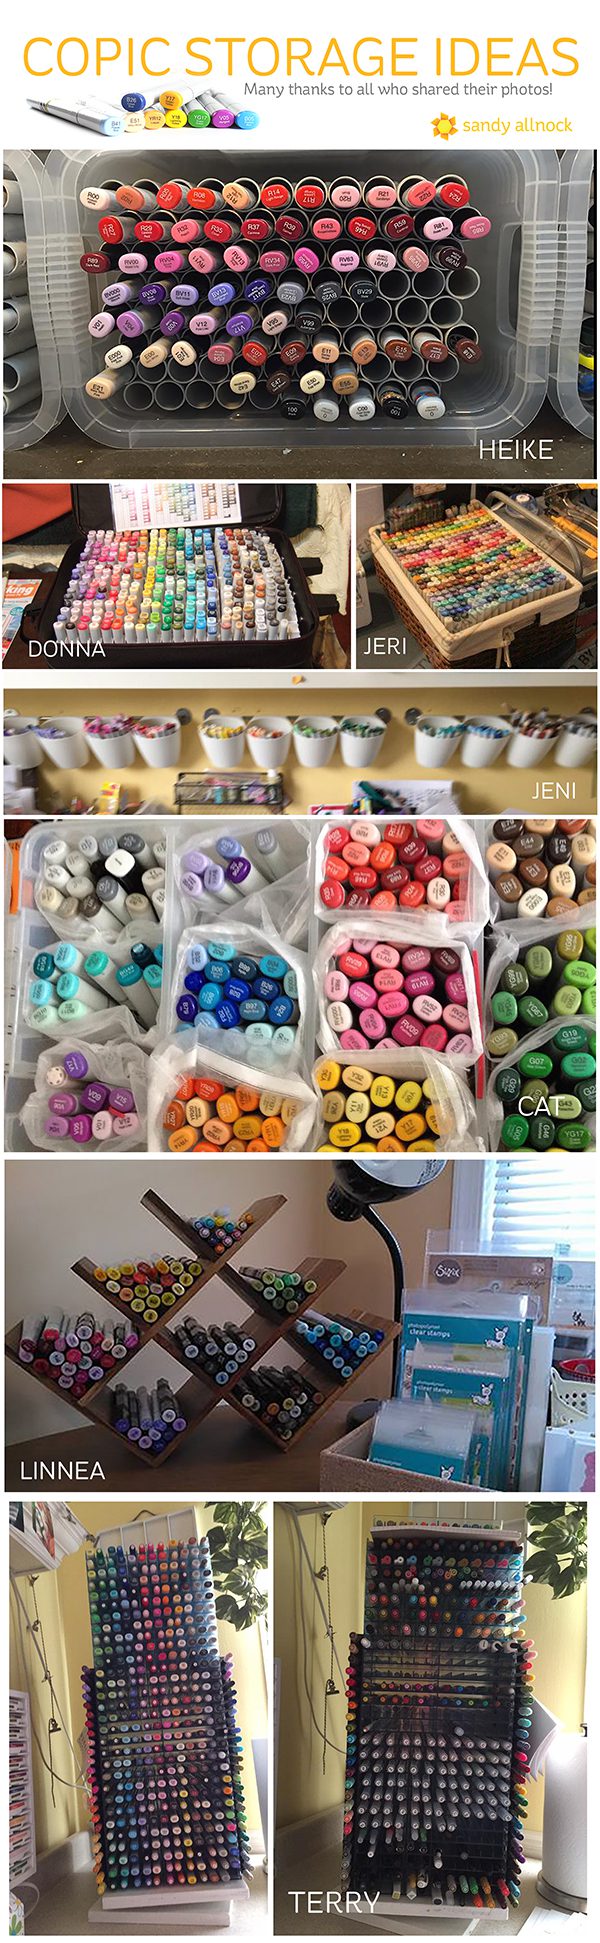
I’m no storage expert – but I am a little of a hub for Copic colorists, so I asked on Facebook for YOUR ideas to store your markers. You came through in spades, thank you all! In the video below, I show you the cases and inserts I have here in the studio, then walk you through some categories of storage, and end with the most unique ideas I saw. I didn’t have the ability to use EVERY photo – but I sure appreciated them all! Scroll down for lots more info!
Links mentioned in the video….No affiliate links are used in this post.
Below are all the photos so you can get more of a peek. If you want more information on where the person got their storage shelves, cups, bins, or inserts, please feel free to find them on THIS THREAD on Facebook. Please do not friend them without asking first – it will be most helpful to all of us if you ask your question publicly in a comment under their photo….then we can all read the responses. Pin away…..
2021 update
I’m sad to report, since this post and video were completed years ago, that my black Copic bag is no longer sold. And Imagination International is no longer the US distributor–and that Copic finally began increasing their prices. Granted, they didn’t increase them for years before, so prices are making up for lost time. And yet – Copics are still the best quality marker, and believe me I keep looking for alternates.