Professional artist creates with Barbie Art Studio
A professional artist CAN create with Barbie Art Studio—and that artist is me!
I just saw the movie last week, and decided to see if there’s an art Barbie out there, and then decided to build out a room for her that looks like mine. Oh how I wish this had been a thing when I was little! But it’s never too late to play with toys, is it?
In today’s video, enjoy a walk-through of the room I created for Barbie, plus the modifications to the set I bought – hopefully there aren’t going to be little kids mad that I painted over the pink! Yellow’s my favorite color, so while I’ll include pink, yellow will be taking the stage. And black. 🙂
This is the set I’ll be modifying, so you can compare the colors here to what’s in my photos below. This was highly inspired by the renovation I did on my home recently (if you’d like to see that click here).

In addition to this set I’m using (left, below), there are 2 versions of the Art Teacher Barbie set:
Tutorial: Professional Artist creates with Barbie Art Studio
Note: this video is safe for kids to watch, but please, kiddos, don’t use sharp objects or glue without parents involved. They love you and want you safe – and I do too!
Watch the video below and scroll to the end to leave comments or questions — or click HERE to watch it on YouTube and leave comments over there. I read both dutifully!
Flooring
With a piece of cardboard and a foam pad (not styro so it won’t crumble), I created a raised floor—painting it with random leftover colors from painting my home! Using a very “dry” brush creates a dragged texture as one wet color drags through other wet sticky paint. Then draw lines with a sharpie after its dry to create boards.Some substitutes could be patterned paper glued onto cardboard (I saw some woodgrains in the store that were nice), a piece of real carpet, or drawing a grid to make a checkerboard flooring pattern! Whatever it is make it sturdy so littles won’t feel bad about using it as roughly as they use toys.
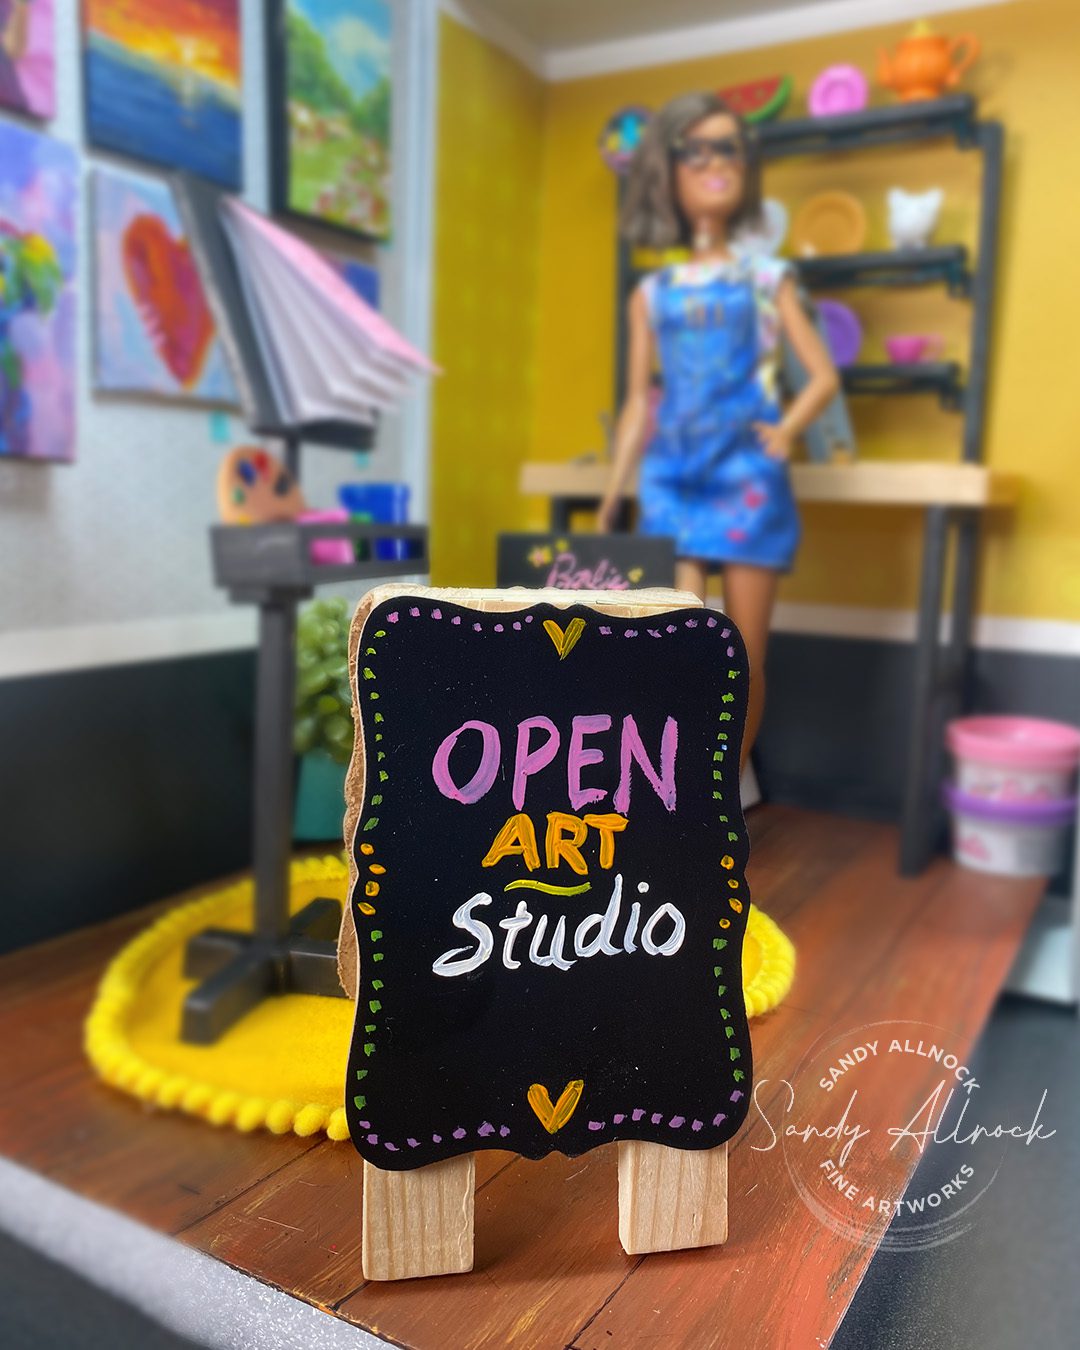
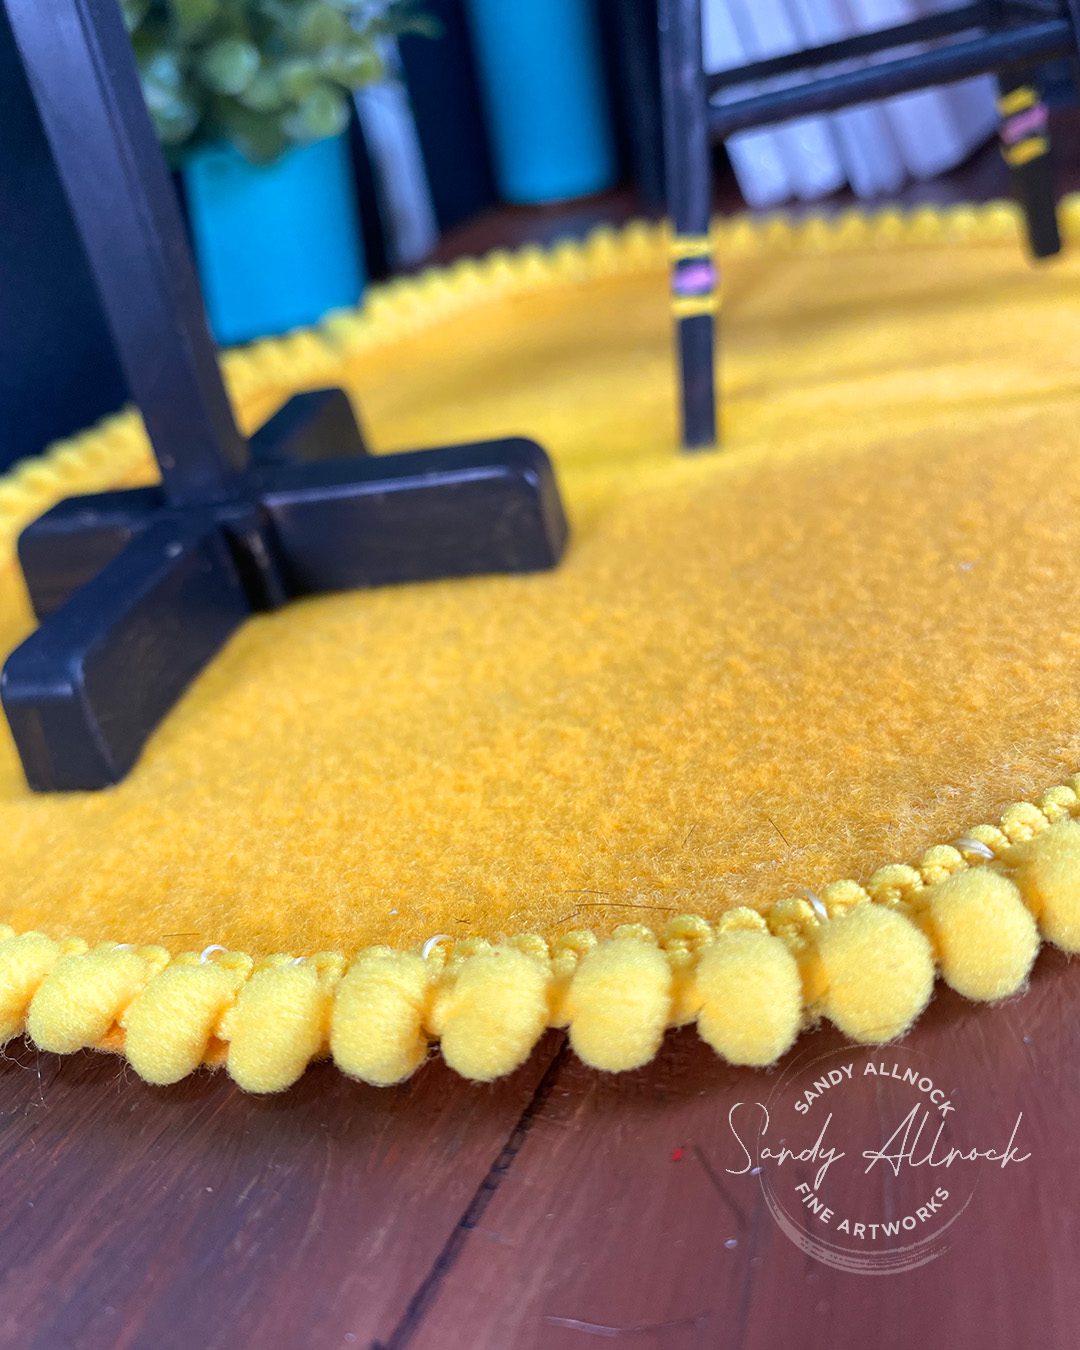
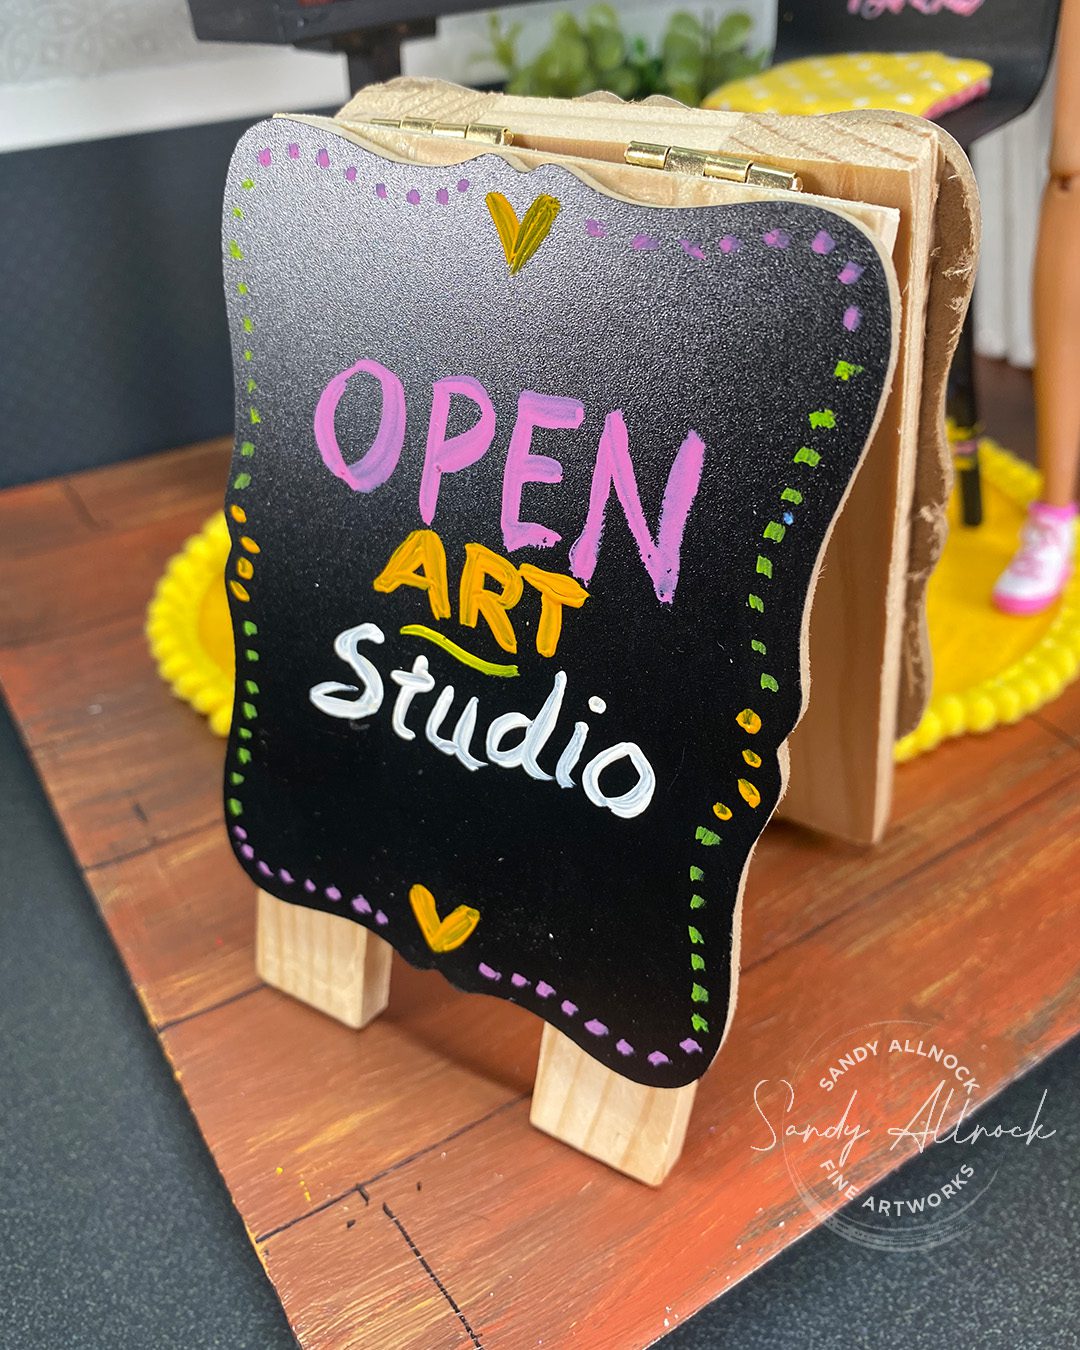
I added an oval “throw rug” to mine made from felt (fold a rectangle in 1/4 and cut once around the edge to create the oval). Add rickrac with a glue gun or a few stitches, whichever is more stable for you. Add a little A-frame advertising for your art show! Found this one at a big box craft store.

Furnishings
NOTE: If very little kiddos may use your set, don’t use paint! They might suck the paint right off the plastic and get sick.
I didn’t treat my pieces ahead, though a little sanding and priming could help; if you’re doing this project “for reals” then have at it! Mine’s just for fun. Chalk paint is what I used since I had a big jar of it; it’s not super stable, as I can flick some off with my fingernail quite easily, but I’m not concerned over massive play ruining it.
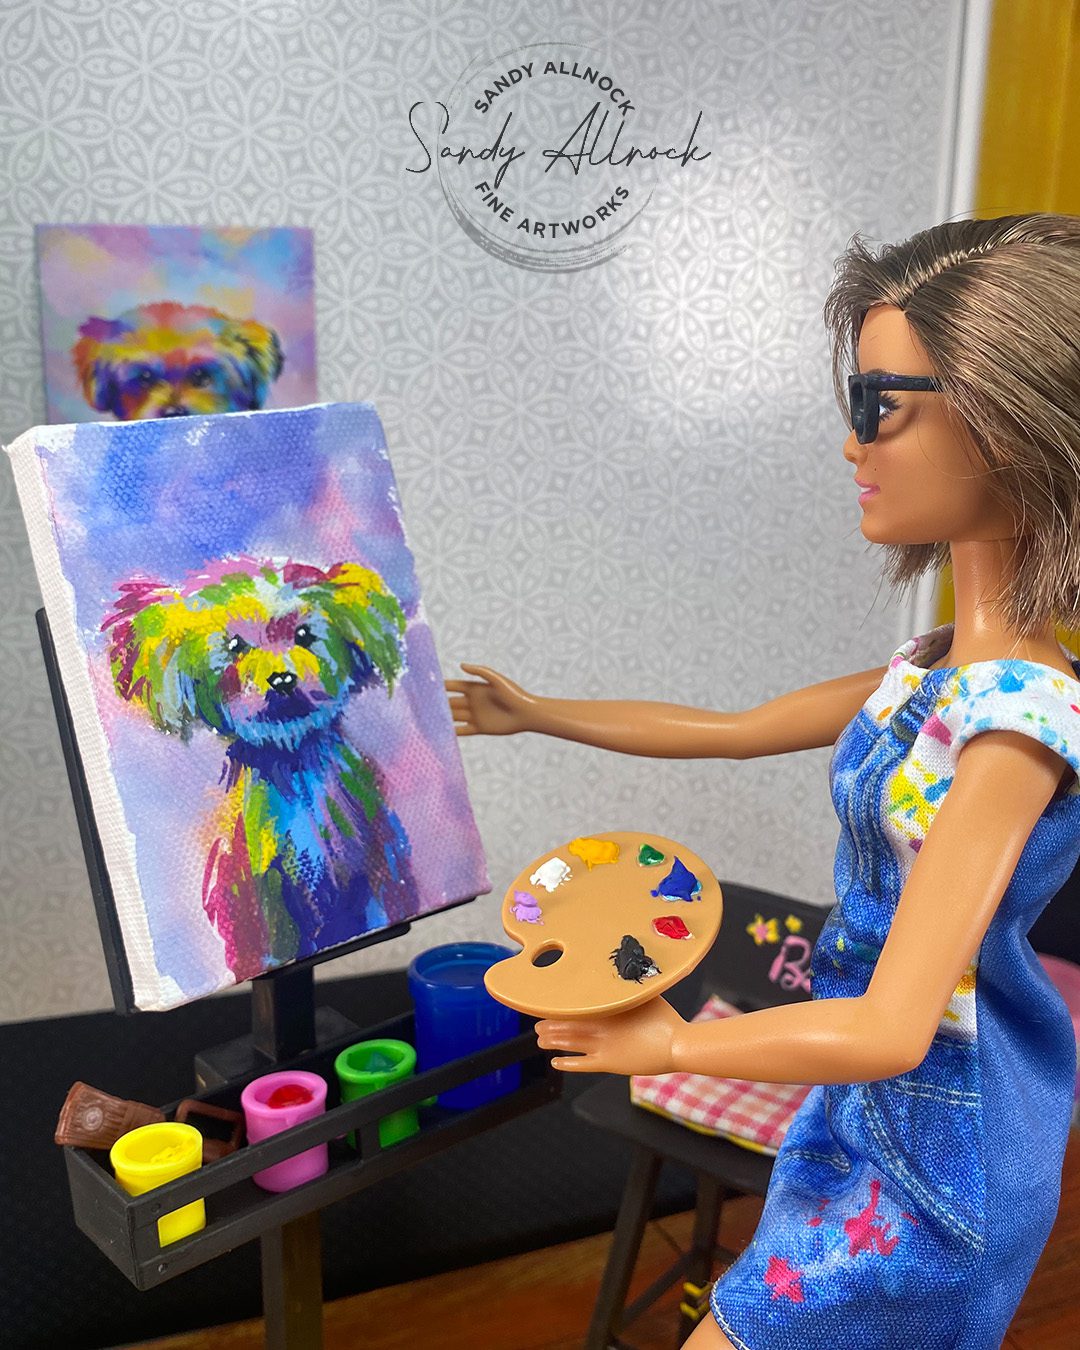
The easel was first, and needed a little touchup after the first coat. Stay away from any moving parts like the piece that tips the easel top back and forth.
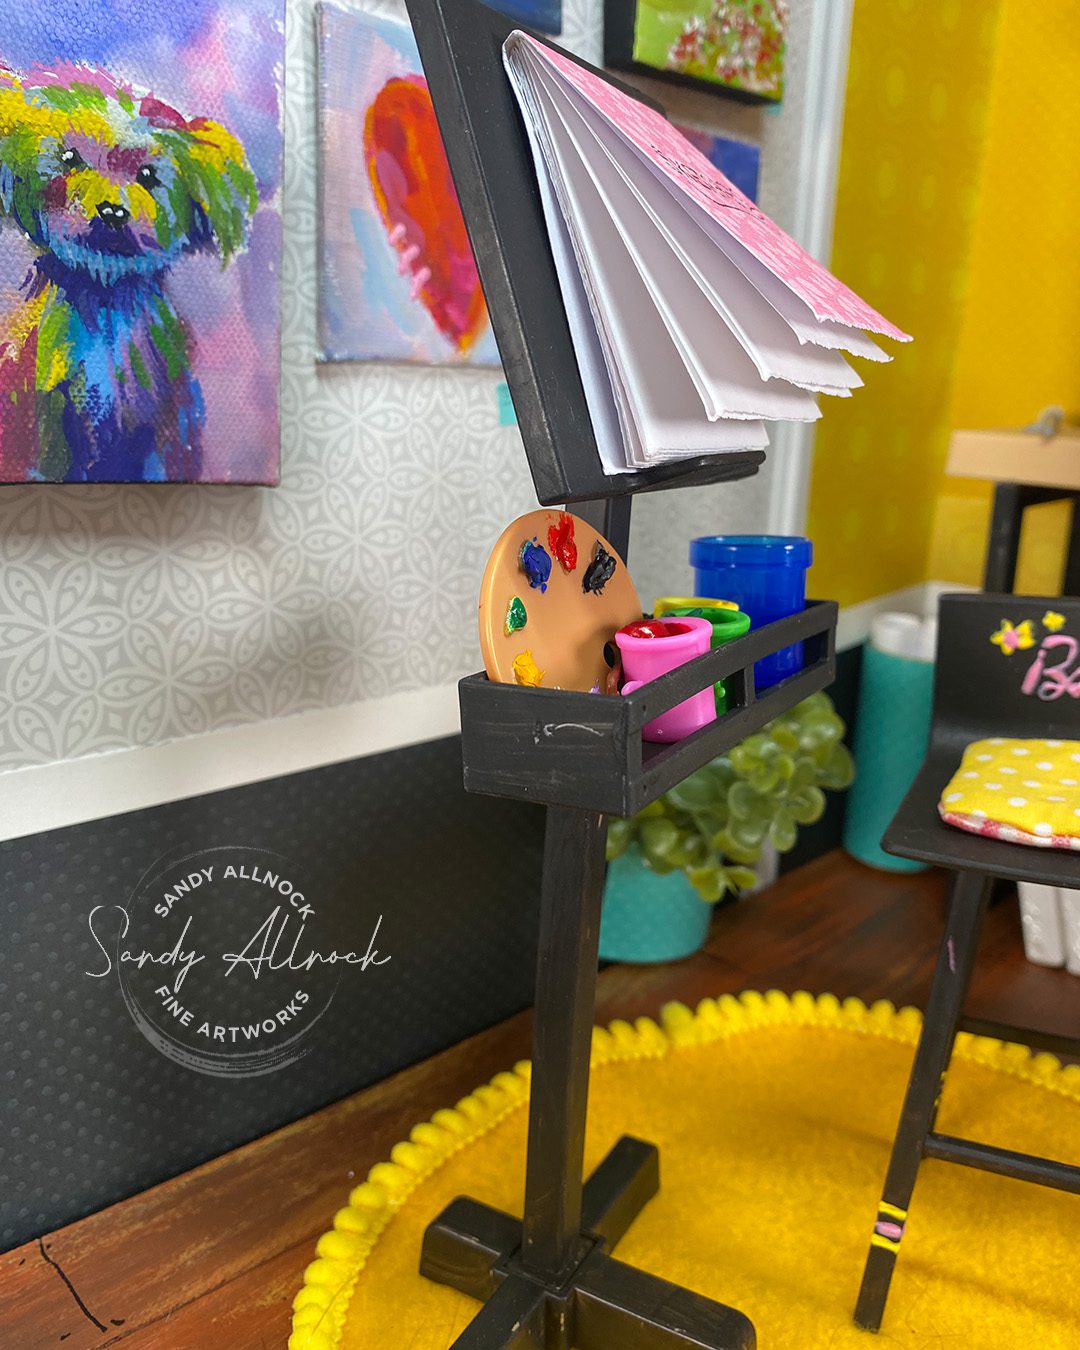


The chair was my favorite transformation! Black paint, with puffy paints for the logo (and extra flowers!), plus the bands round the chair legs. And a 2 sided cushion! I used 2 little felt pieces for the padding, as any puffy pillow would knock Barbie right off her chair.
Also – see that shoe? White gouache, with pink puffy paint. Pink shoes were tolerable but you couldn’t see the embossed laces, so I adapted them too.

The plant is created with an extra little piece of cardstock hot glued to the wall; no bottom on it. I snipped a little of a fake plant to tuck in so Barbie’s studio has some greenery to add a little life.
The pottery station was painted black, all except the table top so it’s “wood” to work on. And underneath it serves as great storage for canvas and “clay” (playdough!) – the round corner container is a prescription jar with Barbie’s finished drawings and extra paper stored there.


Modifying my doll
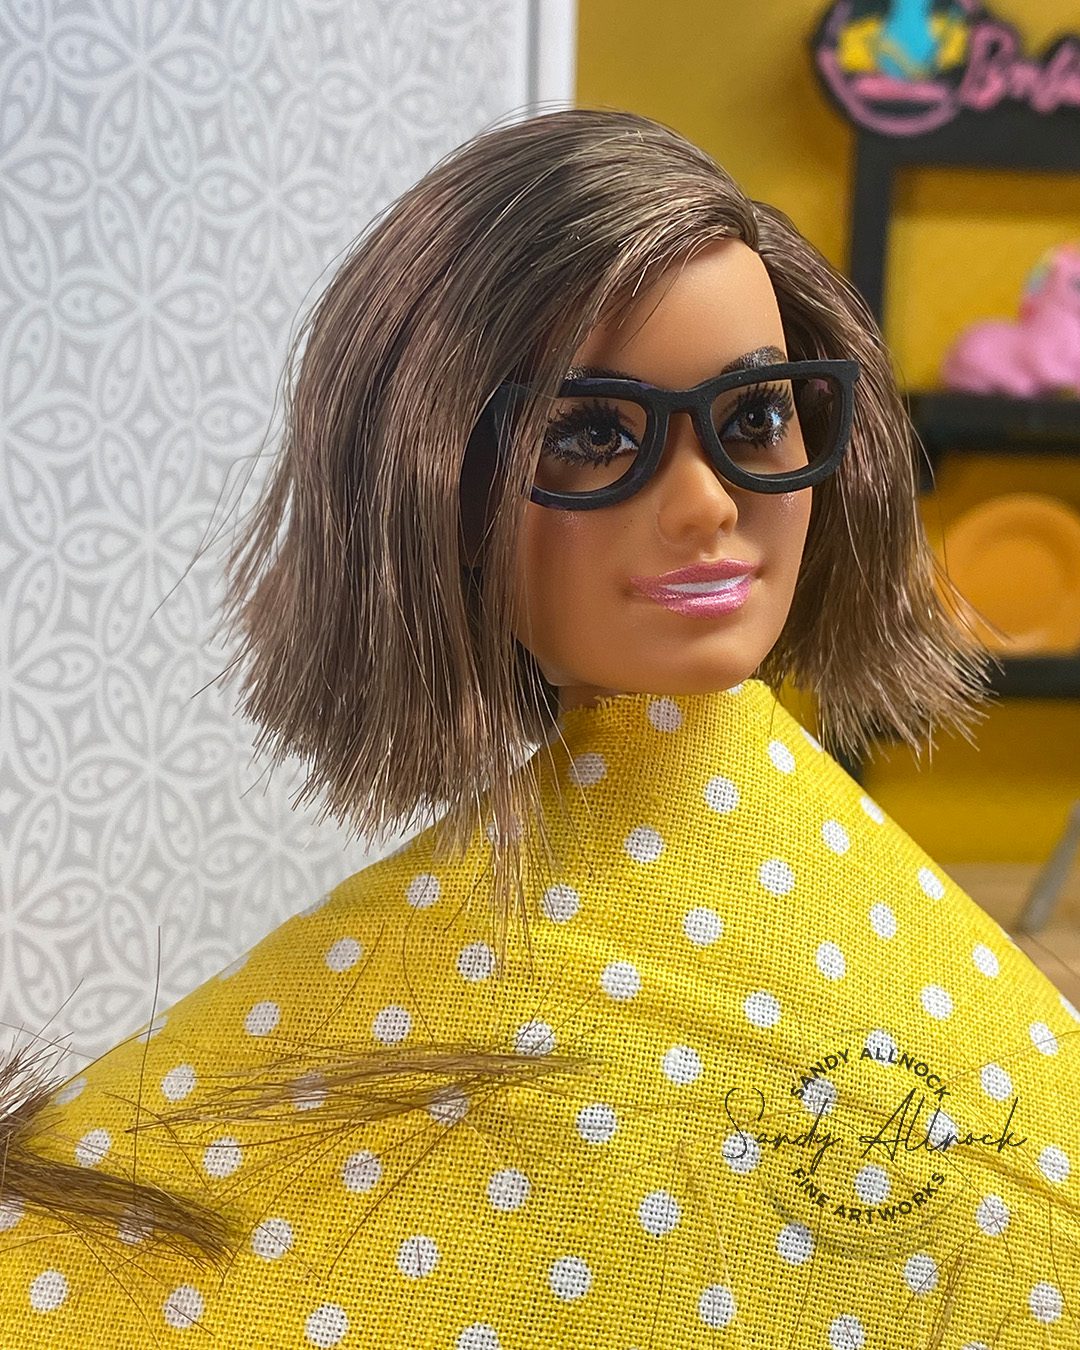
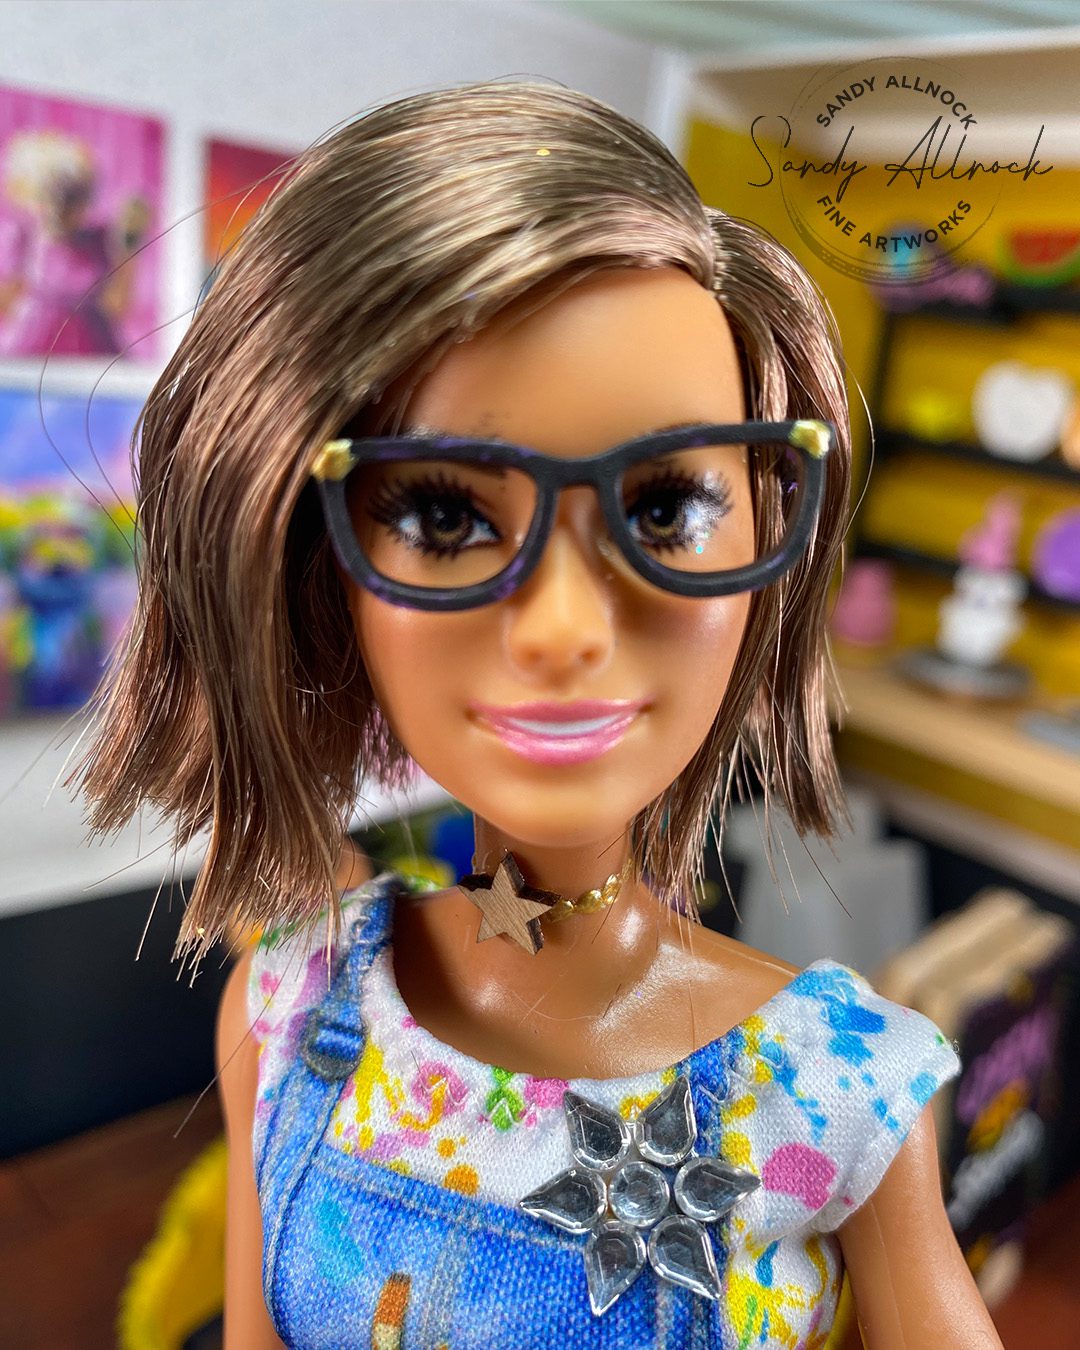
When I saw Barbie’s slightly wacky haircut (one that looked like a haircut I’d given my dolls when turning them into Weird Barbie!), I knew I could give little-girl-me another chance to do it right. So she got a short cut—longer in the front, shorter in back, so stylish! A little mousse and hairspray and she’s looking fab now. I used some gold puffy paint to give her black-painted glasses a little fanciness with a corner shine, then a choker necklace, post earrings, and bracelets. She’s got a brooch from my bling stash, and feeling all kinds of ready for the big show.

Art show
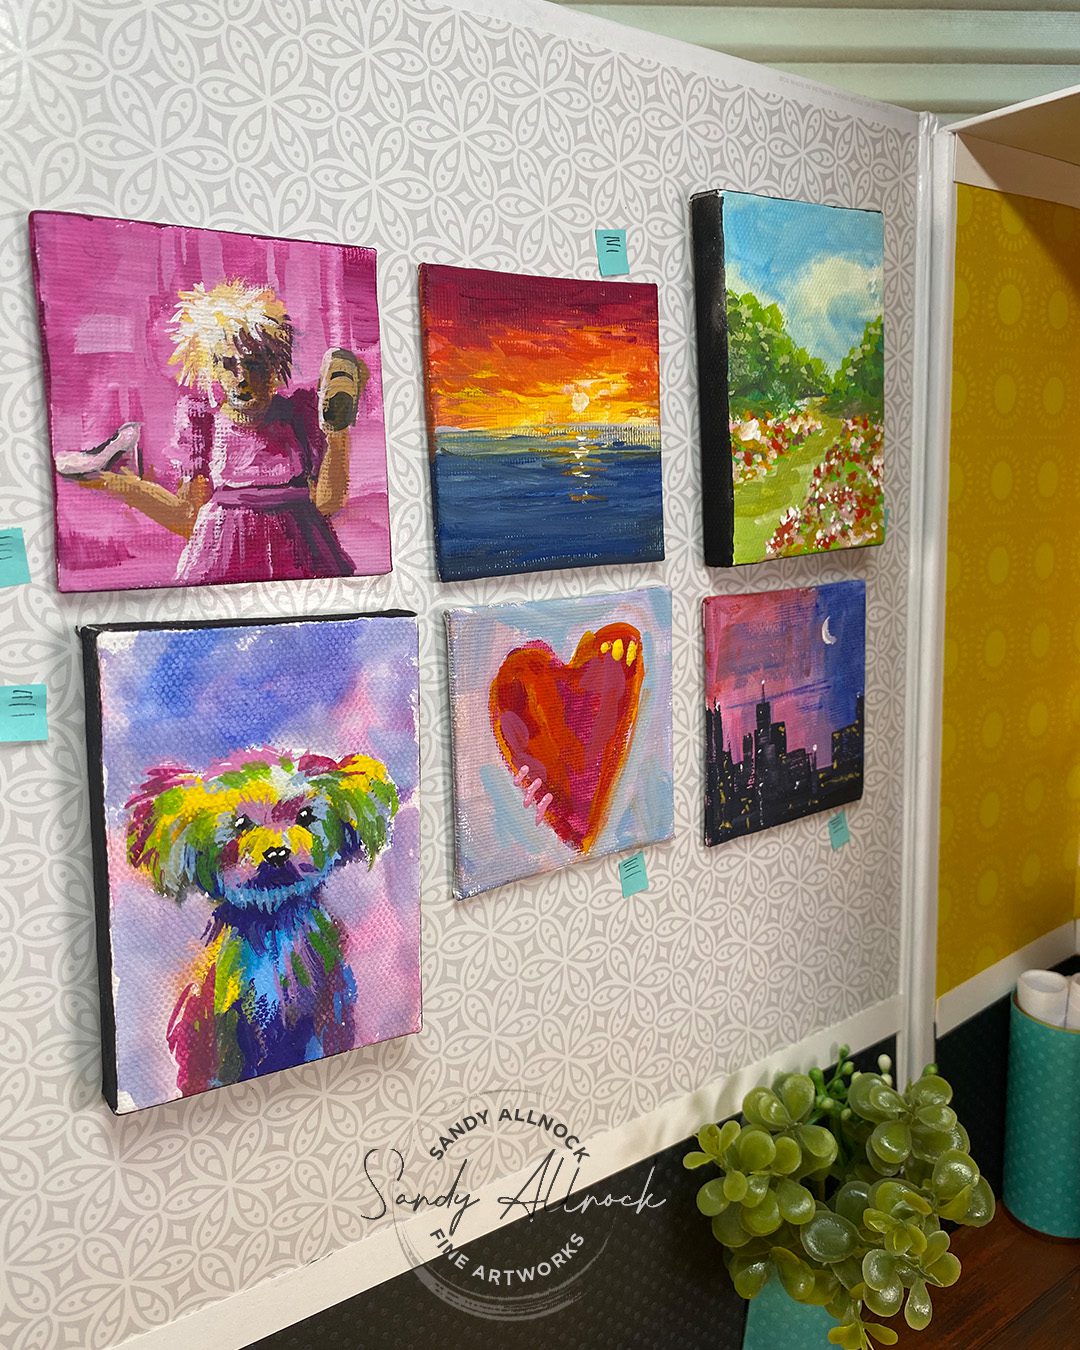
What I loved best about Art Studio Barbie is her multiple-mediums! That’s me. And I let her really express herself with REAL paint now, so she didn’t have to pretend any more. Real paint in her palette and on her brush, though she had trouble holding it; but I’d be a terrible teacher if I didn’t help her out. 🙂
Now we have to go have a Barbie party with Elyse and other little friends and their Barbies, so other dolls can go home with some art!
Would you try this?
I don’t expect any new traditions to begin, but if you give any modifications a go, let me know! I know lots of folks make outfits for their dolls, and some kids (me!) make their own Weird Barbie…..but I’d love to see if you create a room or accessories for Barbie!
Supplies
Some product may be provided by manufacturers for review and use. Compensated affiliate links are here at no cost to you. I appreciate your support of my work with your purchases! Full affiliate and product disclosure | My trusted partners in art
- Barbies:
- Box: Boll and Branch sheets box (also try big box stores, they have boxes with lids that come off that are as stable as the cardboard for this one
- Patterned papers
- Strong doublestick tapes like Scor Tape 1/2”
- Flooring: paintable cardboard, foam layer
- Modifying furniture:
- Artworks: