
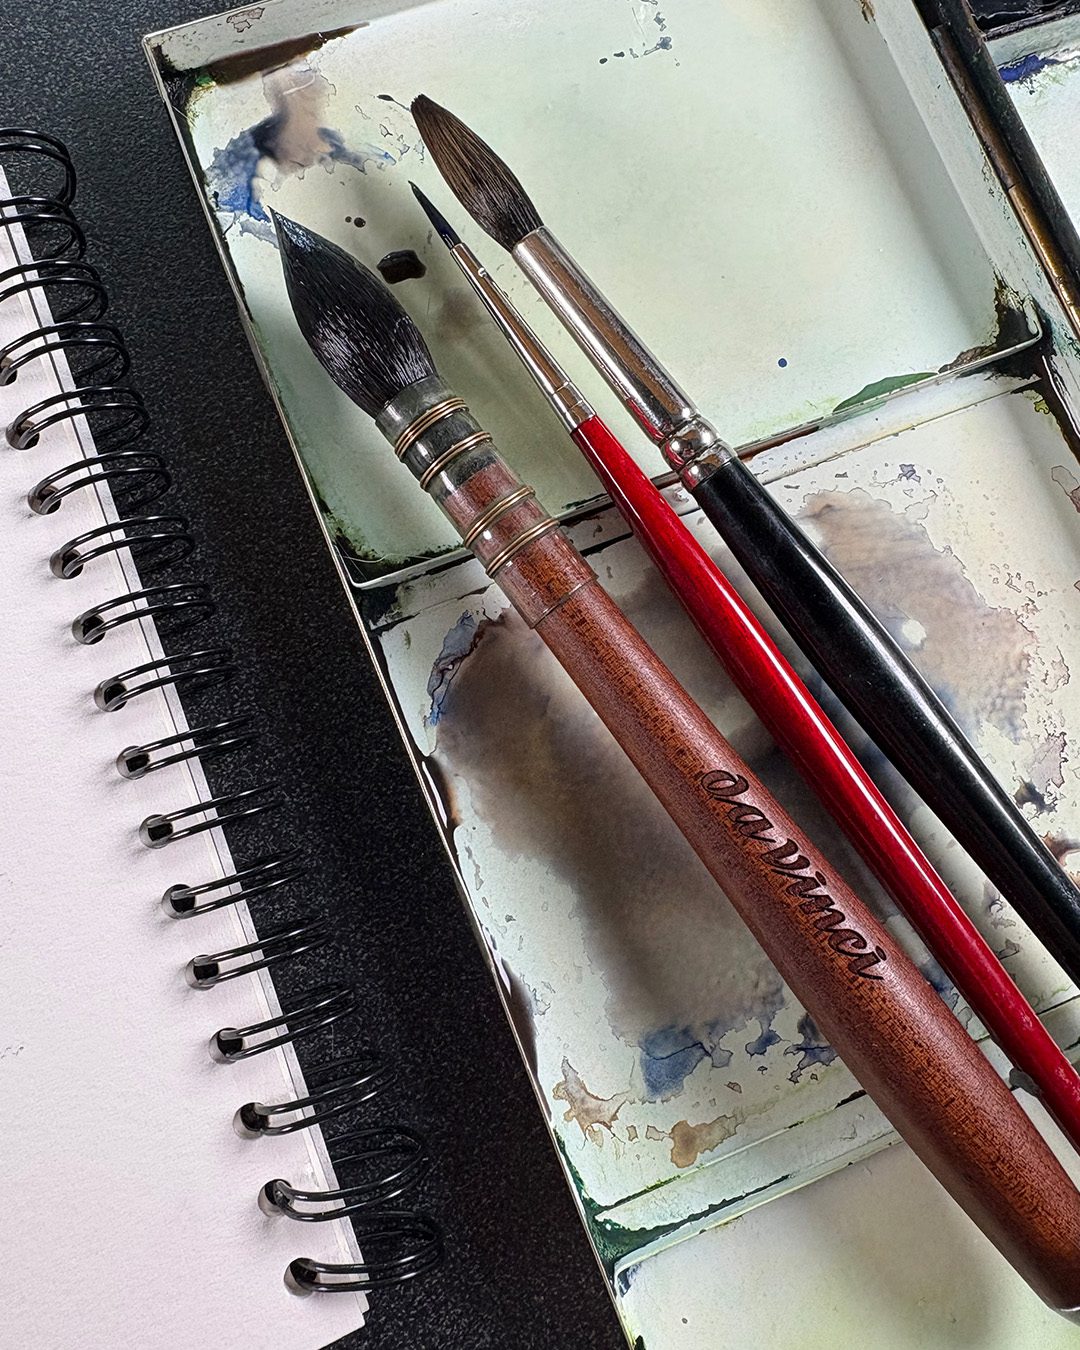
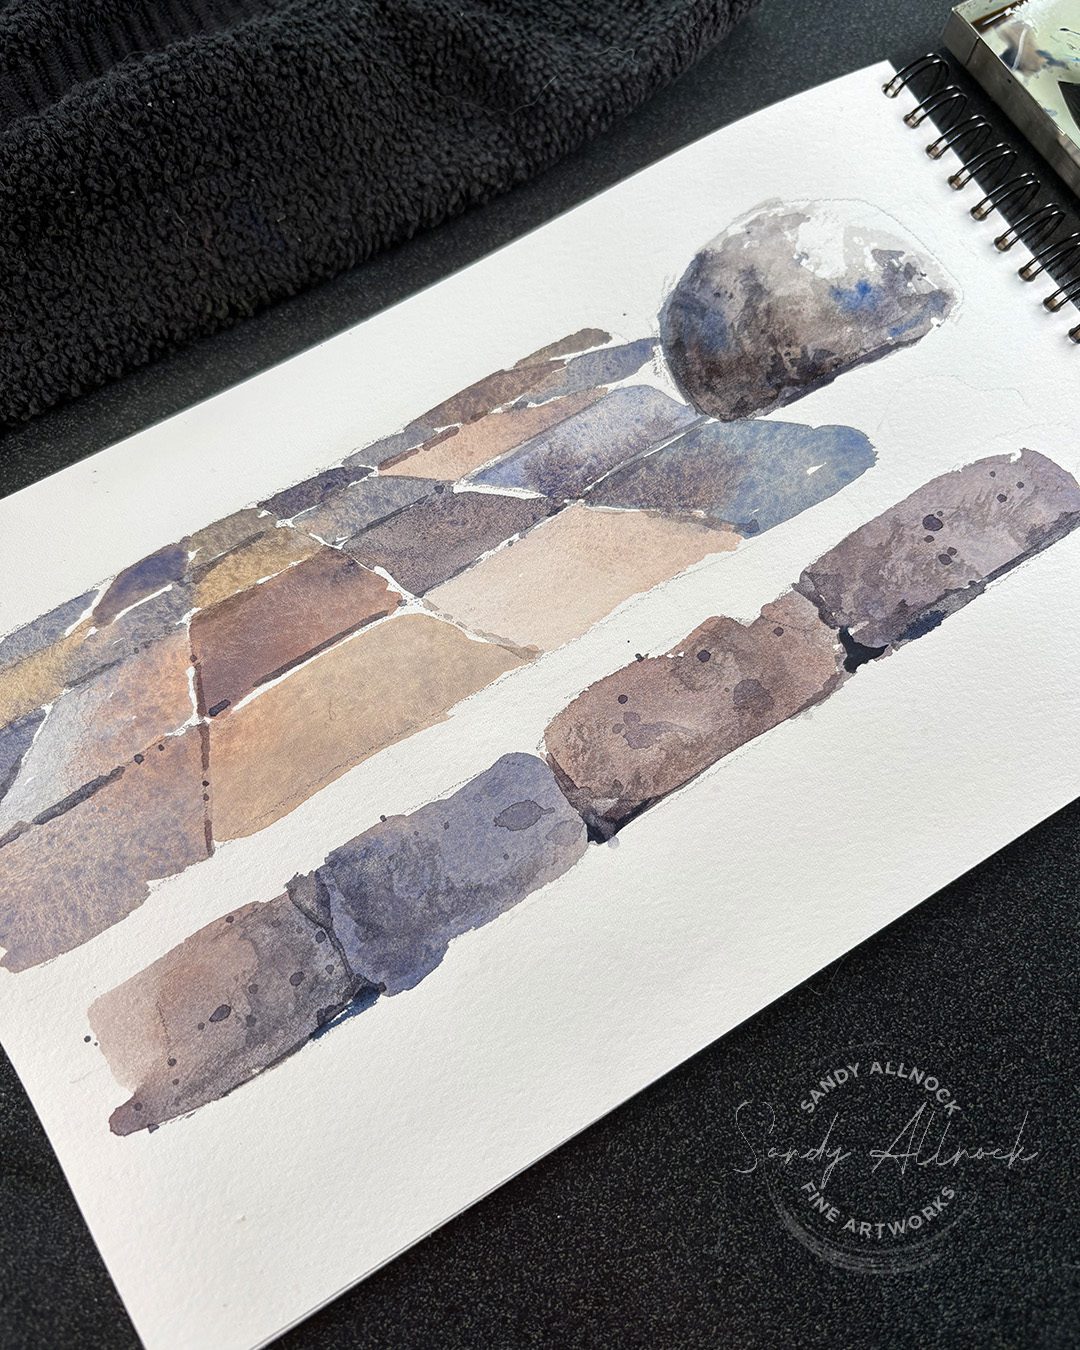
This is a tale of three brushes for watercolor – my current favorites, and how I use them. I may have dozens of brushes — but these keep bubbling up the most, so I thought I’d use them for a short demo on creating a tile floor! It’s from a painting seen in my 30 Days to More Confident Sketching class.
Tutorial: A tale of three watercolor brushes
Watch the video below and scroll to the end to leave comments or questions — or click HERE to watch it on YouTube and leave comments over there. I read both dutifully!
SUPPLIES
Some product may be provided by manufacturers for review and use. Compensated affiliate links are here at no cost to you. I appreciate your support of my work with your purchases! Full affiliate and product disclosure | My trusted partners in art

The brushes – and what they’re used for
Every brush has its sweet spot, and I do end up skipping around to different brushes than these….but lately I’ve found I could be quite happy with just these in the studio:
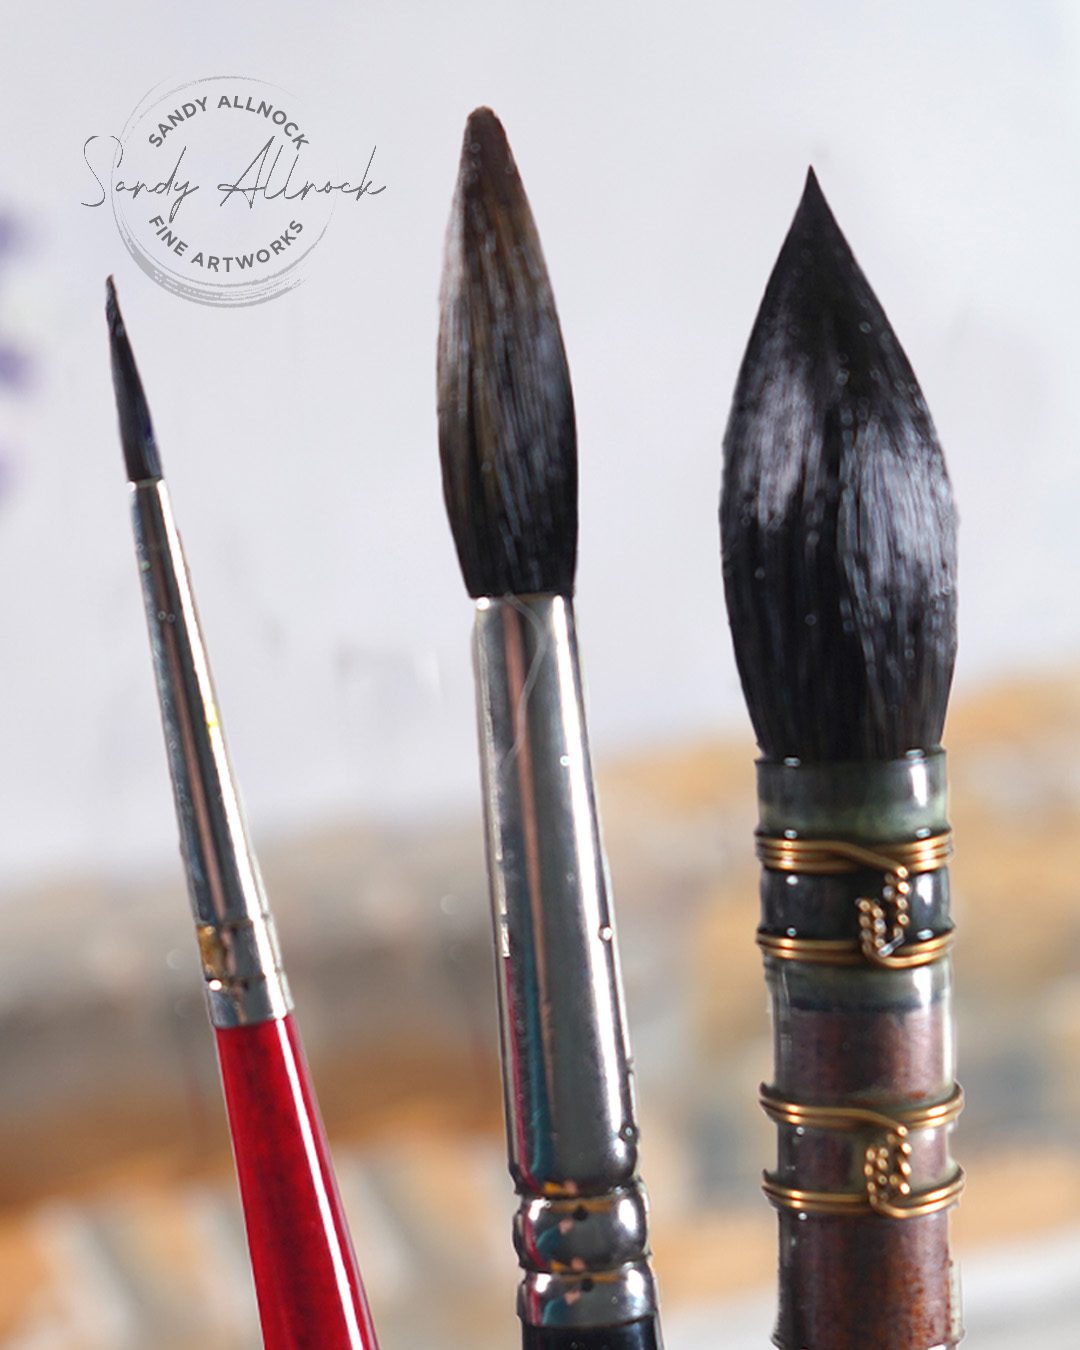
- DaVinci Silverpoint brush (mop or quill, natural hair) – you don’t need THIS one necessarily, the silverpoint end isn’t a necessity. But having a nice big brush that points well is a huge help in covering large areas and getting big juicy washes. I find a lot of watercolorists just struggle to use that much paint or water – but that’s what makes nice loose watercolor work!
- Winsor & Newton Kolinsky Round #8 – I didn’t use it in this demo for middle level details but sometimes do if the big brush is totally too big. But a soft natural hair brush is fabulous for splattering, as well as small wash areas.
- DaVinci Cosmotop #2 – this is a synthetic little brush with lots of snap to it – which means “drawing” lines with it is more possible than my soft natural brushes. Depending on the size of details, I’ll also use a #4 Kolinsky if I need softer edges and broader coverage, or a #4 synthetic in the Cosmotop line if snap is needed.
Know that I’m still looking for great substitutes for my expensive favorites. Really, I keep spending money on the synthetics, but performance still isn’t where I need it to be. At NAMTA I visited a few brush booths to hear their latest pitch, and since a lot of the natural hair comes from Russia, they’re making more efforts to create better substitutes, but the samples I came home with didn’t meet my hopes. I’ve ordered some bigger ones so maybe it’s just the smaller ones that aren’t great….so I dumped a crazy amount of money on brushes that are on the way to me as maybe a last pre-tariff purchase before everything skyrockets! I’ll let ya know.
Painting rock surface
The tiles, boulder, and bricks follow nearly the same process – mixing blue and brown to create various browns and greys, and using the big brush to apply color that just barely touches another rock or tile next to it so they do some bleeding. It leads to a lovely free-flowing, fresh look to the painting style and can really set off whatever else is in your painting.
Subscribe to receive blog posts by email:
Never too late to join in!
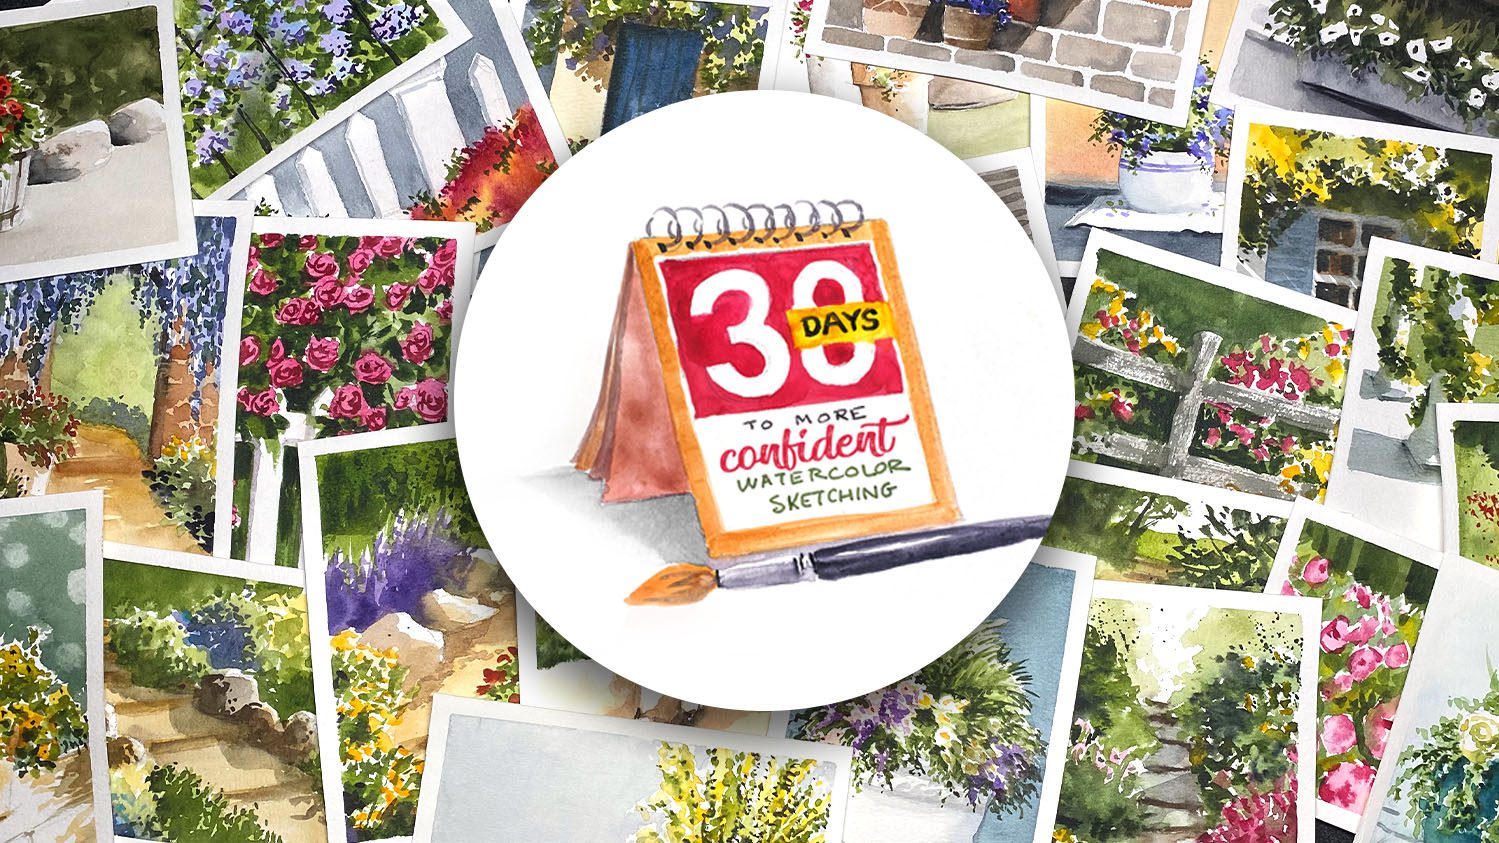
A bunch of us are painting together through the month of April using the 30 Days class lessons – though as I said in the video some started on April 1 and aren’t caught up to today…which is just fine! It’s a do-it-at-your-own pace class, and you can start any time of year.





Great video and really cute Easter jokes! I hope you had a lovely Easter