
I’m not one for making stuff that can more easily be bought – and the items shown here are so inexpensive it hardly makes sense to make them or find alternate household items for them. But….sometimes when Sheltering In Place, the art store isn’t handy and you just NEEEEEED a blending stump, right?

Supplies for this project are linked at the end of this post. Compensated affiliate links may be used at no cost to you.
Well I have a couple tips, and you can choose whether you need to make them or just wait a month or two…..I just placed some online orders for stuff and the projected dates are well into May, so things are taking some time. If you’re in a hurry – try one of these, and let me know if it worked for you!
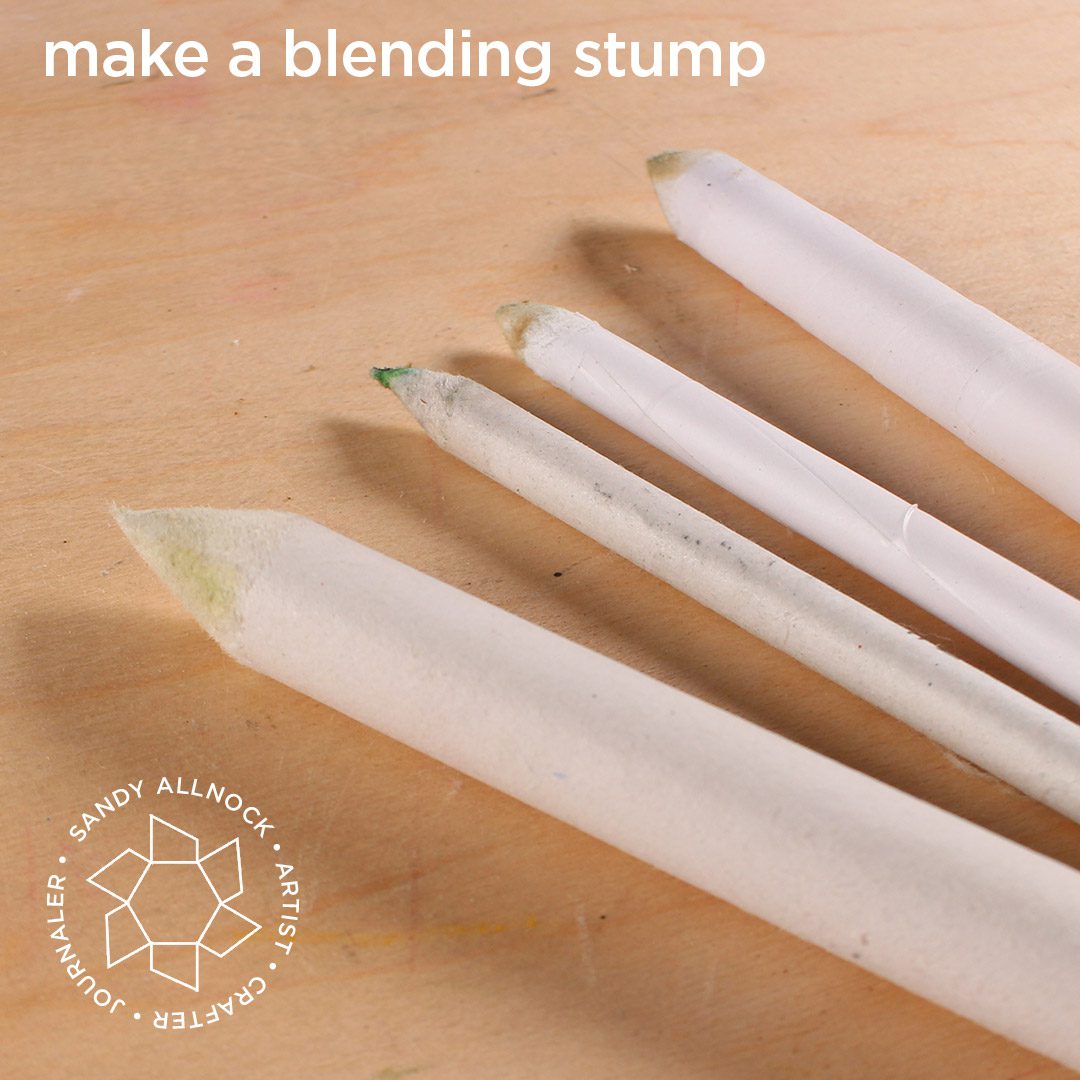
To make a blending stump…
I watched a number of varied tutorials, and what I showed is my compilation of the best tips from them all. To make a blending stump, choose a soft paper – different papers will work differently in blending, so try what you have! I used computer paper (copier paper) – thin enough to be able to roll tightly. This might be a good chance to use pages from a sketchbook that have practice drawings you don’t want to keep…roll them inside the stump.
I used a long strip of paper, 4-1/4 x 11 inches, and cut a triangle off the “start” end. That means the tiny inside part only has to be rolled well on one tiny area rather than the whole piece of paper. Roll it so the “point” side extends out to the side, tape the end closed, and sharpen.

To make a stump sharpener…
Get a stick or paint stirrer – and some fine grit sandpaper. Cut pieces of sandpaper to the size you need, and use a staple gun to attach a number of sheets!
Use the sharpener not only to sharpen – but to clean off a stump when it gets a color on it.
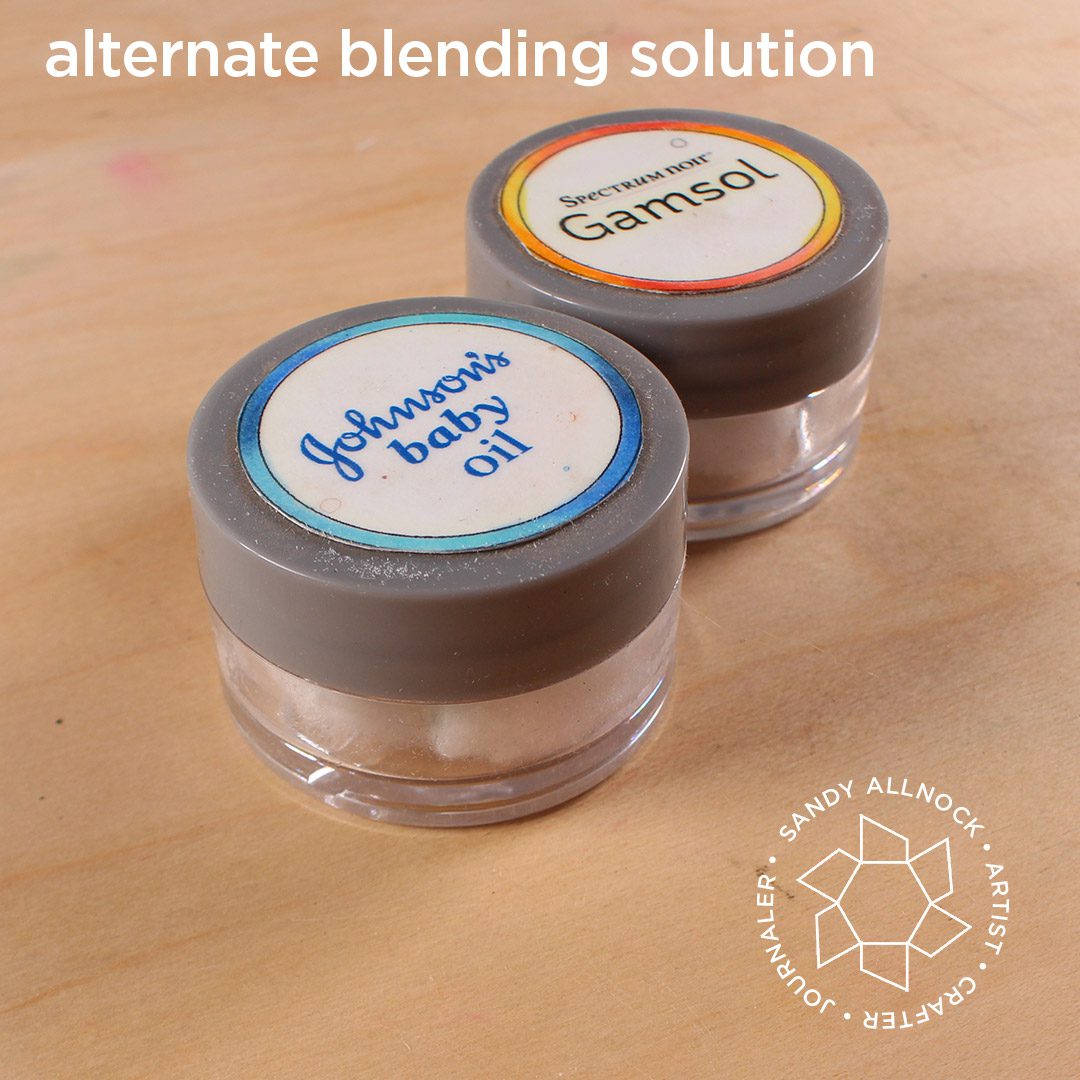
To use alternate blending solution…
If you can’t get some Gamsol, try baby oil instead. Just regular baby oil! It’ll make your art smell baby fresh…lol!
As with any oilbased solution, don’t use the solution in an area you intend to keep white; it may leave behind a grease stained area.
The first layer of pencil goes down nicely, but after using a solution, successive layers really intensify!

To create powdered pigment….
Use a tea strainer! You can also find other fine mesh items in your home. Including scratching the pencil across a stump sander (which will sharpen it!) then shake off the powder onto the paper.
For soft color application, grind the pencil tip across the mesh, and tap the mesh to loosen all the pigment. Move on the paper with cotton balls, qtips, fingers, or blending stumps.
For a more watery application, dip a fresh cotton ball into the cottonball solution to pick up just a small amount of solution; wipe it across the powder to create a wash of color.
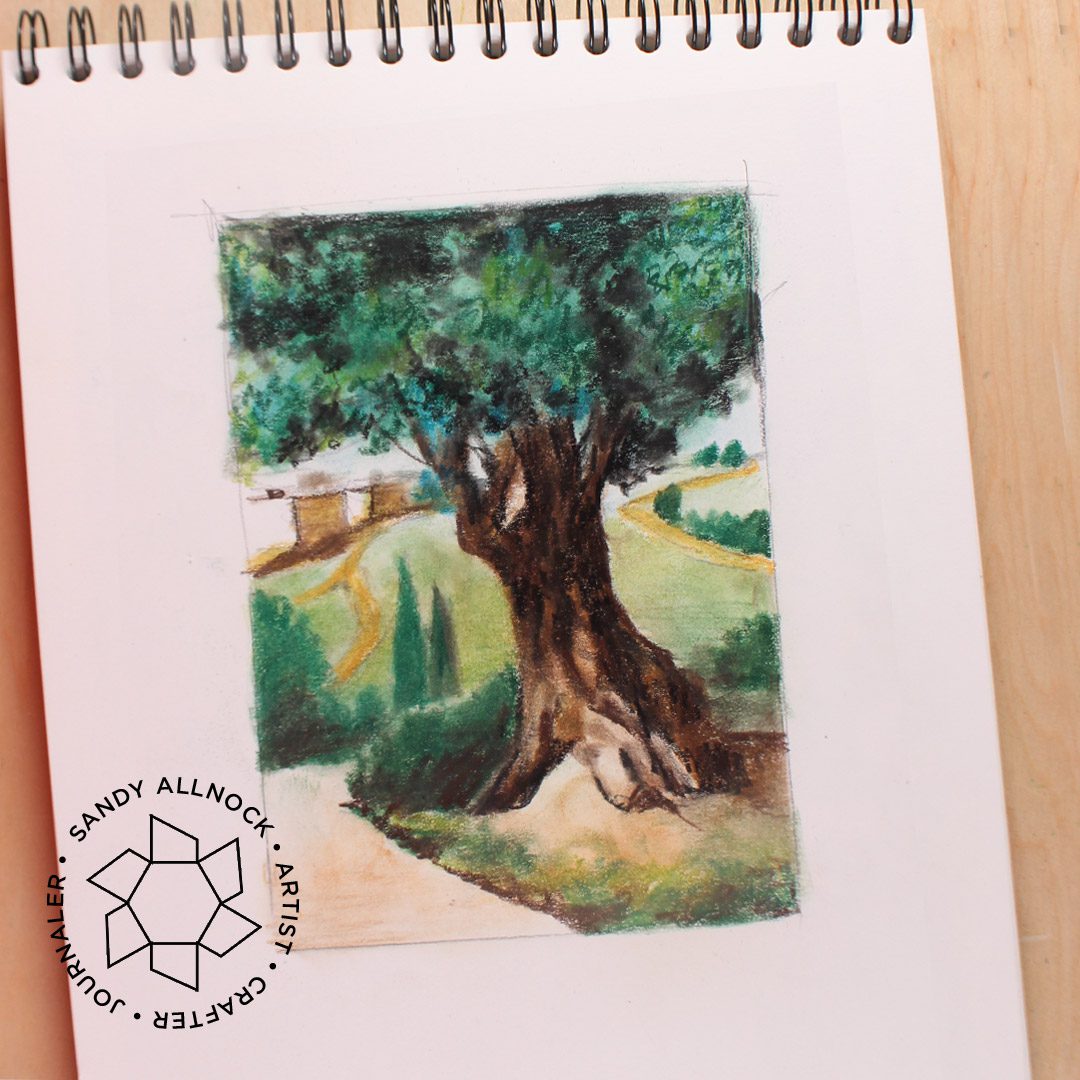
Demonstration
Just for fun I added a sketch of Gethsemane to the video for those who just wanted to osit and see some ways to use the tools shown – I put down a loose layer of color first, so that the further details would be intense on top of the blending solution layer!

MFT guest video
This month there’s no new release – so I got to have my pick of what to color! I decided on these cute little flyers above…go see it on the MFT channel!

A good class for beginners
If you’re just stumbling onto this post and need help getting started – the Colored Pencil Jumpstart class is my recommendation! You’ll get the basics of color theory, pencil application, and a bunch of fun art tricks too!
SUPPLIES
Some product may be provided by manufacturers for review and use. Compensated affiliate links are here at no cost to you. If you choose to shop using my EH (Ellen Hutson) links, please accept cookies on that site in order to retain the link to my blog, or that compensation does not happen for me. I appreciate your support of my work with your purchases! Full affiliate and product disclosure | My trusted partners in art
- Polychromos Pencils EH – BLICK – Polychromos Hex Chart
- Prismacolor pencils EH – BLICK – Prismacolor Hex Chart
- Luminance pencils BLICK – AMZ – Luminance Hex Chart
- Stonehenge Drawing Paper, white AMZ – BLICK
- Stonehenge Drawing Paper, warm white AMZ – BLICK
- Stonehenge sketchbook
- Blending stumps • EH – BLICK
- Gamsol Blending solution EH – BLICK
- Quietsharp Pencil Sharpener AMZ – BLICK
- Handheld Sharpener EH | DB | AMZ
- Tea Strainer
- Solvent jars
- Pencil Storage
- 150 pencil case AMZ
- Pencil Sharpener:





Really cool ideas!!!
I love the hint on how to make your own sharpener for the blending stumps. The idea of having a larger surface to use is awesome. Thank you.
Thank you, this was great
Thank you Sandy for this great video.
II had seen the tea strainer also as one of the supplies in the Jump Start Class and I wondered if the fine mesh is of iron or plastic?
Have a wonderful Easter weekend and stay safe.
It’s metal, I’m not sure what it’s made of. You may not get enough “scraping” of pigment from plastic, but I haven’t tried it so I don’t know for sure.
Thank you Sandy, I wil go for a metal.