
After spending a few days being completely OUT of balance – far too much crazy computer work eating me alive – finding out that all month it’s been “Get a balanced life month” hit me upside my dizzied head – get back to ART!
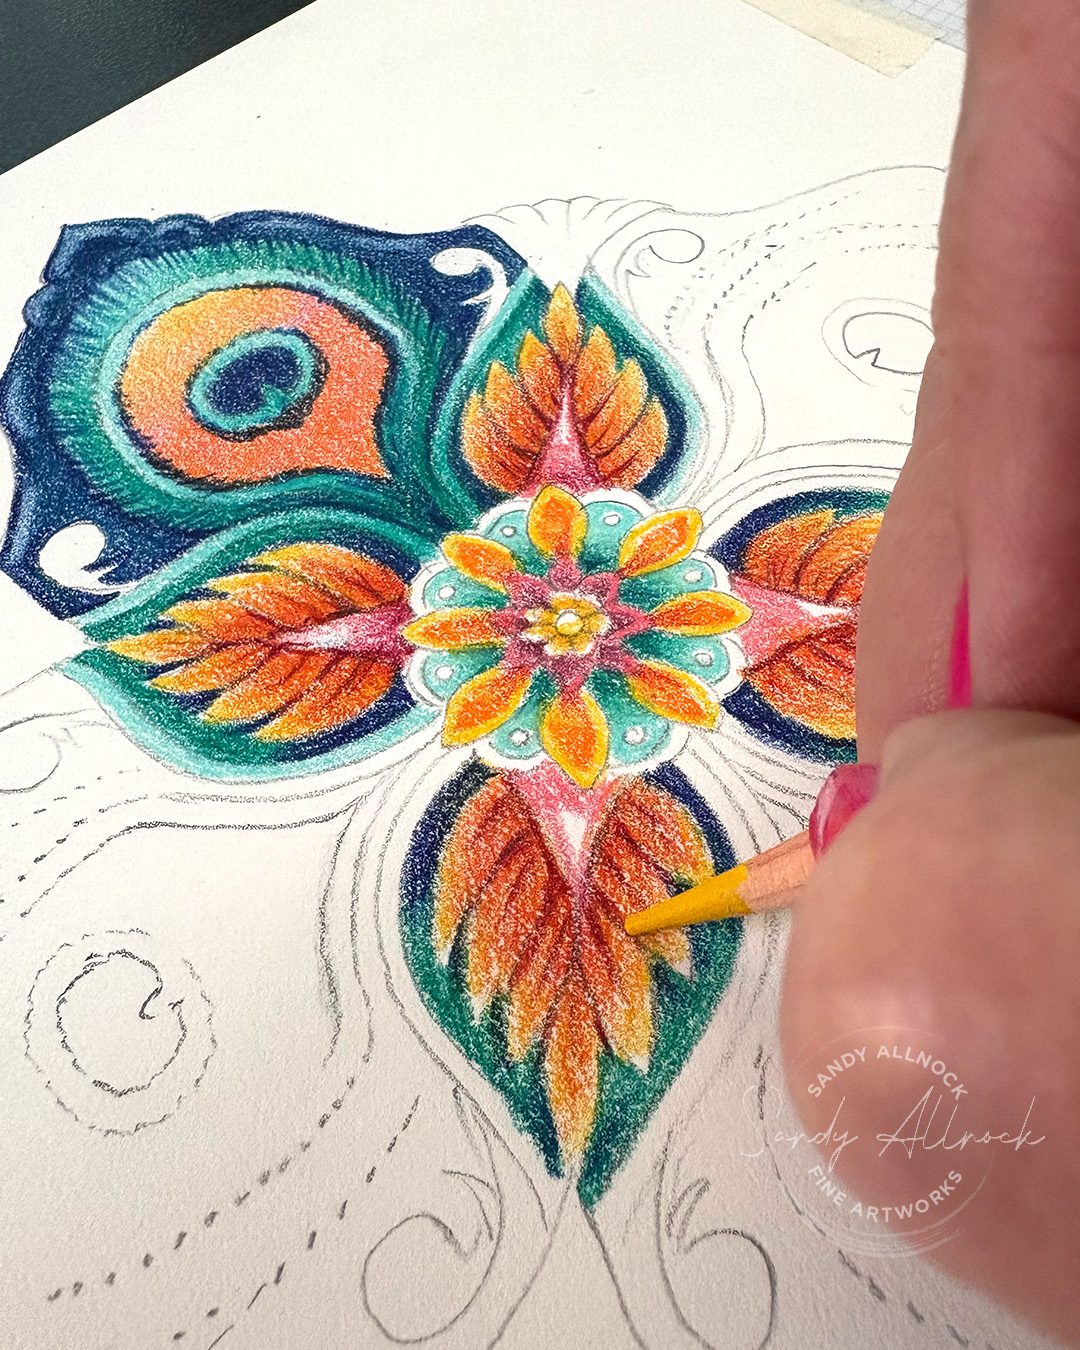
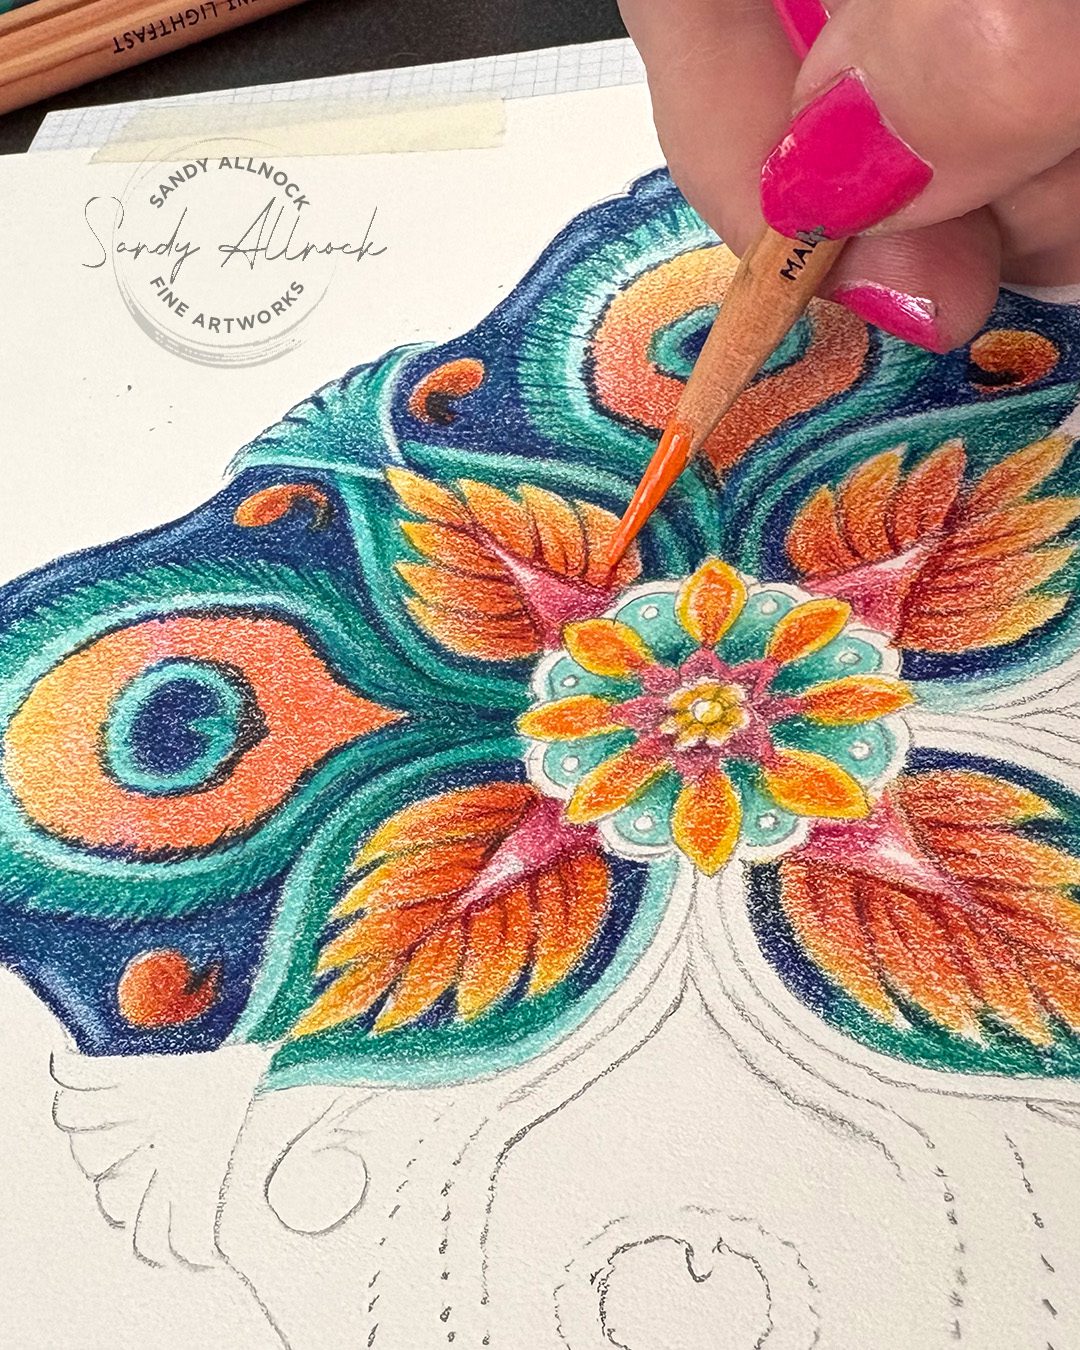
So I took an evening to make a rather epic design motif, then a full day to transfer it to paper and apply color. And I felt HUMAN again afterward! I need to remember this when I get grumpy following all the to-do-list stuff.
Video: 10 things to love about art
Watch the video below and scroll to the end to leave comments or questions — or click HERE to watch it on YouTube and leave comments over there. I read both dutifully!
SUPPLIES
Some product may be provided by manufacturers for review and use. Compensated affiliate links are here at no cost to you. I appreciate your support of my work with your purchases! Full affiliate and product disclosure | My trusted partners in art

Tracing process
- Artograph LightTracer light boxes BLICK AMZ JACKSONS
- Legion Stonehenge Drawing Pad BLICK AMZ
- Canson Grid paper 8 squares per inch BLICK AMZ
Pencils
- Koh-i-noor Lead holder BLICK AMZ JACKSONS
- Staedtler Mars leads BLICK JACKSONS
- Derwent Lightfast Colored Pencils BLICK AMZ JACKSONS DERWENT
Pencil sharpeners
My list…what’s on yours?
- Favorite supplies – this day it was my lead holder pencil until it was colored pencils
- Preparation – if I prepare, it means I’m calm/slow enough to relax and do that proper prep to be successful
- First color – yessssss
- Colorways – I love selecting a limited color palette, even if not til the piece has already begun
- Contrast – to make colors pop
- Blends – smooth and layered
- Drawing with eraser – unique technique
- Line work – lines in contrast to smooth blends
- Layer for intensity – more color to take away the white paper
- Dimension – shadows to make an area pop forward
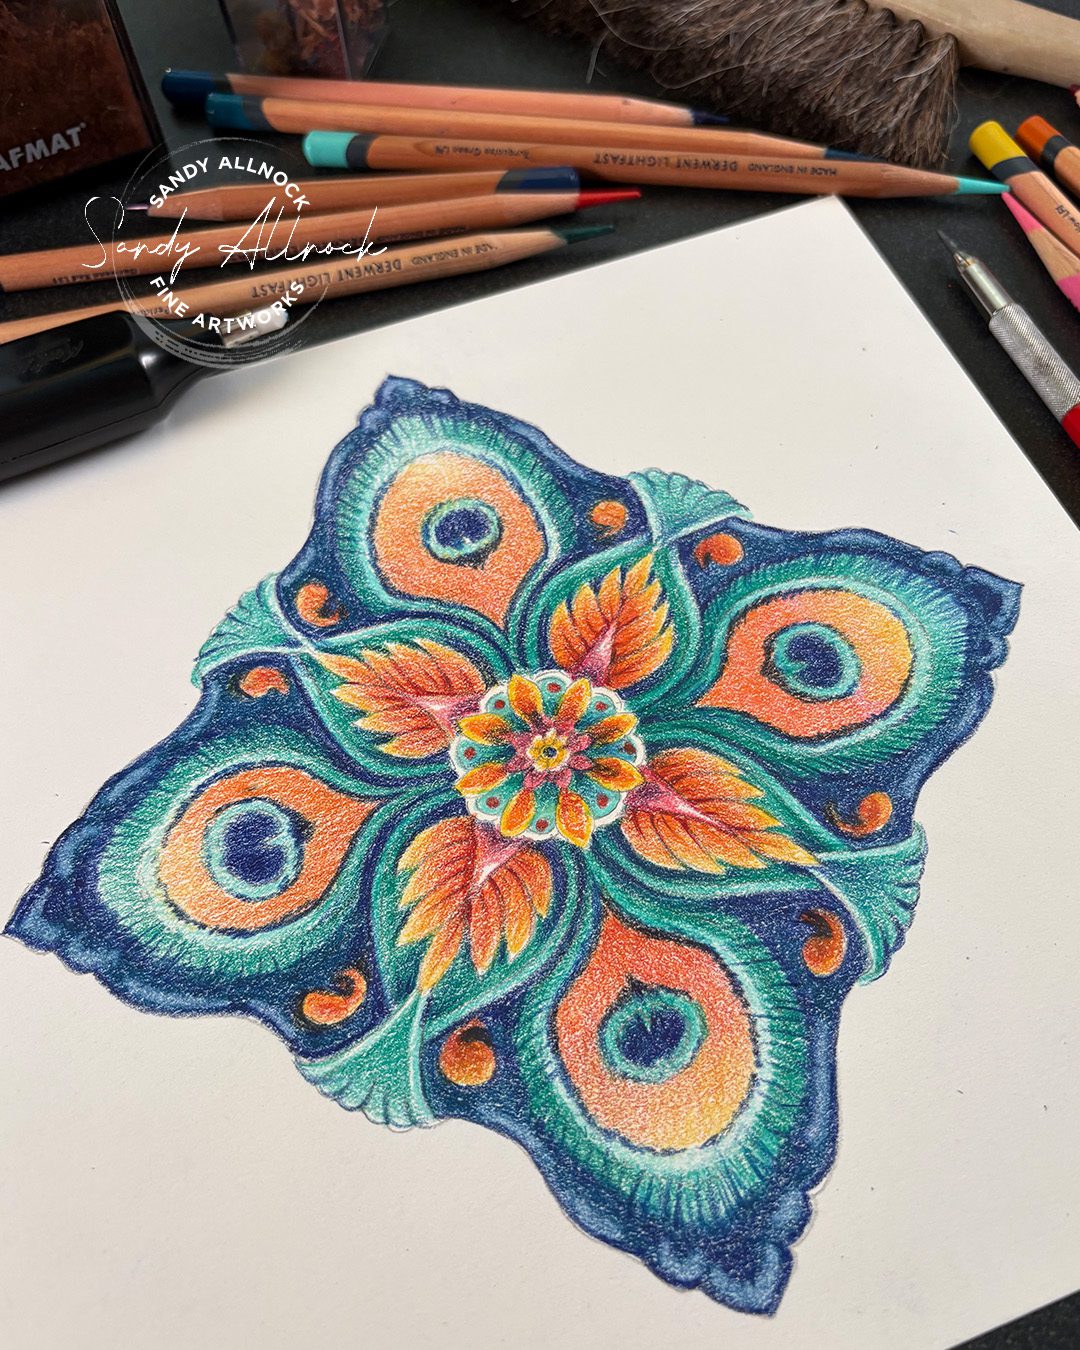
Peacock Motif
This is a more advanced motif than those in the new course; I drew it larger so it ended up with a lot more detail sliding into it! Finished size is 8″ x 8″.
Subscribe to receive blog posts by email:
Design Motifs Class
Learn to design your own motifs inspired by nature! You’ll discover techniques to create corners, focal images, symmetrical, and asymmetrical designs in a variety of styles from tin tiles to loose and sketchy, stained glass to folk art. 20 examples are taught in 3.5 hours of video instruction, focusing on the hand-created design with pencil on paper. Old-school style! (Not a coloring class, though some examples are included.)

What do you consider the elements of a balanced life?
I’d love to hear your thoughts – and what part art plays in it.





0 Comments