Perspective in Nature: Puffy Clouds, part 1

Perspective in Nature: Puffy Clouds, part 1

I’m back with another in the “Perspective in Nature” series! Last time we looked at roads and paths (missed that? Click here and catch up!) 

This time, by popular request – clouds. They’re all poofy, do they exhibit properties of perspective? Yes!

Tutorial: Perspective in Nature: Puffy Clouds part 1

Watch the video below and scroll to the end to leave comments or questions — or click HERE to watch it on YouTube and leave comments over there. I read both dutifully!

In each example, tab through the sliders to see each photo.

When standing in your yard, or anywhere without a “long” view, you’ll see limited perspective. It might just be one or two close clouds. The only distance might be wispy louds like those shoen here that are far away, but they don’t visually do much to show perspective.
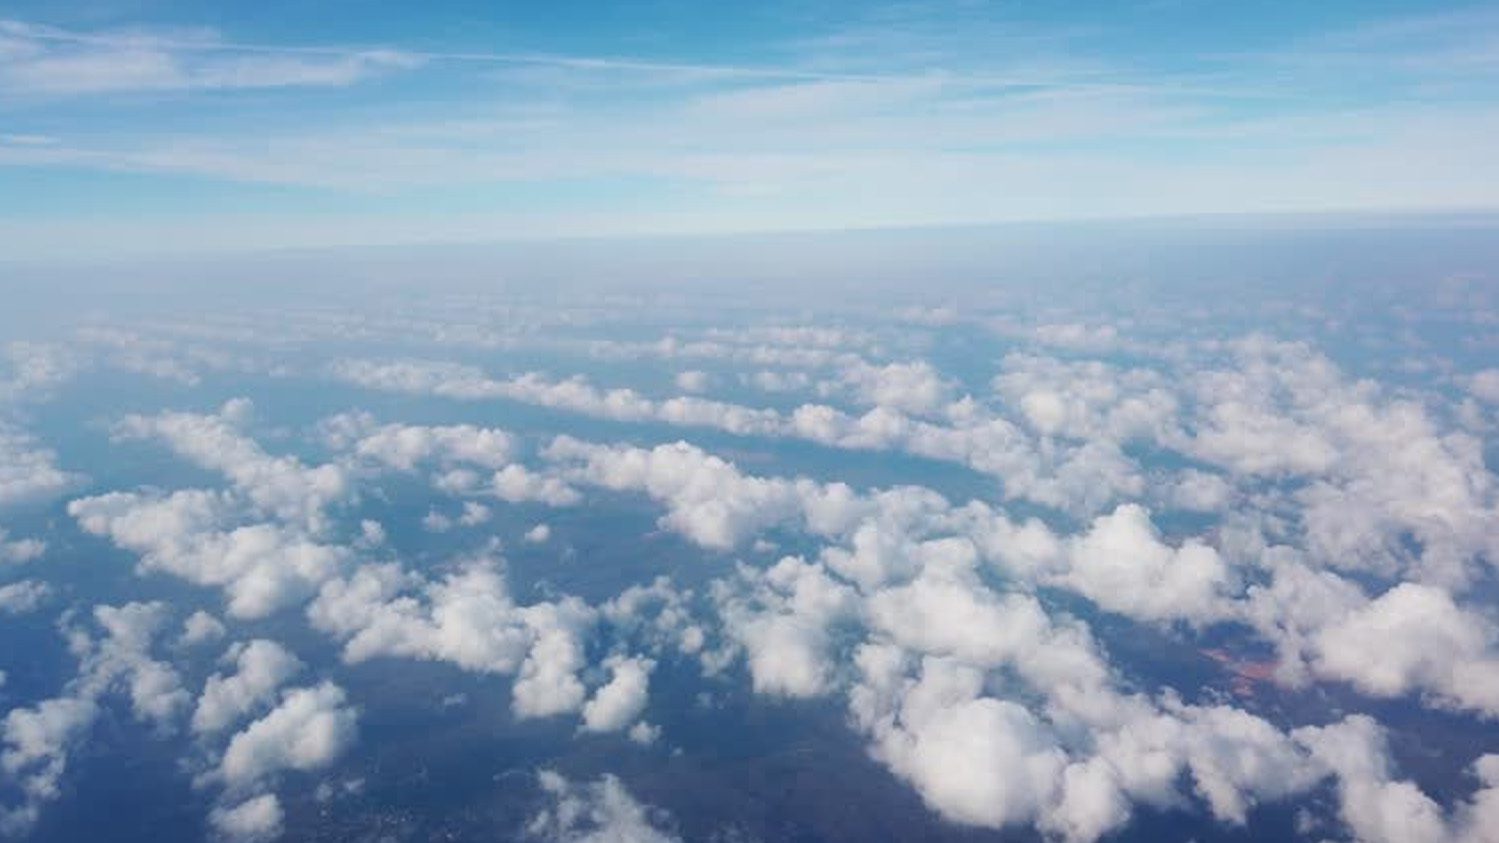
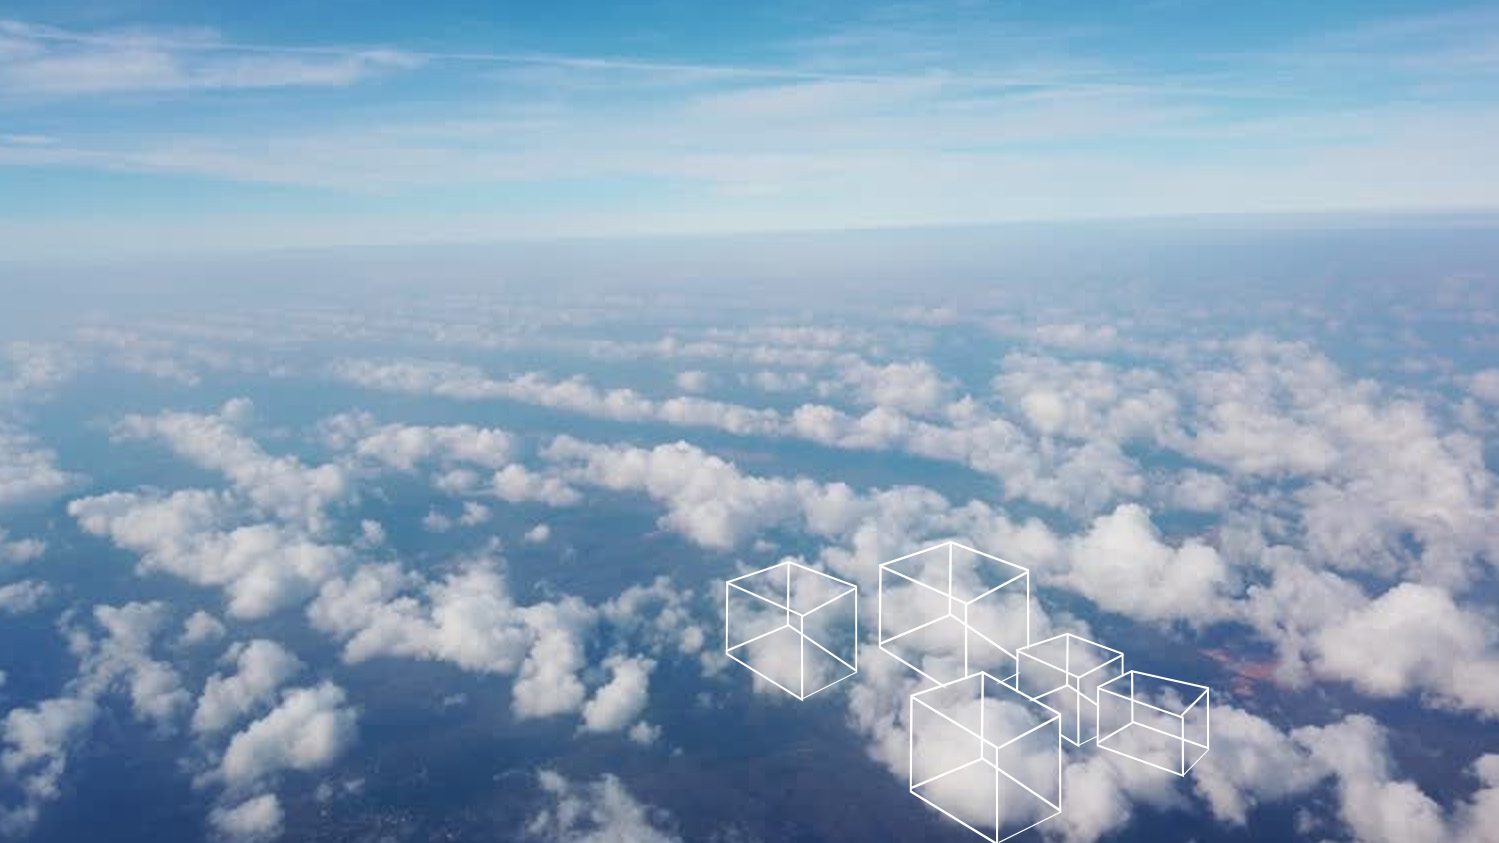
In a view not seen often, this looks down at clouds – they’re below the airplane window. But it’s easy to see larger clouds close up and tiny ones in the distance. While it *could* be a size difference that doesn’t have a relationship to their placement in space – it’s more likely they’re similarly sized. Just some of them are very very far away, therefor smaller.
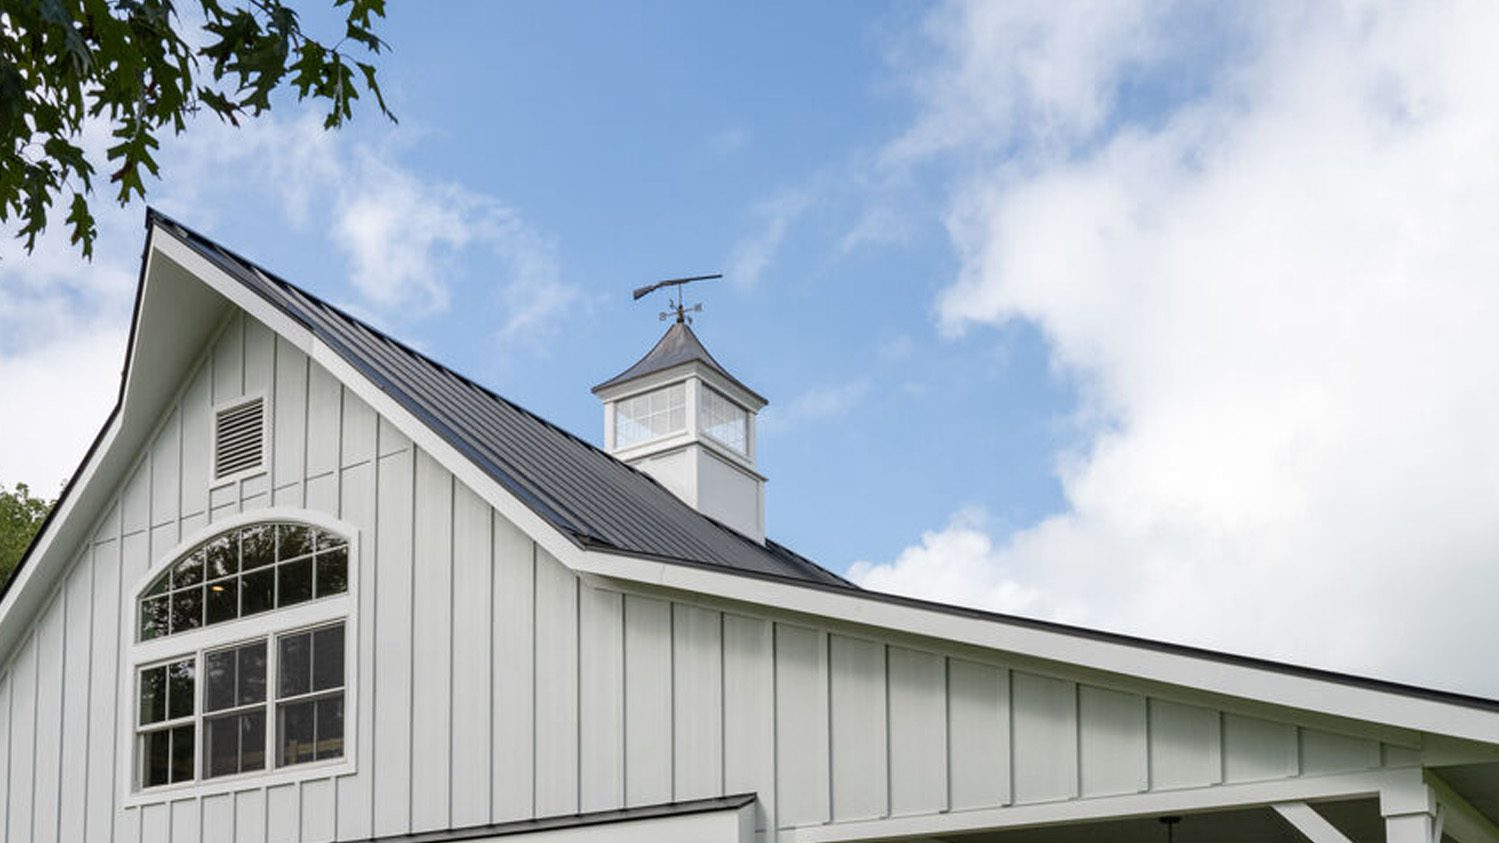
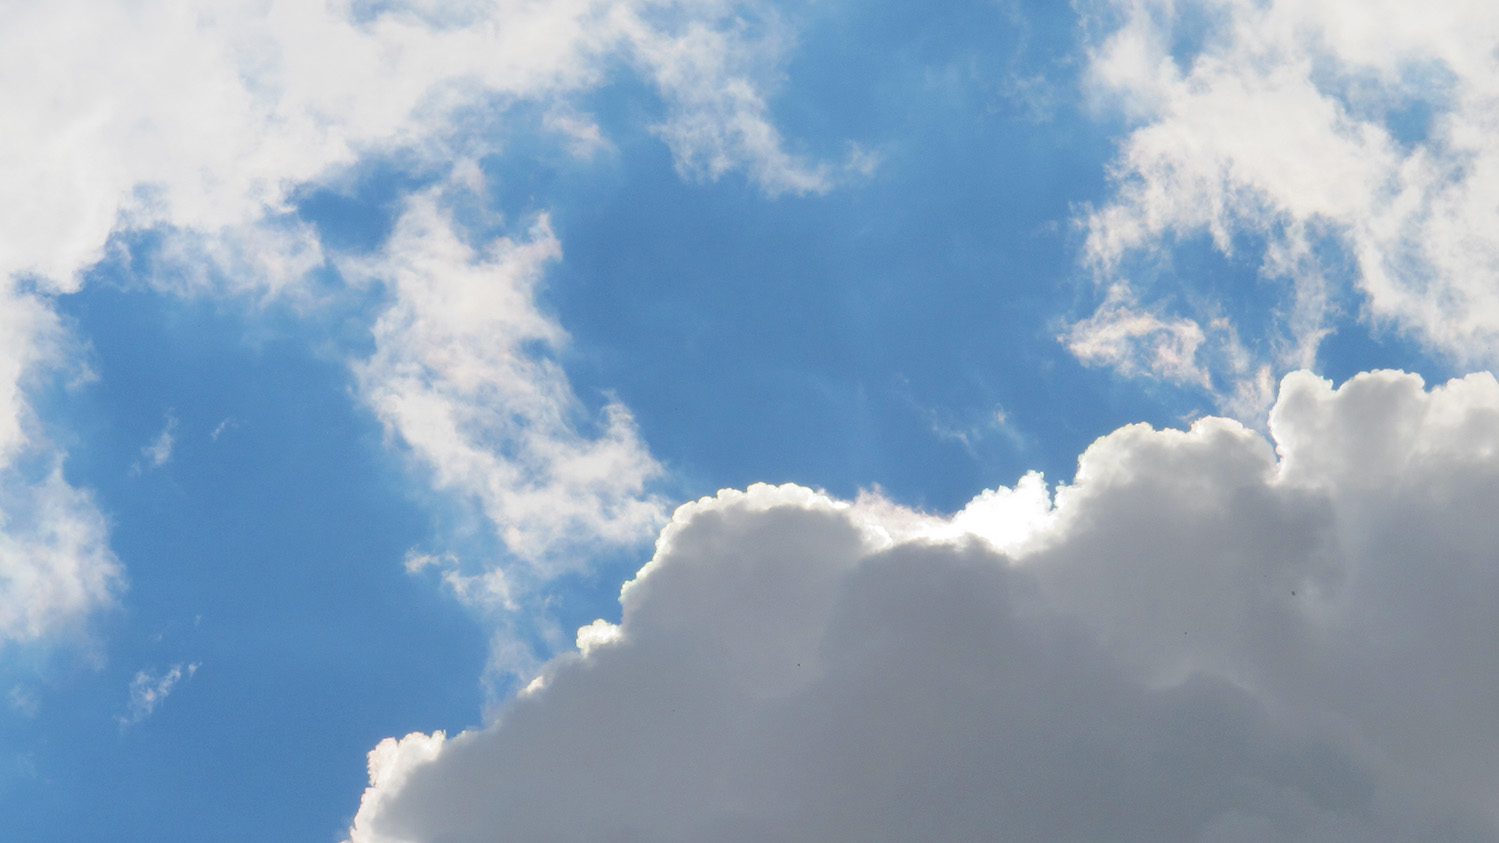
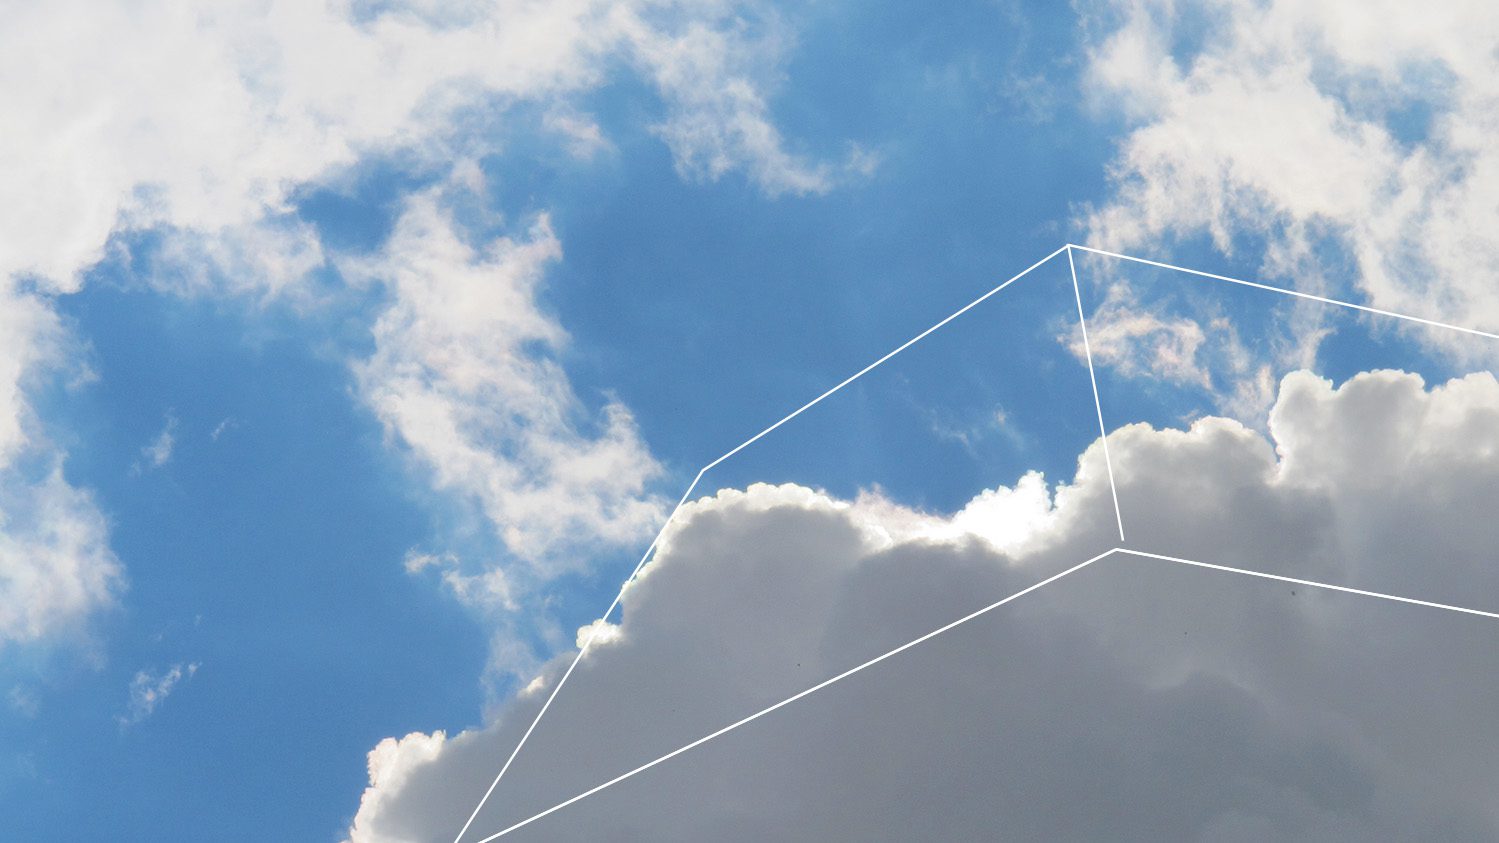
Looking straight up, though, we see the UNDERside of the cloud. Sometimes that’s all you see when it’s directly overhead. Think of looking up at a skyscraper, as in the 2nd photo.

There may be a glow of light around the edges. Like in the first photo, the wispy clouds might just be smaller but also could be above the cloud.
 

Subscribe to receive blog posts by email:

But more normally, we’re looking out at the side of clouds, most of the time with some view of the underside of the cloud as well, since we’re on the ground. The “boxes” one might draw around a cloud would be up in the air so that we see the bottom side. But the distant clouds are more definitely far away, getting smaller and more greyed out.
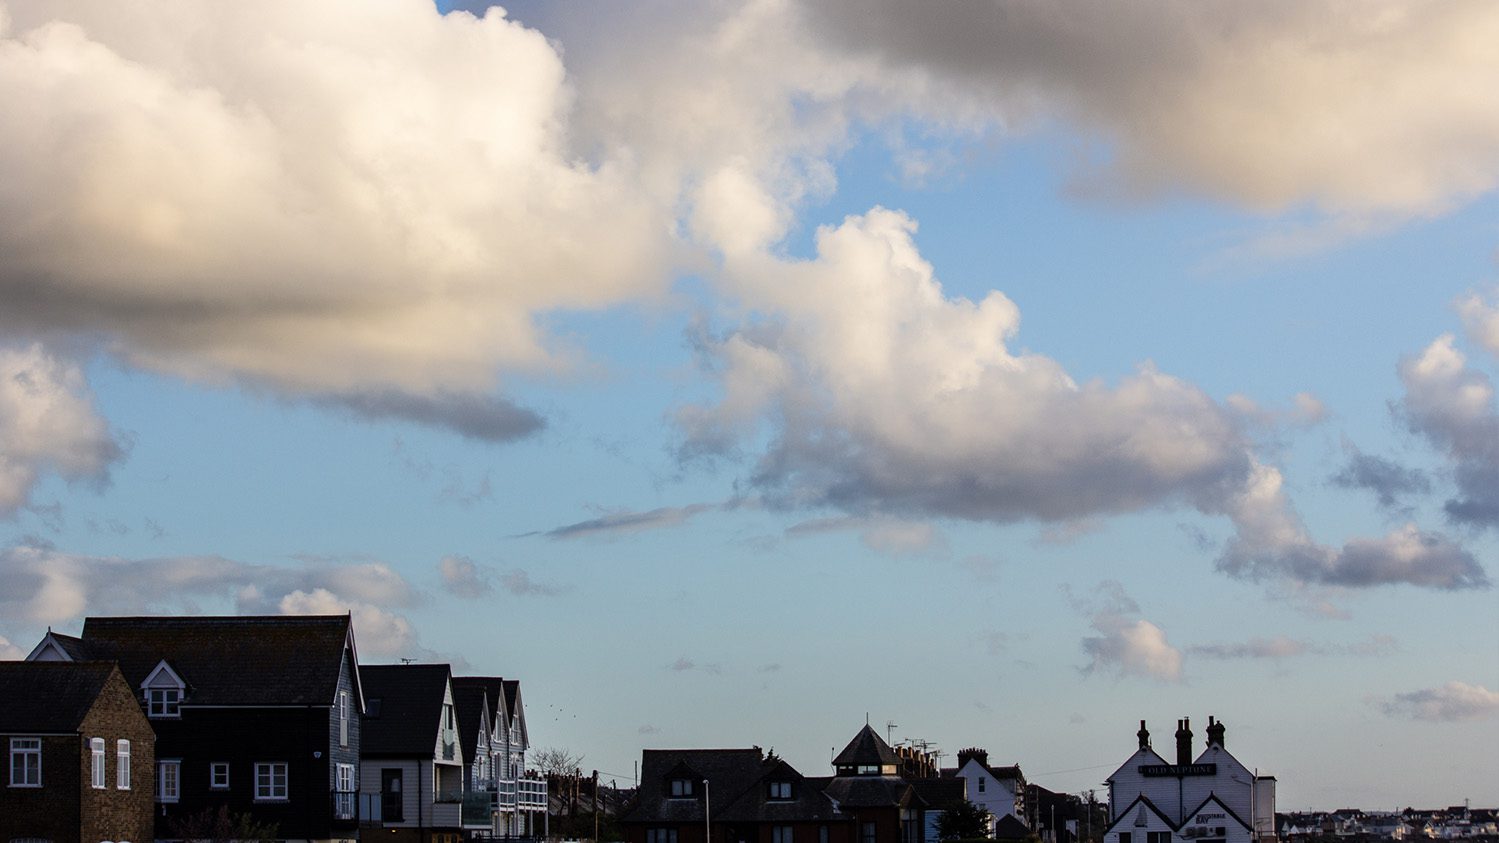
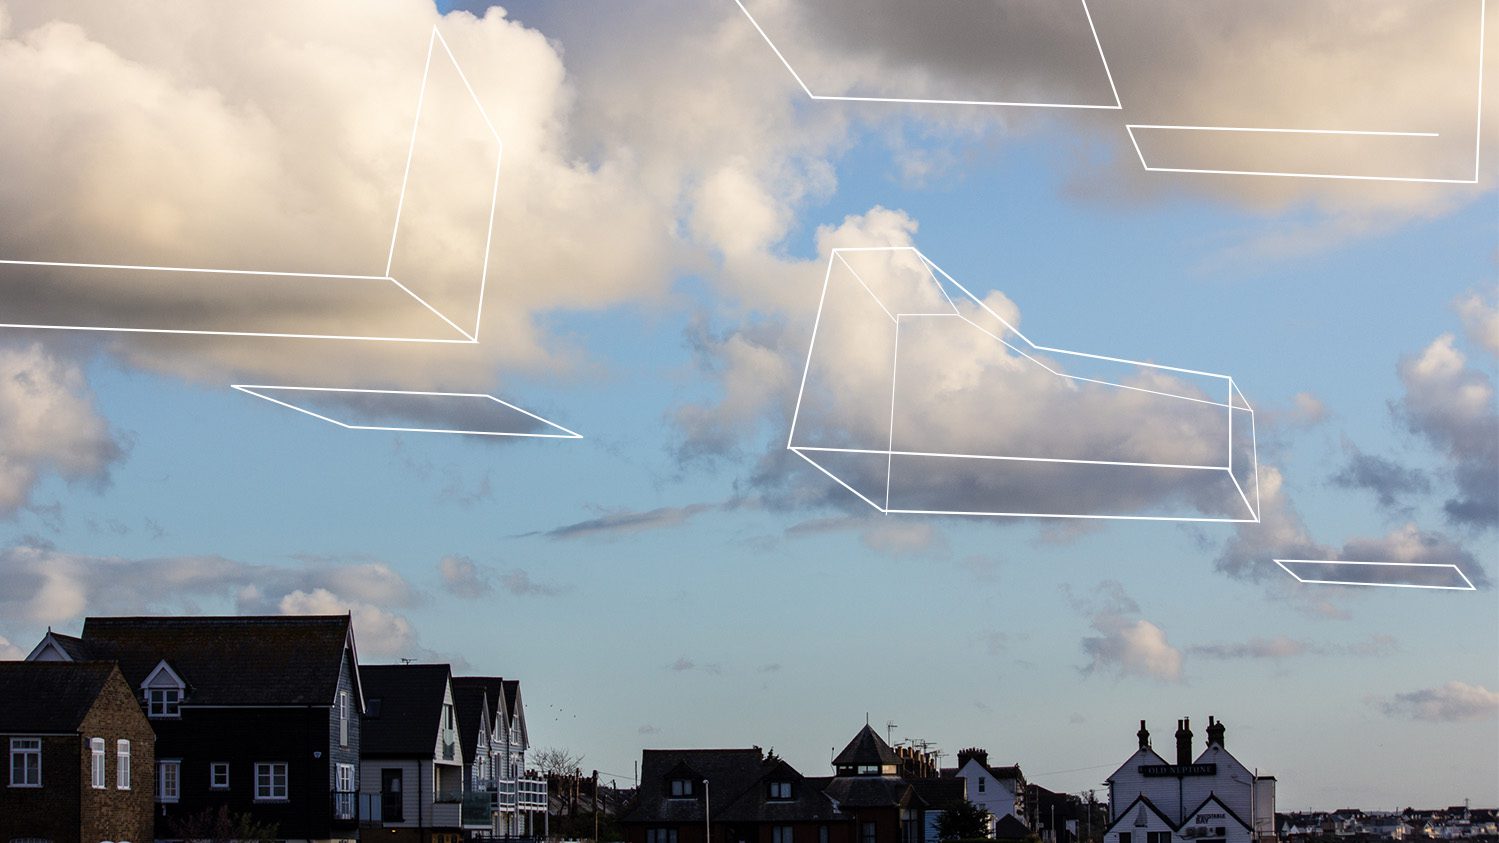
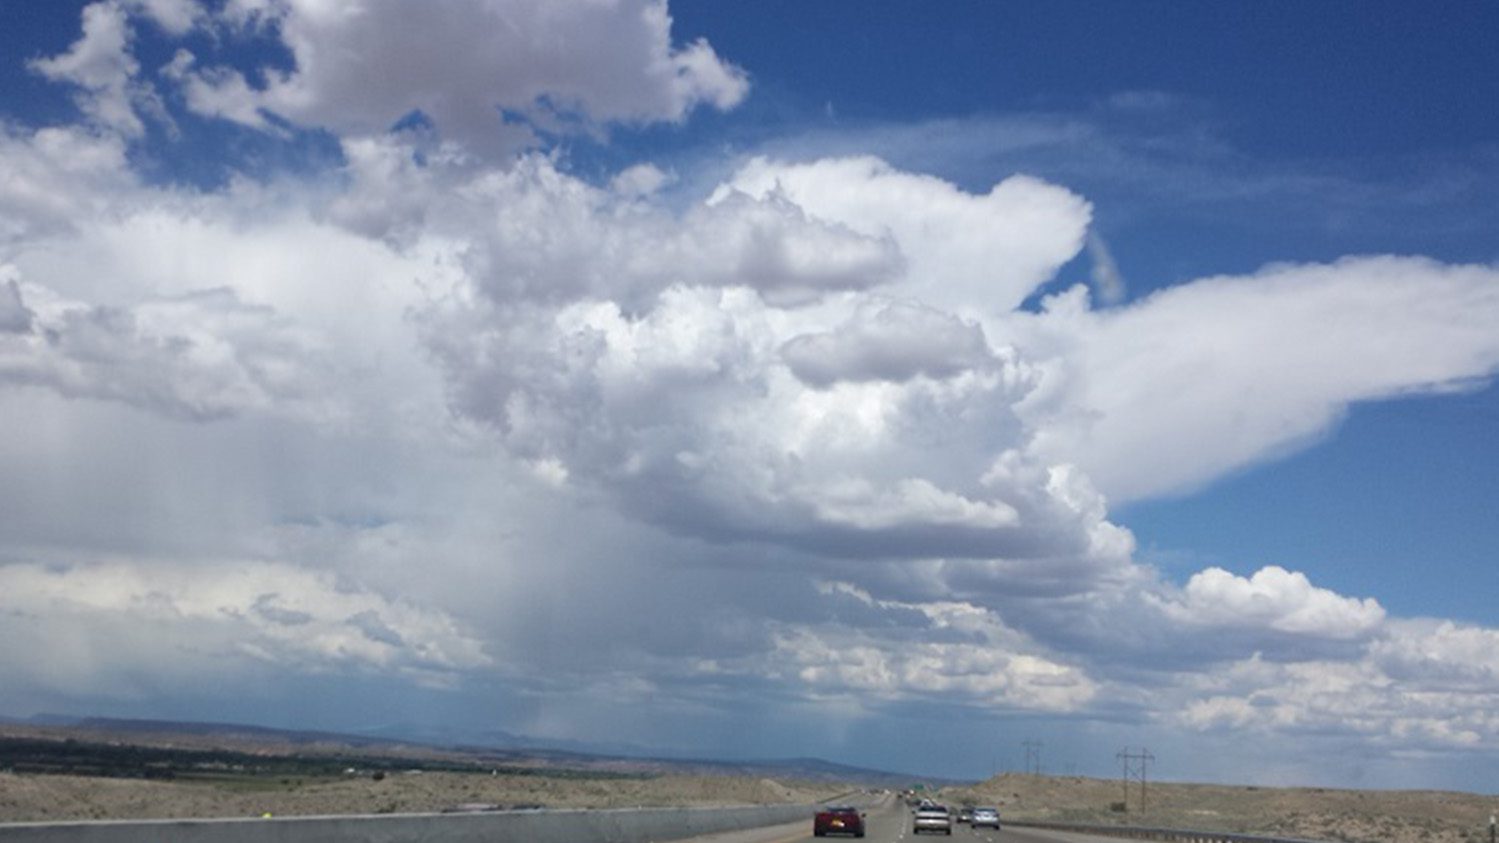
When clouds get complex and piled up on each other, assess them one at a time. Which is closest? Where’s midground? How far apart are different cloud groups?
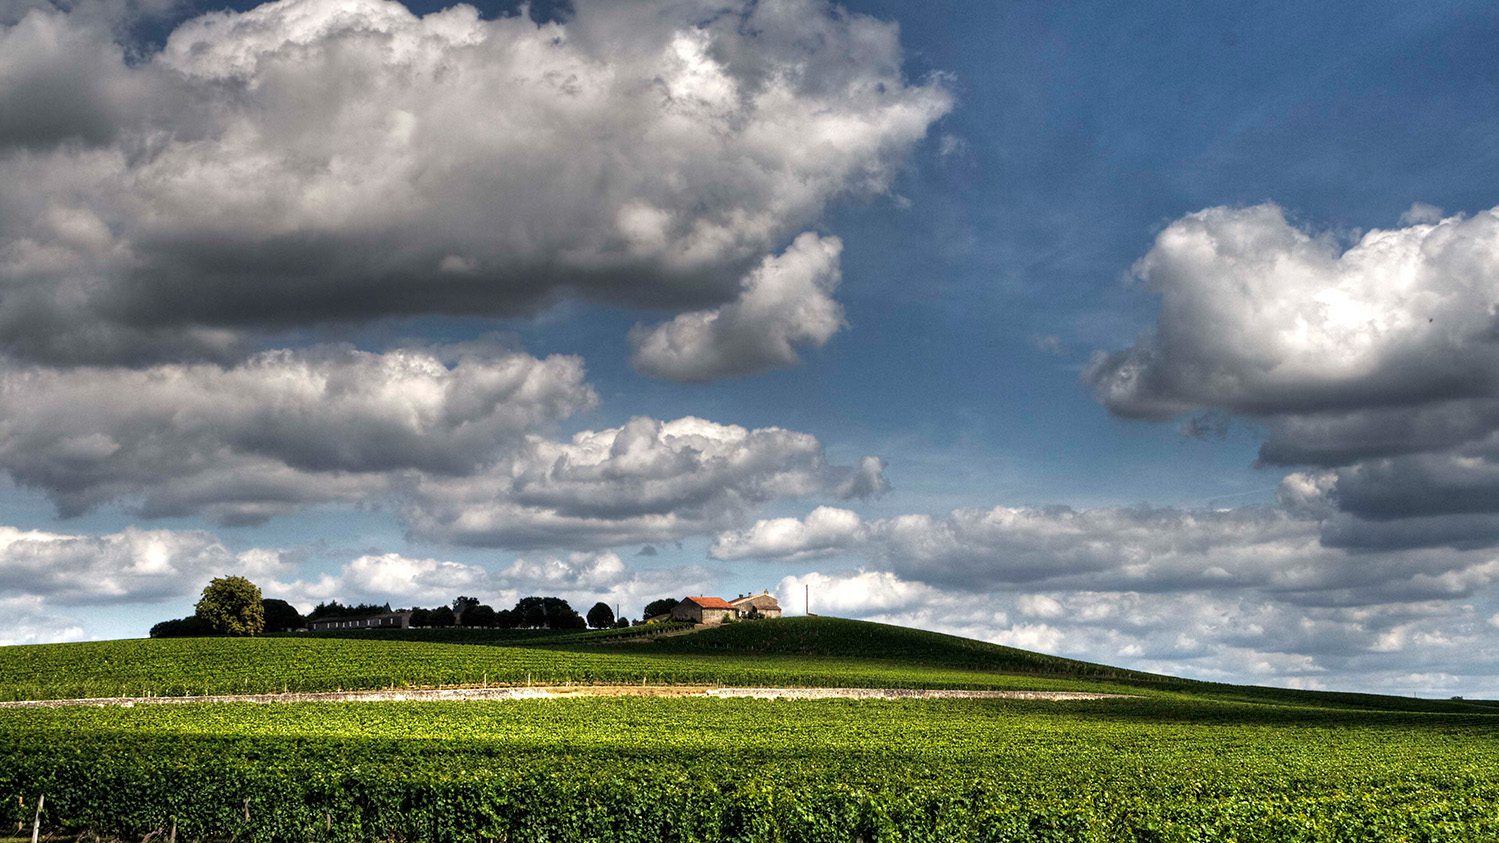
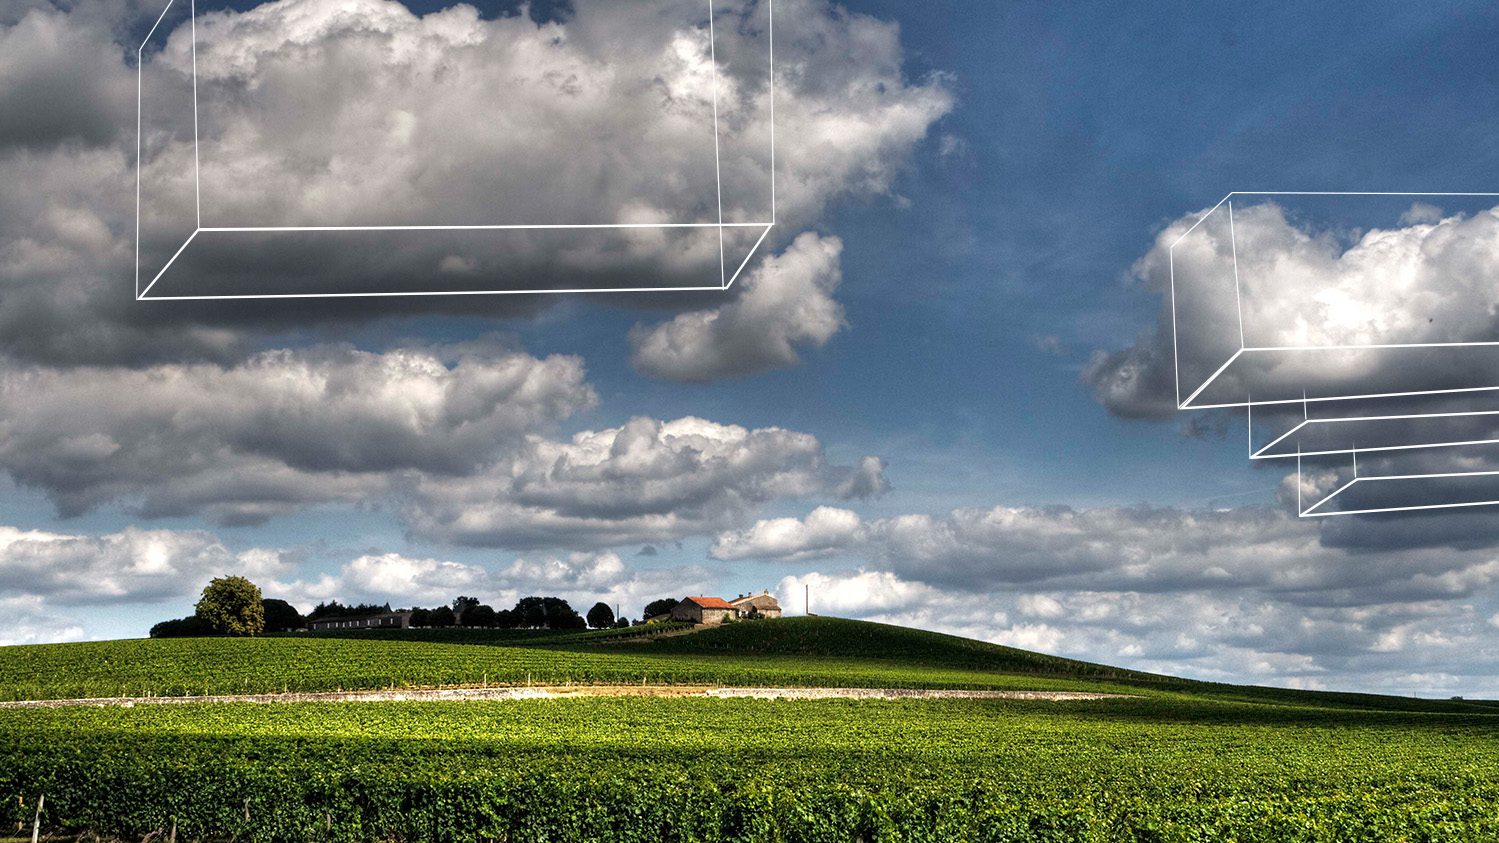
 

Beware of supersunny days! It can lead you to think the entire cloud bank is just one tall pileup of clouds, with no depth at all. 

You can choose to render them with their light, pale shadows – but you also have the option to increase contrast just a little to help define clouds a little better.
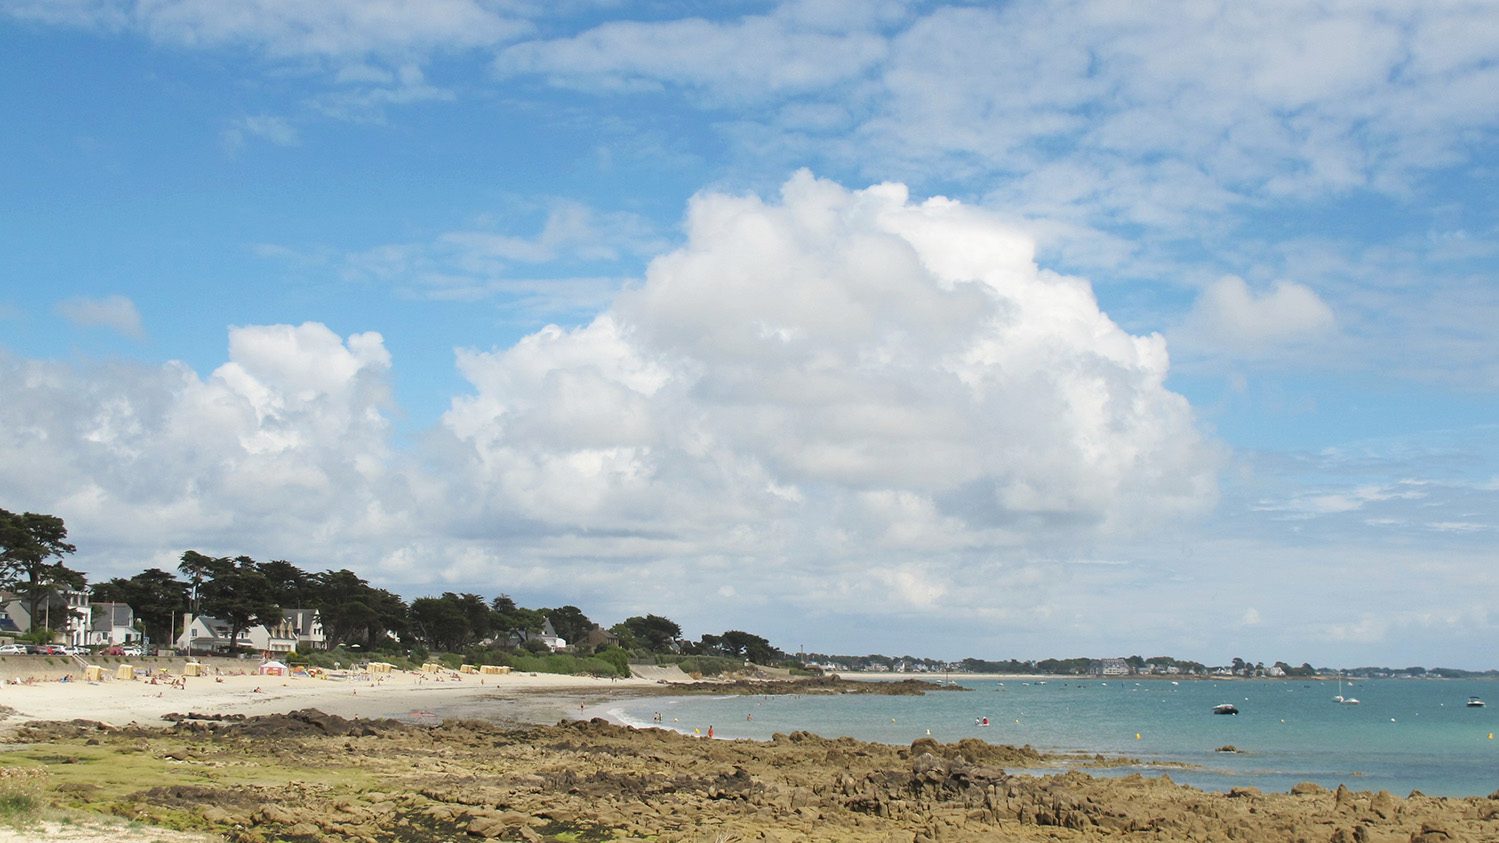
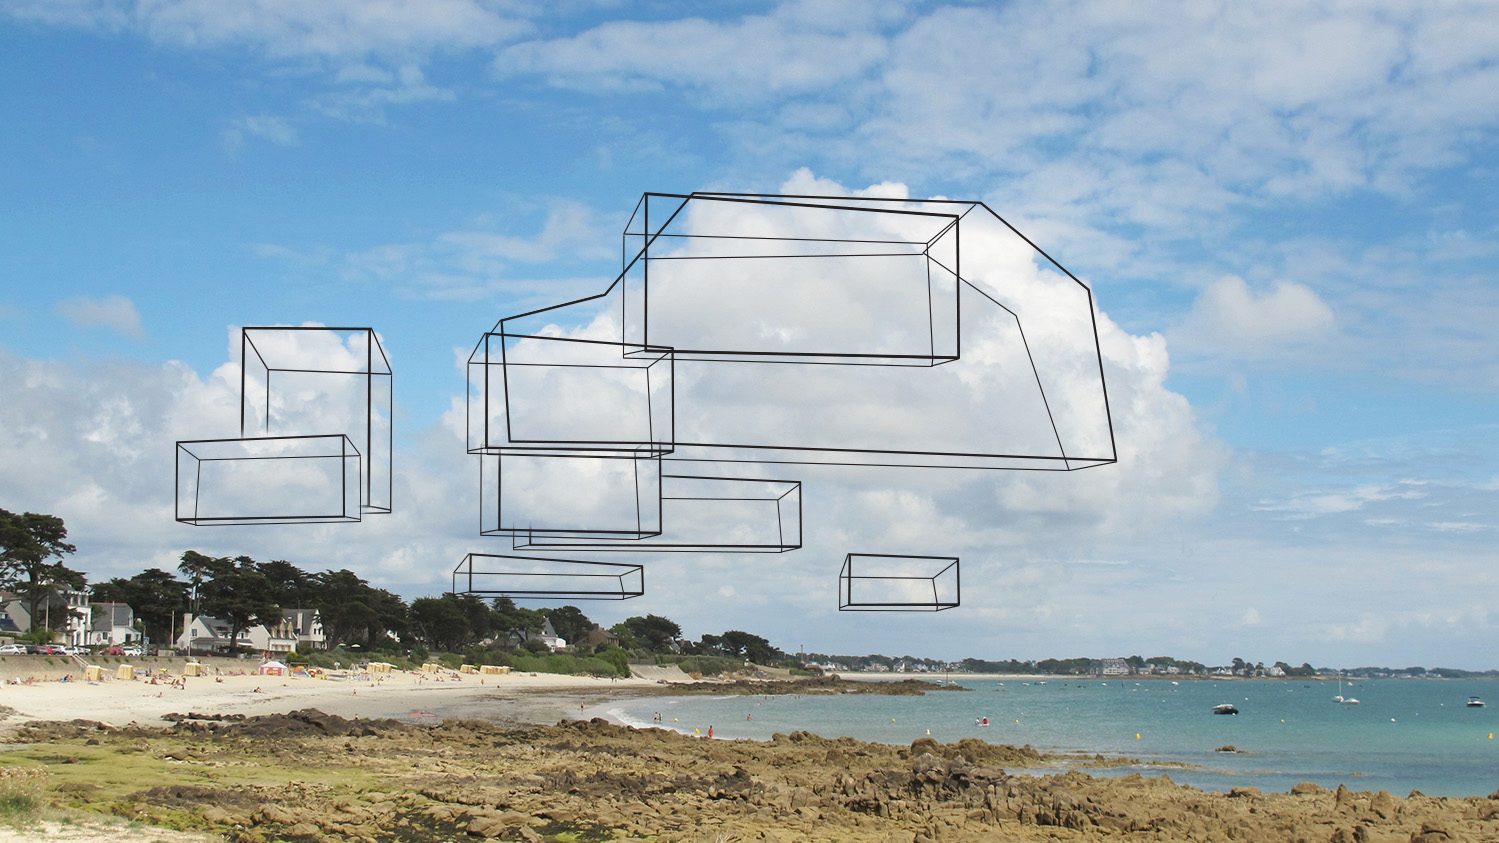
Keep an eye out directly overhead! A portion  of a cloud in deep shadow might be peeking in. And look for small cloudlets (like the tiny dark ones in front of the huge white cloud) that can float out in front of it to indicate depth.
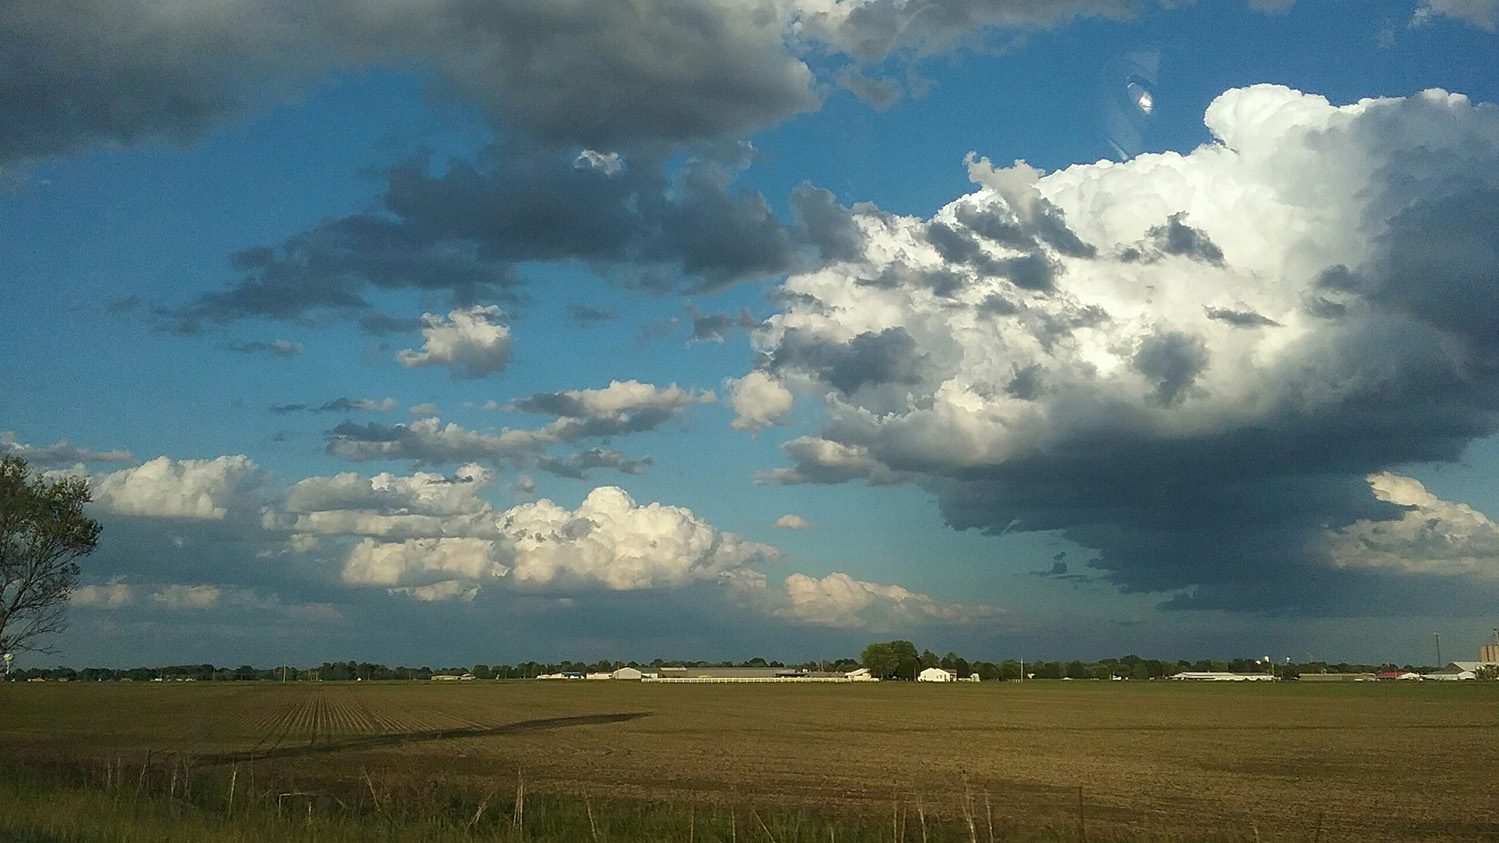
In this instance, a big cloud overhead might be the cause for some other clouds to be shrouded in grey – if you take your own reference photos, I always try to shoot more of the sky at least to help me know what else I was seeing. Straight up shots can tell you what’s causing shadows.
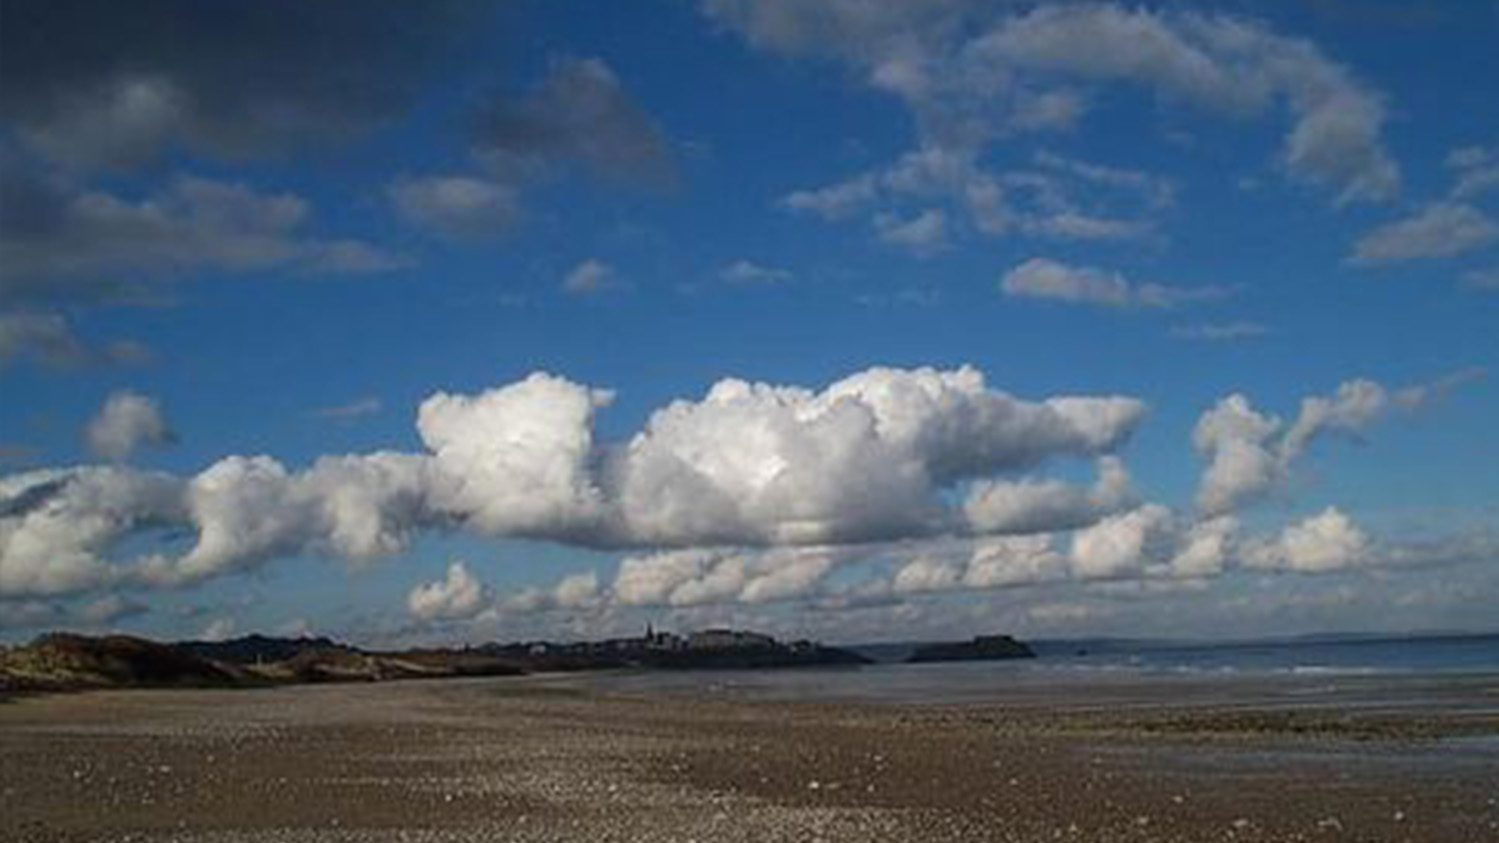
And last but not least – while the shape/edge of a bank of clouds might make you think that also indicates where a vanishing point is – clouds are moved around by wind and don’t conform to the rules of perspective on land.
In part 2….

I’ll show you a wash & ink sketch of some clouds, so you’ll see some ideas for getting a watercolor painting done – as well as how to draw clouds in pen and ink. (And I’ll make some cards out of the sketch too!)

When is a crafter called an artist?

When is a crafter called an artist?

When is a crafter an artist? What’s the tipping point? Is there a moment?

I create all kinds of things, from the small and mailable to large and frameable –  and while each of us has our favorite methods, mediums, and objects created – I appreciate it all as art. But the rest of the internet doesn’t agree. I looked online and was horrified by some of the answers I saw.

So today – you’re going to get the straight skinny from my heart. It starts, for me, in the very definition of what makes something art.

Tutorial: When is a crafter called an artist?

I hope folks are wearing toe-protectors in their boots….I may step on a few toes! 🙂

Watch the video below and scroll to the end to leave comments or questions — or click HERE to watch it on YouTube and leave comments over there. I read both dutifully!

3 requirements to call yourself an artist

First, one must make things. Pretty straightforward. You need to be a maker of things…not one who just thinks about it and never does anything. That’d be a dreamer! An artist puts colors, lines, words, pictures, film clips, thread and fabric, clay, recipe ingredients – they put their materials into a form that they did not have before.

Second, one must also want to make things. A kid in a mandatory art class in school who reluctantly glued macaroni onto cardboard as he was instructed, is most likely not an artist. The desire to create, having some level of passion – even if it’s not all-consuming – is necessary. This looks different for each person; some have something they want to say with their content, others have a meaning assigned to their work, others want to generate an emotion in the person who sees, reads, or otherwise experiences their creation.

Third, one must be brave. Brave enough to take what’s inside of you, at whatever skill level it exists, and put it out into the world. It takes courage, once we’re adults, to gather up something we’ve kept inside and give it form – because that form can often be seen by others. We’re exposing ourselves as someone who has something to offer, something to share…and it’s normal to worry about how that’ll be received. It requires bravery.

Being an artist is being a maker, a willing maker, a willing maker who is brave enough to create.

3 things you do not need to be an artist

One: proficiency. Just because you currently aren’t at an experience level that you want to be at, or skills you admire in someone else, doesnt mean you’re not an artist. You’re on the long spectrum, and maybe you haven’t taken any drawing classes yet. That doesn’t mean you’re not an artist – you’re simply at a different level. And I suggest adding YET when referencing skills you momentarily lack. YET leaves room to grow and plants hope in your heart.

Two: income from your art. You don’t have to make a penny from your art. Heck, you don’t even need anyone to SEE it. Many famous artists spent most of their lives selling few or none of their works – some of the pieces created in their “anonymous” years are worth a bundle now – and yet they didn’t get a penny from it. Does that mean it was bad art when it was created? Heck no! You can be someone who works in a paying career by day and is an artist at night – all in the best tradition of artists for centuries!

Three: a studio. I know plenty of people who create on a corner of their dining room table. Or a card table in the shed. A studio is a great convenience, but not a necessity! Whatever space you work in though, I recommend CALLING it a studio. It’ll help you with learning to call yourself an artist too!

Craft has given up in the debate

I believe craft has rolled over and just stopped even wanting to be art.

While history relegated craft to stepsister level, today manufacturers, retailers, and influencers in craft are much to blame for keeping craft in that status. 

Stores sell supplies artist use on the same shelf as kids beading kits and sticker sets; while we might have found a decent set of colored pencils, it FEELS cheap because it’s next to the macaroni art supplies. And that cheap feeling follows those supplies home with us….we start to think of our art created with them as cheap and childlike, too, and reinforce our already-dismissive perspective on crafts as art.

Influencers say things like “I can’t draw a stick figure, so I just stamp,” which makes stamping sound like it’s a second class citizen. Or “I’m no artist like (insert name of the artist) , so I’m just going to do this little thing.” Turning their own creation into that little stepchild!

STOP REPEATING THEIR WORDS TO YOURSELF.

What you say inside your own head tell your heart what’s true. Then when you want to make art, your heart says, “oh, I’ve heard our brain saying repeatedly that we can’t make art, can’t draw, can’t ____, so let’s shut this thing down before we start!”

And then you wonder why you get panicky when you sit down to create!

Stop attaching dismissive, insulting words to what you are creating! Stop saying you’re not an artist.

Your heart will believe what your words repeat, so don’t even whisper it under your breath. Each step you take is something to learn from while making your way along the spectrum of art.

I may be alone out here with my perspective on what art truly is. But I believe craft needs to stand up for itself. Pour its heart into what it makes, and convince the world that craftt is art.

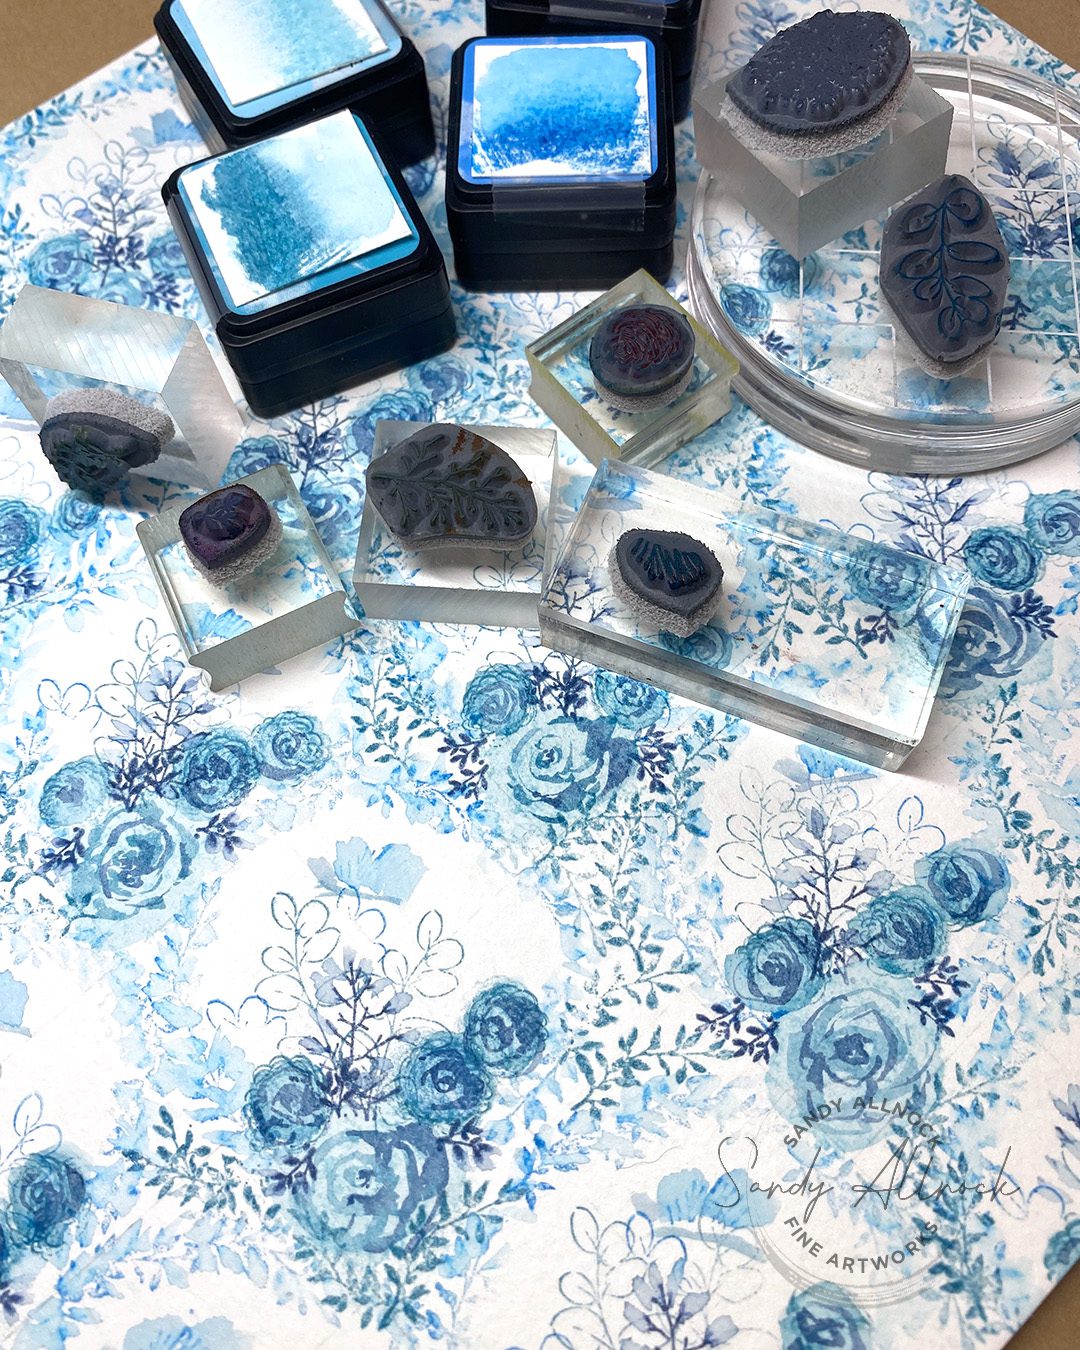
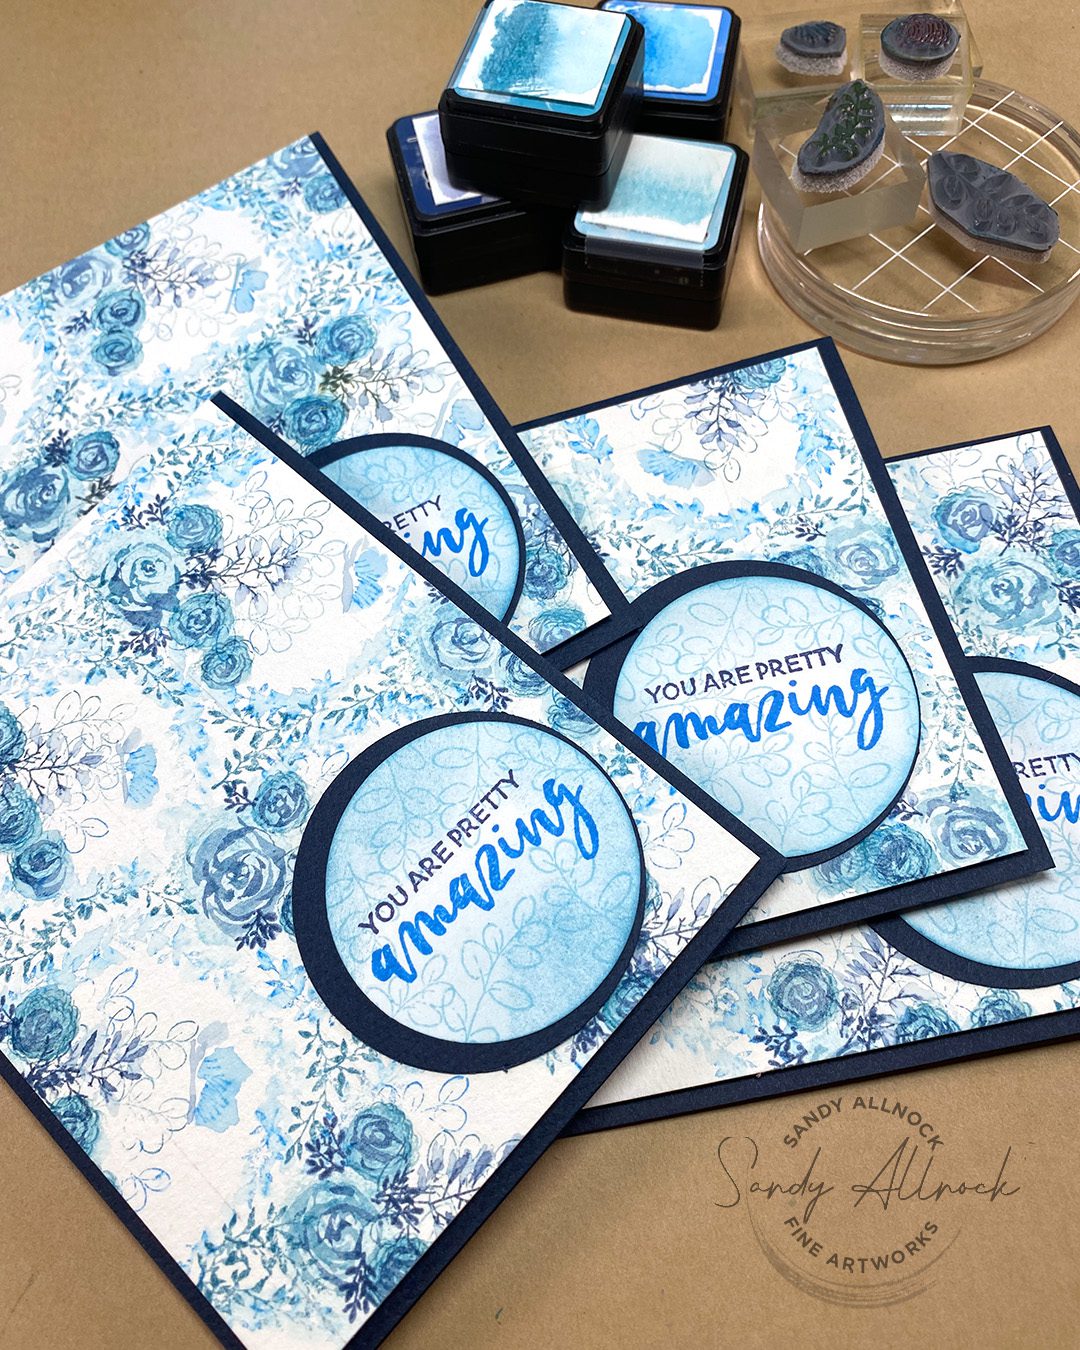
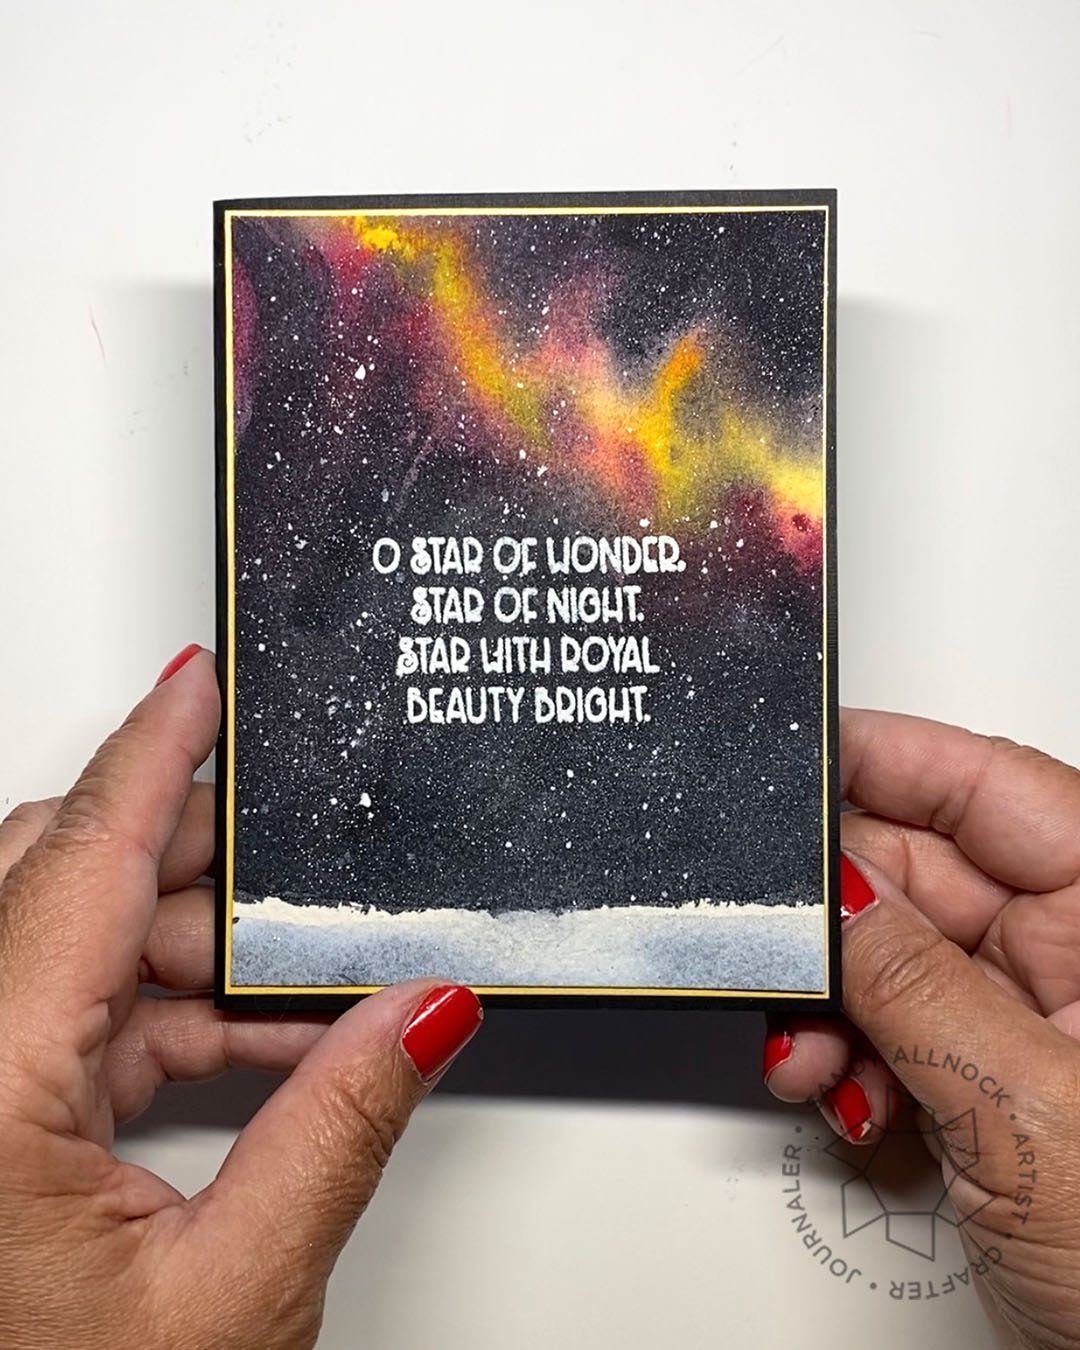
Above: I had a senior moment and mixed up my distress inks at the end of this project. I’m not terribly sure which inks ended up getting used! ha…..

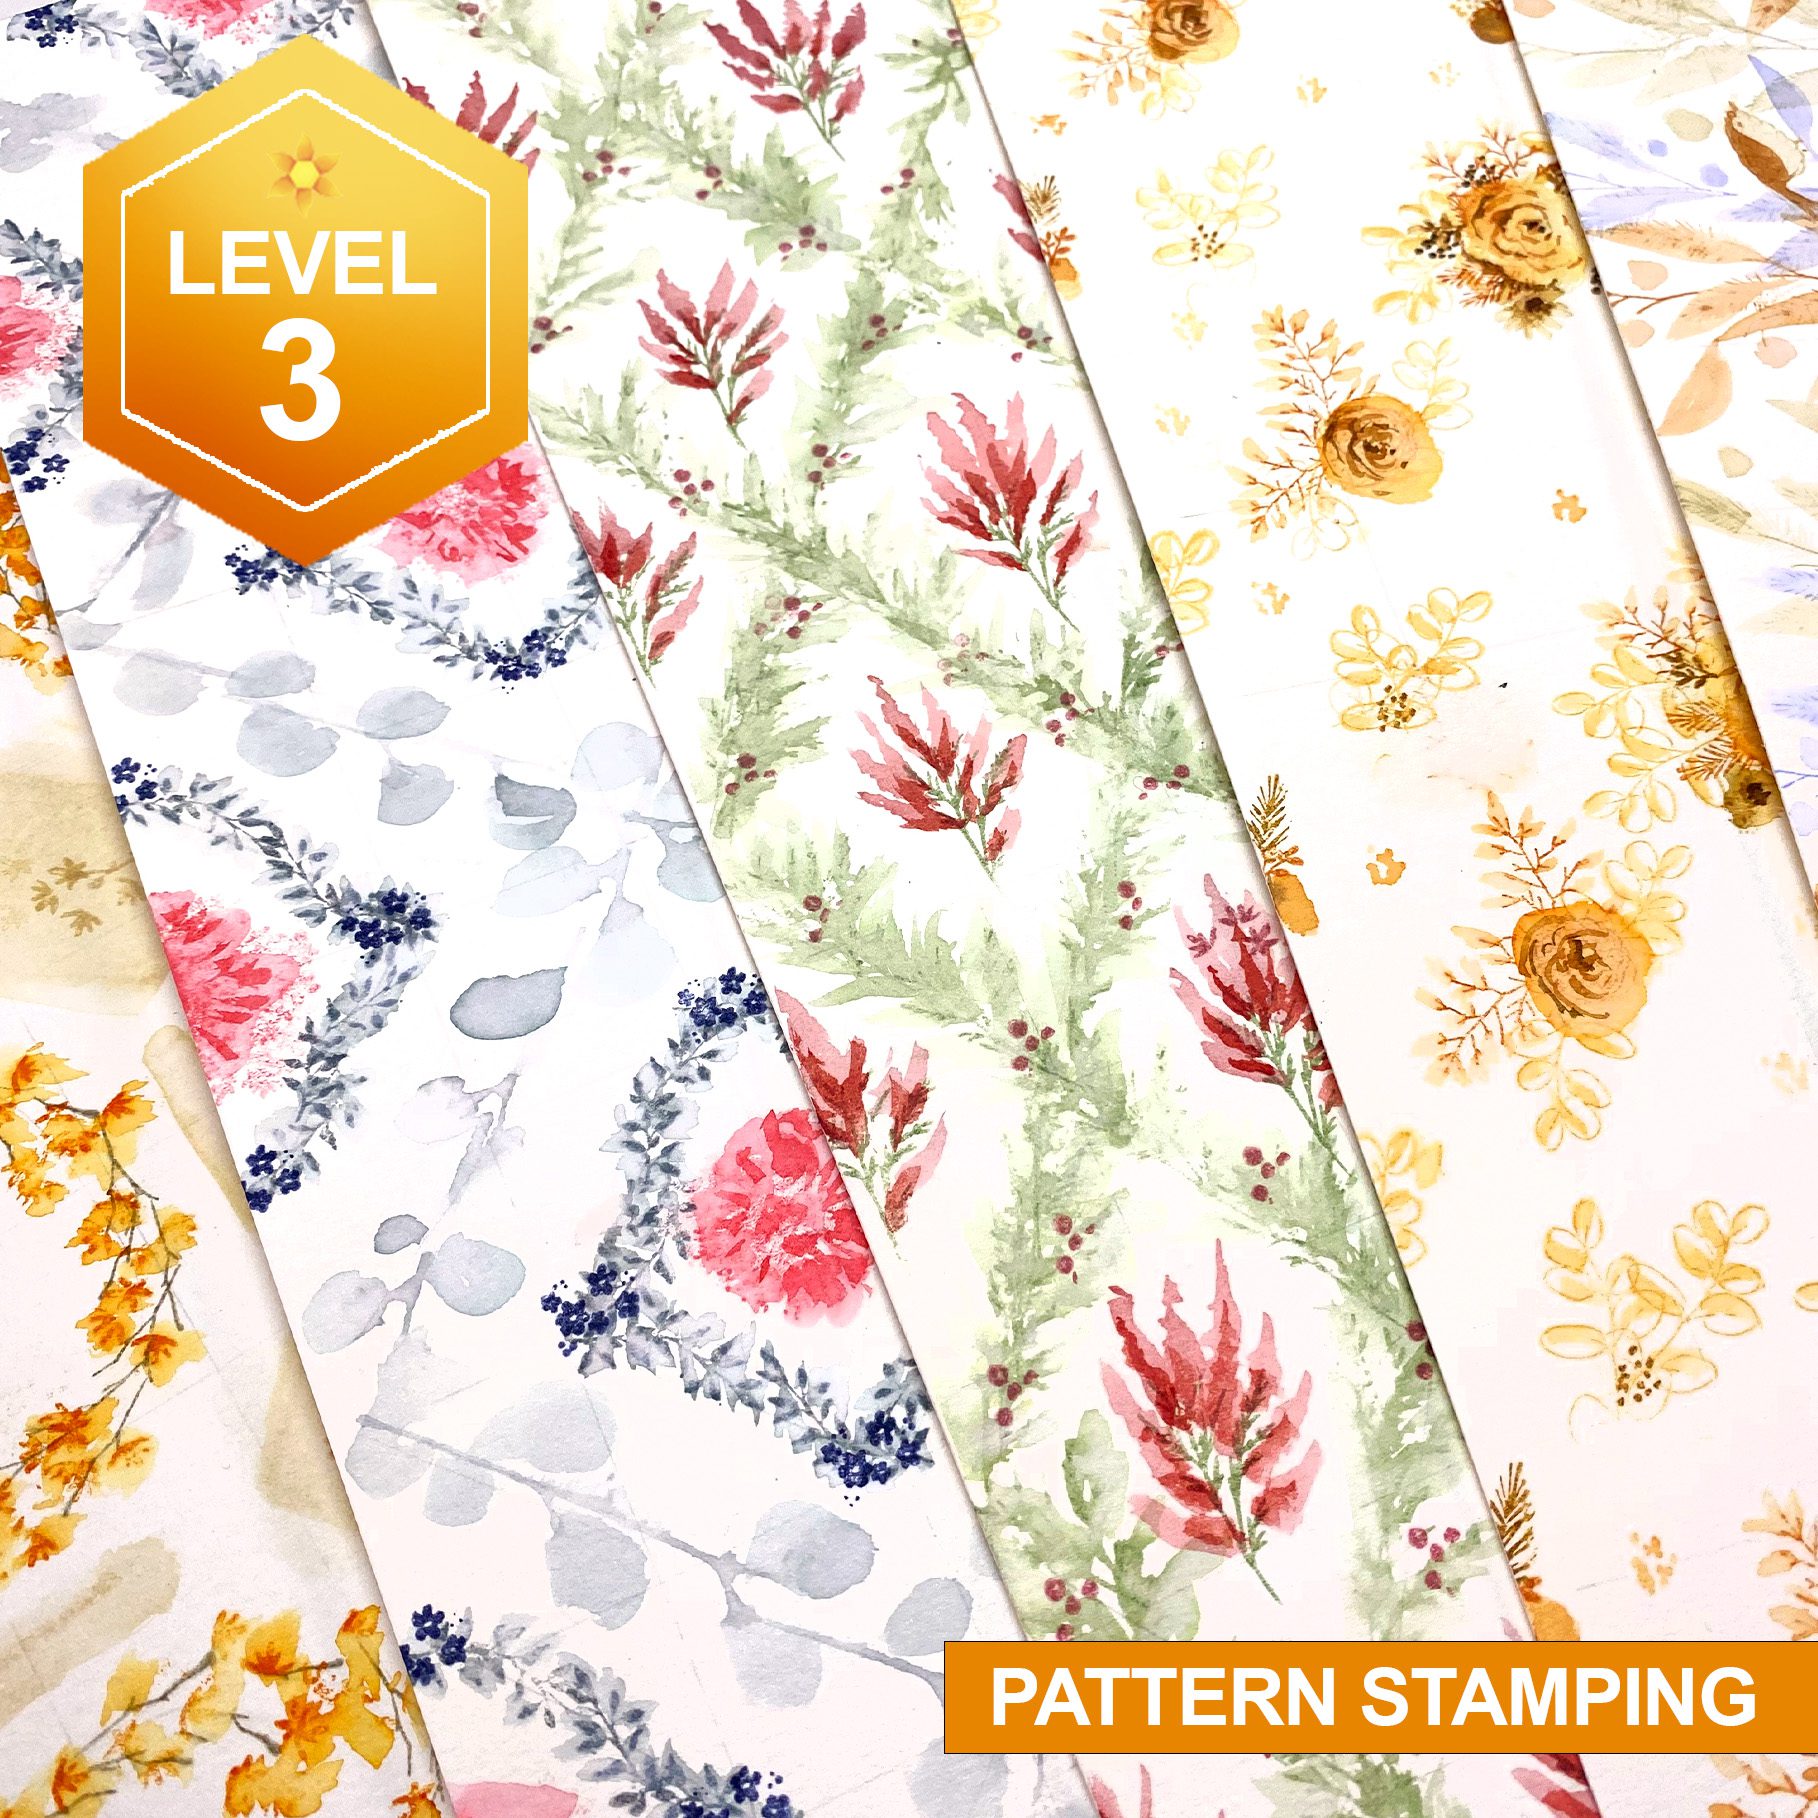
Pattern Stamping Class

Now that my rant is off my chest (I feel better!) let’s talk about Pattern Stamping!

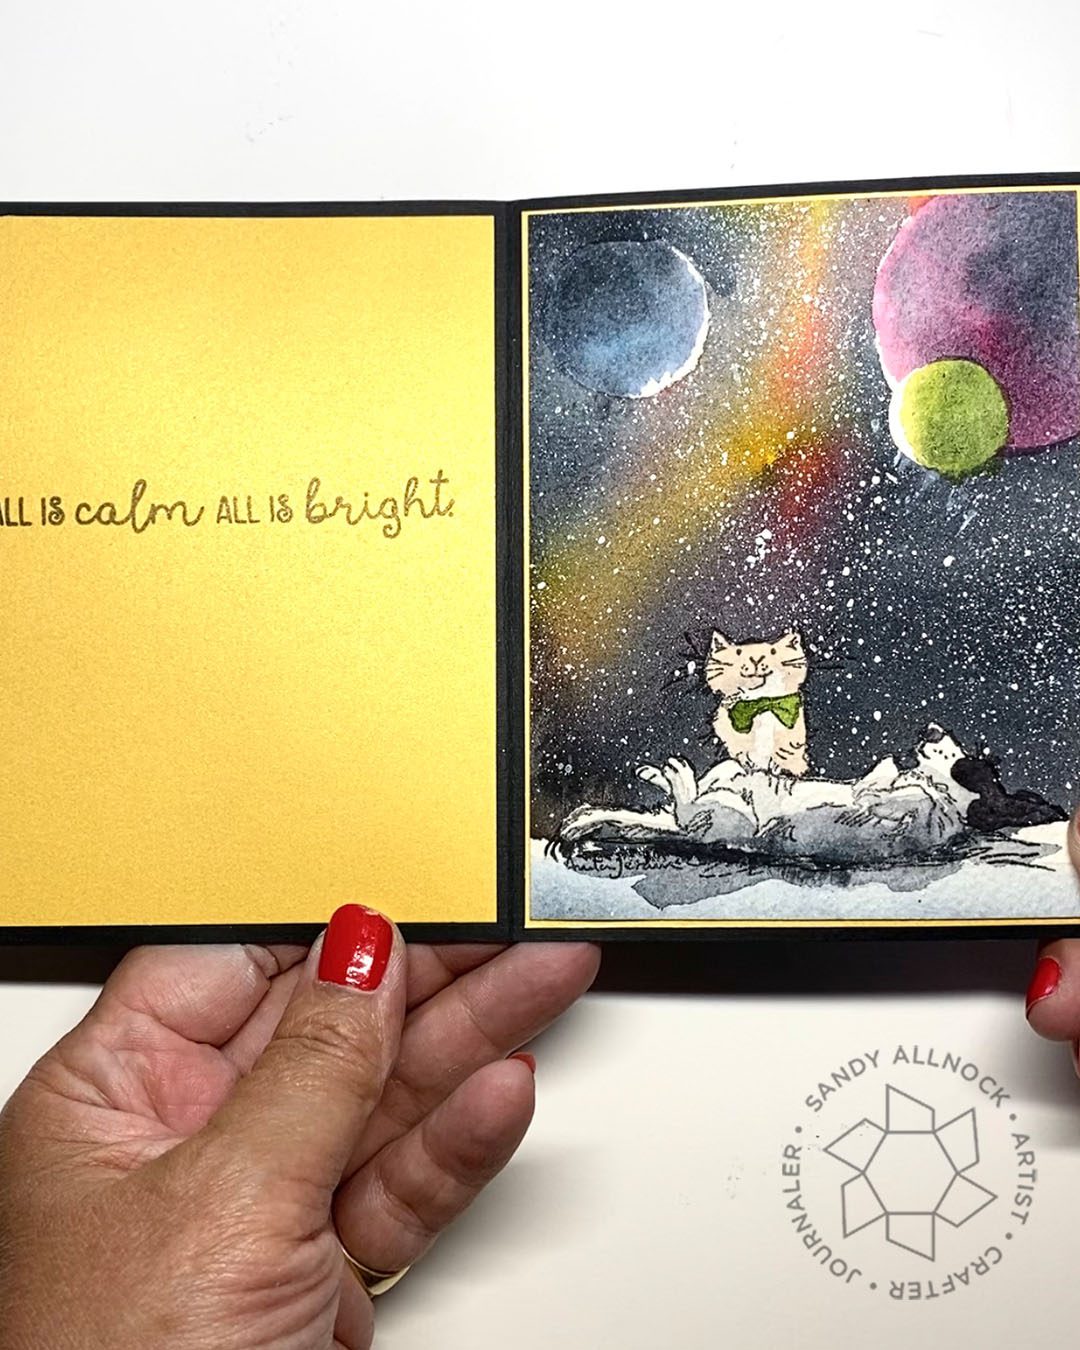
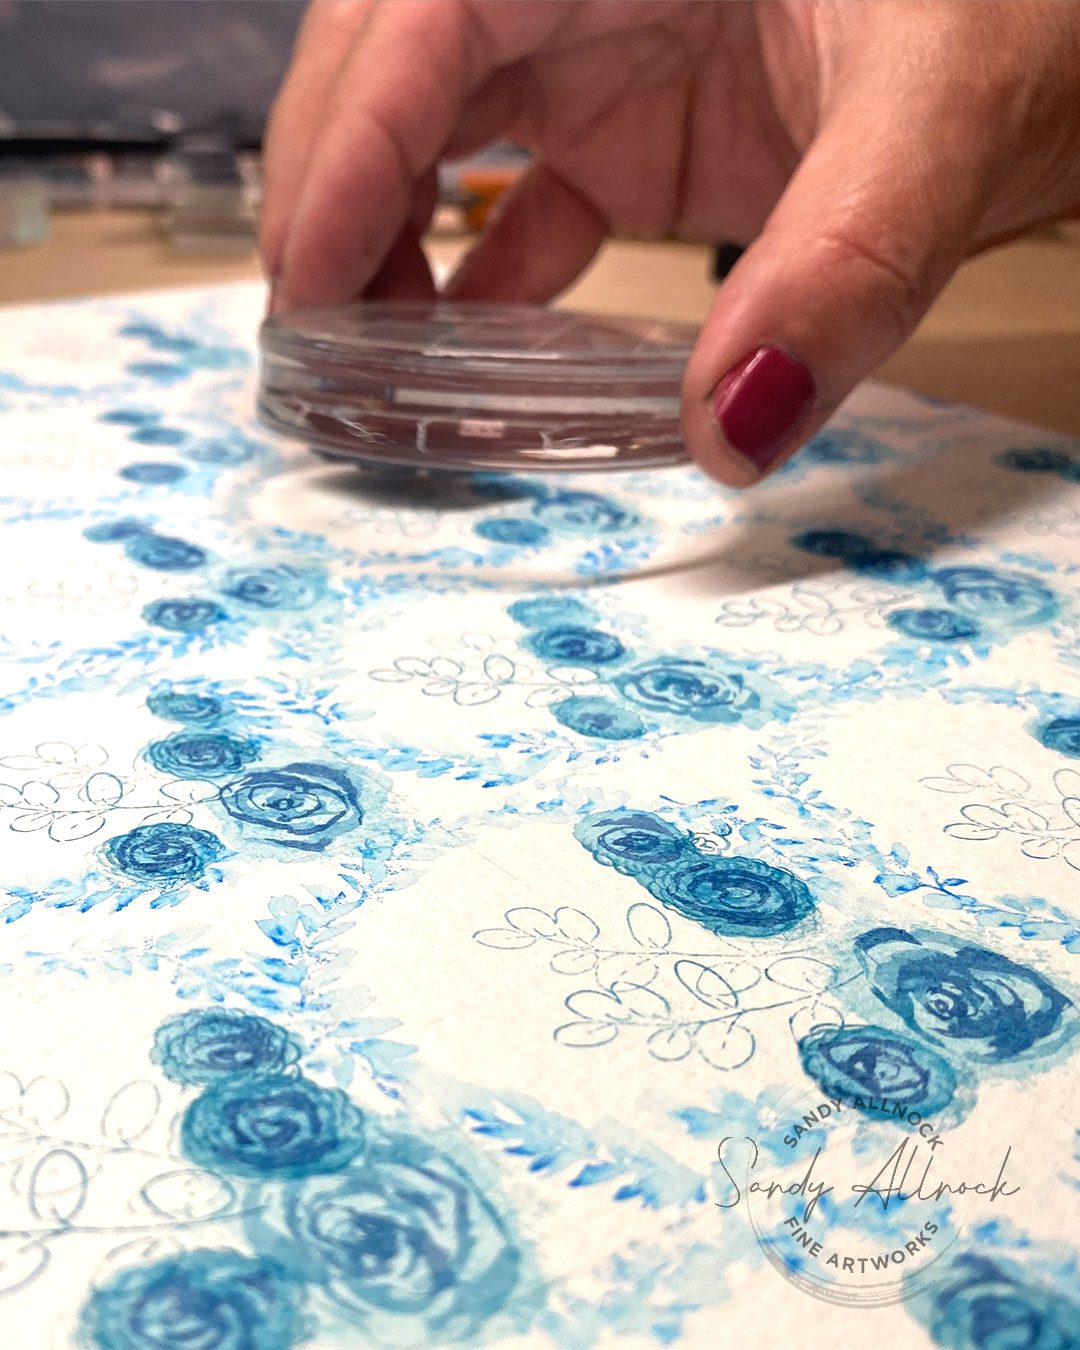
In this class you’ll learn five different full-page patterns that you can create with Art Impressions stamps and Distress Inks! Lots of techniques for creating beautiful flowers are included, turning stamps you’d never think of using into carnations, roses, and birds. The templates will be ones you can continue to create with and adapt with lots of different options….it’s endless! (I’m a little addicted right now, so I don’t promise you won’t be as well!) While learning the patterns, you can also take elments from them to create much simpler craft projects, too; those ideas will stand you in good stead for a very long time. Check out the Pattern Stamping class HERE.

My challenge to you

Find a friend who loves you and won’t give you the crazy-eye if you start referring to yourself as an artist. Literally, find a way to work that into your next conversation, so that you hear yourself say it out loud.

Don’t say it to someone who’s a doubter or who will be shocked. That’ll do you no good in re-training your mind. Find that friend who you can trust to cheer you on.

When you tell them what you created last weekend, say that you did it in your studio. They might ask if you got a new setup, but just tell them you’ve now made a sign to post in your workspace that says “The Studio” on it.

Ask that friend to help you change how you speak about your own work, so you can have someone to hold you accountable to speak WELL of yourself and your art.

And let me know how that goes. 🙂 

Supplies

Some product may be provided by manufacturers for review and use. Compensated affiliate links are here at no cost to you. I appreciate your support of my work with your purchases! Full affiliate and product disclosure | My trusted partners in art

  1. Canson XL Pad 
  2. Distress Inks – I think it was Tumbled Glass, Broken China, Salty Ocean, and perhaps Faded Jeans?
  3. Silver Brush Black Velvet Round #4 BLICK – AMZ
  4. Art Impressions Stamp Sets:
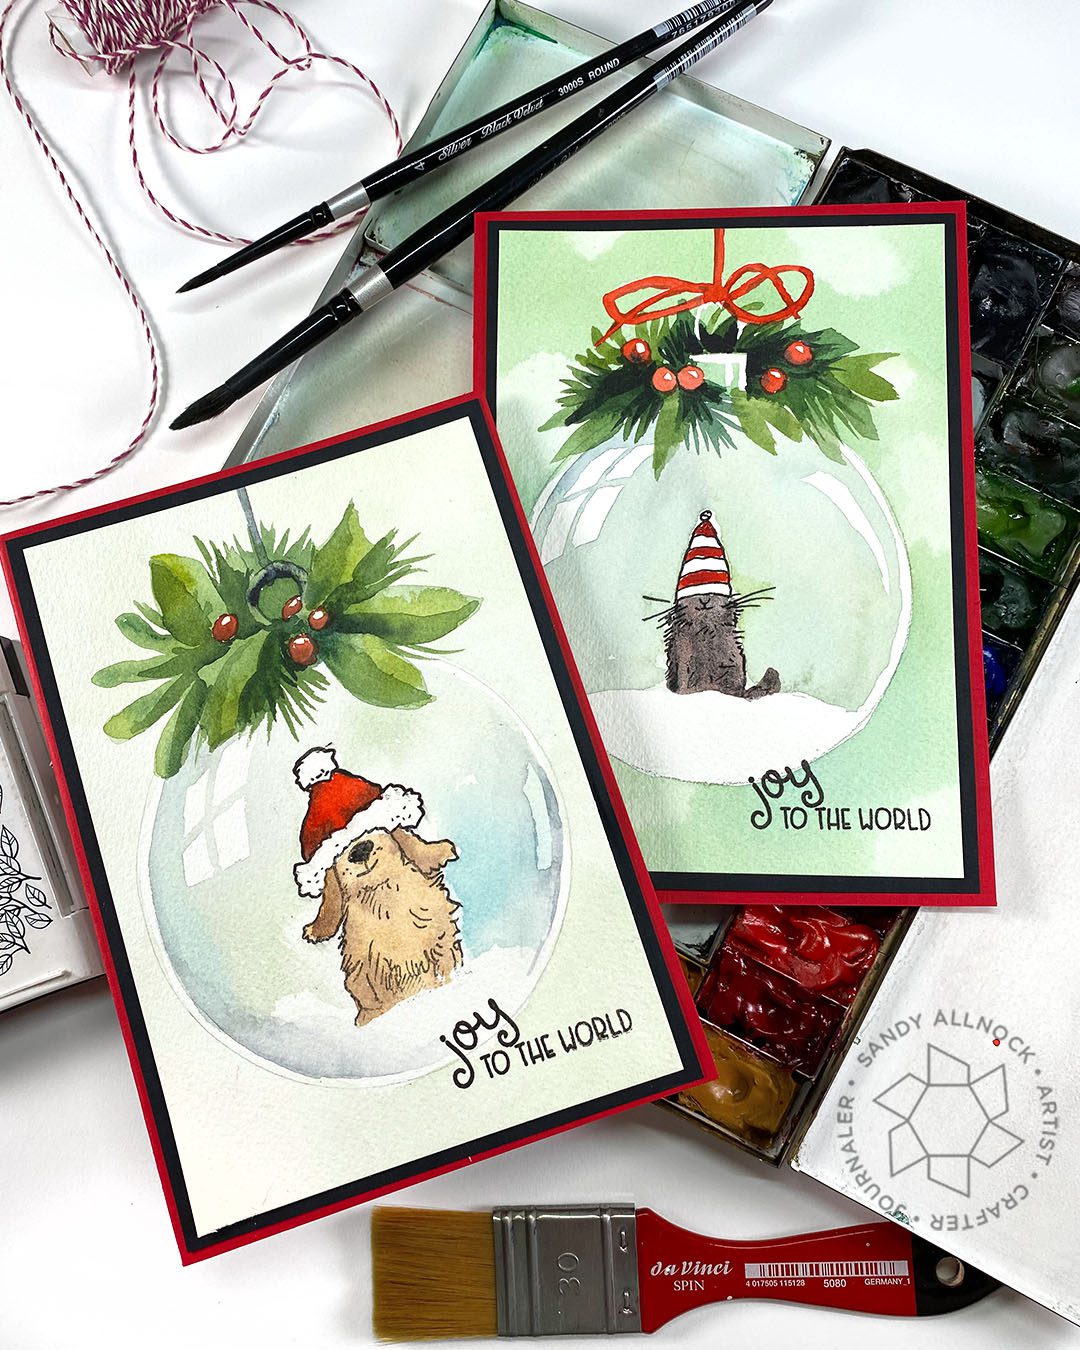
    1. Christmas Wreath 
    2. Bible Foliage 
    3. Bible Flowers 
  5. Ellen Hutson, Totally Random Sayings Vol. 3 
  6. Mini MISTI Stamping Tool, My Sweet Petunia
  7. Scotch foam tape 

Subscribe to receive blog posts by email:

Artist Tip: Develop Your Visual Vocabulary (all mediums!)

Artist Tip: Develop Your Visual Vocabulary (all mediums!)

You may not have heard of the term “Visual Vocabulary” – but I’ll bet you’ve been using it! To many people, “Visual Vocabulary” refers to the foundations of art— line, shape, space, texture, color, etc.

But I find it more helpful to think of it as the artist’s toolbox, which has everything in it that you use in creating your art. That broadens it to techniques and a good understanding of the subject matter as well.

If you think of a toolbox full of screwdrivers, clamps, nails, and carpenter’s glue – a beginning worker might only have a few things available to them, but an expert may have an entire rolling cart full of tools. As artists, we grow our own toolkit over time, and tuck in all the little things we learn. Occasionally we even rediscover a tip in the bottom of the box that we’d forgotten about, too!


Supplies are linked at the end of this post.

Video: Develop Your Visual Vocabulary

Since I had posted a TinyTutorial about Visual Vocabulary yesterday, a few responses had come in while I was creating the voiceover, so included some of those in the video. I hope it’s helpful!

Watch the video below and scroll to the end to leave comments or questions — or click HERE to watch it on YouTube and leave comments over there. I read both dutifully!

3  areas to grow your Visual Vocabulary

  1. Foundations: Add more information about the basics of art to your toolbox! If you’re just starting out, take small bites, you don’t need to know everything right away
    • line quality (rough, smooth, thickness, strokes)
    • shape (component shapes, perspective, shading)
    • space (positive/negative areas, composition)
    • texture (smooth, rough, detailed, simple)
    • color (complementary, analagous, all sorts of color theory)
    • and so much more
  2. Technique: The basics of practice exercises with the medium itself will help your hand, brush, and brain remember what you’ve practiced.
    • understanding the pigment and how it moves, blends
    • mastering the tools needed
  3. Subject Matter: Begin to really study a subject and how to render it well. Once it becomes part of your toolbox, you’ll be able to pull that information back out when needed.
    • break it down to an element needed…instead of “landscapes” work on trees for a time, then skies, then fields. Study that element in a variety of circumstances, angles, times of day, etc.
    • study for extended time periods. A week, a month, whatever works for the amount of time you put into your art.

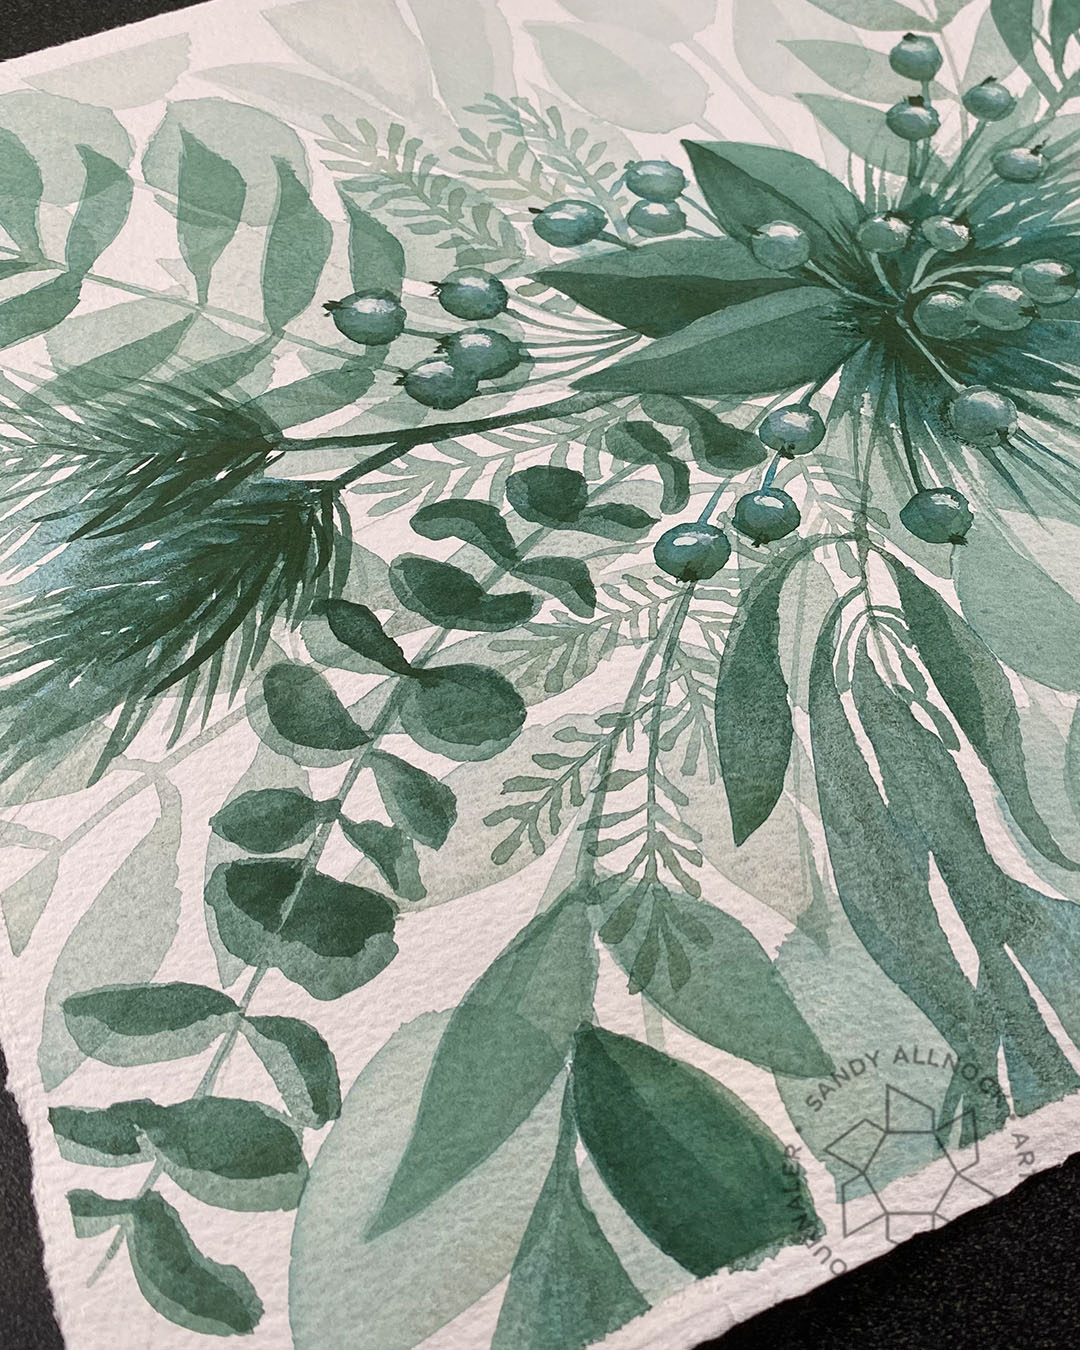
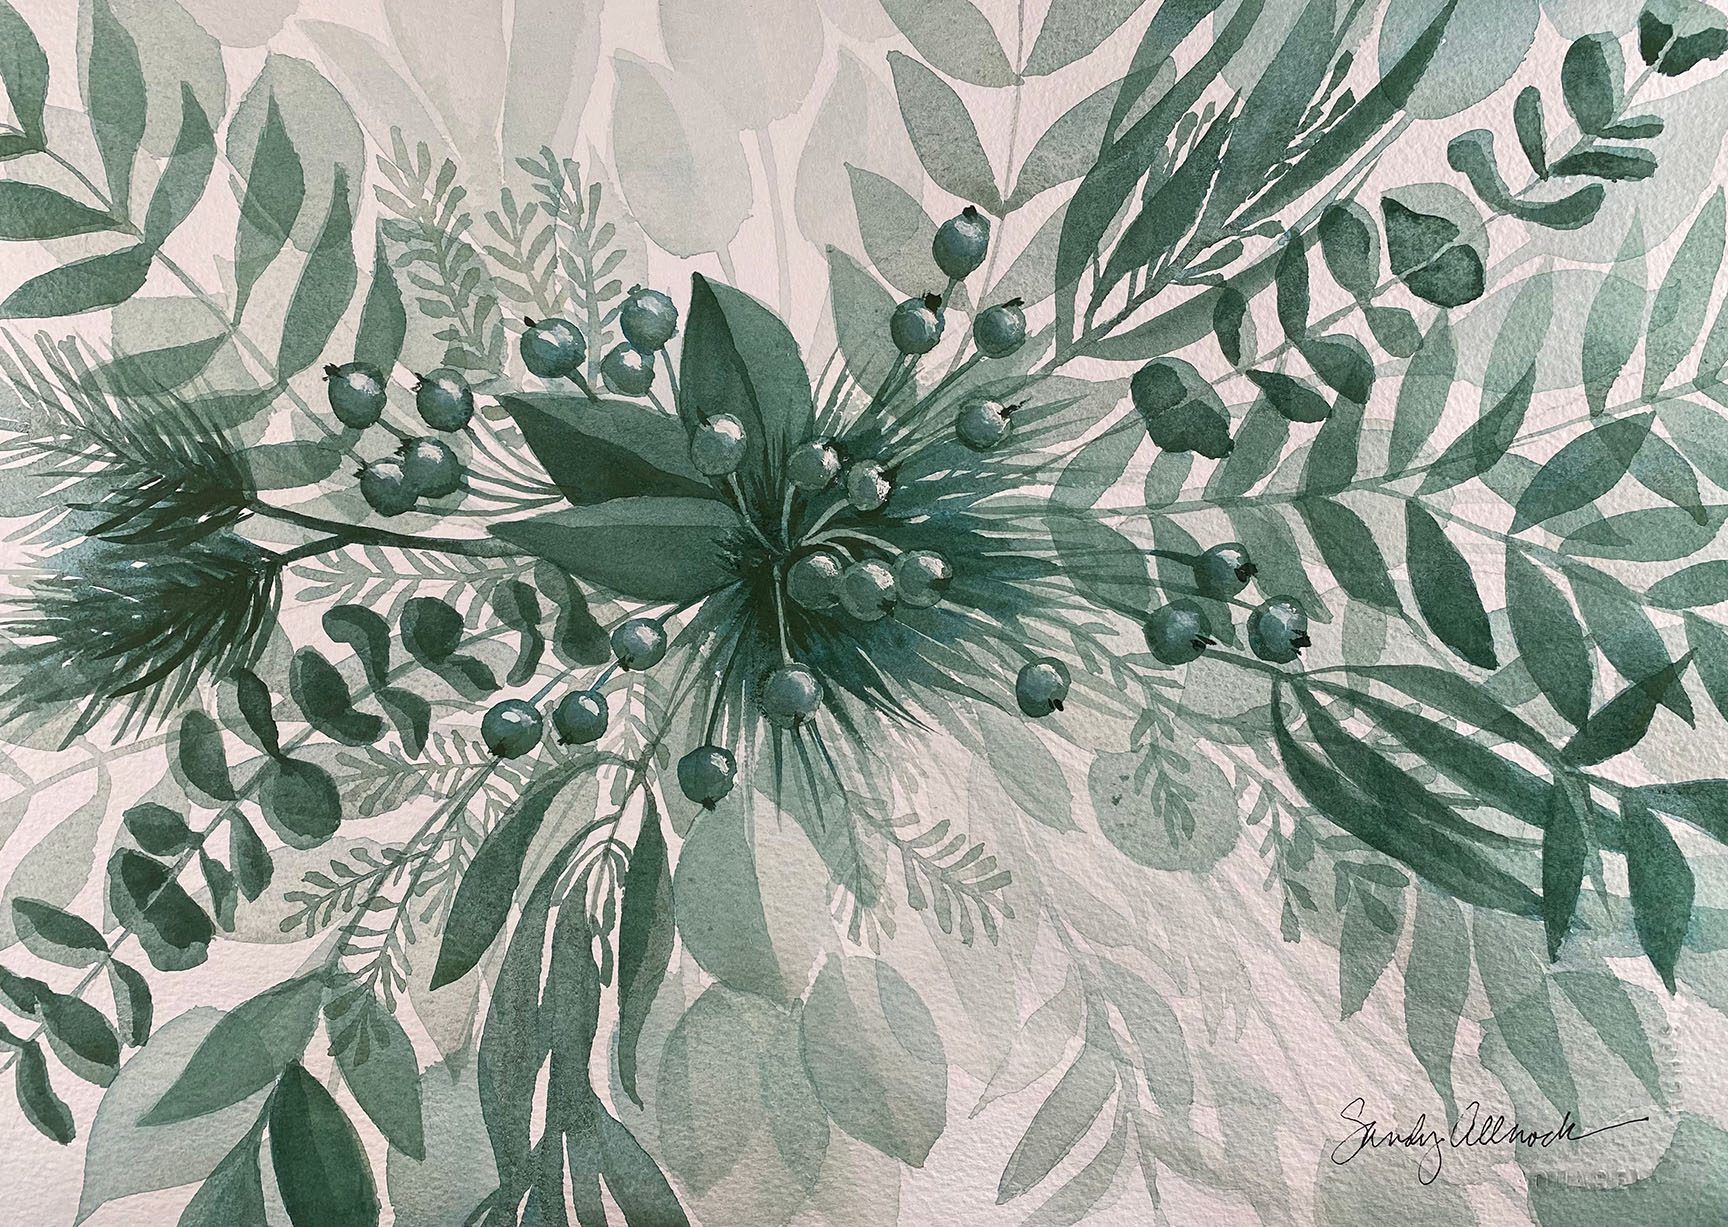
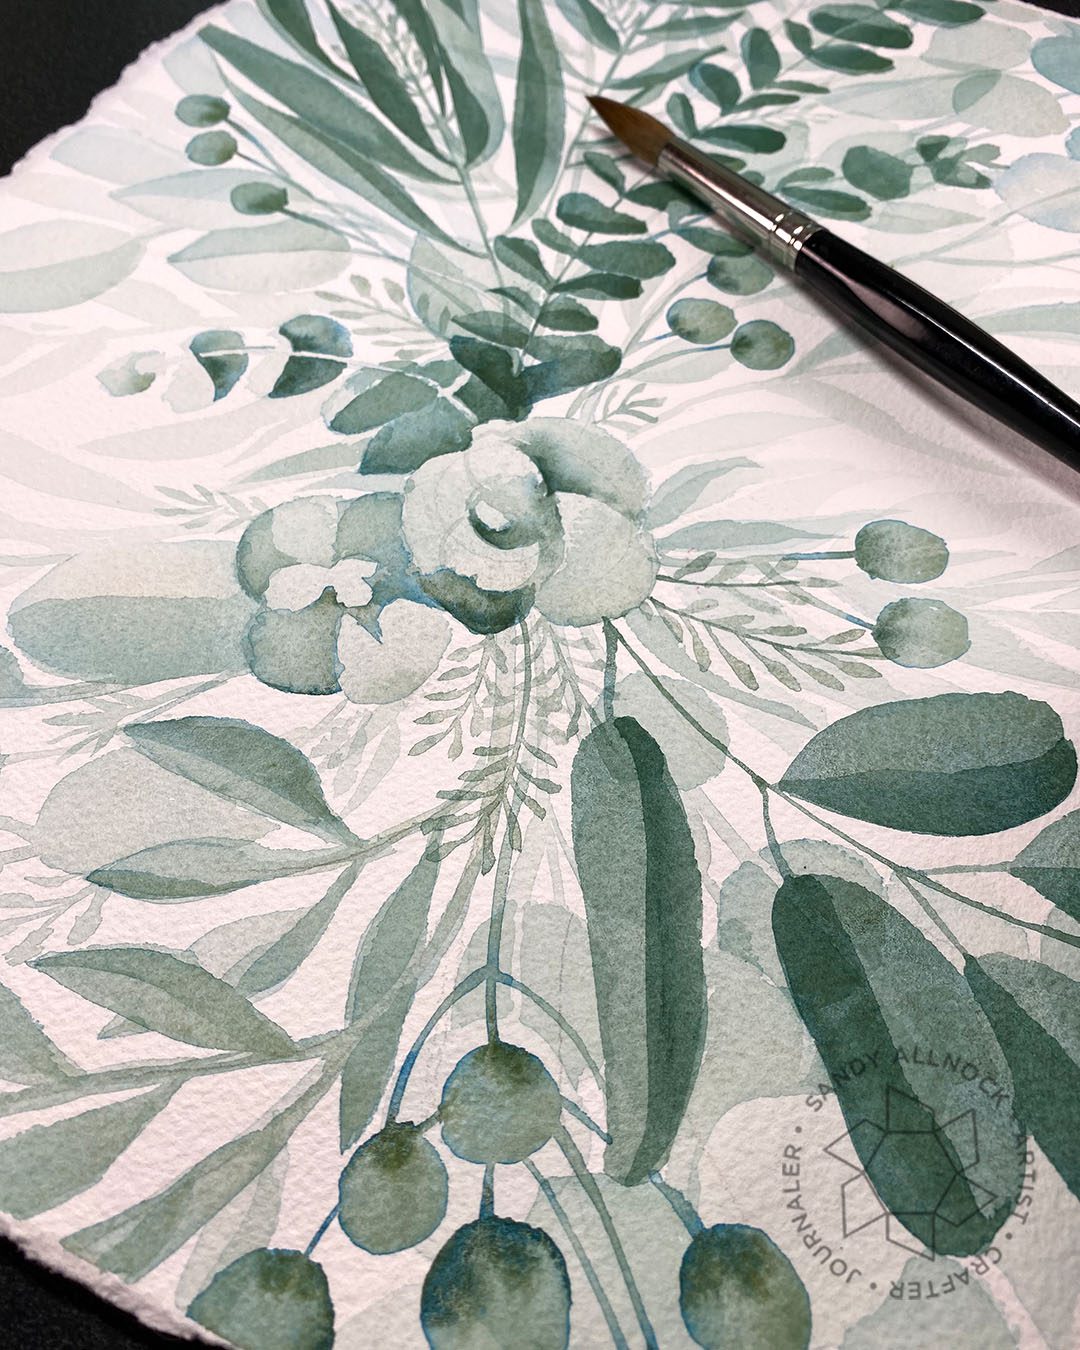
I learned so much from the process to create this painting! I didn’t realize how important to me MOTION is. The other paintings were pretty, but…what I wanted to create was a design that flowed across the page.

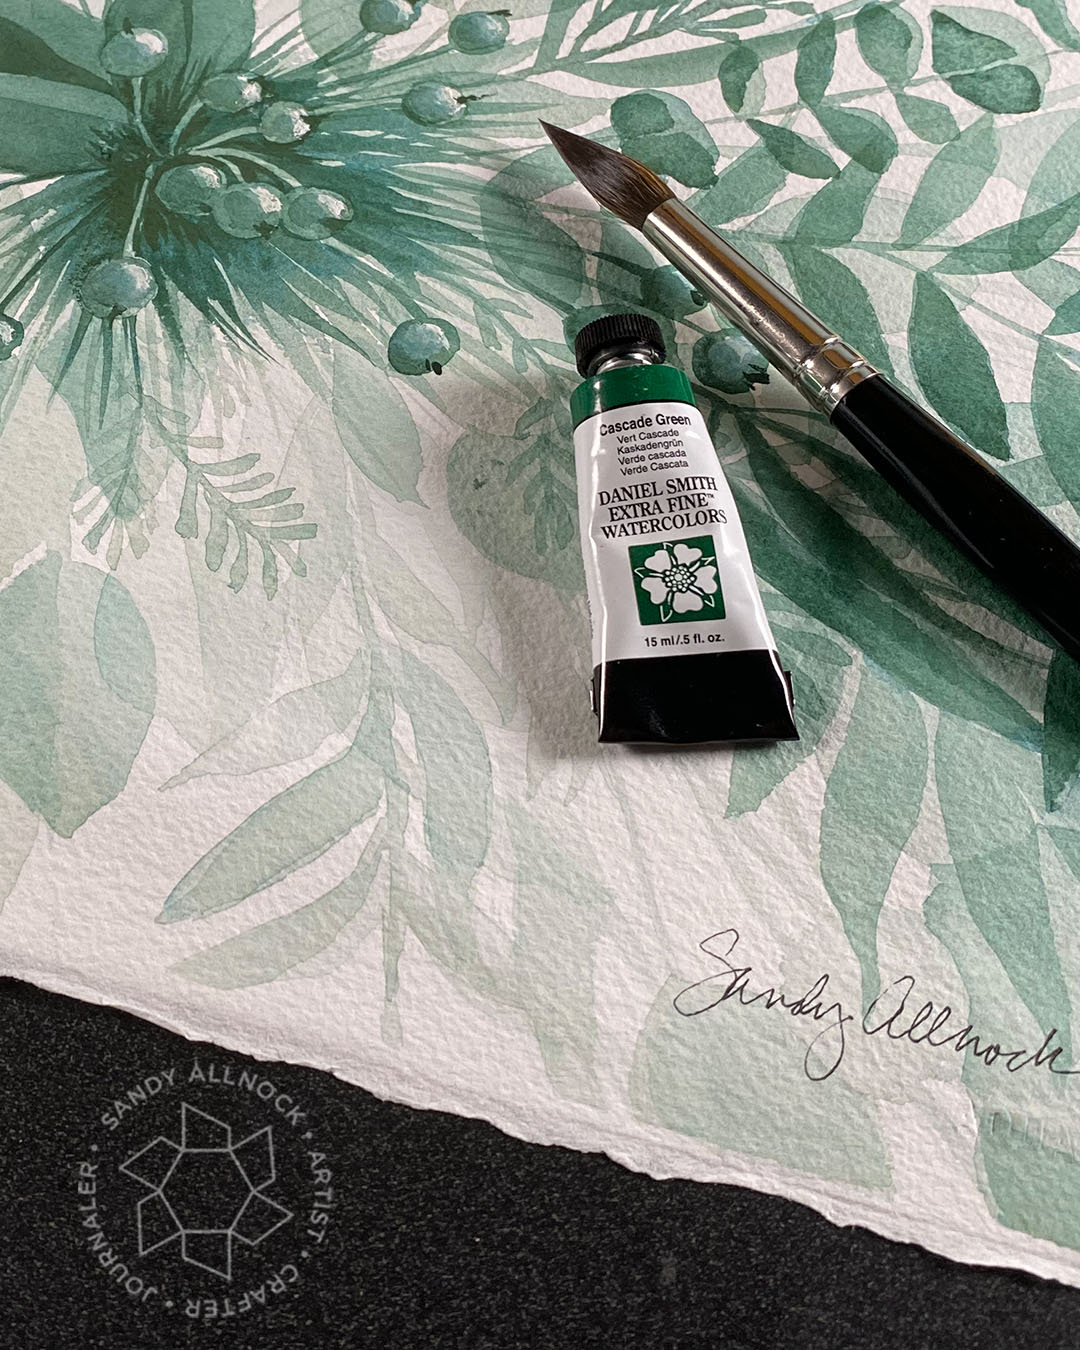
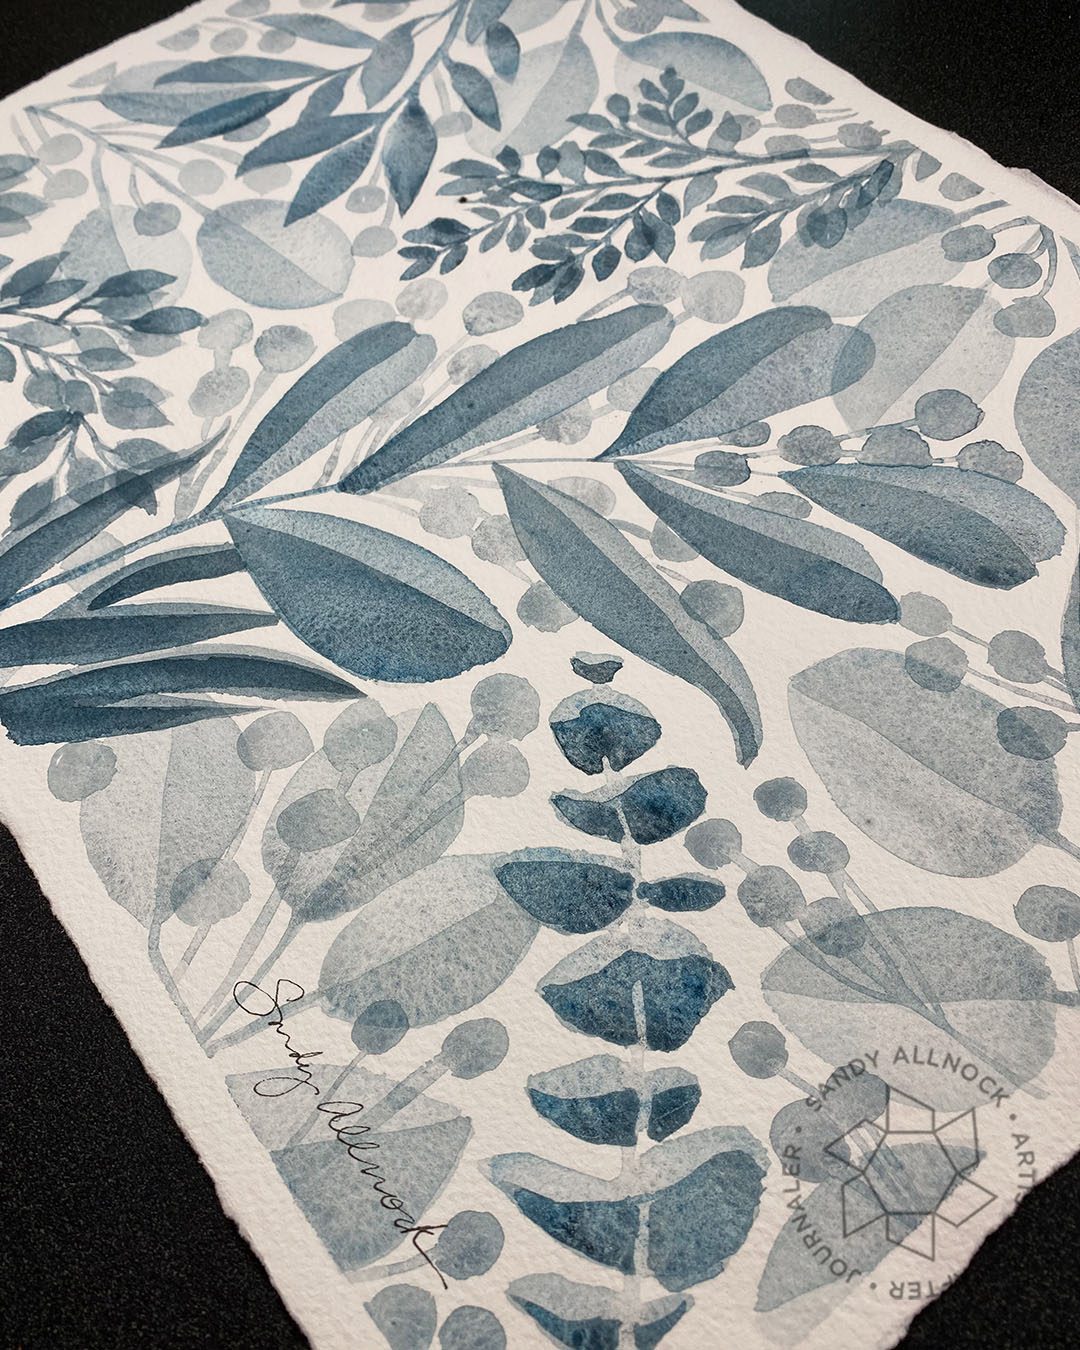
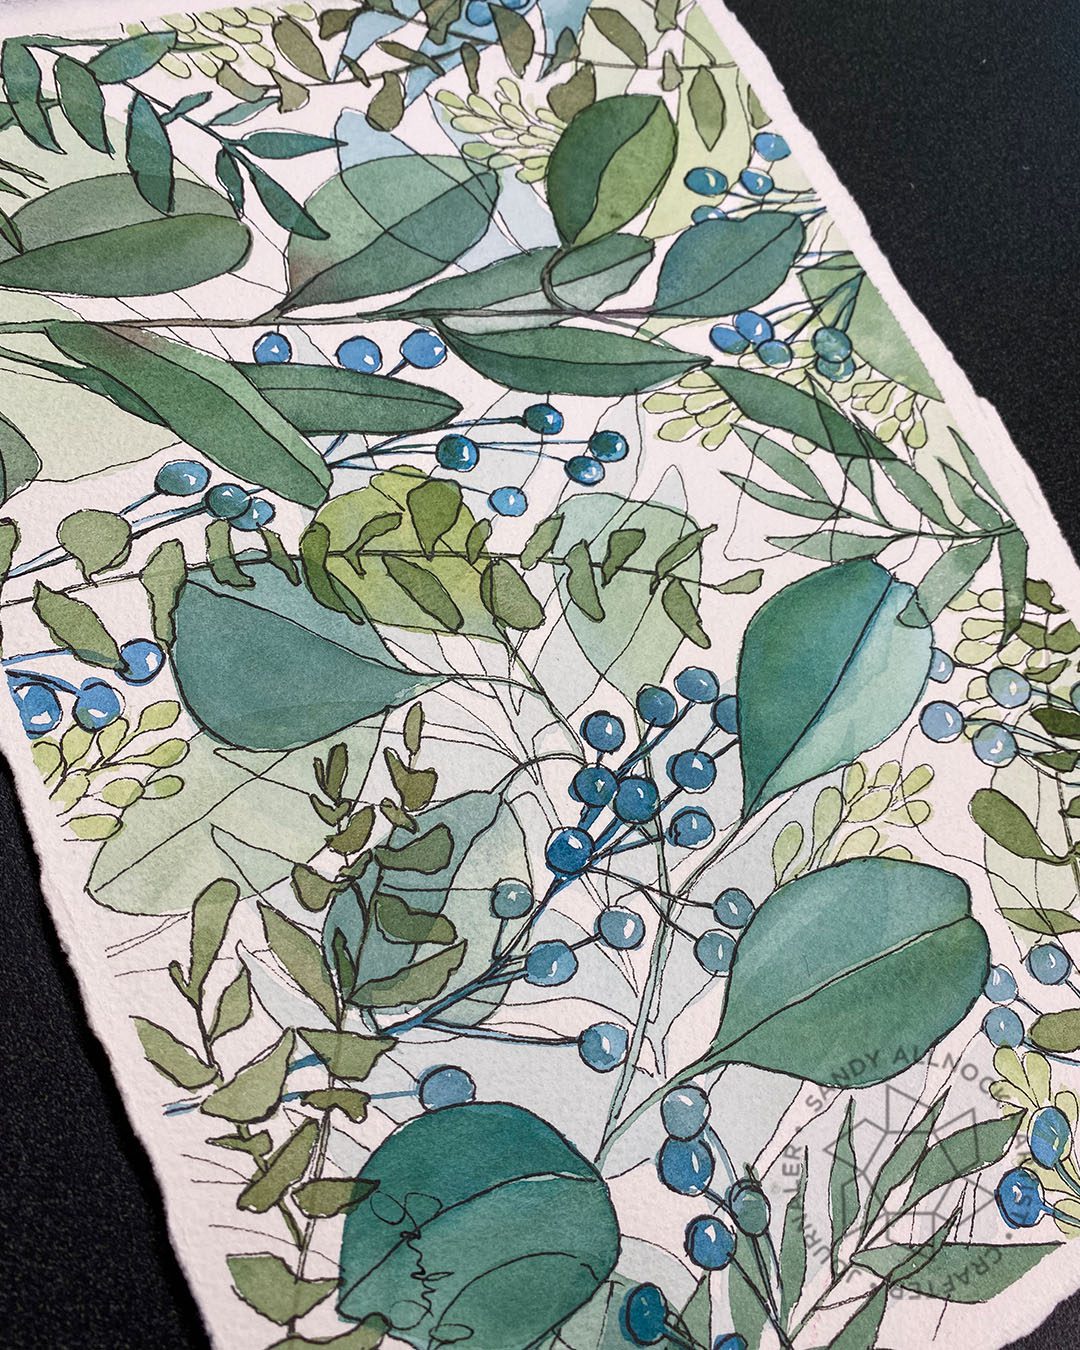
The other pieces created this week aren’t bad. They’re not what I hoped to create, that’s all. And just to make them feel better and not get dropped in the circular file, I’ve posted them as originals for sale. (The third one is a eucalyptus-only version in Cascade Green, not shown in today’s video.)

ICYMI

In case you missed it – here are links to this week’s social media posts!

Related Online Classes

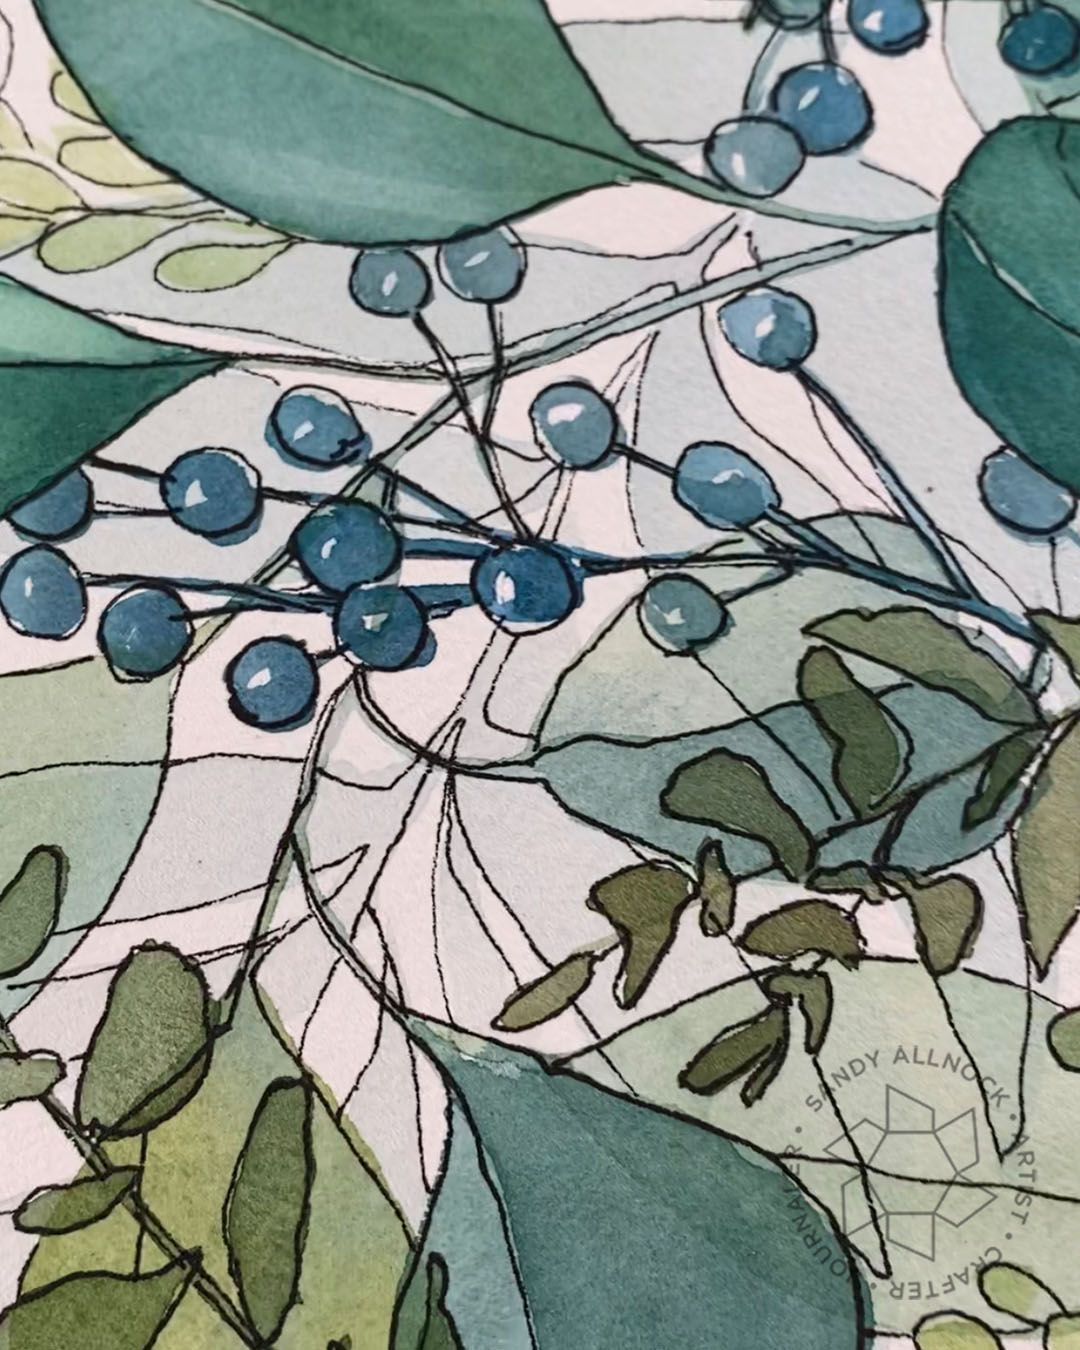
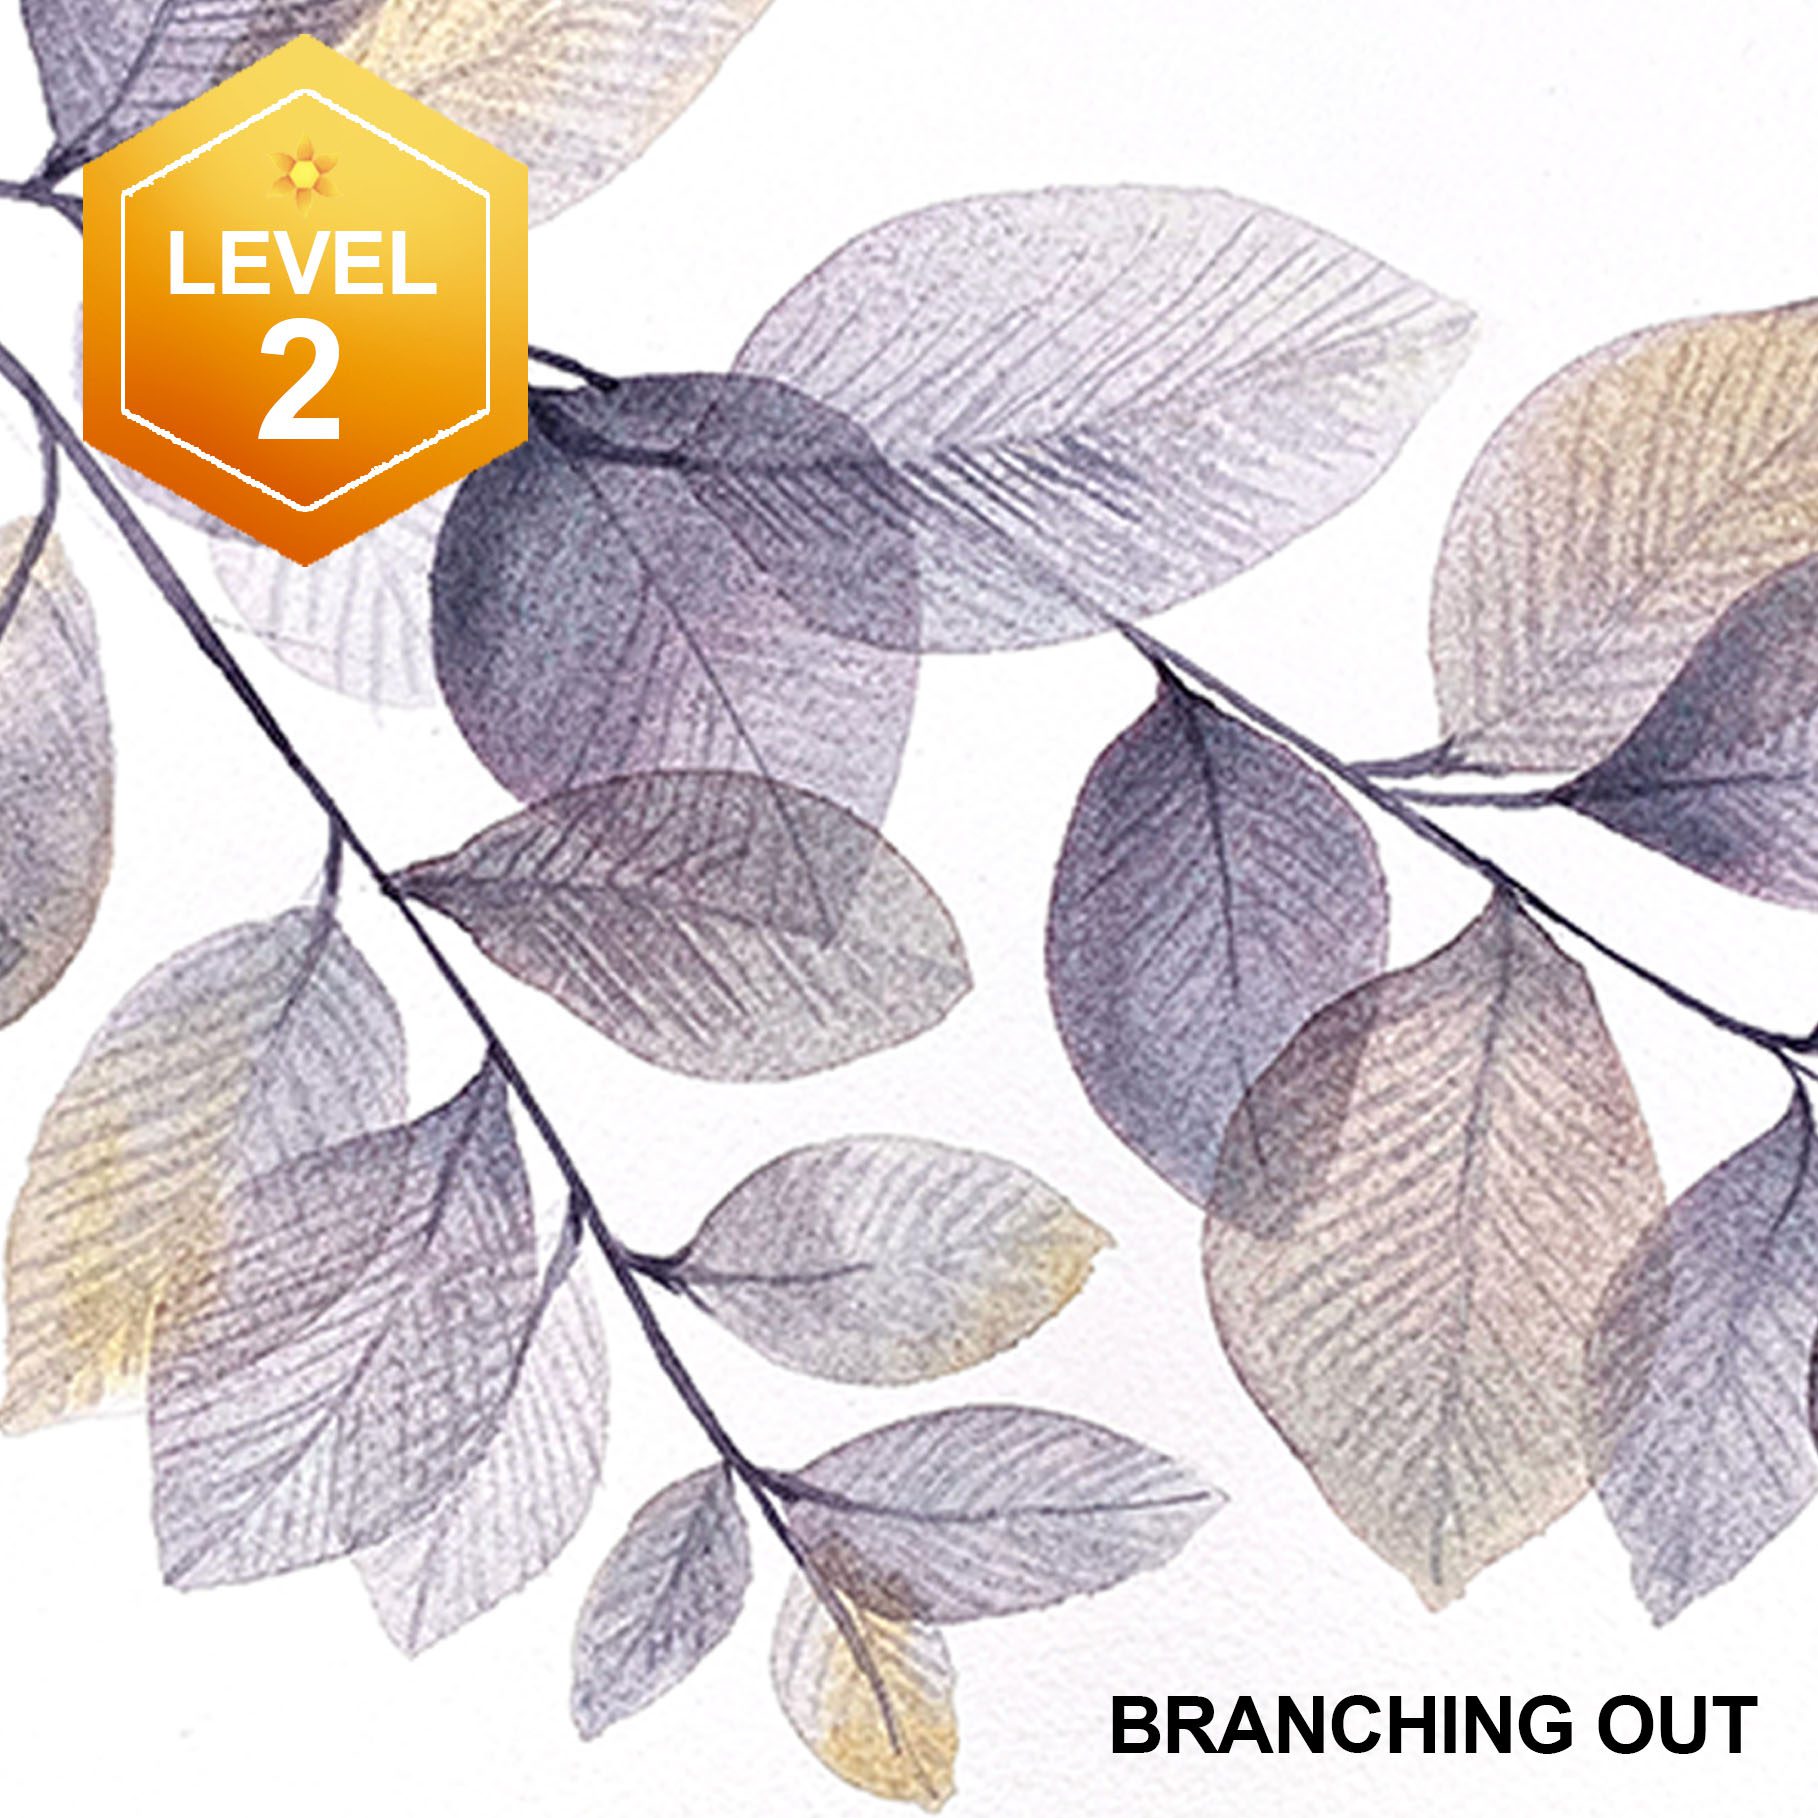
The two classes mentioned in the video are Branching Out, a Level 2 class, with bigger, simpler shapes. Then there’s the new Christmas Berries class, which has more small detail in it.Both are great  and are still on sale for the remainder of the month for World Watercolor Month!

Closing thoughts 

Please do let me know in the comments if there’s an aspect of Visual Vocabulary you’d like me to address in the future; I’m finding there’s more interest in discussions like this, so I hope to be able to answer some questions for you!

PS: The paintings shown today are for sale over on my fine art website.

Supplies

Some product may be provided by manufacturers for review and use. Compensated affiliate links are here at no cost to you. I appreciate your support of my work with your purchases! Full affiliate and product disclosure | My trusted partners in art