
This is a 2 part series – yesterday I shared Etching in part 1, which is way more forgiving than the mess I made with color!
In part 2, I’m adding color – I still haven’t gotten very “clean” with my application of wax, but thought I’d still share what I’m learning. Maybe it’ll inspire you to find someone at your local arts center to take a class from sometime… I think in-person teaching would be much more helpful; I’ve watched over 20 videos and I think I need a Ukrainian artist to hover over me and tell me where I’m going wrong! 🙂 I’ve been talking with someone in eastern Ukraine who has a friend who’d be glad to give me some pointers, so I’m looking forward to a vacation when the war is over!
If you’d like to help Ukrainian artists, search Etsy for Pysanky eggs and Ukraine for the country. Lots of them allow you to help by purchasing digital images of their creations – and what little we can do helps so much!
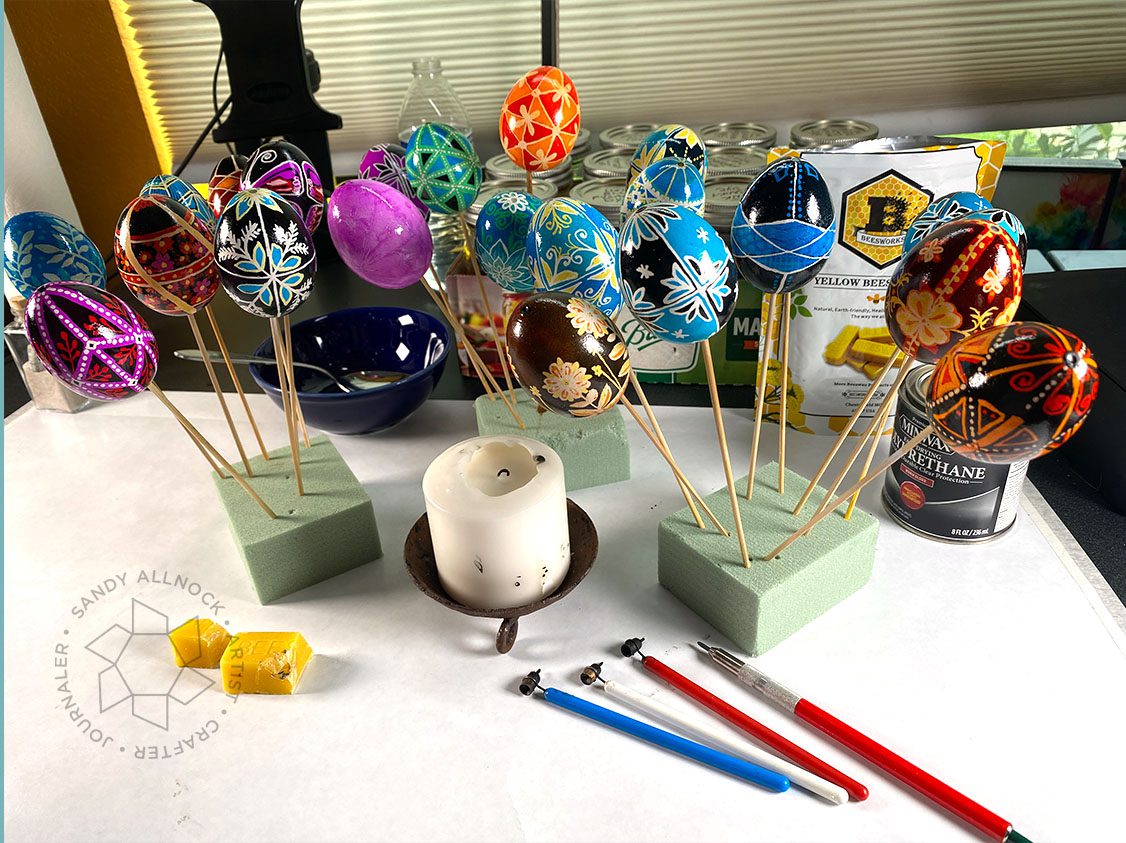
DISCLAIMER: Do not eat eggs made with pysanky dyes! There are Paas dyes if you plan to do that, those are deliberately made consumable.
A reminder: I’m using this kit, primarily, but you can get smaller sets of colors (I’d recommend that, I didn’t need all the colors for sure) and probably make do with one middle-sized kitska and a small bit of wax. See the supply list for some recommendations.
Video
Watch the video below or click here to see it on YouTube.
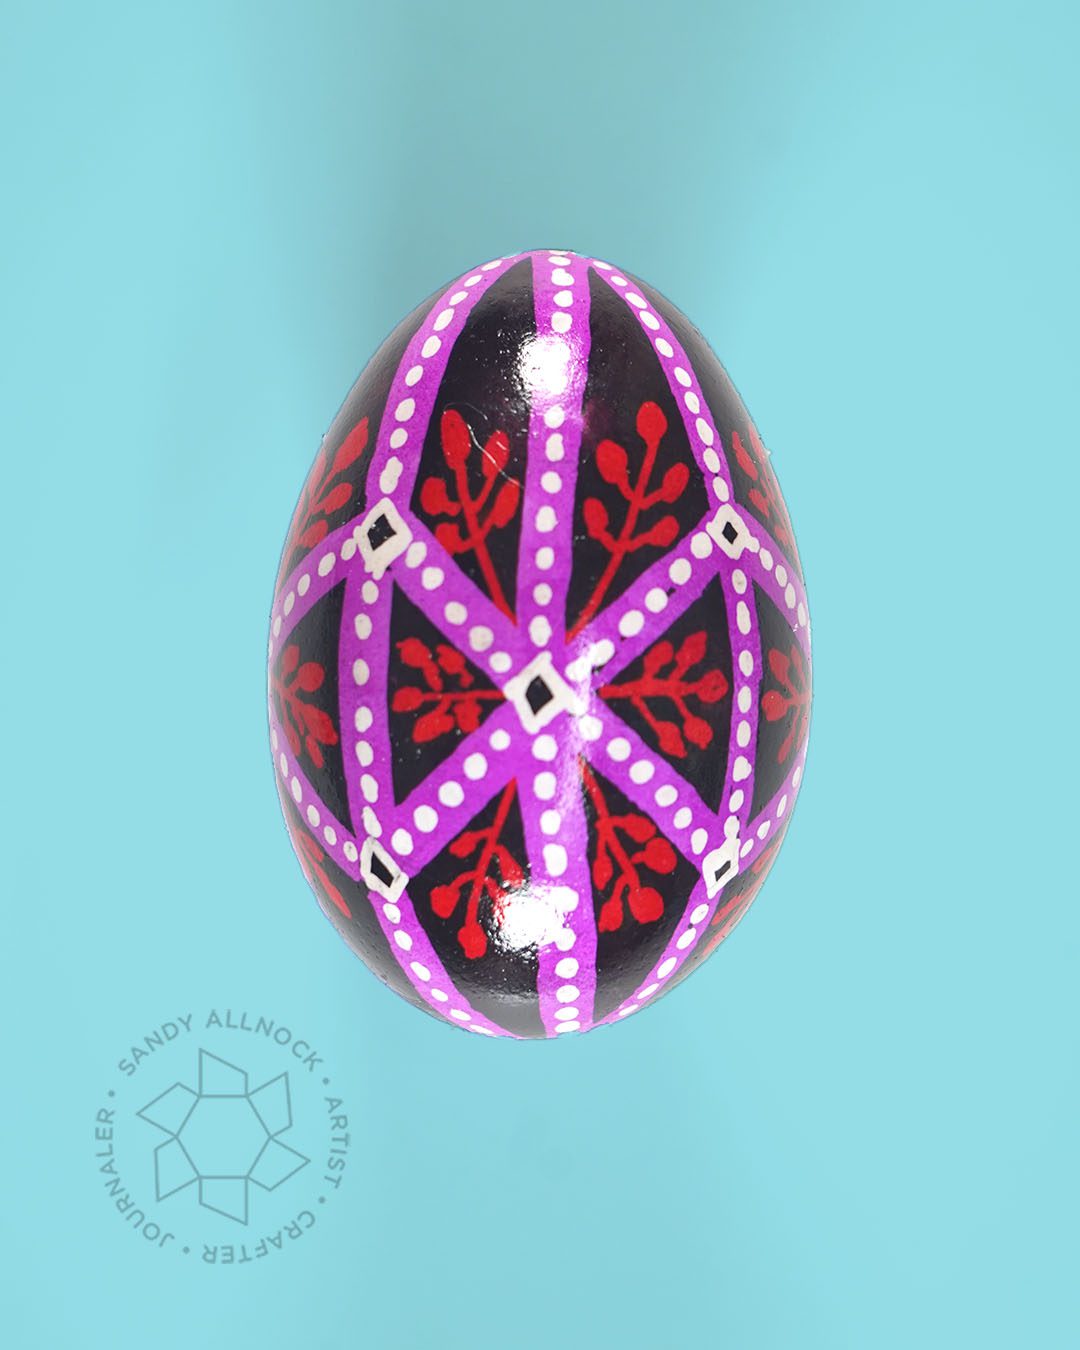
48 Triangle Pysanky design
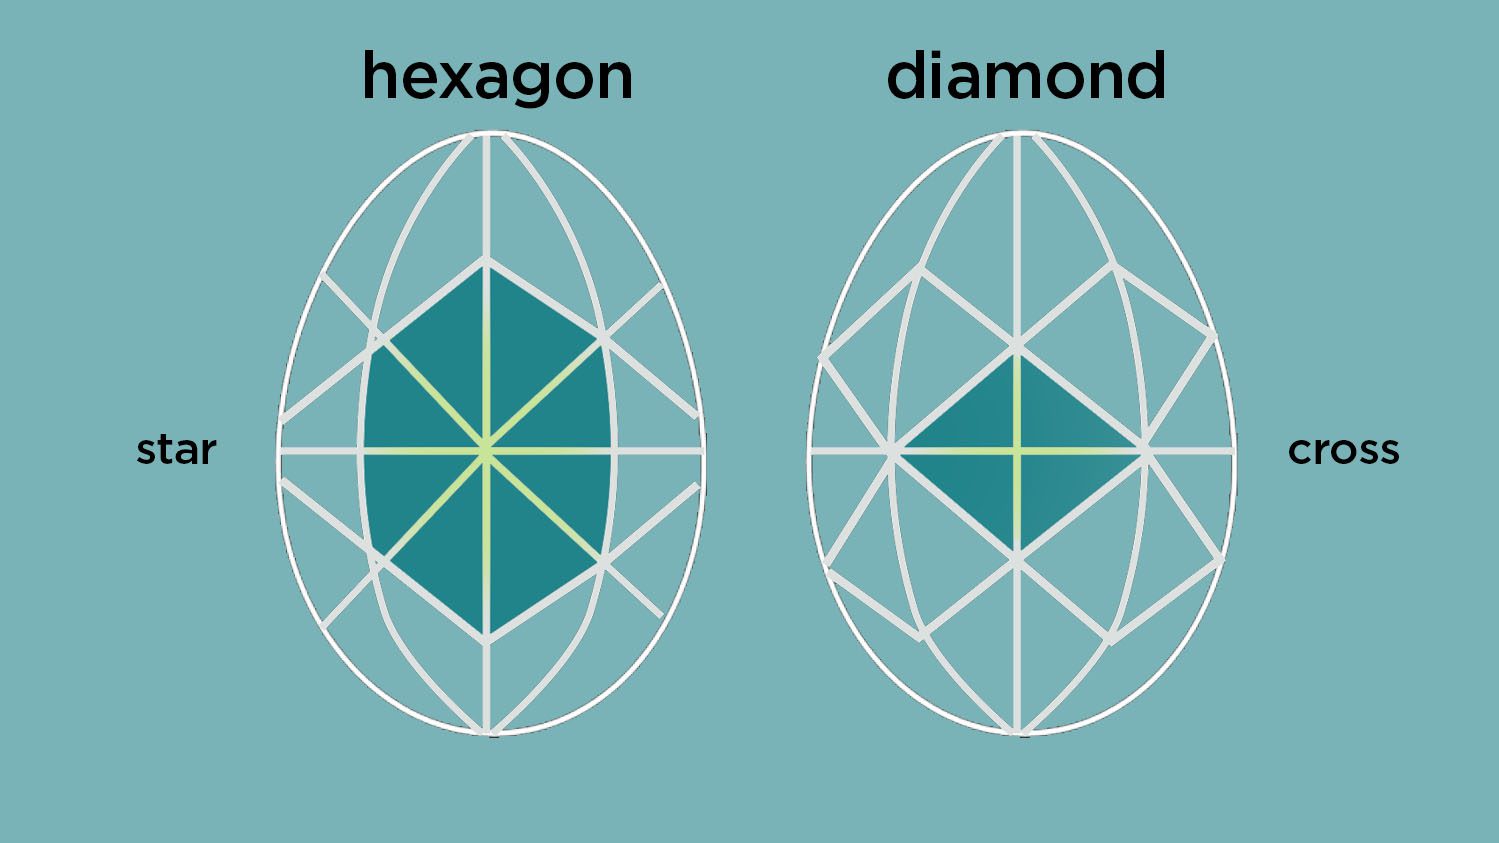
This is a traditional way to divide an egg: 8 vertical lines at equal distance; 1 straight horizontal “equator”; then X’s that cross two of the 8 sections. There are tons of tutorials on drawing the guidelines in different order, but what I shared in the video is what’s working for me. The design leaves you with basically two shapes to use to create repeatable patterns – 4 hexagons including a “star” at the center of it, and diamonds all over the rest of the egg. (The top and bottom when viewed from above or below are hexagons too.)
The egg demo’d in the video is one I kept relatively straightforward so you get the idea of how color is added:

Variations on the demo egg
The fun of pysanky, for me, is altering one part or another of the design each time. Here I changed to pink instead of turquoise:

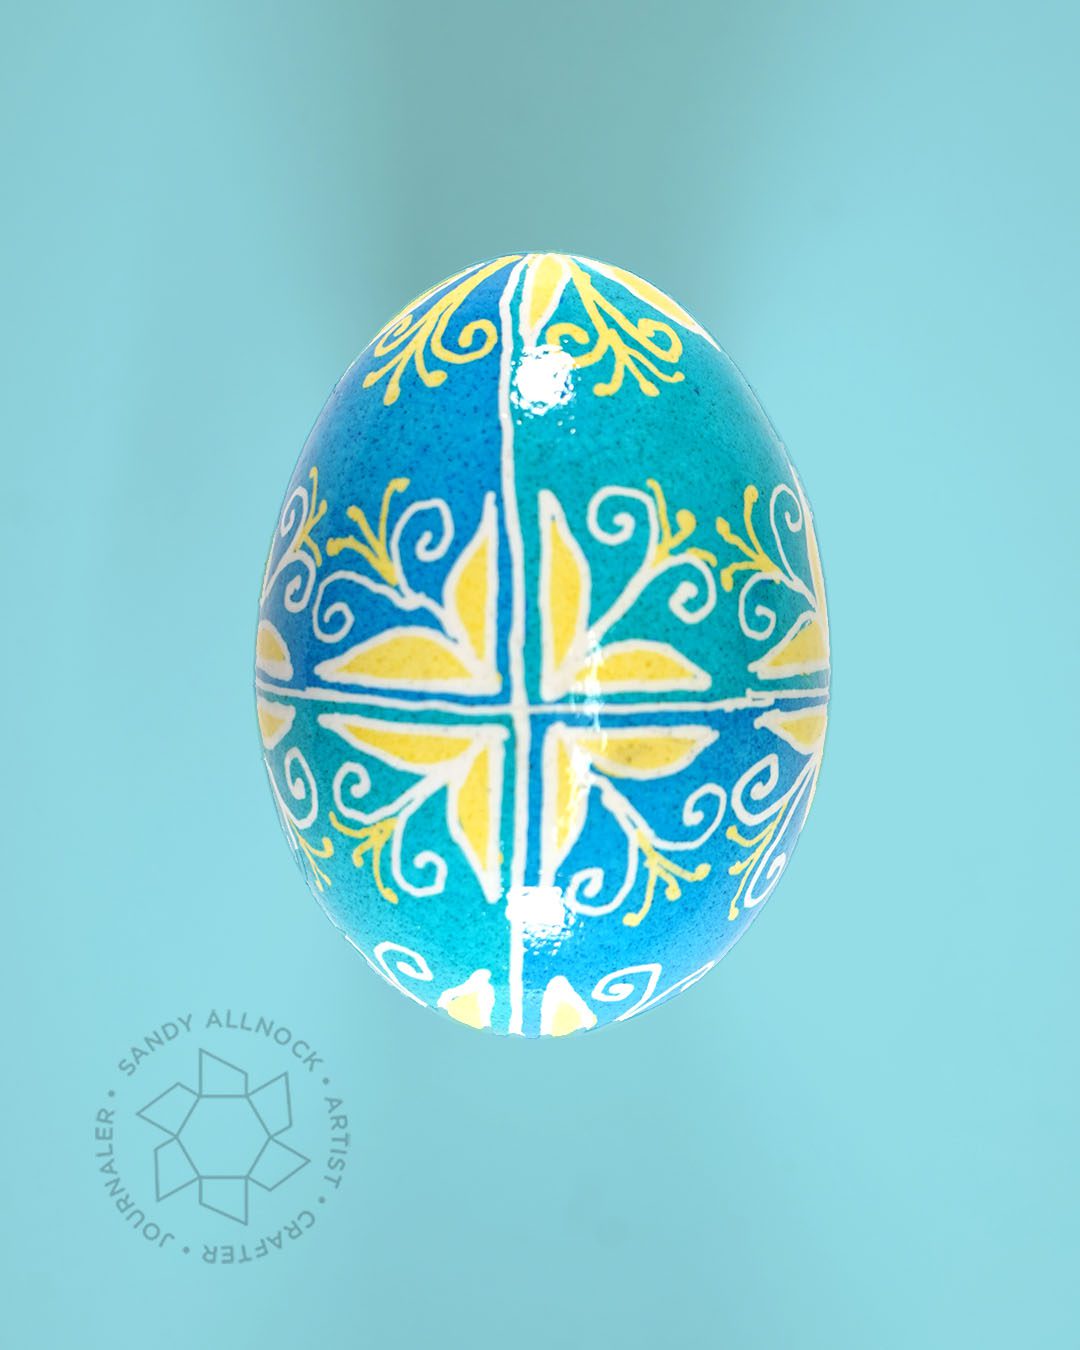
Then I added swirls instead of center petals, which makes it feel a bit like a fleur-de-lis! The background colors are turquoise and blue – with just a small color shift, it almost makes them look blended!
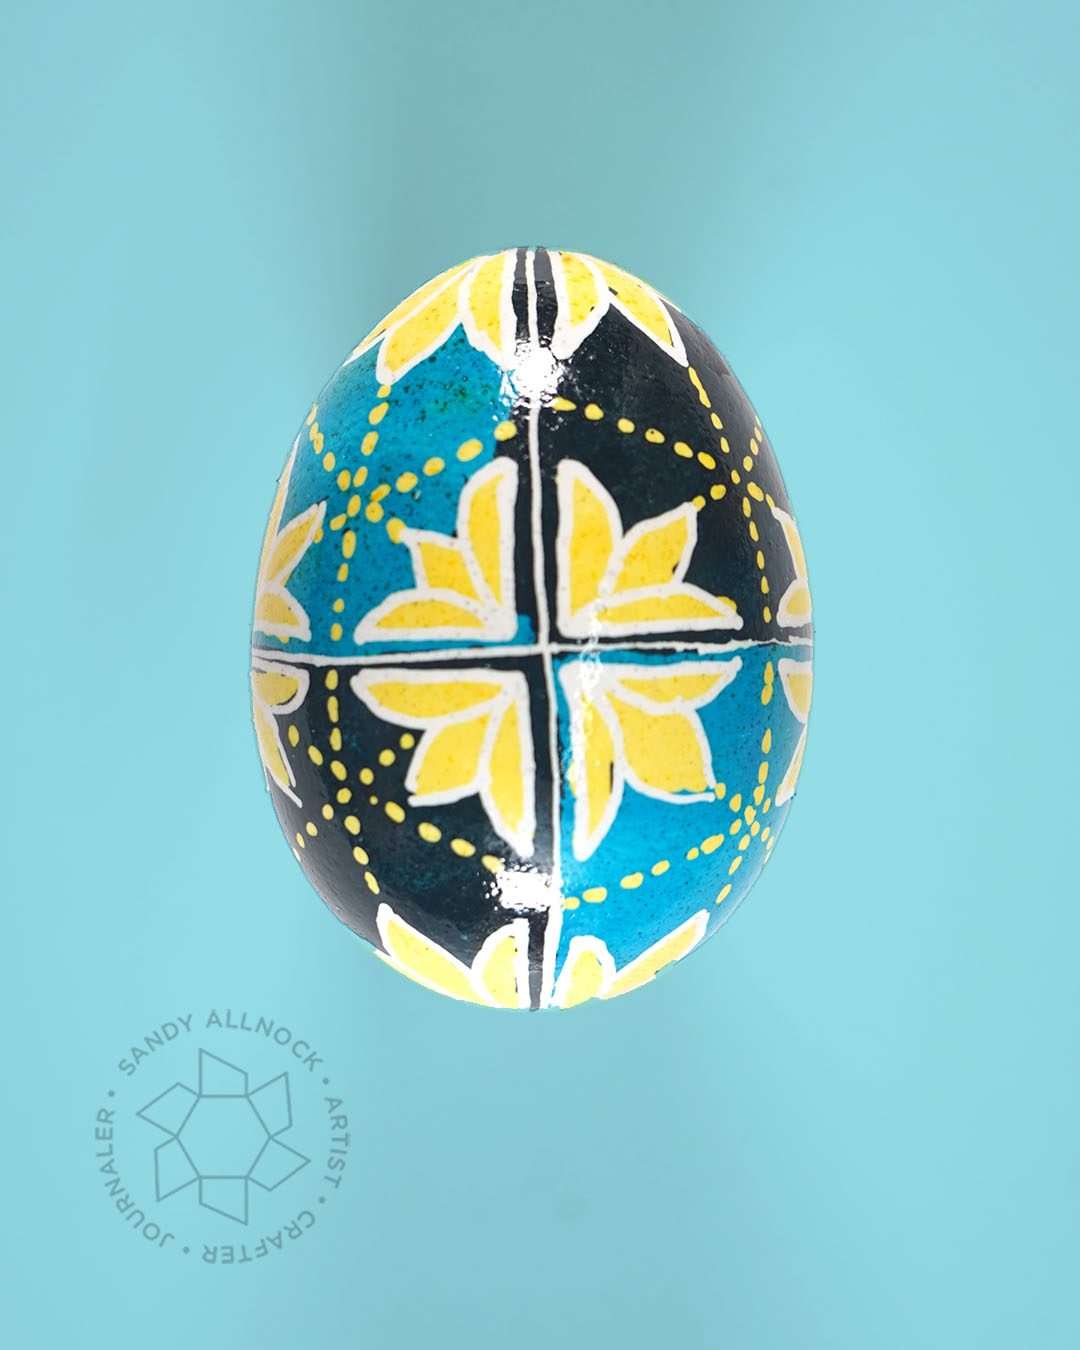
On this one I added a dotted line around the 48 triangle design – you can do all kinds of variations once you decide on one design and keep going!
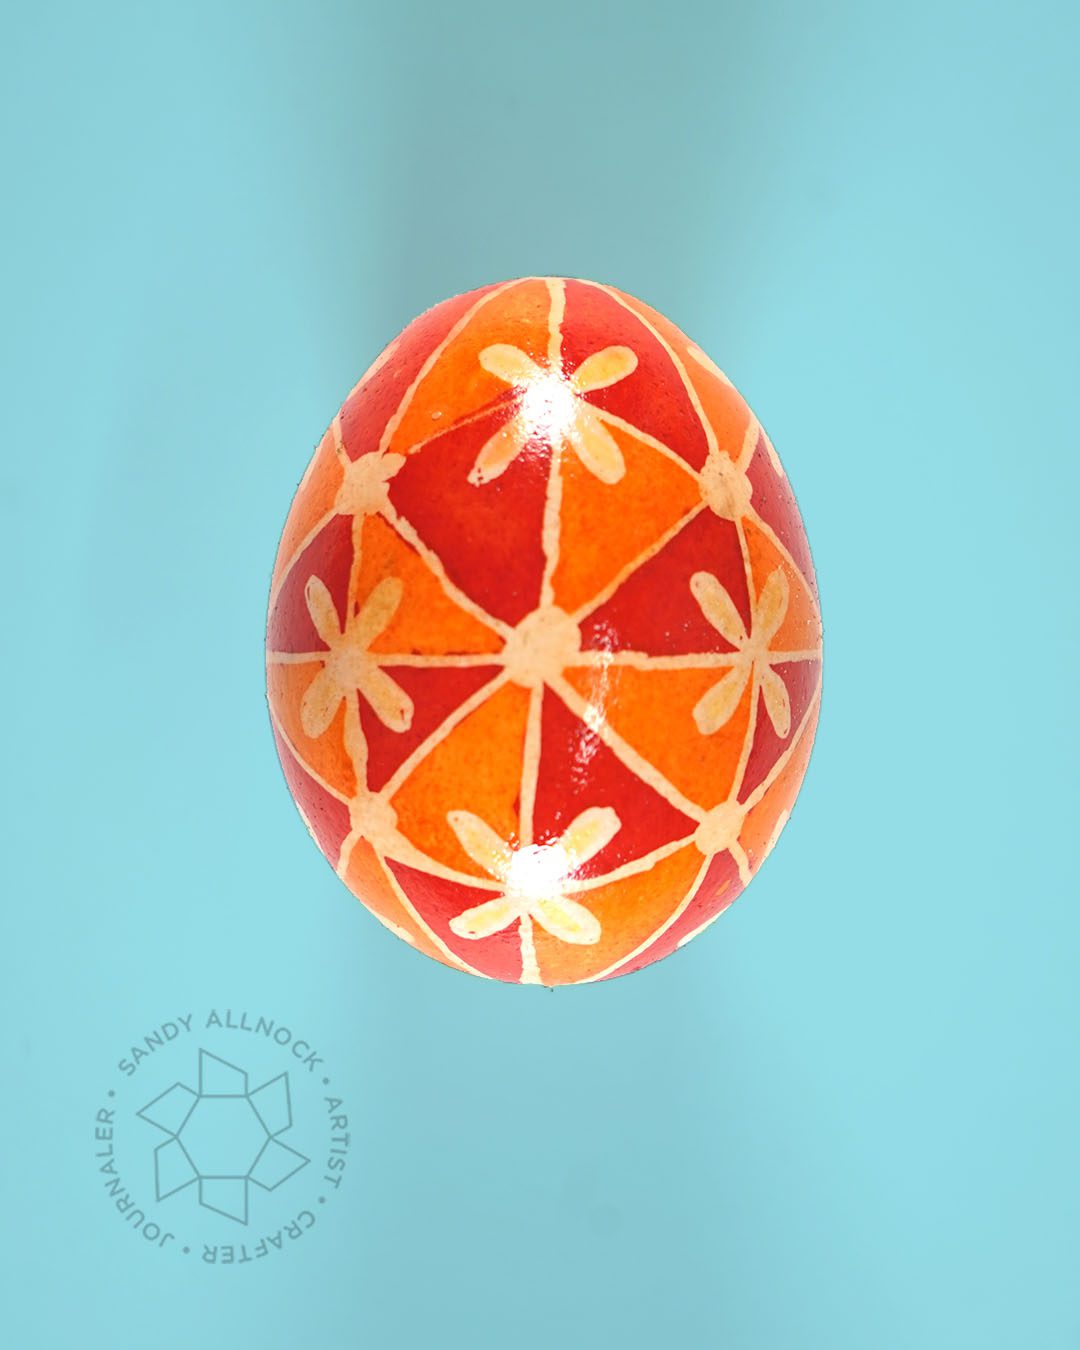
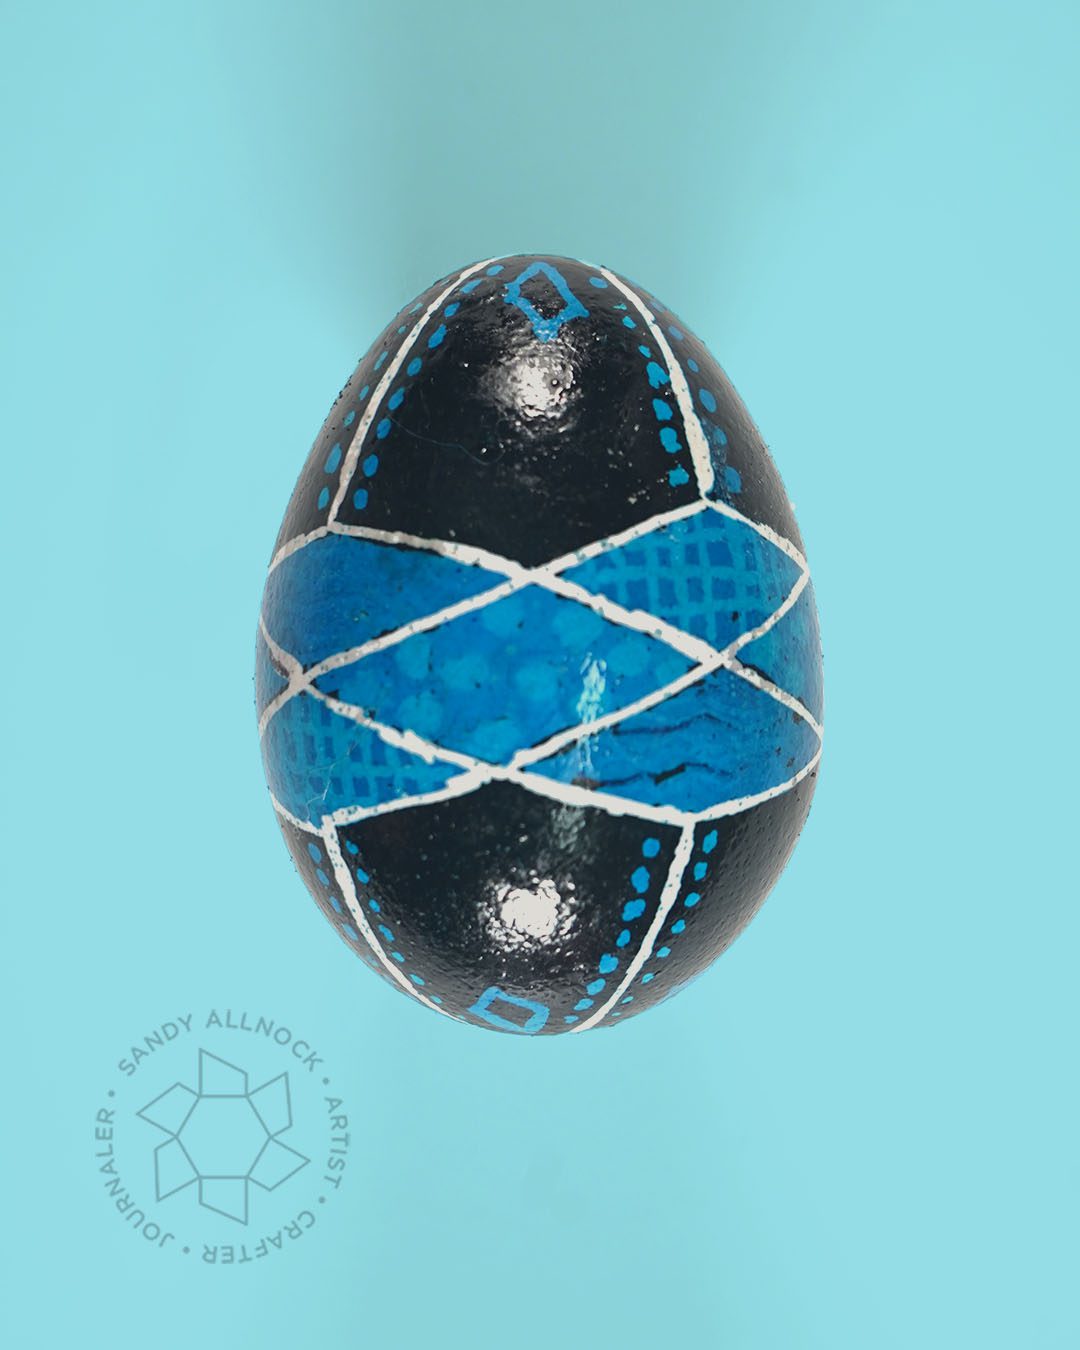
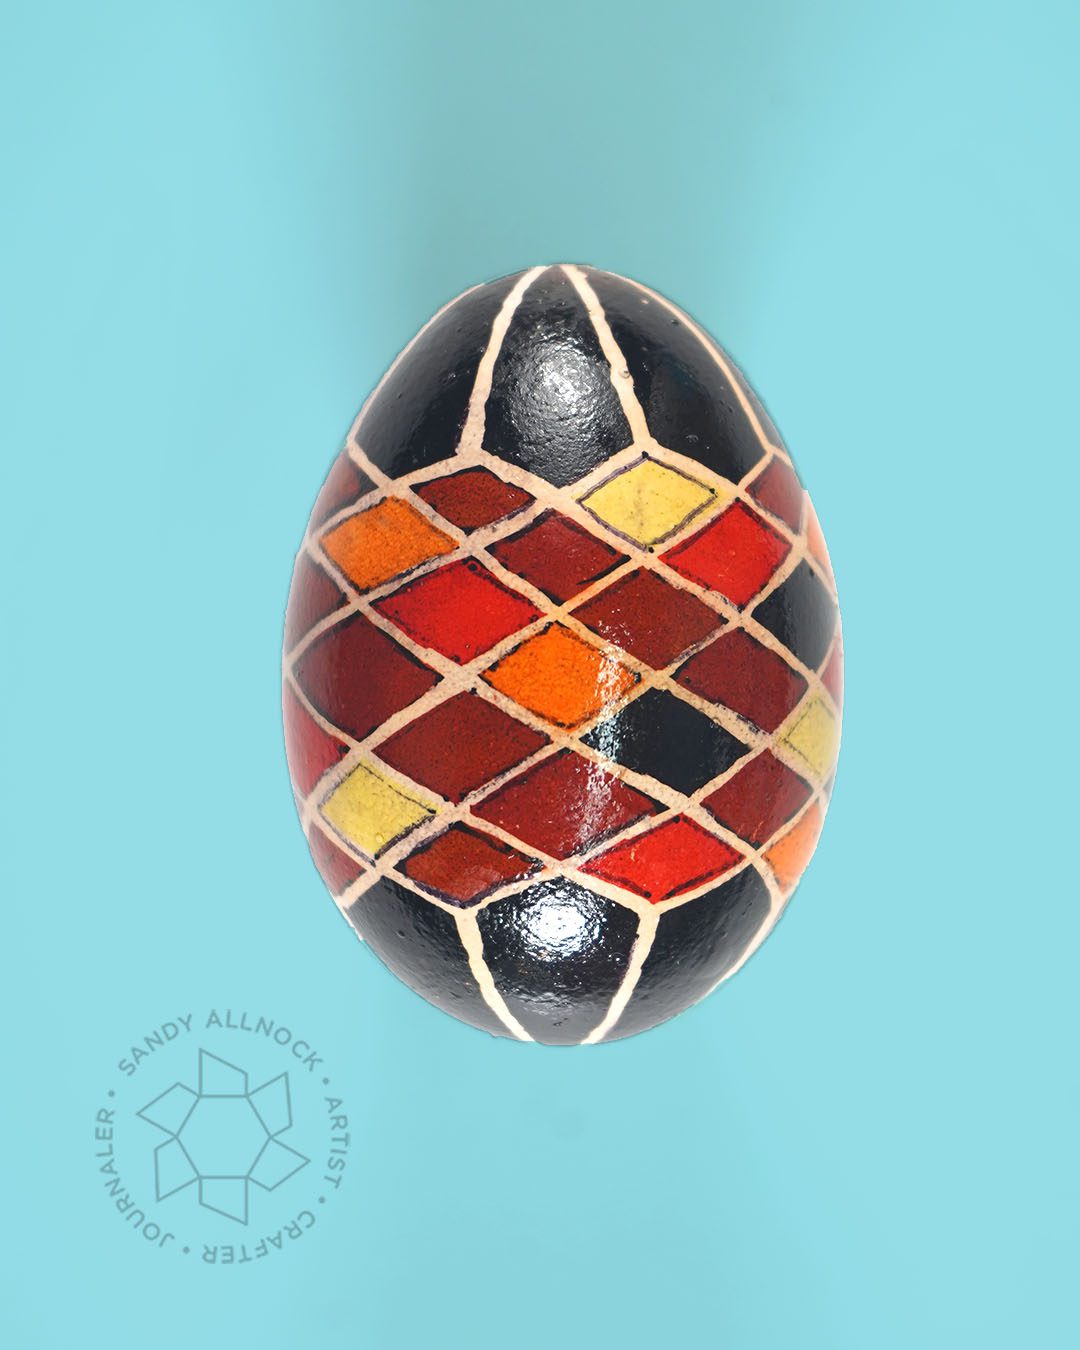
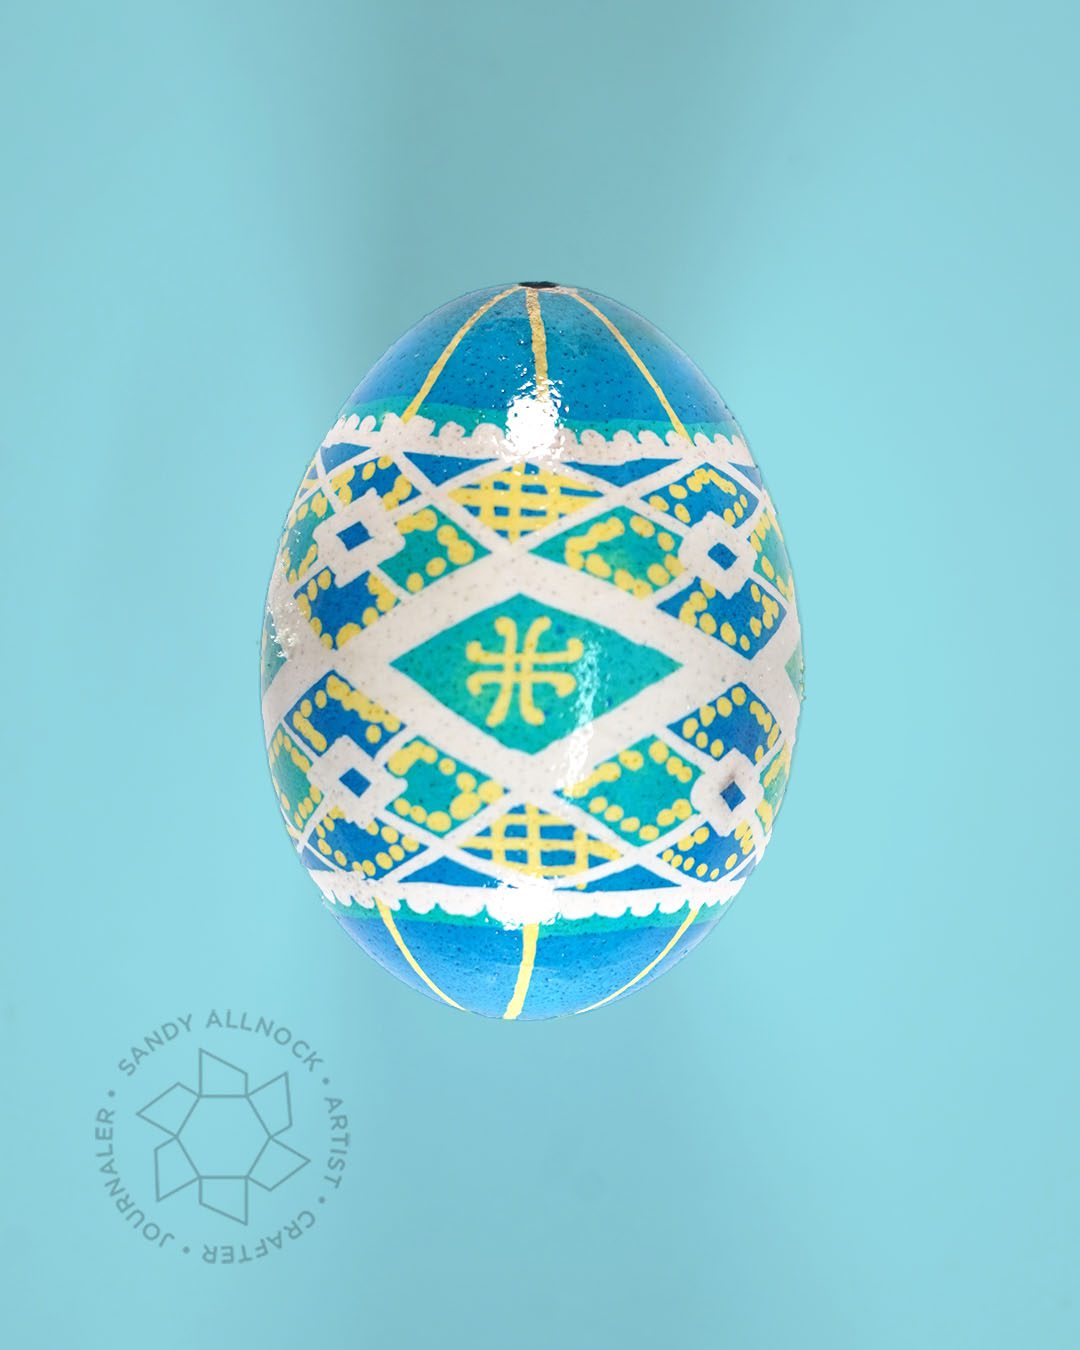
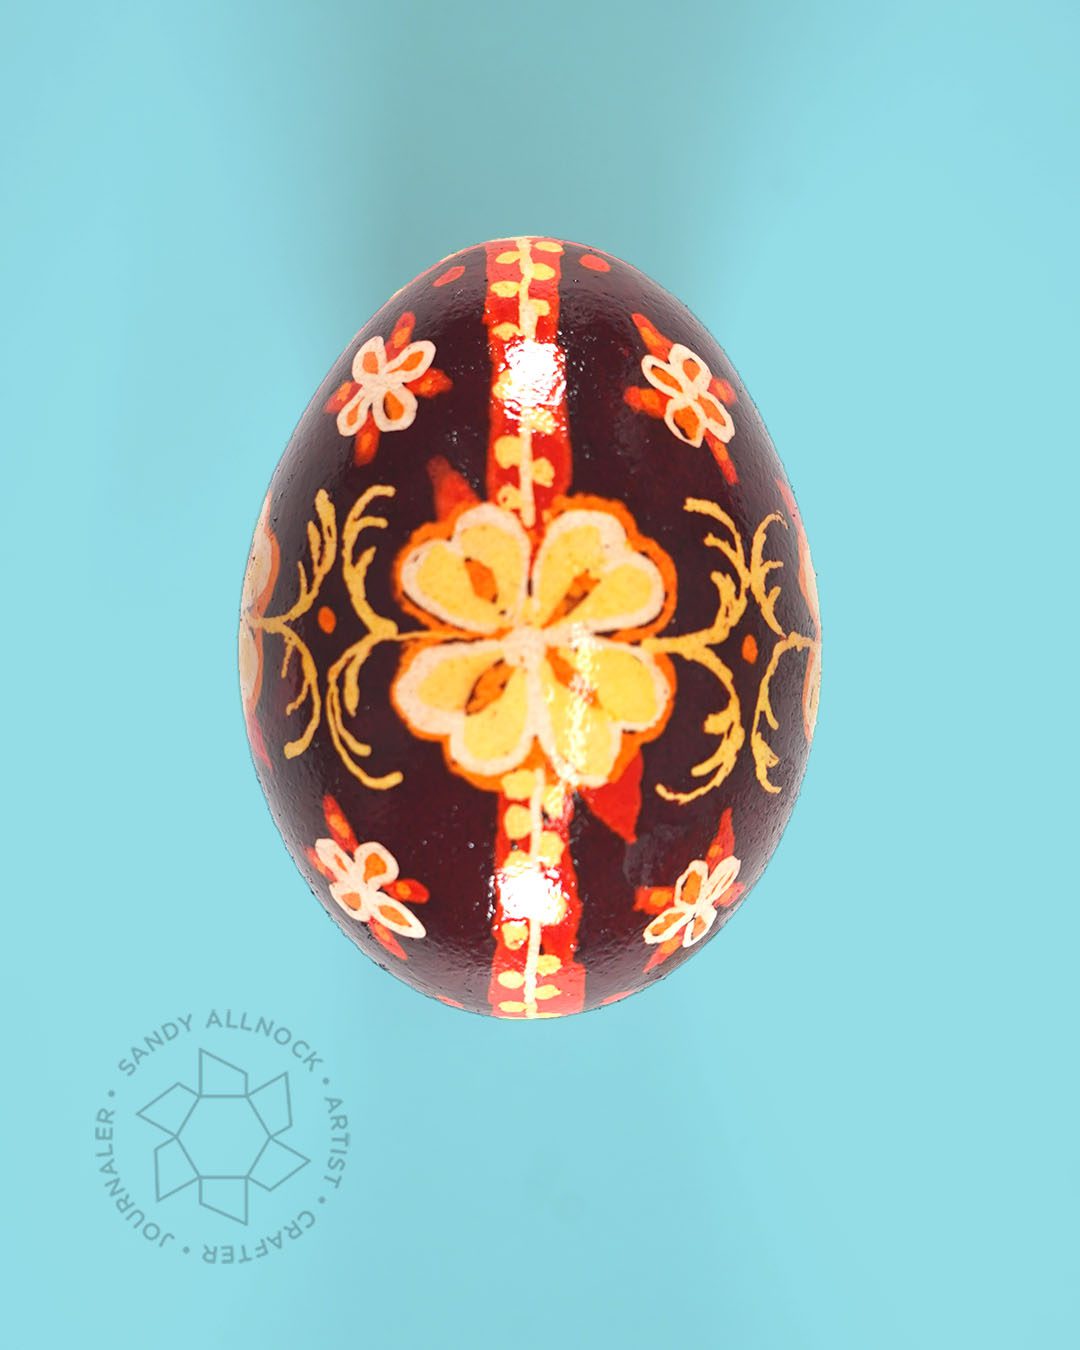
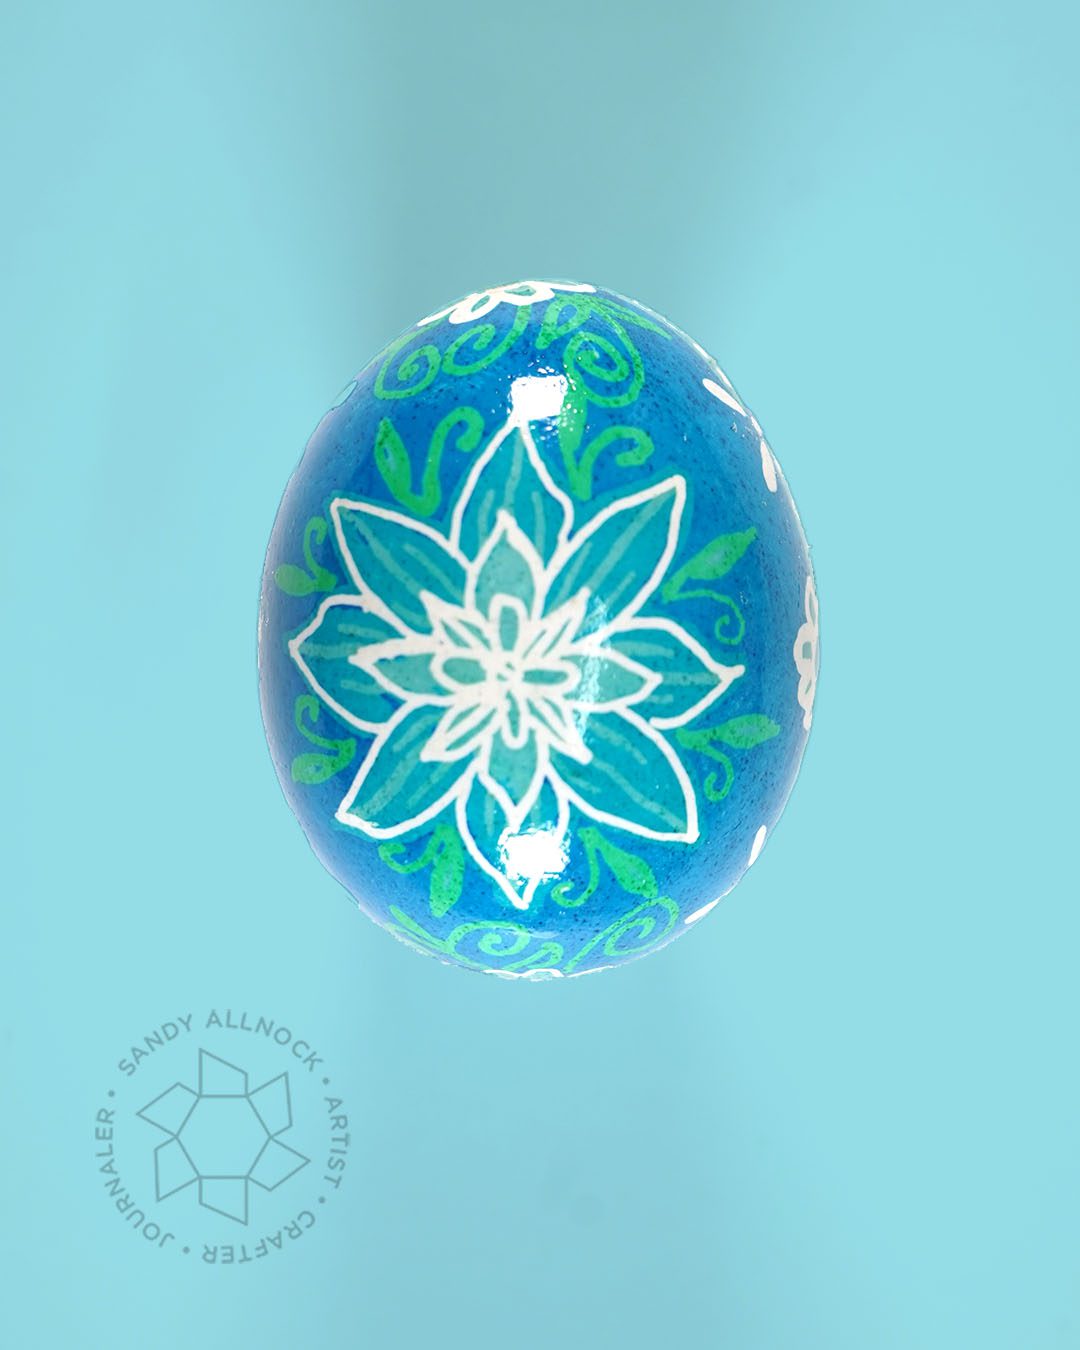
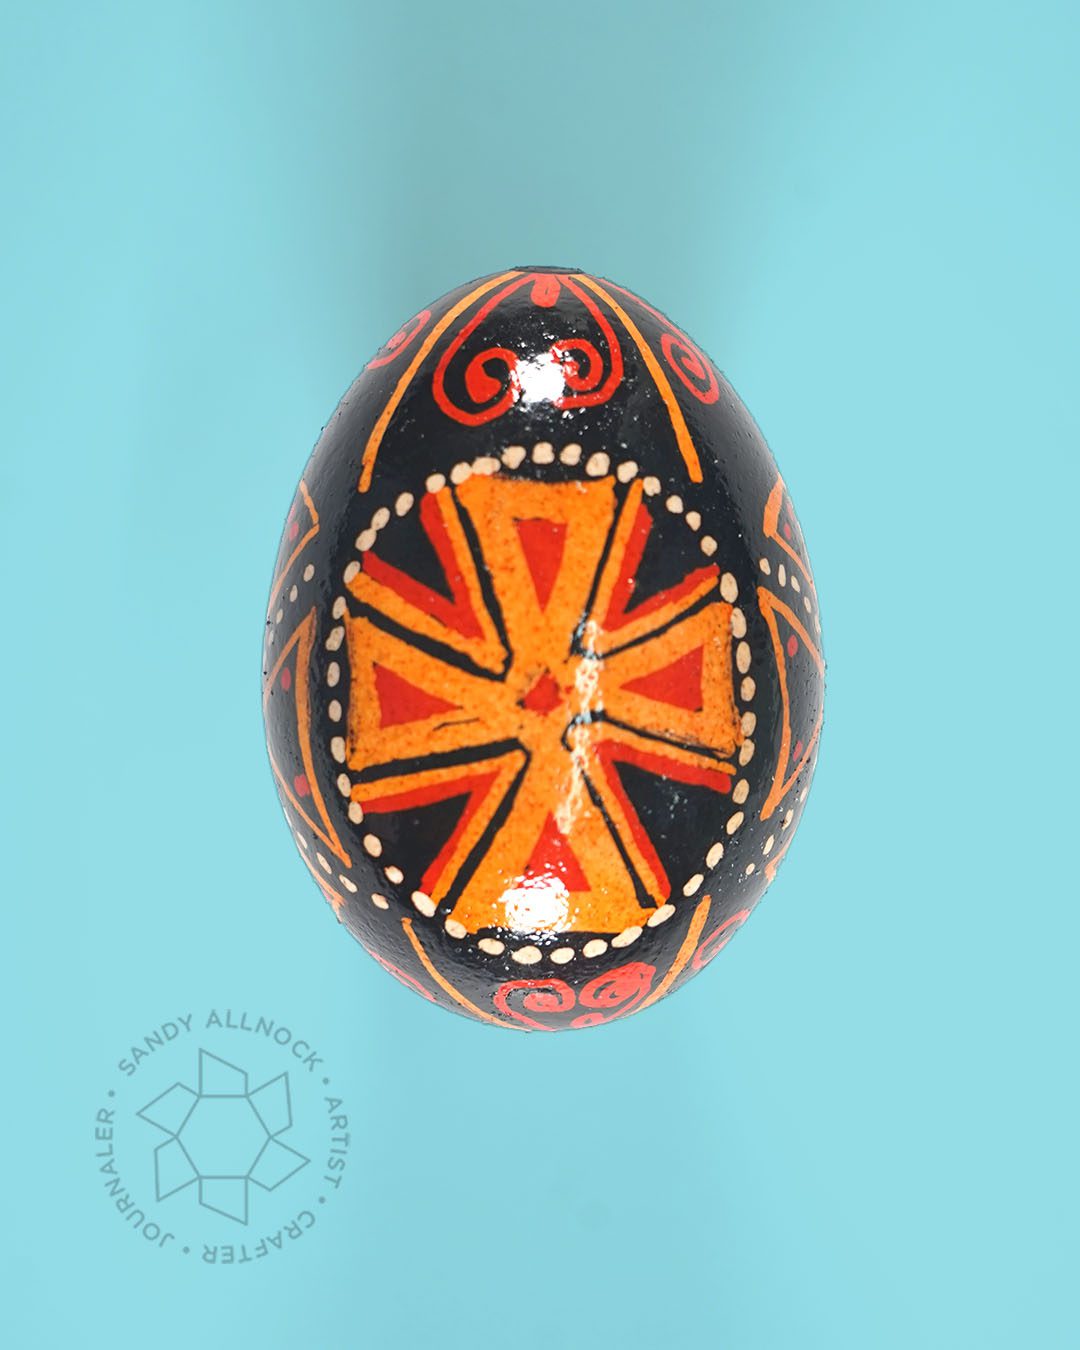
The rest of the eggs!
So many eggs, so much FUN! See the video for a tidbit on each.




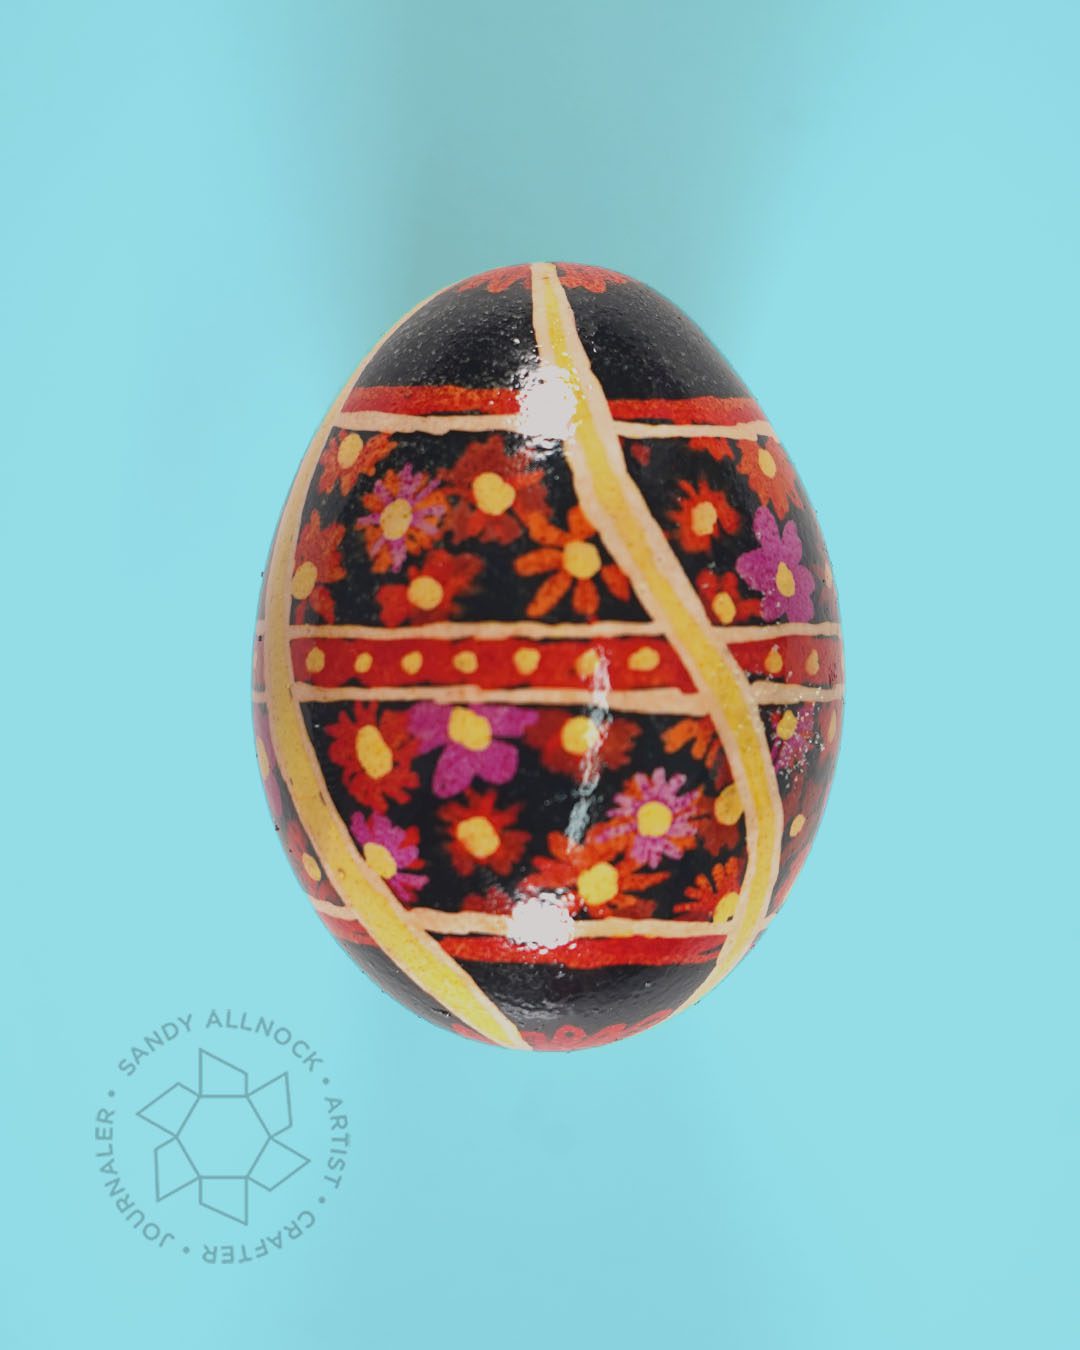

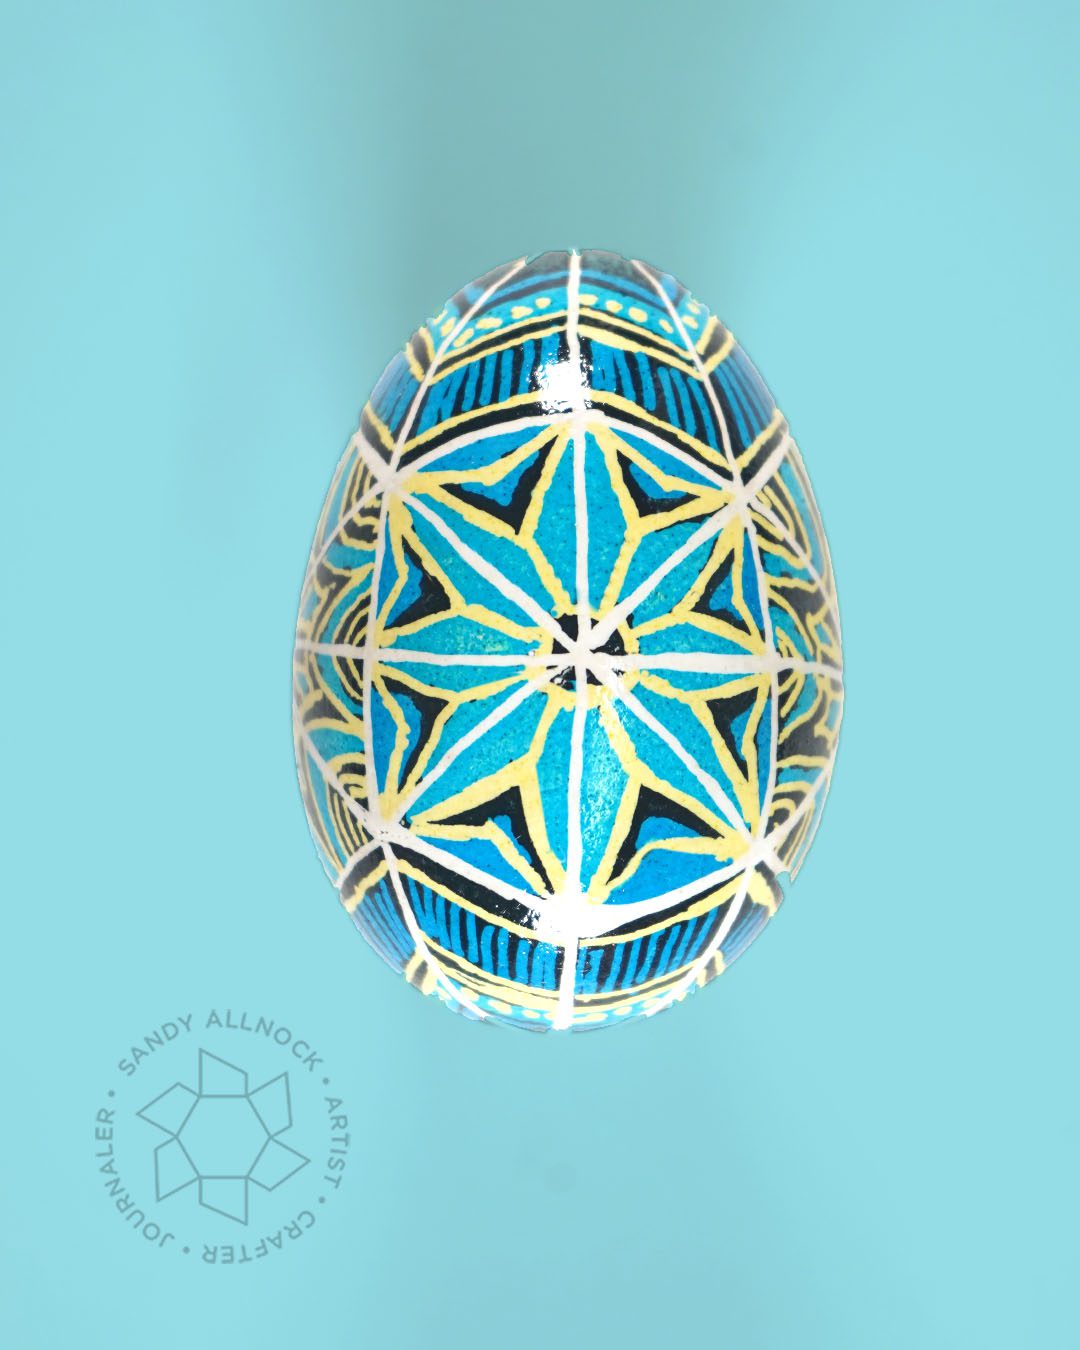
Supplies
Some product may be provided by manufacturers for review and use. Compensated affiliate links are here at no cost to you. If you choose to shop using my EH (Ellen Hutson) links, please accept cookies on that site in order to retain the link to my blog, or that compensation does not happen for me. I appreciate your support of my work with your purchases! Full affiliate and product disclosure | My trusted partners in art
- Luba’s Kit with dyes, 3 kitskas, and wax:
- OR get the items separately:
- Set of pysanky dyes (6)
- Set of pysanky dyes (12)
- Kitska, single medium or Fluid writer (basically a kitska but in metal, at an angle
- Candle (any will do)
- Minwax Polyurethane gloss to make it shiny
- To dry after sealing with epoxy:





I really appreciate you showing the process step-by-step, especially the part about fixing mistakes with the kistka. It makes the whole art form feel much more approachable for a beginner like me. Your color combinations are beautiful and inspiring.
If I can write like you, then I would be very happy, but where is my luck like this, really people like you are an example for the world. You have written this comment with great beauty, I am really glad I thank you from my heart.
My hands are no longer steady enough to do this kind of detailed art work, but I sure enjoyed seeing what you did. Wow what a lot of work! So pretty.
Wow Sandy, these eggs are a real labor of love. What a work, one even more beautiful than the other, I can’t pick a favorite, they’re all awesome!
Thank you so much for sharing how you made these, stay safe and have a wonderful Easter weekend.
could link the type of oil based varnish so I can see the can and where you get this been to walmart they do t have
Wonderful, Sandy! Your friends will love receiving these. Though I am experienced, I got some good ideas, especially about using the lines as guides, but not necessarily tracing over them. I often forget about that.
Your wax is probably less black than some others’ because you don’t get wax accumulating and carbonizing on the outside of your kistka. That is a good thing, as you noticed. You can buy black wax; I buy black “spaghetti” wax for my electric kistky. I have only made five pysanky so far this year, but I had several dozen from previous years stashed away. Earlier this week I offered them for sale to my neighbors, with the proceeds going to relief in Ukraine. I’ve collected $320 so far.
WOW! I love the color combinations and especially the ones with swirls.
I cannot image all the egg dishes you must have made with the blown out egg product– that could be a video all it’s own! 🙂
Happy Easter!
Looks like so much fun! I love the speckled coloring of the yellow and 2 blues egg. (A nod to Ukraine’s flag?)I dreamed about these last night after watching your first vid and imagined them in a hanging basket out in my garden area. Really good dream so thanks! I may need to do that as long as deer don’t like them. The Easter bunny may – LOL
These are stunning Sandy
This absolutely does my head in! I know that I would never have the patience to do this craft, but I thoroughly admire you for even attempting it. Your finished eggs are just beautiful, and I am sure that they will be treasured by those who you give them to. Thanks for sharing the process.
What a delightful video to watch….TFS Sandy! It was amazing to see all the variations made from the 48 design!!!
Paper Hugs and a few Egg Hugs thrown in for good measure!
Jan
First of all, thank you for reminding me of this technique. I have seen it years ago and wanted to do it. Then, of course, other crafts happened. Your eggs are great, and it looks like you enjoyed making all those wonderful “art-eggs”. I noticed the warning not to eat the eggs because of the paint. Have you not emptied the eggs first? That’s what I did when I was doing some painting/ decorating a long time ago.
Little hole at the top (I used a very thin needle) and a bit of a larger hole at the bottom. Blow out the egg, eat lots of omelets and soufflés, craft with the empty eggs. The holes in the eggs makes it easy to hang them too, if you like. Enjoy Pysanky!! And I will nog go see your video. Thanks
I blow mine before but I wanted people not to think of these like Paas dyes they use for hard boiled eggs. I suppose it might not kill you but better safe than sorry
Would love if you could link the type of oil based varnish so I can see the can and where you get this
Ah… you emptied the eggs, so never mind my comment about it.
The set you mentioned is sold out on Amazon. I think I will wait for it to be available again.