
I’ve wanted to try Pysanky for SO long – and with the war going on in Ukraine, I thought this might just be the year to give it a go. I did not expect this to be as hard for me! So in today’s tutorial I’ll share how to make etched eggs – which are much easier with my wonky lines since tone-on-tone doesn’t show off th wobbliness! Tomorrow I’ll get into color (it’s the week before Easter so I’m getting both videos out early this week.)
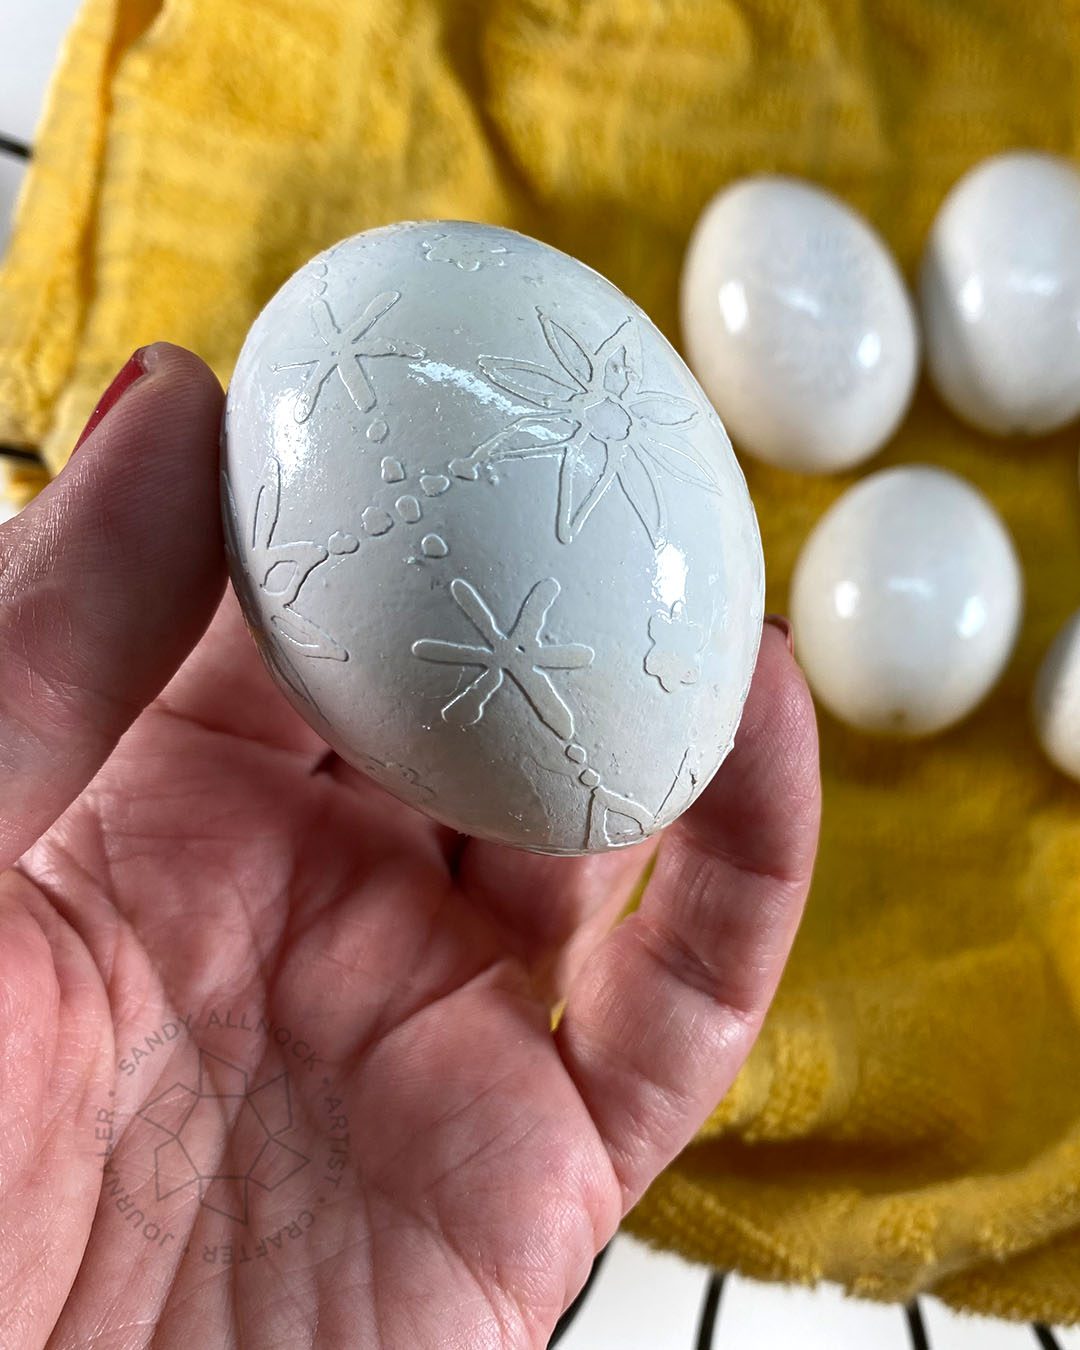
Another bonus to these etched eggs? You don’t need a lot of supplies. Or at least they’re things at your local store, aside from the kitska! And I know some of you got the fluid writer when I shared that a while back, so you can use that.
Video
Watch the video below or click here to see it on YouTube.
48 Triangle Pysanky design
This is a traditional way to divide an egg: 8 vertical lines at equal distance; 1 straight horizontal “equator”; then X’s that cross two of the 8 sections. There are tons of tutorials on drawing the guidelines in different order, but what I shared in the video is what’s working for me. The design leaves you with basically two shapes to use to create repeatable patterns – 4 hexagons including a “star” at the center of it, and diamonds all over the rest of the egg. (The top and bottom when viewed from above or below are hexagons too.)
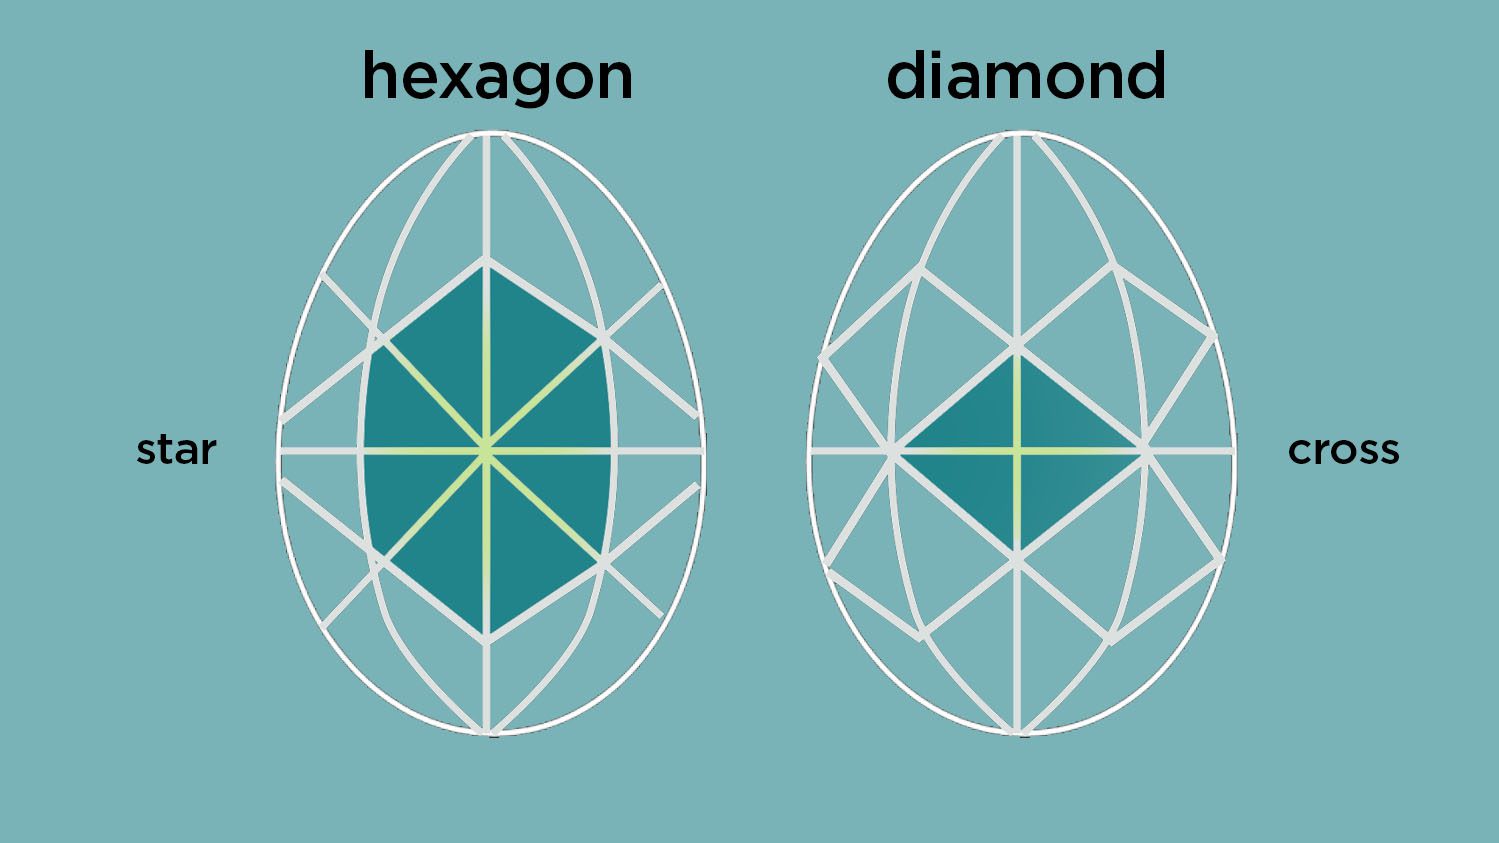
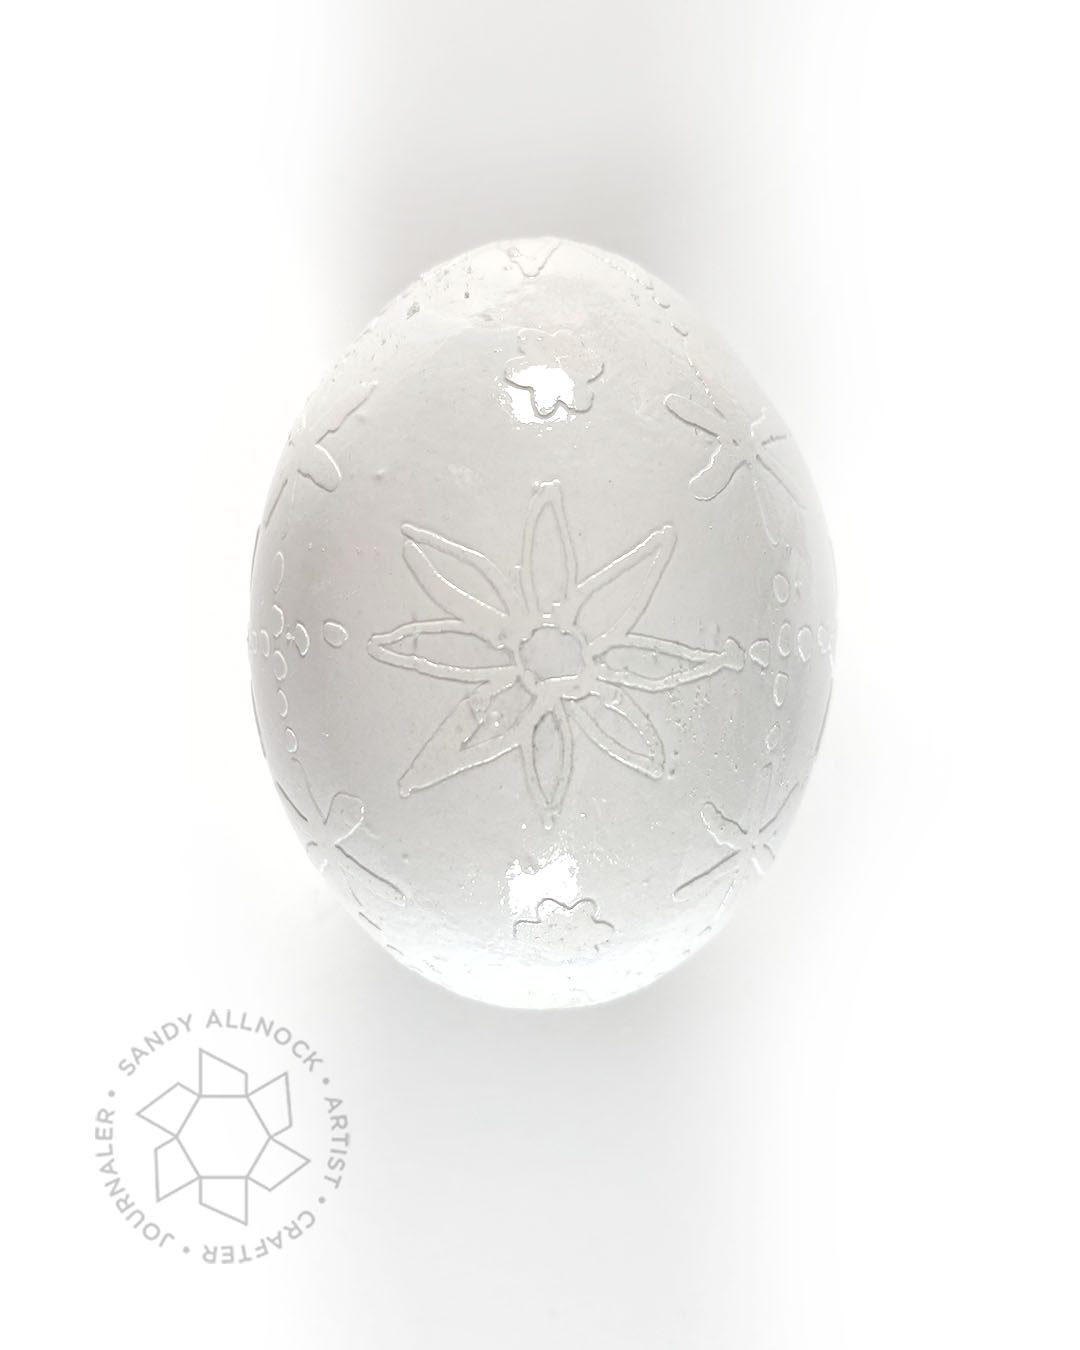
Today’s egg
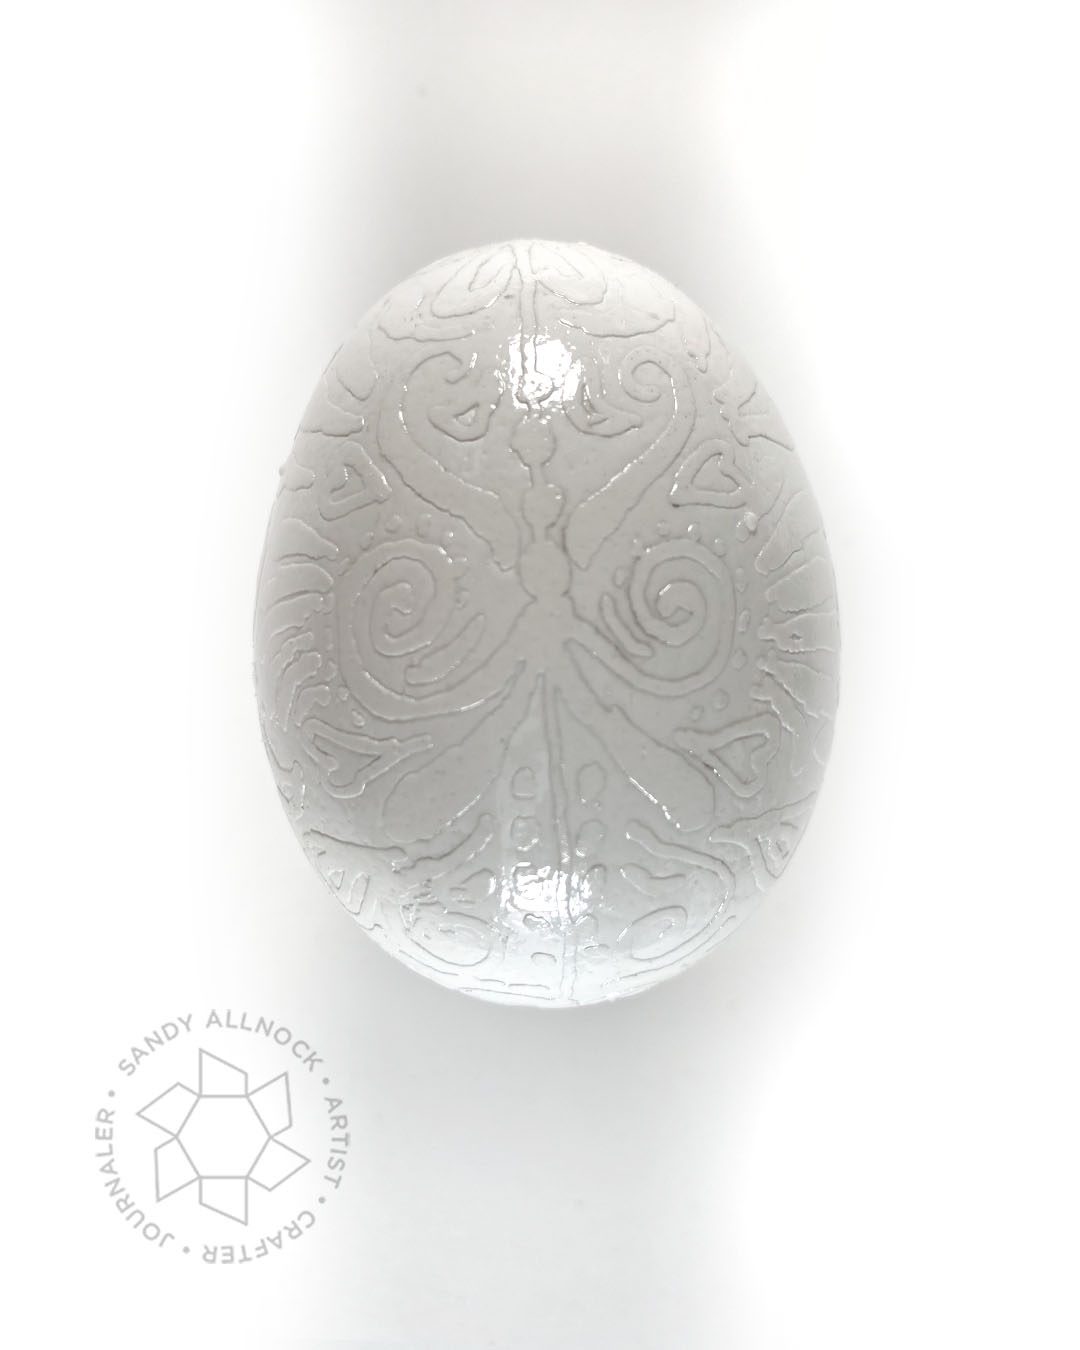
I kept it pretty simple – big flowers in the hexagons, and smaller ones everywhere else there was a crisscross in the lines. And a few dots along some of the lines along the way.
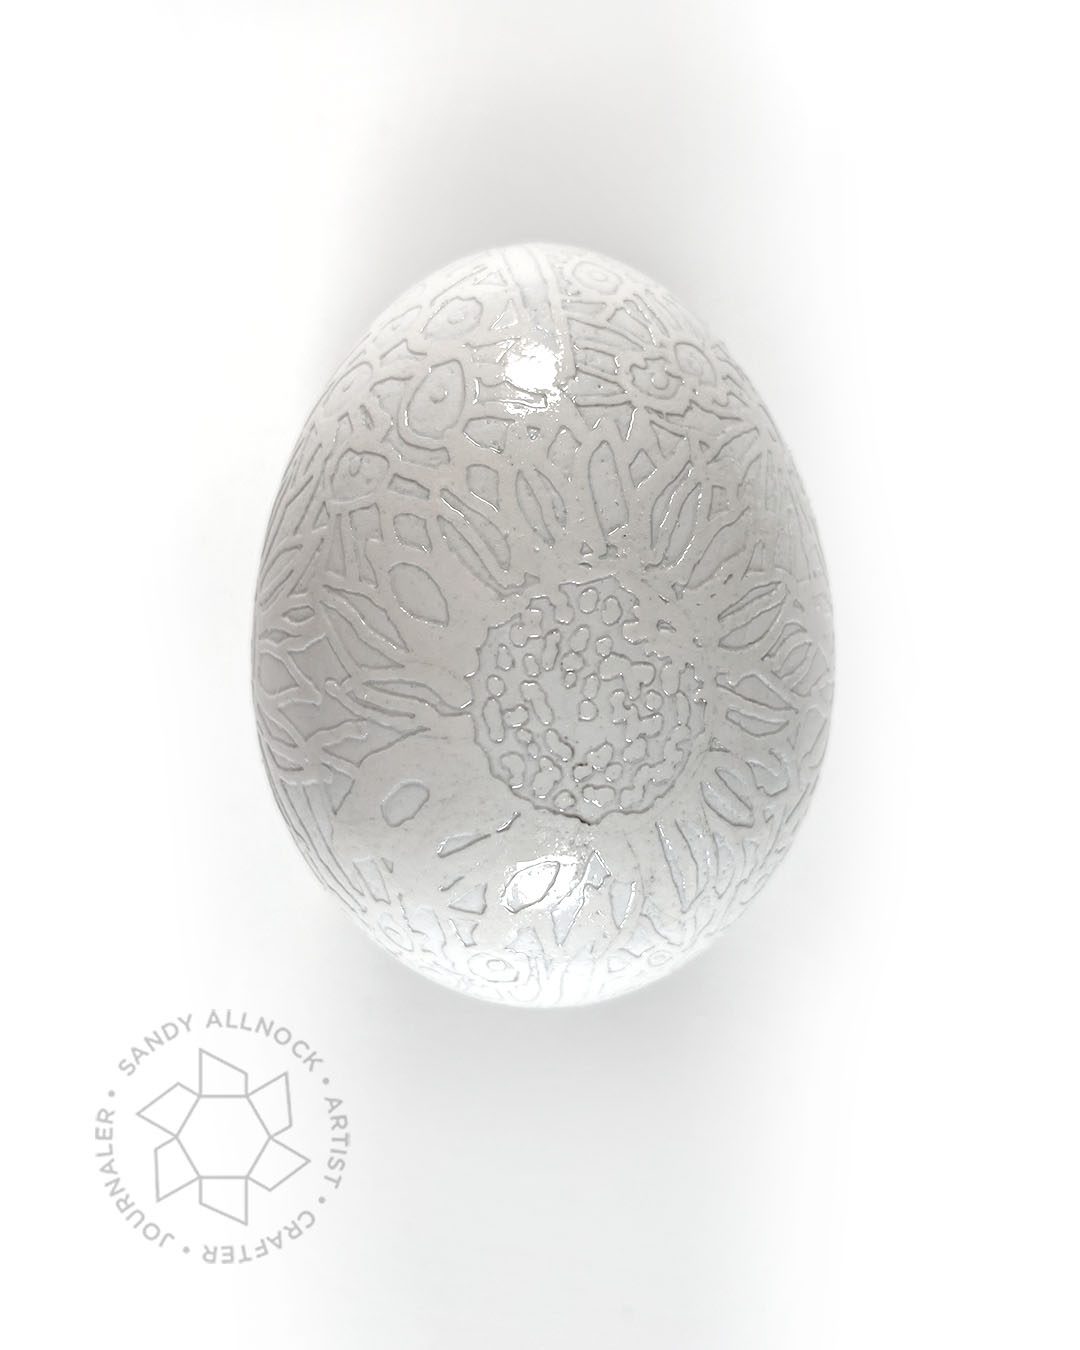
This one has four BIG sunflowers in the four hexagons – then random scribbly flower shapes over the rest. Lots of time in the etching bath!
One of my early ones; I didn’t know about the 48 triangle design so I was winging it – and once I found there was a way to organize my shapes, my eggs got better.
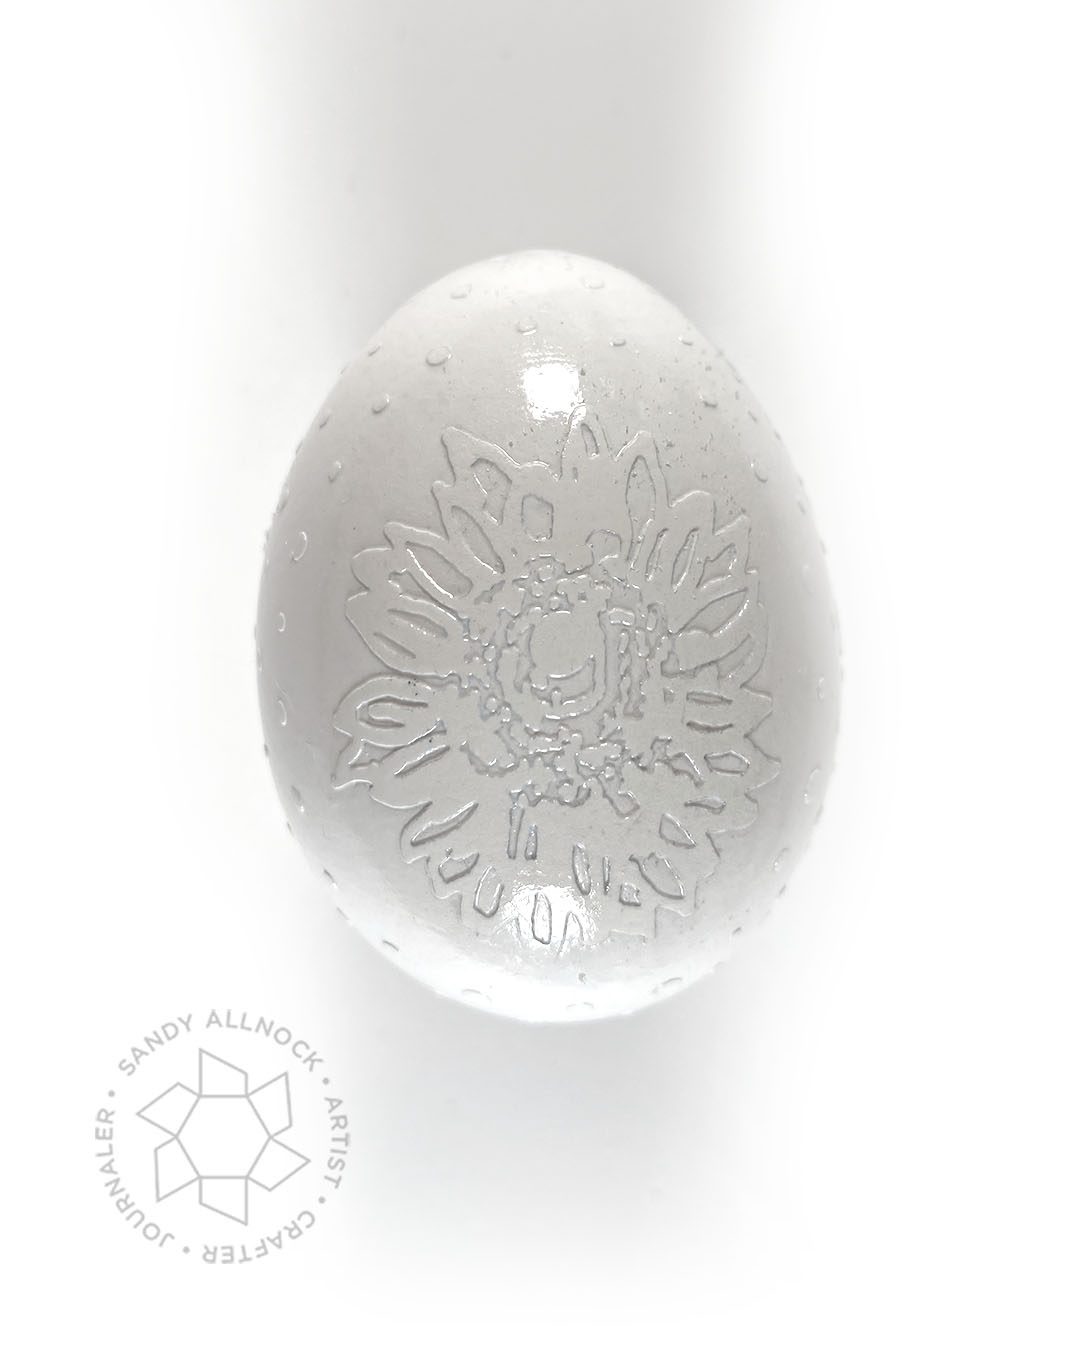
A single big sunflower on two sides, and polka dots elsewhere…
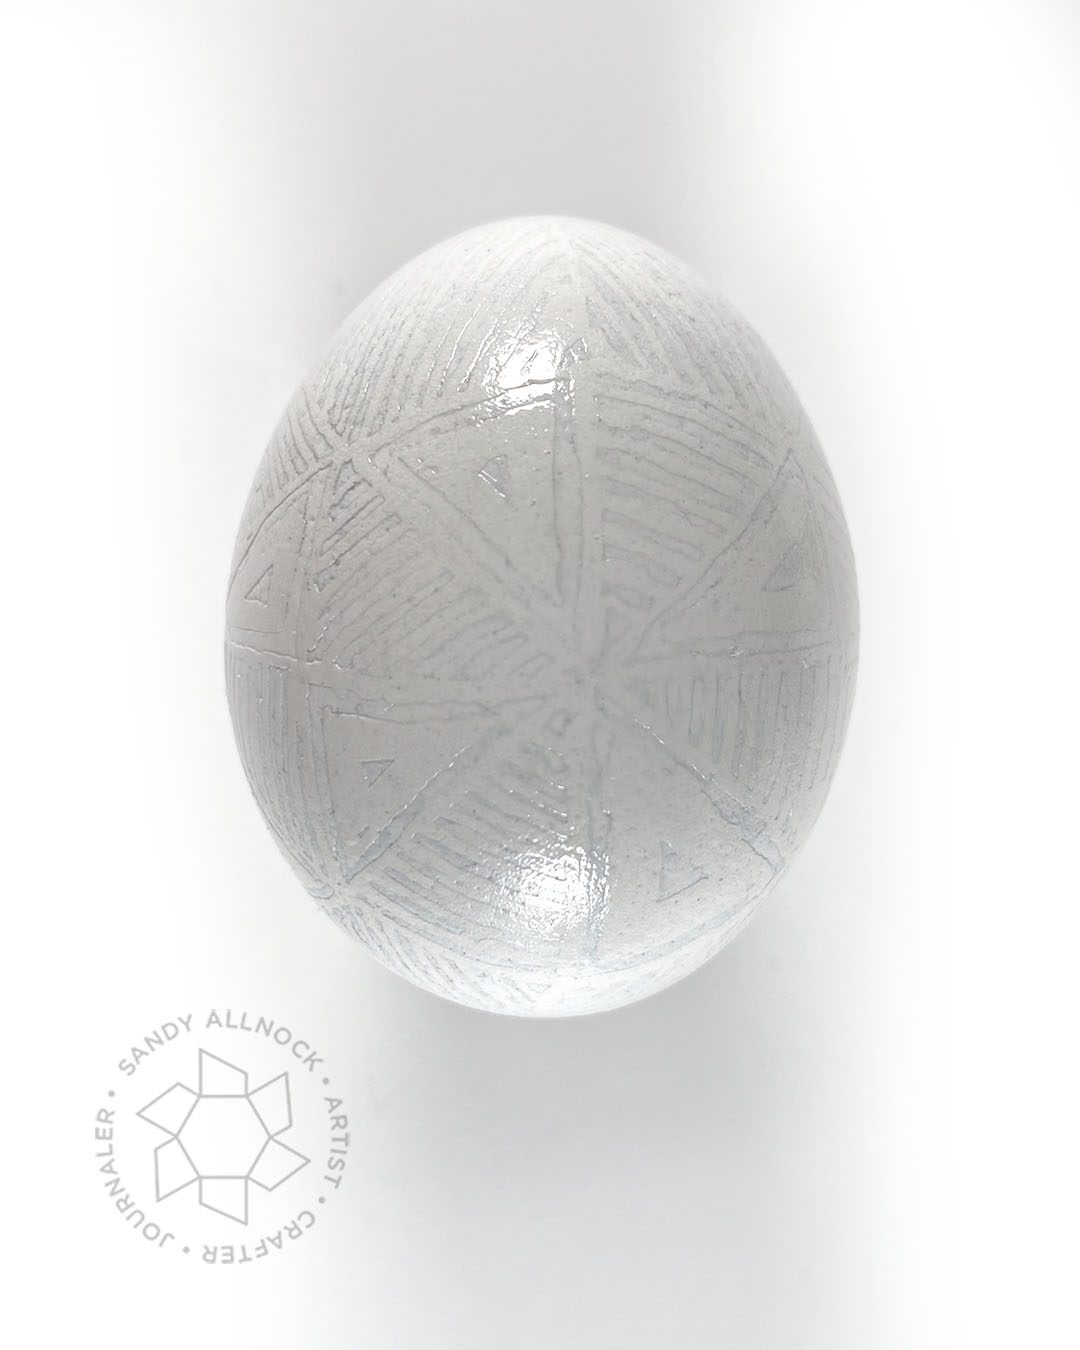
Another early attempt, with very little time in the etching bath:
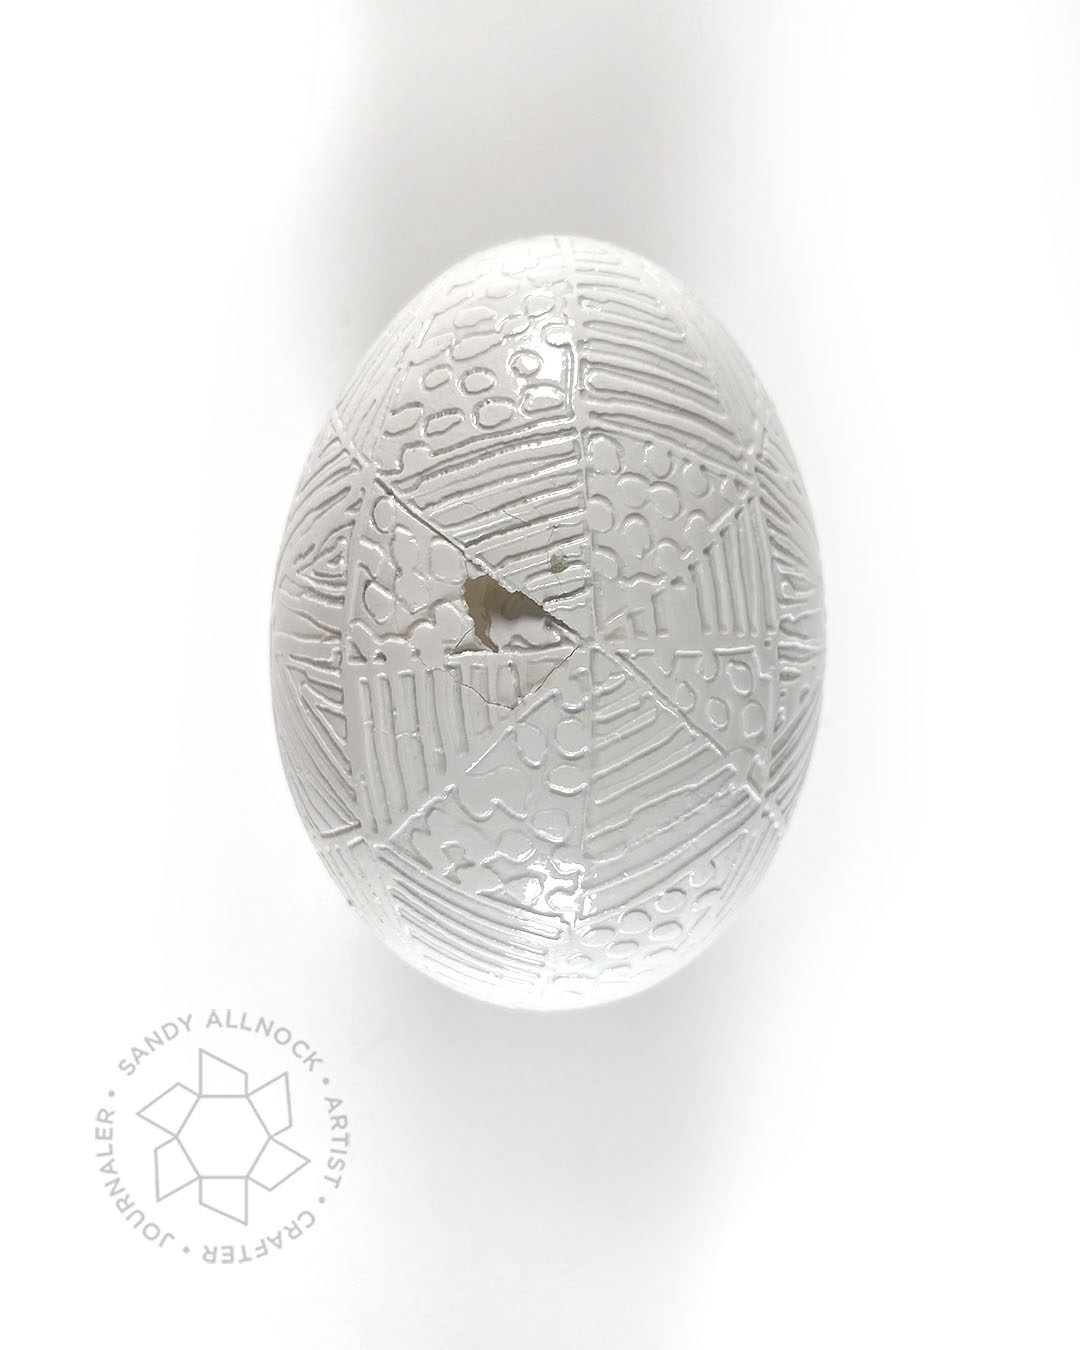
Lots of etching time…and I think I had let it float on the top of the etching bath for an extra minute on one side, and it became weak…put my finger right thorugh it!
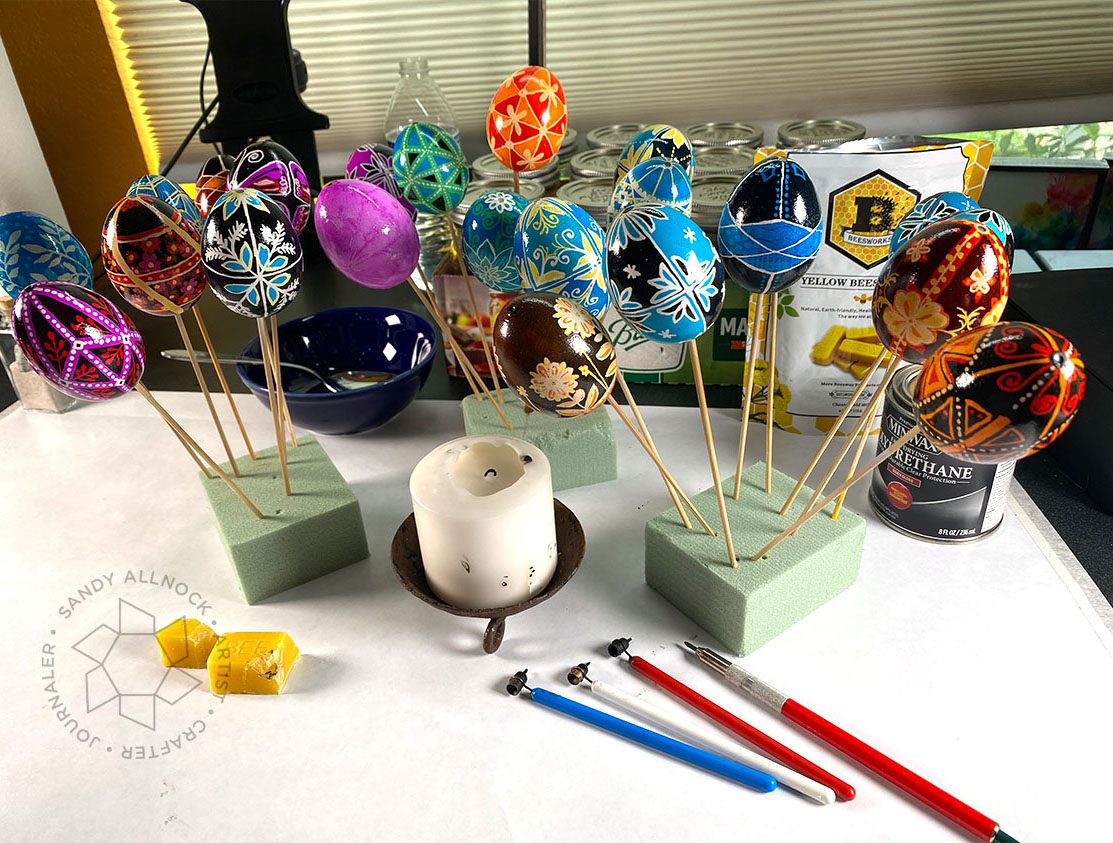
Here’s a peek at tomorrow’s color chaos….be sure to pop on by to catch it!
Taking the rest of the week off
As we lead up to Easter I’ll be taking time away from email and social (though I have social posts with Easter-y things prepared for the rest of the week!) so I’ll only be responding to urgent things. But I’ll be back in full swing next Monday so I look forward to seeing yall then!
Supplies
Some product may be provided by manufacturers for review and use. Compensated affiliate links are here at no cost to you. If you choose to shop using my EH (Ellen Hutson) links, please accept cookies on that site in order to retain the link to my blog, or that compensation does not happen for me. I appreciate your support of my work with your purchases! Full affiliate and product disclosure | My trusted partners in art
- Needed for Etched eggs:
- Candle (any will do)
- The Works (to etch with)
- To dry after sealing with Minwax Polyurethane gloss:
- For the colored eggs I’ll share in part 2:
- Kit (not all needed for etched eggs) with dyes, 3 kitskas, wax
- Set of pysanky dyes (6) – (12)
- Mason jars for dyes





What a fabulous technique Sandy, it’s nothing for me but I admire you because of what you made.
Totallly in love with the egg with the 4 sunflowers.
Thank you so much for sharing, I’m heading off to the next video I want to see the other beauties you make. Stay safe and have a wonderful day.
OMG! This amazing! I have never heard of pysanky so this was fascinating. Thank you for introducing me to this!
Hi, Sandy –
I salute you! This is way more mess than I can deal with. You are to be congratulated for having such gorgeous results!
Happy Easter!! He is risen, indeed!
Lori S in PA
I’ve been doing pysanky for over 50 years. (I saw Luba and her daughters demonstrating at a department store in Minneapolis when I was in high school.) My first ones were dreadful! Eventually I learned to draw pencil guidelines first (Luba didn’t) and then started to use a rubber band to get them more even. I bought templates and an electric kistka. Mine still aren’t perfect, but I’ve come a long way.
I’ve never seen the etched ones! I also appreciate the new tips you’ve passed on, like using an airbrush to blow them! I Dremel one hole and use a hypodermic syringe–very slowly and carefully–to empty them.
I haven’t watched your part 2 yet–will go on to that later.
By the way, I’d be proud of any of the colored eggs above…especially without an electric kistka. Your method of cutting up the wax instead of scooping makes a huge difference!
Oh this was so interesting. Can’t wait to see Tuesday’s video with the coloring/dying.
These are so cool – thanks Sandy
Have a very happy Easter
Love these eggs! Great informative video.
This was so very interesting! A must try. Thank you