
Hey there – it’s not often I feel like I have totally gone where NO one has blaxed a trail….but today I just might have! You might remember scratchboard art from your childhood, right? Well, I figured out how to have fun with it on a card!
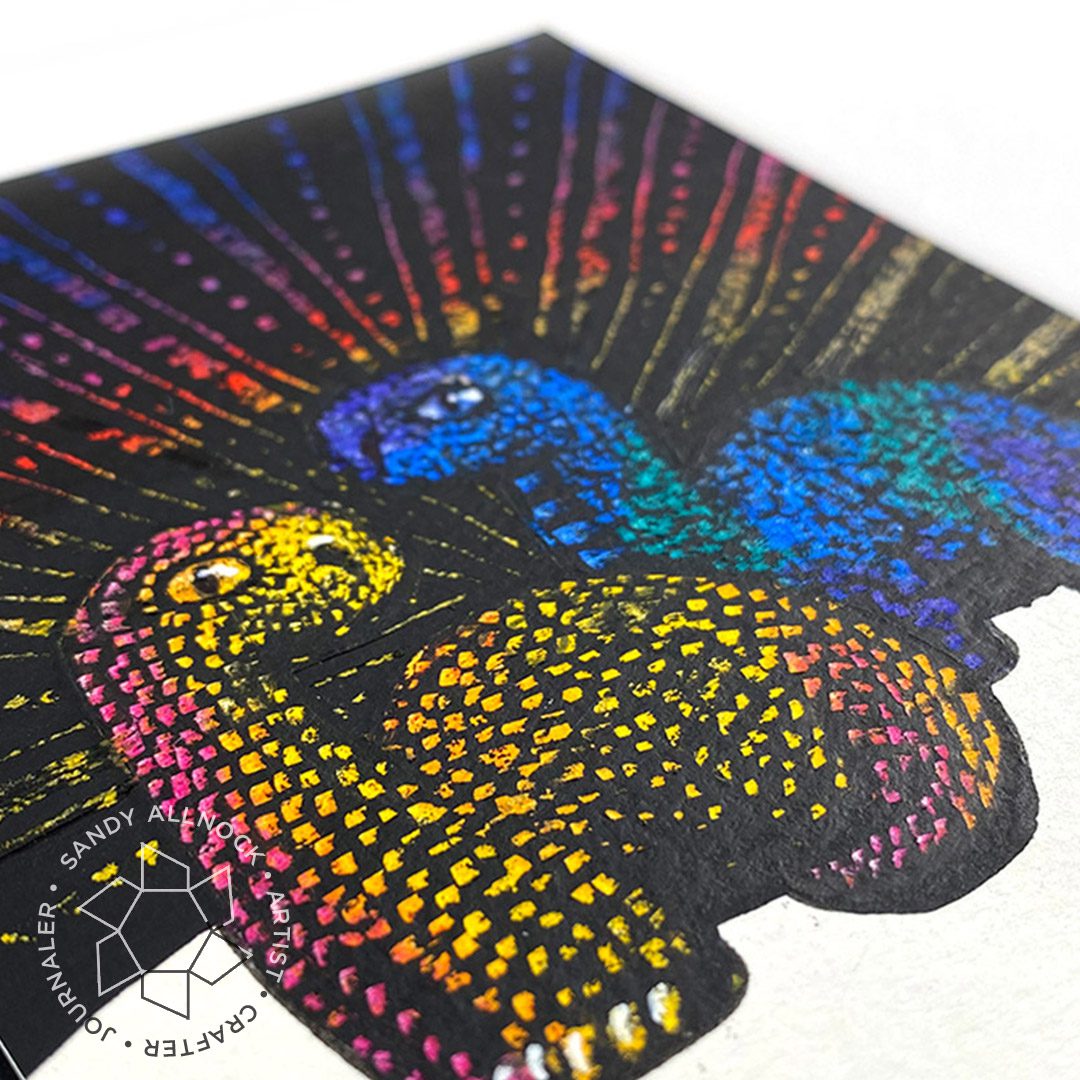
Supplies for this project are linked at the end of this post. Compensated affiliate links may be used at no cost to you.
To try this, find a simple stamp – large images without a lot of lines drawn inside them. You’ll want all the room for color that you can get! Then gather up some supplies – set the kids up to do their own art while you make cards with this technique!
Video
See extra tips written out below., but watch the video below or click HERE to watch on YouTube.
The tools
First the items you’ll need:
- Paper. Something heavy, not much texture. Canson XL is my recommendation.
- Paint and brushes – Apple Barrel is by far the best from my testing. (What do I do with all this other black acrylic now? lol)
- Coloring medium – crayons work though they’re not very intense in color. The Neocolors are probably overkill (pricey) for this kind of project. But try Crayola maybe?
- A dust brush or any kind of soft wide brush for keeping the scraped paint cleared off.
- Scraping tools – Not sure I recommend these for long term use–the handles are cheap plastic and feel pretty awful for spending time drawing with! But they are cheap so there’s that. With kids I’ve had them use a light colored pencil, you could try a glass pen, or some other tool you have around the house that’ll scratch paint!

The tools have all kinds of “nibs” to play with. So get creative in what you find around the kitchen, garage, or office drawer!

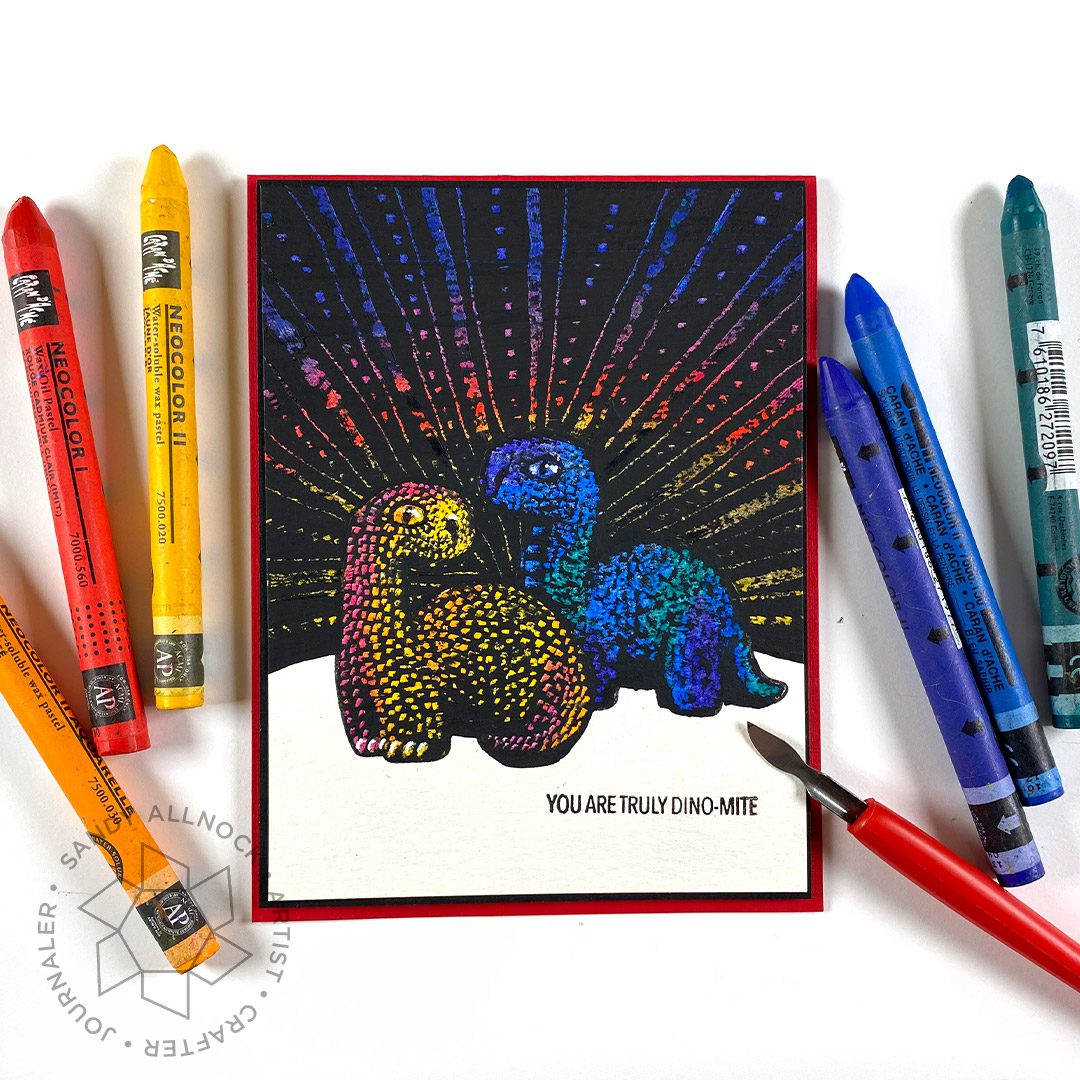
Tips
- Stamp the images in something like Versafine Onyx Black; other inks may work, it’s not like they need to be waterproof or anything.
- Add the crayon or Neocolor or oil pastels, and paint over it in an even flat coat of the black paint. Let it fry at least a couple hours. DO NOT HEAT SET. Acrylic melts. Don’t ask how I found out.
- Scrape your designs!
- Add color too the background, paint, and scrape again!
- If you don’t feel like drawing eyes – GOOGLIES! ha!! (I didnt glue them on but wanted to give you a grin!)

More stamped scratchboard
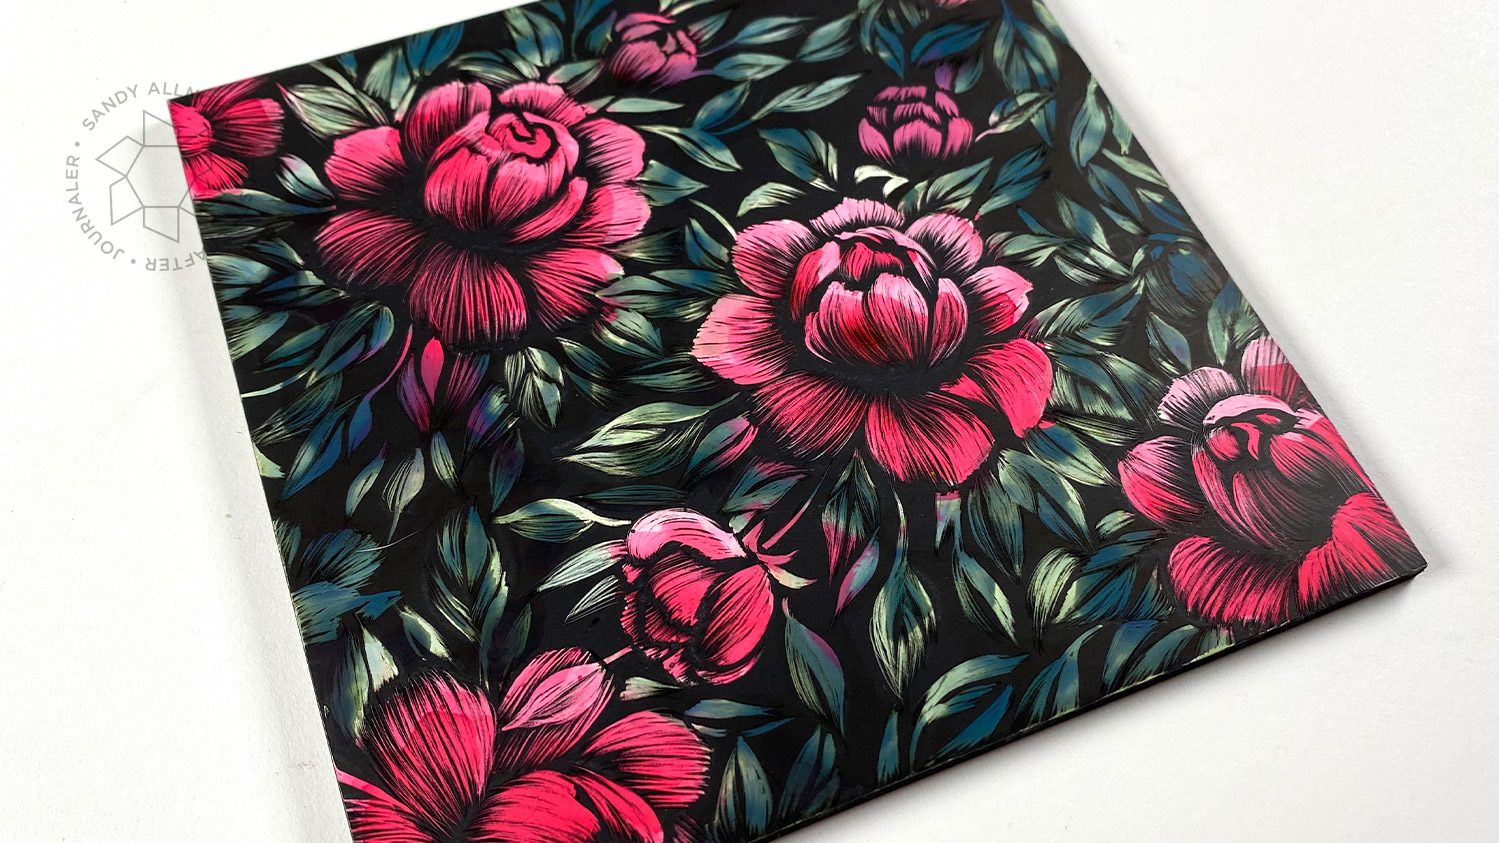
I’m in process on another piece, a bit fancier than this – so stay tuned! It’s here:
Supplies
Some product may be provided by manufacturers for review and use. Compensated affiliate links are here at no cost to you. If you choose to shop using my EH (Ellen Hutson) links, please accept cookies on that site in order to retain the link to my blog, or that compensation does not happen for me. I appreciate your support of my work with your purchases! Full affiliate and product disclosure | My trusted partners in art
- Me and My Dinosaur, Mama Elephant Stamps EH
- Me and My Dinosaur, Mama Elephant Dies: EH (not used here)
- Eclipse Tape, Judikins
- MISTI Stamping Tool, My Sweet Petunia
- VersaFine Ink Pad, Onyx Black
- Canson XL Paper: EH – BLICK
- Apple Barrel Black Paint
- Tool sets used:
- Neocolor, Caran d’Ache or Crayola Oil Pastels
- Dust Brush





I’m certainly going to try this as soon as I get slme crayons. Great tutorial. Thank you Sandy for all the inspiration X X
This is so so cool!!
I love this Sandy, the dinosaurs look stunning with their coloured scales.
I thought that we used wax crayons to colour and for the black layer on top when I was a child, can’t remember that it was paint.
Thank you so much for sharing, stay safe and have a wonderful week.