
Wheee! I’ve apparently fallen in love with penguins…because I discovered I’ve picked up a ton of penguin stamps this year! I decided to combine them in one big ol’ week full of penguin cards – I hope my penguin-loving friends will enjoy the stamps, and my technique-loving friends will enjoy learning too!
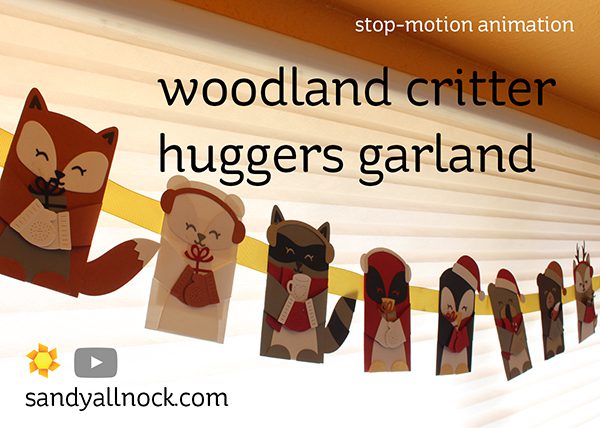
I spent an entire exhausting but FUN day making a lot of these critters – there are a few “standard” ones pictured on the packaging of the Lawn Fawn Woodland Critter Hugger dies – but there are SO many possibilities! In Penguin Week, I just had to create a little “penny” (as a little friend of mine calls them!) See some tips below for a few things to think about!
Video
Watch the video below or click HERE to see it in HD on YouTube.
Look at all these little cutieeeeeees!!!!

I started by diecutting both sets of dies from all the different colors I used – black, white, grey, tan, yellow, red….some I ended up cutting extra pieces of, but just having them all cut out let me start putting different combinations together.

Don’t forget you can cut pieces off…just losing the ears opened up a ton of options, especially for the penguin! There’s a triangle piece for the raccoon’s tail (sorry, it’s cut off in this pic below) and that works great for a bird beak.

I forgot to give the deer feet, dangit! Then there’s my two dogs – Giallo’s ears are made from the piece that makes the white facial section for the deer. Vienna’s eye spots are made from the deer’s tail.

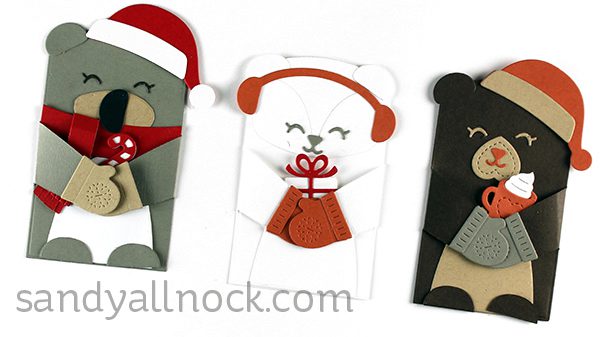
I’m not sure the koala is a koala, but…his nose seemed to be koala-shaped enough to try! The bears were fun – the white one could be a polar bear or a yeti! Just cut off the pointy ears and give them the roundie shapes.
And one of my favorites – the walrus! His snout is the eye patch turned upside down, with white pen whiskers!

Which is your favorite?! These are so cute as a garland that they’re staying up in my studio – even if it’s not close enough to Christmastime to decorate yet. They make me smile! I adhered them to ribbon by gluing a rectangular panel to the back of each one with the ribbon sandwiched in between.

Supplies
Below are links to the supplies I’ve used for today’s project. Compensated affiliate links may used, which means if you make a purchase I receive a small commission at no extra cost to you. I truly appreciate your support toward the costs of running this blog! Read more.





This garland is the sweetest, and your critters are so creative! Thanks for sharing!
These little critters are simply adorable– and I LOVED the stop-motion effect in your video to watch them assemble. It was SO cool, and I really appreciate all the work you must have put in to create it!
OMG,the best Garland,your right! That walrus is way cute.
That’s the cutest garland I have seen.
Wow, that is incredibly creative. Thanks so much for all your inspiration
Can something be to cute??? I love this critter garland so much Sandy and when the mail came an I opened it, I immediately recognized Giallo. I thought that was so funny that I saw that in a slit second. Thank you so much for sharing this gorgeous piece of art work.
Wow! You are so clever! I love how you created so many different critters from these two die sets!!! Totally adorable! Thanks for the inspiration!!!
Sandy, these are adorable!
Oh wow Sandy – this is just so adorable!!I love how you made your doggies and a koala too!!
So cute.
Cute – and a labor of love to do all of them. But my favorite is the raccoon, because years ago my grandchildren couldn’t remember my last name, so they called me Grandma Raccoon, because that was as close as they could get… I guess that makes the raccoon my “spirit animal” – ha!